When you click on links to various merchants on this site and make a purchase, this can result in this site earning a commission. Affiliate programs and affiliations include, but are not limited to, the eBay Partner Network.
Valve Retainer Replacement with Head in Place DIY: Revisited.
After using the very well-known valve retainer DIY on these forums, as well as the vast base of knowledge on the rest of the internet, I was able to complete a full AP2 valve retainer upgrade on my F20C, for all intake and exhaust valves. After my own struggles to get the job done, I realized that in many aspects, the aforementioned DIY needed a major revision.
Disclaimer: I have previously replaced a head gasket on an old Volvo, and even performed this exact same procedure during that process. However, I have realized that performing a valve retainer swap with the head on the engine is a unique challenge. Please be sure to read this post in its entirety before attempting this.
What I have documented below is what I believe to be the best way to perform the AP2 valve retainer upgrade, with the least amount of problems and guesswork.
Spark plug shaft to air compressor adapter with custom extension
Various metric sockets and wrenches
An air compressor with a cylinder attachment
A trustworthy friend with steady hands.
Your choice of valve spring compressor (read my recommendation below)
Husky 2-gallon compressor
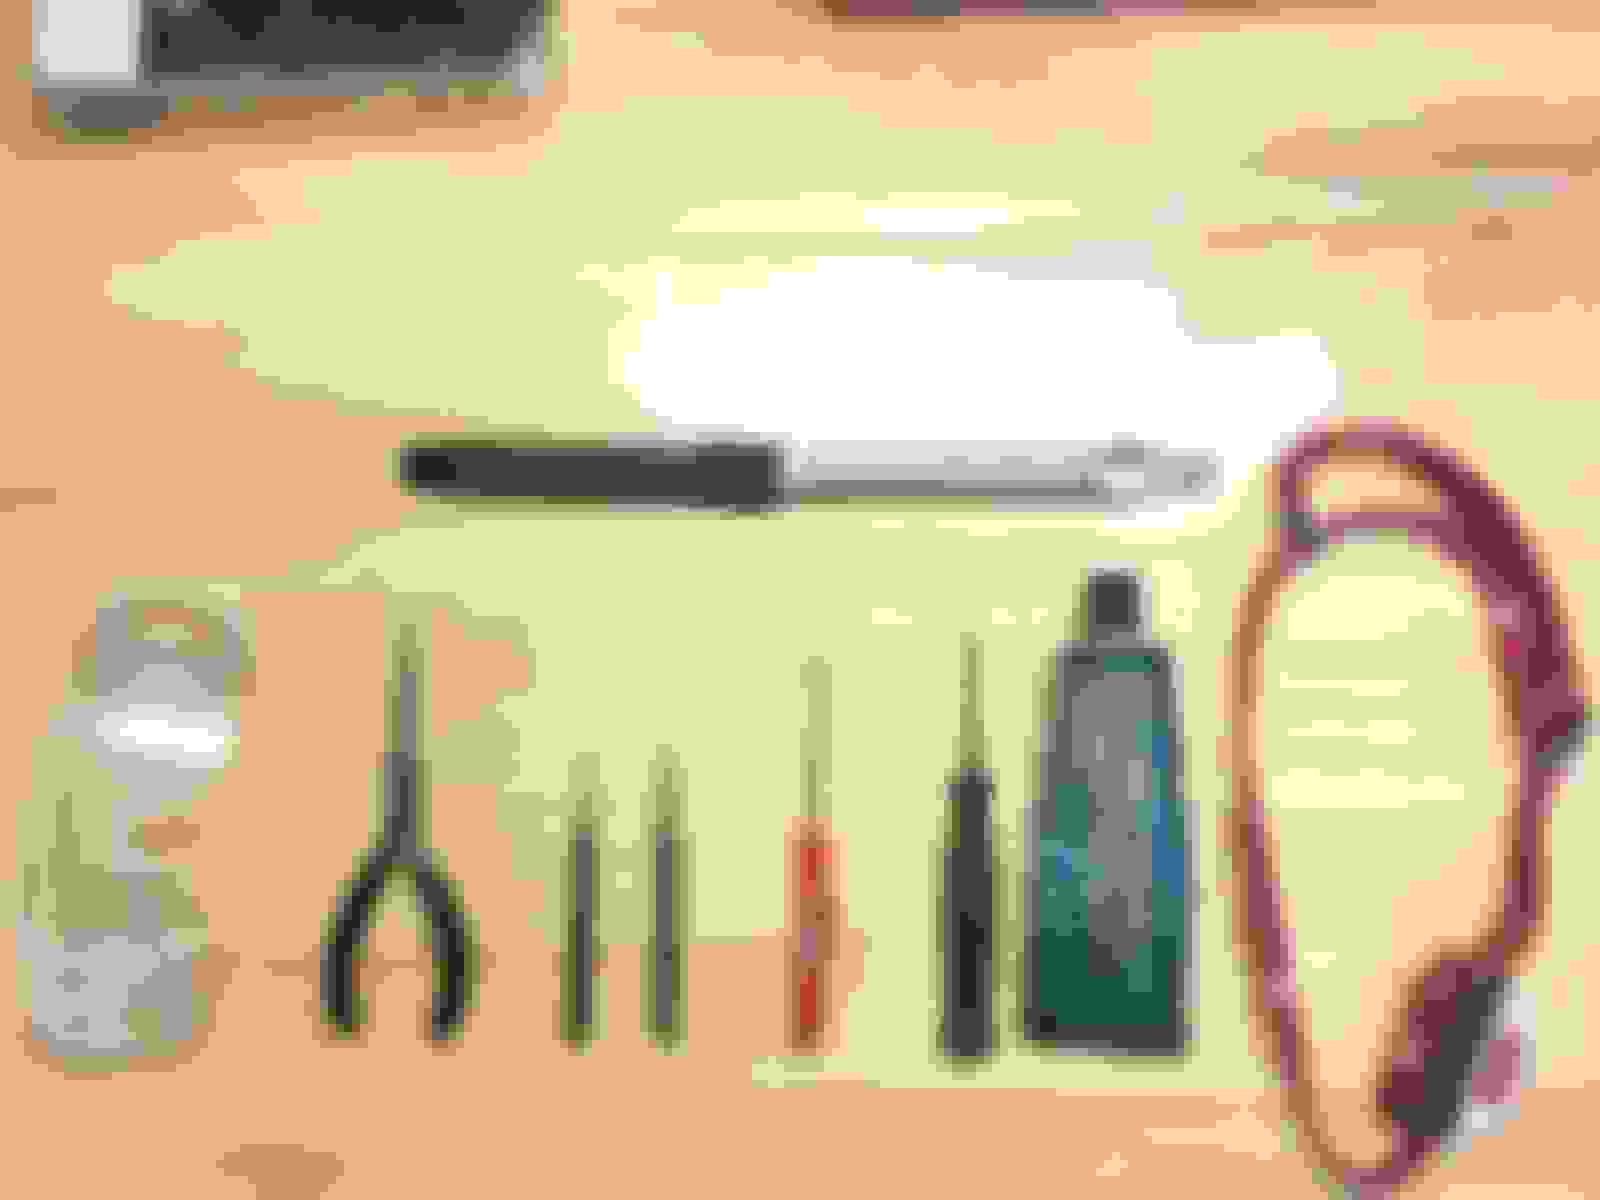
Tools
Removing the Valve Cover
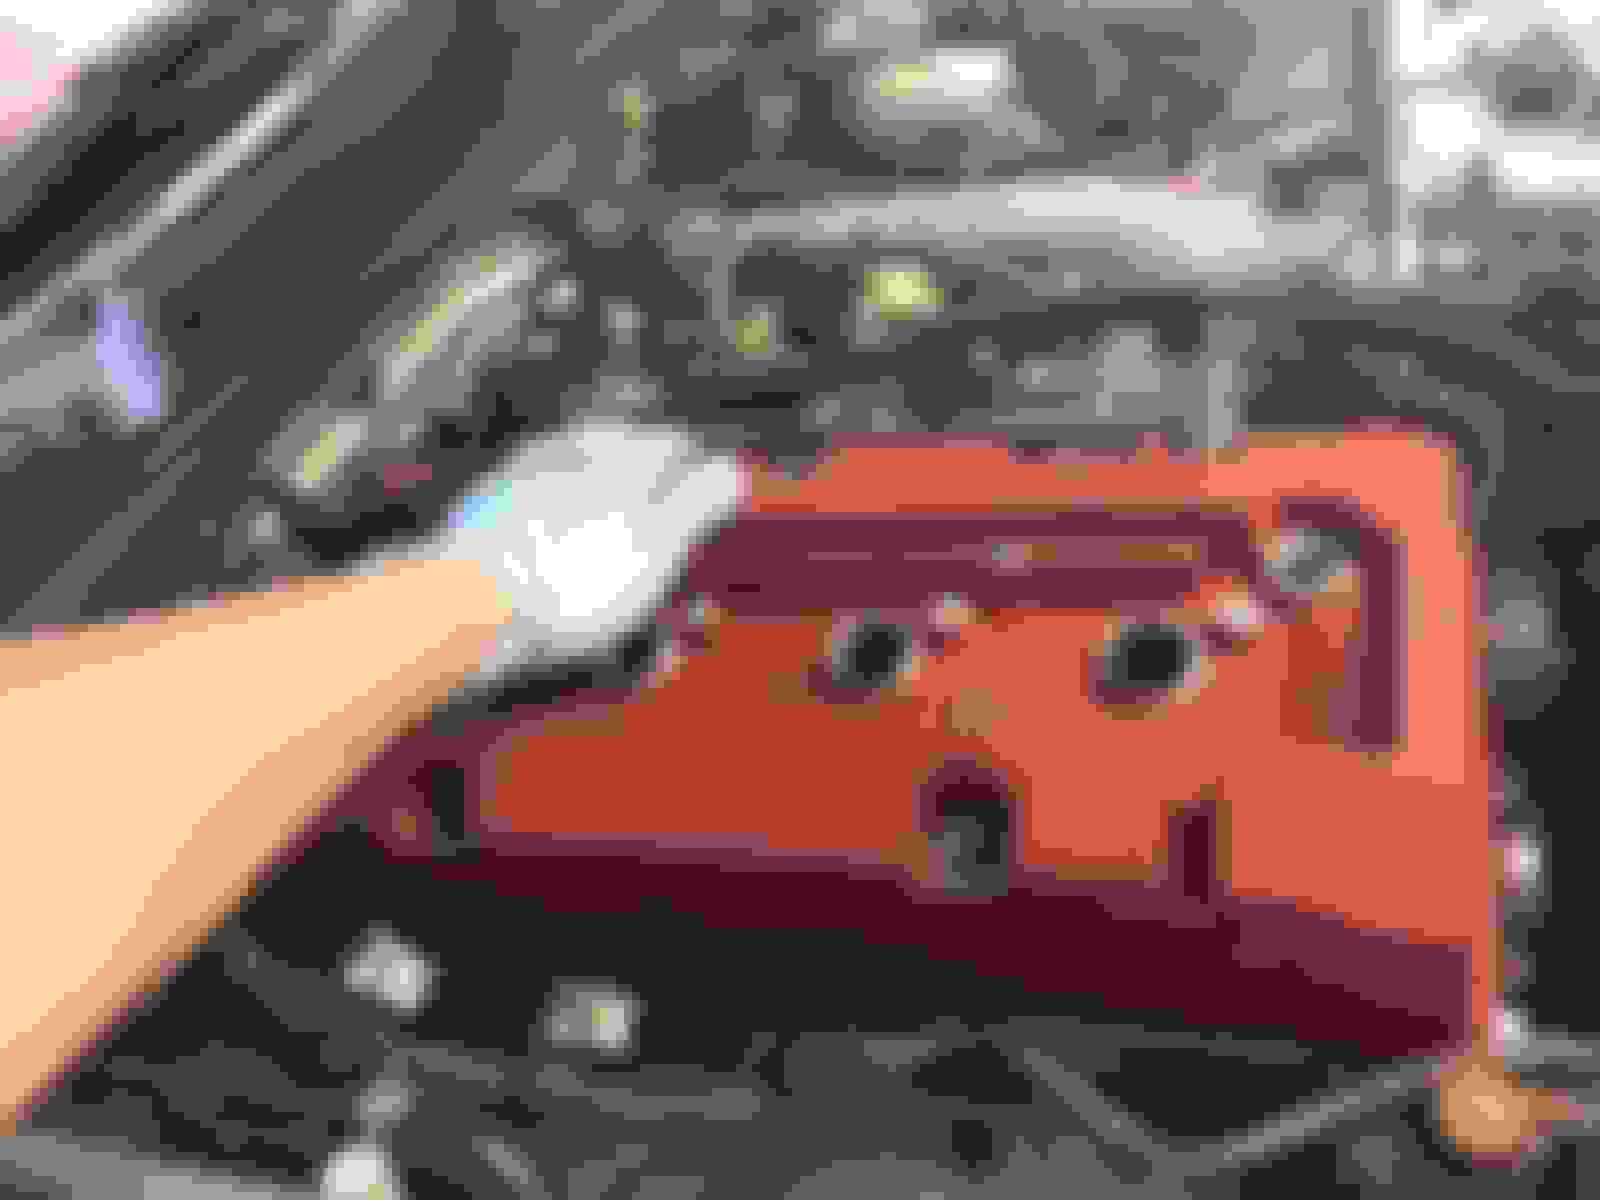
I found this step to be more difficult than I thought. You will want to remove the heatshield on the RH side of the engine. It is held in by four bolts. You only need to remove the front three as the fourth is slotted in the heatshield. Smart thinking Honda…
Heatshield mounting locations
Remove the top of the airbox. It is not necessary to remove the entire airbox. In fact, I found the bottom-half of the airbox extremely useful for storing my tools during my repair.
For the valve cover, remove every connector you can see connected to it, as well as all the vacuum hoses. I found the hose connected to the front LH of the valve cover to be impossible to remove from the cover, so as you can see, I just removed it along with the cover. The PCV valve just pulls out vertically, and there is no need to remove any sensors. It will be useful to remove wiring harness mounts as well.
Pro-tip: Remove the four rubber grommets that hold down the valve cover. This will allow the cover to shift as you remove it from the head (thanks Billman!).
To actually remove the cover, you will most likely find that it will be stuck. Instead of using any sharp objects or prying tools, simply rock the cover from left to right (not front to back!), using both hands, and “pulling” or “pushing” the cover, while standing next to the fender. Do this a few times, and your cover will come off. Don't be afraid to put some force behind it. Remember, if you’ve done the work correctly up to this point, the only force holding the valve cover on the head is the stiction of the rubber gasket. Again, it is important for the four rubber grommets to be removed from the valve cover.
Removing the Valve cover
Removing the Cams:
Move cylinder 1 (front-most) to TDC. You will see that it is in position when the cam timing marks all align. Before removing the cams, I also added my own markings.
A quarter turn at a time, remove the cam cap bolts in sequence, starting from the inside (cylinder 2 or 3), and moving outwards in a circular pattern. The service manual does a good job of explaining this step.
Lift the cam caps off vertically and store them in a safe place where they will not be damaged or misplaced. Keep them organized, and label them to keep them in the same order. They MUST be replaced in the same position and orientation.
Lift the cams off, and place them in such a way that you will not mix up exhaust and intake cams.
Organize, Organize, Organize.
Valves at TDC
Cam caps coming off.
Removing the Valve Retainers
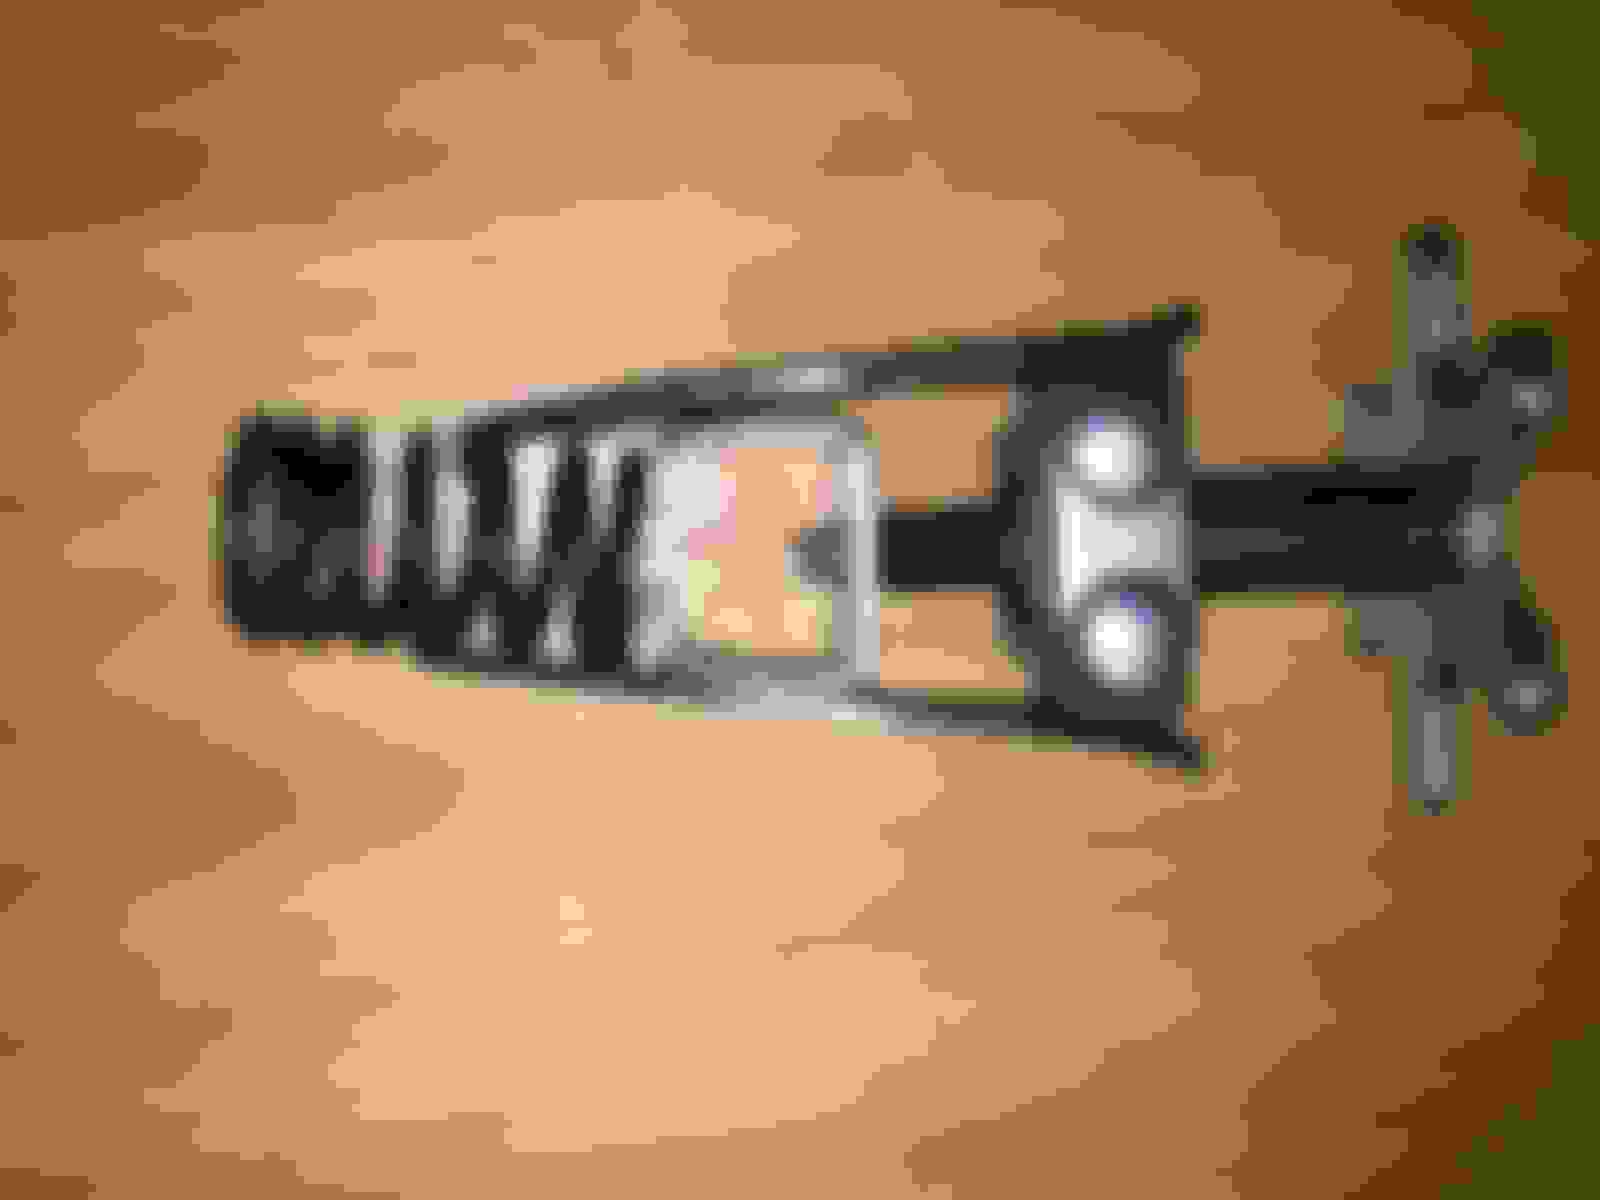
If you’ve read the original DIY, you’ll recognize this recommended valve spring compressor:
Notice what will happen when the silver compressor portion continues downwards...it spreads the black fingers apart!
I’m not Billman, and I don’t have his magic, so I’m going to tell you that this was the most frustrating tool that I ever worked with. Although I modified it according to the DIY, it would consistently slip off, and was difficult to work with in the tight confines of the F20C, especially with the rockers in place. Sure, I probably didn’t modify it exactly as needed and I didn’t remove the rockers, but again, only Billman knows exactly how it needs to be done!
As I tightened the compressor, the inner piece would physically spread apart the clamping arms…obviously not ideal. Sure, I might have done something wrong, but given enough compression, the tool will physically push the fingers off the springs on its own.
After struggling for five hours and getting two valve retainers done, I knew there was a better way. Fortunately, my fellow Canadians at the Speed Academy documented on Youtube, their own valve retainer DIY and introduced me to a much better tool. In a few short points, I’ll tell you why this is the tool you want to use.
.
Moral support. As this tool requires two people and it’s a tedious process, who better to keep your spirits up than your buddy?
On a good day, it takes 5 seconds to remove the cotters, no joke. With the use of a socket and extension slipped over the compressor handle, there is very little force needed to compress the spring.
It is very easy to hold in a single position (with an extension on the handle). This will be needed for potentially an extended length of time while you place the cotters into position.
Two sets of eyes are much better than one. If a cotter goes flying, there’s a better chance one set of eyes will see where it went.
I picked it up on Fleabay for cheap and got right to work.
Using some spacers (or oversized nuts), mount the valve compressor to the head using the OEM bolts. It only needs to be finger tight…anything more and you risk damaging the mating surface of the head. You will need to play around with the positioning of the tube to get the best angle of compressing the spring.
Lever arm spring compressor. Mounts not shown.
For the valves where the cotters are NOT stuck to the valve retainer, the procedure is simple:
Block your wheels.
Put your transmission in neutral.
Move the associated piston to TDC, turning the crank bolt clockwise. This will prevent the valve from dropping into the cylinder. Better to be safe than sorry! In case you need a refresher, TDC = top most position of the piston in that one particular cylinder.
Put your transmission into first gear.
Fill the cylinder with constant source of compressed air. 25-50 PSI is more than sufficient in most cases. Yes, you want compressed air to avoid unneeded stress. I personally grabbed a cheap 2-Gallon Husky compressor and it did the job just fine.
Compress the spring
Remove the cotters with a magnetic pen. Do not even bother trying to save the few dollars and not buy a magnetic pen. I learned this the hard way.
Using a thick grease, like bearing grease, coat the narrow end of the new cotters. You can even coat the entire cotter if you want. This does two things: The cotter will stick to your needle-nose pliers, and they will also stick to the valve stem. This was a gem of a tip I found after digging online for hours on a better way to install cotters.
Install the cotters.
Slowly release the tension of the valve spring compressor ensuring that the cotters are seated properly.
Move on to the next set of cotters and retainers, making sure to move the transmission into neutral every time you need to turn the crank.
If you manage to replace all your valve retainers without having any cotters stuck, you should immediately go and buy a lottery ticket. If however, you’re like everyone else, and your cotters move down along with your valve retainer…keep reading and complete the following steps
Make sure your wheels are chocked and your transmission is in neutral.
Move your piston to BDC (Bottom) turning the crank bolt clockwise. Pro-tip:It is important to place your piston at BDC to eliminate your chances of smashing the valve onto the top of the piston while you hammer at the valve retainer. This is an interference engine so at TDC, you can accidentally bottom out the valve on the top of the piston and bend it.
Place your car into first gear.
Slowly raise the pressure in the cylinder to 100 PSI. If your car jerks forward, the piston was not at BDC. That’s why you blocked your wheels right? Remove the pressure and make sure your piston is at BDC.
If you are successfully holding 100 PSI, using a large socket, just slightly smaller than the size of the valve retainer, hold it securely on top of the valve retainer. Tap it with a hammer a few times. This should loosen the cotters. The force of your “Tap” is a direct correlation of how brave or frustrated you are. If the cotters don’t budge, keep trying...or keep reading. Note that 100 PSI just a generally accepted pressure, and one that is easily attainable with a compressor. Even though you have 100 PSI in the piston, this is not a guarantee that the valve will not drop into the cylinder, given enough force.
Proceed to attempt to compress the spring and remove the cotters.
If you are able to remove the valve retainer after performing the above, consider yourself lucky. If you still cannot remove it, try to perform any or all of the below. Keep in mind that I had no intention of keeping the valve retainers or cotters, and neither should you if you do any of the below steps!
NOTE: ensure your cylinder is at BDC (Bottom) and air pressure is at 100 PSI before performing the following , in order from least to most nerve-wracking.
Drip some kroil or your favorite rust penetrant into the top of the cotters. Allow it to work its magic.
Using a small punch, try to tap the edge of the cotters in an attempt to “spin” them around the valve stem. You may not actually move them, but the force may break the connection.
Using a smaller socket, place it on one side of the valve retainer. Tap it with a hammer. By applying an uneven force, it may jostle the cotters enough. Pro-tip: You should never use the same amount of force in this step, compared to hammering on the entire surface of the valve retainer. Multiple light taps should be all that's needed.
Using the same large-sized socket, slowly increase your “tapping” force on the socket. Don’t miss, and don’t hit the valve stem, or any other part of your engine.
I had to perform all of the above on one of my valve retainers in order to remove the cotters. It was frustrating, but in the end, I managed it.
From here on out, re-assembly really is the reverse of removal. Use the below pointers to ease reassembly.
Loosen all the valve adjustment screws.
Use liberal amounts of oil when reinstalling the cams
If your cam cap bolt does not thread in, the rocker arm shaft may have rotated. Simply use a flathead or philips screwdriver, and rotate it back into position
Take your time when tightening the cam cap bolts, turning each one a quarter turn when they start to feel tight. Torque them to spec.
While you’re under the valve cover, you probably want to adjust the valves per the Heim’s specs. You can find all the relevant torques in the service manual as well.
Mounting the valve spring compressor
Using a lever arm valve spring compressor
Using a lever-arm valve spring compressor
Using a socket to loosen cotters
Using a punch to move the cotters
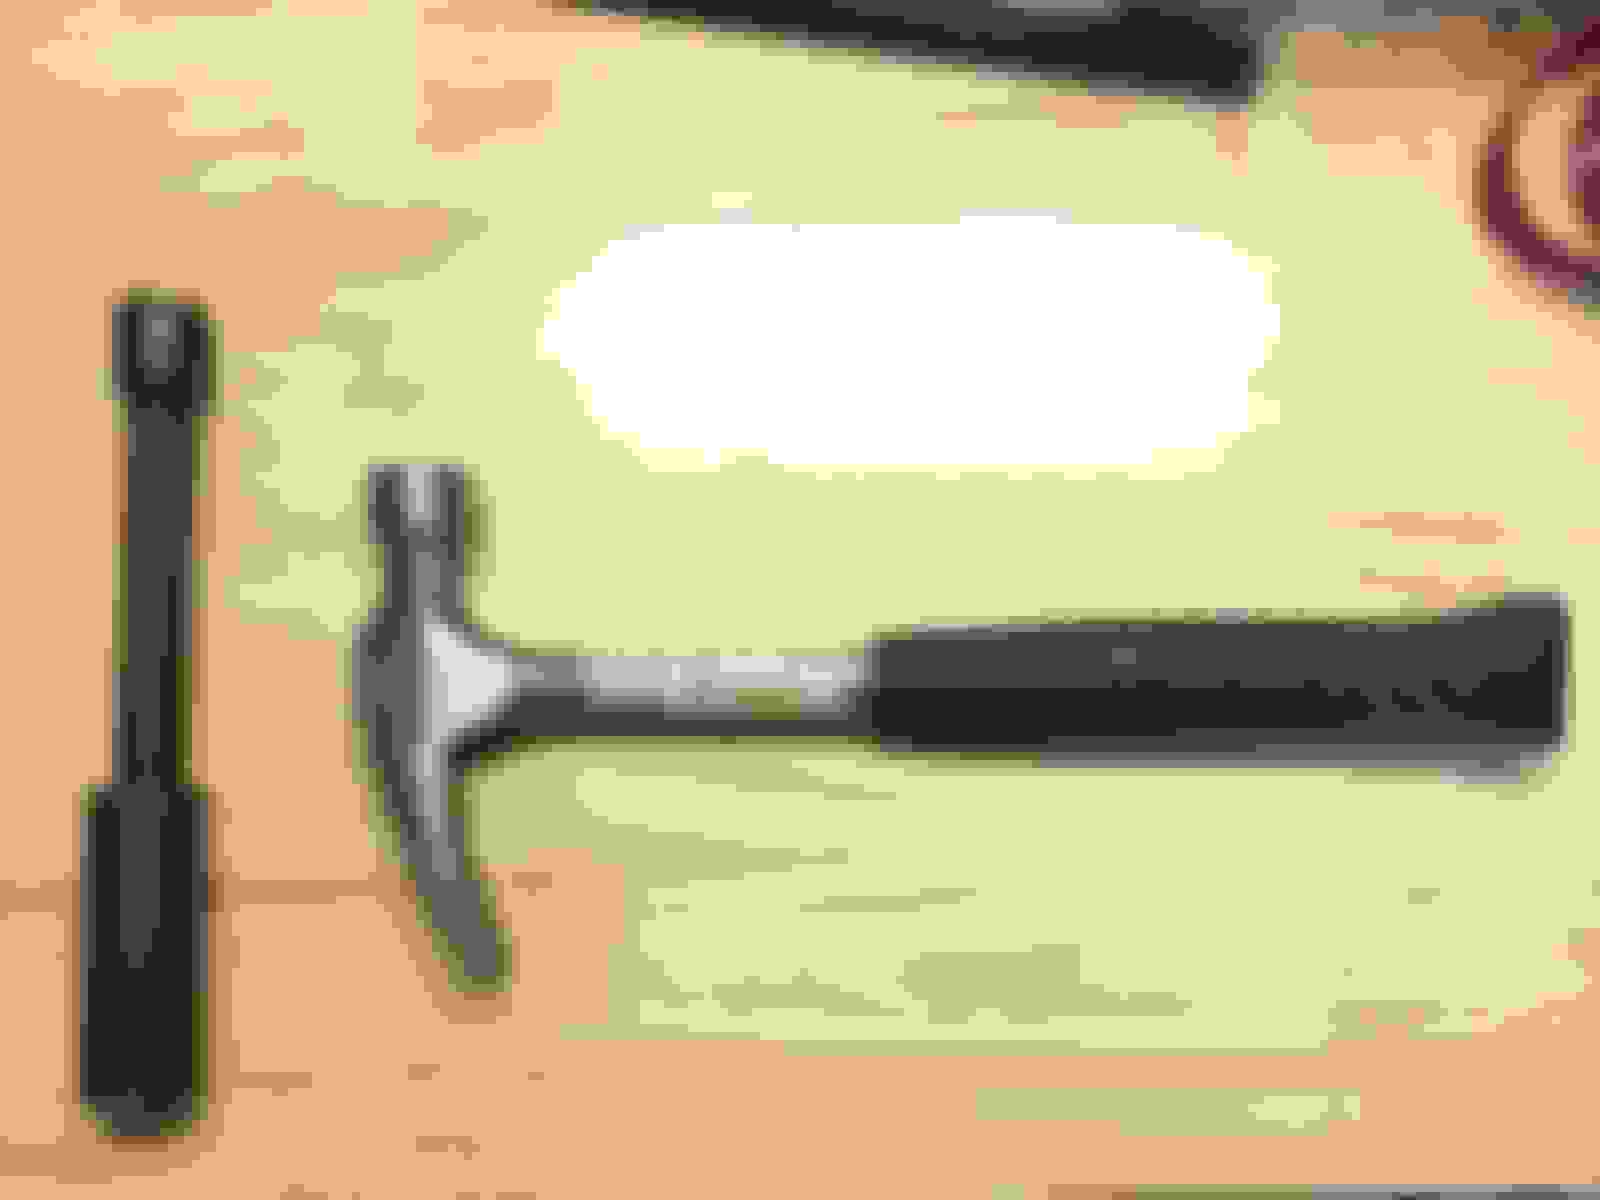
Hammer and 21mm socket
Before wrapping up, I’d like to add some more tips:
Prepare for at least a whole weekend to perform this task for the first time. You never want to rush yourself.
You do not need to remove the rocker arms to use the lever-arm valve spring compressor. If you want to use and modify the euroexport tool, you WILL need to remove the rockers. I actually bought the euroexport tool, intending to use it, but I could not remove the rockers without fear of damaging something. Hence, my recommendation of the lever-arm spring compressor.
With any valve spring compressor that requires you to turn a bolt to compress, it will take you a lot longer to complete the job. What I found personally was that I would need to apply pressure, hammer the retainers, see if the cotters were still stuck by compressing the spring, then repeat if the cotters were not budging. Each cycle would take me about 30 seconds to perform, with minimal hassle. With any other compressor requiring you to turn a bolt, you'd have to set the tool, tighten it down, see if it was working...then if it didn't work, un-thread it, remove the tool, and try again. It takes a lot longer than just using a lever to compress the valve.
Compressed air is a must. Don’t cheap out and try it without a compressor. The 2-gallon compressor I used was sufficient, but was not able to sustain 100 PSI for very long. In a few minutes (less than 5), it would quickly drop down to 50 PSI and lower. I simply wasn't comfortable using nylon rope or tubing. What if I lost the rope inside the cylinder? What if I didn't place it properly? What if the valve catches on the edge of the rope? There were too many what-ifs for me.
If you have trouble inserting the cam cap bolts, the rocker arm shaft may have rotated. Look down the cam cap bolt hole to see if it is blocked. If so, simply use a long screwdriver to rotate the shaft back into place.
The lever arm spring compressor requires a buddy. They should compress the spring while you fish out and install the cotters. Unless your buddy is a surgeon, you should be the one fishing. You shouldn’t allow your buddy to be blamed if they lose a cotter in the engine.
When removing cotters, stuff every crevice you can see with paper towels, especially the oil galleys. It will save you a lot of headaches if and when one cotter goes flying.
Use liberal amounts of oil when reinstalling the cams. Engine assembly grease is recommended, but not necessary.
When reinstalling cams, you should loosen the valve adjustment screws to eliminate the vertical force exerted on the cam caps.
If you place your associated piston at TDC, your valve cannot physically fall into the cylinder. If the valve drops, it will rest on top of the piston, and no damage will occur. Just make sure not to move the piston with the valve sitting on it.
Using a headlamp was extremely useful for spotting the positioning of the cotters and valve retainers.
If you ever need to leave a valve with the retainer un-installed, lift that cylinder to TDC to prevent dropping of the valve. I needed to do this when I needed to buy another AP2 retainer that I possibly damaged.
On replacing intake AND exhaust valve retainers: I elected to replace all valve retainers and cotters with AP2 versions, including the exhaust valves. There is enough evidence online to show that AP1 exhaust retainers have indeed failed along with the AP1 intake retainers. At this point, you cannot say with certainty that your AP1 exhaust valves will never fail. Yes, there are unproven questions about whether an AP2 exhaust valve retainer will lower the valve float threshold, but I feel the risk of engine damage is significantly lower with a full set of AP2 cotters and retainers. I’d rather do my best to avoid an over-rev than risk a failed exhaust valve retainer. Additionally, AP2 valve retainers were used by Honda on all F20C engines sold outside of North America since 2004, with the same 9000 RPM redline.
Good luck!
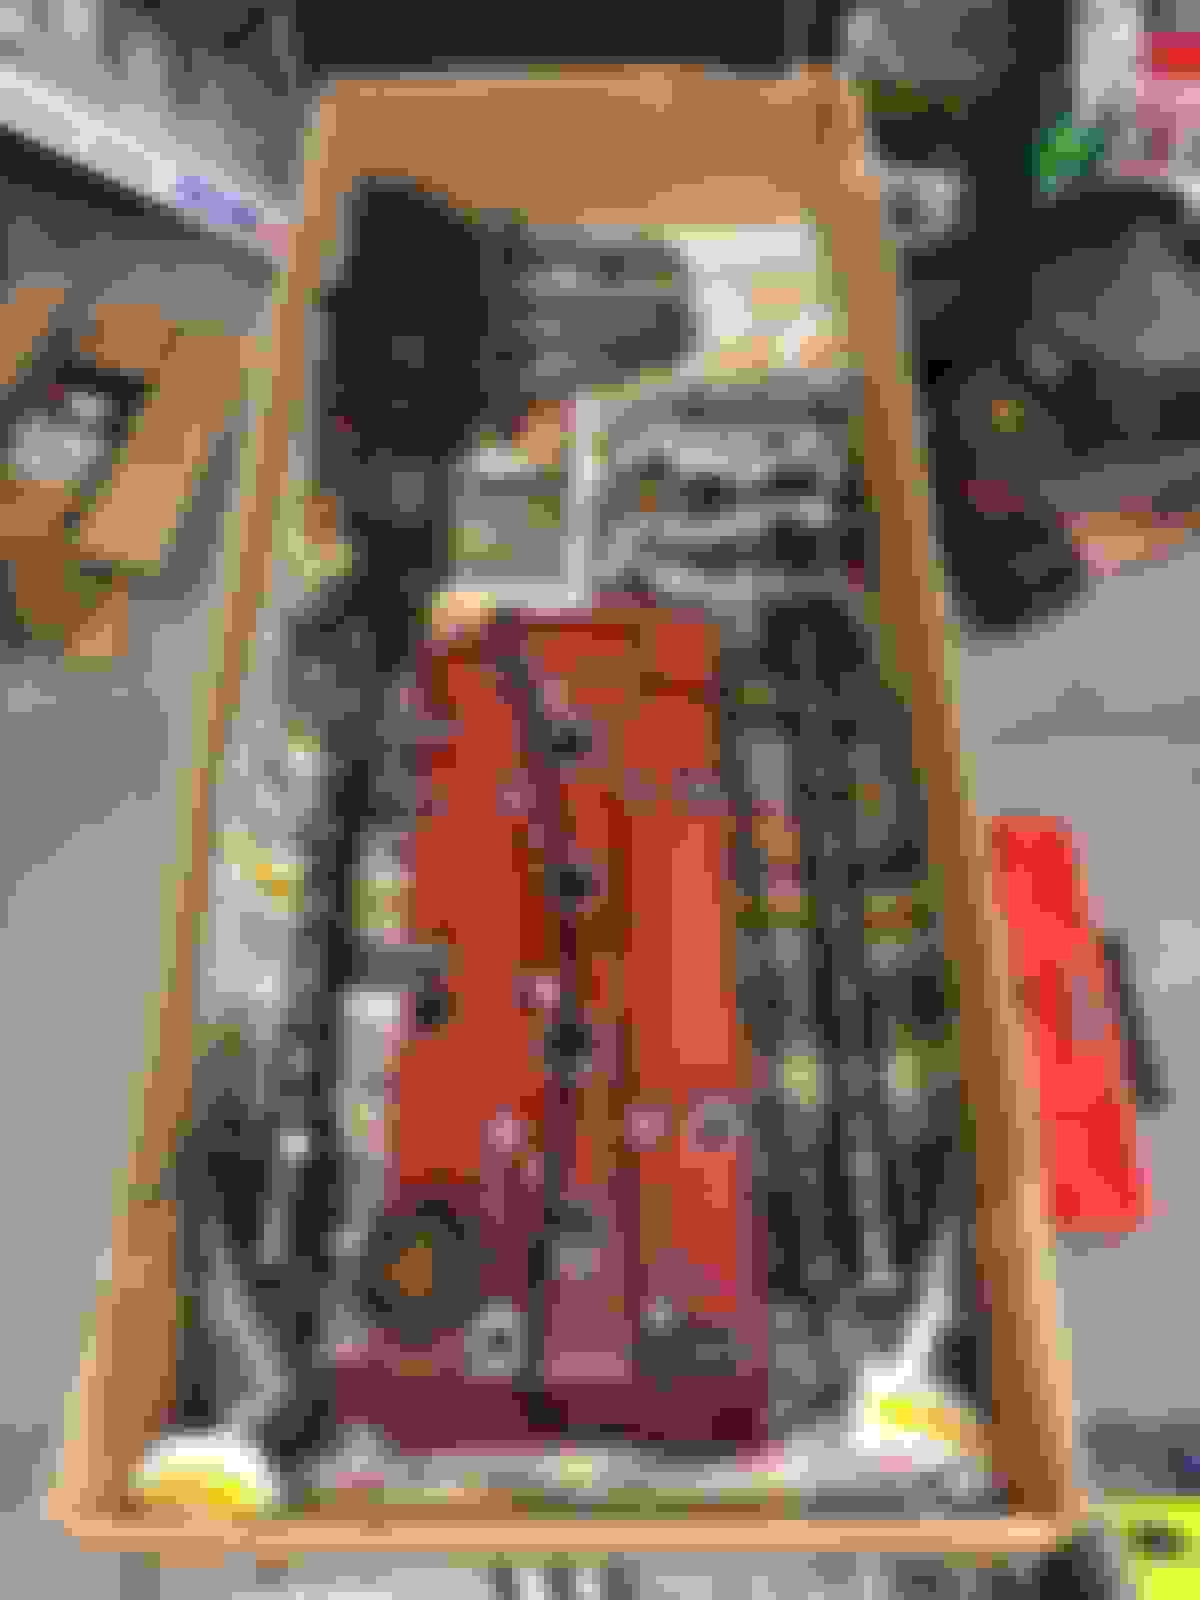
Work in progress
AP1 vs AP2 valve retainer comparison AP2 on left
Last edited by modifierwong; 01-21-2018 at 10:53 AM.
I also punched my keepers out... but PLUG ALL OF THE OIL DRAINS IN THE HEAD WITH PAPER TOWEL before you attempt this. You WILL lose a keeper or two, even if you're careful. I was fortunate enough to find the one I lost by dragging a magnet around inside the head. Once you know how hard you need to tap it turns into a pretty quick process.
For cylinder heads that are on a bench, the Lisle magnetic tool would be great.
My problem is that you have no control over what happens to the valve. If you don't hit it right, you could very easily push the valve down into the cylinder and you'll be forced to go fishing. I'd rather play it safe and take my time.
Exactly, just feed 100psi into the combustion chamber at TDC and off you go. I have used the tool and seen it used on in-car jobs more times than I can count. I couldn't believe it when I first saw it! Makes the job a walk in the park.
I've not used the tool on an S2000 but seems like there should be enough room...
The hammer tool works great if you have a good air compressor, if not it's only good for the intake side.
Compressed air was listed as a "must" here, but I would argue that nylon rope can be used instead. Using nylon rope also alleviates concerns of fishing for a valve that has been pushed down (since it can't be pushed down).
I would also highly recommend the Lisle tool as mentioned above. I talked about it briefly here after becoming frustrated with losing several retainer keepers/cotters.
After using the very well-known valve retainer DIY on these forums . . . I realized that in many aspects, the aforementioned DIY needed a major revision.
A major revision?! How dare you, sir - I demand this thread be deleted and this user banned! j/k of course
Nice write up. Sorry you had so much trouble with that spring tool. Actually I'm a little surprised you even tried it -- there are a ton of comments in the other thread with suggestions for better tools. (BTW, for the record, I never actually *recommended* that tool, I just knew it was a commonly available one and shared how I got it to work for this job.)
On the compressed air, I'm not sure it's right to say it's "a must" - the old thread also has a lot of suggestions for those who don't have compressors.
I do think it's important for people to know that the benefits of doing the exhaust side are only theoretical, but the risks are very real. As The Man himself said:
Originally Posted by Billman250
I dont use them on the exhaust side for two reasons:
-it is extremely rare for the exhaust retainers to crack.
-it will, in theory, lower the rpm it takes for the exhaust valves to float and cause piston-valve contact
You can use them on the exhaust side, but dont mis-shift. If you do, you will bend valves before splitting retainers (kinda defeats the purpose of putting them in there)
IF you are 100% confident you will never mis-shift, then surely it is ok to use ap2 retainers on intake and exhaust.
Even the install adds some risk: doing the exhaust side doubles the chances that you'll lose a cotter in the motor somewhere, or have some other misadventure.
Don't get me wrong the hammer tool is probably the fastest way to remove the cotters and retainers, but putting them on is another matter entirely, it works fine on the intake if you use rope, because of how the engine sits tilted, and the angle of the exhaust valves, you just cannot get enough rope tension on the exhaust side so the valve will move down a few mm which makes it impossible to use the hammer tool to install the retainers. On the intake it's fine since the the intake side is at a better angle for the rope to push against the valves. The only way to use rope and the hammer tool on the exhaust side is to zip tie the springs to pre-compress them, then use the hammer tool and cut off the zip ties after installing. As you can imagine it's a huge pain in the ass to do it this way, but if you have a good air compressor, you just lock the crank at TDC, blast all the air you can in there and hammer away.
Other than that, make sure you only hit the valve in it's direction of motion(ie directly overhead), never hit the valve off center, easiest way to bend a valve.
 01-19-2018, 08:48 AM


 j/k of course

