When you click on links to various merchants on this site and make a purchase, this can result in this site earning a commission. Affiliate programs and affiliations include, but are not limited to, the eBay Partner Network.
DISCLAIMER: The procedures, methods and products written up here was for my circumstances only. I make no assertions that your results will be the same nor do I claim that this is the best way to do it. USE AT YOUR OWN RISK!
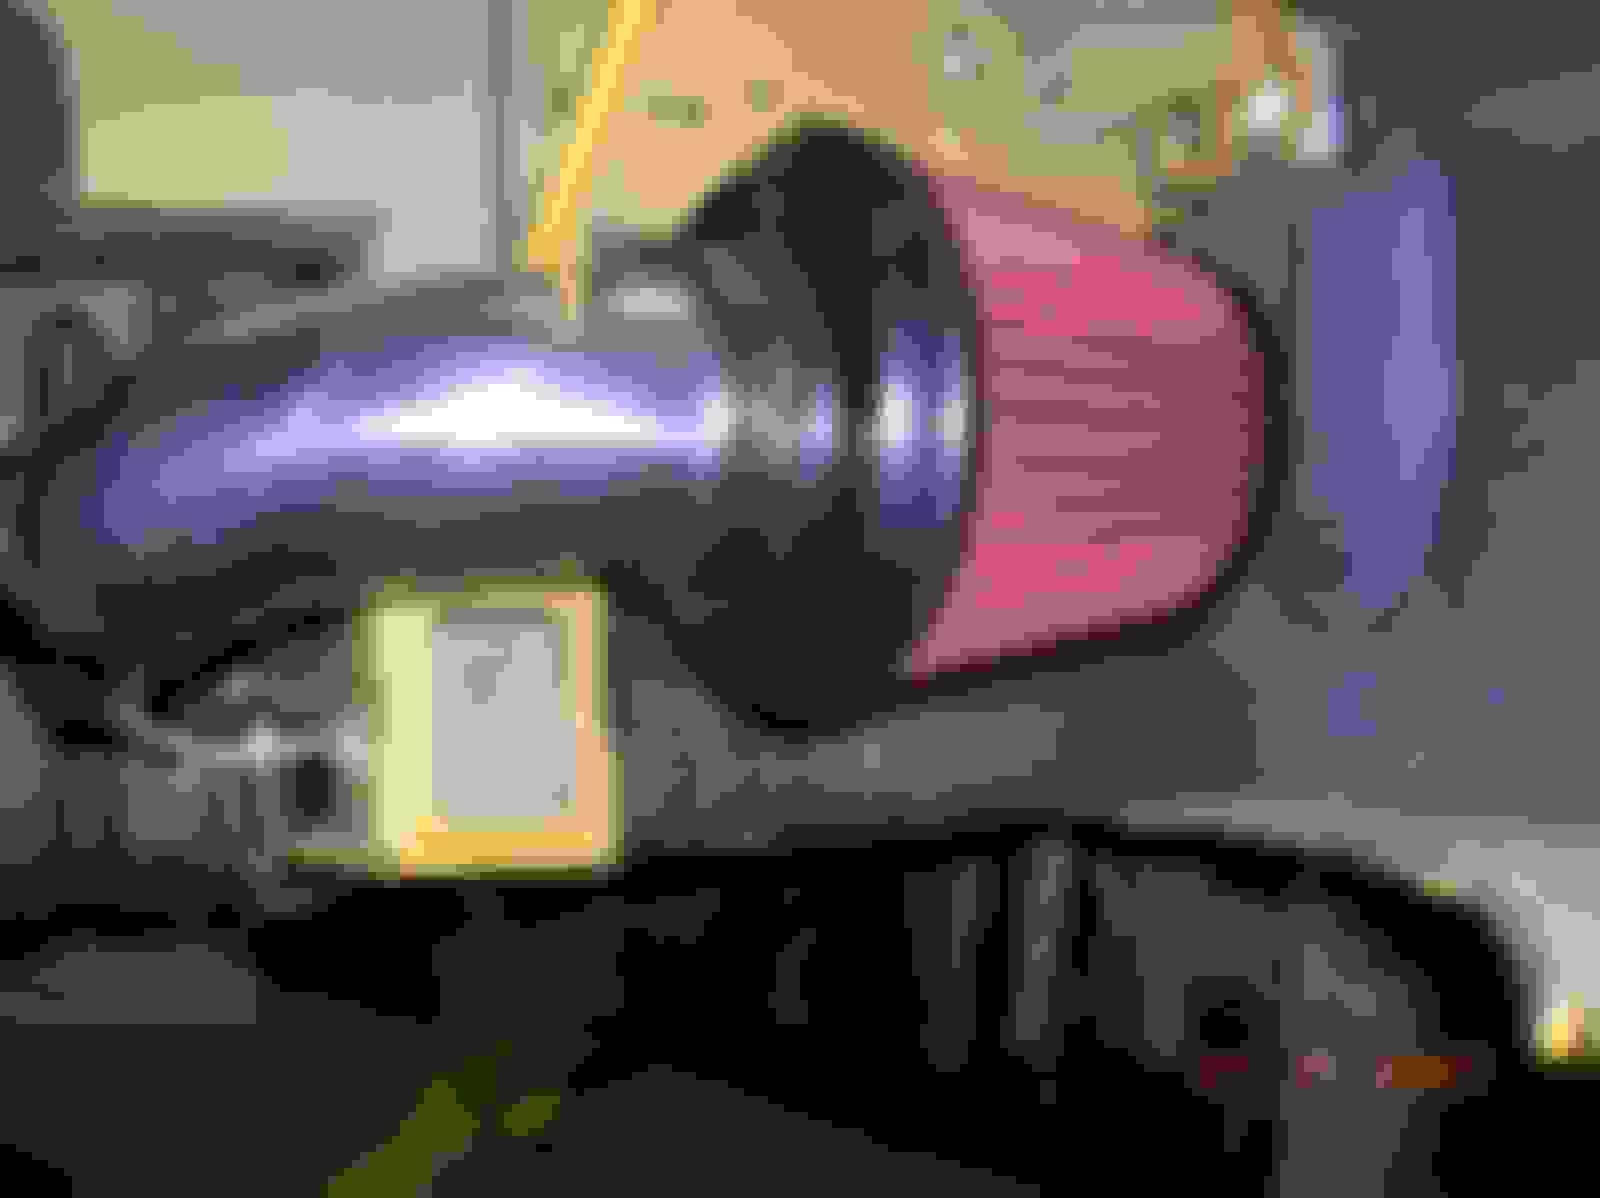
I just finished putting a Fujita F5 CAI into my MY05 Rio Yellow S2k. The instructions were pretty good but I had a few questions about how the bottom half assembled and was protected. I decided to put together a few pointers that might help others. You will need the instructions, along with these pointers, to have an easier install.
1. The instructions were pretty clear on how to take out the original intake box and unhook all of the attached tubes and cables. (See pic #1) I saved all of the old parts just in case I had to reverse the process someday.
2. Once the old intake and airbox are removed, I fit all of the tubes into the upper portion of the new intake to make sure that I had all of the right parts and they all went together. (See pics #2 & #3)
3. Don't tighten the upper portion to the throttle body. You will need the play to attach the lower intake pipe. (See pic #4)
4. The next part was a little confusing in the instructions so I took the most photos here to explain. You have to locate the plastic fender liner to trim it to allow for the lower pipe to go through. The first challenge is that it is really an extension of the under body cover you have to locate. (See pic #5) Facing the car, you look at the lowest point on your left near the font of the engine compartment. The anti-sway bar goes right next to it.
5. Once you have found the place to trim, you next remove most of the connectors to the passenger side fender liner. The instructions state to only remove a few attachment clips. I removed more so that I had plenty of room to work. Just be sure and keep all of the clips together to not lose any. (See pic #6)
6. You now see the other side of the place you have to cut. (See pics #7) I didn't have a Dremel tool, so I improvised. I used a PVC cutter to clip big parts of where I need to cut. It works great on the plastic. I next used a hole saw to curve out the cuts and lastly I used heavy duty wire snips to trim the needed extra. (See pics #8, #9 & #10) Don't tighten the lower pipe to the isolator yet. You will need the play to get the two pieces together.
7. You now fit the two pieces together. Make sure the joint, when you butt the two intake pipes together, is evenly divided between the 3 inch rubber gasket. (See pic #11) You need to tighten all of the pieces and clamps together until immobile. You should now tighten the lower pipe onto the isolation bracket. (See pic #12) There should be very little play in the pipes.
8. Slide the fender liner back into place and replace all of the clips. You do not have to cut or modify the fender liner at all. (See pic #13)
9. I had to use one of the many bolts I have accumulated over the years to attach the Vacuum Switching Solenoid (VSS) to the substantial bracket on the upper intake tube. All of the other parts worked and fit fine. (See pics #14 & 15) I also had to play with my Upper strut bar. They touch ever so slightly, so I put a piece of electrical tape in between the two parts to minimize any shacking or rattles.
The whole process took a leisurely 5.5 hours. (I always check things twice). I hope that these tips help.
I really like the extra pull and power at the low end. The throaty sound when I open it up at the top end is also really cool. I finished it just before church today and had a blast driving some twisties after.
Nice- I want to get a AEM V2 or the Fujita But i Just dont like how they look, and i get really scared when it rains! But i allmost think the benefits will be worth it!
Originally Posted by TitusS2k,Jan 21 2007, 09:52 PM
Nice- I want to get a AEM V2 or the Fujita But i Just dont like how they look, and i get really scared when it rains! But i allmost think the benefits will be worth it!
It appears to be well protected in the wheel well and well covered by the under body and fender liners. I plan on covering the small gap I cut, with some industrial pipe tape that is impervious (I hope) to almost anything.