Acid2000 build
 06-06-2015, 05:06 AM
#1

Thread Starter

Join Date: Jan 2013
Location: stoke on trent
Posts: 82
Likes: 0
Received 0 Likes
on
0 Posts
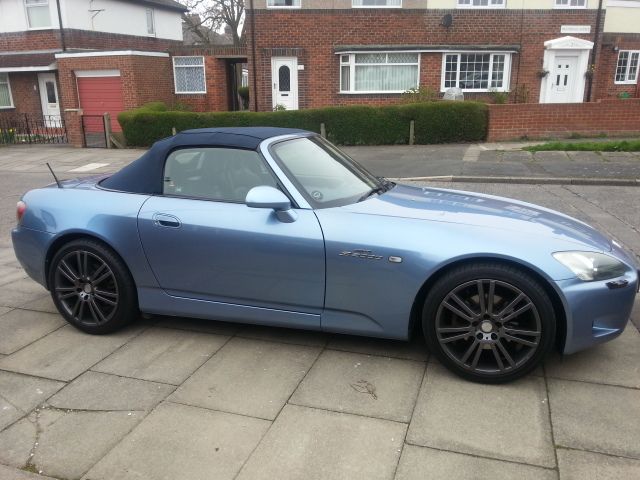
Hi ive had my s2000 for a year now and dicided it needs alot of TLC. So id thought id do a build diary, first some photos of when i first got it.


 06-06-2015, 06:19 AM
#3
Thread Starter
Join Date: Jan 2013
Location: stoke on trent
Posts: 82
Likes: 0
Received 0 Likes
on
0 Posts
The car looks ok here but unfortunately underneath its a different story. The inner arches had rotten extensively so they had to be replaced and also the rusty inner arches were starting to make the outer ones rot from the inside out.
It seems someone before me has repaired these arches before as there was some body filler already in place.
I scrapped the filler out to find the put body filler directly over the rust!
Removed the filler and had to start repairs.
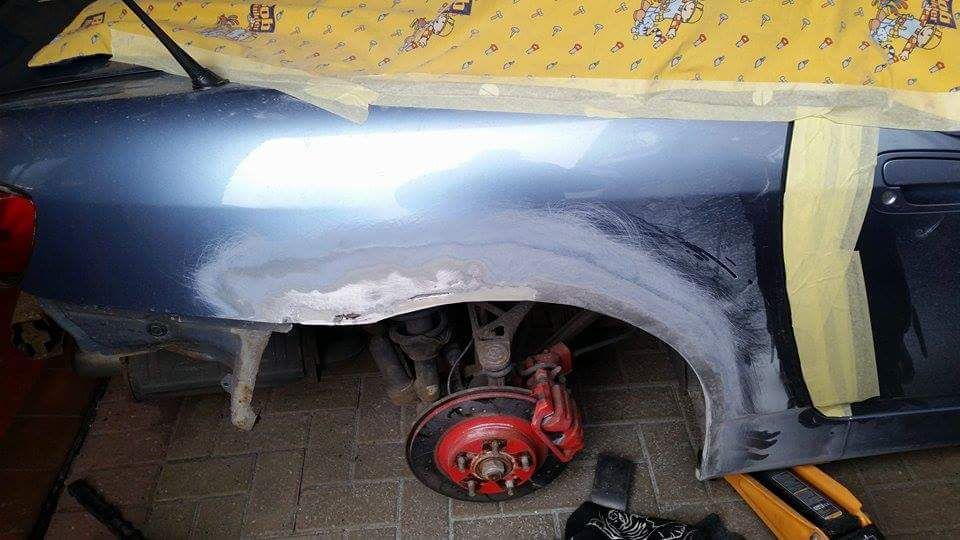
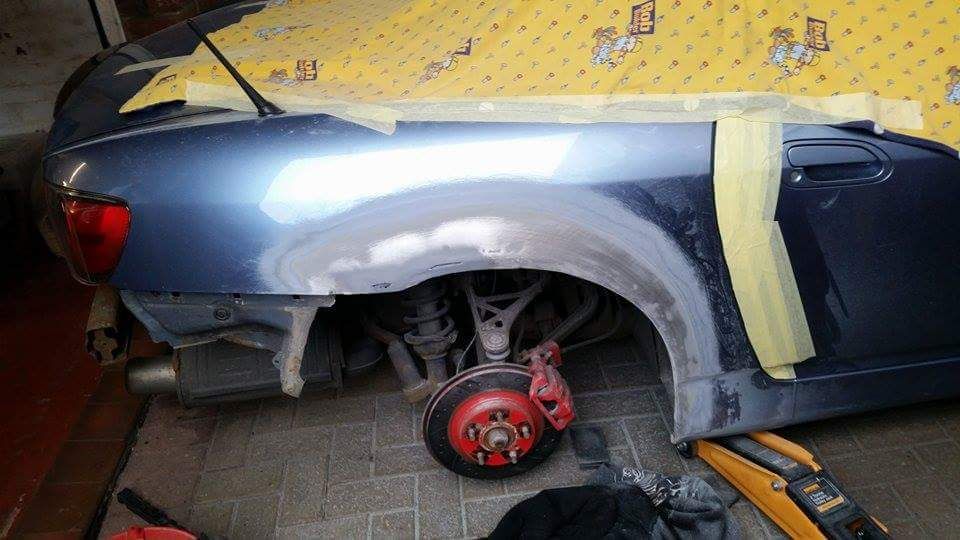
as you can see there was a bit of work to do.
It seems someone before me has repaired these arches before as there was some body filler already in place.
I scrapped the filler out to find the put body filler directly over the rust!
Removed the filler and had to start repairs.


as you can see there was a bit of work to do.
06-06-2015, 06:23 AM
#4
Thread Starter
Join Date: Jan 2013
Location: stoke on trent
Posts: 82
Likes: 0
Received 0 Likes
on
0 Posts
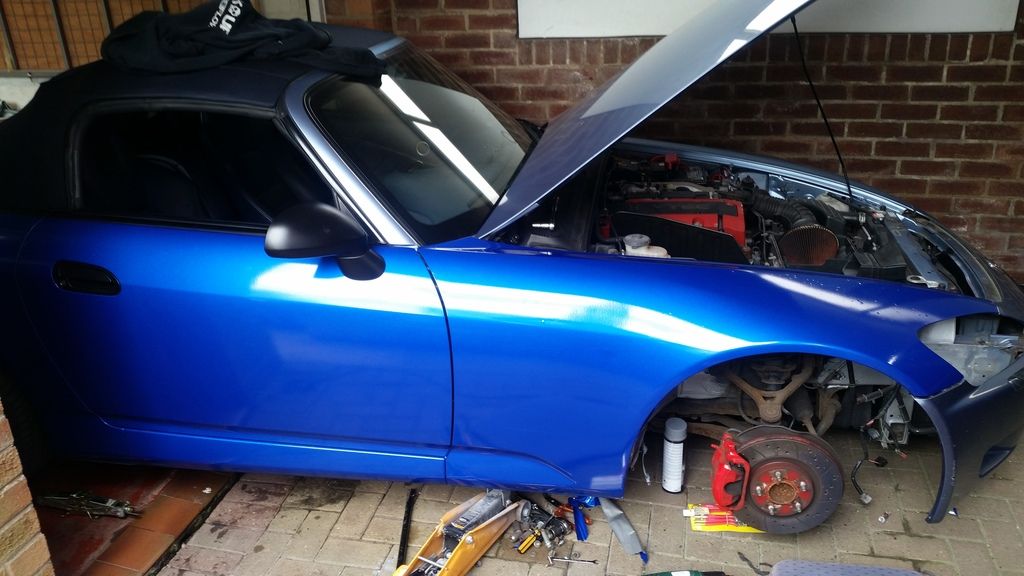
As you can see the brakes have been done above but thats because i had a sticky caliper so got all the brakes done. They look better clean as they have alot of dust on them in those pics
Here was before they were done
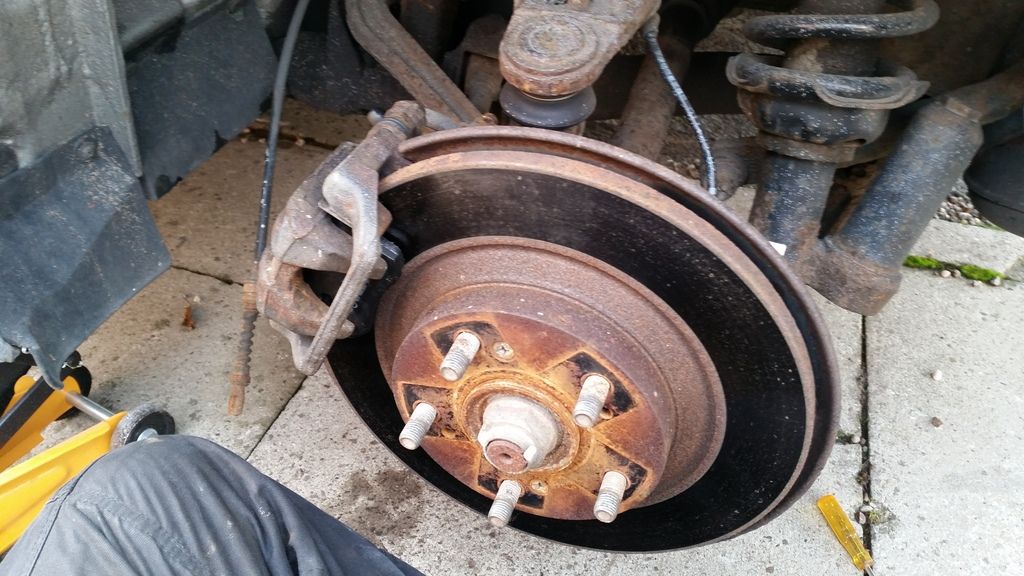
Here was before they were done


 06-06-2015, 06:35 AM
#6
Thread Starter
Join Date: Jan 2013
Location: stoke on trent
Posts: 82
Likes: 0
Received 0 Likes
on
0 Posts
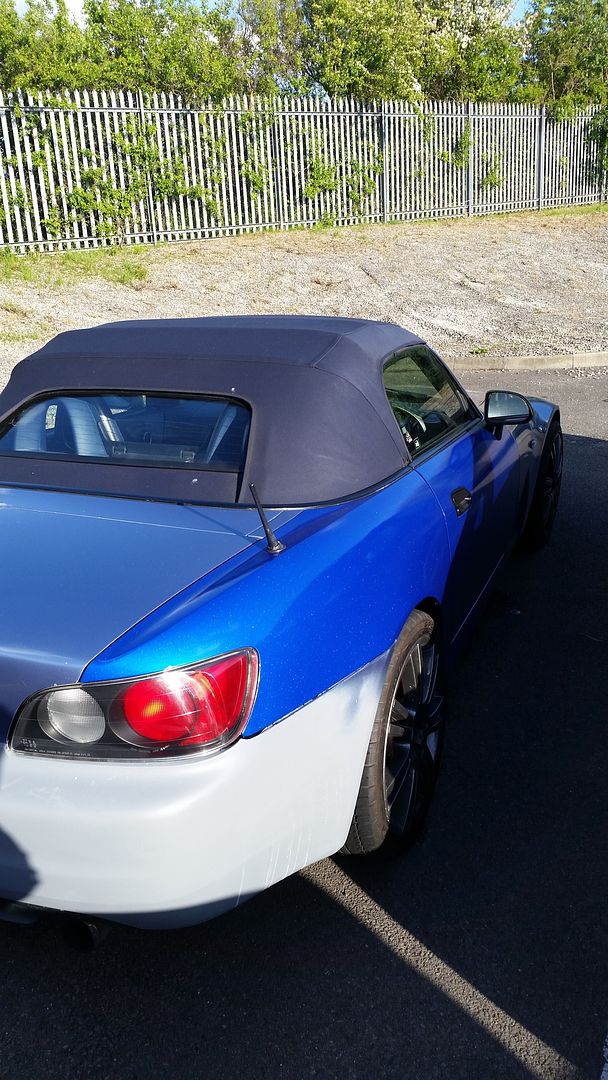
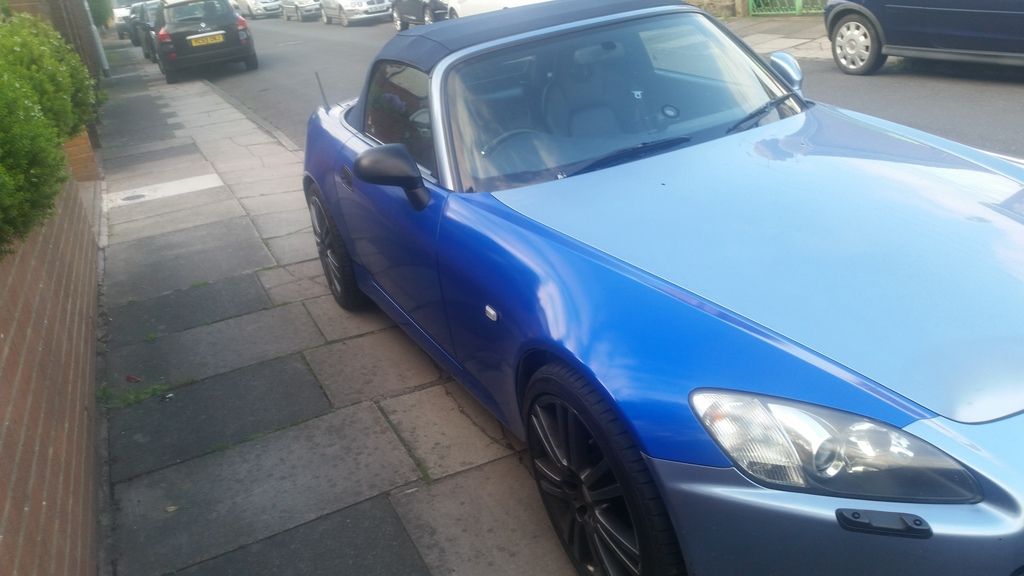
I have also wrapped the car for the time being as i want to get the whole car sprayed however i will do this last after ive done everything so its just wrapped until then. Plus with a wrap i can adust and change things without having to worry about a full spray again and it looks slightly better than primer patches everywhere.


Trending Topics


 06-06-2015, 01:16 PM
#10
Thread Starter
Join Date: Jan 2013
Location: stoke on trent
Posts: 82
Likes: 0
Received 0 Likes
on
0 Posts
Used rgb leds but i lightly sanded the orange glow paint off the inside then disconnected the normal lights and used the light supply to turn on the rgb controller i have a remote to change the color or i can set it to scroll the colors at any speed