Carbon fibre skinning
 04-06-2012, 03:56 AM
#1
Registered User
Thread Starter
Join Date: Jan 2010
Location: Shetland Isles
Posts: 975
Likes: 0
Received 0 Likes
on
0 Posts
I've started this thread as I'm going to try out a kit I found on this site www.carbonmods.co.uk the kit allows you give any part a real carbon fibre skin weather it's plastic or metal.
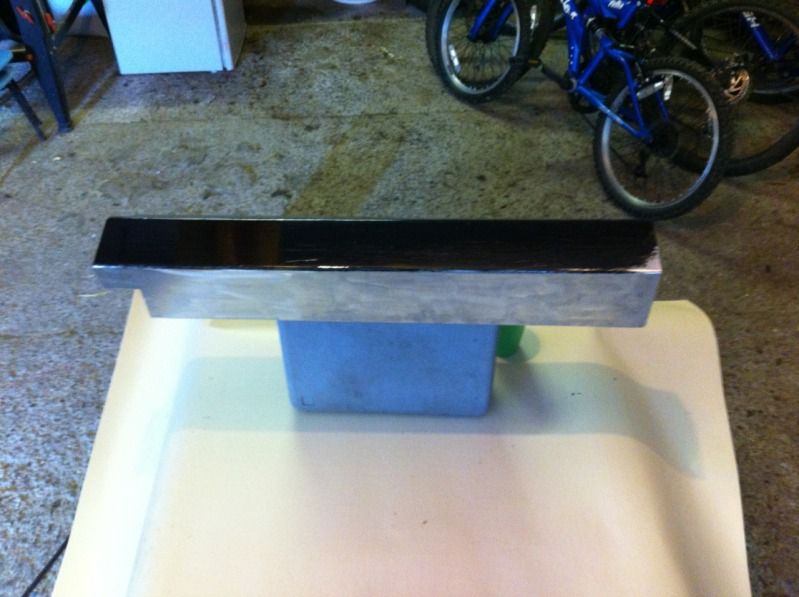
The first part to be skinned is a cross member cover for the engine bay, I got the dimensions of the part from my good friend Rob (Guinness tu) and had a local firm fab it up in aluminium, I then used a grinder to take about 5mm off the length and to rough up the surface to allow the base layer to bond.
The first layer is a black epoxy which is to be spread thinly on the part to stick the carbon fibre to this has to be left for about 3 hours to go tacky, this is where I'm at I'll keep this thread up to date as I go
 04-06-2012, 07:53 AM
#2
Registered User
Thread Starter
Join Date: Jan 2010
Location: Shetland Isles
Posts: 975
Likes: 0
Received 0 Likes
on
0 Posts
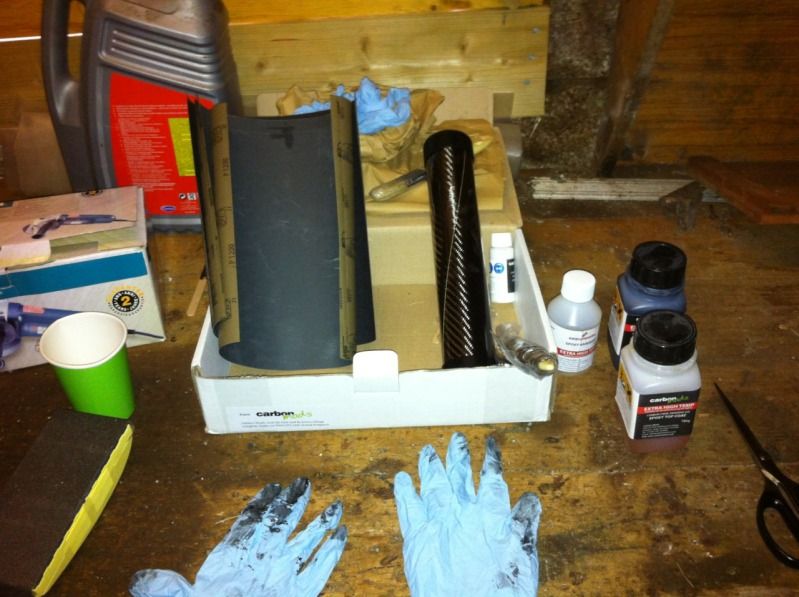
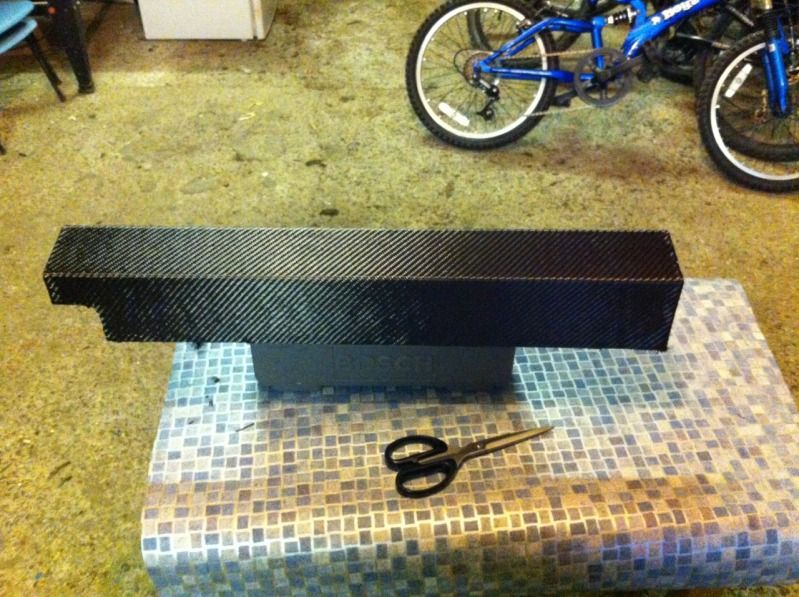
That's 3 hours in and ready for the carbon first up the kit
Time to lay the carbon fibre on the part got to be really carefull here as the weave separates so easy
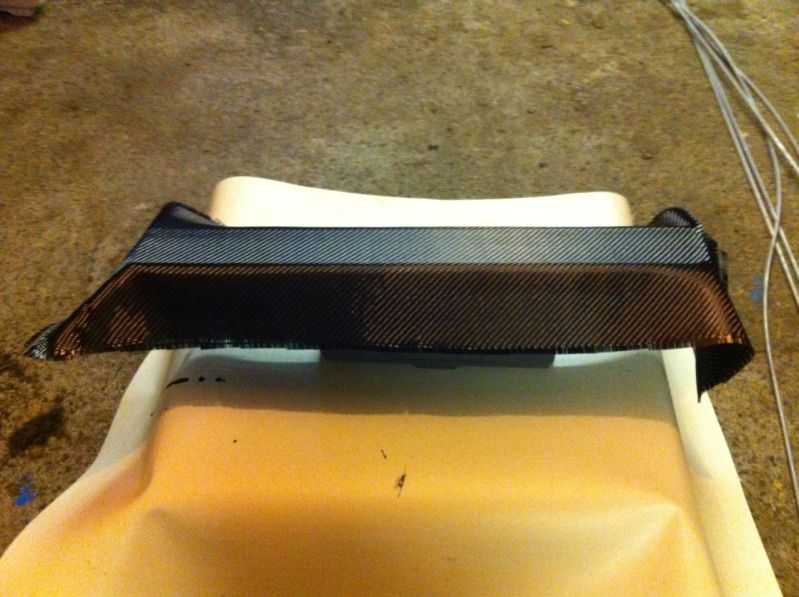
Once it's all covered you have to turn it over and stick the tails to the under side and tape it down to be sure (sorry no pics my fingers were covered in epoxy)
Anyway the product as it sits I'll leave it till tomorrow to start the clear coats and let the base layer fully set
Time to lay the carbon fibre on the part got to be really carefull here as the weave separates so easy
Once it's all covered you have to turn it over and stick the tails to the under side and tape it down to be sure (sorry no pics my fingers were covered in epoxy)
Anyway the product as it sits I'll leave it till tomorrow to start the clear coats and let the base layer fully set

 , so the dried bit will be all carbon? effectively a mould of the metal bit?
04-06-2012, 09:08 AM
, so the dried bit will be all carbon? effectively a mould of the metal bit?
04-06-2012, 09:08 AM
#4
Registered User
Thread Starter
Join Date: Jan 2010
Location: Shetland Isles
Posts: 975
Likes: 0
Received 0 Likes
on
0 Posts
Kind of the aluminium will still be there, you can get a moulding kit aswell but I just went for the skinning kit, I got the high temp kit at about £70

Trending Topics
04-06-2012, 09:38 AM
#8
Registered User


Join Date: Jun 2009
Location: Wigan
Posts: 331
Likes: 0
Received 0 Likes
on
0 Posts
nice work mate. I was looking at these kits as the side skirts im making i will either use as a die for a mould or just skin it as you are doing. Look forward to the finished part
04-06-2012, 11:54 PM
#9
Registered User
Join Date: May 2011
Location: Rutland
Posts: 1,016
Likes: 0
Received 0 Likes
on
0 Posts
Very interesting kit! Looking good.
On a side note, do you still have the dimensions for the cross member cover? I am looking at getting one fabbed up too (I'm polishing mine though).
On a side note, do you still have the dimensions for the cross member cover? I am looking at getting one fabbed up too (I'm polishing mine though).
04-07-2012, 02:55 AM
#10
Registered User
Thread Starter
Join Date: Jan 2010
Location: Shetland Isles
Posts: 975
Likes: 0
Received 0 Likes
on
0 Posts
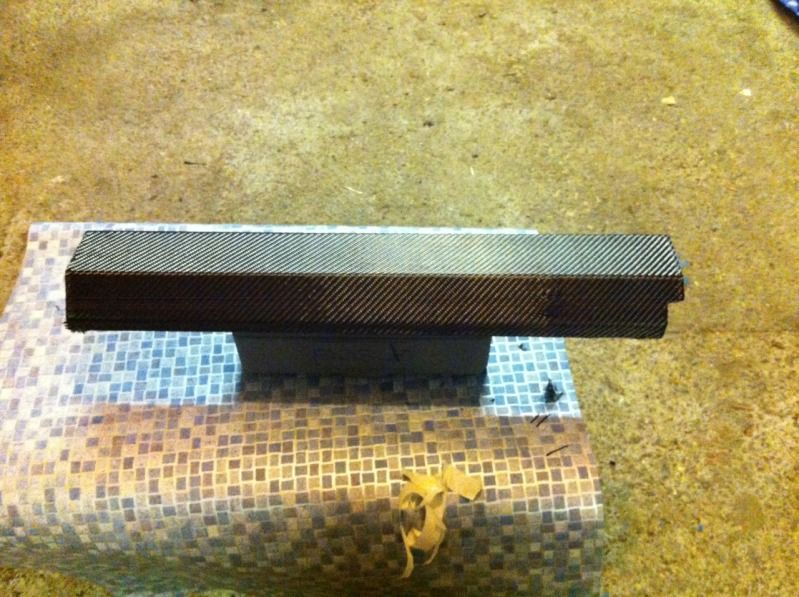
That's the first coat of resin aplied I haven't taken a photo as it still looks like above, this first coat has to set full for 24 hours before sanding