Razz’s garage queen car
 03-07-2017, 06:28 AM
#1

Thread Starter
Quick update on whats been happening to the yellow peril, not much really. Well absolutely nothing outside the garage at least!
Last year i did one track day and encountered a couple irritating problems with idle control and since buying an Atom it has just sat patiently waiting for my occasional bed side visits.
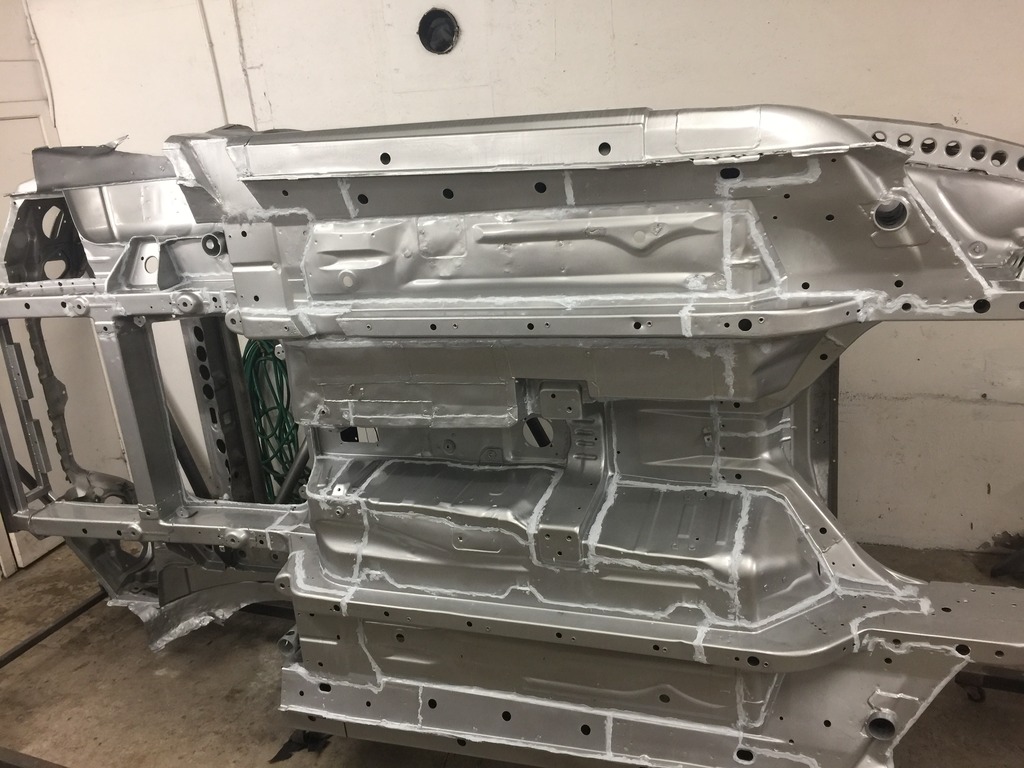
I have fully ripped out the interior, repainted it and made a dodgy instrument cluster-
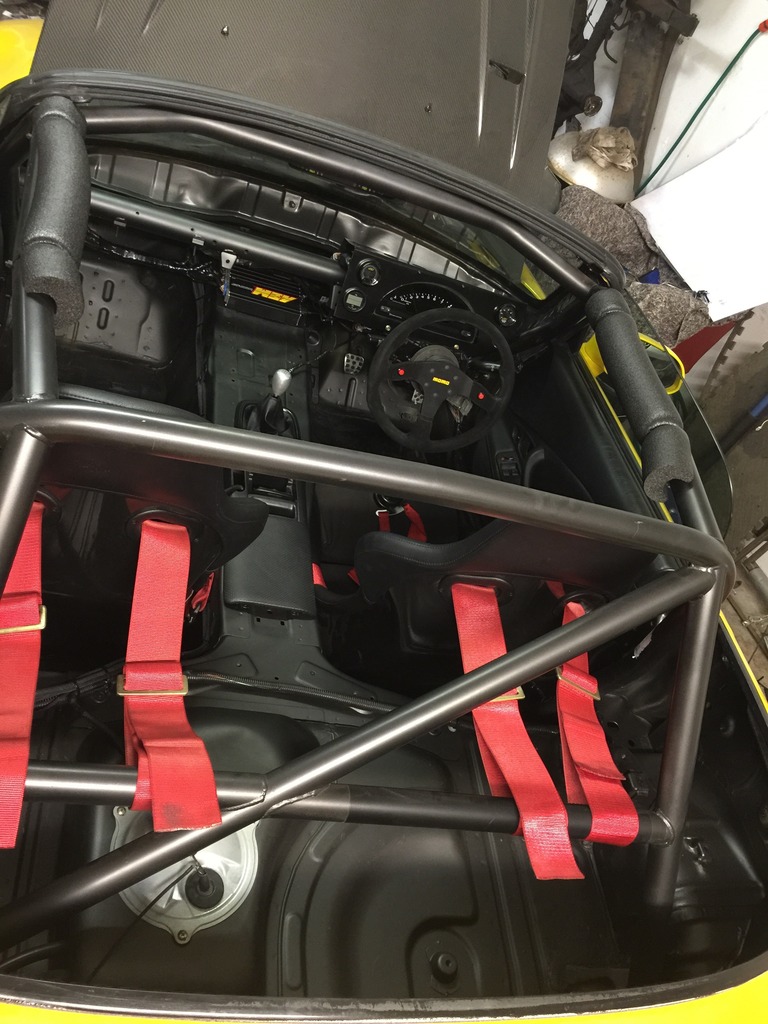
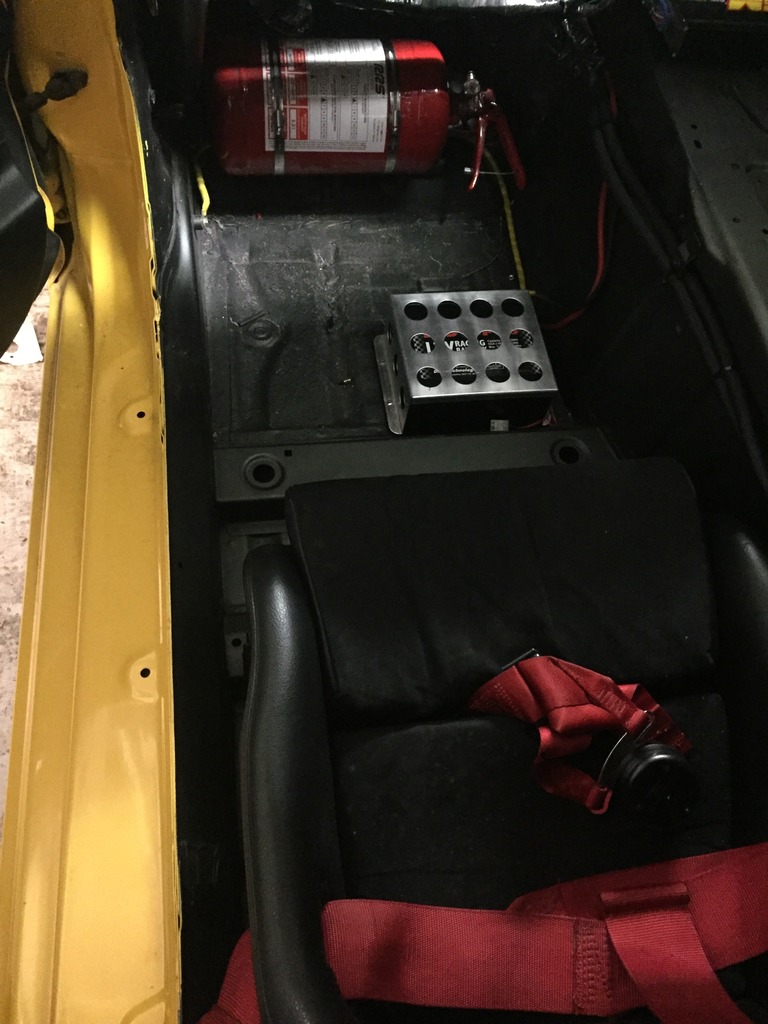
Added a fire extinguisher, battery cutout and relocated the varley 25
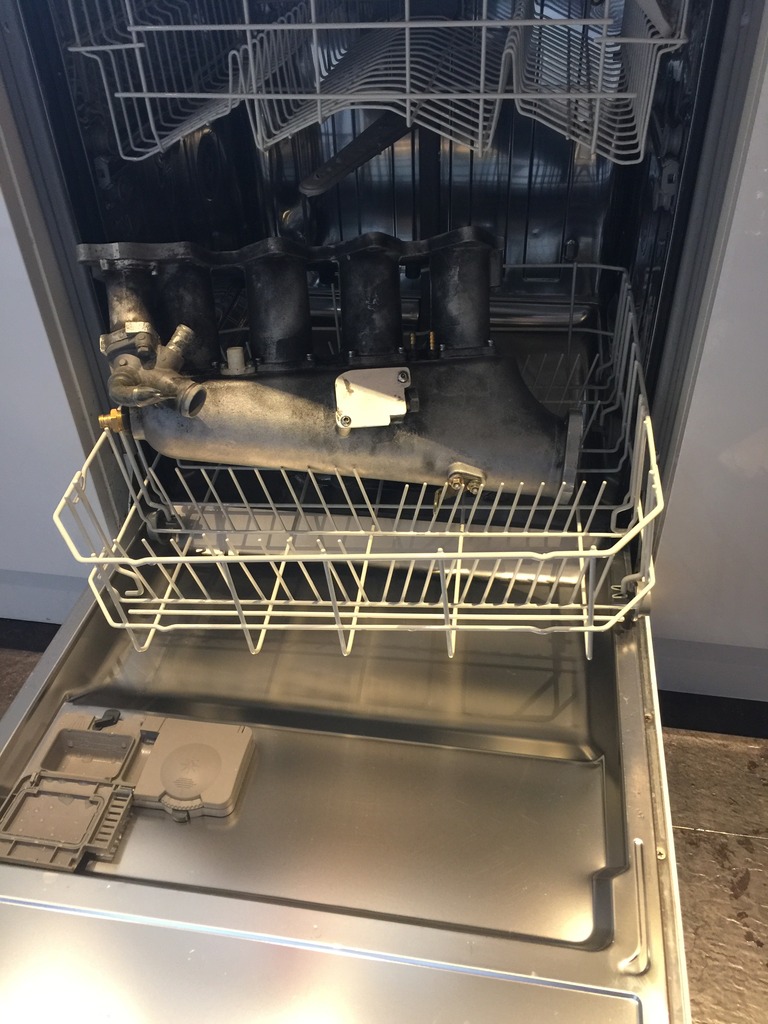
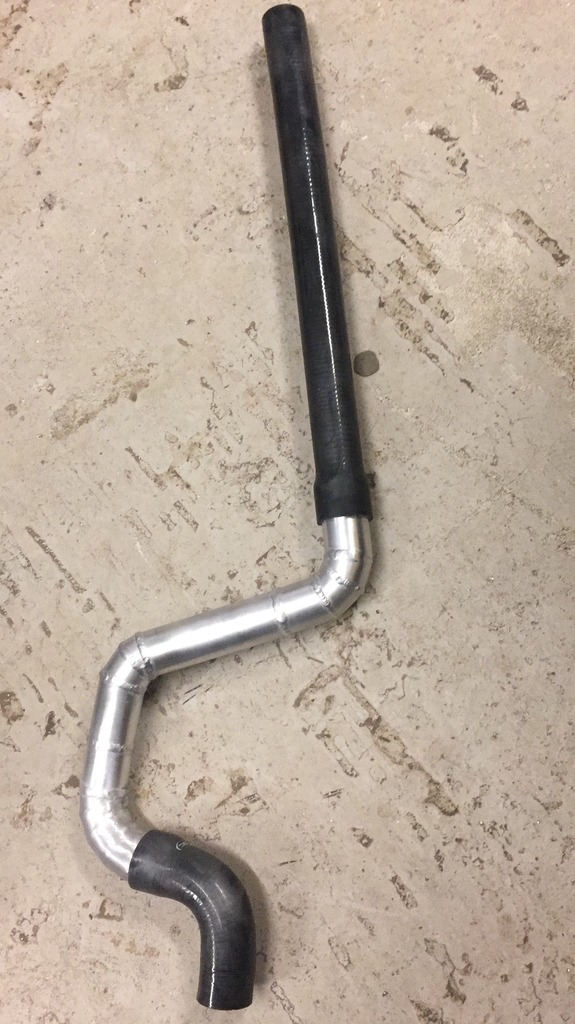
To solve some other issues I had to strip the inlet manifold off to get to the water pump. As the car no longer has a heater I thought I may aswell weld up those outlets for a bit more reliability.
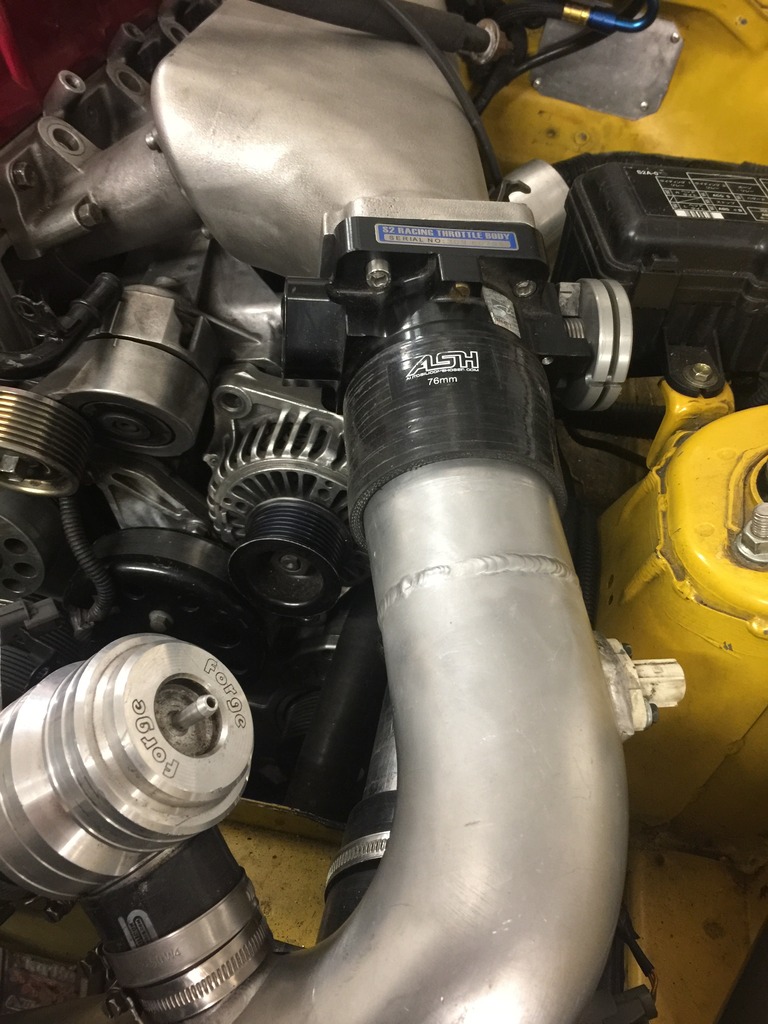
I never liked the J’s racing throttle body on the car also it didn’t line up very good with the inline pro inlet manifold,
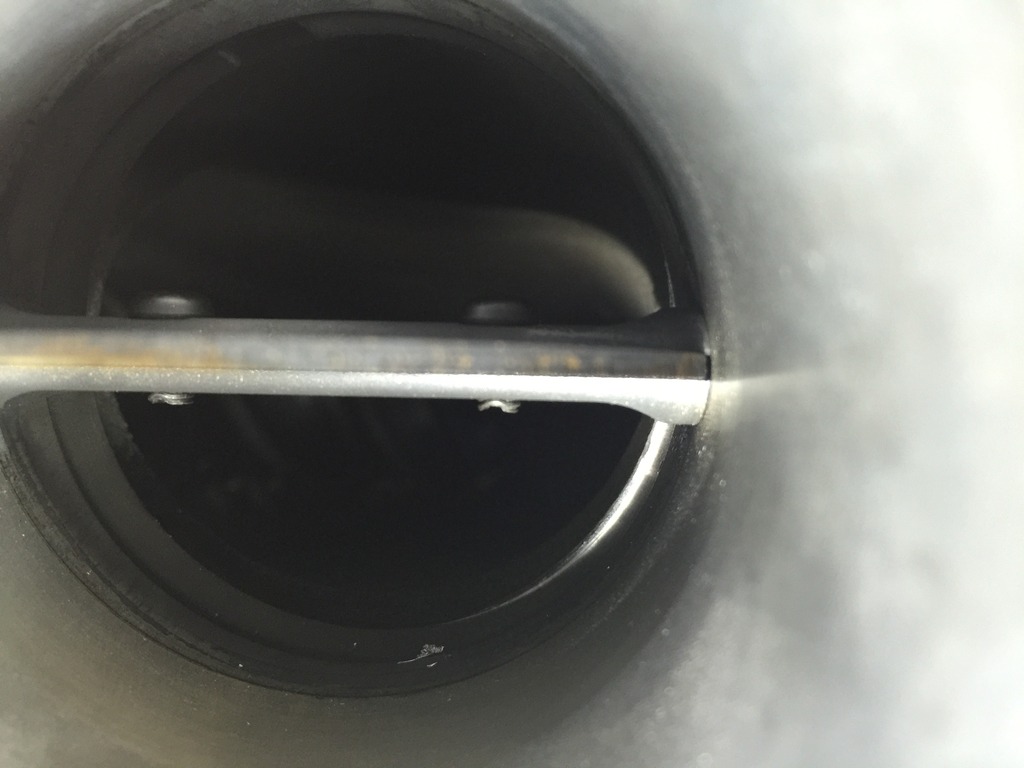
So out came the rotary tool, there was also a really nasty step where the casting met the flange that needed to go!
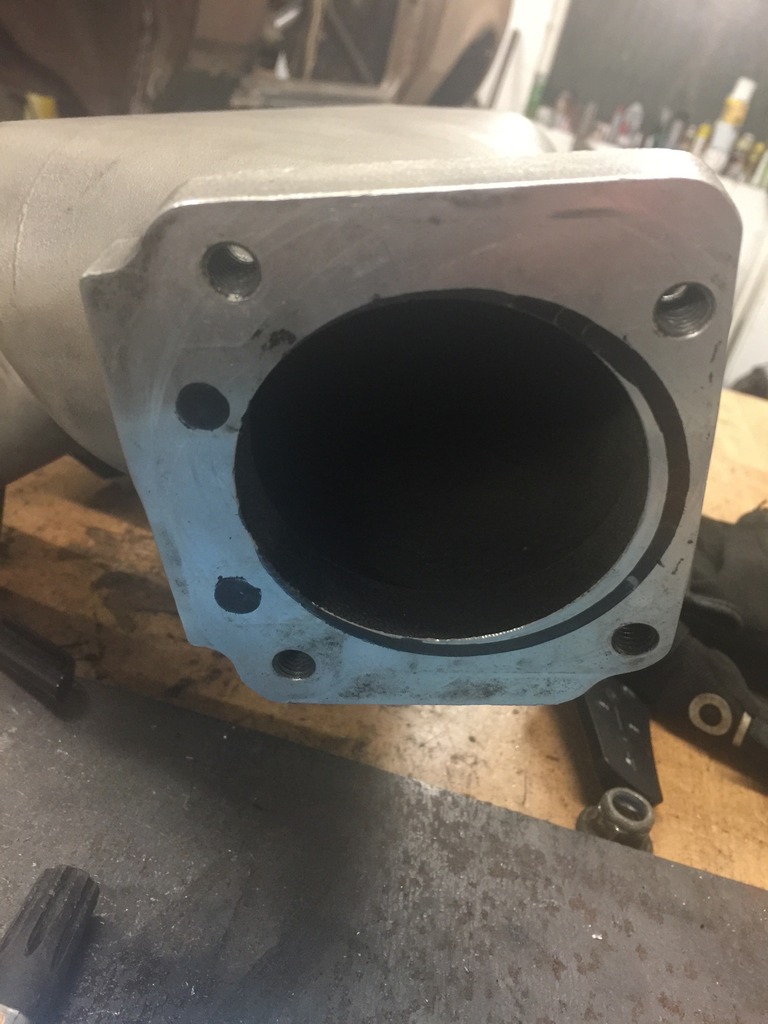
after that it was to the parts washer (un be knowing to the wife)
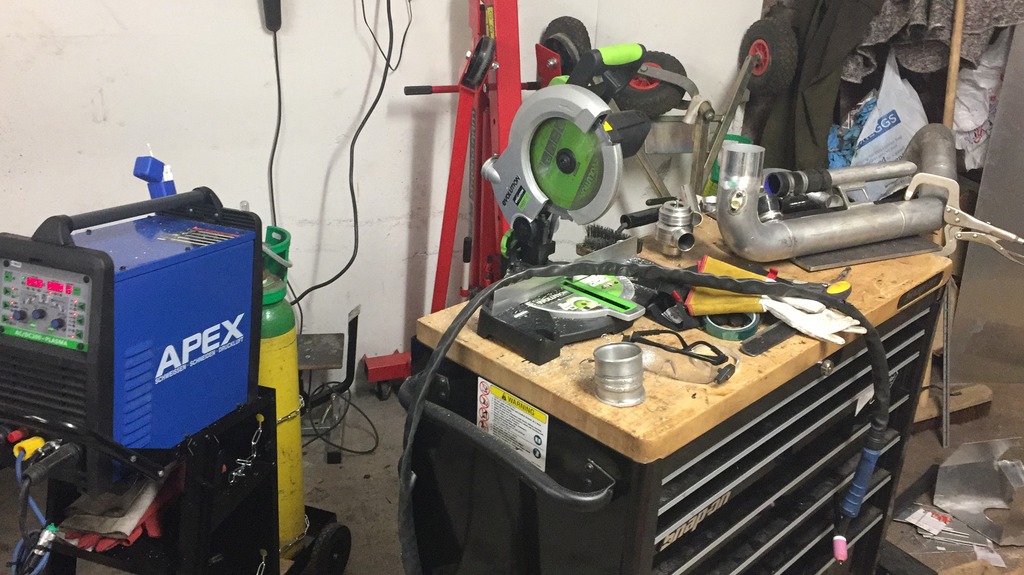
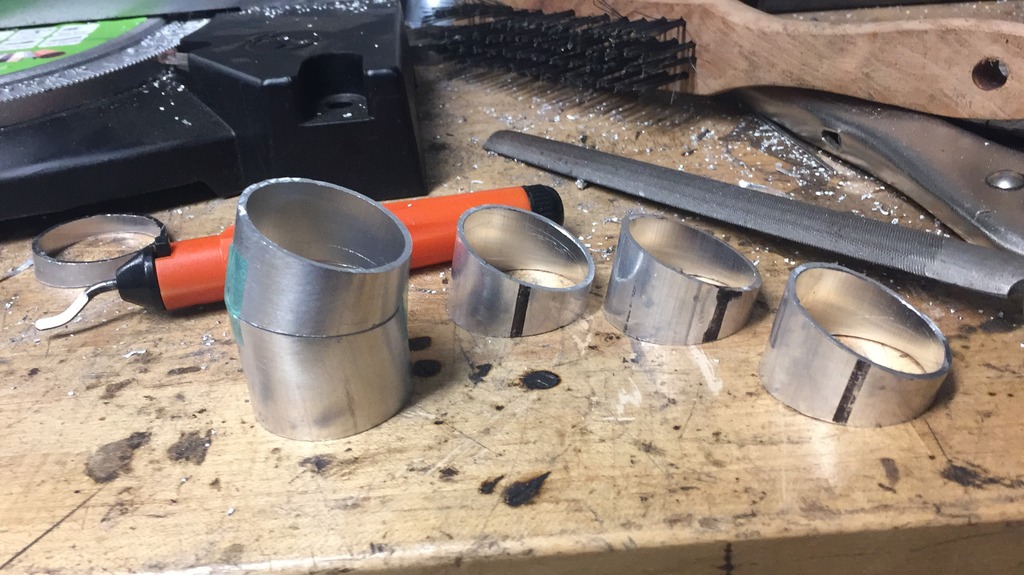
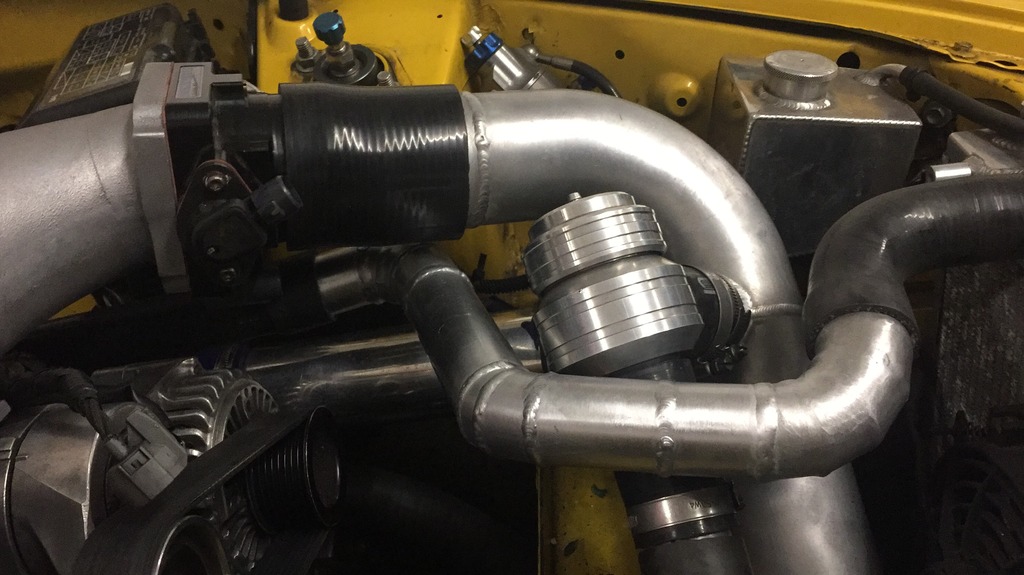
Which then meant I could delete the awful restriction in the intercooler piping.So out came the chop saw and Tig welder to unite some long lost 3” pipe and sort out the mess of the top coolant pipe.
From here I was ready to add my new cams, slightly higher lift with adjustable timing gear. With some help from Mattie170 after his huge research into boosted engines im confident to see some good gains across the rev range from these.
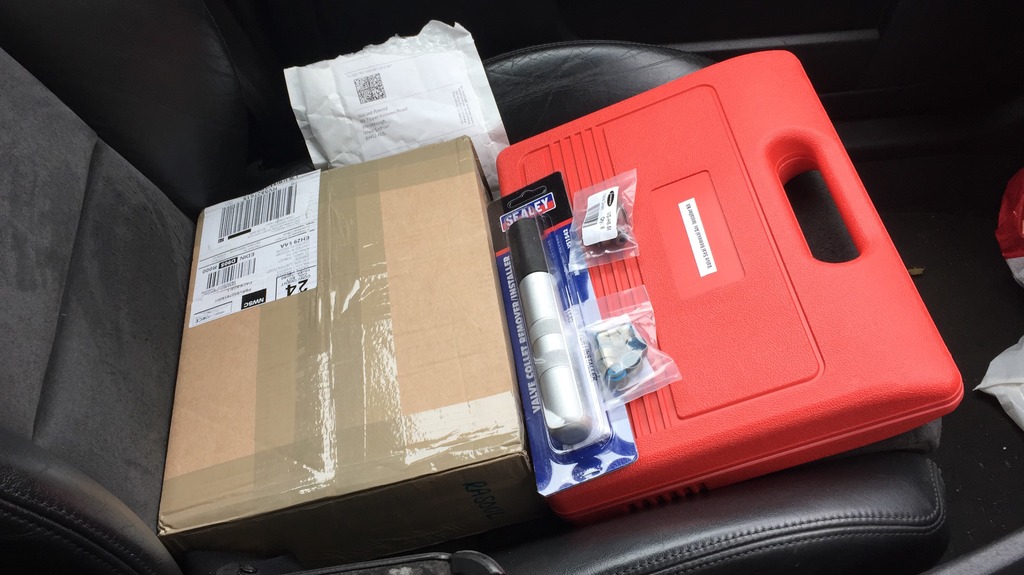
To fit them i needed some new tools, some borrowed some bought and one made (that im particular proud of!)
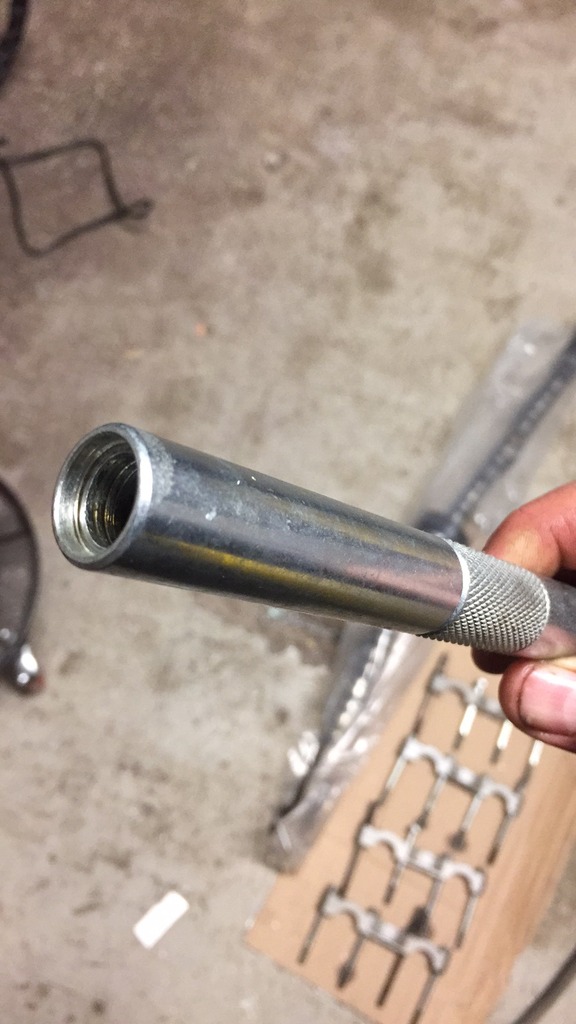
Spot the home brew tool! At one end a spark plug that was beheaded and hollowed out, at the other end an adaptor for an airline and in the middle was some perfectly sized randomly sourced pipe, all welded up and painted by your truly.
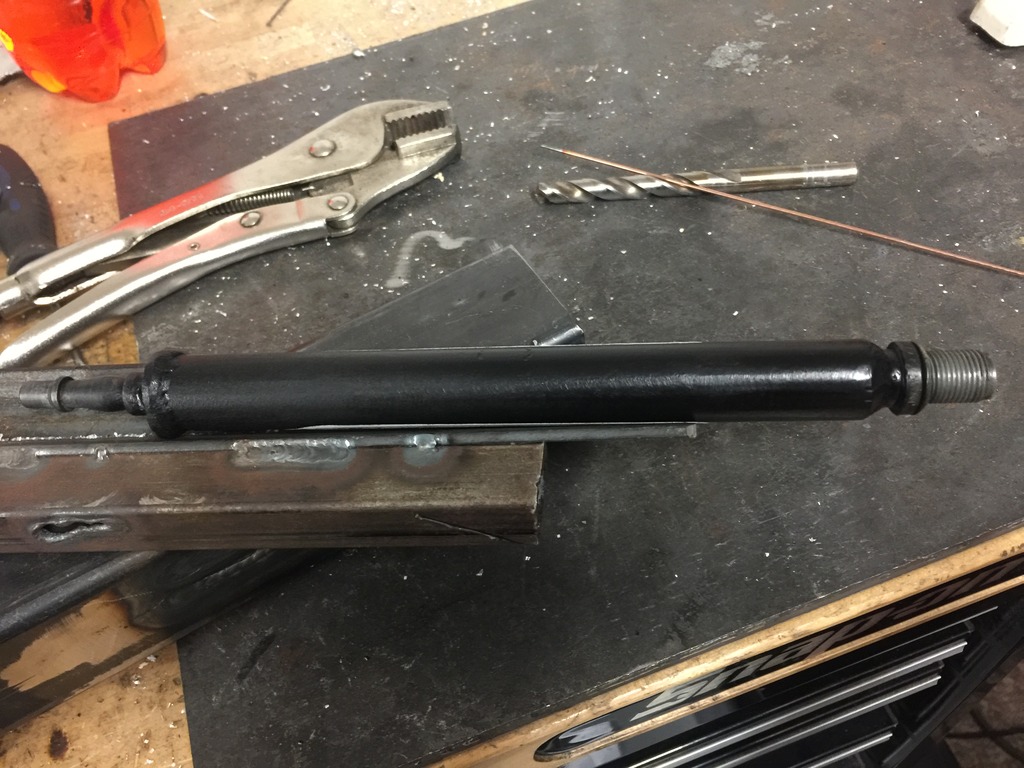
i couldn’t leave it with out branding
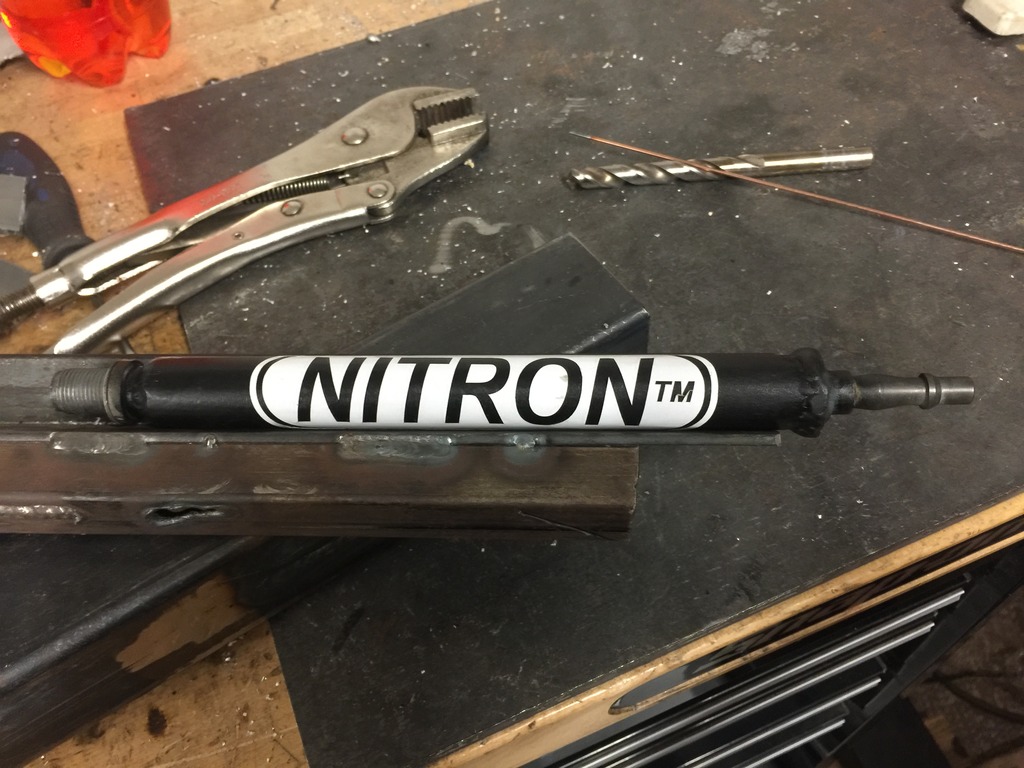
To my amazement it works perfectly
Get yer Cams ooooh for the lads
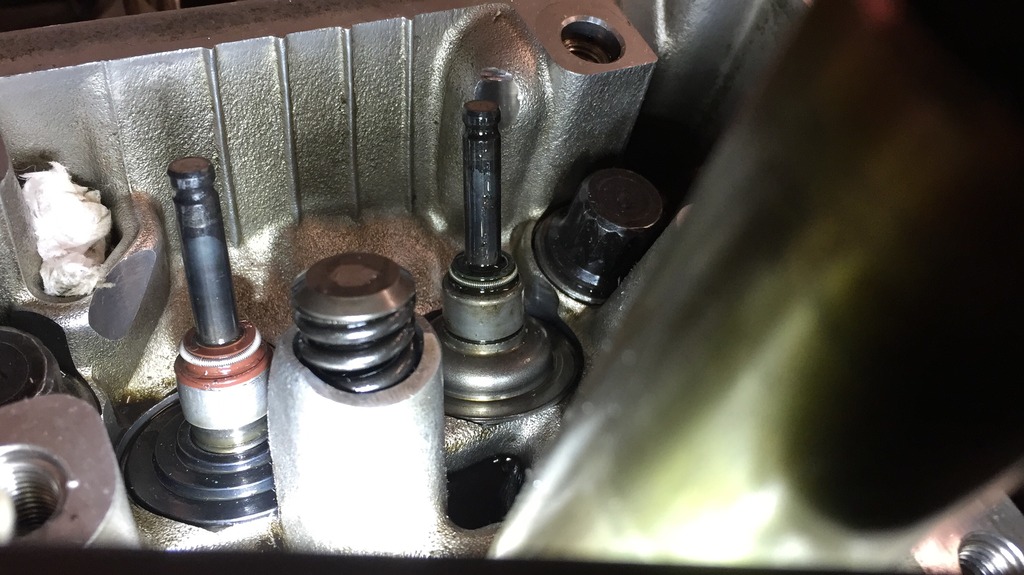
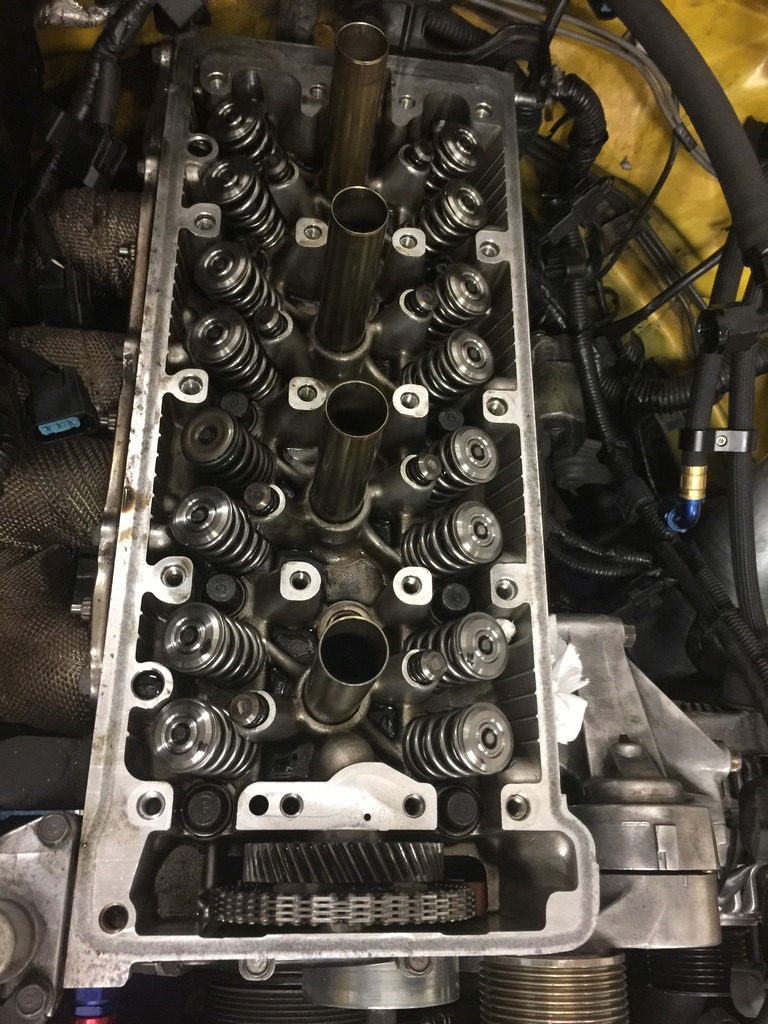
All springs and retainers out, not one cracked or flattened valve spring retainer on either side. I found that quite incredible as the yanks seem to have at least 8 cracked inlets anytime they check, maybe they don’t know how to use the weird stick in between the seats properly.
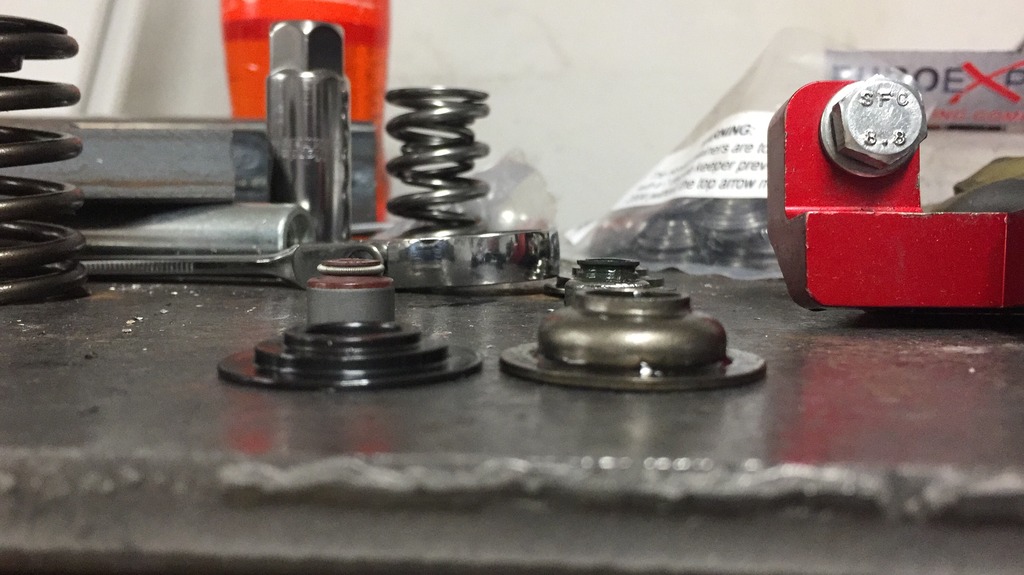
Dual springs need different seats, and to get to them the stem seals need to come off.
After much panicked head scratching I figured out how to reinstall the seals correctly, but only after damaging a couple !
Oem Stem seals have a nice metal shoulder to push on
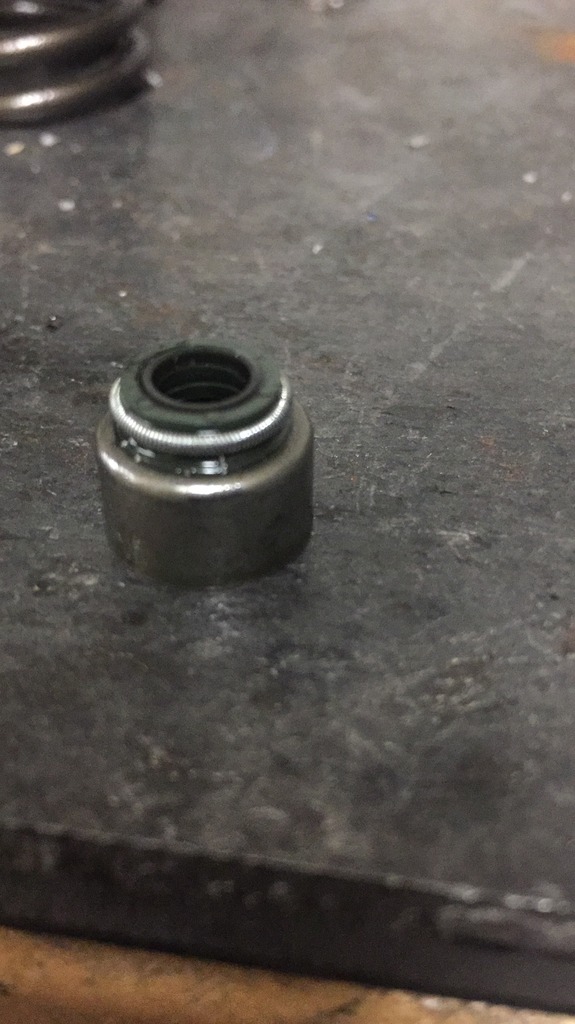
’Super’tech do not which makes them weak and vulnerable to my first attempts of installation, moral of this story being use more lube and don’t hammer so hard (or at all)
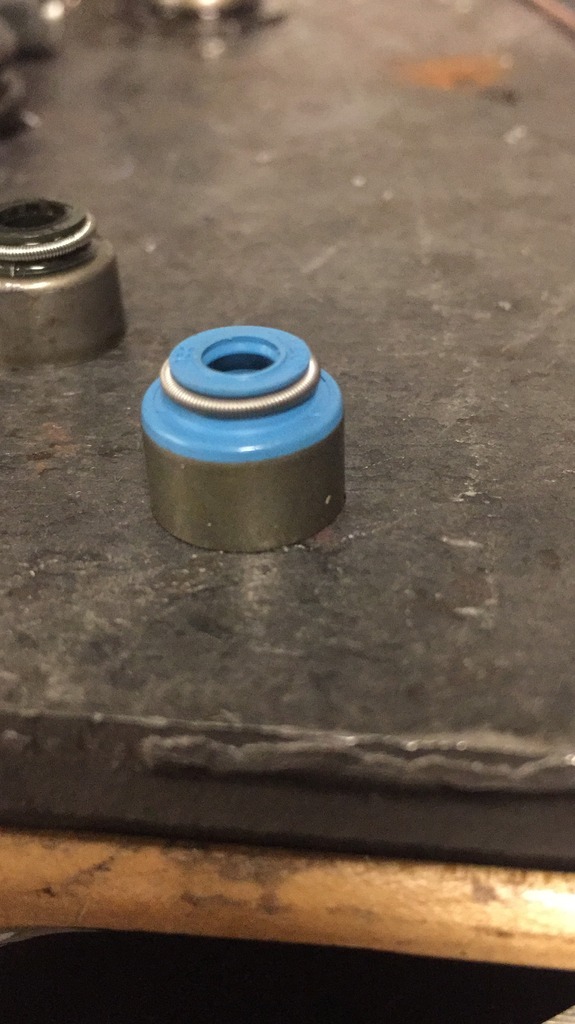
So thats you up to date with the Garage Queen s2000 just waiting on another pack of stem seals to build the engine back up with!
Meet the garage king, he’s going to be residing over there for quite some time-
Last year i did one track day and encountered a couple irritating problems with idle control and since buying an Atom it has just sat patiently waiting for my occasional bed side visits.
I have fully ripped out the interior, repainted it and made a dodgy instrument cluster-

Added a fire extinguisher, battery cutout and relocated the varley 25

To solve some other issues I had to strip the inlet manifold off to get to the water pump. As the car no longer has a heater I thought I may aswell weld up those outlets for a bit more reliability.
I never liked the J’s racing throttle body on the car also it didn’t line up very good with the inline pro inlet manifold,

So out came the rotary tool, there was also a really nasty step where the casting met the flange that needed to go!

after that it was to the parts washer (un be knowing to the wife)

Which then meant I could delete the awful restriction in the intercooler piping.So out came the chop saw and Tig welder to unite some long lost 3” pipe and sort out the mess of the top coolant pipe.


From here I was ready to add my new cams, slightly higher lift with adjustable timing gear. With some help from Mattie170 after his huge research into boosted engines im confident to see some good gains across the rev range from these.
To fit them i needed some new tools, some borrowed some bought and one made (that im particular proud of!)


Spot the home brew tool! At one end a spark plug that was beheaded and hollowed out, at the other end an adaptor for an airline and in the middle was some perfectly sized randomly sourced pipe, all welded up and painted by your truly.

i couldn’t leave it with out branding

To my amazement it works perfectly

Get yer Cams ooooh for the lads

All springs and retainers out, not one cracked or flattened valve spring retainer on either side. I found that quite incredible as the yanks seem to have at least 8 cracked inlets anytime they check, maybe they don’t know how to use the weird stick in between the seats properly.

Dual springs need different seats, and to get to them the stem seals need to come off.

After much panicked head scratching I figured out how to reinstall the seals correctly, but only after damaging a couple !
Oem Stem seals have a nice metal shoulder to push on

’Super’tech do not which makes them weak and vulnerable to my first attempts of installation, moral of this story being use more lube and don’t hammer so hard (or at all)


So thats you up to date with the Garage Queen s2000 just waiting on another pack of stem seals to build the engine back up with!
Meet the garage king, he’s going to be residing over there for quite some time-


The following users liked this post:
markforrester99 (03-07-2017)
 03-07-2017, 08:55 AM
#4
Thread Starter
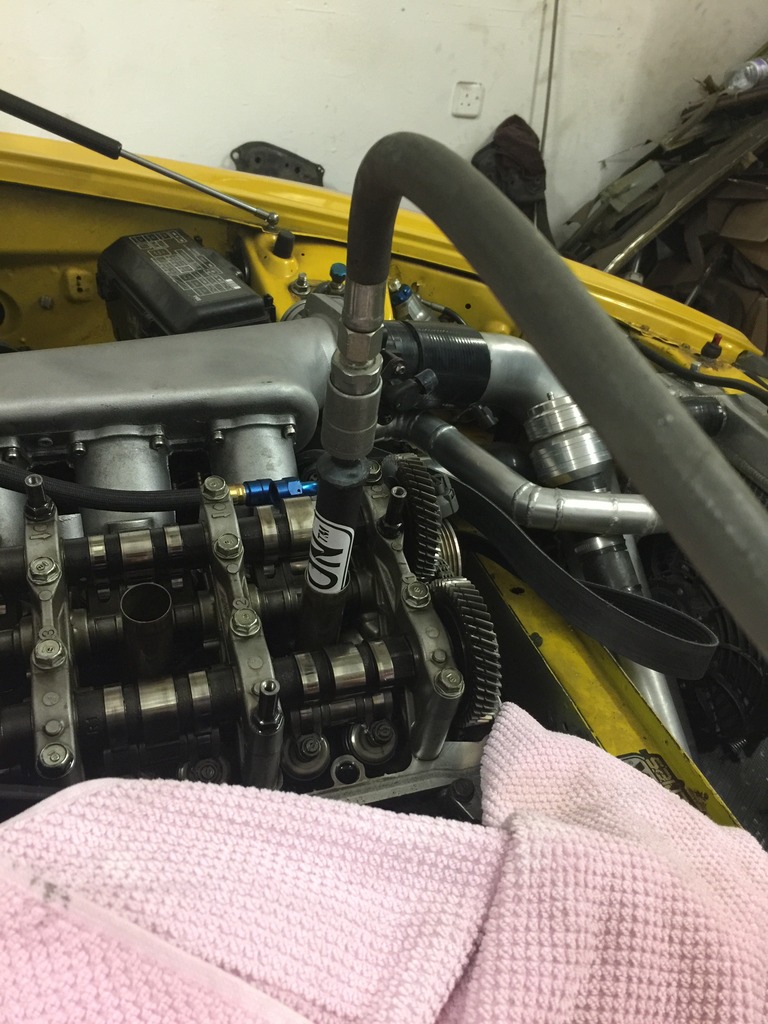
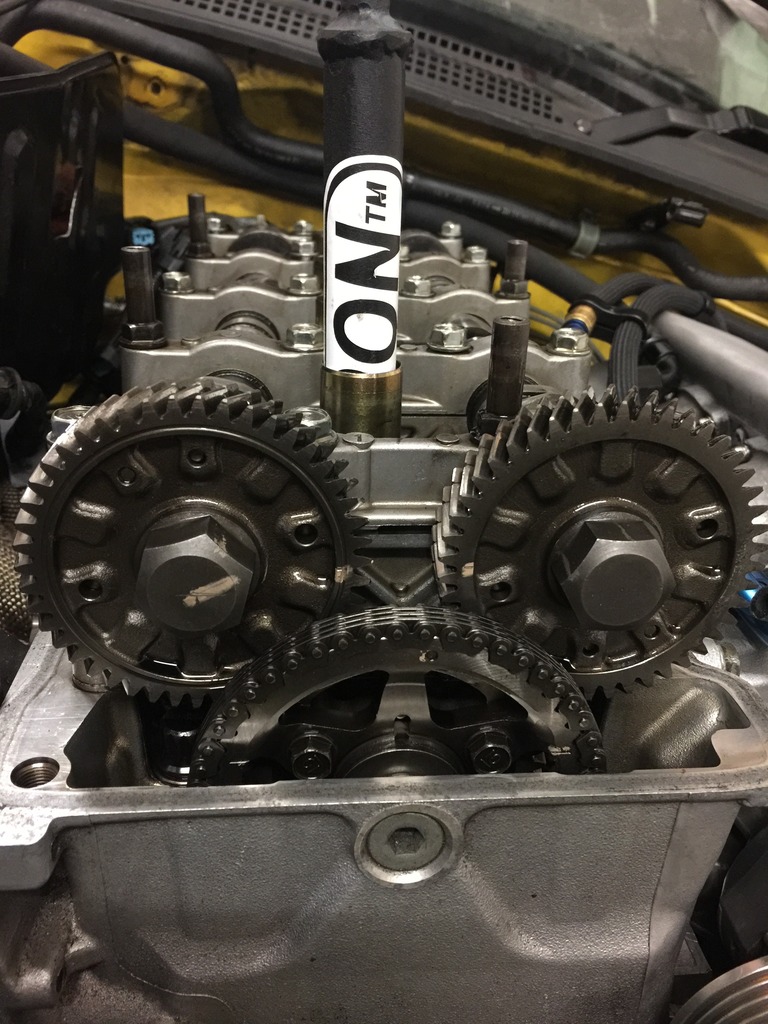
As I am doing this work with the cylinder head fitted to the block the tool is there to pressurise the cylinders. As when the valve spring retainer is removed the valve has a nasty habit of plummeting down onto the piston, apparently. Which in theory could be a tragedy involving removing the cylinder head! Definitely a situation best avoided, especially as Im such noob engine fiddler.
The following users liked this post:
Mike's (03-08-2017)
03-07-2017, 09:55 AM
#5
Registered User

Good read, looks like fun!
I have some questions
how did you do the heater matrix delete; assuming you routed the coolant back to the block by using a piece of pipe?
have you got any pictures of how you supported the digital dash?
I have some questions
how did you do the heater matrix delete; assuming you routed the coolant back to the block by using a piece of pipe?
have you got any pictures of how you supported the digital dash?
03-07-2017, 10:18 AM
#6
Thread Starter
The digital dash is bolted to that folded piece of metal sheet that is fixed to the forward cross support beam thingie, not sure what its called (ill take some pictures of that too shall i )
03-07-2017, 10:25 AM
#7
Registered User
Mike if you trace the pipes from the heater matrix to the block their locations can be found on the water pump and housing and inlet manifold. There are several ways to block them off, i went for the semi permanent method of welding them up, along with the feed for the throttle body. I can take some more more pictures for you next time Im down there if you need it.
The digital dash is bolted to that folded piece of metal sheet that is fixed to the forward cross support beam thingie, not sure what its called (ill take some pictures of that too shall i )
The digital dash is bolted to that folded piece of metal sheet that is fixed to the forward cross support beam thingie, not sure what its called (ill take some pictures of that too shall i )
Trending Topics
03-07-2017, 12:58 PM
#8
What power/boost you running Razz?
i'm liking the tinkering. Need to check my valve clearances i think and replace rocker gasket
i'm liking the tinkering. Need to check my valve clearances i think and replace rocker gasket
03-07-2017, 10:33 PM
#9
Bloody ell Razz,i thought you had forgot about that car.Ive still got half of it at my house.....well the drive shafts anyway.What are the plans with it?is it ever going to be a road car again?
Nice work anyway.Ive done nothing with mine except walk past it to get tools to use on the bike.
Nice work anyway.Ive done nothing with mine except walk past it to get tools to use on the bike.
