Resurrecting/restoring a track day legend
 10-21-2017, 01:56 PM
#91

Looking good, very imformative thread Ray
 10-22-2017, 12:54 AM
#92


 11-16-2017, 07:33 AM
#95
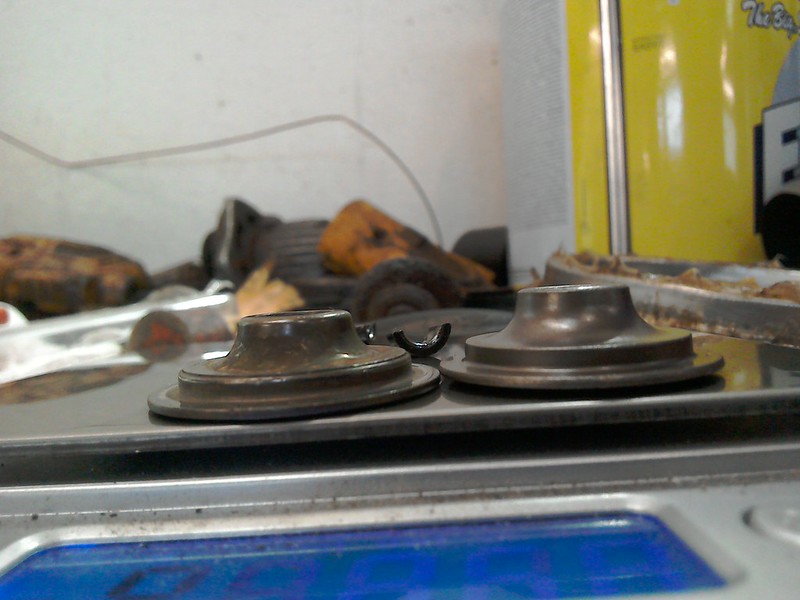
Up rated retainers and collets arrived,,(thanks Mike), I'll only be fitting them to the inlet sides so 1 set was good enough for two engines as Mike is going to replace his over the winter,
First off blow out all the oil galleries and anywhere else there is a cavity that could collect debris
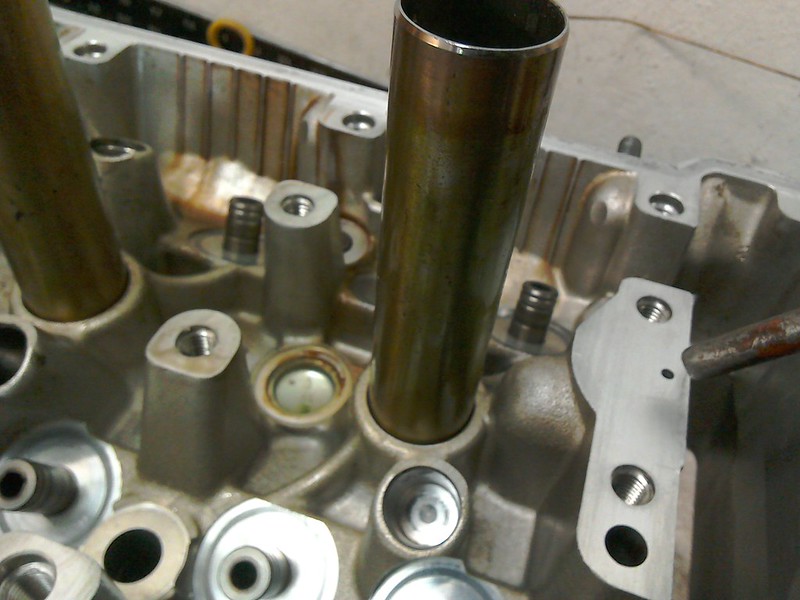

Also make sure you blow out any bolt holes as just a small amount of oil or cleaning fluid left in these will cause the bolt to hydraulic and give a false torque reading which isn't good for the cam bearings
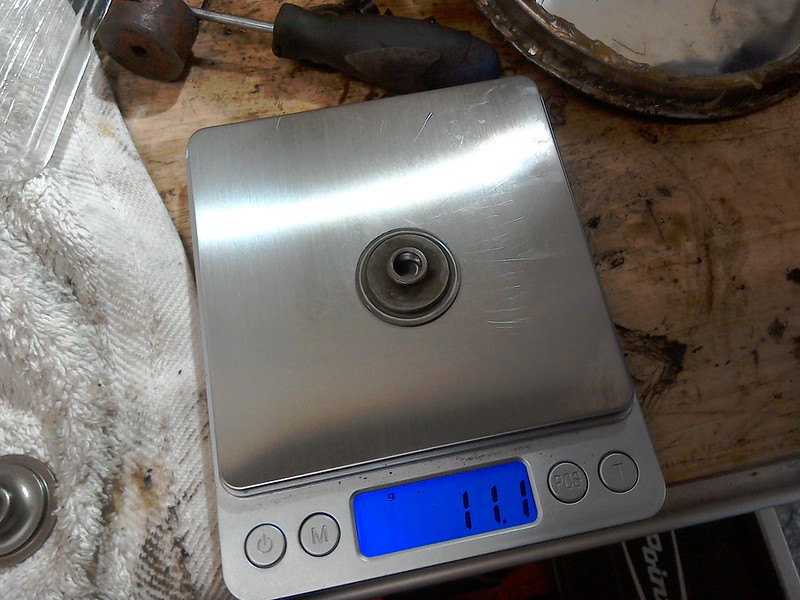
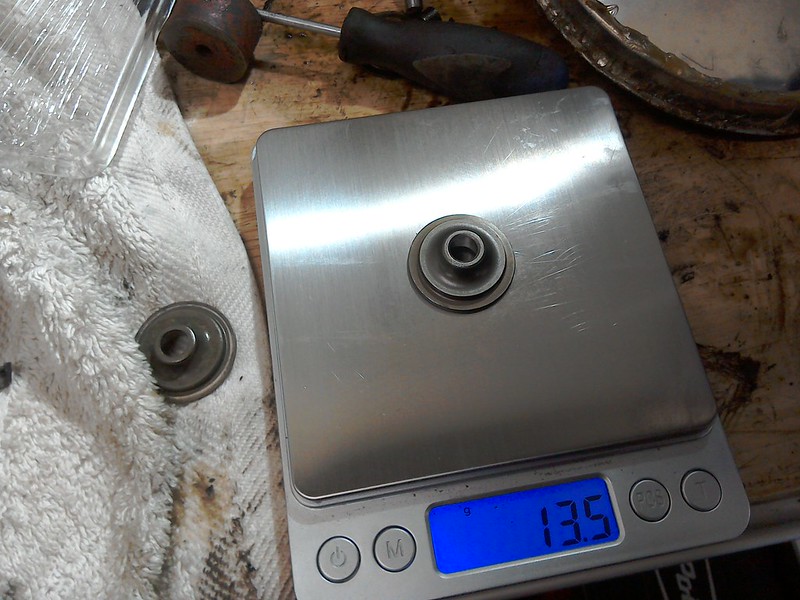
The old and new retainers side by side,
 ,
,
The extra material adds up to more weight x by 8,
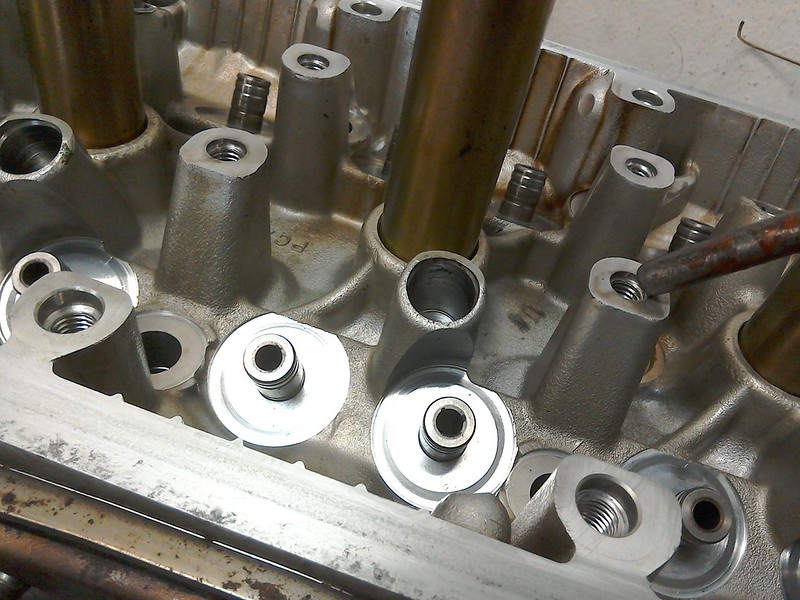
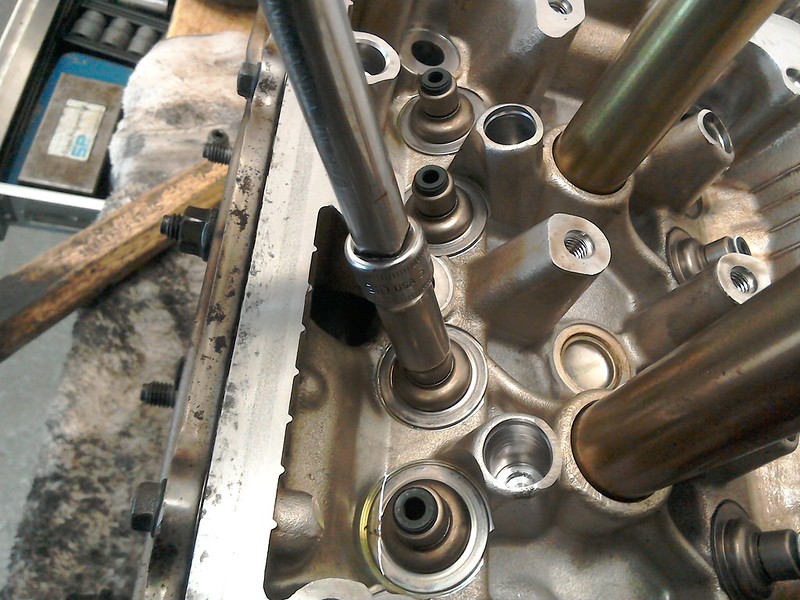
First of all is to fit the spring seats and valve stem seals, as Chippo pointed out in his rebuild thread https://www.s2ki.com/forums/uk-irela...tches-1166752/ black EX and silver INLET,
the best way is to find a socket the just fits snugly over the spring and tap then on gently til they seat down,
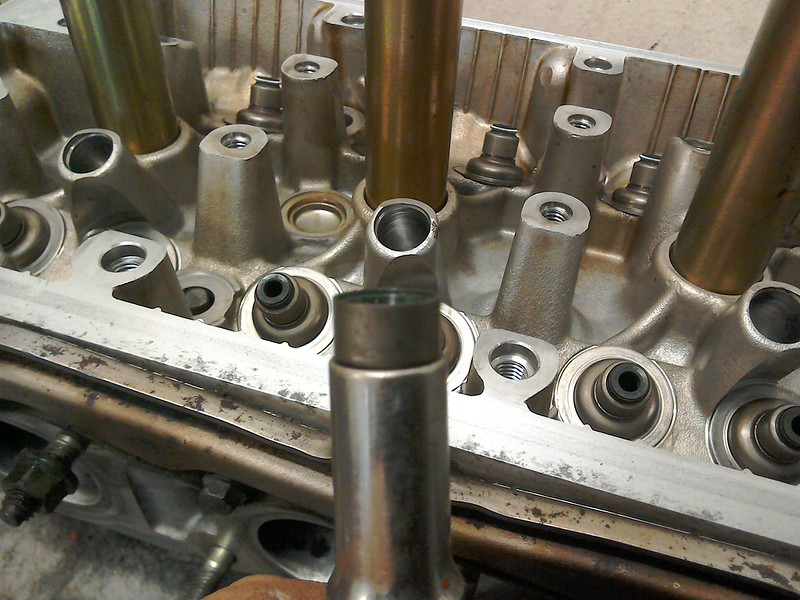
don't use a lot of force just a gentle tap
Then it's on to the springs these are also colour coded yellow INLET and blue EX, fit the spring compressor and then fit the fiddly little bast@rd keepers, the best way i have found is to use a lightly magnetised small screwdriver or just stick a small magnet to a screwdriver shaft then place a small drop of grease on the collet inner face this will hold it in position til you release the compressor,
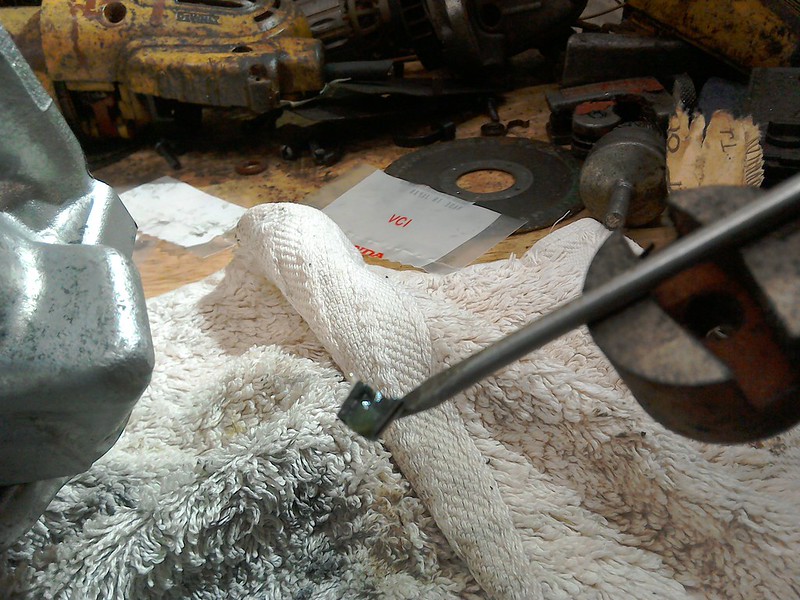
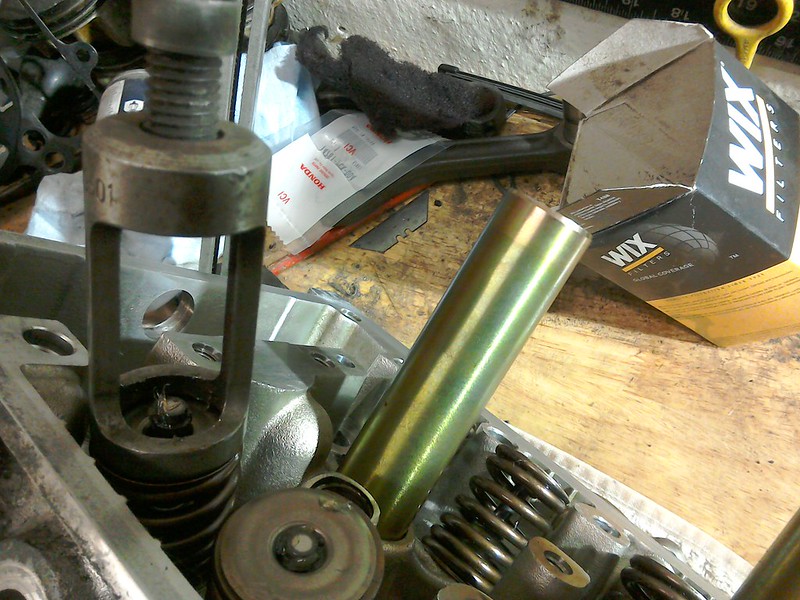
Don't forget to give all the valves a tap on the top of the stem to make sure all the collets are seated correctly
First off blow out all the oil galleries and anywhere else there is a cavity that could collect debris
Also make sure you blow out any bolt holes as just a small amount of oil or cleaning fluid left in these will cause the bolt to hydraulic and give a false torque reading which isn't good for the cam bearings
The old and new retainers side by side,
,The extra material adds up to more weight x by 8,
First of all is to fit the spring seats and valve stem seals, as Chippo pointed out in his rebuild thread https://www.s2ki.com/forums/uk-irela...tches-1166752/ black EX and silver INLET,
the best way is to find a socket the just fits snugly over the spring and tap then on gently til they seat down,
don't use a lot of force just a gentle tap
Then it's on to the springs these are also colour coded yellow INLET and blue EX, fit the spring compressor and then fit the fiddly little bast@rd keepers, the best way i have found is to use a lightly magnetised small screwdriver or just stick a small magnet to a screwdriver shaft then place a small drop of grease on the collet inner face this will hold it in position til you release the compressor,
Don't forget to give all the valves a tap on the top of the stem to make sure all the collets are seated correctly


 01-18-2018, 09:00 AM
#100
A little more progress in between regular jobs,
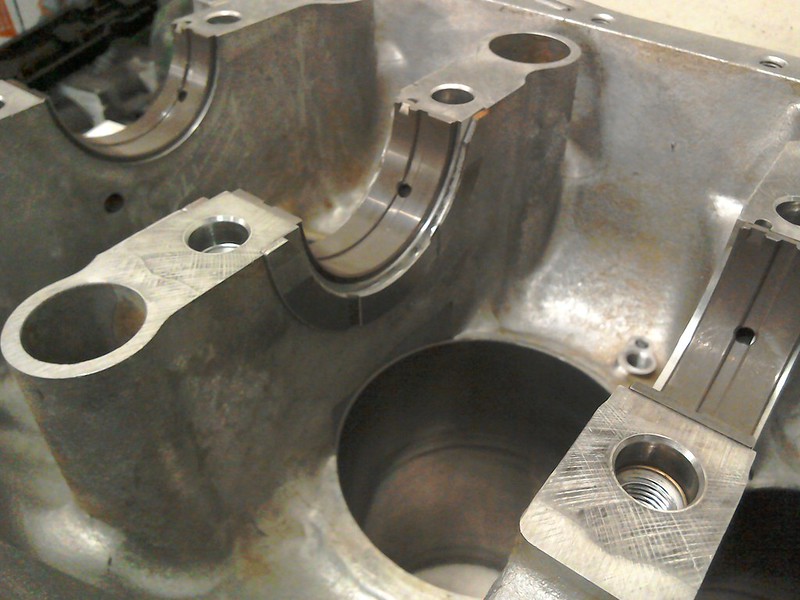
New main bearings and thrust washers fitted, taking note of the colour markings on the bearings match the coding on the crank and carrier and the thrusts are the correct way around,
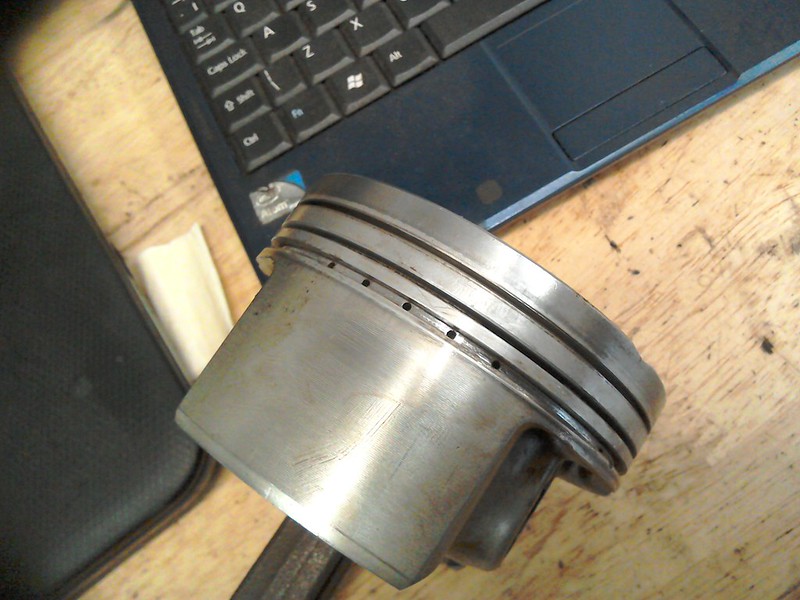
then make sure all the carbon build up is cleaned out of the ring lands but being careful not to under cut them there are two ways to do this the first is with an old ring

or with a cleaning tool designed for the job so you don't end up cutting your hand to ribbons with the old ring

so you end up with something like this also making sure the oil return holes are clear for the scraper ring
then it's drop every thing in the block and tight to the correct torque

one thing i forgot to mention was that i checked the oil squirter bolts to see if they had being upgraded which they had, now bare in mind i have stripped 3 self destructed engines and as this is a tight arse (budget) rebuild this gave me a total of 12 bolts to choose from, well sad to say this was not the case as only 2 were any good all the other 10 had suffered spring failure meaning the ball bearing wasn't being held on it's seat, they are supposed to stay seated till about 28psi to maintain good oil pressure at idle, now this isn't a problem if i'm vtecing it all the time but as we know on today's roads you can end up stuck in traffic for quite a chunk of your journey if it's being used as a daily, every little helps so 4 new ones duly bought and 80 bone to add to the tally.

New main bearings and thrust washers fitted, taking note of the colour markings on the bearings match the coding on the crank and carrier and the thrusts are the correct way around,
then make sure all the carbon build up is cleaned out of the ring lands but being careful not to under cut them there are two ways to do this the first is with an old ring
or with a cleaning tool designed for the job so you don't end up cutting your hand to ribbons with the old ring
so you end up with something like this also making sure the oil return holes are clear for the scraper ring
then it's drop every thing in the block and tight to the correct torque
one thing i forgot to mention was that i checked the oil squirter bolts to see if they had being upgraded which they had, now bare in mind i have stripped 3 self destructed engines and as this is a tight arse (budget) rebuild this gave me a total of 12 bolts to choose from, well sad to say this was not the case as only 2 were any good all the other 10 had suffered spring failure meaning the ball bearing wasn't being held on it's seat, they are supposed to stay seated till about 28psi to maintain good oil pressure at idle, now this isn't a problem if i'm vtecing it all the time but as we know on today's roads you can end up stuck in traffic for quite a chunk of your journey if it's being used as a daily, every little helps so 4 new ones duly bought and 80 bone to add to the tally.