Retro fitting heated seats guide
 11-08-2016, 01:11 PM
#1

Thread Starter
I hope that this guide will be a help to people who are wanting to fit heated seats to their S2000.
It is in my opinion one of the best modifications you can do to an S2000, I have done it to all 3 S2000's i have owned.
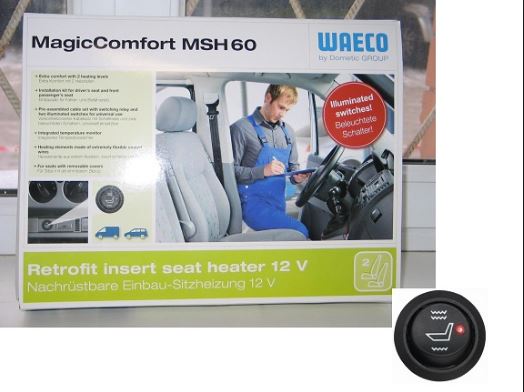
The kit which i have used for all 3 S2000's is the Waeco MSH 60 kit. It retails for about £70-80 online.
It includes everything you need to do the job.
Firstly you'll need to remove the seats from your car. This is straight forward as the seat is held in by 2 x 14mm fittings and 2 x 12mm fitting. Beware that there is a connector underneath the drivers seat which needs to be disconnected before the seat will come out.
Remove the plastic cover which goes over the handle for the seat tilt adjustment, this just pulls off with a bit of force. Remove the plastic side trim which is held on by 2 screws.
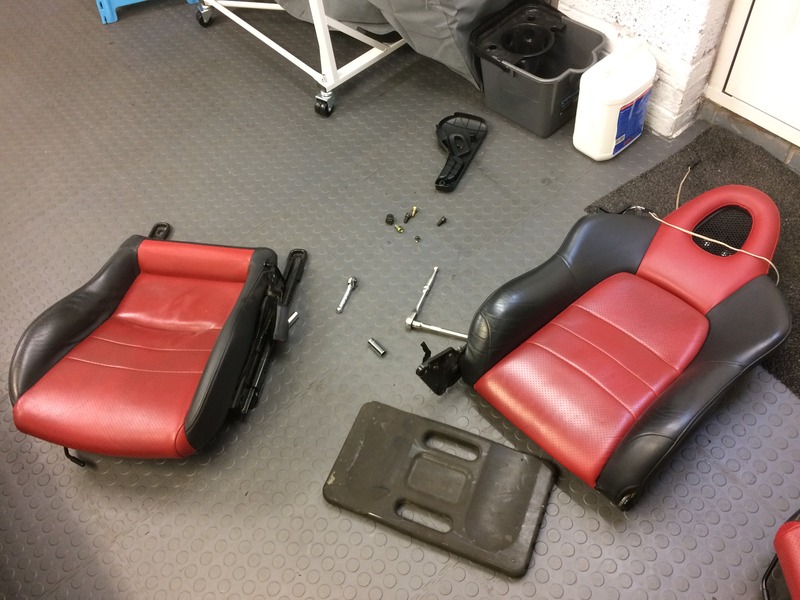
Remove the seat belt buckle and then the fixings (14mm bolts) which hold the back rest part of the seat to the base - separate the seat.
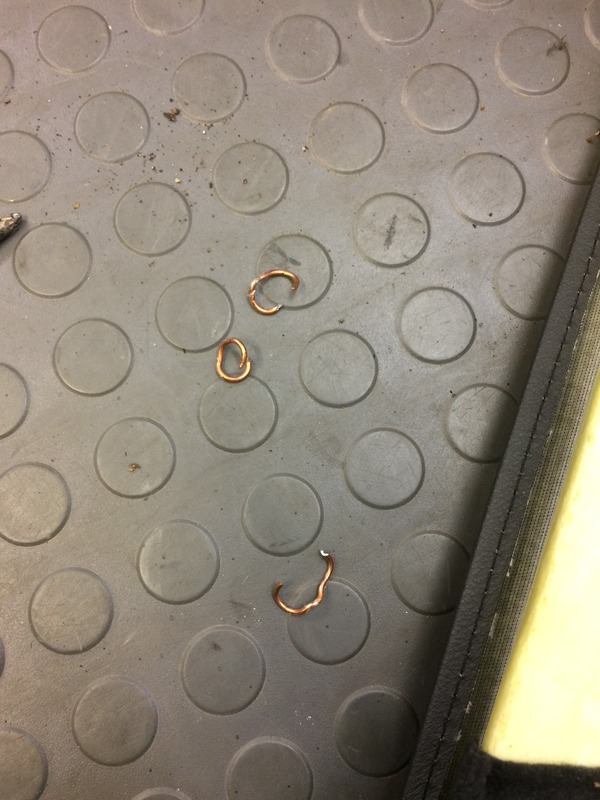
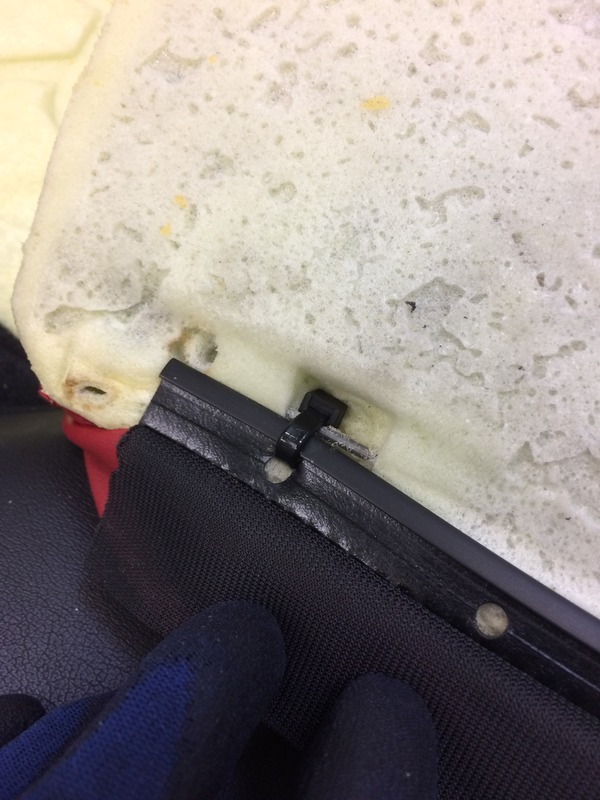
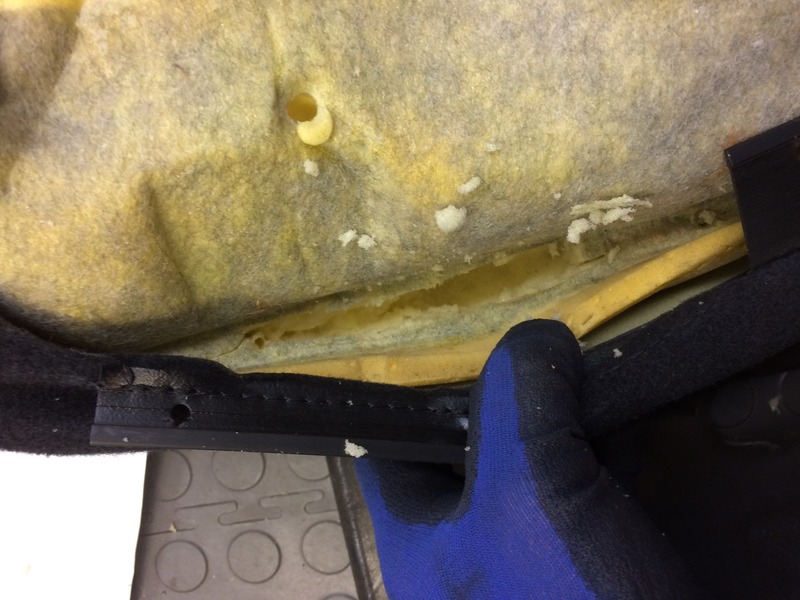
Next you need to lift up the centre section of the back rest, to do this you need to unclip the leather at the bottom of the seat, use a screwdriver or something to do this, can be quite awkward to do but once you get the hang of it it will become easy. Once you have done this the centre part of the back rest can be lifted up and you will then need to remove the hog clips which hold the leather to the foam, these can be a pig to remove, i use a pair of side cutters to grip them and then twist until they come out.
Only remove the 3 hog clips on both sides (6 hog clips in total) as the heater element only goes up to this part of the foam.
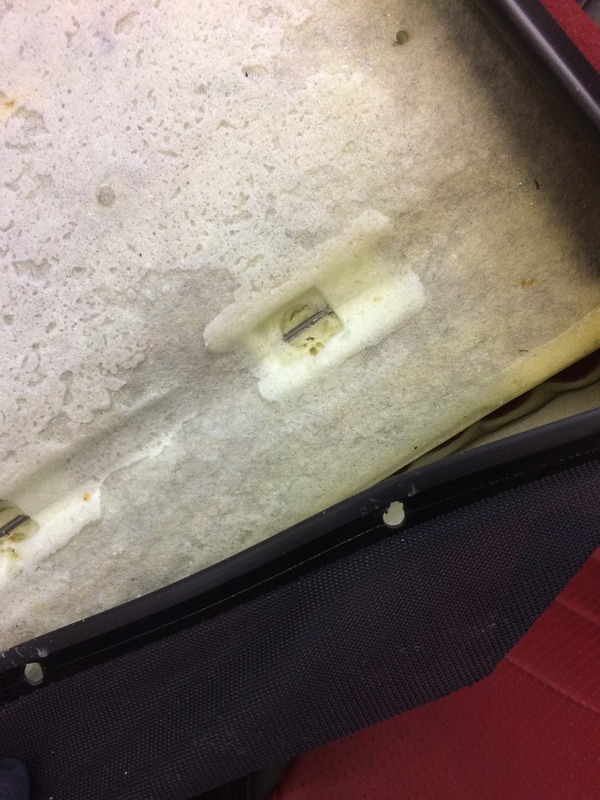
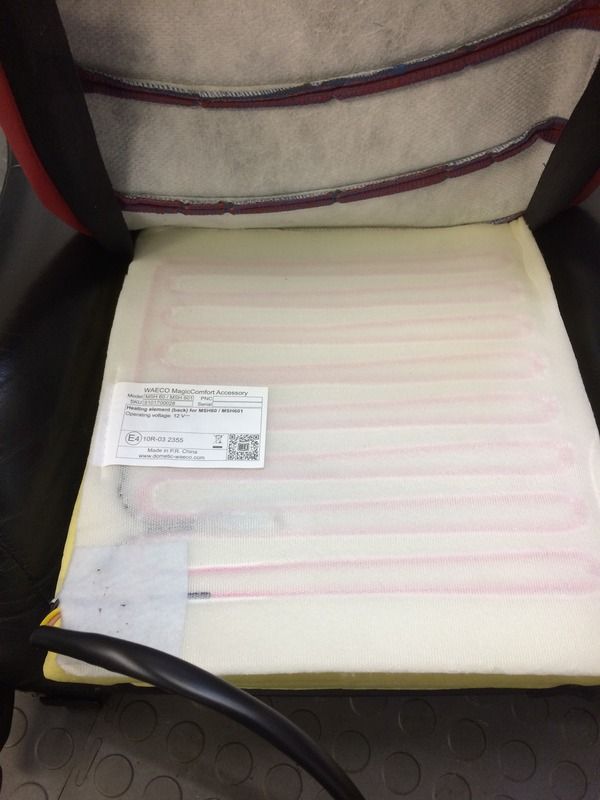
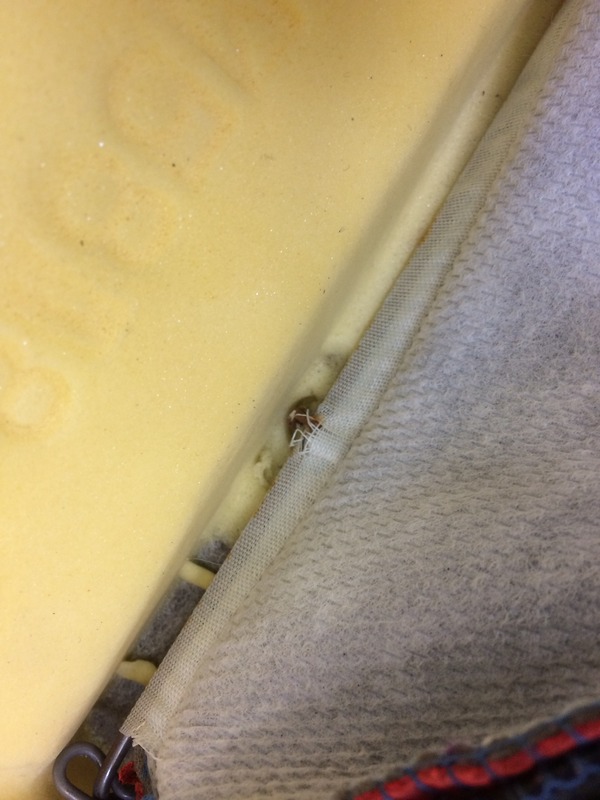
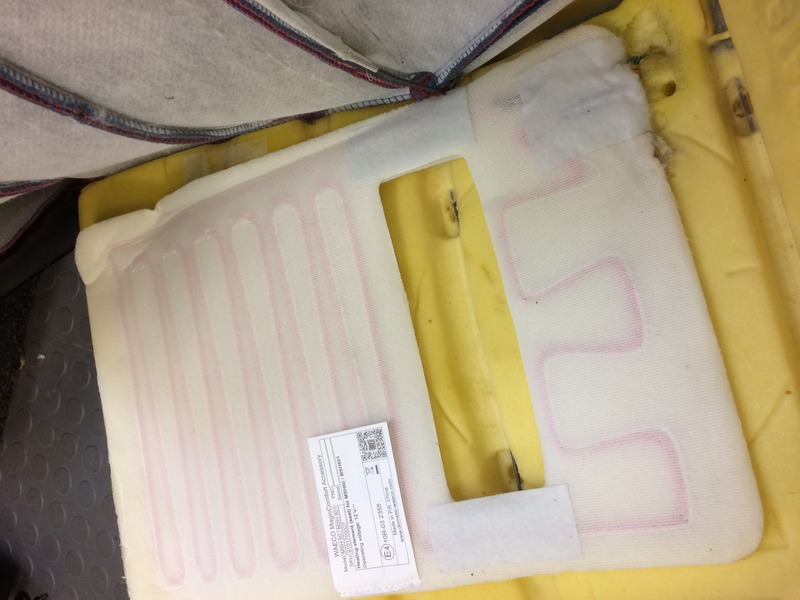
Now these have been removed you can now lift the leather away from the foam, this is where you need to stick the smaller heater pad to (the one without the rectangle cut out).
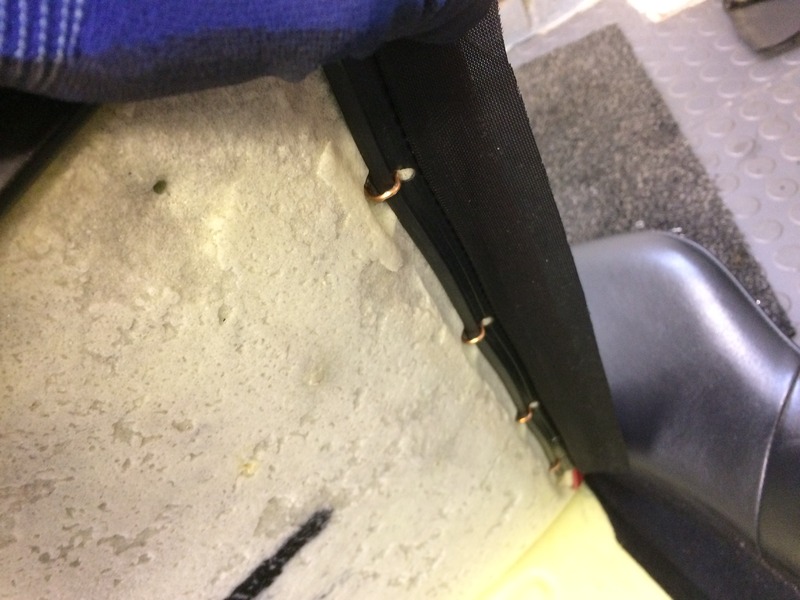
Once stuck down its time to put the leather back onto the foam, as the hog clips are now damaged and no longer usable i have always used cable ties and have had no issues.

Make sure you trim the end off the cable tie.
This is the back rest completed.
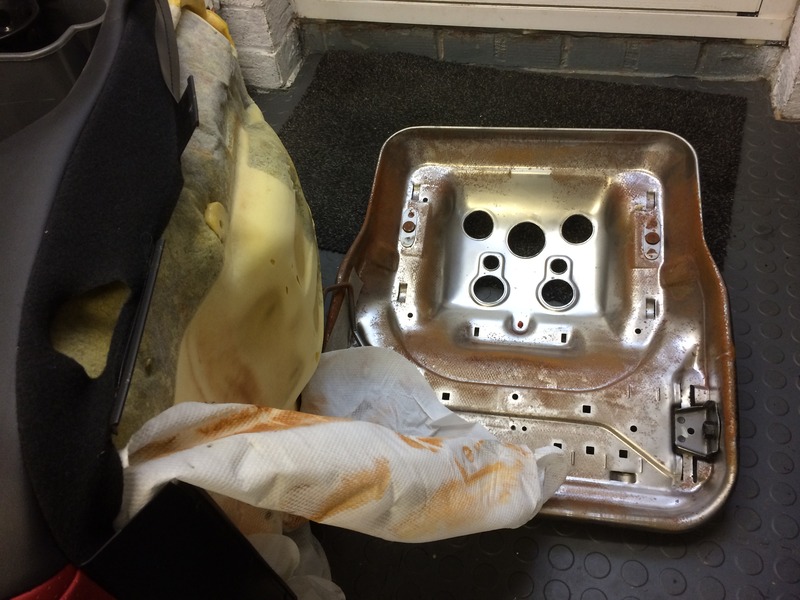
Now for the base - remove the seat runner from the base of the seat along with all the hog clips.
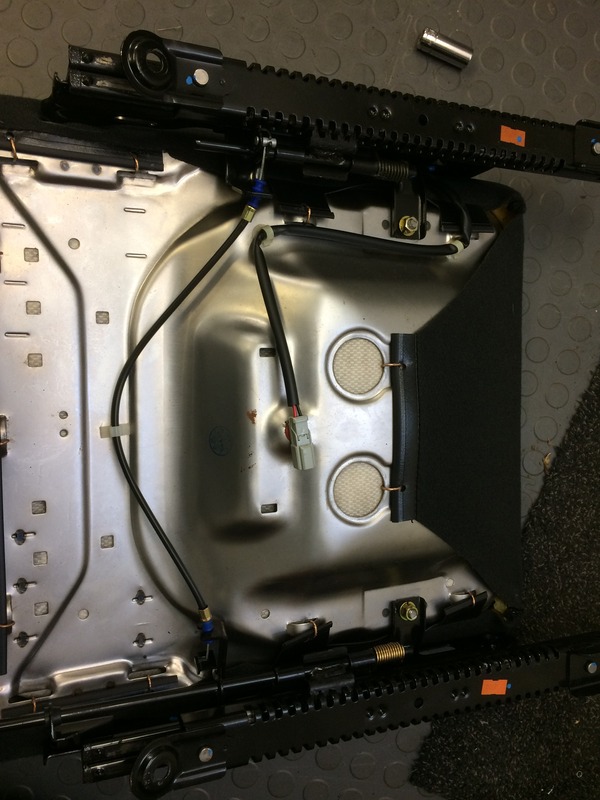
You can now remove the metal base from the seat cushion.
At this stage you can swap the seat base with the passenger side if you have a worn side bolster, if you do this then you will need to remove some foam from the foam cushion on the side as the metal base has a handle which sits in the bolster.
Next you will need to remove the hog clips from the seat base which again holds the leather to the foam base.
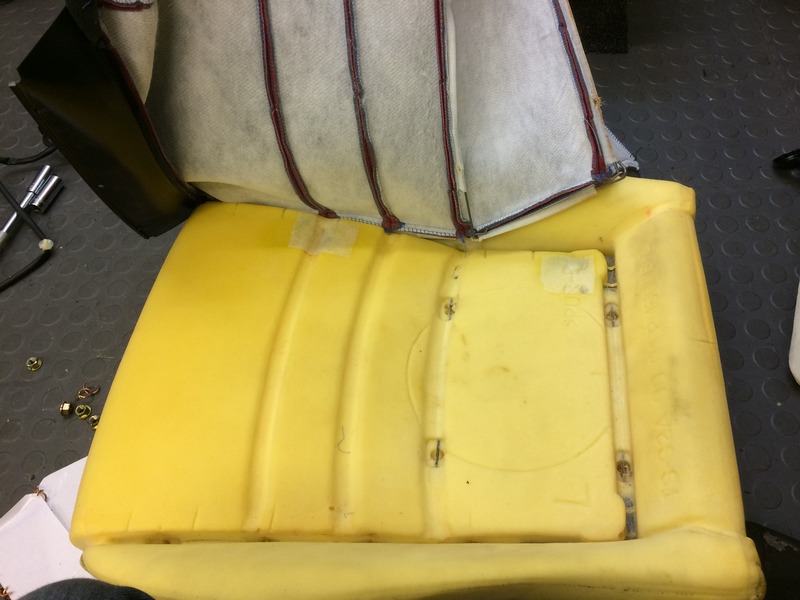
Once you are at the above stage you can now stick the heating element down.
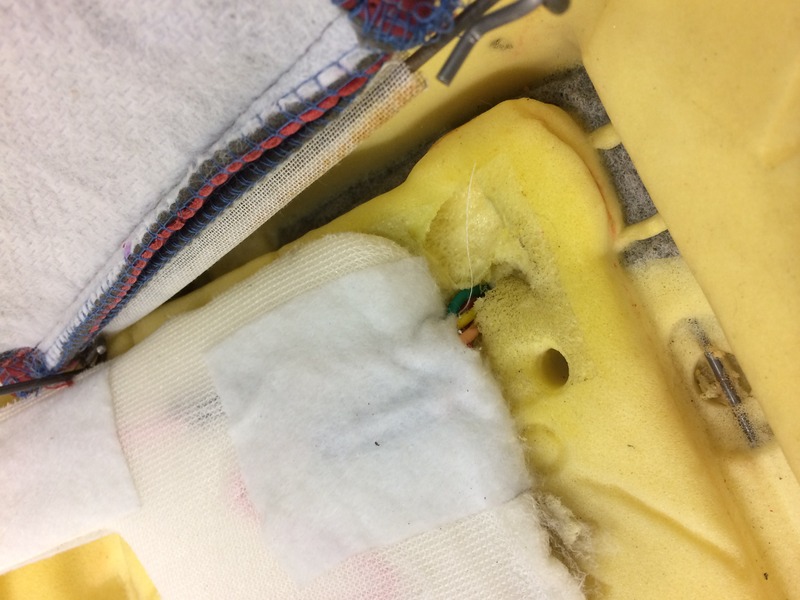
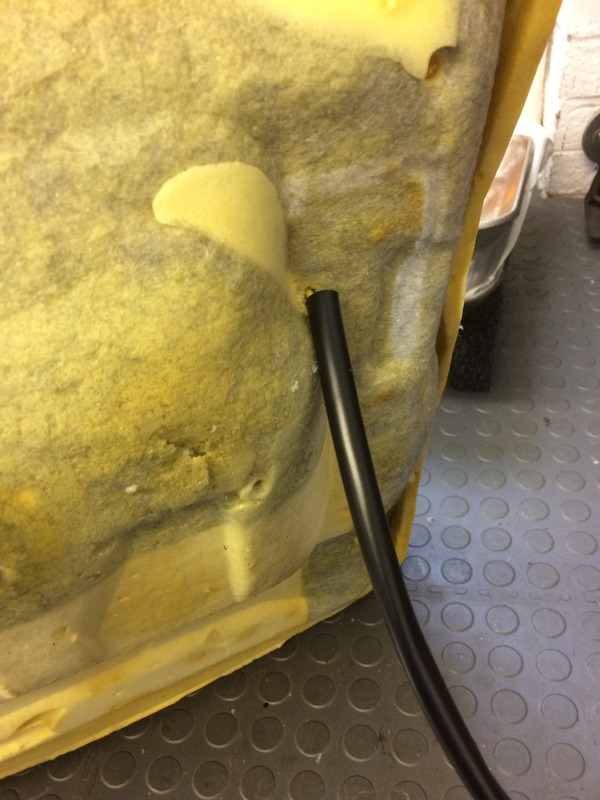
Make a hole in the foam for the wire to go through the foam.
Now reassemble the seat with cable ties and build the seat back up.
Repeat the whole process for the passenger seat.
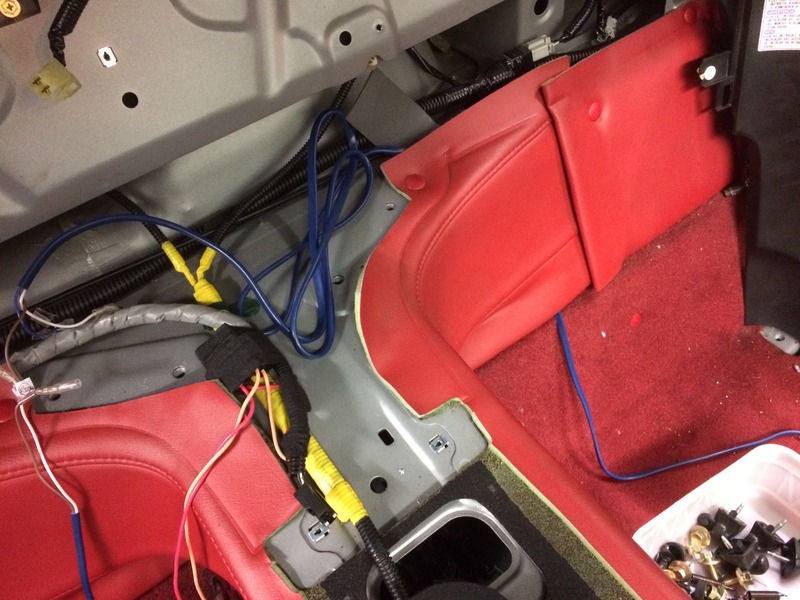
Now for the wiring, in the kit you'll have all the wiring supplied, there is an earth wire which needs to be earthed to the car and there are 2 supply wires, an orange one and a red one, one is for the stage 1 heating and the other is for the stage 2 heating, i joined these wires together and then shared the 12v supply wire going to the 12v cigi lighter socket, done this for the past 3 cars without any issues.
For the switches you can decide on where you want to locate them, i always located them on the centre console.
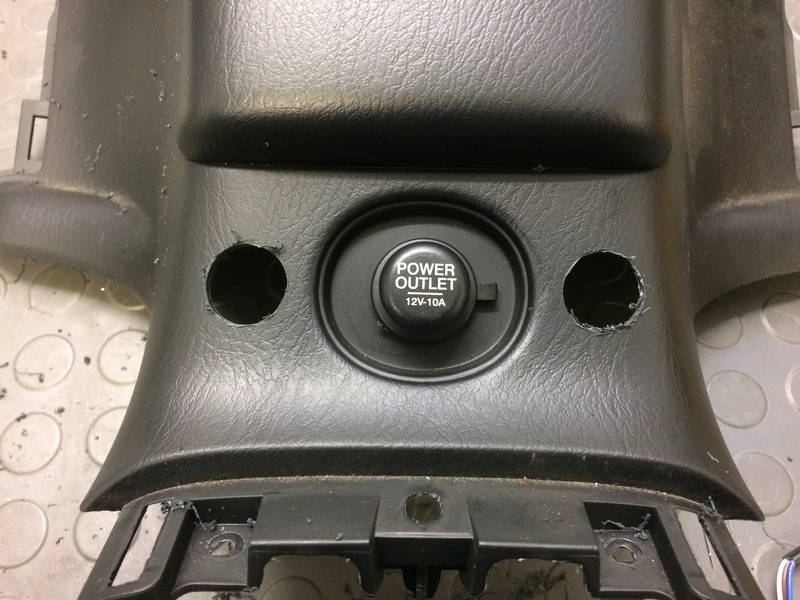
If you do decide to use the same location beware that you will need to do this with the centre console in place because its a MASSIVE ballache to remove this part of the interior, i was changing the roof when i did mine so this part of the interior was already removed.
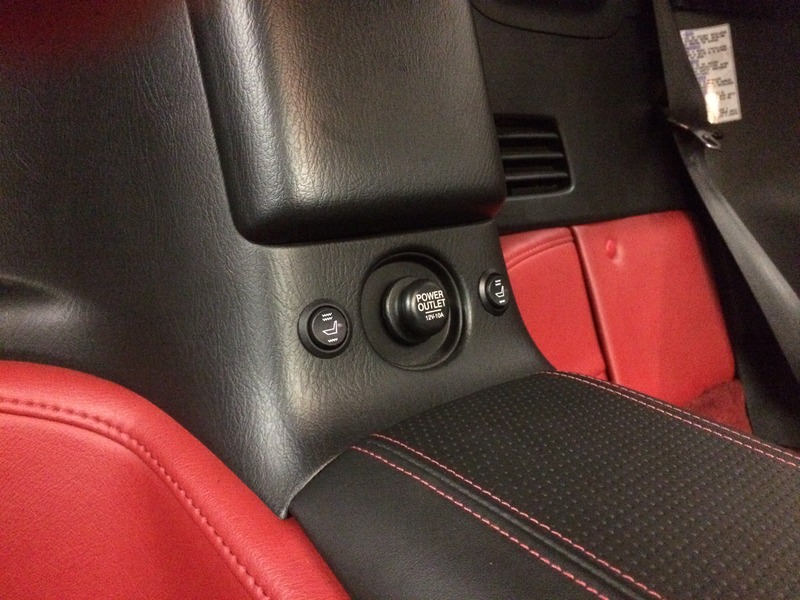
Once all the wiring has been done you can refit the seats and plug the wiring from the car to the seats and enjoy the lovely warm seats!
Note that for some reason the LED on the switch is always on when the ignition is on, no sure why this is but it has never bothered me so never bothered to look into the reason, been like that for every kit i have fitted.
It is in my opinion one of the best modifications you can do to an S2000, I have done it to all 3 S2000's i have owned.
The kit which i have used for all 3 S2000's is the Waeco MSH 60 kit. It retails for about £70-80 online.
It includes everything you need to do the job.
Firstly you'll need to remove the seats from your car. This is straight forward as the seat is held in by 2 x 14mm fittings and 2 x 12mm fitting. Beware that there is a connector underneath the drivers seat which needs to be disconnected before the seat will come out.
Remove the plastic cover which goes over the handle for the seat tilt adjustment, this just pulls off with a bit of force. Remove the plastic side trim which is held on by 2 screws.
Remove the seat belt buckle and then the fixings (14mm bolts) which hold the back rest part of the seat to the base - separate the seat.
Next you need to lift up the centre section of the back rest, to do this you need to unclip the leather at the bottom of the seat, use a screwdriver or something to do this, can be quite awkward to do but once you get the hang of it it will become easy. Once you have done this the centre part of the back rest can be lifted up and you will then need to remove the hog clips which hold the leather to the foam, these can be a pig to remove, i use a pair of side cutters to grip them and then twist until they come out.
Only remove the 3 hog clips on both sides (6 hog clips in total) as the heater element only goes up to this part of the foam.
Now these have been removed you can now lift the leather away from the foam, this is where you need to stick the smaller heater pad to (the one without the rectangle cut out).
Once stuck down its time to put the leather back onto the foam, as the hog clips are now damaged and no longer usable i have always used cable ties and have had no issues.
Make sure you trim the end off the cable tie.
This is the back rest completed.
Now for the base - remove the seat runner from the base of the seat along with all the hog clips.
You can now remove the metal base from the seat cushion.
At this stage you can swap the seat base with the passenger side if you have a worn side bolster, if you do this then you will need to remove some foam from the foam cushion on the side as the metal base has a handle which sits in the bolster.
Next you will need to remove the hog clips from the seat base which again holds the leather to the foam base.
Once you are at the above stage you can now stick the heating element down.
Make a hole in the foam for the wire to go through the foam.
Now reassemble the seat with cable ties and build the seat back up.
Repeat the whole process for the passenger seat.
Now for the wiring, in the kit you'll have all the wiring supplied, there is an earth wire which needs to be earthed to the car and there are 2 supply wires, an orange one and a red one, one is for the stage 1 heating and the other is for the stage 2 heating, i joined these wires together and then shared the 12v supply wire going to the 12v cigi lighter socket, done this for the past 3 cars without any issues.
For the switches you can decide on where you want to locate them, i always located them on the centre console.
If you do decide to use the same location beware that you will need to do this with the centre console in place because its a MASSIVE ballache to remove this part of the interior, i was changing the roof when i did mine so this part of the interior was already removed.
Once all the wiring has been done you can refit the seats and plug the wiring from the car to the seats and enjoy the lovely warm seats!
Note that for some reason the LED on the switch is always on when the ignition is on, no sure why this is but it has never bothered me so never bothered to look into the reason, been like that for every kit i have fitted.


 11-08-2016, 01:42 PM
#3
Thread Starter
I was looking at the carbon ones and didn't bother with them as they are over twice the price! I'd like to see what the differences are between the 2 kits.
 you'll be wanting Air con next
11-08-2016, 10:14 PM
you'll be wanting Air con next
11-08-2016, 10:14 PM
#7
Trending Topics
11-08-2016, 10:33 PM
#8

On yours, if you snap one wire, the entire pad fails. The carbon ones, it's a carbon mesh so not reliant on 'one route' to heat the pad. Something about a more universal heat / quicker heat but that may well be marketing bollocks. I picked up the carbon elements seperately for peanuts via eBay as part of a broken kit. 5 years on and they still work perfectly.

 What size of hole cutter did you use for the buttons?
11-09-2016, 02:31 AM
What size of hole cutter did you use for the buttons?
11-09-2016, 02:31 AM
#10
brilliant - I might now be brave enough to tackle this over the winter.
Although I might position the switches on the panels on the transmission tunnel, either side of the radio door as they are easier to remove and return to stock
Although I might position the switches on the panels on the transmission tunnel, either side of the radio door as they are easier to remove and return to stock

