When you click on links to various merchants on this site and make a purchase, this can result in this site earning a commission. Affiliate programs and affiliations include, but are not limited to, the eBay Partner Network.
UK & Ireland S2000 CommunityDiscussions related to the S2000, its ownership and enthusiasm for it in the UK and Ireland. Including FAQs, and technical questions.
Nice write up a lot of very good quality work there, amazing how much rust is hidden on these cars even a later one. good advice on the por15, once you get it on your skin it takes fooking ages to wear off and you will not be able to clean it off, even with thinners !
As for keeping it in the fridge ! you either live on your own or have a very understanding other half....
I have a spare fridge in the garage, and as far as my partner knows it is turned off…. but it is very useful for those late nights in the garage !
Update, so i installed a set of bilstein PSS B14 coilers all over, as one of the rear shocks was leaking.
Couldn't justify paying nearly £350 for a single rear shock absorber in genuine Honda and of course its good practice to change both the rear units.
So would have been in for £700 for the two rear shocks alone.
Enough with the money on with the PICS !
Big Box !
Shiny things in big box !
Strut out spring compressors on !
Rear leaky unit.
Photos wrong way around, spring and top hat removed from old strut, with compressors still on !
Removing the top nut securing the top hat !
All fitted and set up using callipers once on the car.
Just to note the passenger rear strut, requires you to remove the fuel filler neck inside the car before being able to gain access to the top mount nuts.
I found it easier to remove the front top wishbone from its mounts to gain more access, be warned it is necessary to remove the bracket holding the ABS sensor cable to give it more room to move.
How do they feel, very good slightly firmer than stock but not so much they hurt
I have put about 80miles on them and rechecked the ride height twice, i adjusted them once, will check again after another 80/100miles.
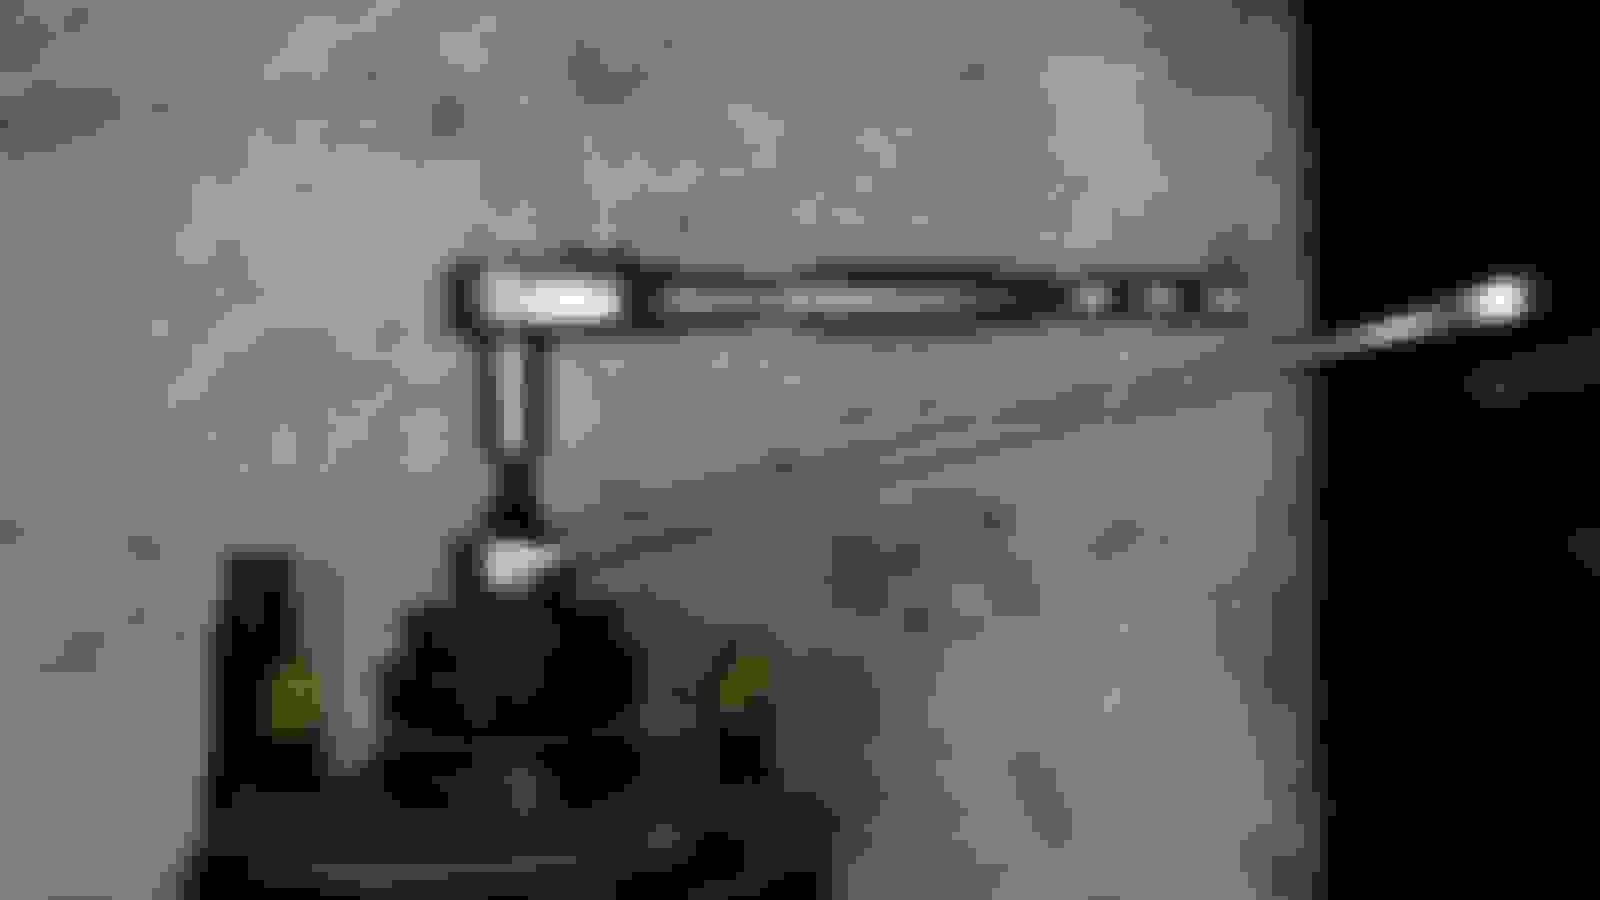
Alignment is ok. Geometry is off and that is to be expected as it is a touch lower now, unfortunately all the geo bolts are seized up below is a photo of measurements.
Winter project is refurbishment of rear subframe, which will at the same time mean all seized bolts will be cut out replaced and new bushes installed. Then off to centre of gravity for a full geo set up !
A tad brief but this has been done on the forum a million times over and this is more for personal reference and documentation !
More to follow ! Any comments welcome, thanks for reading !
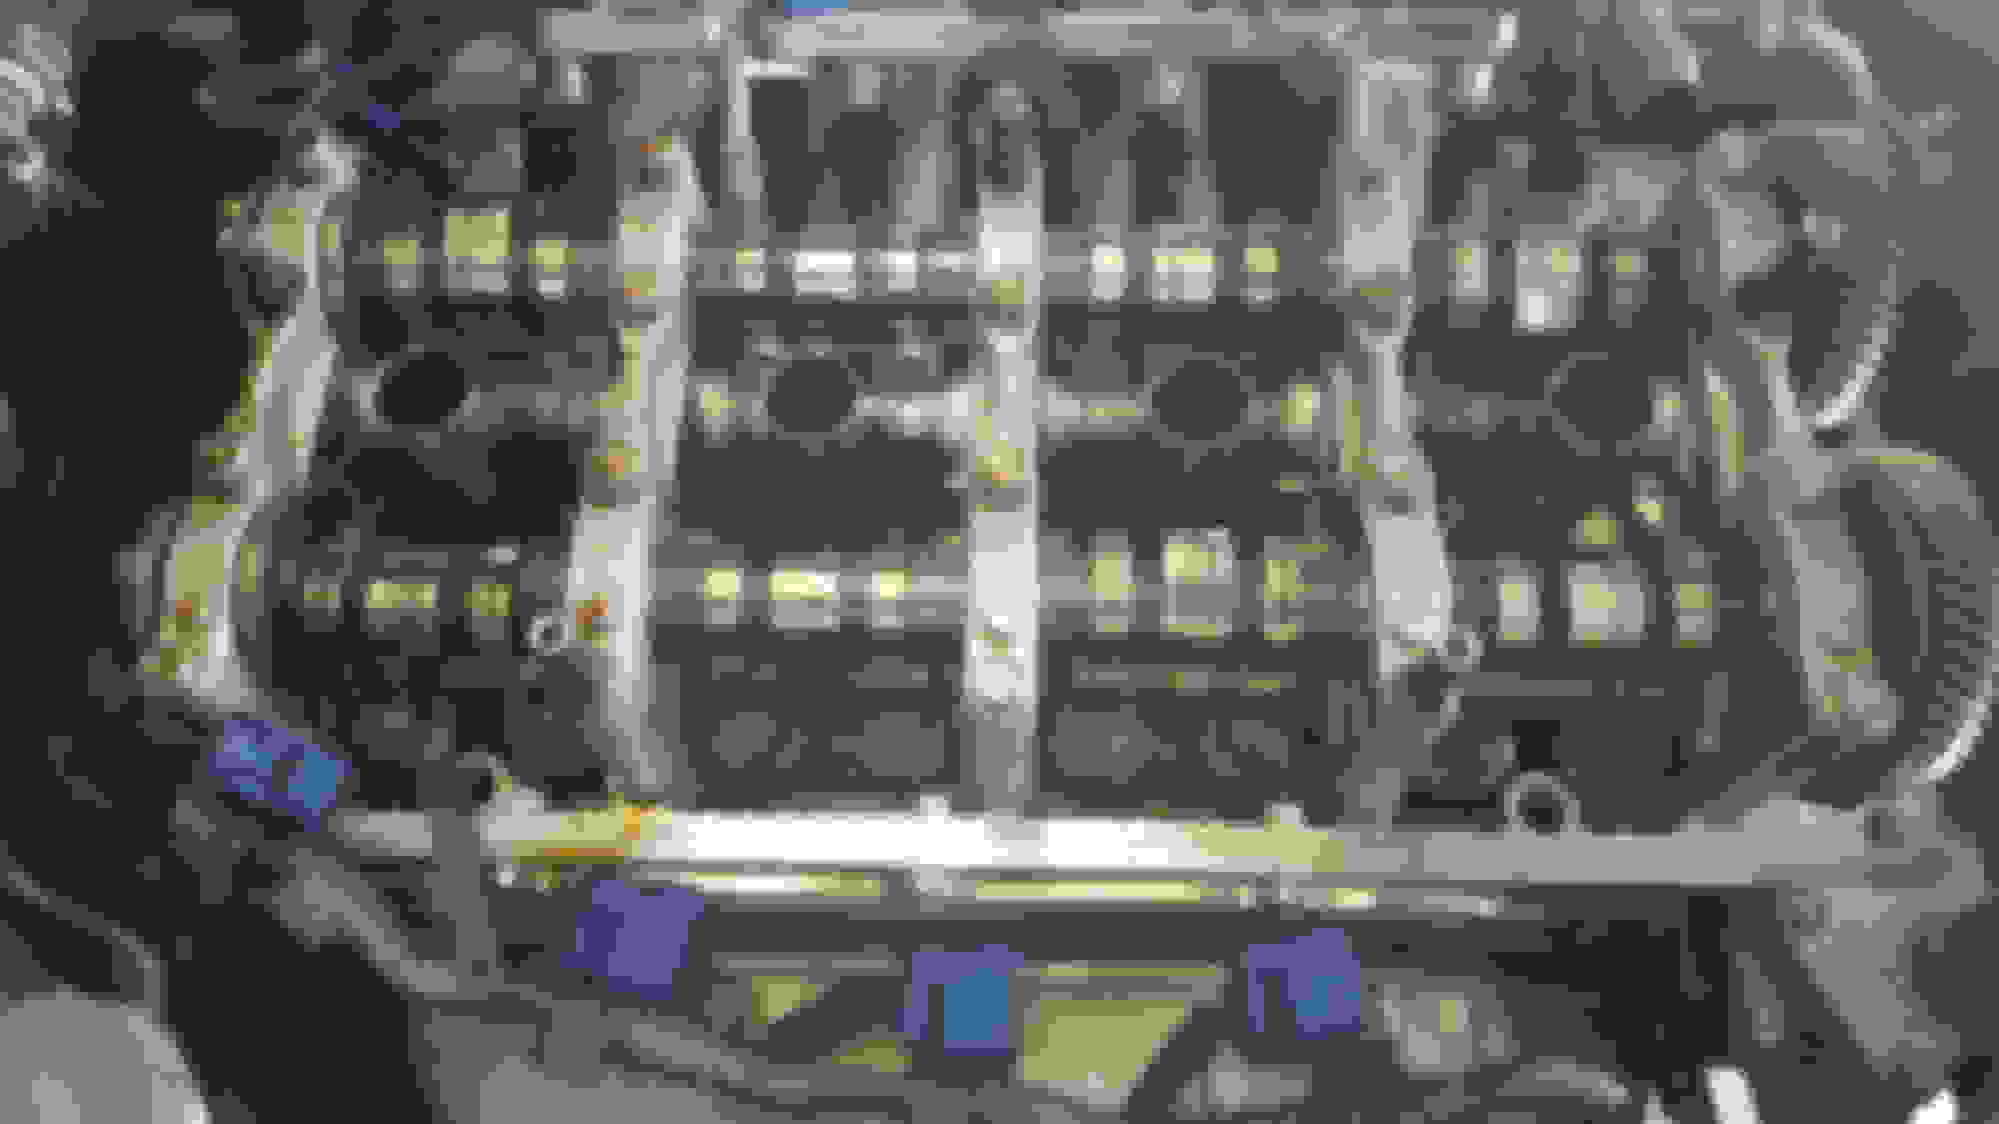
Adjusted the valve clearances as i have no documentation of it ever being done on the car.
Adjustment specs. 2006-2009 .008IN and .011EX.
Left the car overnight to ensure the engine was at the right temperature.
Exhaust side
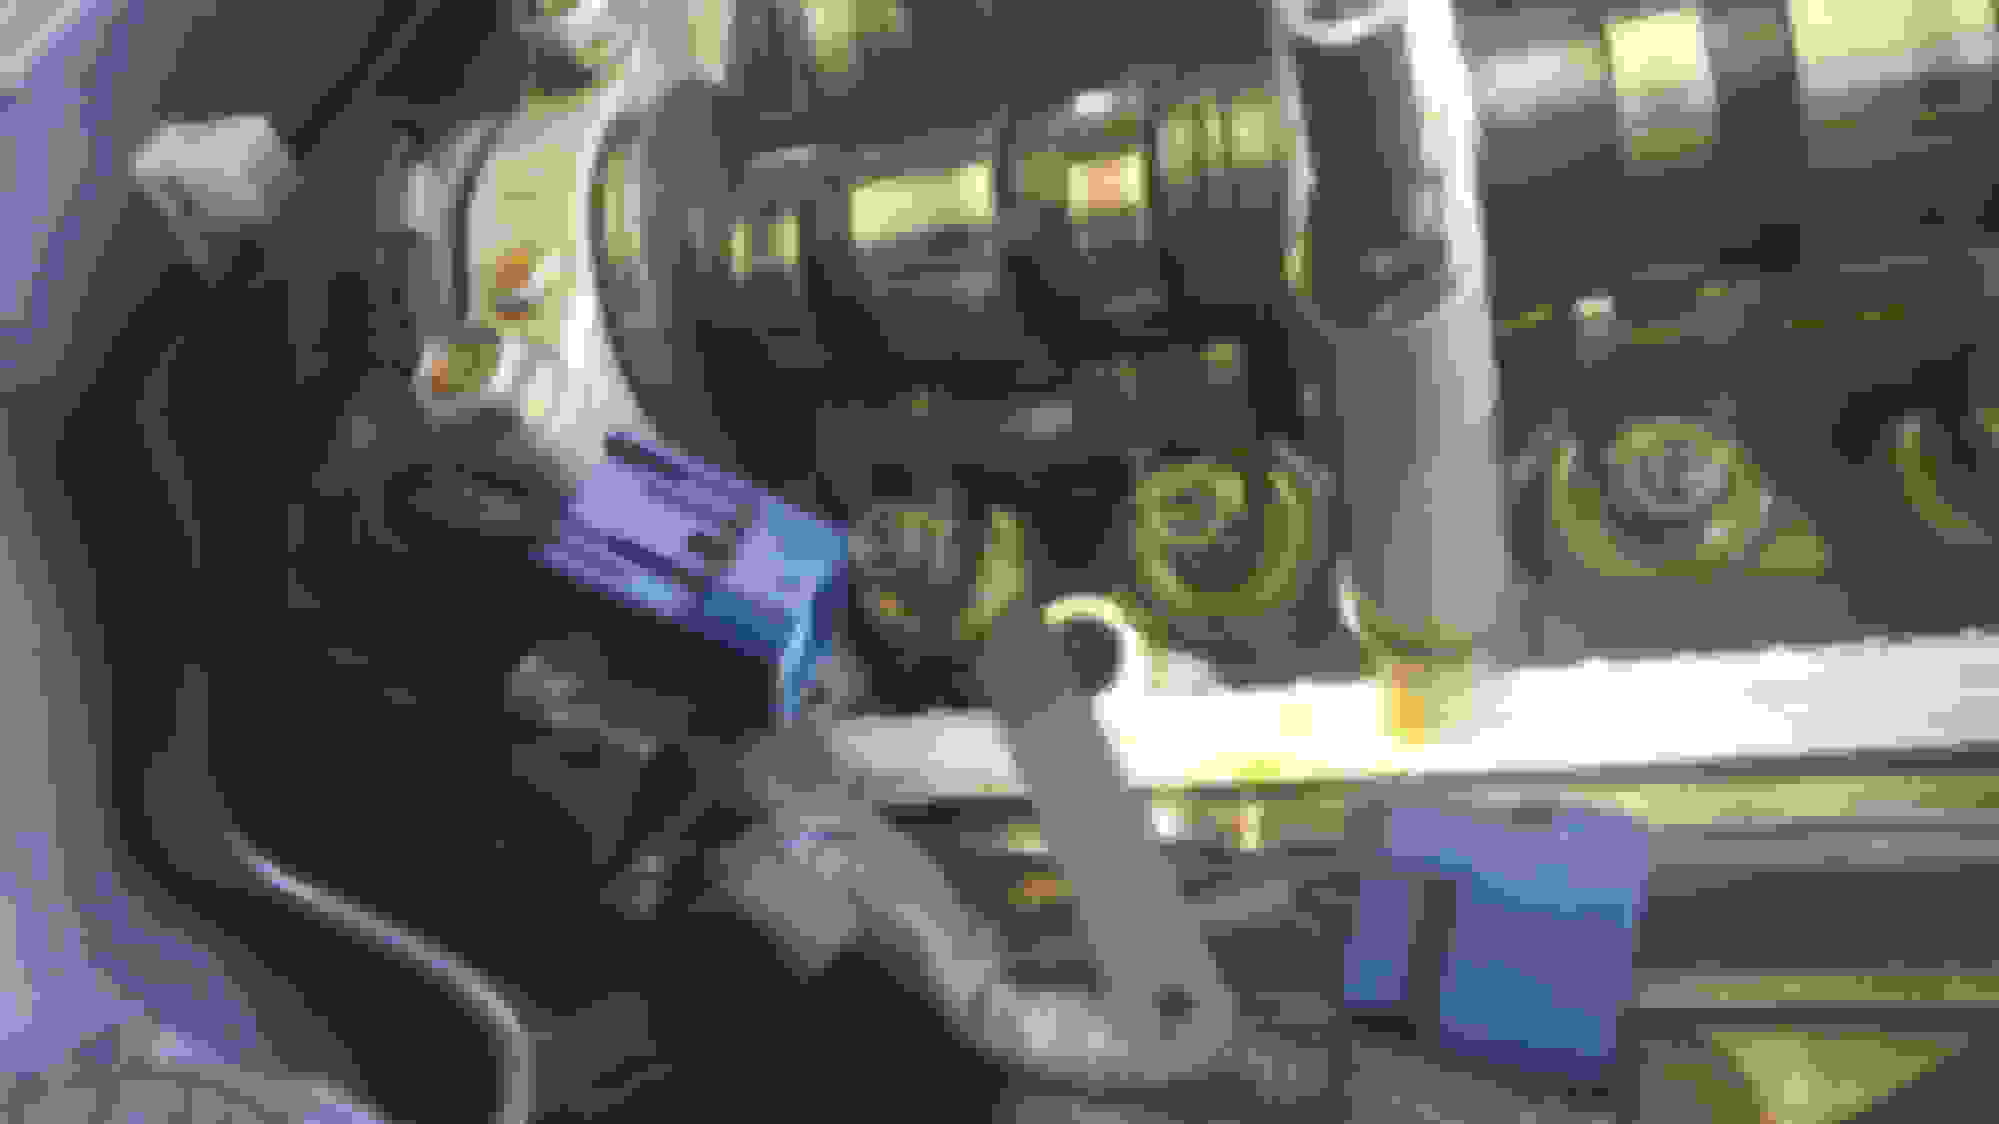
Clearance checked with a .012 to be loose then a .011 for tolerance.
Note removed exhaust shield for ease of access.
.012 check.
.011 tolerance
Most of the exhaust valve clearances were within tolerance and not overly tight which was a relief !
Didn't take any photos of the intake side however it is far more difficult to get accurate readings, i pulled the injector wiring right out the way for more access.
All of the intake valves were loose measured at .011. Hence a bit 'tappy' when running.
Adjusted too .008, again used a .009 to get some feeling and torqued all nuts too 14 lb-ft as below.
Re-checked all clearences following torquing.
End result much quieter idling, peace of mind the jobs been done right.
If anyone is thinking about doing the same follow this guide Valve Clearences All credit to Rob, brilliant how to !
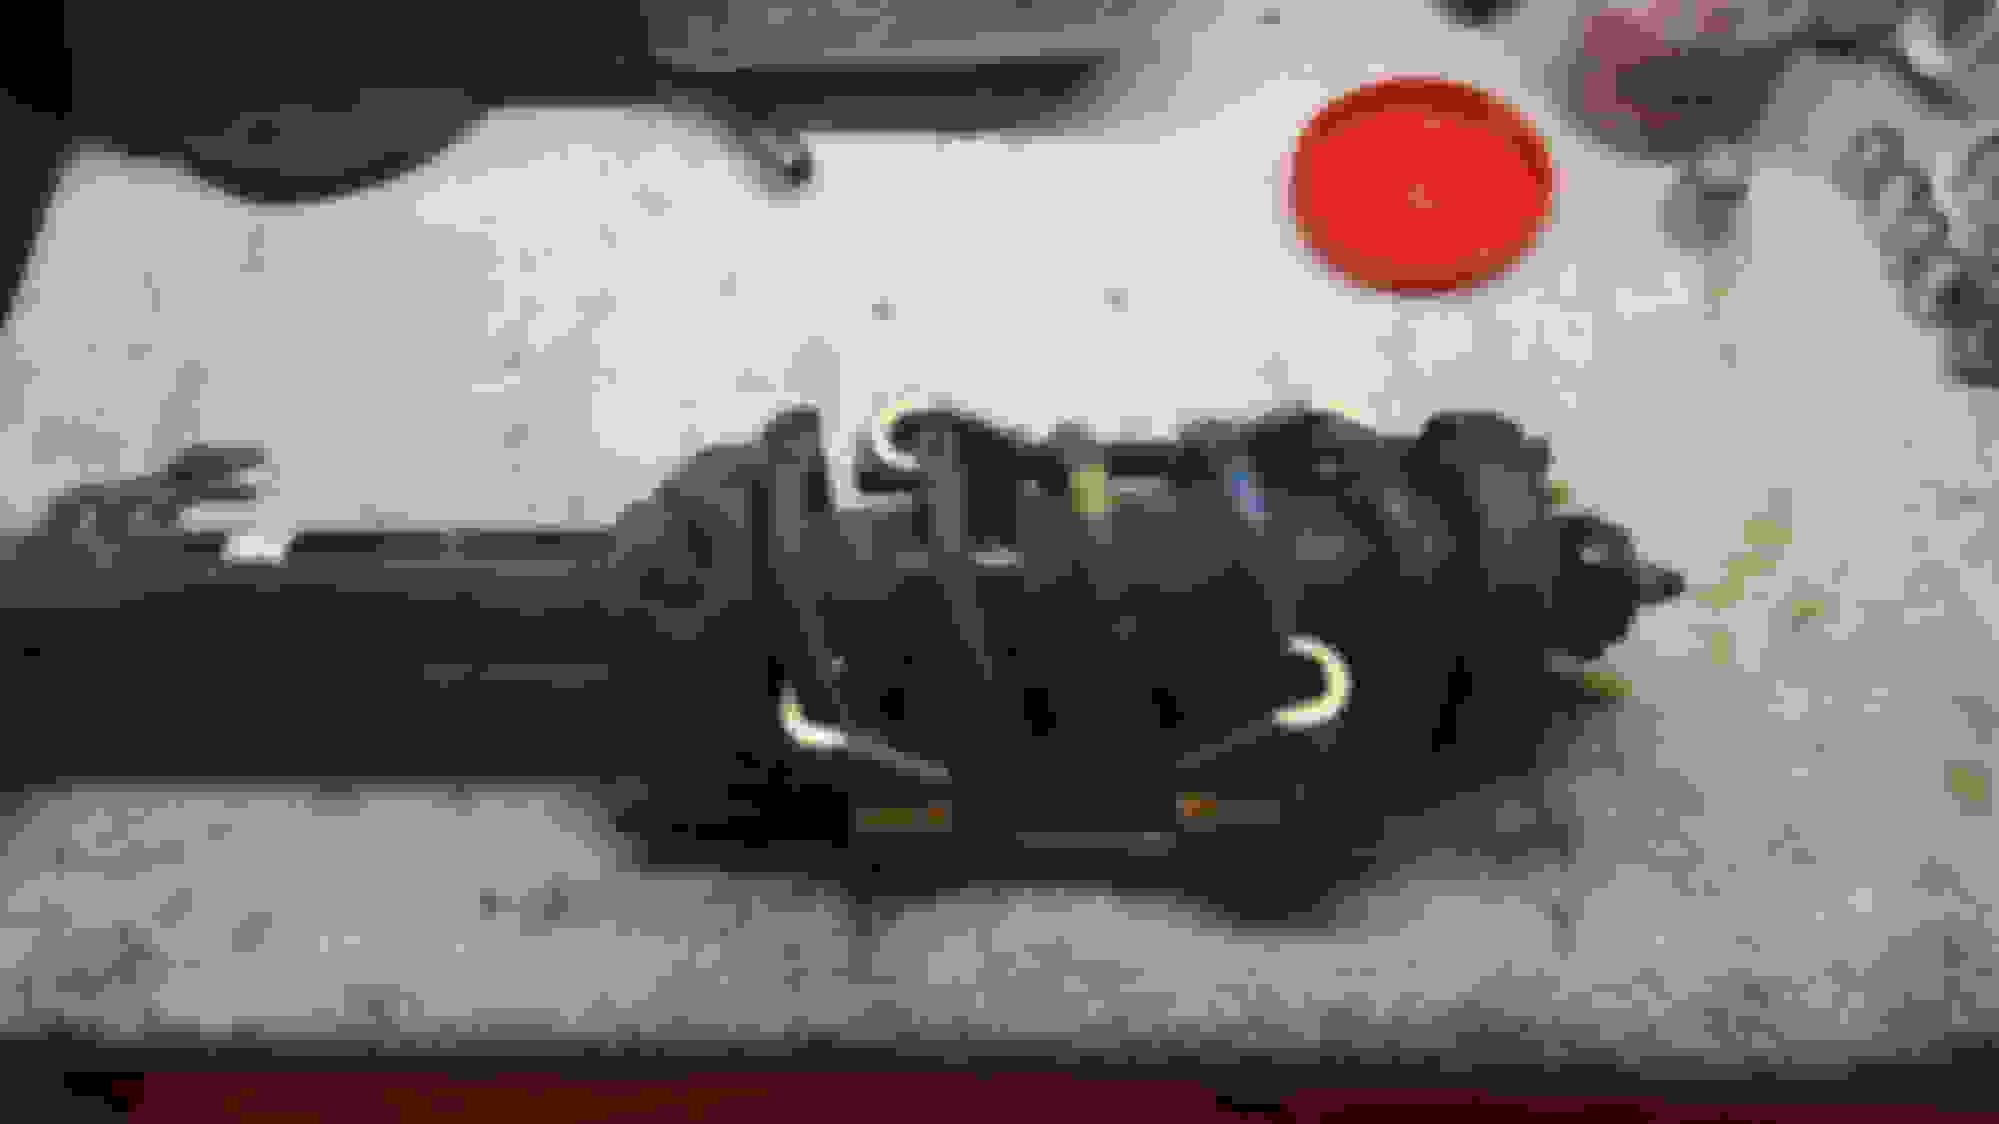
Developed vibration from the rear end under acceleration, after doing some research found it was probably the CV cups worn, never normally problematic unless the car is lowered which the S now is.
Wont tolerate it so out come the rear shafts for a closer look, pain because i didn't want to get involved during the summer, just wanted to drive
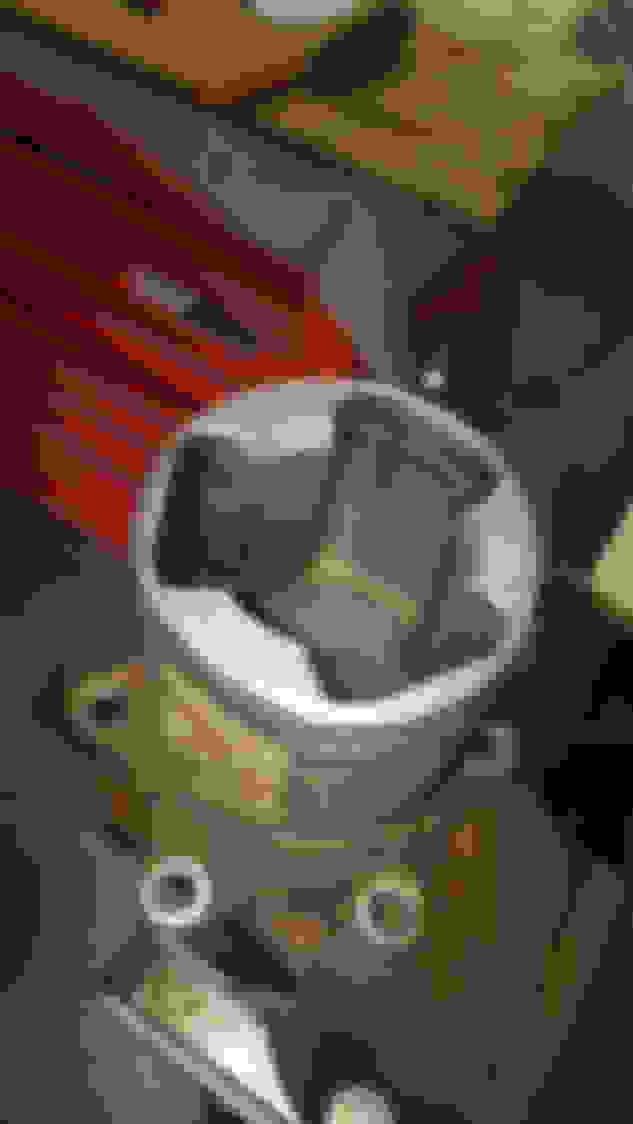
Passenger side cup, separated from rest of CV. As you can see there is bad pitting on one of the surfaces the bearing rolls against, causing the vibration.
This is a taster of some of the surface rust i intend to deal with when doing the complete subframe, almost every part on the rear end is looking like this, or worse.
So i thought while they were out, i would give them a clean up.
The worst of the loose rust out the way and brake cleaner used to deal with any grease etc.
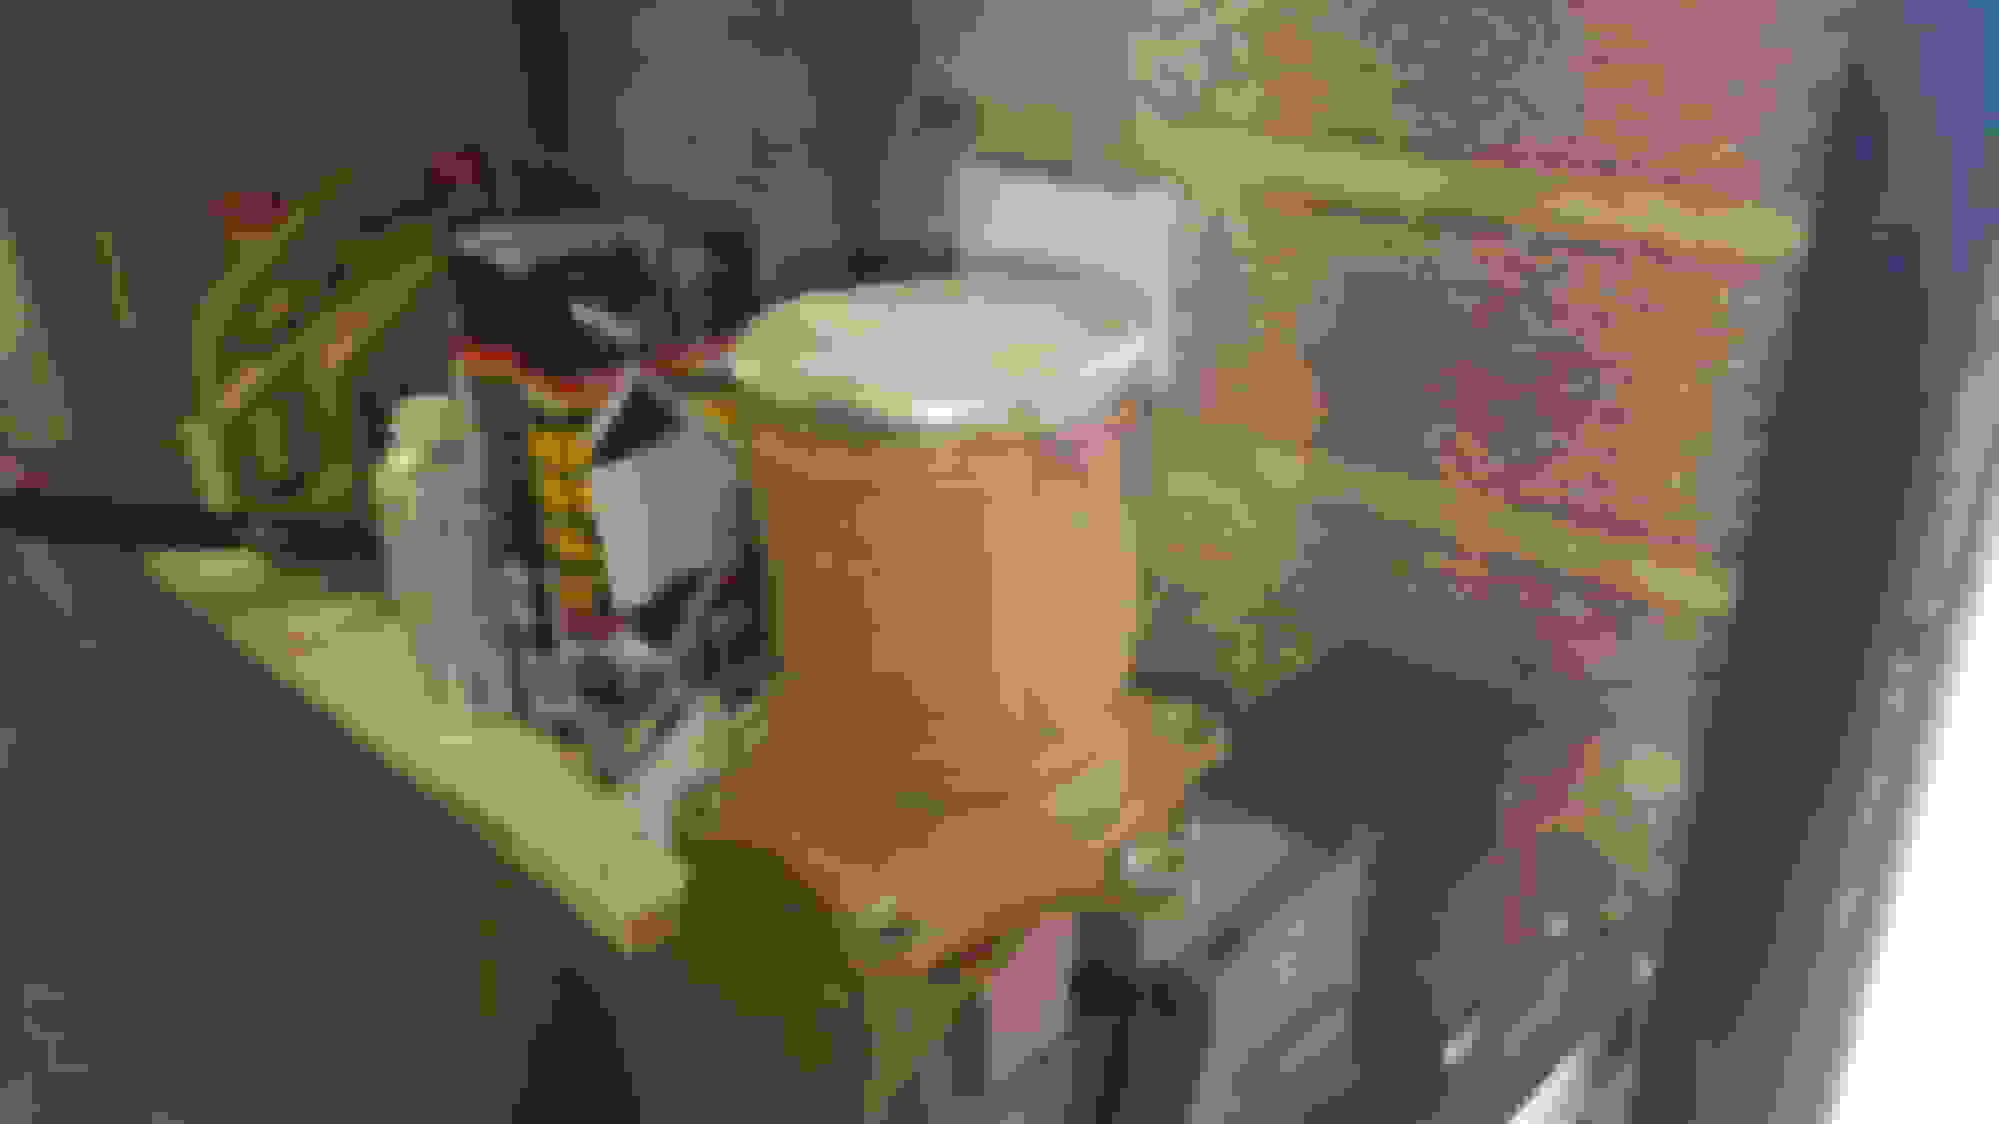
Bring out the POR !
As mentioned in earlier posts about application, this is the same tin and its been in the fridge with its sandwich bag on since its last use.
No issues other than i would recommend leaving it out the fridge an hour before using it as it is easier applied warm, like most paints !
The paint claims you can paint directly onto rust, i always take all the loose surface rust off and clean with brake cleaner. I have had no application issues when painting directly onto the 3rd photo, in fact i think you will have application issues if its bright clean metal, as your supposed to use a pre-coat to prep the surface.
Dissembling the rest of the CV joint, notice the rust and colour of the grease, well worth the effort !
The markings on the spider are reference each bearing removed, this is so they are correctly reassembled ensuring each bearing seats and wont have to bed in all over again.
Grease is a bit 'skanky' !
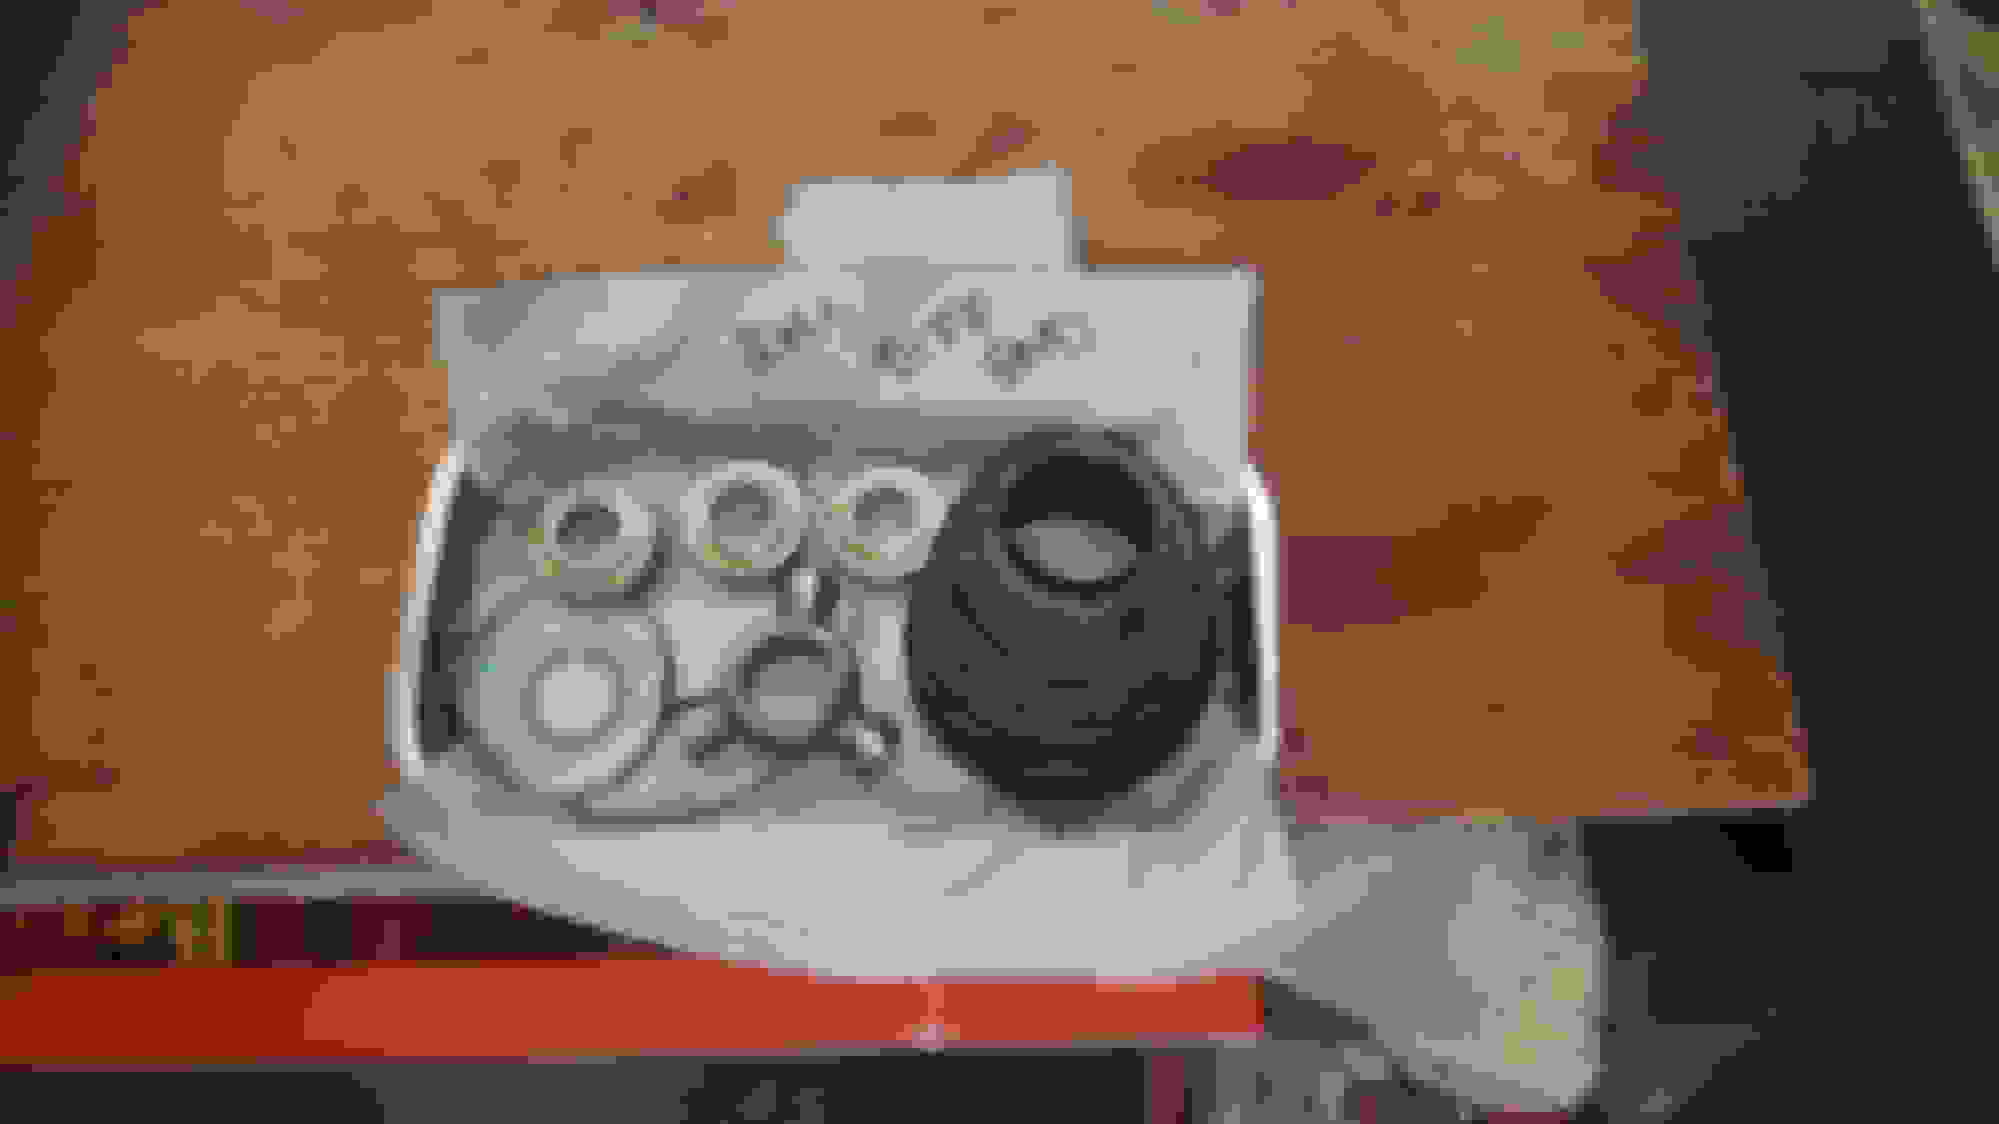
As well as marking the spider each bearing is marked, all parts were checked for excessive wear. Then laid out on a magnetic tray and stashed away !
Gives you an indication of the rust on the shafts, nothing detrimental, as these things are solid, just looks unpleasant !
Again rust on the knuckle end
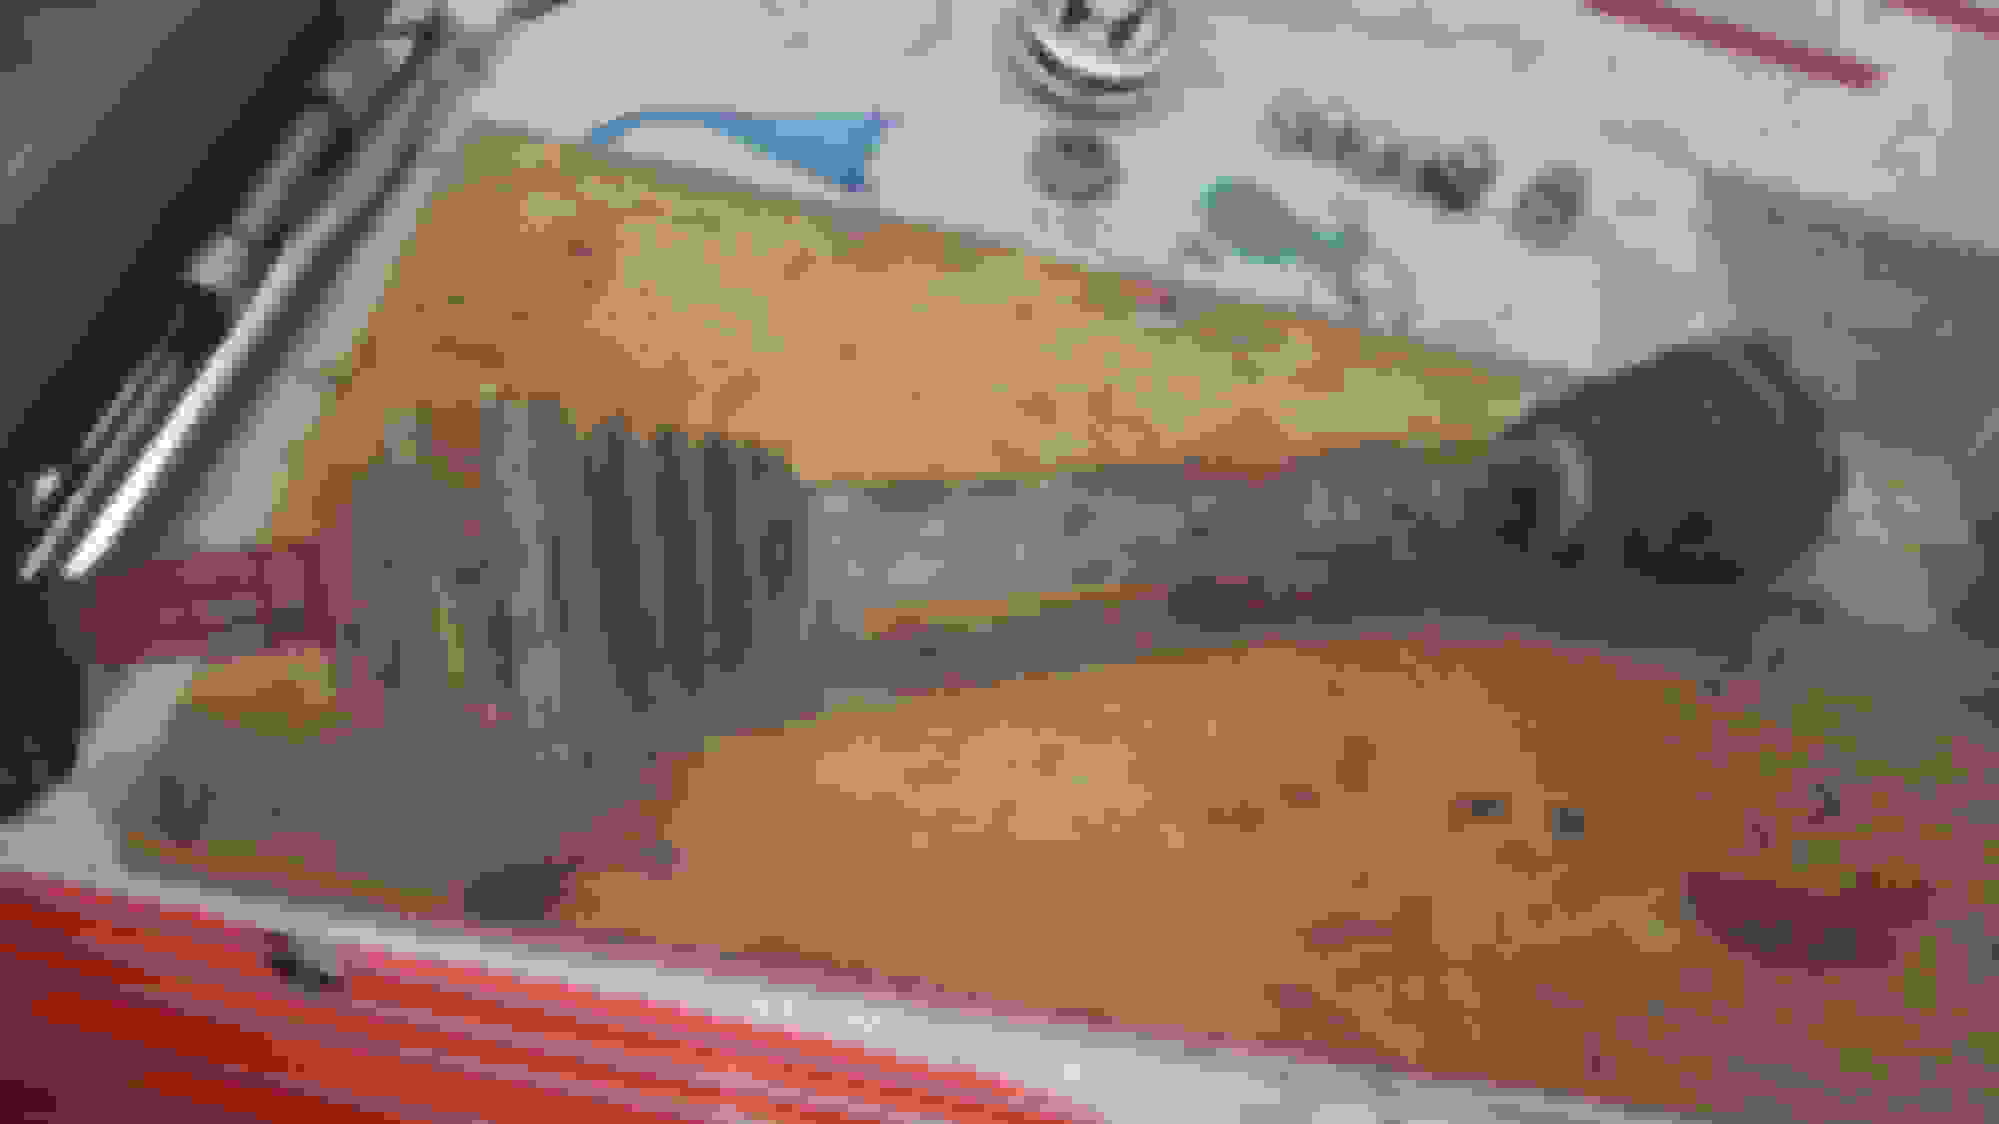
Passenger side shaft looks like its been dragged out a swamp, yes that was on the car
"POR product placement "
Cleaned both shafts up by hand, decided to leave the knuckle end of the CV joint alone, just masked around it.
All the existing paint was very loose and came off easy, wire brushed and sanded the remaining deposits off, then brake cleaned to remove all dust.
3x coats of POR 1hr 30mins between coats. Then left to dry for 24hrs, lightly sanded with some 1500grit and put into primer for two coats 15mins between.
Then left to dry for 24hrs, lightly sanded with some 1500grit then 4 coats of satin black paint, 15mins between each coat.
Weather has been perfect for this process recently
Will post up some pics of the finished shafts soon.
Below is a pic of the cups, happy with the results, a lot cleaner.
Excellent work so far mate, very impressive stuff !
quick few questions if I may , how are you finding the Bilstein coilovers ? How is the overall quality, how low do they look like they would go ? how much stiffer than stock are they ?
Im looking into buying a set myself but can't decide whether to go for these or the more expensive KW's


 03-04-2017, 11:08 AM


 a lot of very good quality work there, amazing how much rust is hidden on these cars even a later one. good advice on the por15, once you get it on your skin it takes fooking ages to wear off and you will not be able to clean it off, even with thinners !