When you click on links to various merchants on this site and make a purchase, this can result in this site earning a commission. Affiliate programs and affiliations include, but are not limited to, the eBay Partner Network.
UK & Ireland S2000 CommunityDiscussions related to the S2000, its ownership and enthusiasm for it in the UK and Ireland. Including FAQs, and technical questions.
If you’re anywhere near Surrey or West Sussex then just give me a shout, I have a recip saw, plenty of blades and some other useful tools you’re welcome to borrow if needs be
Use water on the blades to keep them cool so they'll last longer, i went through 4/5 blades before i figures this out. An angle grinder can only reach most of the front castor bushes and only a small bit of others so the saw is needed.
Makita blades are good they bend a little a few times and don't snap like cheep ones.
And my diff looks like that
Great advice, luckily my mate who I borrowed the recip saw off, had 2 Makita blades in the box. I bought some cheap blades as well and they didn't even scratch the surface of the bolts before being blunt. Managed to cut three of the bolts before the first blade was blunt. Well worth paying the extra money for decent blades !
Originally Posted by TangoVTEC
Great write up fella, really enjoyed the read!
If you’re anywhere near Surrey or West Sussex then just give me a shout, I have a recip saw, plenty of blades and some other useful tools you’re welcome to borrow if needs be
Dan
Thanks for the offer! Ive sorted them now !
Originally Posted by Irish TuneR
Use water on the blades to keep them cool so they'll last longer, i went through 4/5 blades before i figures this out. An angle grinder can only reach most of the front castor bushes and only a small bit of others so the saw is needed.
Thanks for the advice, i used cutting compound on the blades and it definitely helped the blade life !
Originally Posted by s2000_f20
Wow, amazing work dude.
Would love to get this involved with my S but just dont have a garage to play with.
I love the attention to detail into every aspect of the refurb
Thanks for the reply !
Originally Posted by Finch1983
Great progress so far buddy , I need to do a bit of this with mine
It seems to be an ever occurring problem with s2000's of all ages now, hopefully it will be worth all the work !
I will ask him what he can do on them . I'd love a set of ohlins but don't have that sort of spare cash and wouldn't get the full potential out of them !
Now have the wishbones removed and seized bushes pressed out!
I enjoy a lot of jobs working on the s2000 but this has to be one of the dirtiest and time consuming of the jobs I have done to date.
Very much looking forward to getting everything clean, rust free and in compliance.
The reciprocating saw with makita blades and cutting compound makes life much easier, thanks to all for the advice in previous comments.
Lower wishbone seized bush cut out, after putting up a fight.
If your planning on cutting these bolts, have a lot of patience, good quality blades and cutting compound.
Toe arm bush cut out, to make it easier to press the bushes out I cleared off the rust and lubricated with some WD.
Toe arm in press all positioned up with socket that fits the outer race perfectly.
All pressed out !
Upper wishbone ball joint dust cover removed. As i am reusing the ball joints, I left the old grease in situ whilst pressing. This is to catch any debris, then carefully wipe clean afterwards this prevents debris getting trapped deep in the socket of the ball joint, causing problems when reinstalled.
In press, using some WD helps ease the ball joint out and prevents it shooting out.
You may notice I have an old suspension nut on the ball joints thread instead of the castle nut, this is to prevent damage.
Ball Joint on its way out !
All pressed out, ball joints are in good condition so will be reusing them, just having a clean up, paint and packed with fresh grease !
Snapped an ABS cable bracket bolt on removal, so drilled out starting at 3mm, then 5.5mm with some cutting compound.
Then tapped out at M6 with cutting compound.
New M6 A2 bolt tested and tightened!
Subframe all stripped down and ready for shot blasting and powder coating, photo for before and after comparison !
Fuel tank shield for before and after comparison.
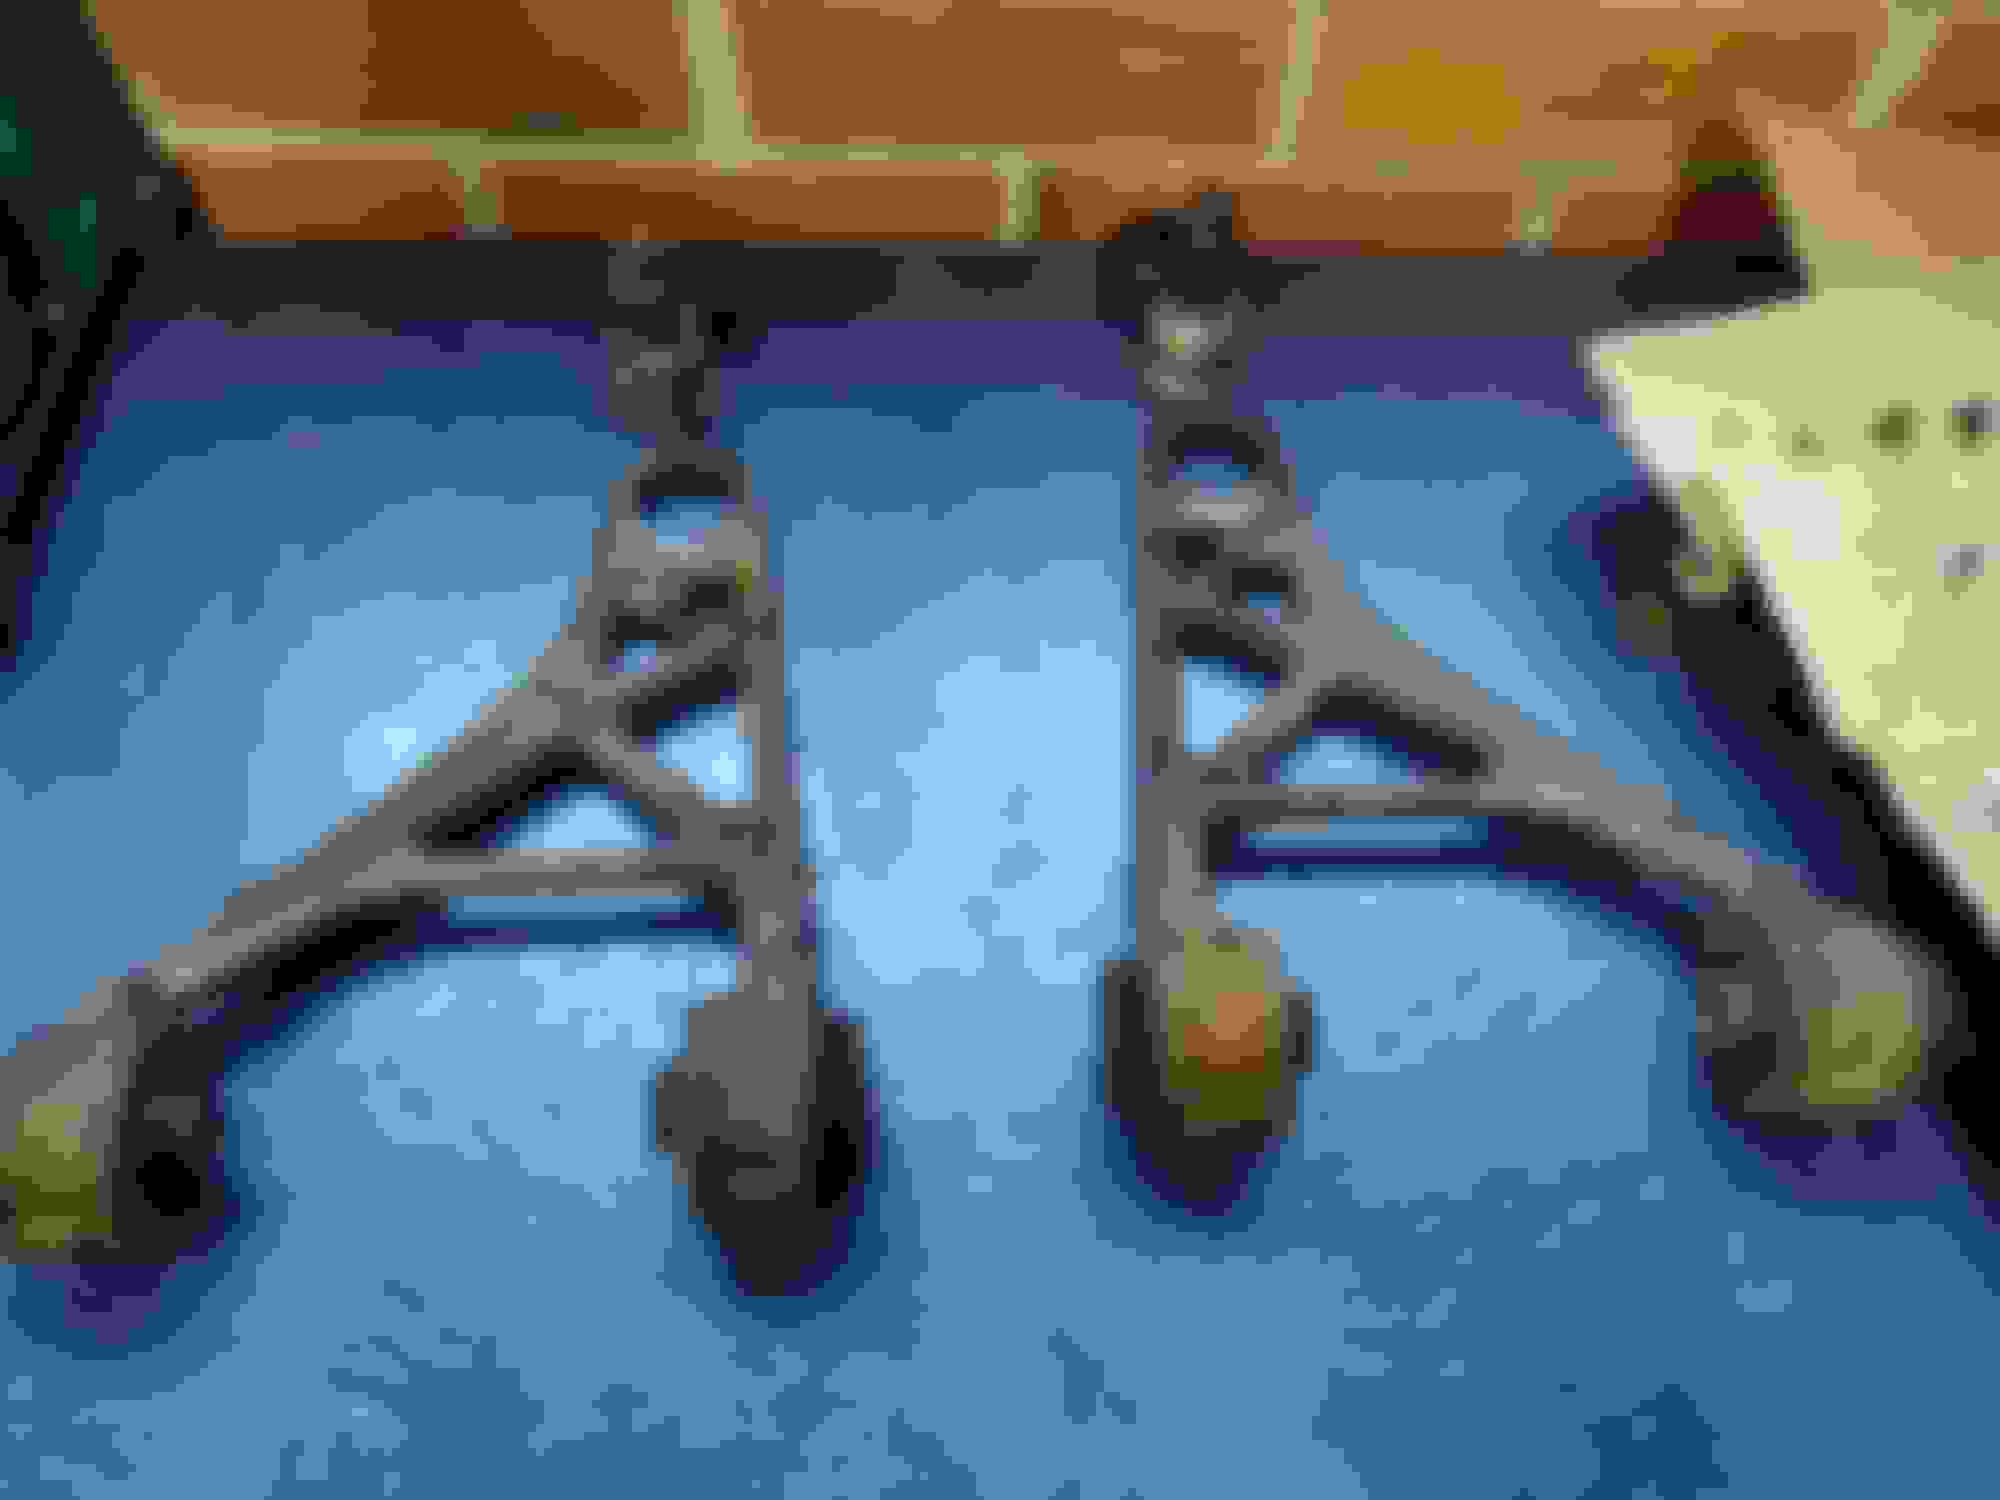
Wishbones for comparison.
I have pressed out all the bushes I can with my hydraulic press, the two big lower wishbone bushes still need pressing and the upper wishbone bushes i am unable to remove as i don't have any sleeves large enough in circumference to enable me to press upwards on the press.
Off to my mates garage asap to remove these, then shot blasting and powder coating time !
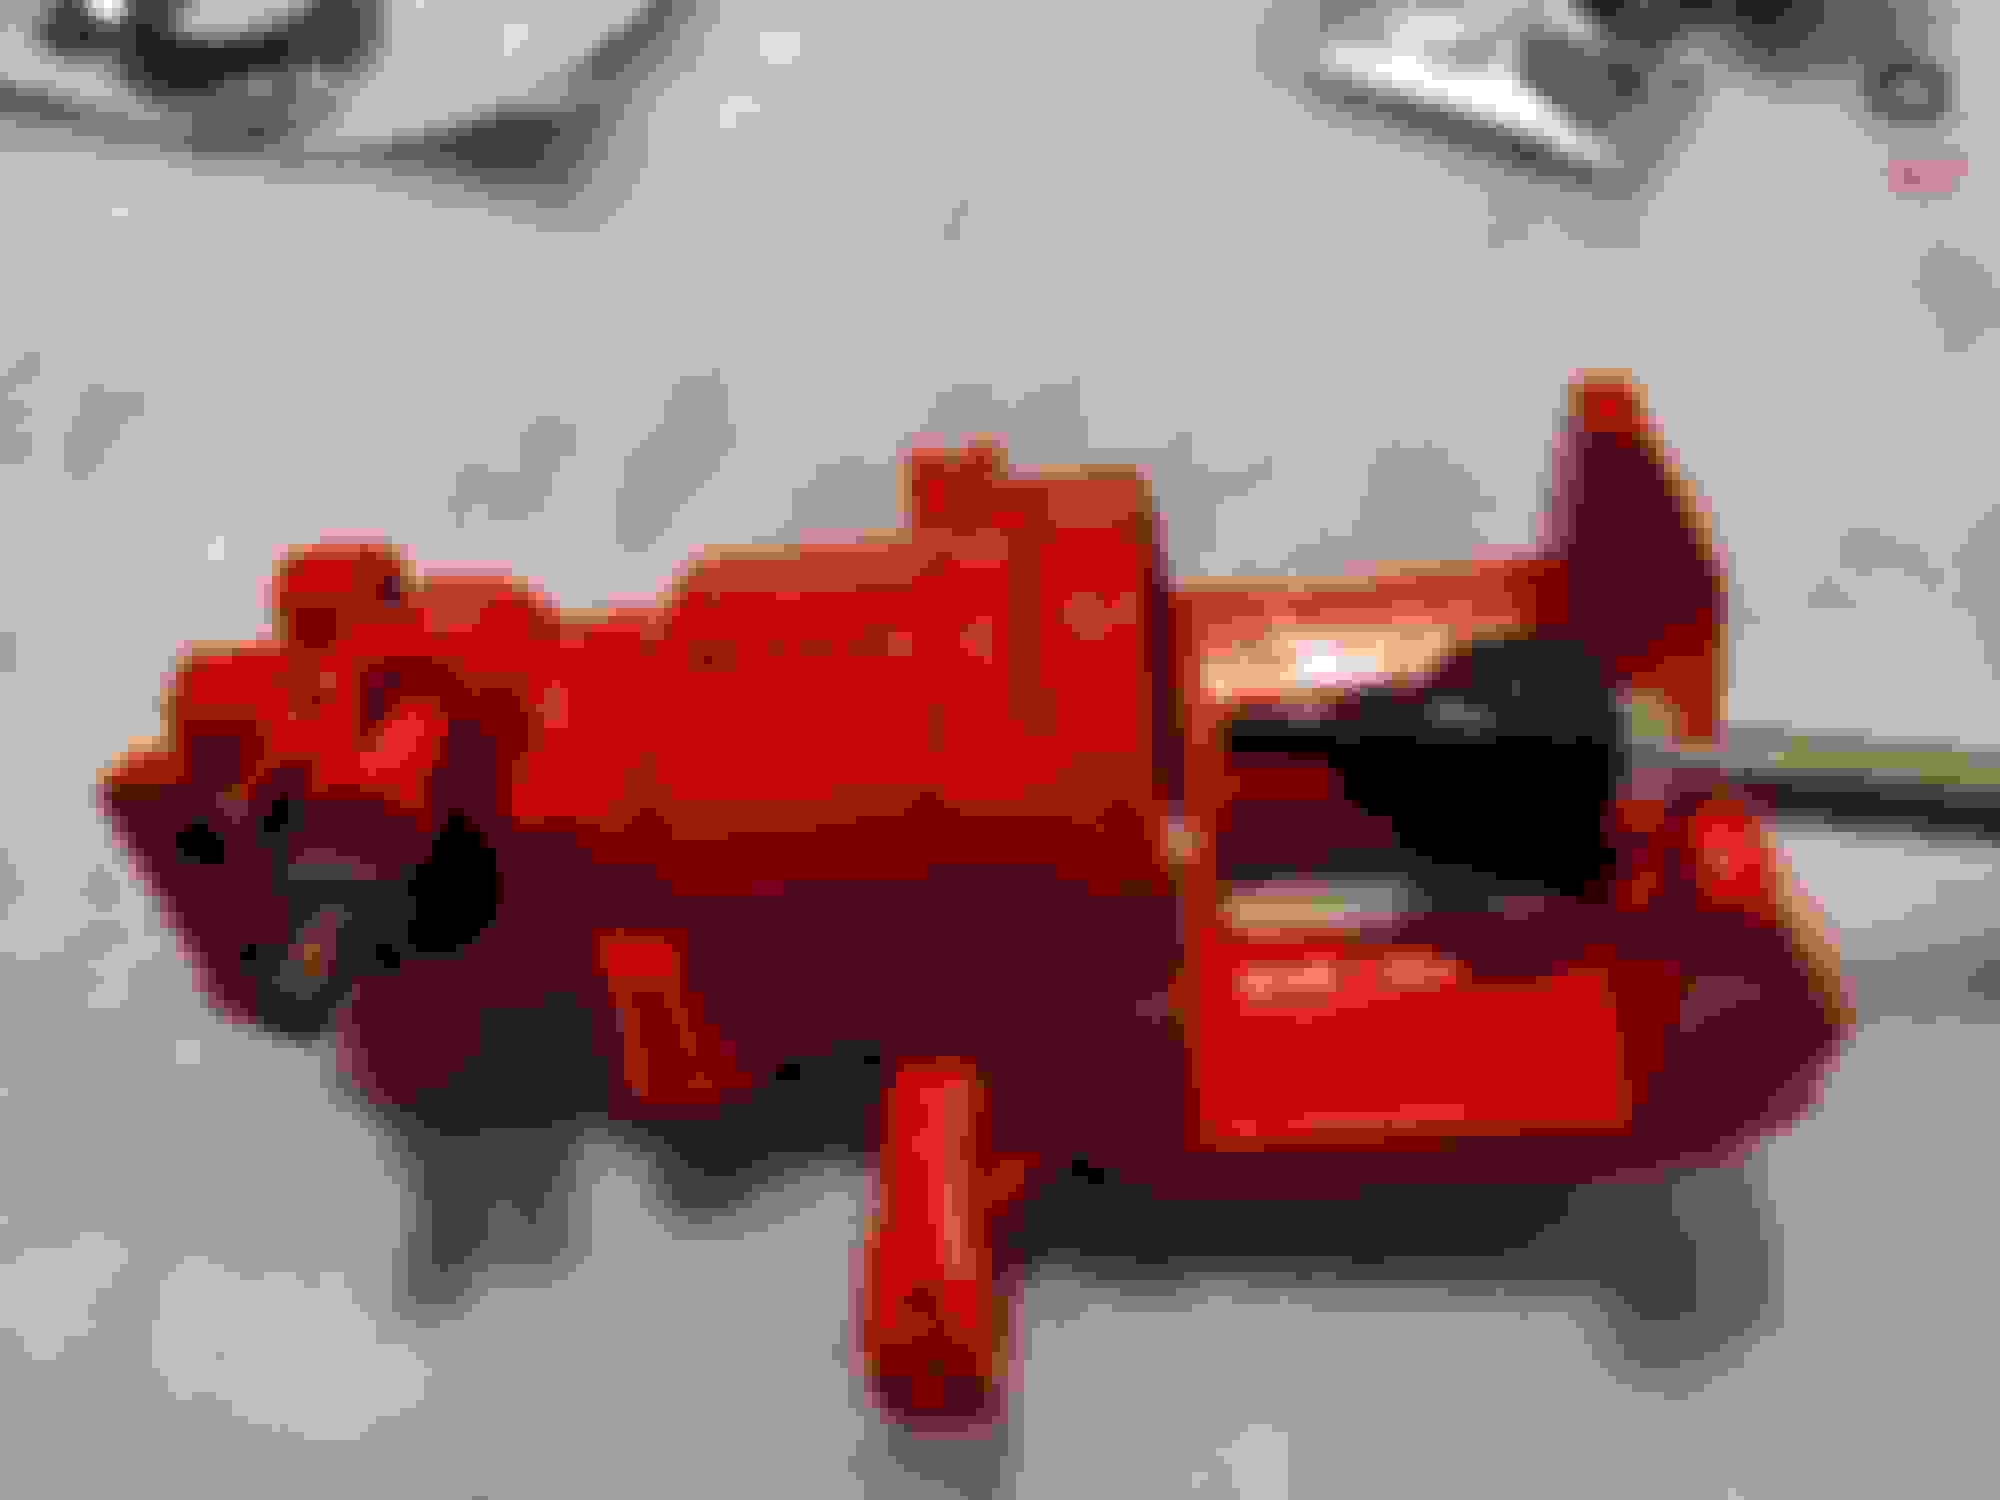
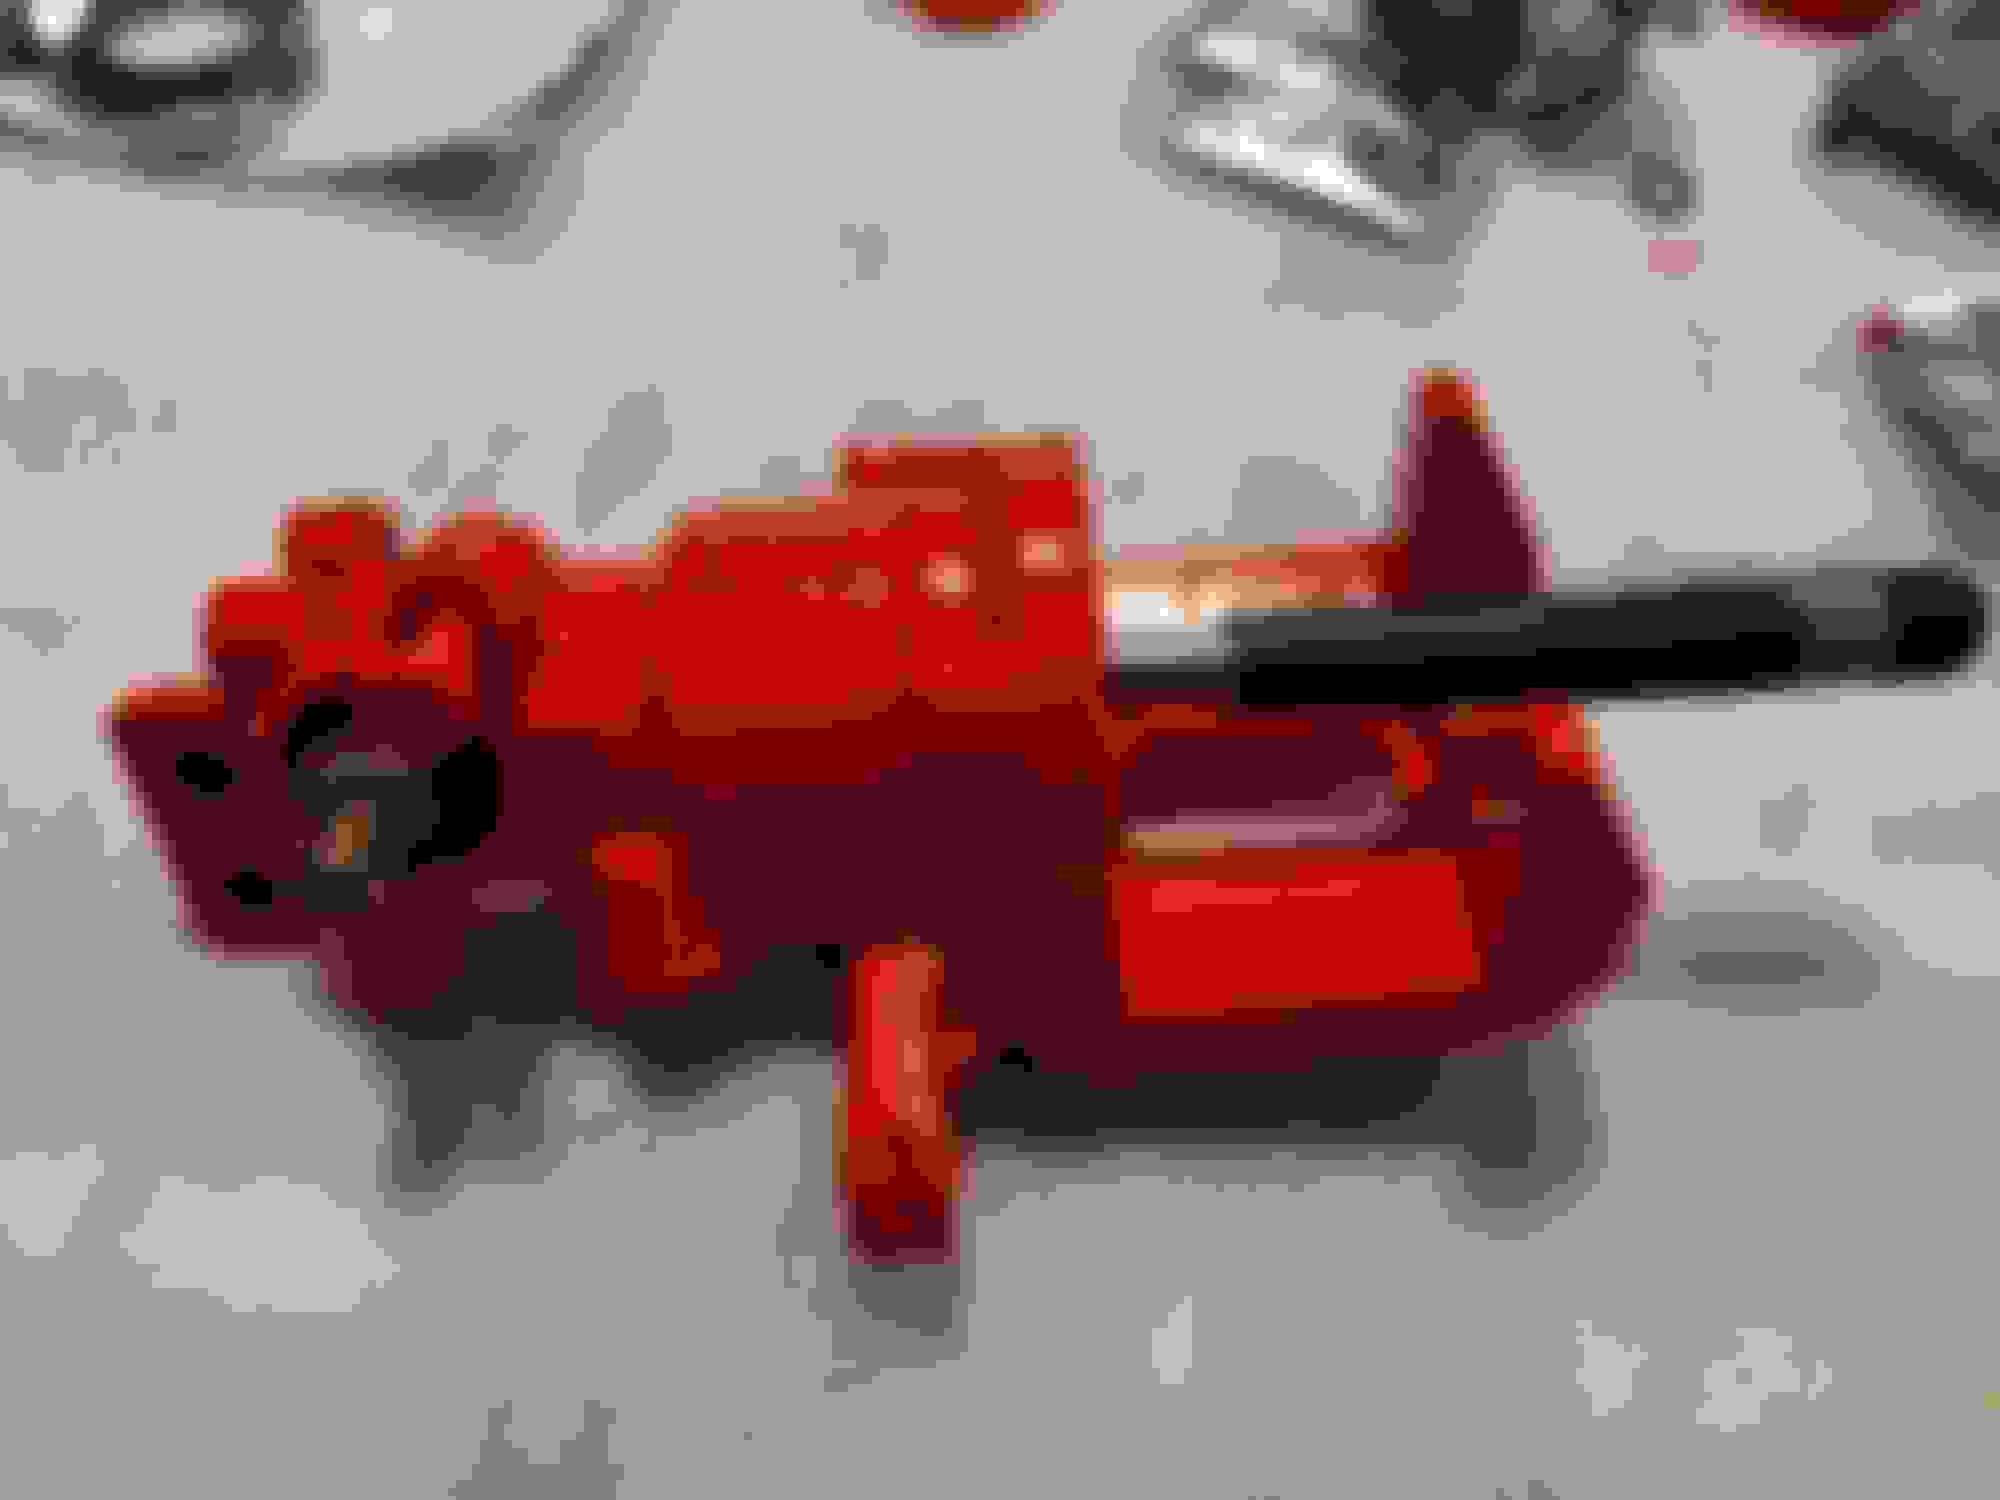
Treated the rear calipers to a bit of TLC whilst there off the car !
Had the calipers blasted with all old seals in place to stop the ingress of grit etc.
Then powder coated a nice Honda red for a bit of depth !
Photo below for comparison.
Bought new seal kits and bleed nipples, reused the slide pins and pistons, as these were in good condition.
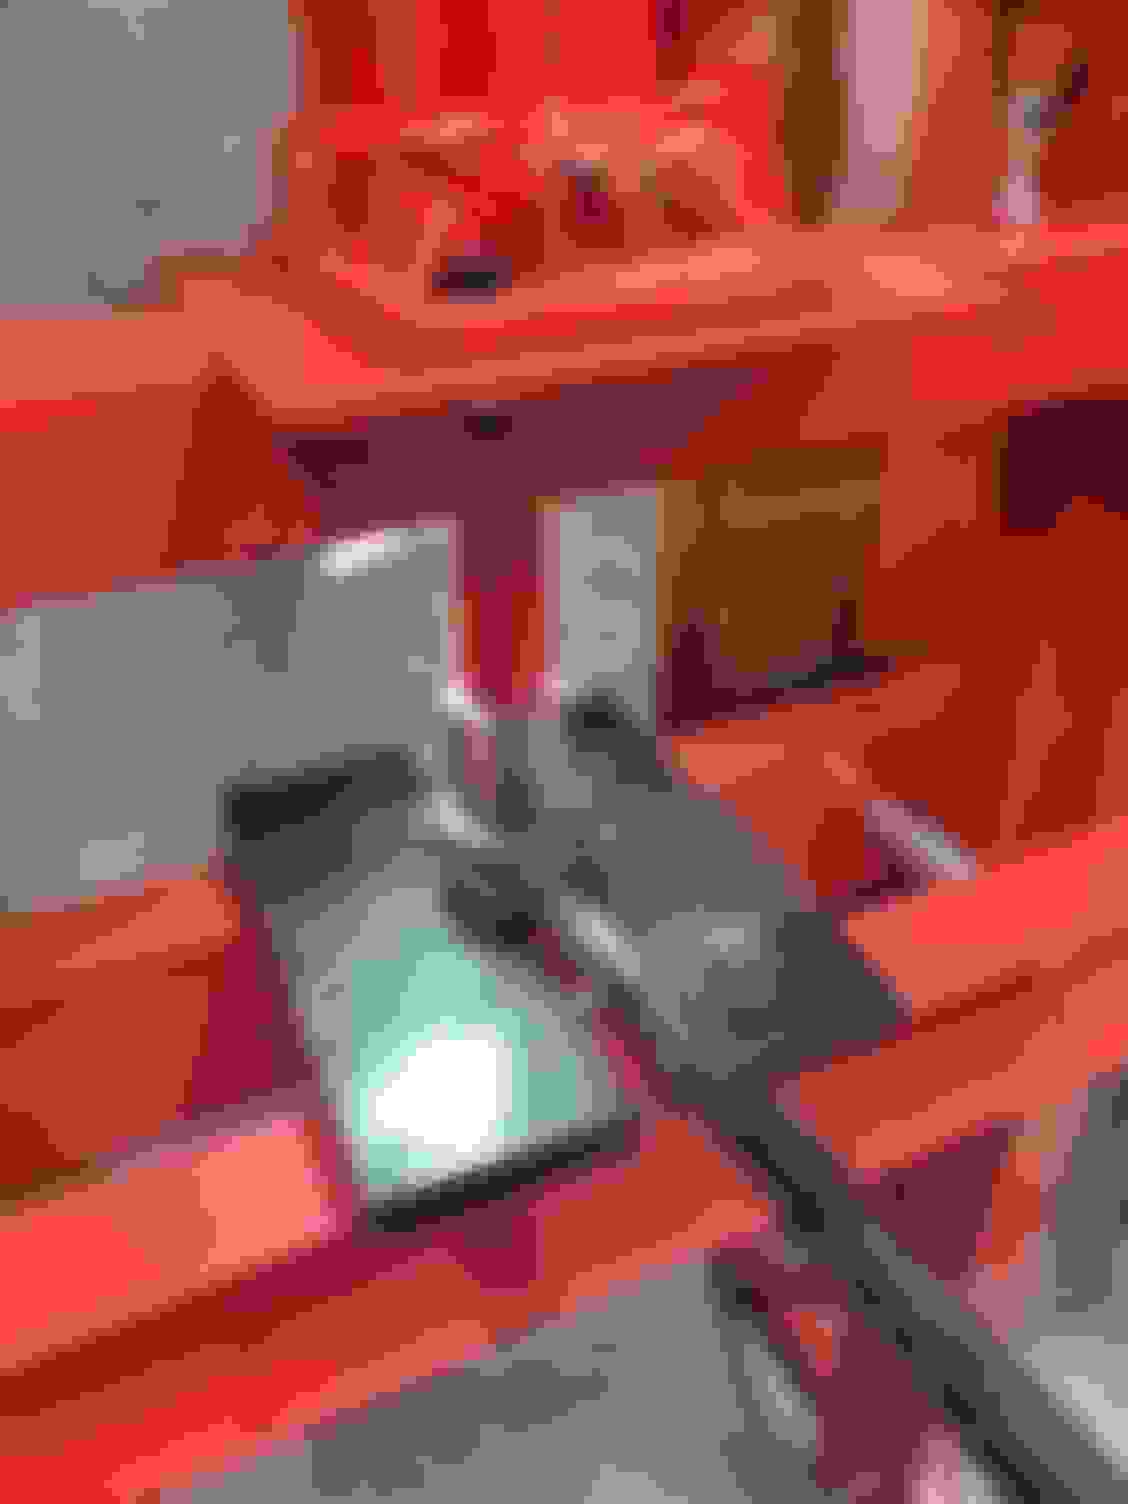
Set myself up in the dinning room in the warm for the rebuild, much to my partners delight .
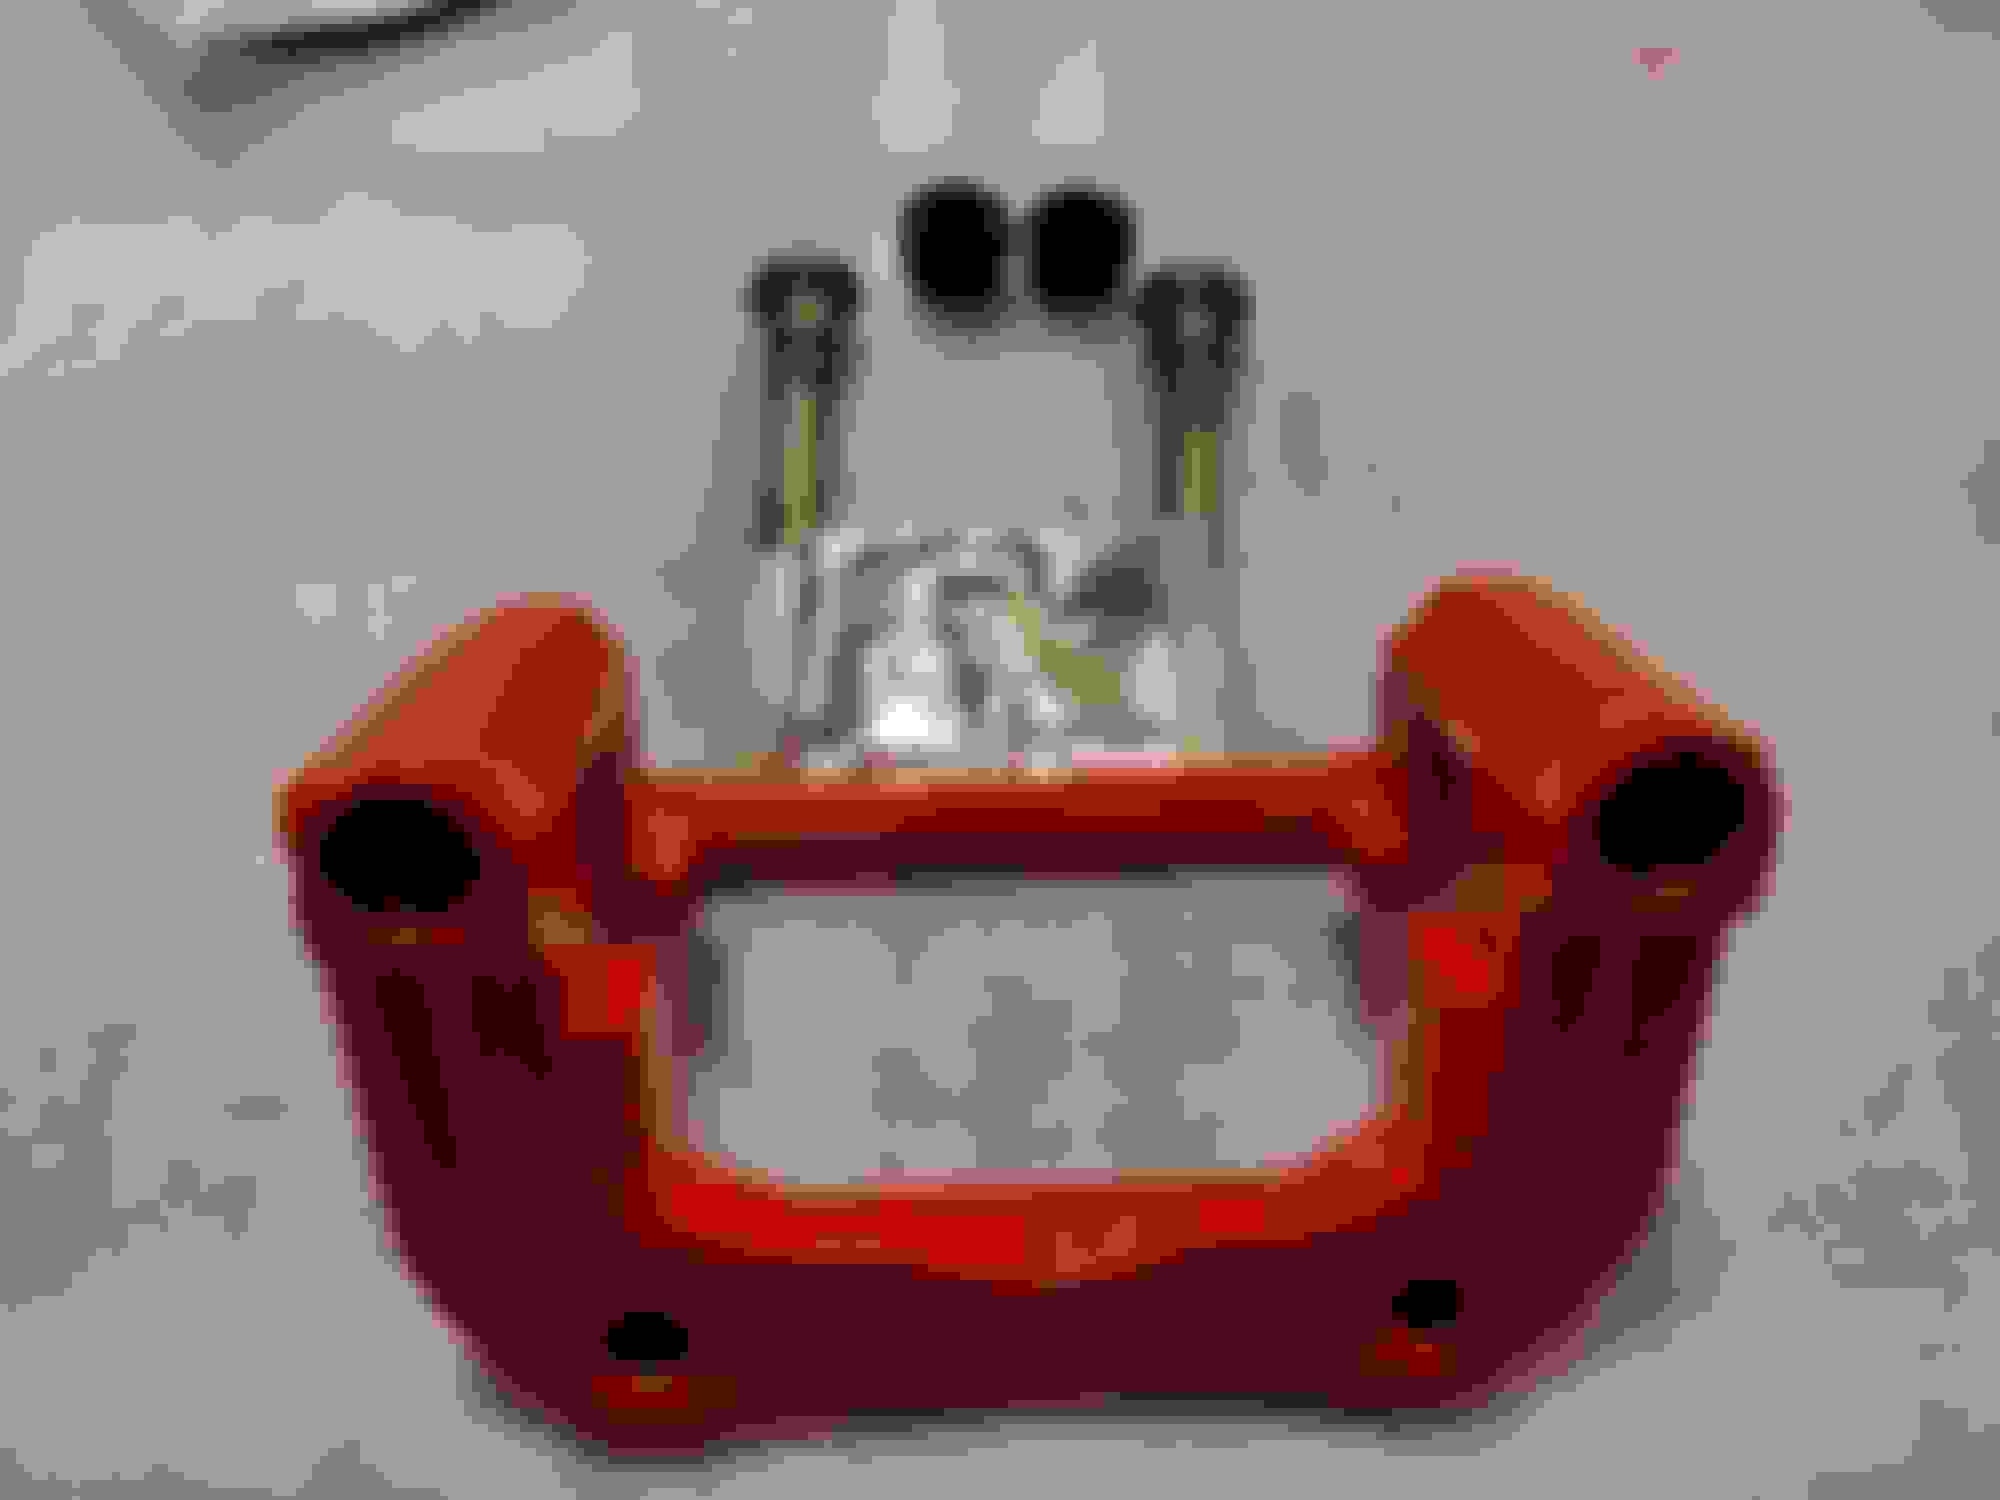
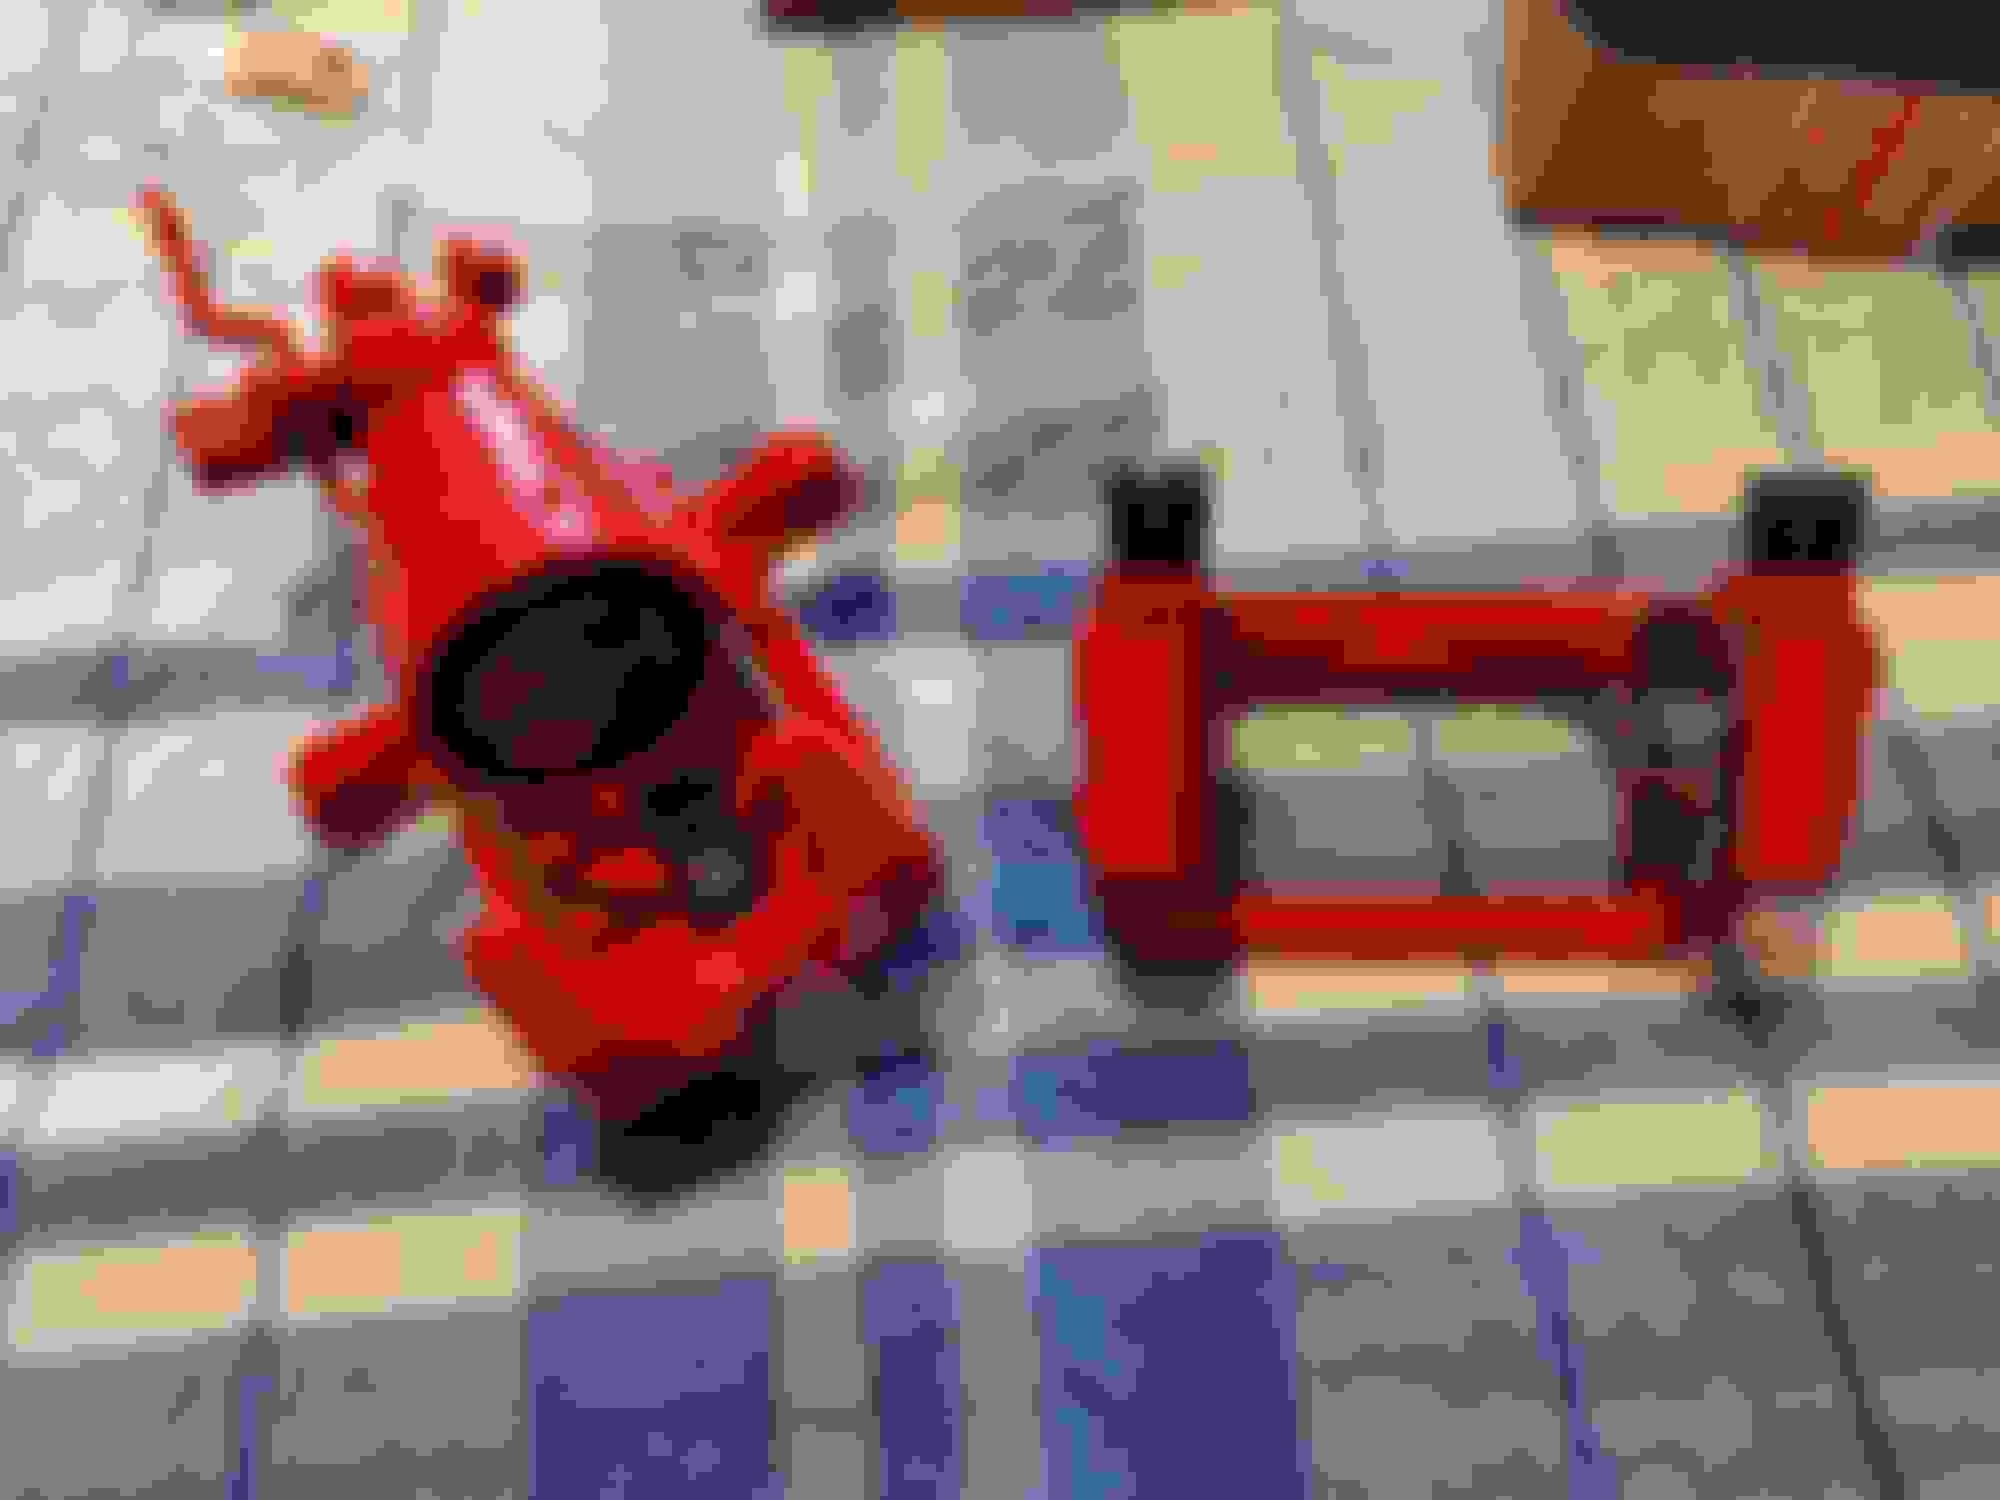
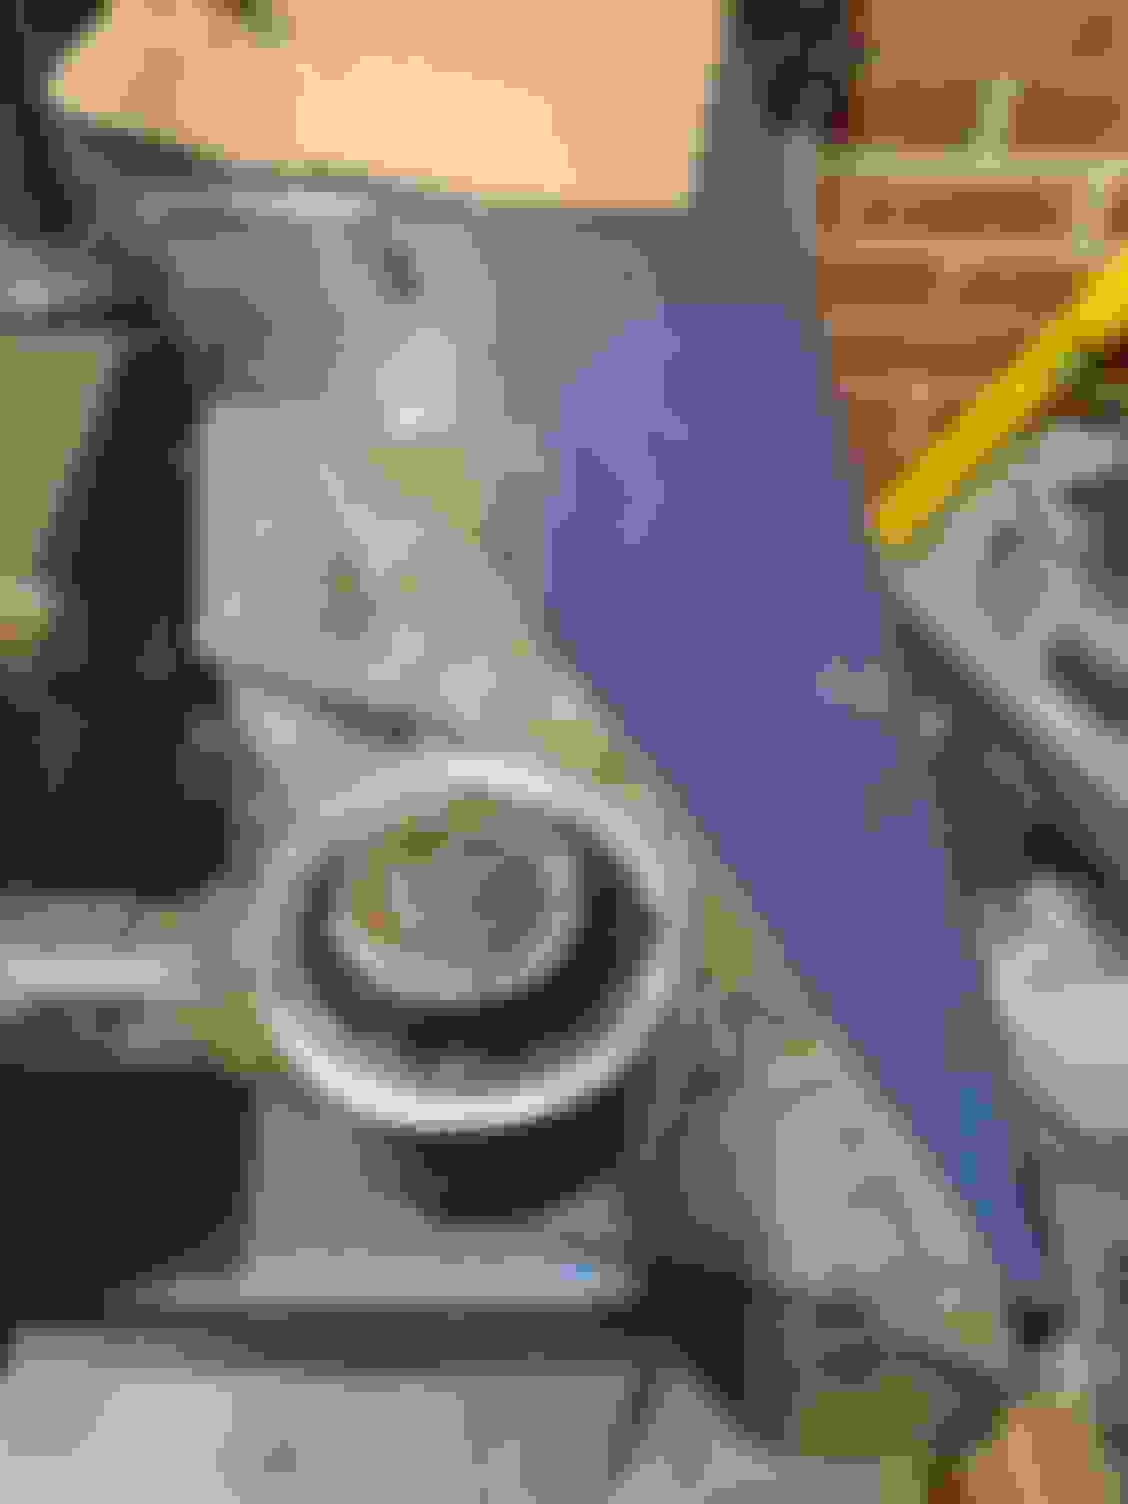
I haven't gone into a lot of detail on the rebuild, but a tip for reinserting the adjuster bolt assembly (pictured above) is to use a magnetic stick (pictured below) this allows you to carefully insert it whilst turning the hand brake engagement shaft.
There is a tapered O-ring to replace here too at the bottom. Keep everything clean by wiping as you go, you can see some grit on the paper towel in the picture, i was surprised how many bits were inside the caliper when i disassembled them, most of it look like bits of micro rubber and sludge. I suspect rubber hoses degrading.
Use long reach cir-clip pliers to remove and reinstall the cir-clip holding the adjuster bolt in place. This is the bit most people find challenging, having the correct tool and taking your time is all it takes I did it first try on both installation and removal.
The main seal for the caliper piston requires patience and MUST be kept clean, it is so easy to pick up a spec of dust/grit. etc. Especially once greased. More info available if anyone wants advice forgot to take pictures of this bit as i was covered in grease
Finally greased up the slide pins and new seals, the slide pin with the tapered edge is for the bottom facing side of the caliper. (Supposedly this is to help with heat dissipation under heavy braking.)
All Done !
Loads more to follow! Any questions hit me up, got loads more photos and happy to give advice on seal kits rebuild etc.
 11-20-2018, 12:32 PM


 .
.