Daily Slideshow: Cleaning the Engine Bay
The S2000 has a gem of an engine, so what better way to showcase the F20C/F22C in all of its glory than to make sure the engine bay is spic and span.
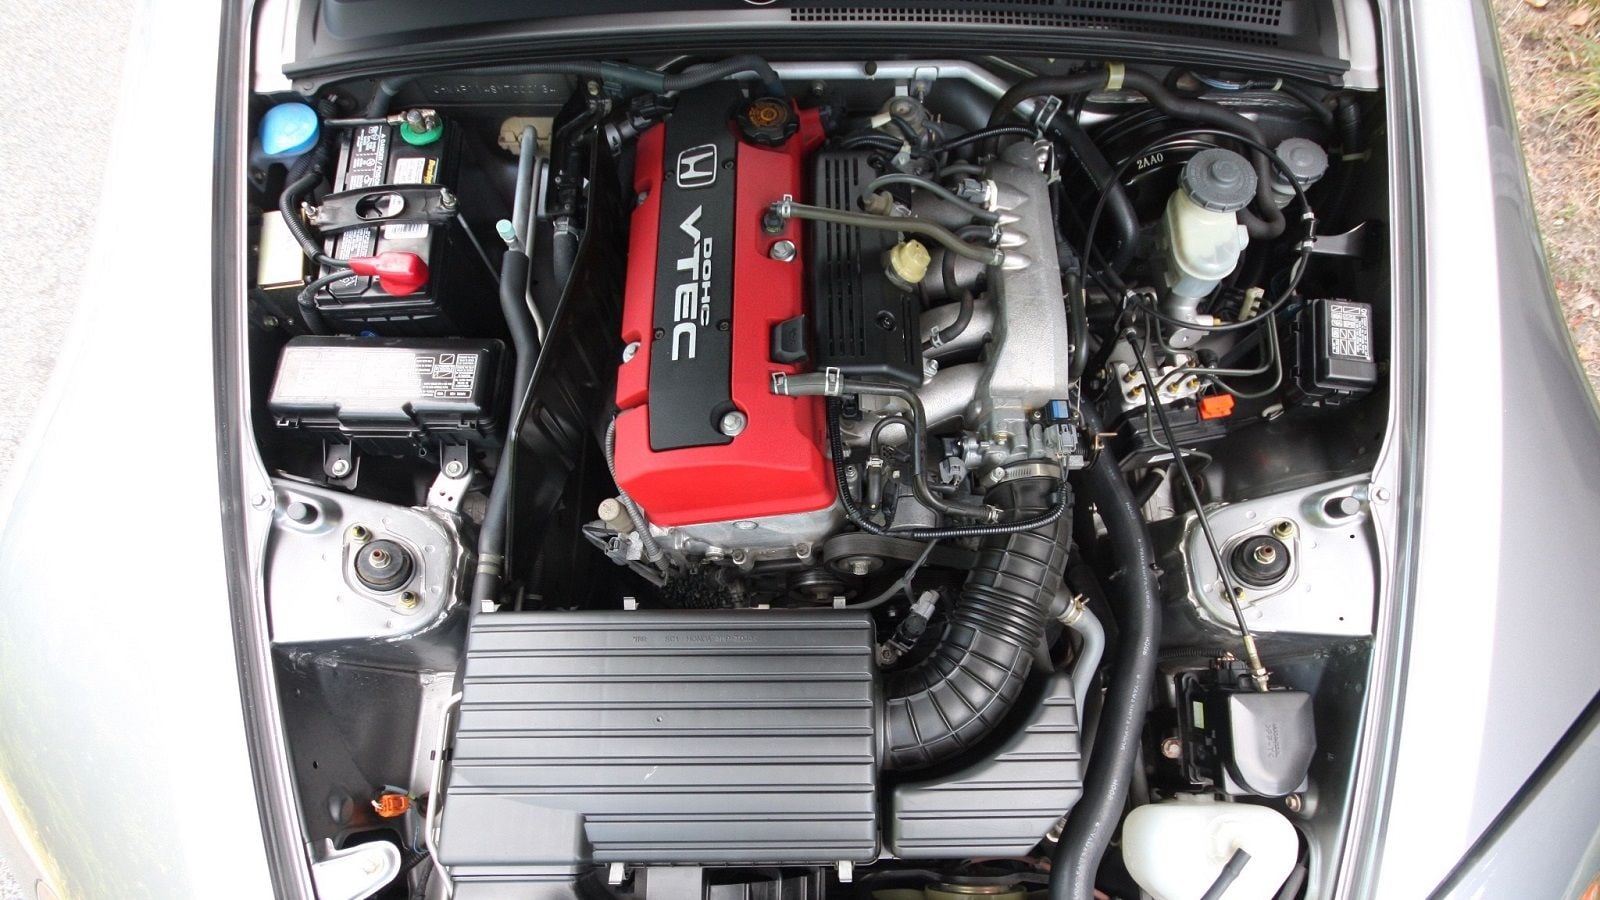


Preparation
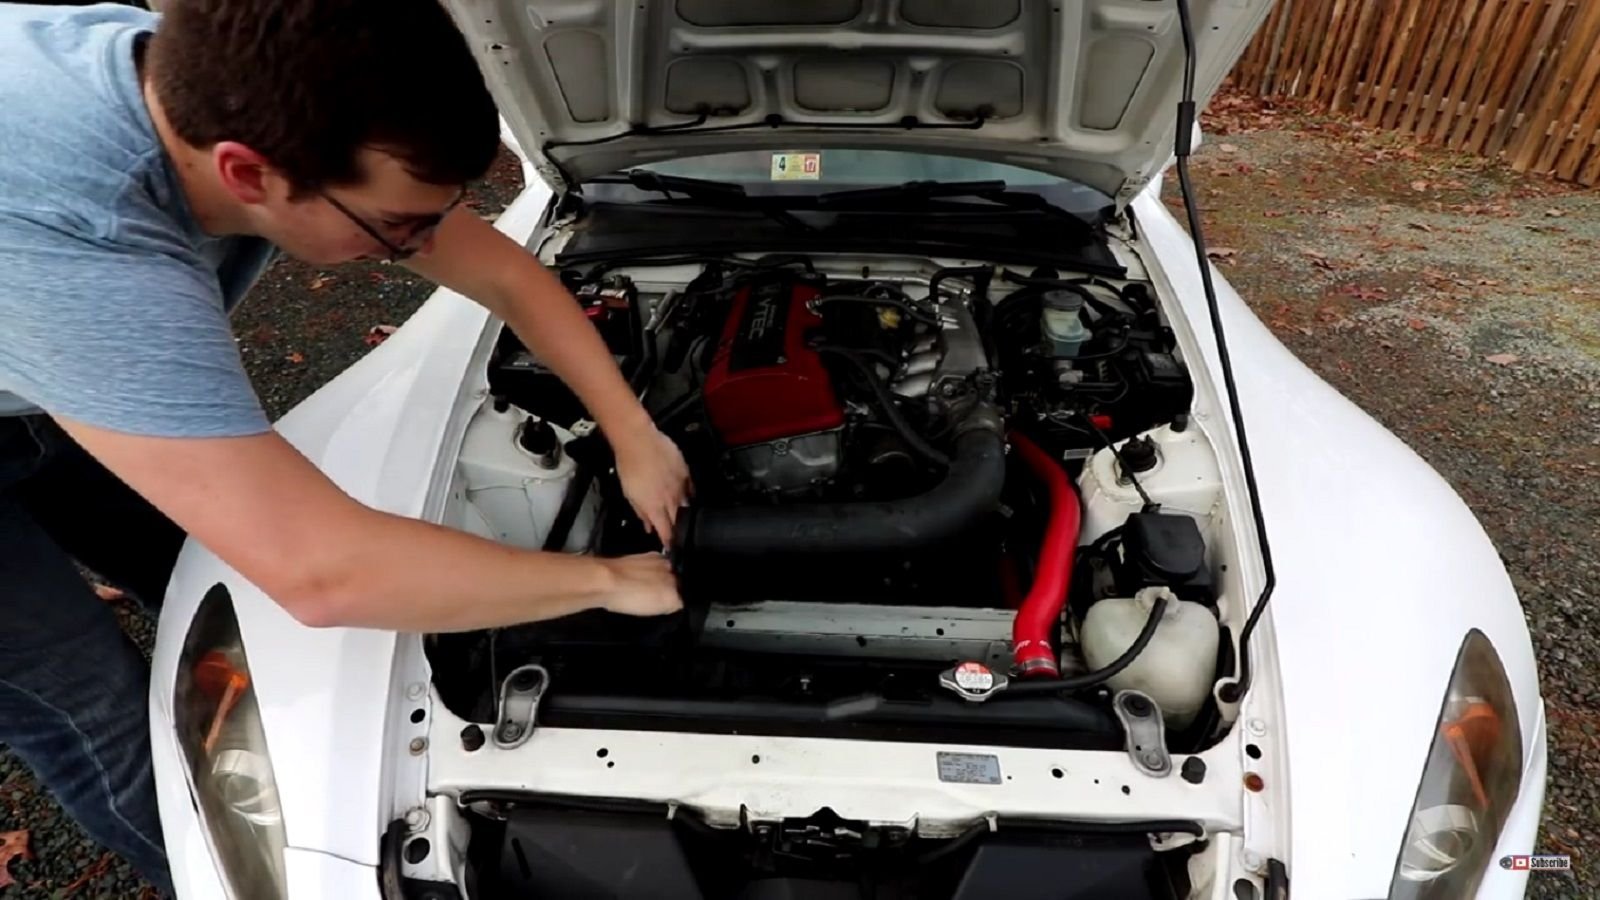
The first and arguably most important step in cleaning the engine bay is the preparation stage. Electronics play a huge role in cars today, so it is important to disconnect the battery before cleaning begins to ensure no electrical current is running through any components that could possibly short out. Additionally, it is important to make sure the engine oil dipstick is properly seated as well as the cap on the brake fluid reservoir, engine oil filler, etc. are tight to prevent any water entry. Finally, it is typically a good idea to cover the air-cleaner with a plastic bag if running a cold-air intake to prevent any water intrusion. Similarly, the fuse box can also be covered.
Dry Cleaning
Chances are that your engine bay has accumulated dust and dirt throughout, but instead of immediately wetting the engine down and allowing this grime to move into harder to reach places, it can quickly and easily be cleaned-up a bit to make the next steps easier. A simple detailing brush can be used in conjunction with a shop vac, compressed air, or even a leaf blower. Use the brush to loosen any accumulated dirt throughout the engine bay, then proceed to either vacuum it up, or blow it away. With all of the loose grime gone, we are ready to move onto wet cleaning. (This dry cleaning step can be skipped if your engine bay is already relatively clean)
>>Join the conversation about cleaning your engine bay right here in the forum.
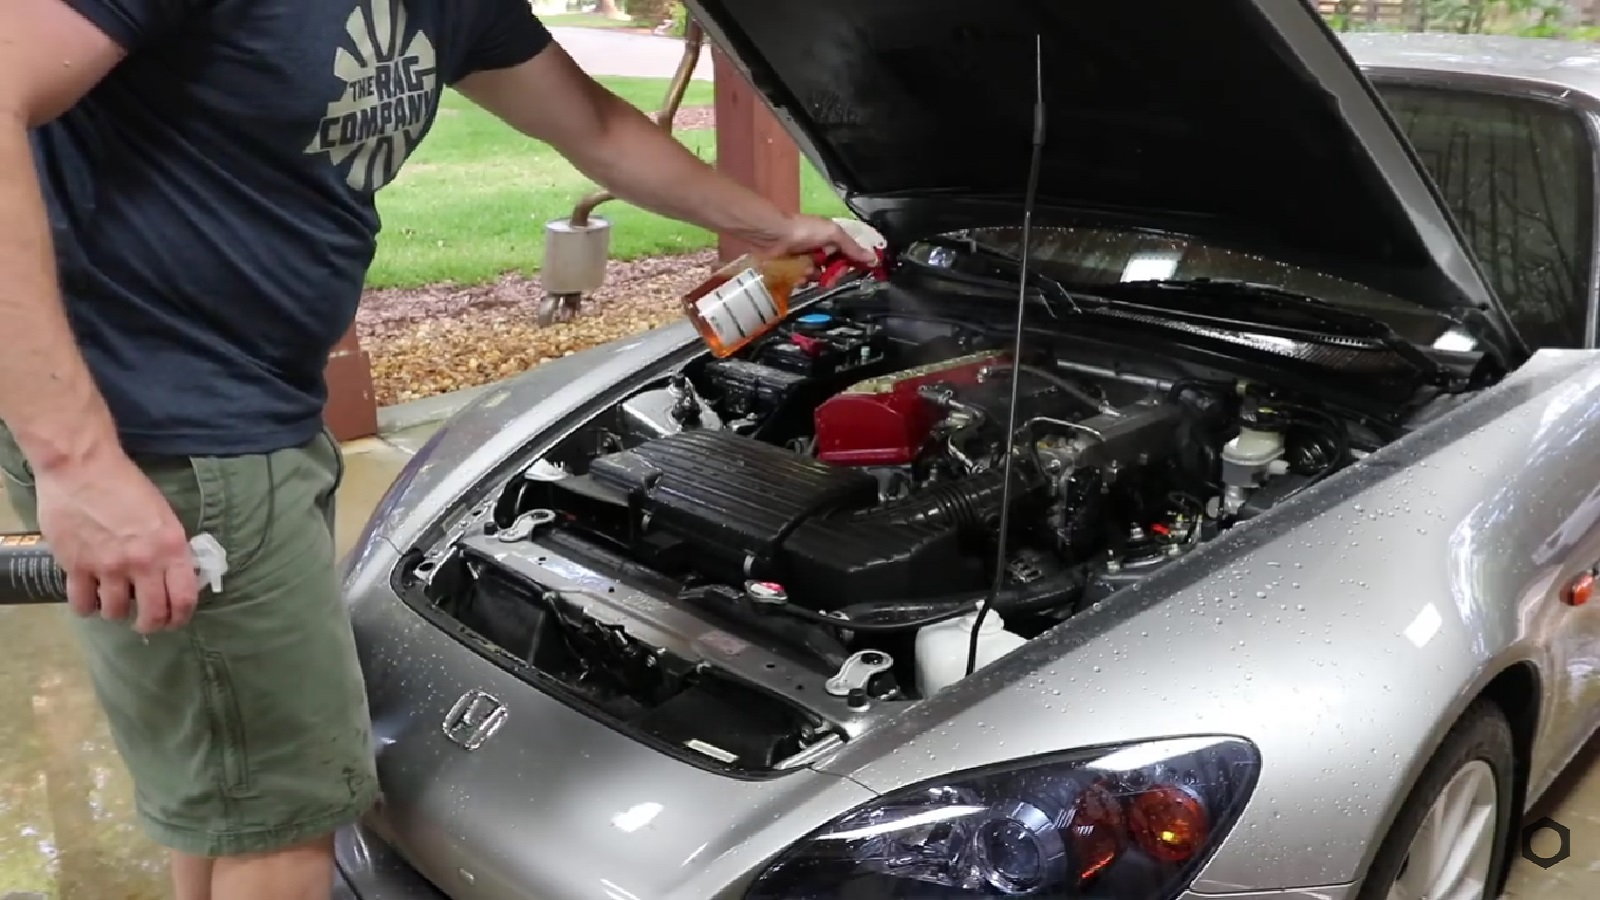
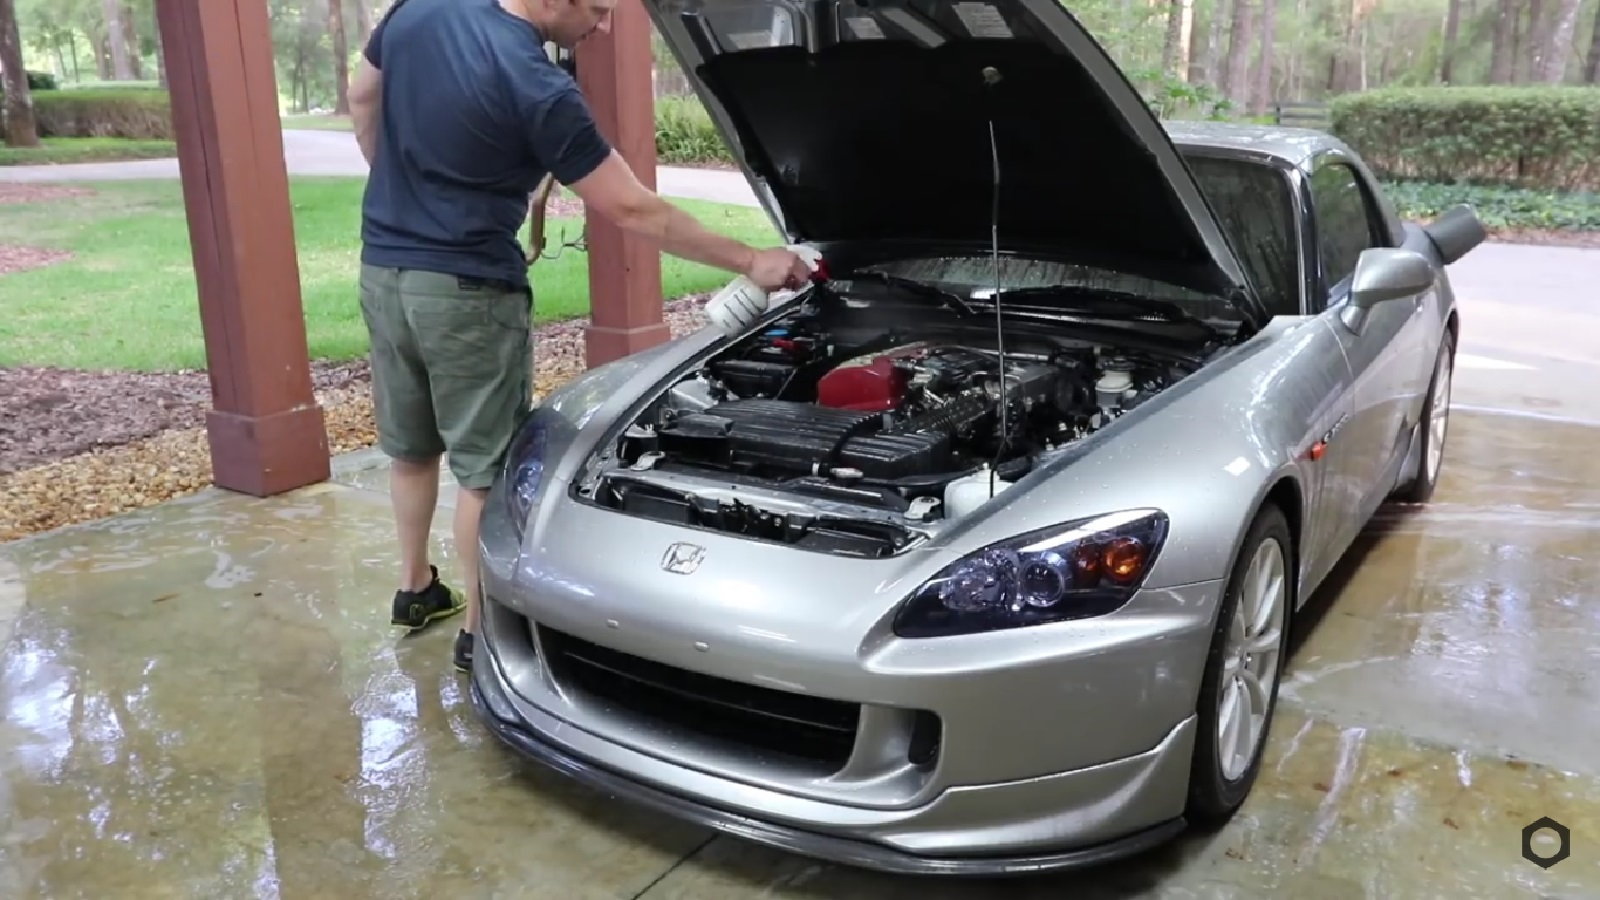
Wet Cleaning - Engine Bay Perimeter
Wet cleaning is the step that tends to make folks a little nervous, but a little care will go a long way in the safekeeping of your engine. Most detailing experts agree that it is okay to use a pressure washer when cleaning the engine as long as you keep it at least 18" away from the component you are spraying to prevent any water being forced into any unwanted places. That said, a regular garden hose with a sprayer attachment often works quite well too. Begin by wetting down areas surrounding the engine with a light spray of water. Using cleaning wipes (such as Tub O' Towels) to first wipe down the surrounding areas of the engine will not only remove the dirt but also absorb grease and oils.
>>Join the conversation about cleaning your engine bay right here in the forum.
Wet Cleaning Continued
Rinse away any loosened dirt before treating the area you are working on with your favorite degreaser. Use your detailing brushes and pipe cleaners to get into any crevices and small areas that were not accessible with cleaning wipes to agitate the degreaser. Let sit several minutes before rinsing the area. Rinse and repeat as necessary. With the entire perimeter of the engine bay cleaned, you can now shift your focus onto cleaning the engine itself.
>>Join the conversation about cleaning your engine bay right here in the forum.
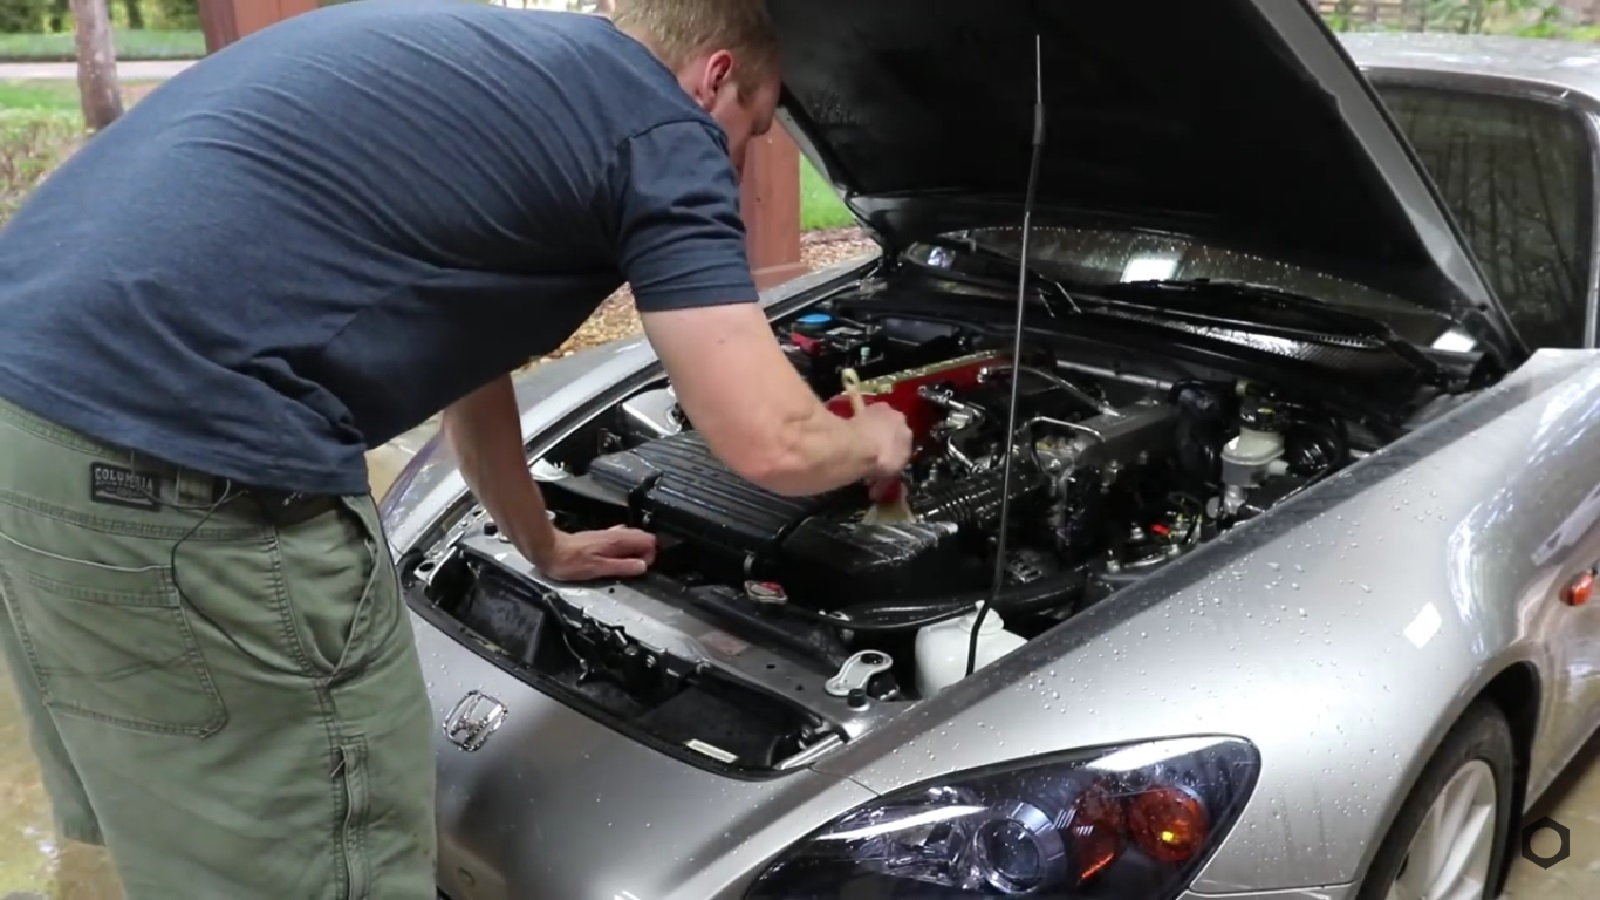
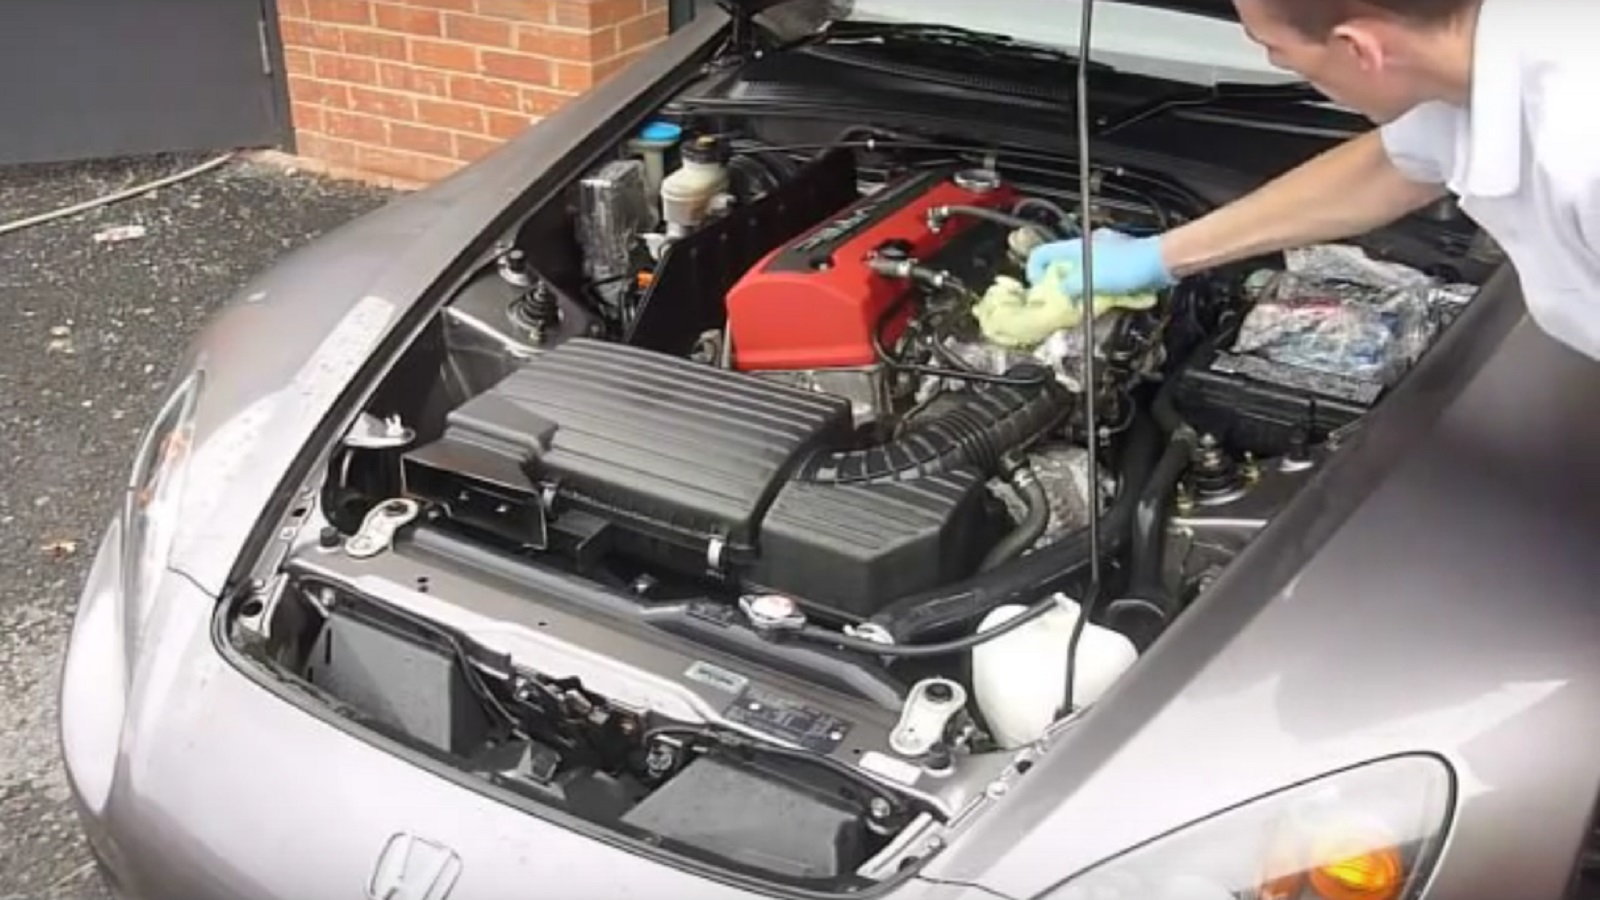
Engine Wet Cleaning
Folks tend to butt heads on how much water should actually be used on the engine itself, but in the case of the S2000's engine design, the engine can either be given a shower or a sponge bath. In either case, the application of a degreaser as simple as a dishsoap/water mixture can quickly and easily clean the grime off of the engine. Similar to the rest of the engine bay, apply your degreaser to the engine and agitate on all accessible surfaces. Any hard to reach areas can be cleaned with detailing brushes. Even a toothbrush can come in very handy for those tight spaces.
>>Join the conversation about cleaning your engine bay right here in the forum.
Rinse & Dry
Now that you've degreased the entire engine by scrubbing and brushing it, you can proceed with rinsing. As previously mentioned, try to avoid spraying high-pressure water at too close of a distance to the engine when rinsing. With all of the degreaser removed, you can begin the drying process. If you have compressed air or a leaf blower available, blow the engine off to remove any standing water before using microfiber towels to dry the engine bay. The microfiber will not only work to dry the engine bay but also collect any remaining dirt or grease. Once dry, you are ready for detailing.
>>Join the conversation about cleaning your engine bay right here in the forum.
Detailing
The final step in making your engine bay really pop is the detailing process. Begin by applying your favorite spray wax to all painted surfaces. Not only will this bring out the shine of the paint, but it will also make for easier engine bay cleanings in the future. Finally, all rubber and plastic surfaces can be treated with a rubber/plastic restorer such as those offered by Meguiar's, Mother's, and the like (be sure it is water-based and does not contain any oils). This will essentially make all black engine bay components look new. At this point, you can hook the battery back up and remove any plastics bags as you are all finished and can now show off the awesome looking engine bay that the S2000 is known for.
>>Join the conversation about cleaning your engine bay right here in the forum.