Daily Slideshow: How to Convert your Front Bumper from AP1 to AP2 Style
Find out how to convert your AP1 front bumper to the more-aggressive AP2 style!


Updating your front bumper is easier than you might think!
The AP2 S2000 brought with it many advancements including a more aggressive front bumper. If you have an AP1 S2000, you easily update the look of your car by installing an AP2 front bumper! The total cost of the conversion is normally near $600 if you use quality OEM parts and only a couple hours of your time! See below for the list of parts you will need to source from your local Honda dealer before you get started!
Parts Required:
1. 2004-2009 FACE, Front Bumper - 04711-S2A-A92ZZ
2. 2004-2009 COVER, Front Tow Hook *NH630M* - 71104-S2A-010ZD - Order as per your car's color
3. 2004-2009 GRILLE, Front Bumper - 71102-S2A-010
4. NUT, SPEED (3.5MM) - 90301-S2A-003 x 6
5. OPTIONAL: 2004-2009 CAP, LICENSE PLATE *NH630M* - 90672-S2A-A00ZD x 2 as per your car's color
6. OPTIONAL: 2004-2009 Splash guards - Required if you plan on installing an AP2 front lip
Tools Needed:
1/4" ratchet w/ 10mm deep socket
Philips and Flathead Screwdrivers
Dental floss
Automotive double-sided tape
Dremel or hacksaw to cut bumper beam
Removing Screws from top of bumper
The first step to getting your project underway is to disconnect your negative battery terminal to avoid any accidental airbag deployments! Then, remove the 5 black plastic Philips screws on the top of the bumper cover. Grab a plastic bag to keep these safe when you reuse them with your AP2 bumper!
>>Join the conversation about changing the bumper on your AP1 to an AP2 right here in S2Ki.com.
Removing bolts on underside of bumper
The next step is to remove the ten 10mm bolts on the underside of the bumper! Next, there are two 10mm bolts that hold the front fender onto the front bumper that needs to be removed. Lastly, turn the wheel from one side to the other to reveal a Philips screw that holds the front bumper to the fender liner. The bumper is no longer fastened to your S2000 and can be carefully pulled away!
>>Join the conversation about changing the bumper on your AP1 to an AP2 right here in S2Ki.com.
Test fitting AP2 Bumper
This step is crucial to ensure a perfect final result: Carefully mount your new unpainted bumper onto the front of your S2000 to ensure that panel gaps and alignment looks right. Consult with a body shop if there are any issues at this point! Once you are happy with fitment, have a trusted local automotive paint shop spray your front bumper. Lastly, if you do not plan on fitting a new front emblem on your S2000, using dental floss and patient to get underneath the stock emblem and remove it for installation onto your AP2 bumper!
>>Join the conversation about changing the bumper on your AP1 to an AP2 right here in S2Ki.com.
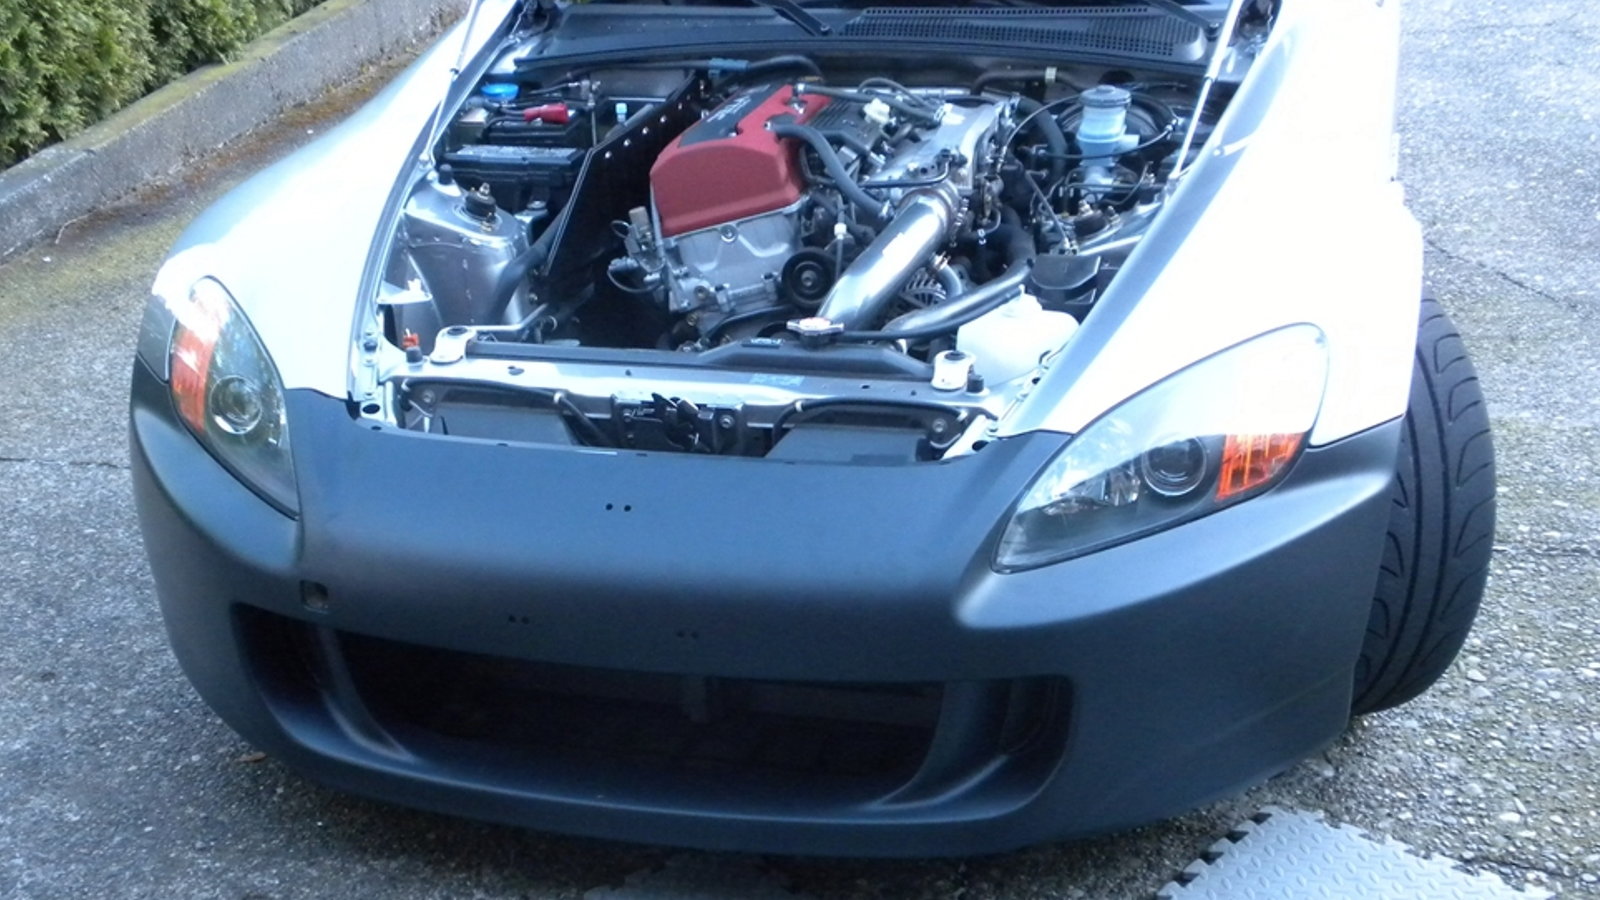
Trimming stock bumper beam...
Once your bumper is back from paint, install the plastic grilles with the speed nuts that you purchased and it will be ready for install! Next, you will need to slightly trim your front bumper beam to allow for proper clearances behind the new AP2 front bumper! Use a Dremel with a cutoff wheel or a hacksaw to carefully trim 1-1.5" off the front bumper beam in the pictured location.
>>Join the conversation about changing the bumper on your AP1 to an AP2 right here in S2Ki.com.
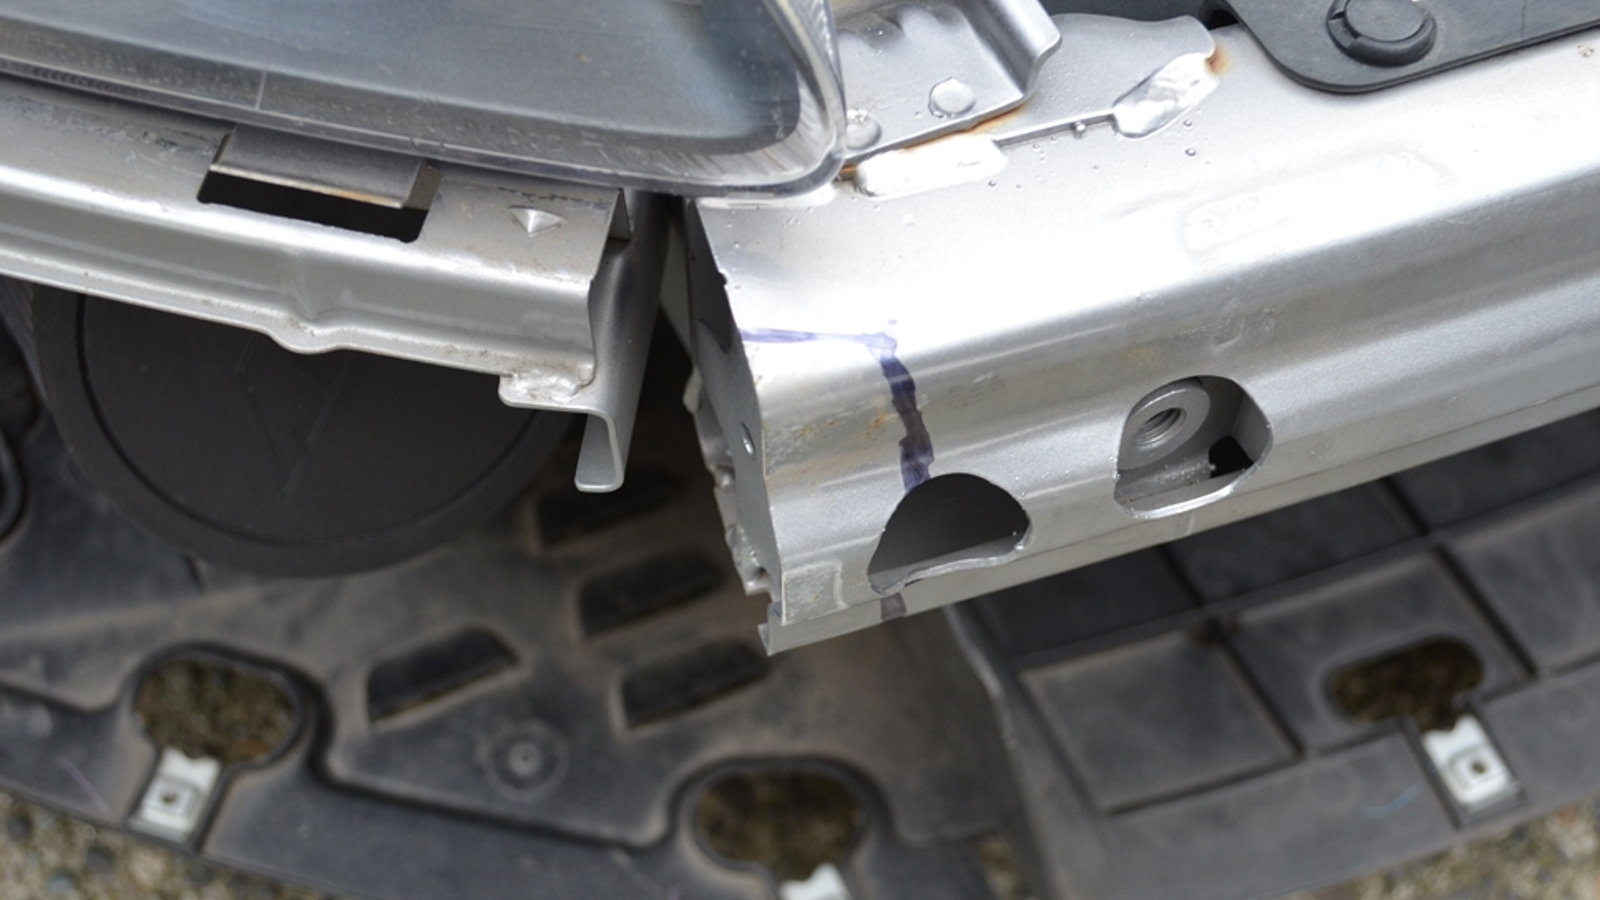
Bumper Beam clearanced!
Now that your front bumper beam has been clearanced, clean up any metal shavings and get ready to install the AP2 bumper. Gently maneuver the AP2 front bumper onto the front fascia of your S2000 and reinstall all fasteners. If you did not buy AP2 splash guards, you can simply use zip ties to fix the AP1 splash guards to the AP2 front bumper.
>>Join the conversation about changing the bumper on your AP1 to an AP2 right here in S2Ki.com.
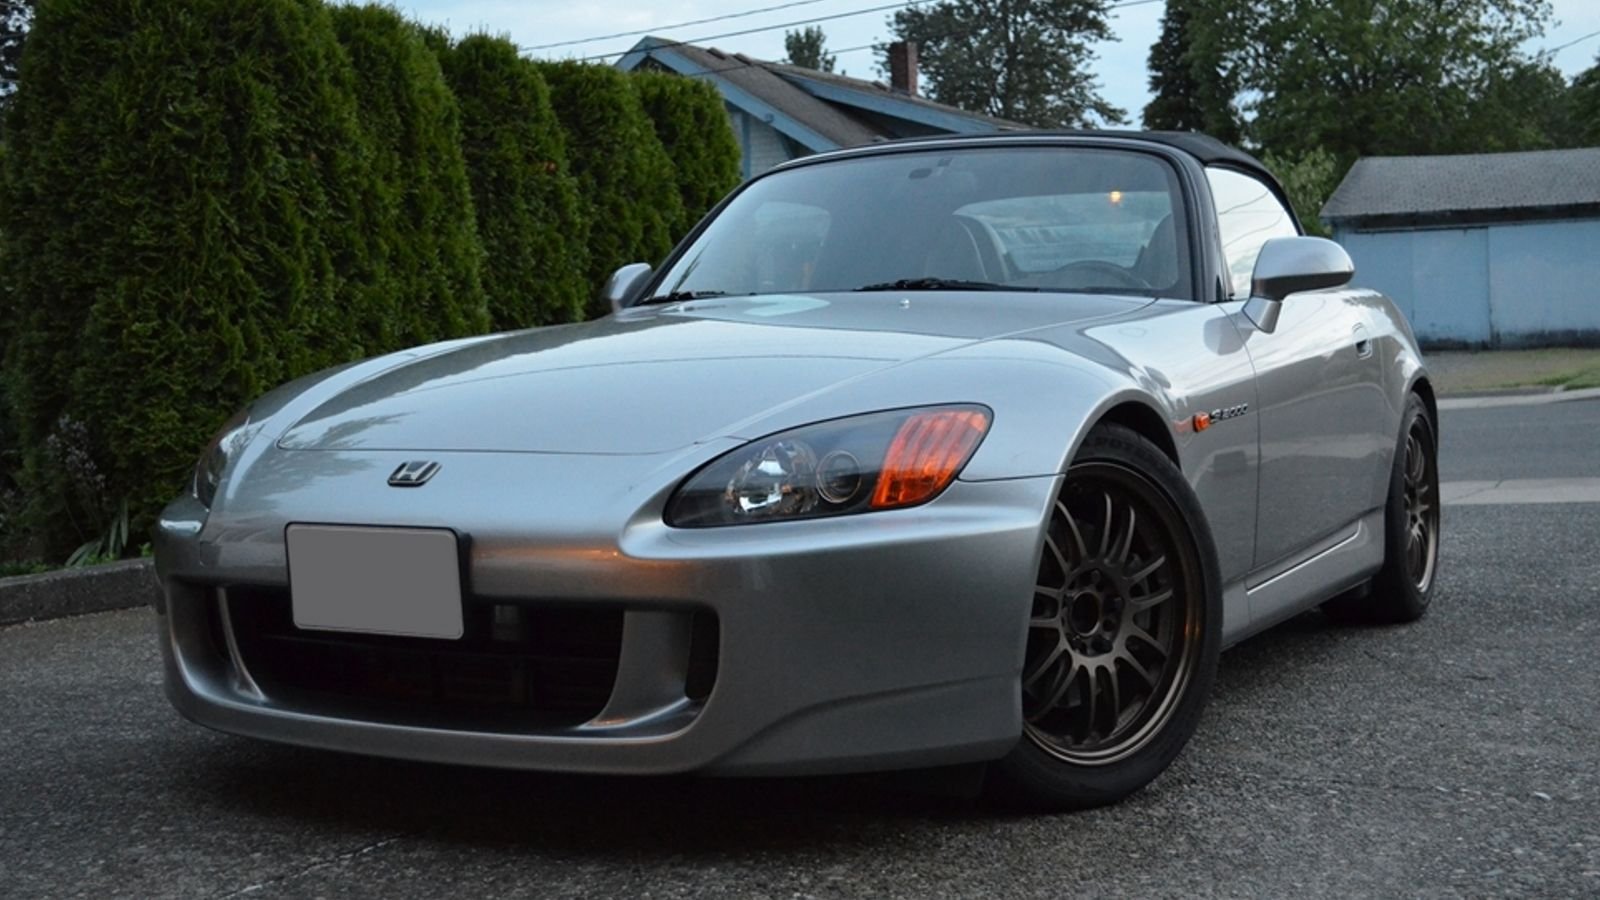
Final installation!
That's it! Complete a final inspection of your bumper install and enjoy the updated look that you achieved with only a few hours of your time.
>>Join the conversation about changing the bumper on your AP1 to an AP2 right here in S2Ki.com.