Daily Slideshow: How to Install a Hardtop on your S2000
Installing a hardtop on an S2K is a little more involved than many believe it to be, but the results are well worth it.


Hardtop Honda
A hardtop is often one of the top items on every S2000 owner's wish list, but suffice it to say that hardtop installation has caught out a number of unsuspecting installers. The internet has a way of blowing problems way out of proportion, so it is likely you have heard horror stories of poor fitment, loud wind noises, and water leaks as a result of installing a hardtop. Fortunately, installing a hardtop is typically a straightforward process that can be done at home in a few hours time. As with any sort of customization, attention to detail and patience are key elements to achieving the best fitment.
>>Join the conversation on the install of the hardtop right here in S2ki Forum!
Checking It Twice
The first thing to do when getting ready for a hardtop install is to make sure you have all of the necessary components to complete the job. Nothing is worse than taking your car apart and getting a few hours deep into the install only to find you are missing a part. Many tops come with all needed brackets, latches, rear window and weatherstripping seals, but there are a number of tops out there that are sold separately of the hardware, so if the price looks super cheap it likely does not include the all the pieces to complete the job.
>>Join the conversation on the install of the hardtop right here in S2ki Forum!
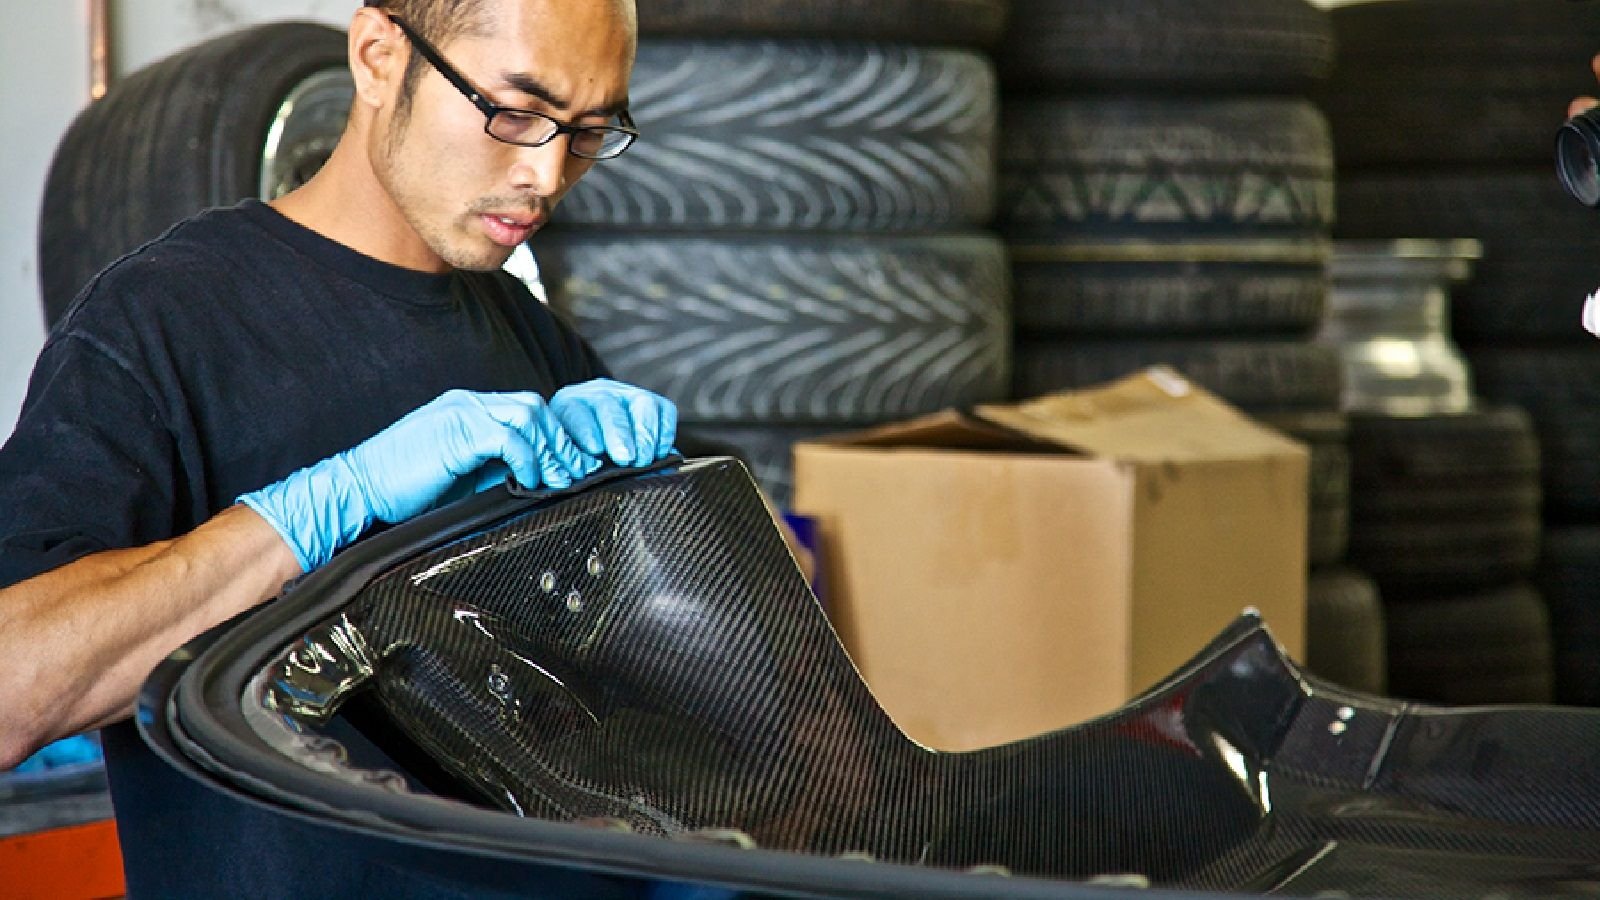
The Back Glass
If possible, we highly recommend you spend the few extra bucks to have the rear window pre-installed when purchasing your hardtop to eliminate the chance of it leaking. Some tops require a seal be placed around the window before being bonded to the top with window weld or a similar sealer. Other tops have weatherstripping placed around the window opening and require the glass (or Lexan) to be pulled into the groove with a small piece of rope. If you do not feel comfortable installing the window yourself, any competent glass shop should be able to help you out.
>>Join the conversation on the install of the hardtop right here in S2ki Forum!
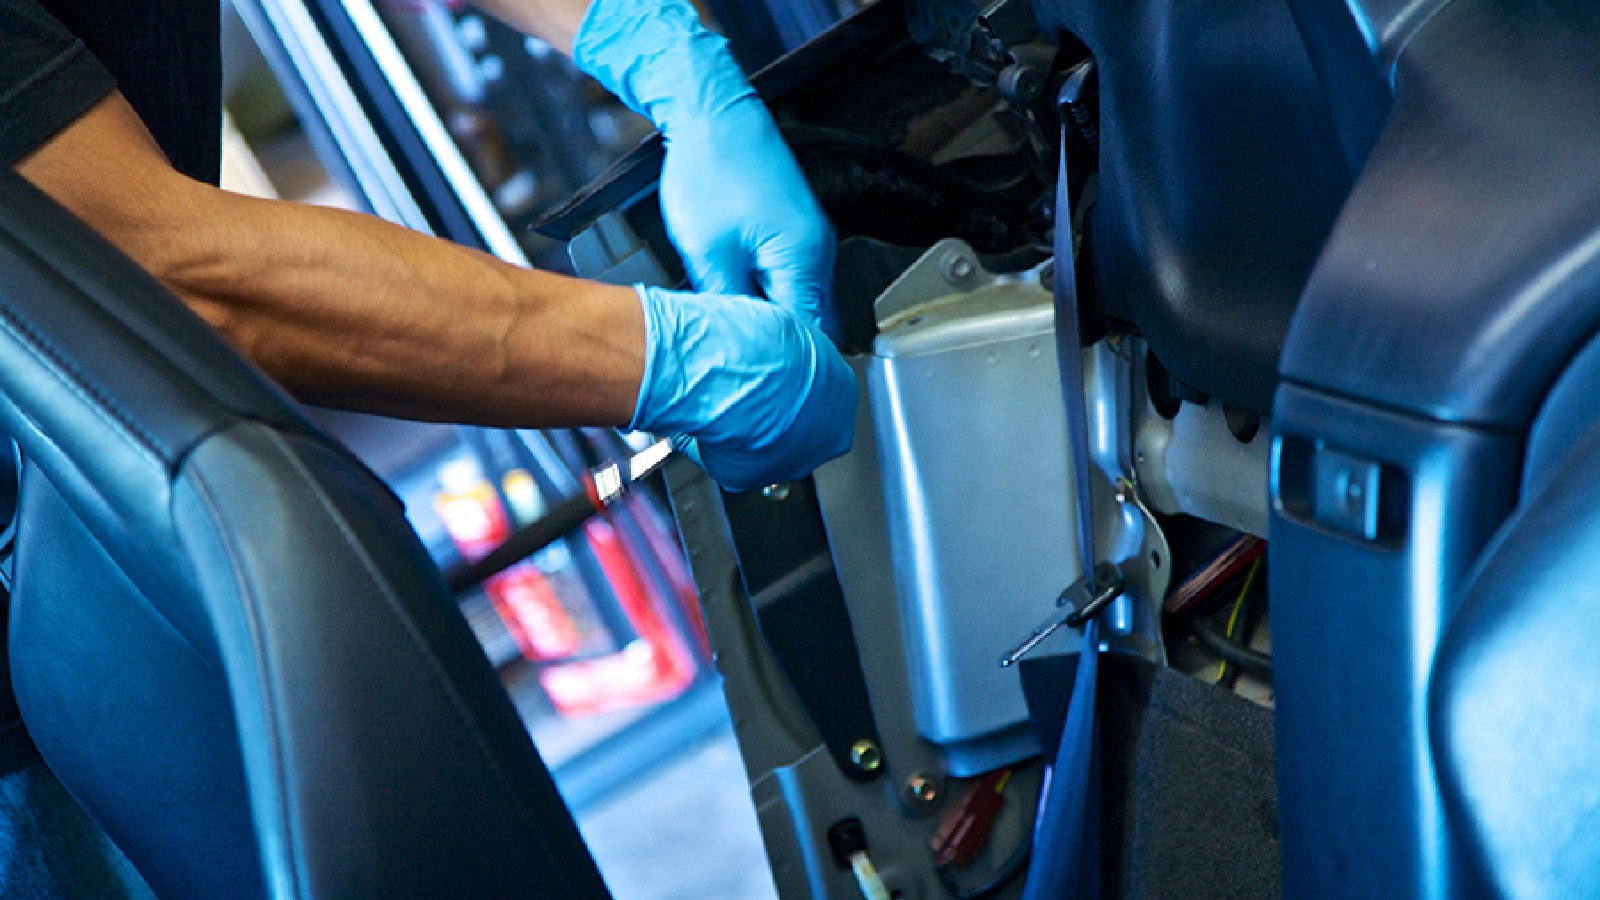
Interior Trim Removal
To prepare the car for hardtop installation, remove the door sills, roll bar lower trim pieces, and rear side trim pieces. This is best accomplished by moving the seats as far forward as possible. Additionally, you will want to remove the latches from the front of your soft-top and transfer them over to your hardtop unless you are using aftermarket pieces.
>>Join the conversation on the install of the hardtop right here in S2ki Forum!
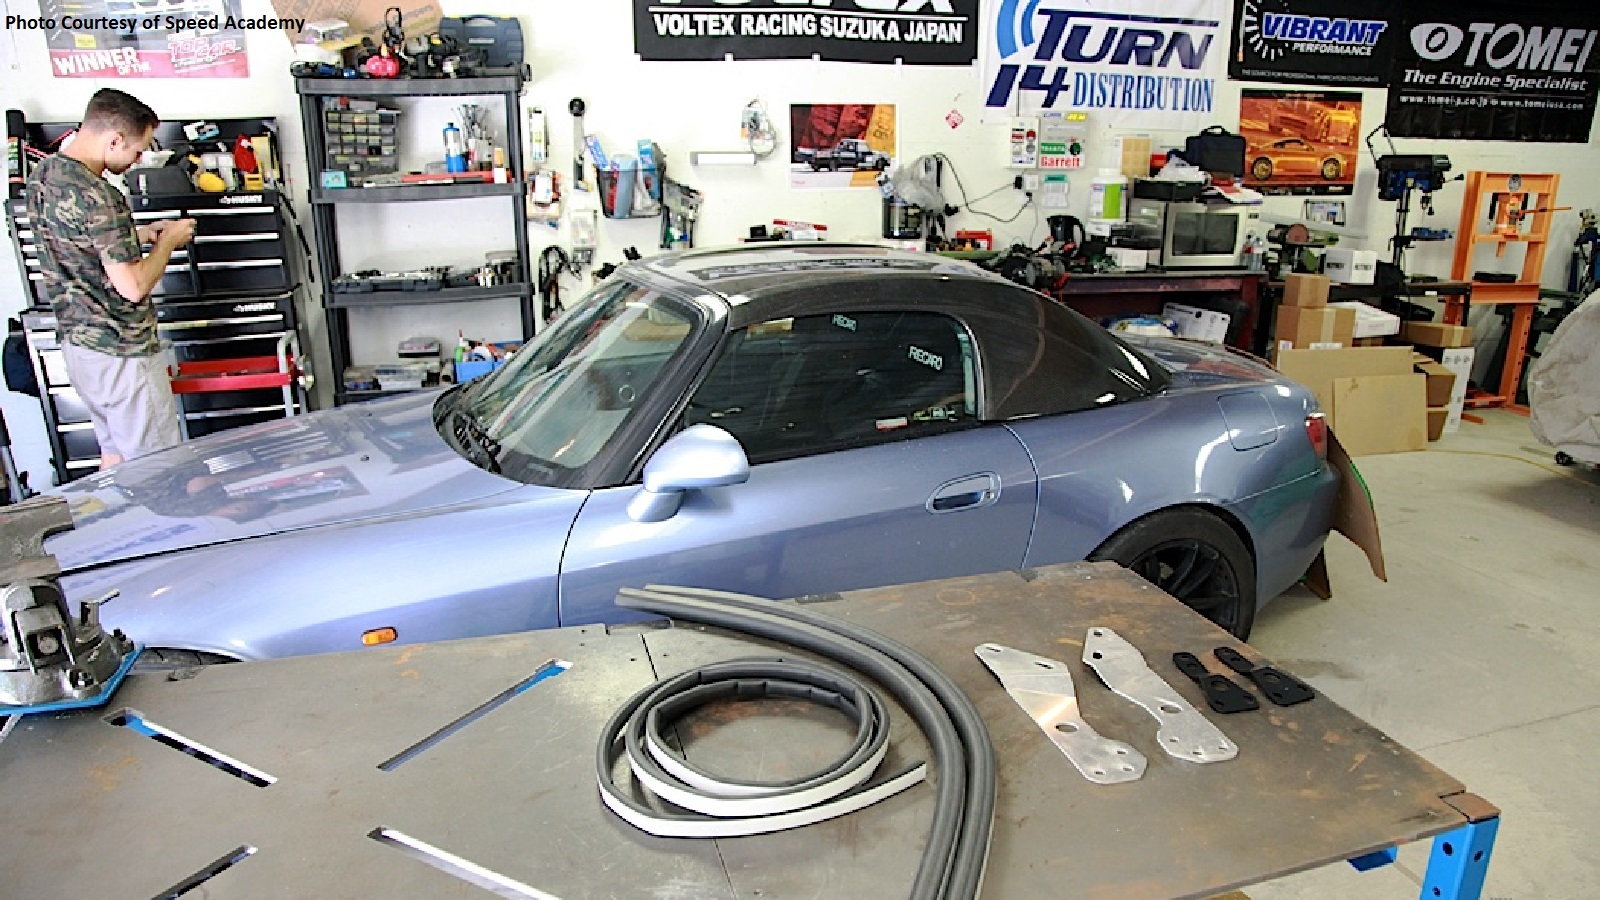
Side Brackets
Next, install the side brackets on each side of the car. We recommend tightening the side bracket bolts finger tight until the hardtop is set into place. This will allow for easier adjustments to get the top aligned before being fully tightened.
>>Join the conversation on the install of the hardtop right here in S2ki Forum!
Sealing Out The Elements
With your hardtop upside down, install the rear seal along the back edge of the top. It is important to wipe down the area of the top to which the adhesive seal will attach with a contact cleaner or acetone. This will ensure any grease or oil is removed from the top to provide a long-lasting seal. Be sure to keep the seal flat and install it uniformly along the top without any twists or bends.
>>Join the conversation on the install of the hardtop right here in S2ki Forum!
Put A Top On It
With the help of a friend, you can now carefully place the hardtop onto the car. Align the holes in the top to match those of the rear brackets and start the bolts. Install the side window weatherstripping along the arches of the top (from back to front) making sure the molding butts squarely to the front windshield (some have even left extra to tuck between the hardtop and windshield). Keep the weatherstripping uniform along the arches without any twisting or rolling. It is highly recommended to grease the weatherstripping seals at the front and rear of the top to prevent squeaking while driving.
>>Join the conversation on the install of the hardtop right here in S2ki Forum!
Final Adjustments
With all weatherstripping in place, check that the hardtop fits uniformly across the back of the deck and flush against the windshield seal. Make sure the doors open and close without the glass contacting the top. The glass should sit firmly against the seal. Adjust the top as needed before tightening down the brackets and latches while a friend keeps downward pressure on the top.
>>Join the conversation on the install of the hardtop right here in S2ki Forum!
Topped-off S2K
Finish up by reinstalling the plastic interior trim pieces. Keep the windows rolled up for at least a few weeks to help the window seals mold to the glass. If the top passes the wind noise and leak tests and needs no further adjustment, you can now sit back and admire your hardtop beauty.
>>Join the conversation on the install of the hardtop right here in S2ki Forum!