How to Install PRM Racing Jet Stream Intake

Forum Member SilverS2kF22C1 offers up an extremely helpful do-it-yourself project for installing a new intake in your Honda S2000. We wanted to give him his props and give you the best of his wisdom.

By Edsel Cooper - August 7, 2018
How to Install PRM Racing Jet Stream Intake

Tools Needed

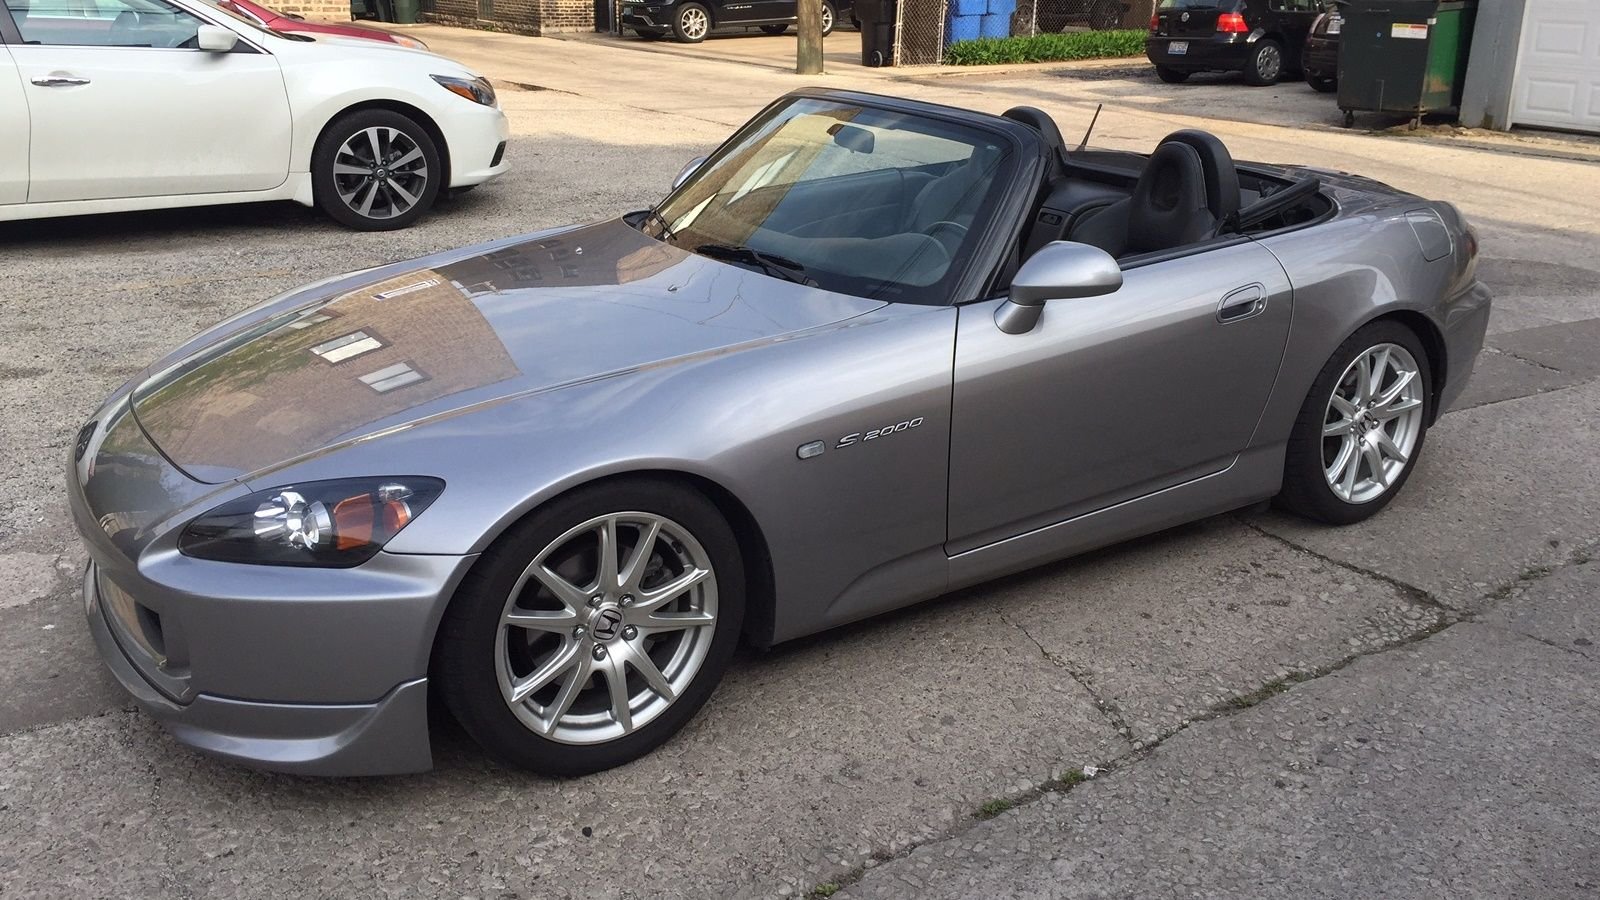
This DIY project by S2KI Forum Member SilverS2kF22C1 covers the installation of a PRM Racing Jet Stream intake system on a 2005 Honda S2000.  It is probably applicable to other years and other intake manufacturers. On a scale of 1 - 10, our Forum member gives this DIY 2 for difficulty. Despite the number of steps involved, it's quite easy and no special tools are needed.

Tools needed

  • 10 mm, 3/8 drive socket
  • 6" 3/8 socket extension
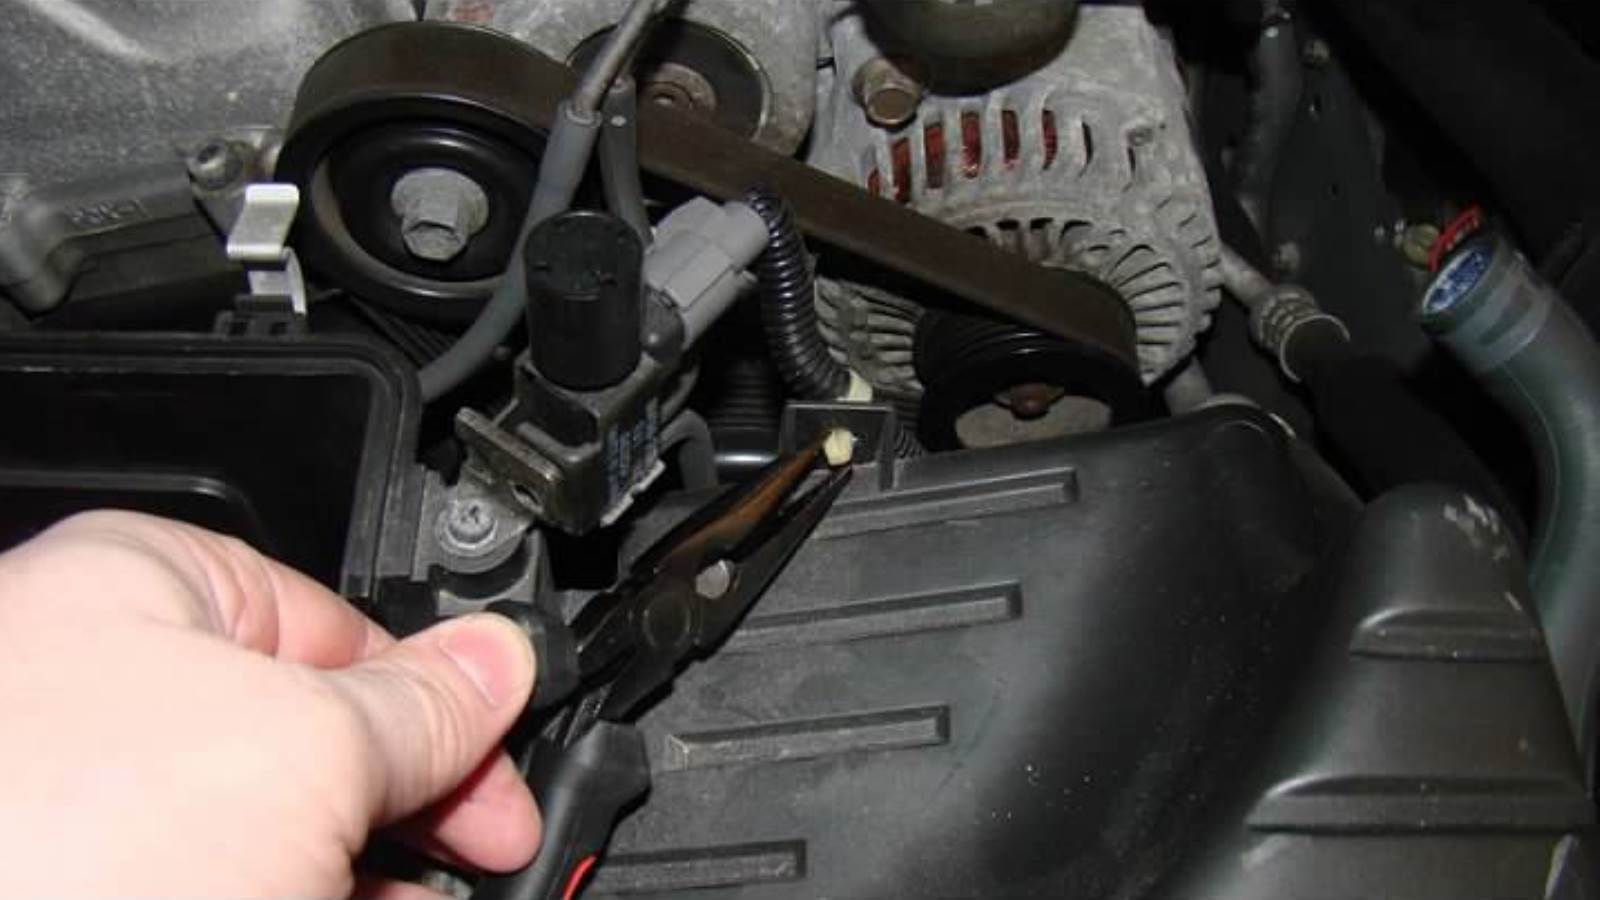
  • Needlenose pliers
  • Small channel lock or Lineman's pliers
  • 8 mm, 1/4 drive, socket
  • 3" 1/4 extension
  • #2 Phillips screwdriver
  • Small Flathead screwdriver
  • WD-40

You should also get a small section (approx 6") of a stiff mounting plate to make up a bracket. You'll see why later on.

Getting started

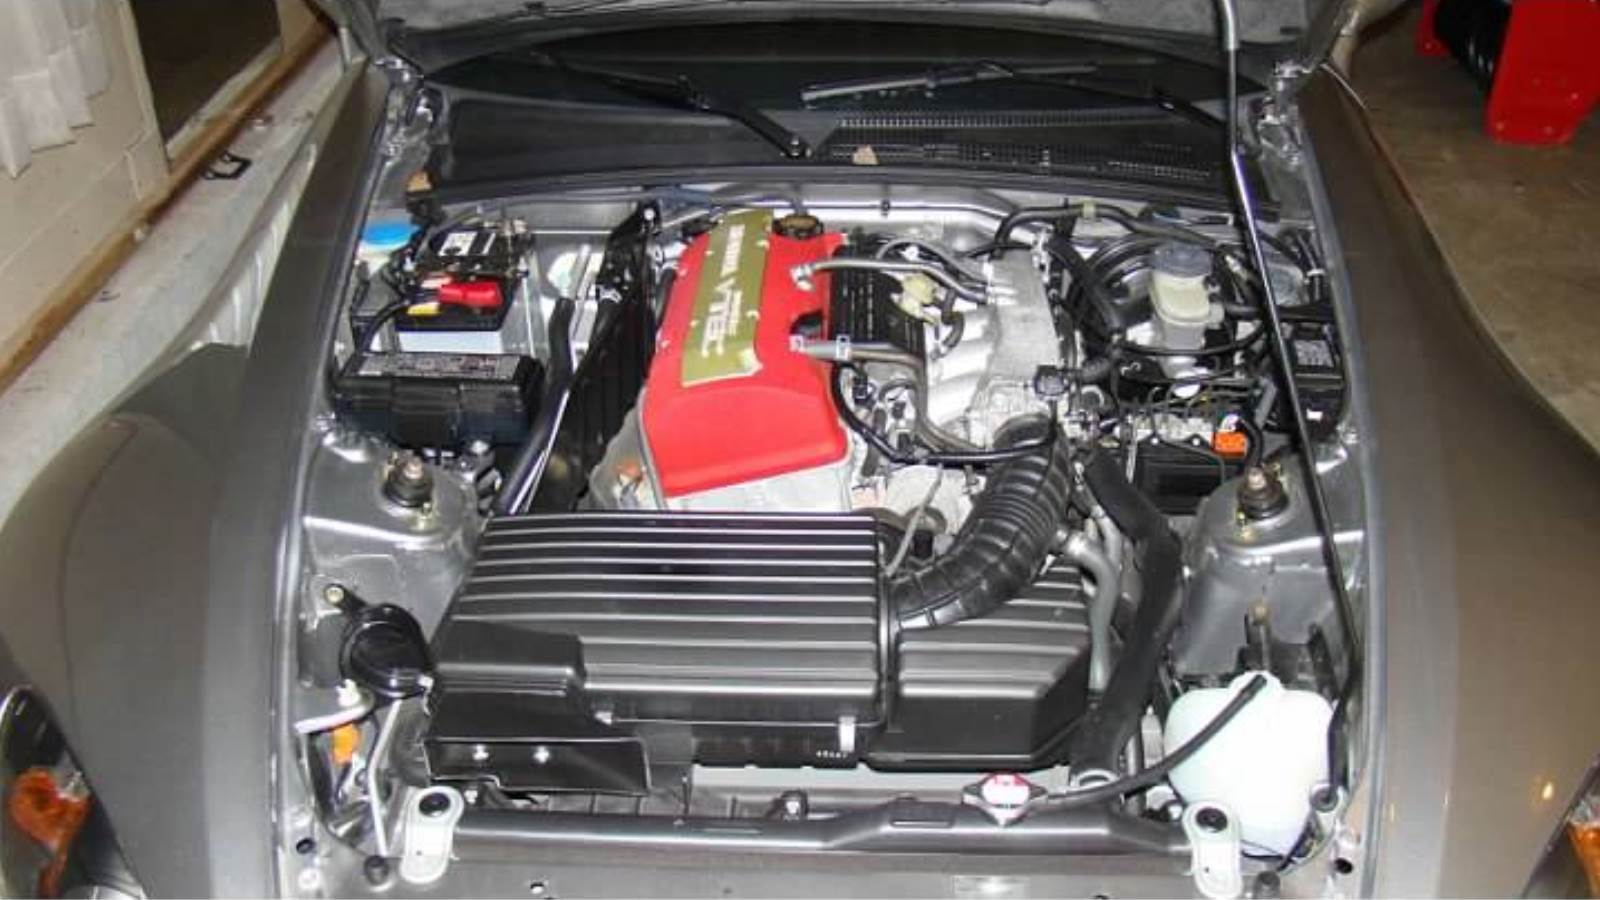
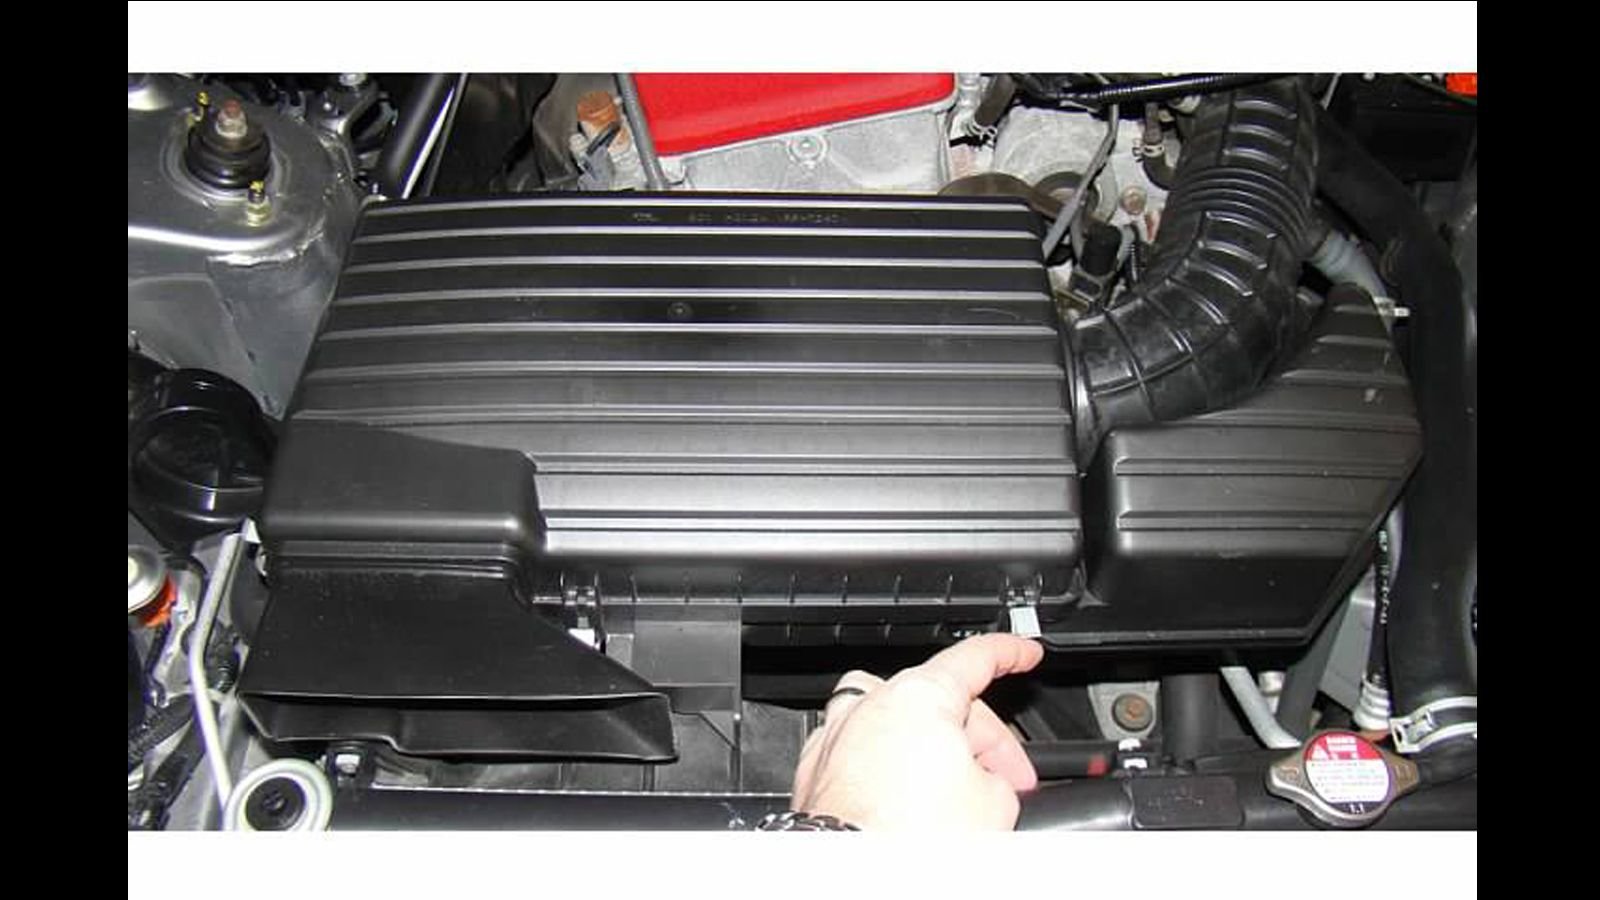
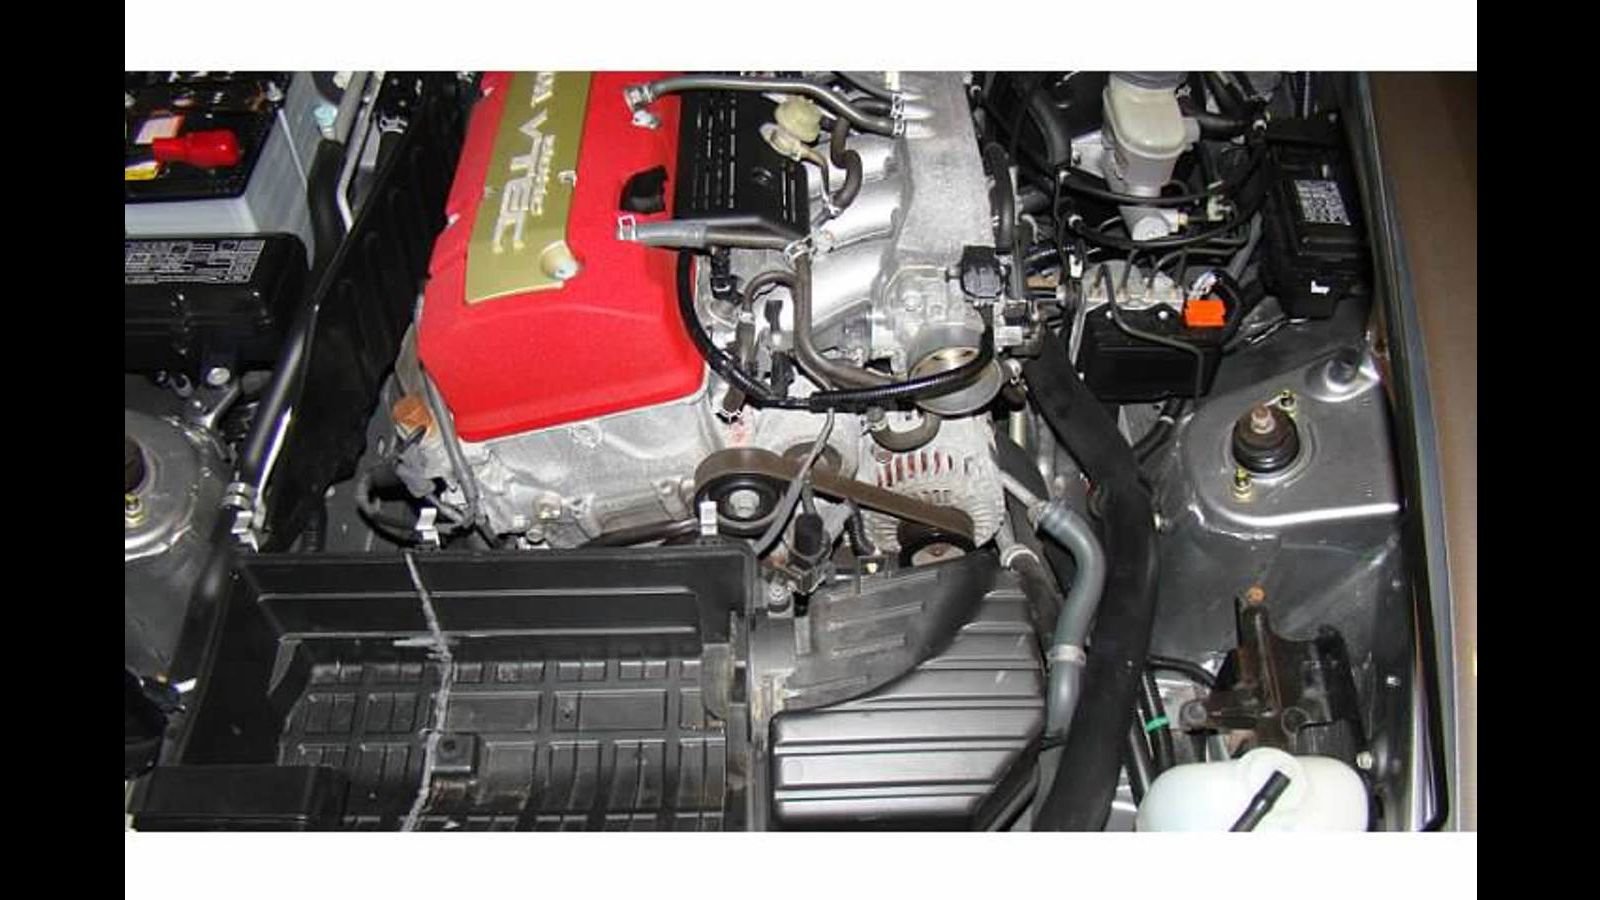
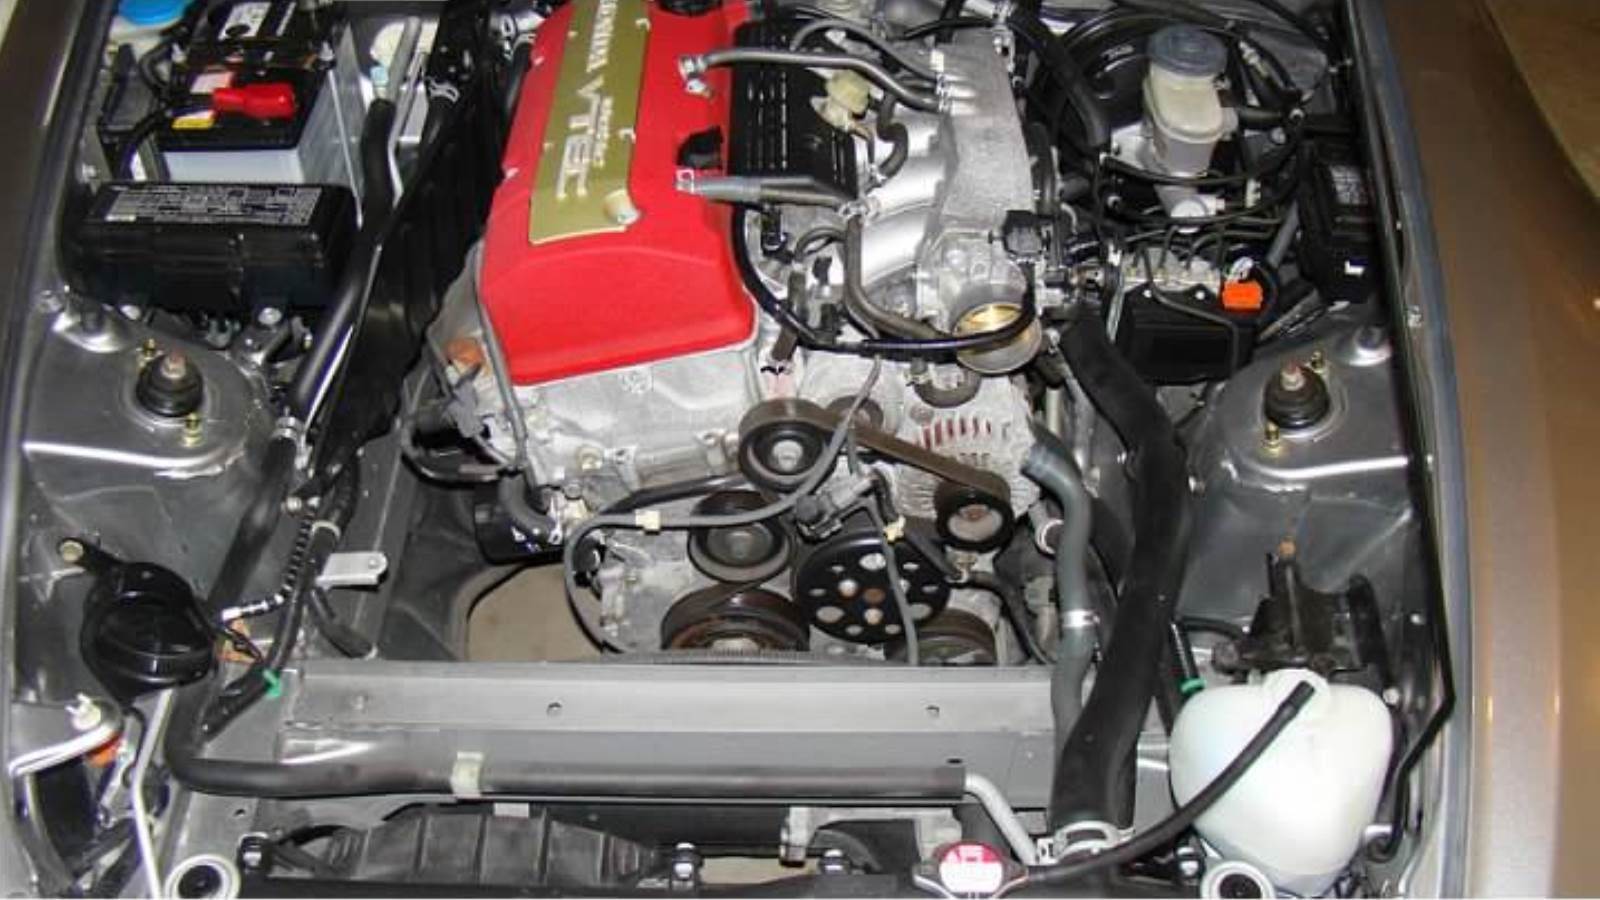
So this is where we start, with an open hood and about an hour on the clock. You will want to lay out all of your new parts so they are easily accessible when the time comes to install them. It's also advisable to work in a covered, cool space. It's one thing for your car to overhead. No need for you to be there too. Finally, have some gloves and a wet rag handy. It's always nice to do a little cleaning while you are in there.

>> Join the conversation about installing an aftermarket intake to your S2000 right here in the forum.

Step 1 - Remove Sensor from Intake Tube

Since we have to start somewhere, we might as well start here. Pull the sensor lead out of the clip on the stock intake tube. The sensor is located on the throttle body.

>> Join the conversation about installing an aftermarket intake to your S2000 right here in the forum.

Step 2 - Disconnect Hose

Next, using a small pair of channel locks or Linesman's pliers, undo the large clip on the lower right side of the intake and disconnect the hose.

>> Join the conversation about installing an aftermarket intake to your S2000 right here in the forum.

Step 3 - Undo hose clamp

Next use the #2 Phillips to undo the throttle body intake hose clamp.

>> Join the conversation about installing an aftermarket intake to your S2000 right here in the forum.

Step 4 - Remove spring clip

Undo the Spring clip on the valve cover breather line at the intake.

>> Join the conversation about installing an aftermarket intake to your S2000 right here in the forum.

Step 5 - Remove airbox top cover

Next, remove the airbox top cover. 

>> Join the conversation about installing an aftermarket intake to your S2000 right here in the forum.

Step 6 - Remove intake tube

And now remove the stock intake tube.  SilverS2kF22C1 did the airbox mod last summer so yours may look a bit different inside.

>> Join the conversation about installing an aftermarket intake to your S2000 right here in the forum.

Step 7 - Remove vacuum in-line solenoid

On the lower intake box, locate and remove the vacuum in-line solenoid from the lower intake. Warning: This sucker is tight!

>> Join the conversation about installing an aftermarket intake to your S2000 right here in the forum.

Step 8 - Disconnect wire retaining clip

Now disconnect the wire retaining clip using the needle nose pliers. This will keep it from being damaged in case you decide to go back to stock.

>> Join the conversation about installing an aftermarket intake to your S2000 right here in the forum.

Step 9 - Remove vacuum lines

Next, remove the vacuum lines from the lower intake box clips. While we are at it, the large hose disconnected from the stock intake tube (in Step 2) is also held in with a clip and should be removed. 

>> Join the conversation about installing an aftermarket intake to your S2000 right here in the forum.

Step 10 - Remove 3 bolts

Now undo the 3 bolts holding the lower intake box using the 10 mm socket. There are two bolts on the left side and one on the right. But don't actually pull them out yet.

>> Join the conversation about installing an aftermarket intake to your S2000 right here in the forum.

Step 11 - Remove rear clips

Once you get the box unbolted, you can get at one more set of vacuum line clips and wire retaining clip off the back of the box.

>> Join the conversation about installing an aftermarket intake to your S2000 right here in the forum.

Step 12 - Disconnect vacuum in-line solenoid

Now lift the box out. It looks pretty baron in there! You will notice in the picture that the vacuum in-line solenoid hangs pretty close to the serpentine belt and has no place to attach. Go ahead and disconnect it from the hard line near the top of the motor. We will get back to it once the new intake is installed.

>> Join the conversation about installing an aftermarket intake to your S2000 right here in the forum.

Step 13 - Remove valve cover breather hose

Next, remove the valve cover breather hose and rubber joint from the valve cover. Using one of the supplied zip ties, pull it back and tie it off on the fuel rail. Make sure you don't pinch any lines or wires when you do this. Doing it like this eliminates the need to re-plumb ALL the vacuum lines and the throttle body coolant lines.

>> Join the conversation about installing an aftermarket intake to your S2000 right here in the forum.

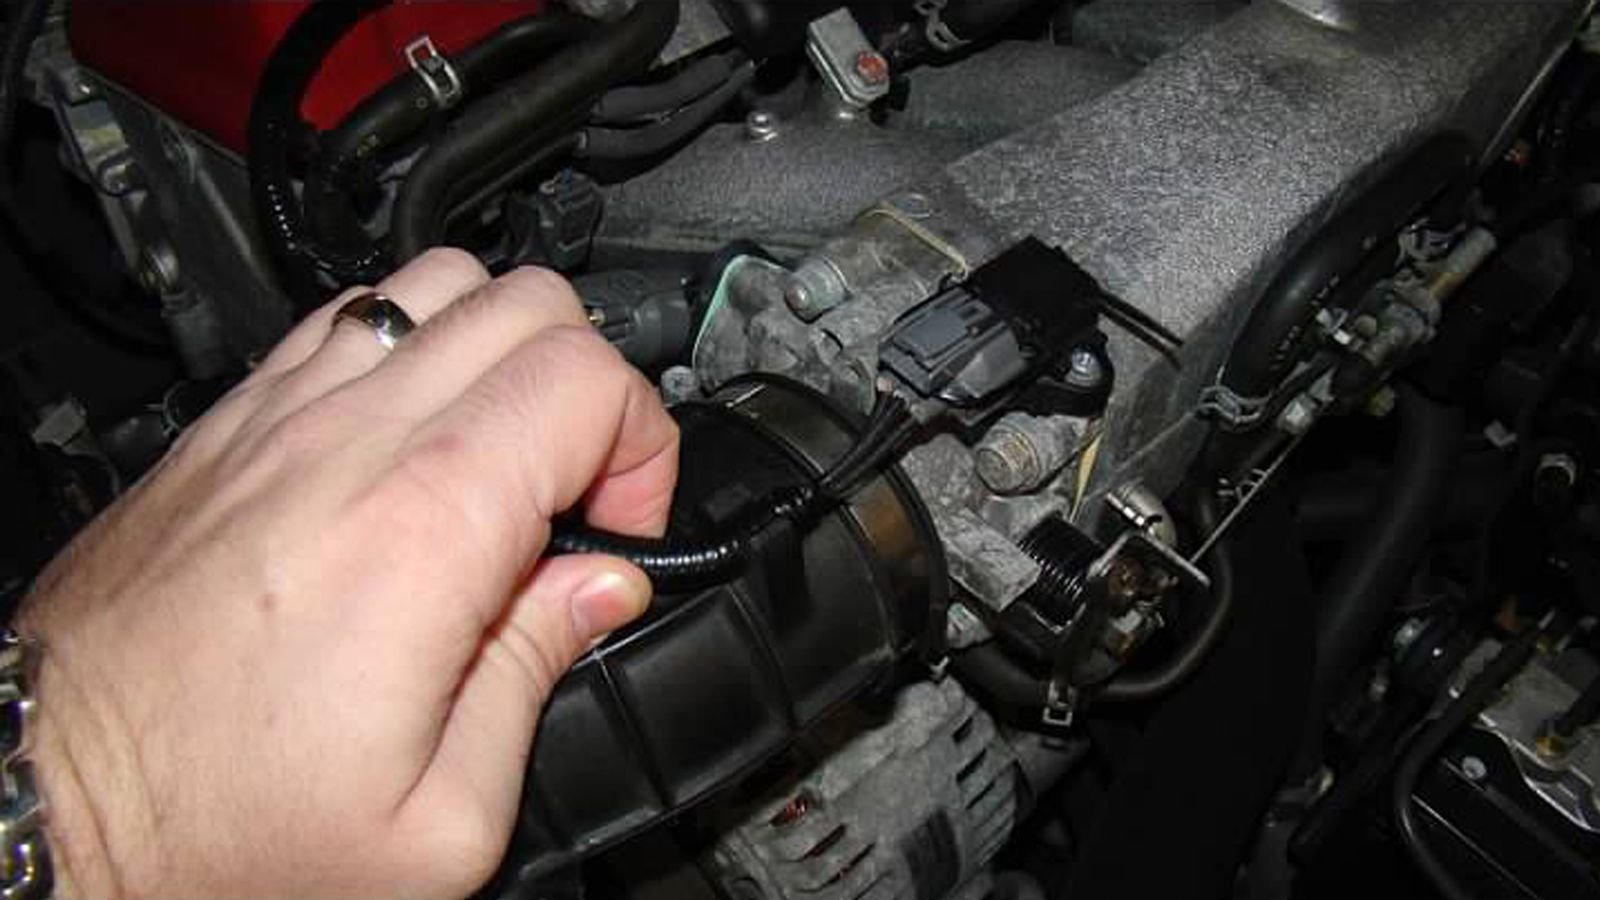
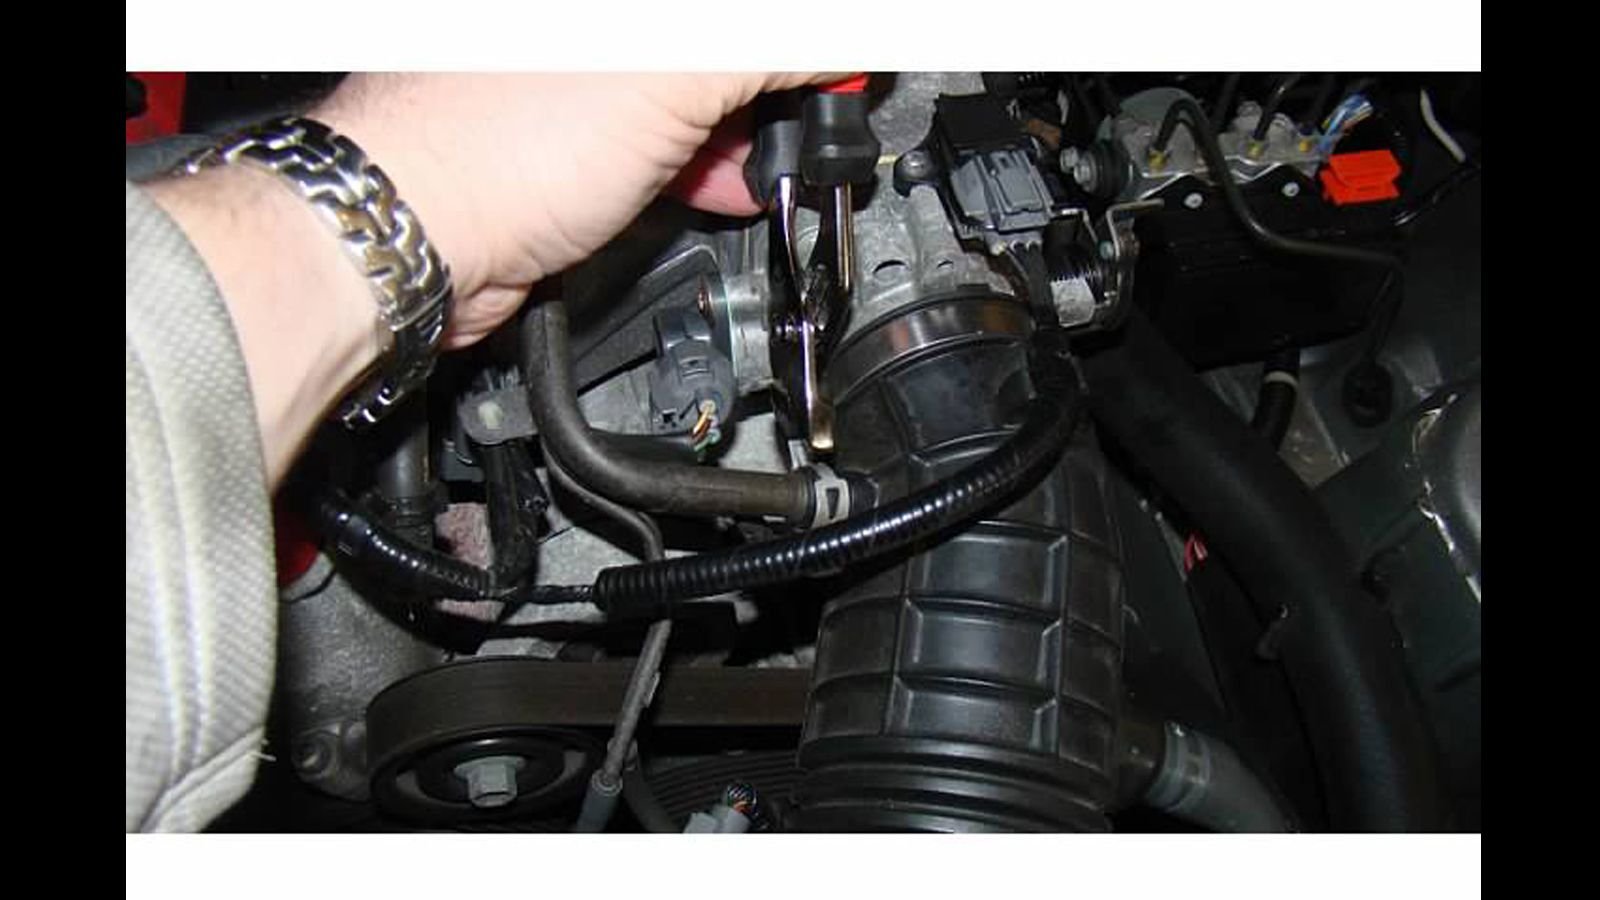
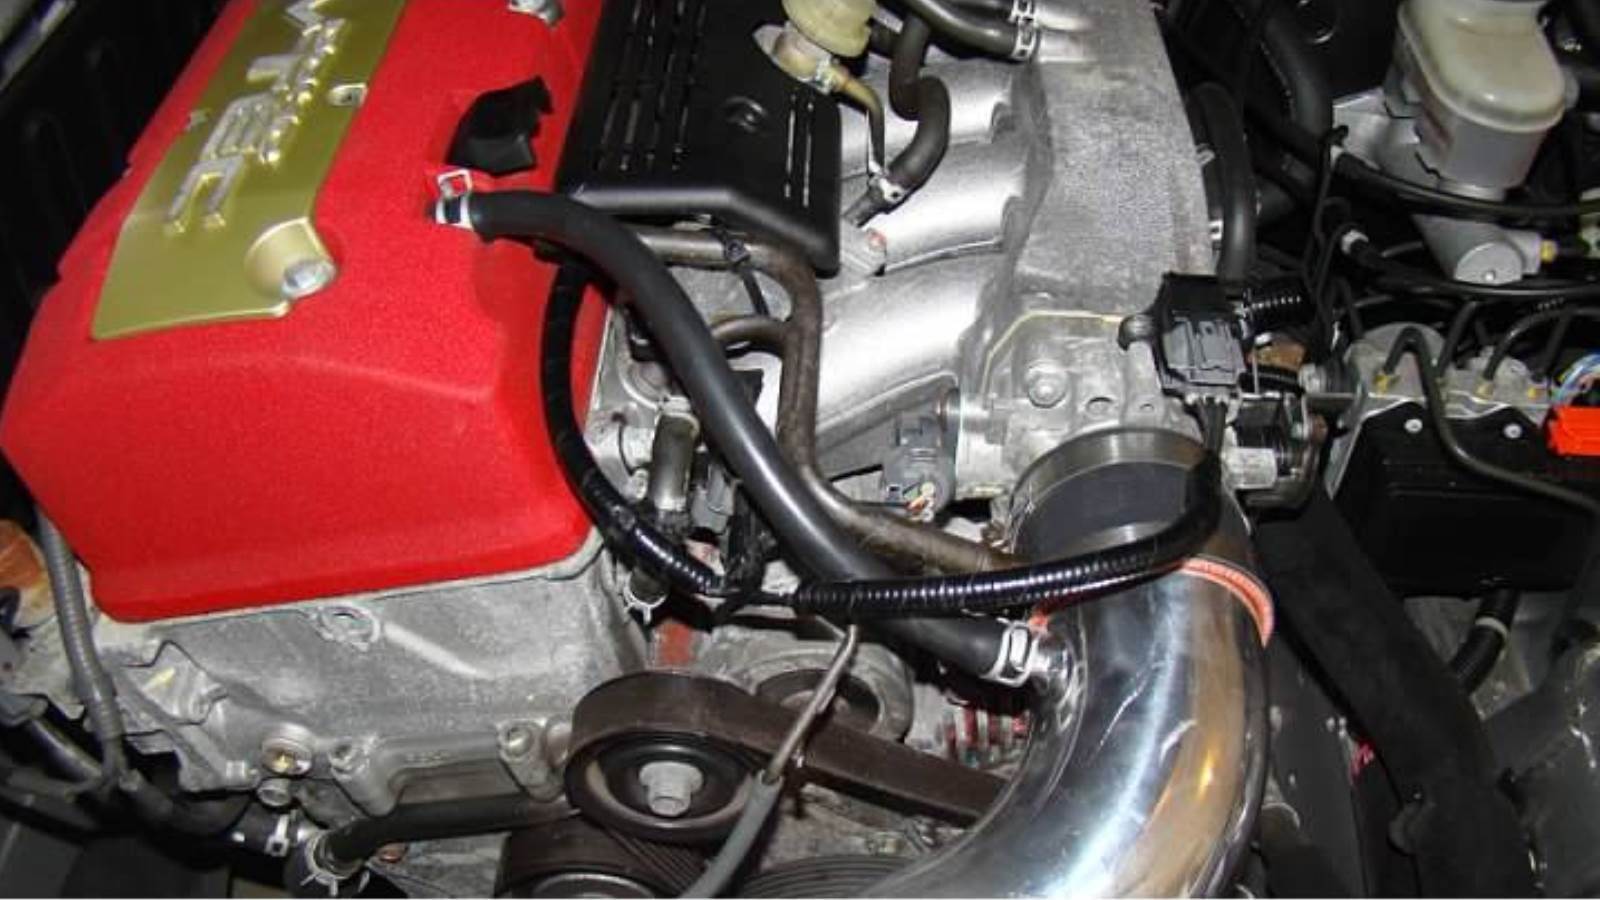
Step 14 - Install intake tube

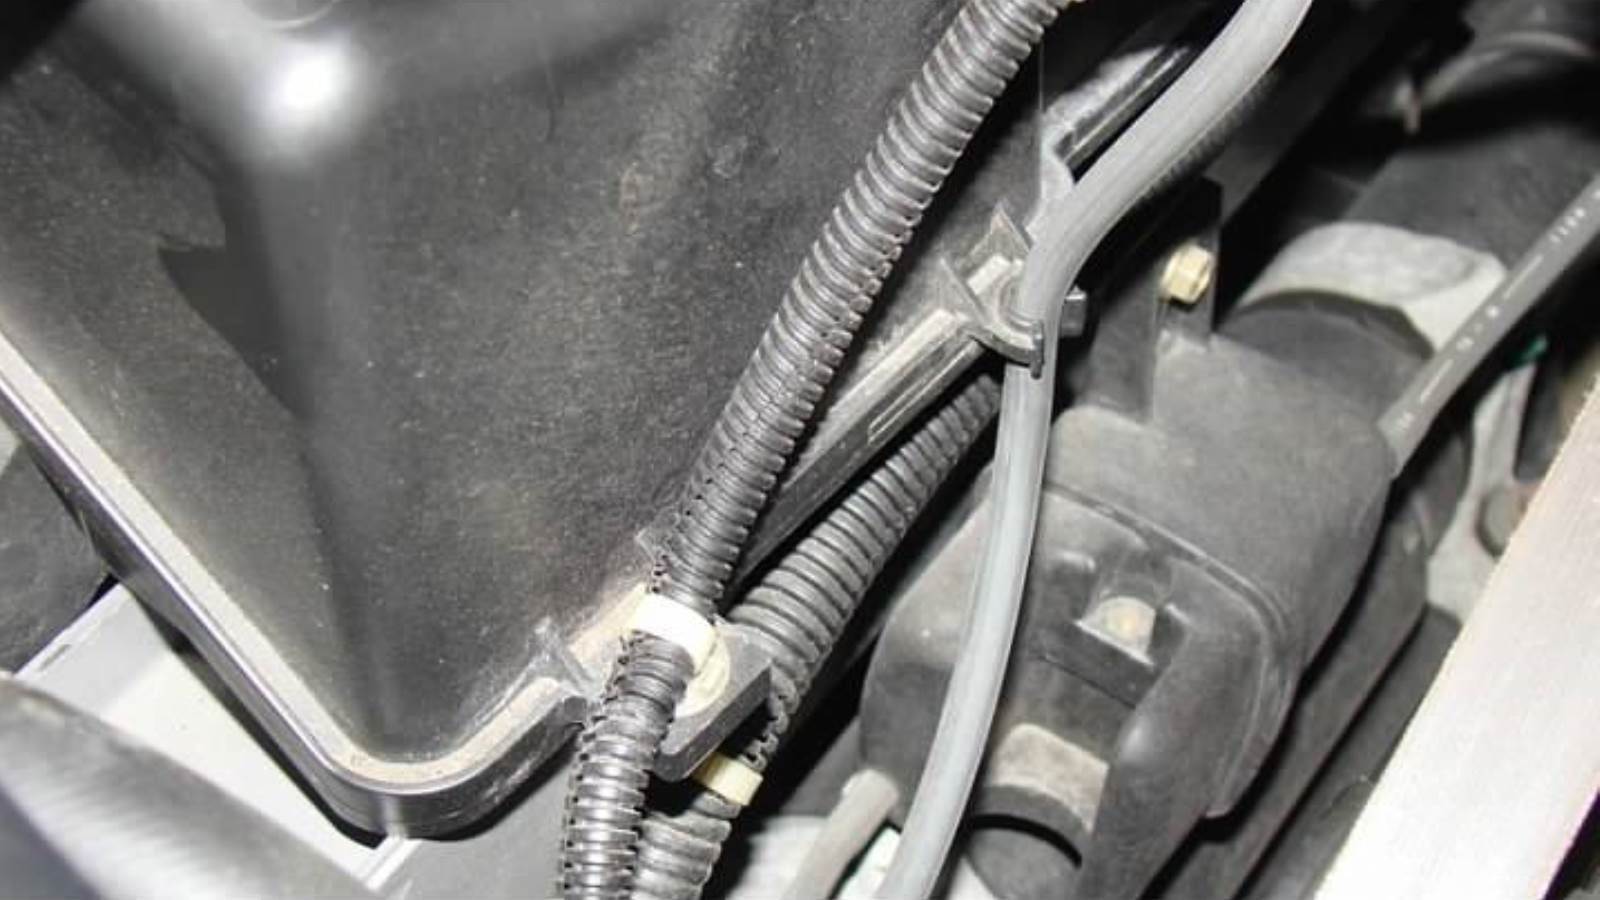
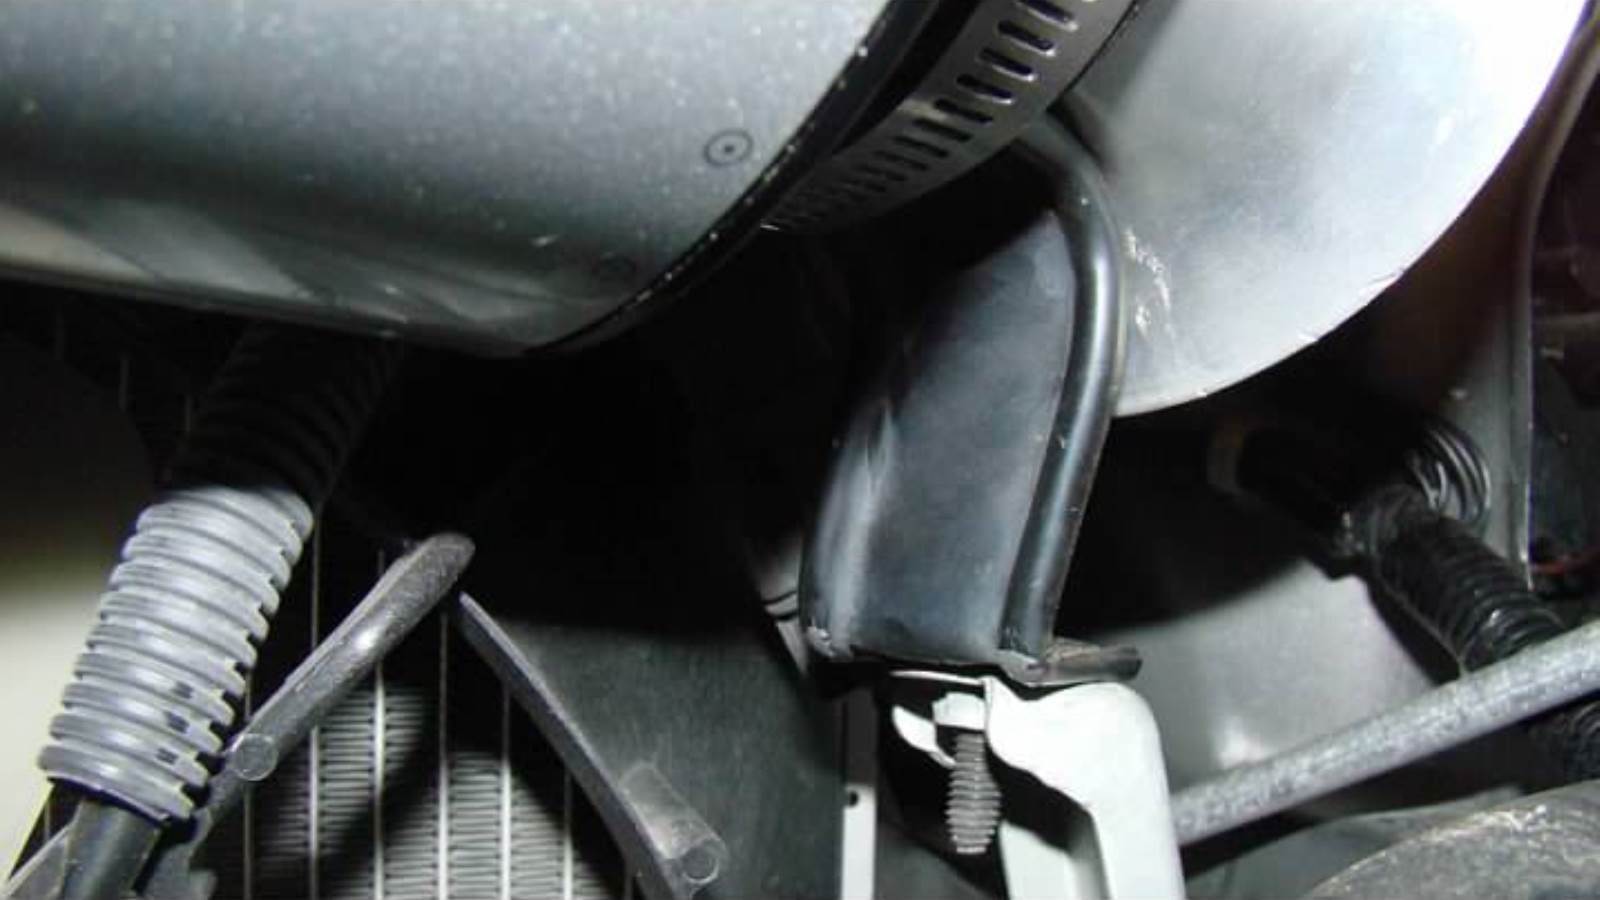
Now install the new intake tube using the supplied silicone coupler and hose clamps. Get everything snug to start. You may even need to rotate it around to get everything lined up properly. Once it is installed, use the large silicone tubing from the kit to connect the intake to the valve cover breather port. I put a bit of WD-40 on the connection points to make it easier to slide the tubing on. You can also put the factory clamps back on, but it's not necessary.

>> Join the conversation about installing an aftermarket intake to your S2000 right here in the forum.

Step 15 - Install PRM Jet Stream filter

Now you can install the PRM Jet Stream filter with the funnel to the intake tube. Sorry there is no picture of that!

>> Join the conversation about installing an aftermarket intake to your S2000 right here in the forum.


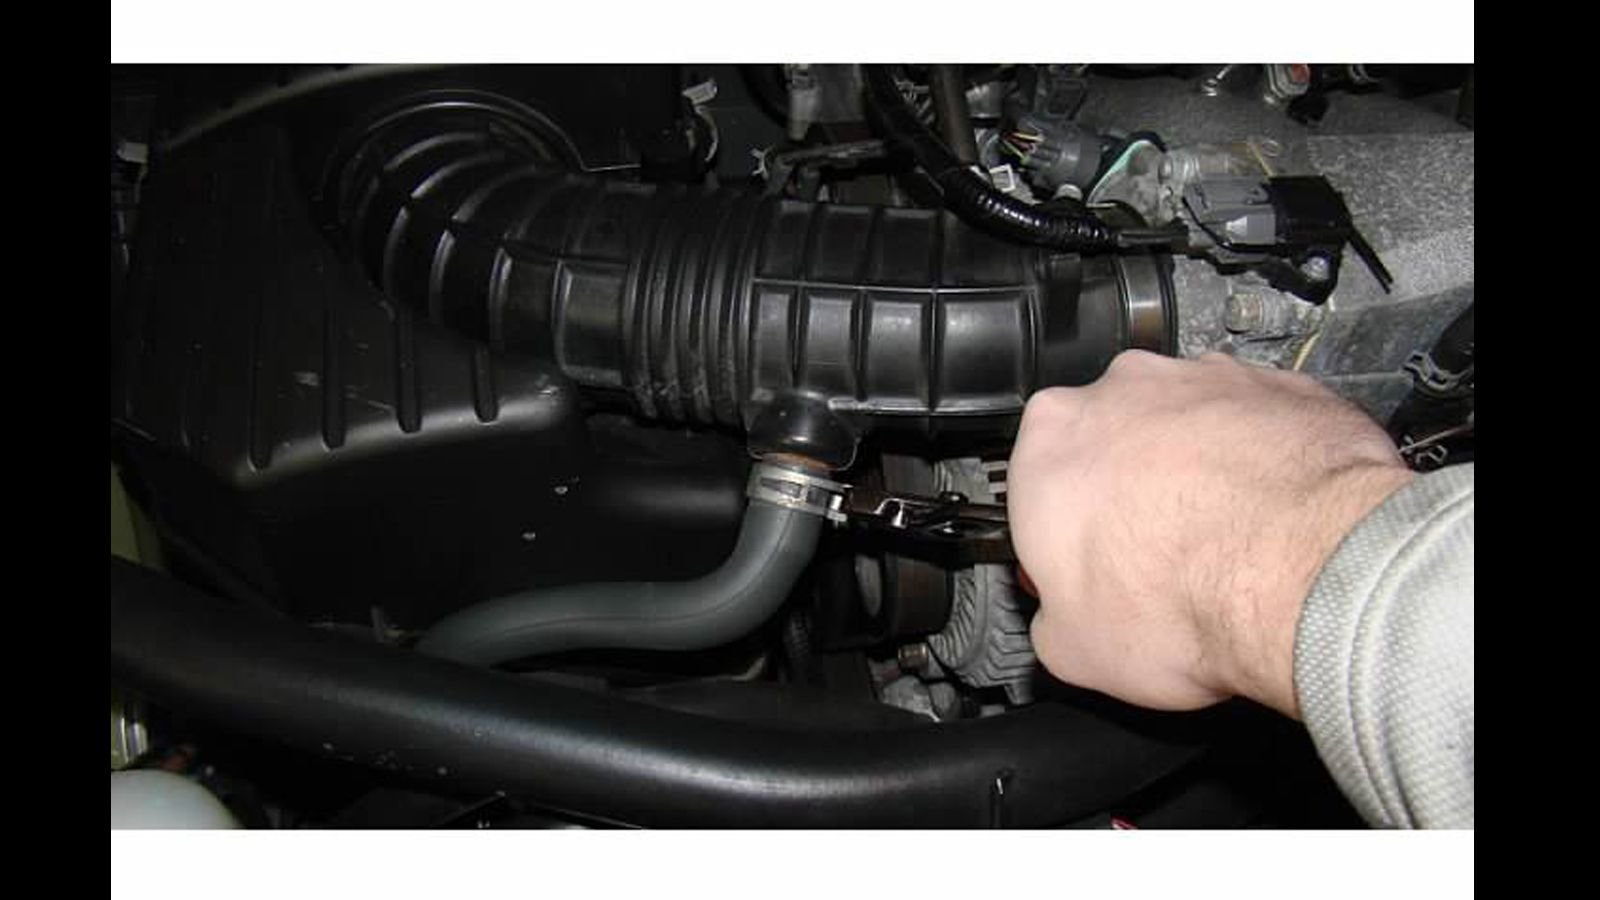
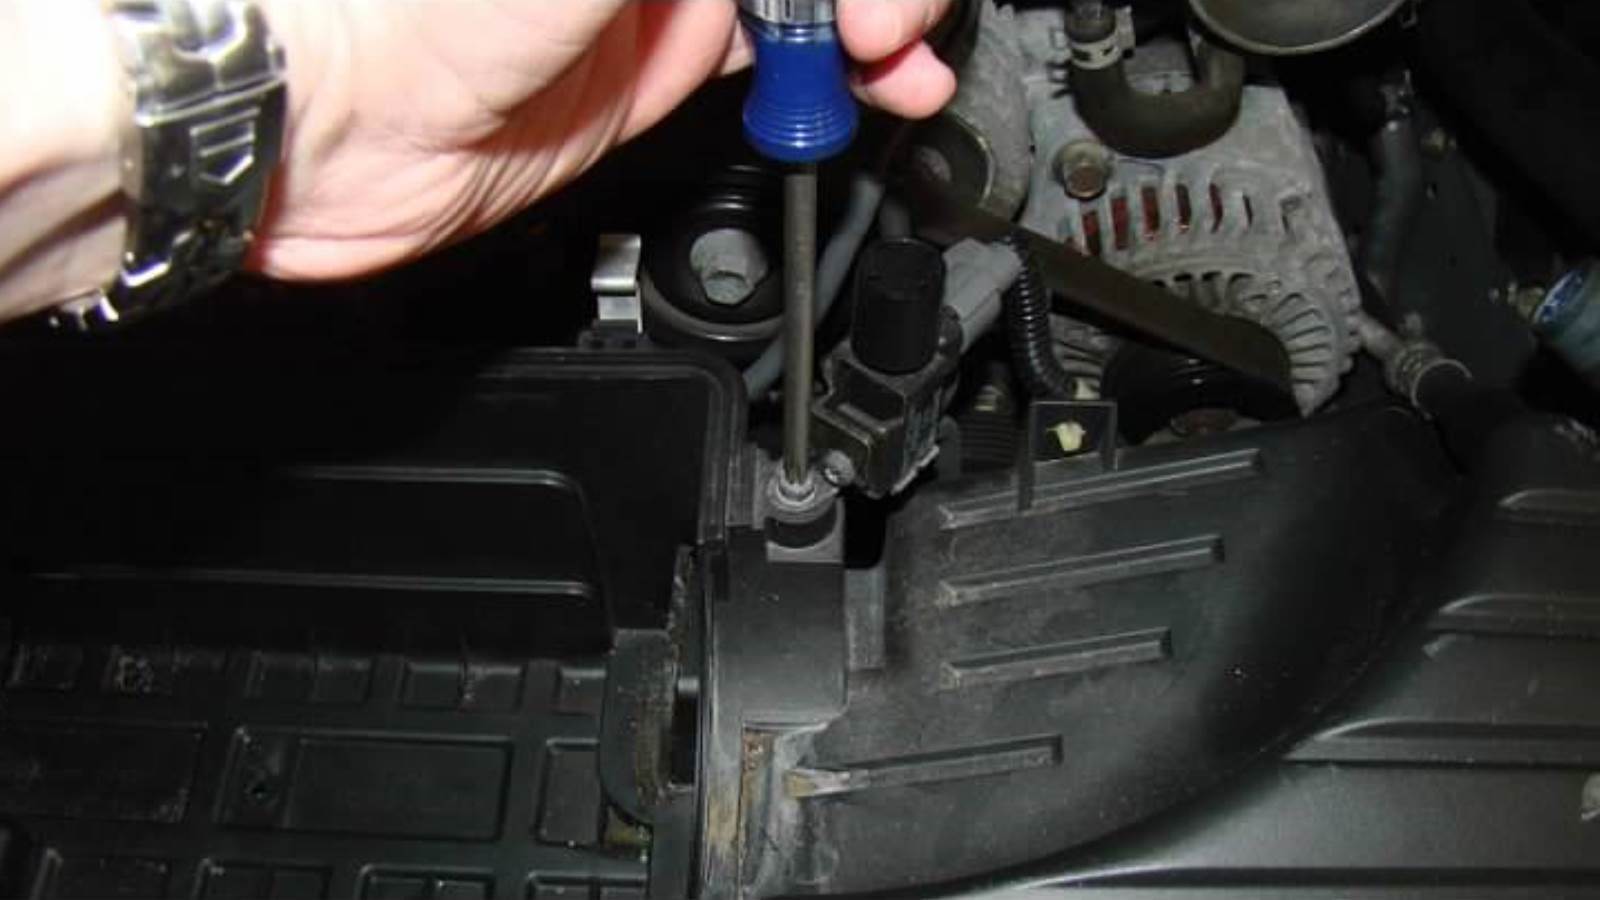
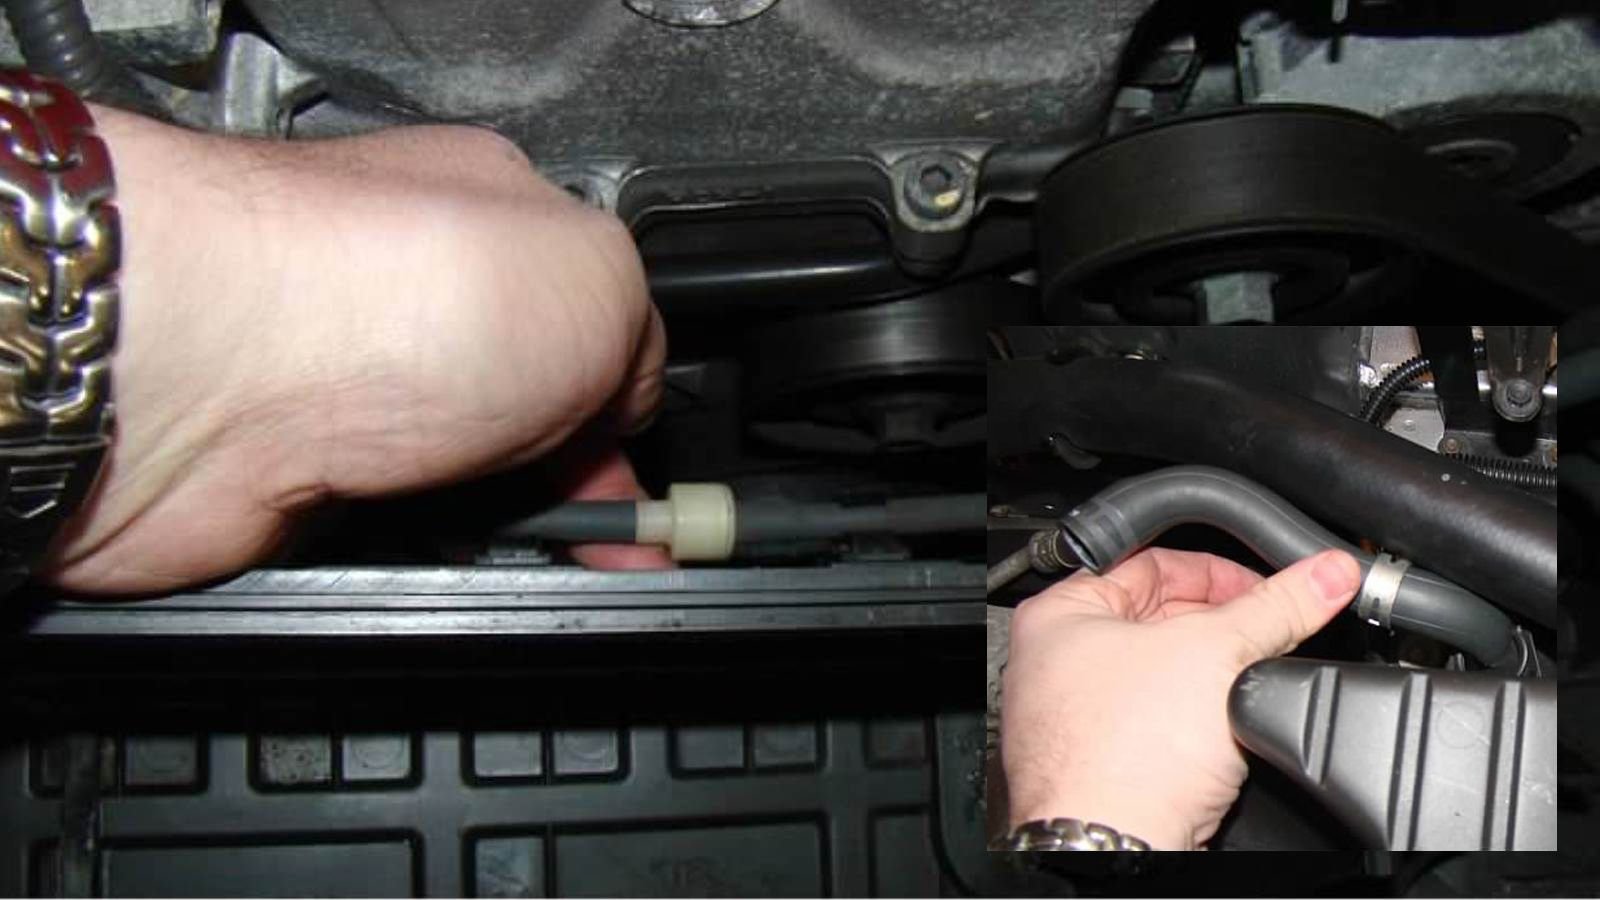
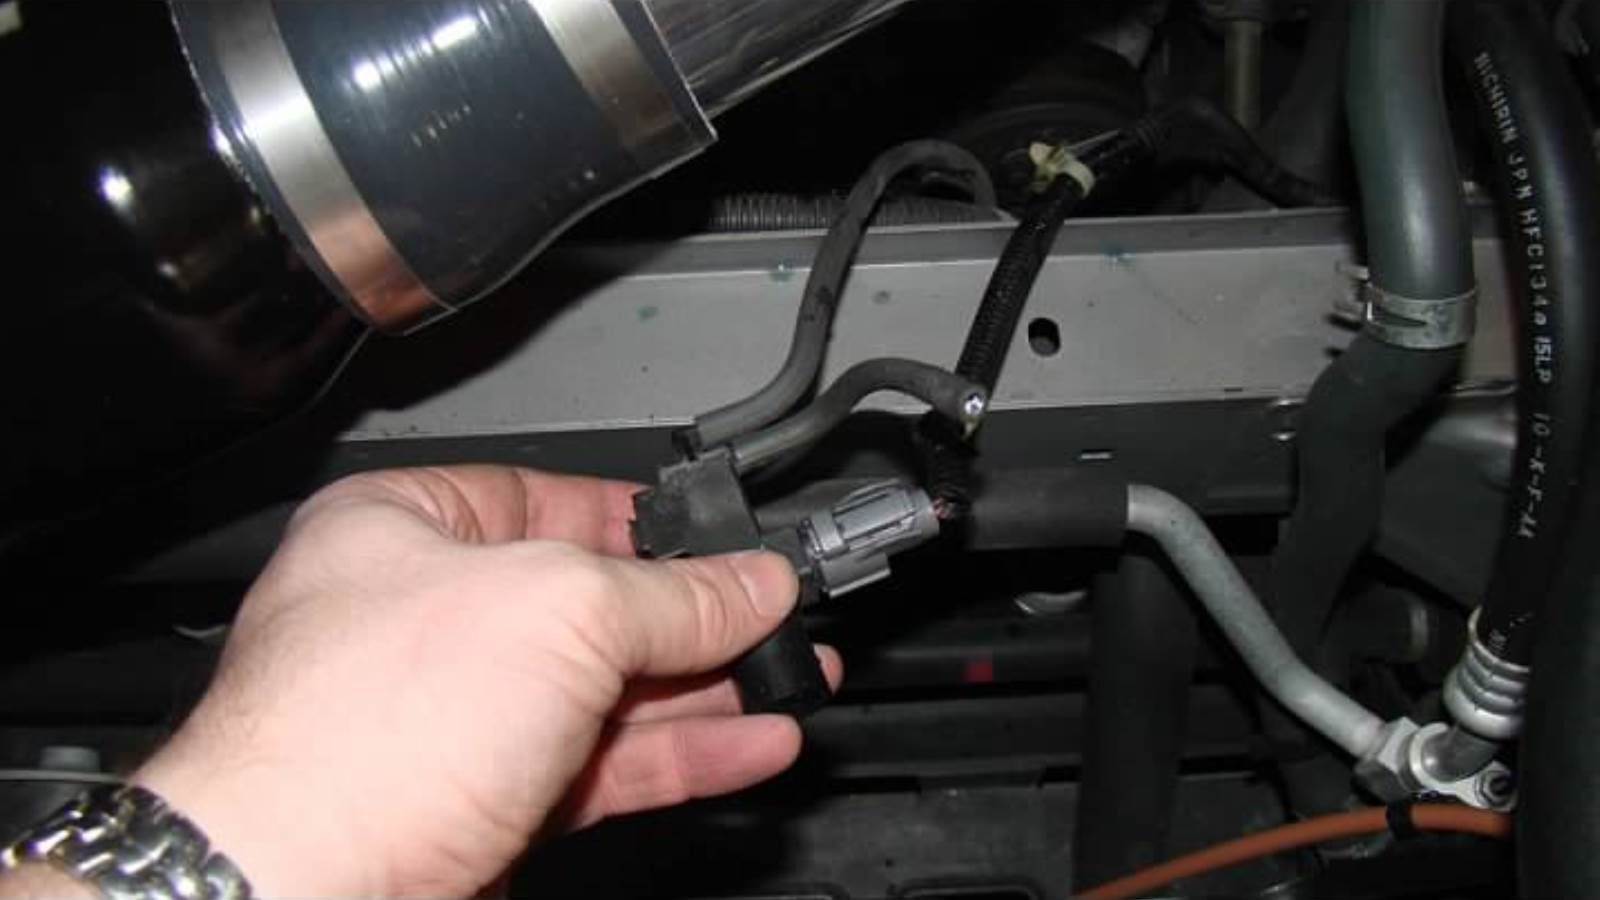
Step 16 - Add longer vacuum line to solenoid

Remember the vacuum in-line solenoid? Well, now we finish it. Remove the short line from the solenoid and replace it with the long vacuum line from the kit, reconnect it to the hardline at the top of the motor, using the other supplied zip tie it to the wiring loom that runs along the front cross member. Don't pull it to tight you don't want to crush the lines!  SilverS2kF22C1 used a few more just to keep it clean looking.

>> Join the conversation about installing an aftermarket intake to your S2000 right here in the forum.

Step 17 - Reconnect large tube and tighten

Now reconnect the large tube on the lower right side of the intake. Using the  8 mm socket, tighten up all your clamps, then stand back and admire your work. But there is one problem...

PRM Racing does not supply a mount for the filter end of the intake. Basically, it flops around, which is less than ideal.  

>> Join the conversation about installing an aftermarket intake to your S2000 right here in the forum.

Step 18 - Fixing the flop

What SilverS2kF22C1 ended up doing was fabbing up an S-shaped bracket to go under the funnel clamp and attach to one of the stock lower air box mounts. This keeps the intake from flopping around. Don't over tighten it or you can damage the funnel piece.

>> Join the conversation about installing an aftermarket intake to your S2000 right here in the forum.

The results are in

So now let's start up the car and hear how it sounds 

During the test drive, you really can't hear it over the exhaust (Invidia N1) nor do you really get a sense of how loud the car is to start with but never-the-less, you are welcome to listen.

In the end, the PRM Racing Jet Stream Intake made a difference in the following ways:

  1. The exhaust has a deeper tone
  2. The throttle response is a bit snappier
  3. The midrange doesn't feel as flat as it did before
  4. VTEC engagement feels/seems softer which make's me think the midrange saw some gains, too, which aligns with the midrange improvement I noticed
  5. Can't hear it on the video, but once VTEC engages you can HEAR the air rushing into the intake, which is very cool

SilverS2kF22C1 hopes people find this helpful if they tackle this fairly straightforward install!

>> Join the conversation about installing an aftermarket intake to your S2000 right here in the forum.

NEXT
BACK
NEXT
BACK