Lower Geared Rear Diff for More Power
Gearing can make or break your car regardless of what sort of engine you're running.


Why Swap out Your Rear Differential?
If your car's launch off the line is a little lacking, you can quickly add some punch with a lower geared rear differential. Jason Fenske of Engineering Explained wanted to do just that with his Honda, so he dialed up PuddyMod Racing (otherwise known as S2KPUDDYMOD of S2ki.com fame) and ordered a new diff with a 4.44 final drive ratio to replace his stock 4.1 gears. And thankfully, he put together this nifty video detailing the process of swapping out the differential.
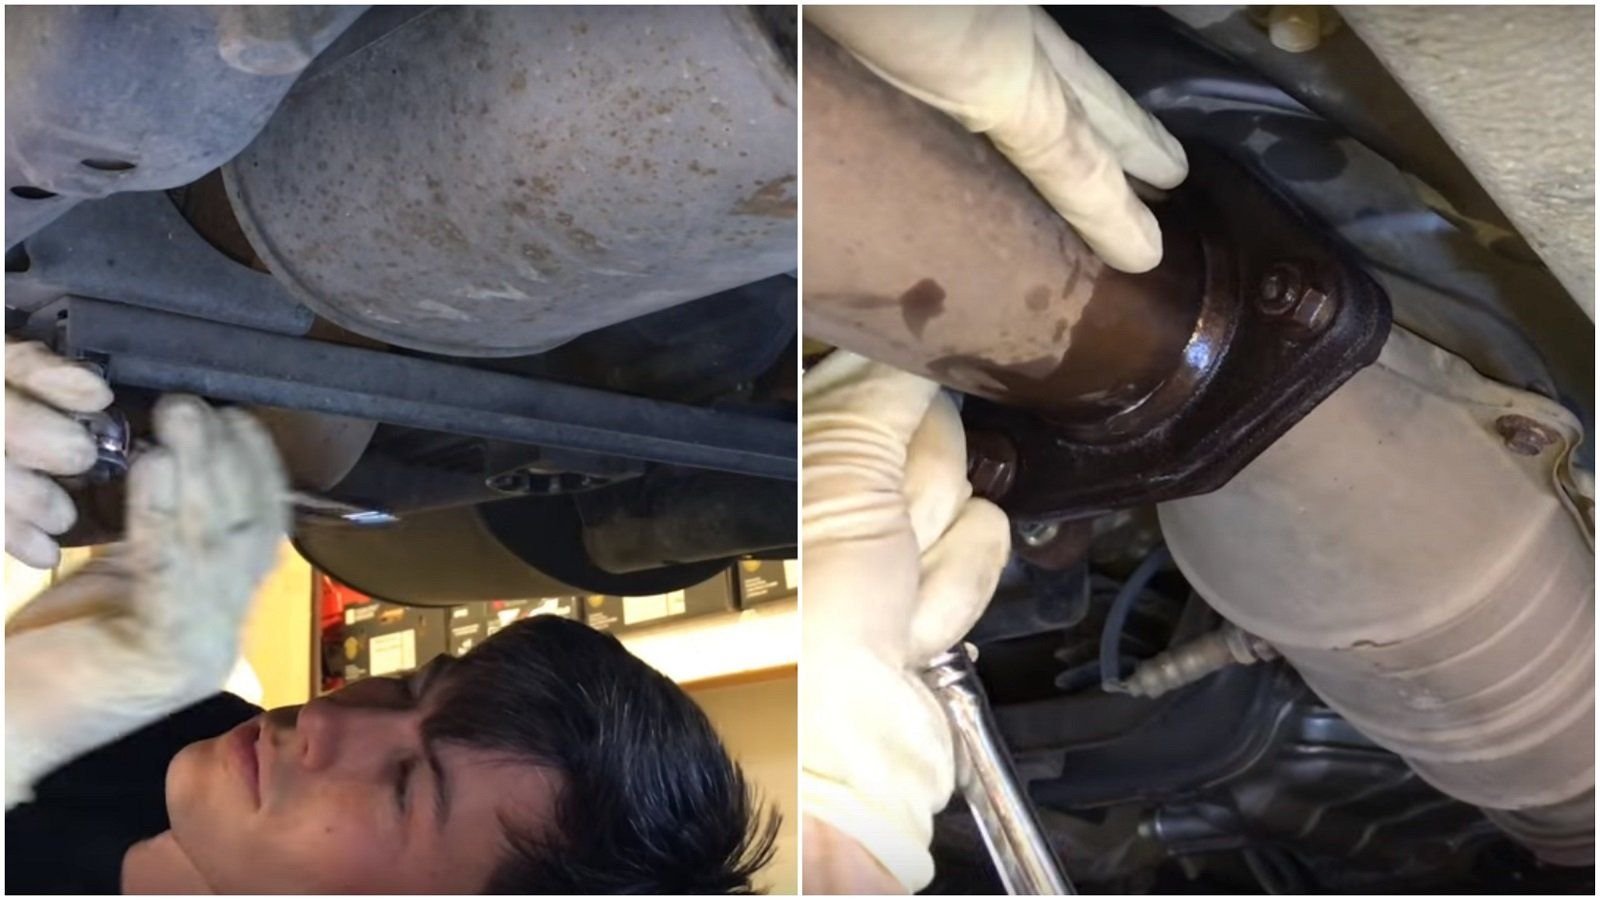
Remove Rear Portion of the Exhaust
Begin by jacking up the front and rear of the car and placing jack stands underneath, then remove the rear wheels. Removing the exhaust from the catalytic converter back isn't necessary, but it does give you more space to work with, so Jason recommends it. He first sprays down all the bolts with penetrating oil, then removes the rear suspension stiffener by removing the six bolts that hold it in place. Next, remove the three nuts connecting the exhaust to the rear of the cat. Then remove the exhaust from the five exhaust hangers (one at the center, two at each end) and pull it out from under the car.
>>Join the conversation about installing a lower geared rear differential right here in s2ki.com!
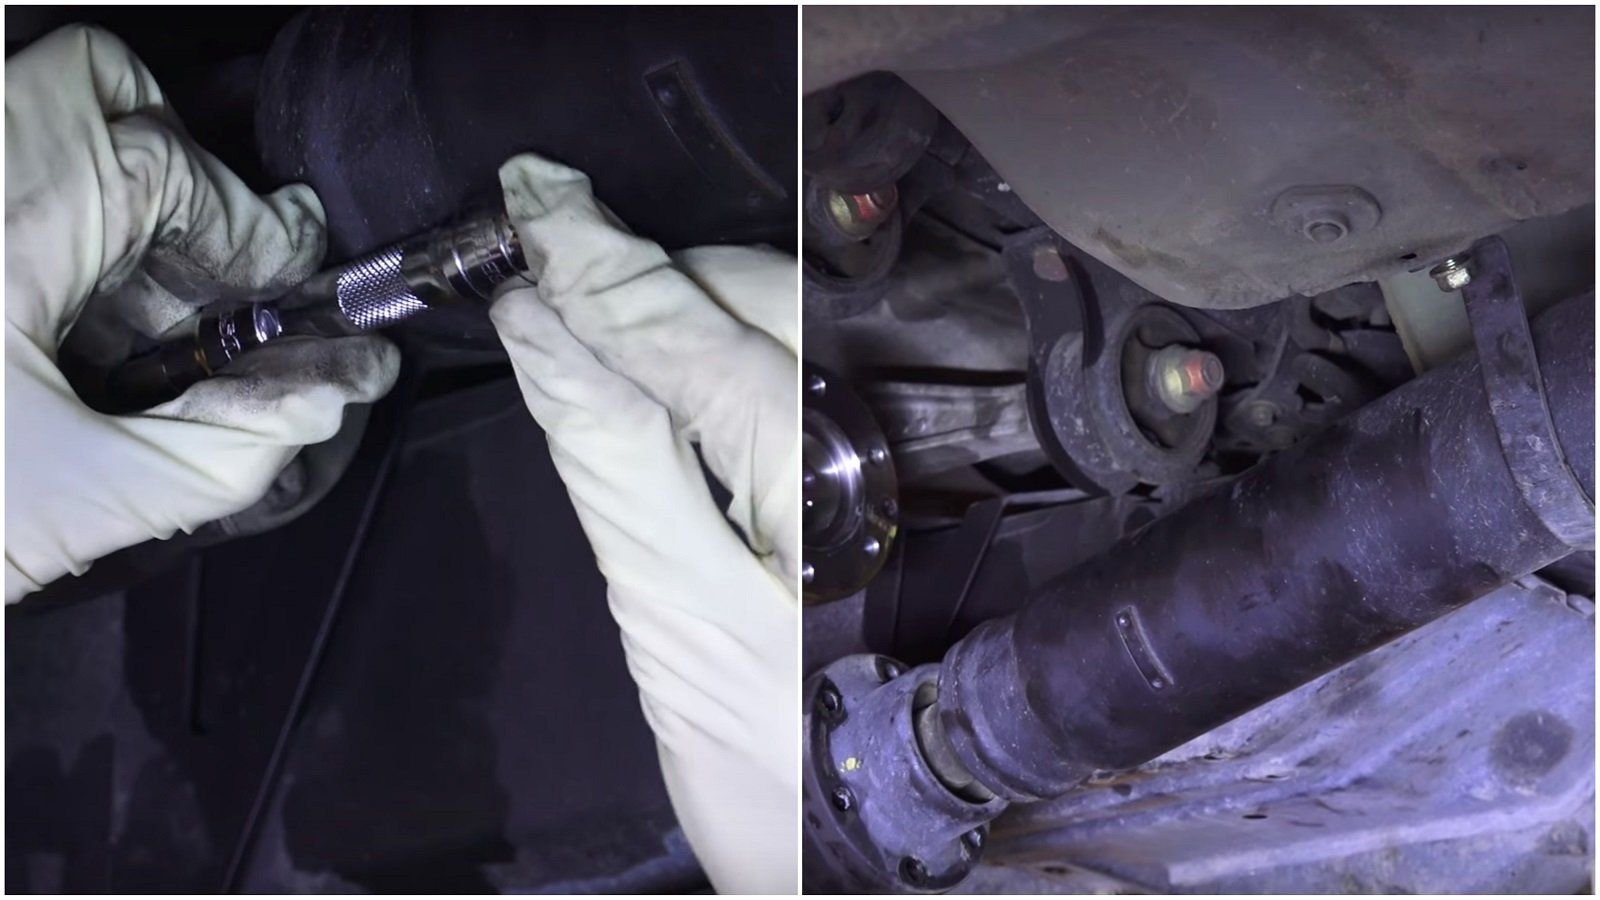
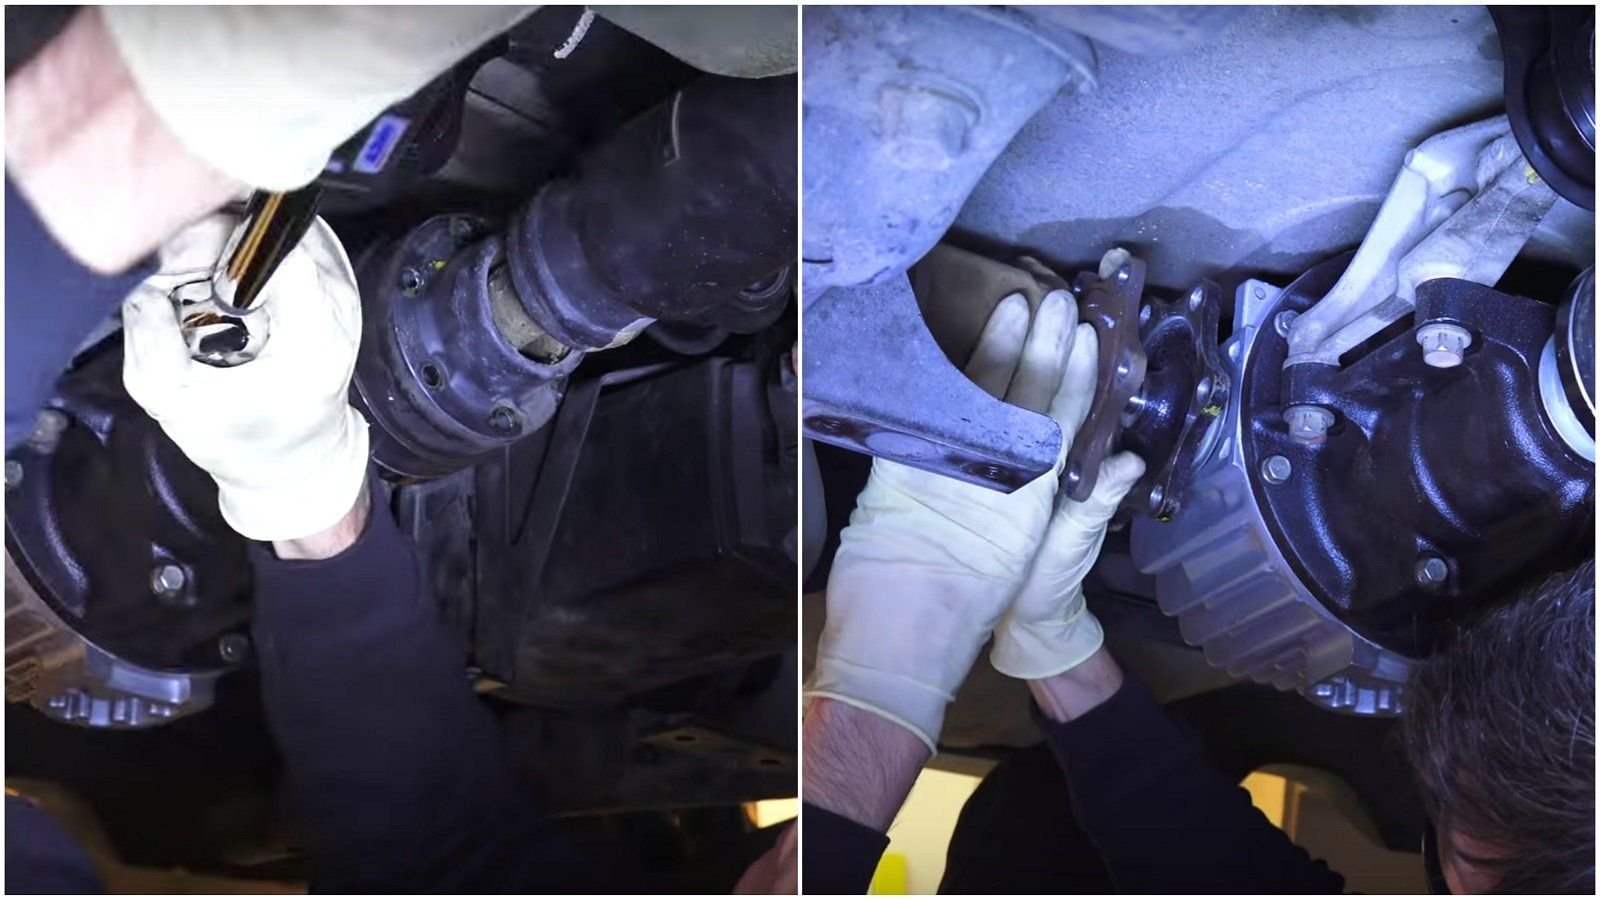
Remove the Prop Shaft From the Rear Differential
Before removing the prop shaft, use a marker to mark the prop shaft and the differential joints for reference if you ever need to reinstall the original diff. You won't need to fully remove the prop shaft to install the new differential, just the end that goes into the diff. Carefully remove the six 6mm socket cap screws holding the prop shaft in place, being careful not to strip them. Putting the transmission in neutral will allow you to rotate the shaft and easily access all six bolts. Once the bolts are removed, pull the prop shaft back and let it sit on the shaft protector.
>>Join the conversation about installing a lower geared rear differential right here in s2ki.com!
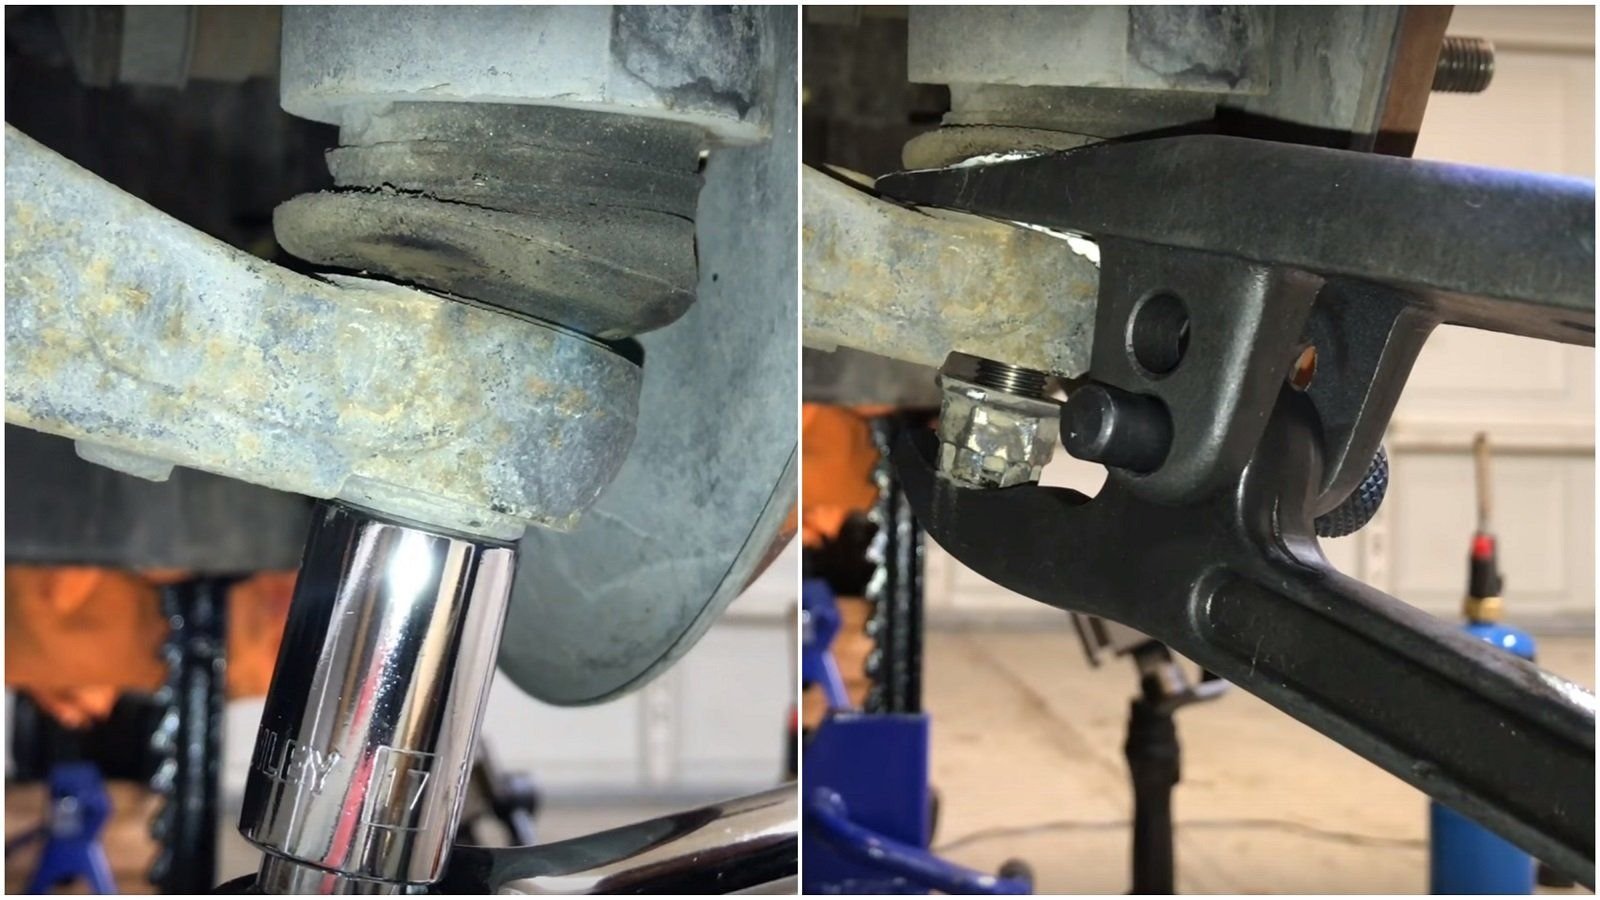
Disconnect the Lower Control Arm and Ball Joints
Remove the cotter pin from the castle nut on the lower control arm. Next, remove the castle nut from the control arm. Removing the nut will render it useless, so be sure and grab a couple of new ones before removing them. You'll also need a ball joint removal tool to remove the ball joints. Apply some grease to the tool and slip it onto the ball joint, then crank up the pressure until the ball joint comes free. Finally, Next, remove the two bolts holding the ABS sensor to the upper arm.
>>Join the conversation about installing a lower geared rear differential right here in s2ki.com!
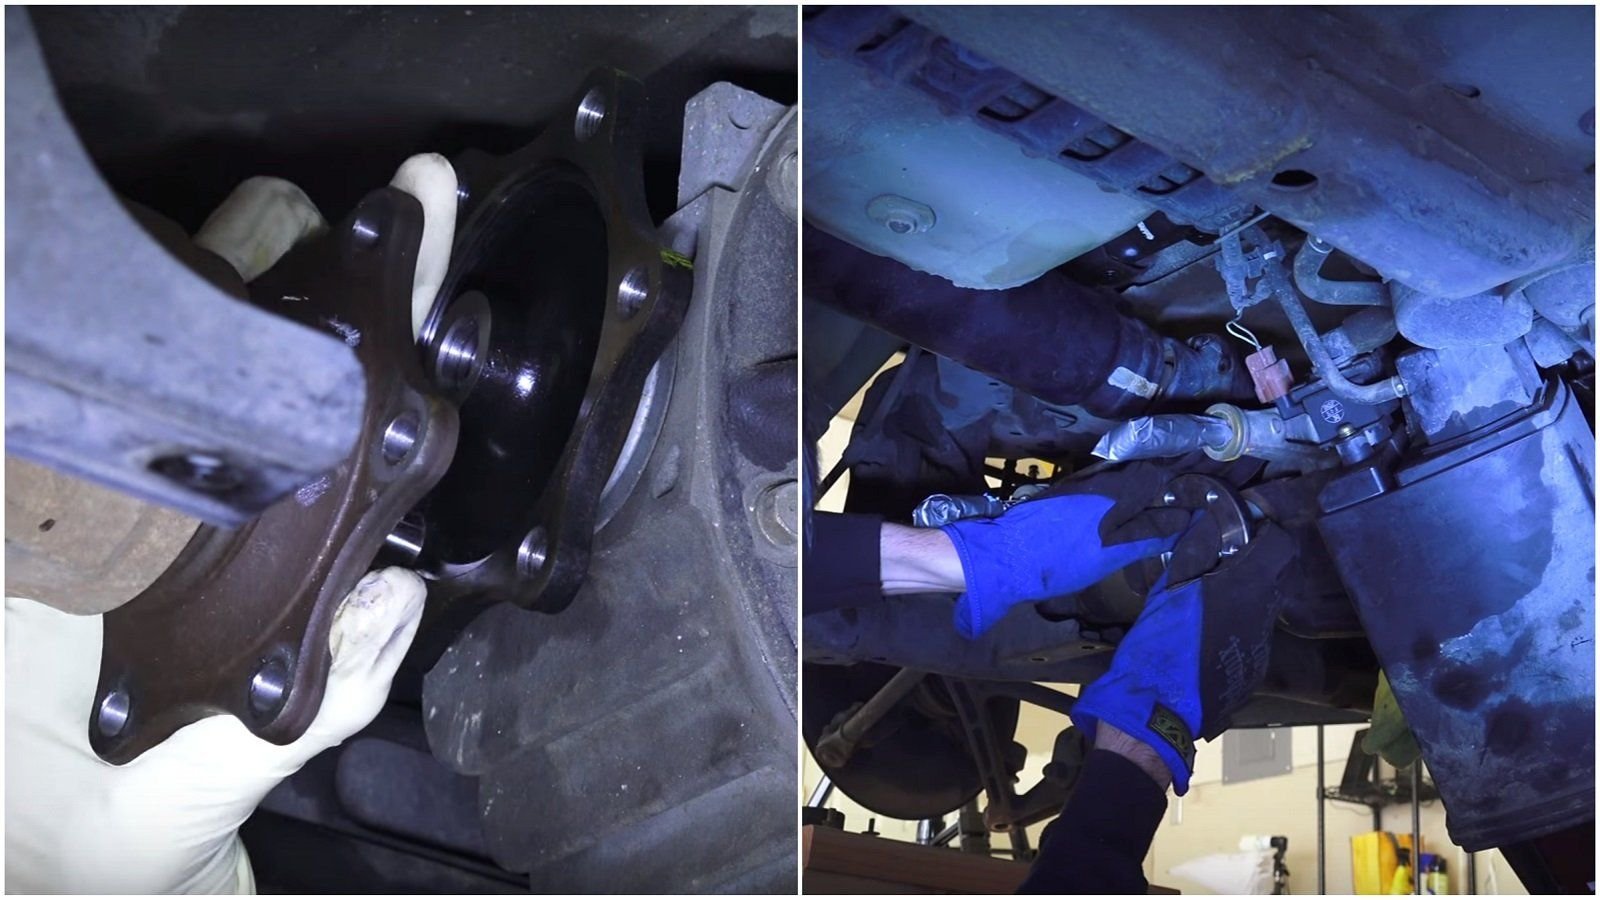
Remove the Rear Differential
Remove the six mounting nuts and bolts from the differential joints on each side, then pull them out. Remove the single bolt holding the evap canister cover in place and pull the cover off. Place a floor jack under the differential to support it. Beginning at the rear of the diff, remove the four nuts from the mounting bracket. Next, remove the four bolts from the front mount. Unbolt the evap canister, slide it back, and allow it to hang out of the way. Pull the differential toward the front of the car and lower it down using the jack.
>>Join the conversation about installing a lower geared rear differential right here in s2ki.com!
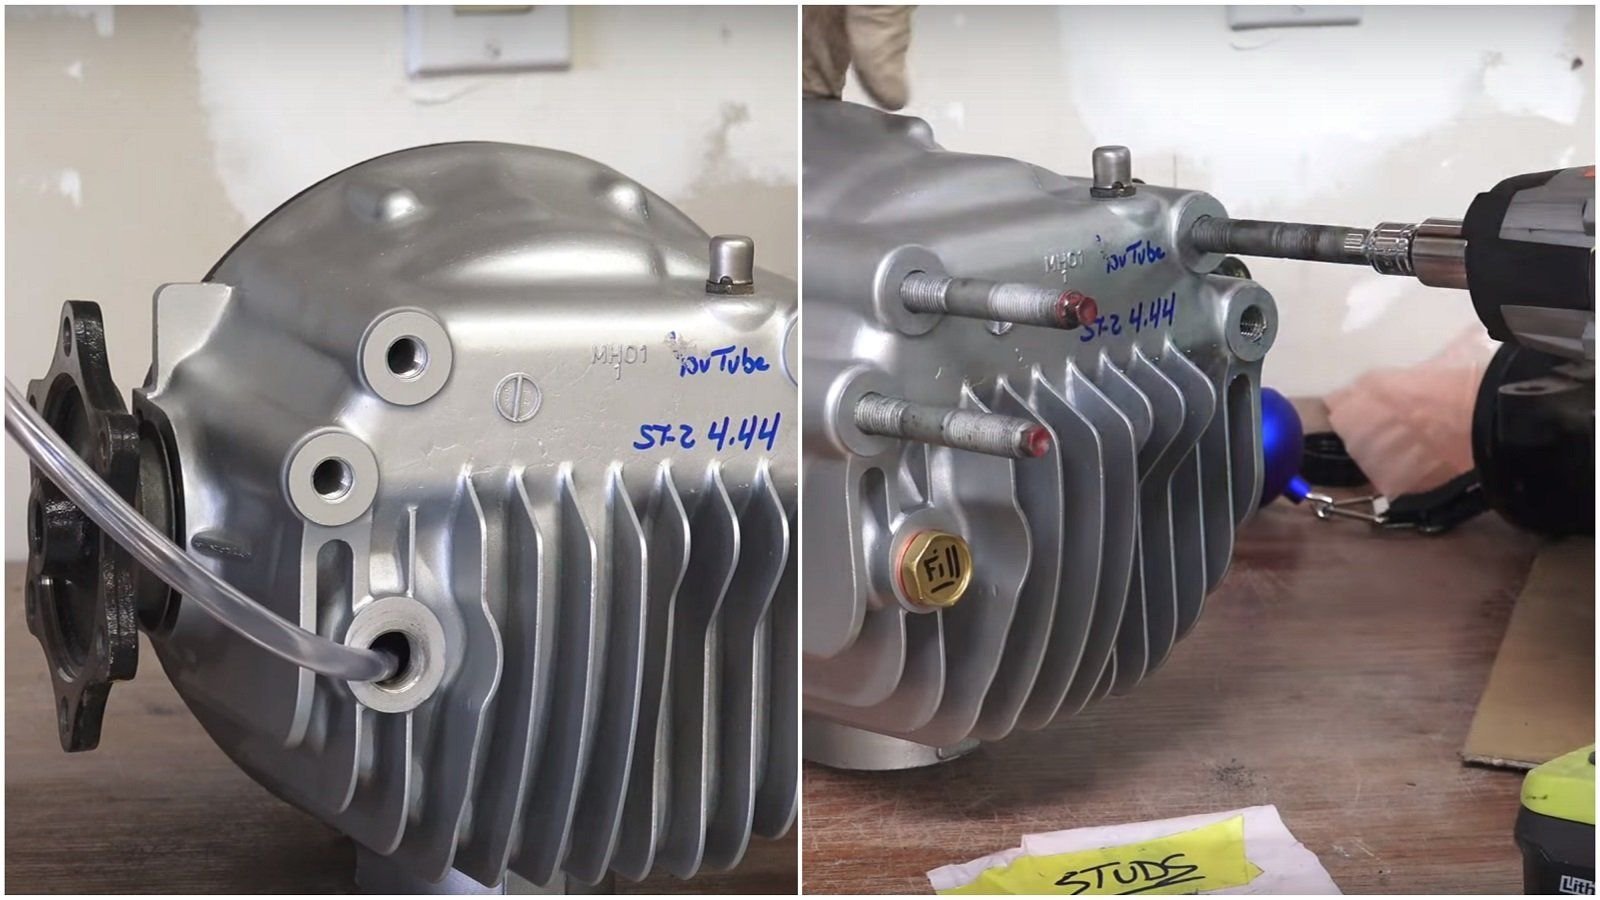
Prepare the New Differential
Replacing the rubber differential mounts is a good idea at this point, but it's purely optional. Regardless of whether you're using the original or new mounts, the four outer bolts should be torqued to 33 lb-ft, and the center bolt to 47 lb-ft. Next, fill the new differential with oil. Make sure it's level, then fill until oil starts to come out of the fill port. Once finished, torque the fill bolt to 33 lb-ft. Install the studs into the new differential. Finally, swap the front differential bracket onto the new unit, torquing the four bolts to 47 lb-ft.
>>Join the conversation about installing a lower geared rear differential right here in s2ki.com!
Install the New Differential
Lift the new differential into place using the floor jack. Slide it in place, replace the four nuts in the rear mount, and torque them to 55 lb-ft. Slide the front mounts into place, replace the four outer bolts, and torque them to 33 lb-ft. Replace the center nuts and torque them to 47 lb-ft. Replace the evap canister and cover, then torque the bolt to 7.2 lb-ft. Slide the axle shafts back into the differential, replace the bolts, and torque them to 61 lb-ft. Reinstall the ball joints by torquing the castle nuts down to 51-58 lb-ft, then reinstall the cotter pins. Reinstall the ABS sensor harness and torque the bolts to 7.2 ft-lbs. Reinstall the prop shaft into the differential, install the bolts, and torque them to 24 lb-ft. Replace the prop shaft protector and exhaust, torquing the bolts to 25 lb-ft. Finally, reinstall the rear suspension stiffener and torque the bolts to 33 lb-ft. Reinstall the rear wheels, lower the car off the jack stands, and you're ready to go!
>>Join the conversation about installing a lower geared rear differential right here in s2ki.com!