When you click on links to various merchants on this site and make a purchase, this can result in this site earning a commission. Affiliate programs and affiliations include, but are not limited to, the eBay Partner Network.
UK & Ireland S2000 CommunityDiscussions related to the S2000, its ownership and enthusiasm for it in the UK and Ireland. Including FAQs, and technical questions.
Hi all, and welcome to my modding pages, here you will find alot of information and guidance, on how to modify your car, if you would like help PM me and i will try and help if i can
SUPERCHARGER COMPLETE INSTALL ON THIS FIRST PAGE!!!
BEFORE YOU START
Make sure you have all the tools at hand and the workshop manual for reference.
ACCESS
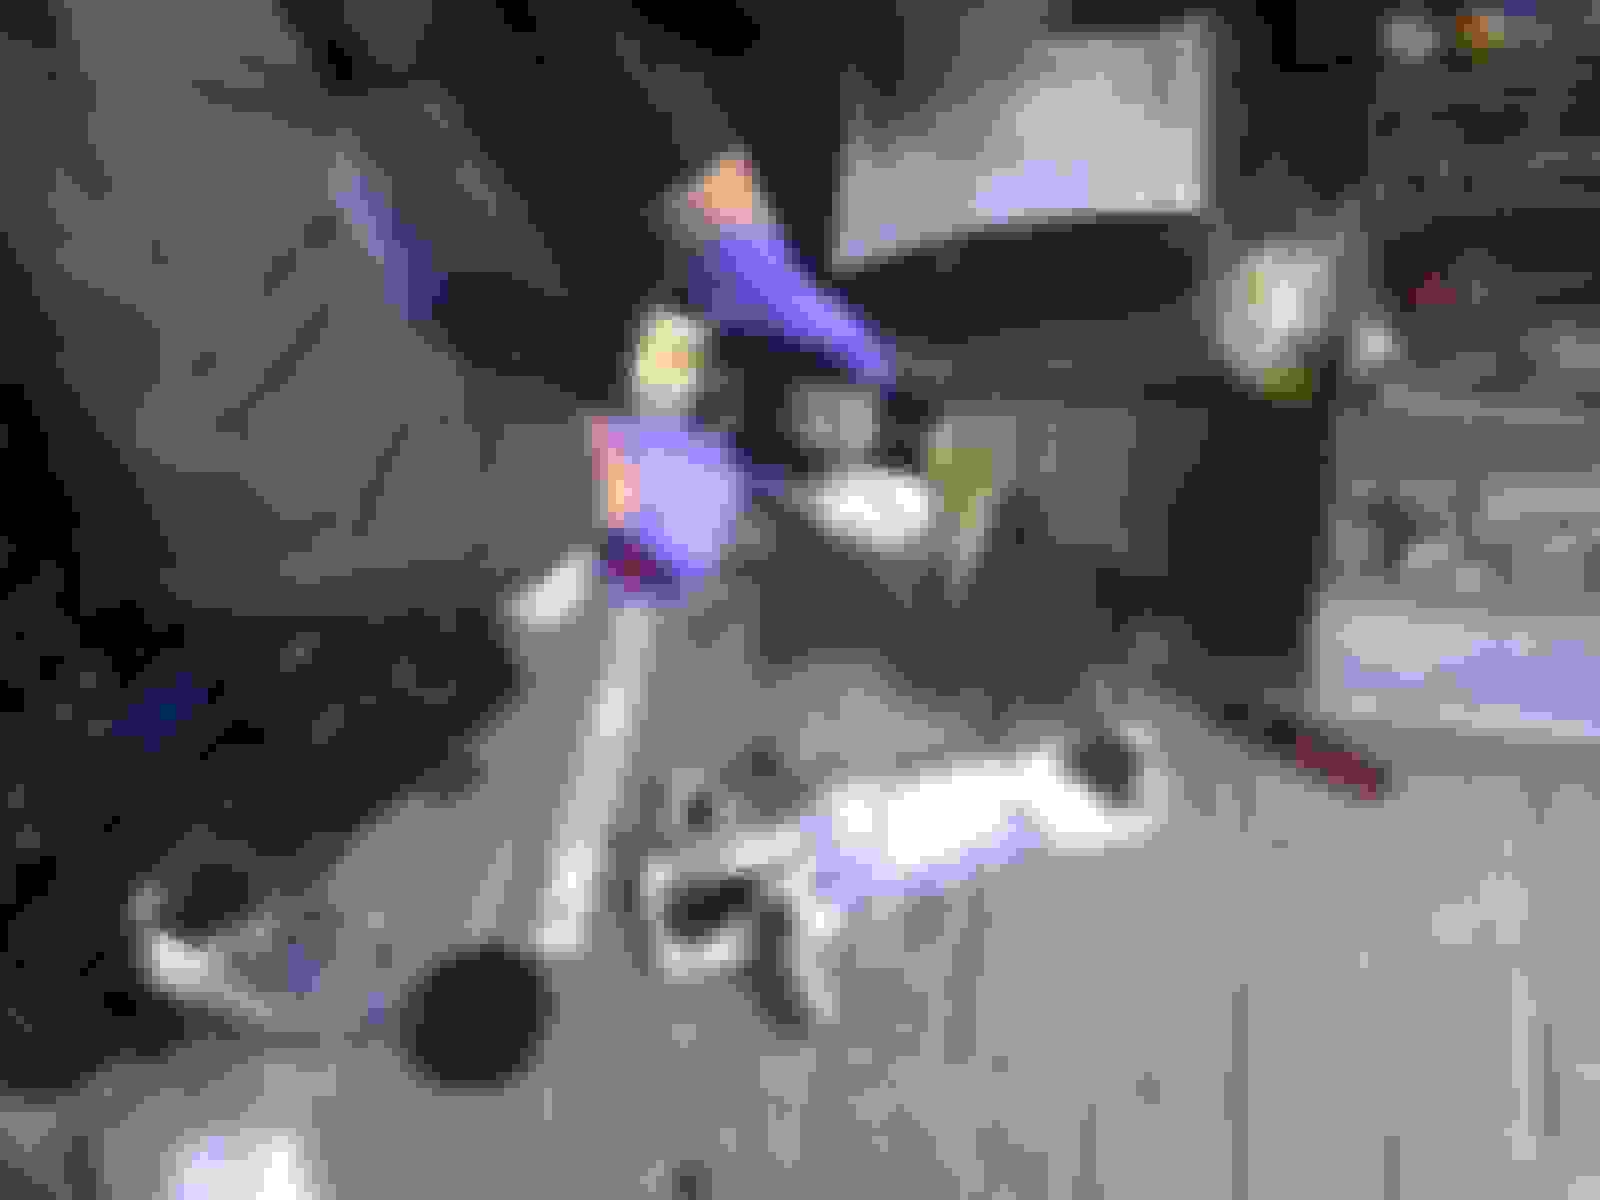
Now this isnt as easy as i first thought due to removing panels etc (Use the handbook (section 20) to remove the access panels), this has to be done to get better access. You can see the light through the top on the picture.
Righ the Fuel Pump, you'll need to open the fuel cap for pressure release , (some have removed the fuses or battery and drained the fuel off) i didn't do this and it wasn't a problem. You'll get a bit of fuel on top of the tank so put raggs around the area.
Remove the 3 srews and disconnect the electrical connector (this is a pintch type, squeeze either side to remove), Remove the 8, 8mm bolts and the 1, 10mm earth strap, then remove the fuel lines (there is a clip on the top and bottom) be carefull here as you dont want to snap them and they feel flimsy! turn the pump 45 degrees then lift out the pump (Be carefull here as you dont want to bend the float).
CHANGING THE PUMP
This is quite straight forward (Use the Manual) just be carefull with the electrical connectors when pulling off. Pull off the bottom clip, use your hands as a screwdriver might break the clips, the pump will then be able to slide through the housing, if not use a pair of pliers to loosen the rubber hose at the top of the unit. The rubber hose will be too long as the Walbro pump is bigger so you will have to cut off about 5mm so the fuel pump fits nice and snugg
Now put everything back in reverse making sure all connectors and clips are secure.
And as they say that is that
AIR BOX REMOVAL
This is real easy as you can see all 4 of the bolts to remove, the only thing you need to be carefull of is the vacuum hose's as they are connected round the air box. I've tied mine up in case i want to use the car. (Look at the lovely blue rope )
SPARK PLUG COVER
4 bolts off, replace and 4 bolts back on
FRONT BUMPER AND UNDERTRAY
Front bumper removal, take the 6 top and 9 bottom screws out, and dont forget the 2 under the lights, and the arch covers (its easy to forget them and wonder why its not coming off ) oh and be sure to take the water pipes off for your light washers.
AFTERCOOLER RADIATOR
Remove the negative from the battery.
Dont forget to use all the paperwork from Comptech, you'll need it.
Undo the 2, 10mm bolts on the top of the radiator so that it can be moved up ready for when you drill.
Use the template to drill the 2 holes for the radiator bracket and make sure it is lined up correctly, (this has to be right as the radiator sit on this and it need's to be level). Do not tighten up as you will need some movement when putting the pipes on. On the right hand side of the undertray you will need to drill a large hole for the water pipe so i would advise to do this now and put back on. (its easier for putting the pipes on).
Ps dont put the pipes on yet
WATERPUMP
Remove the 2 ,10mm screws that are on the bottom of the pump (on the car) also remove the 2, 10mm screws from the air pump and lift away, be carefull with this as you could pull the wires out!
Fit the additional pump using the instructions making sure that you have the inlet and outlet pipes the correct way (you'll never get the pipes on if you dont).
Undo the 10mm nut holding the red and white wire from the air pump and connect the Orange wire to this and fasten back up, not forgetting to tighten and replacing the cap that covers the wires. You will see that you have 2 wire that are earthed on the pump and 1 white wire. This needs to run inside the engine bay and into the fuse box under the driver side. (this will need to connected correctly so that it switches on with your ignition)
Now fit the pipes, making sure you use the smallest 24" from the pump to the radiator, and the 25" from the raditor to the engine bay, and the longest one i think its 33" from the pump to the engine bay, you now have 2 pipes in the engine bay. (dont forget to fit the clips before you install the pipes).
EMS
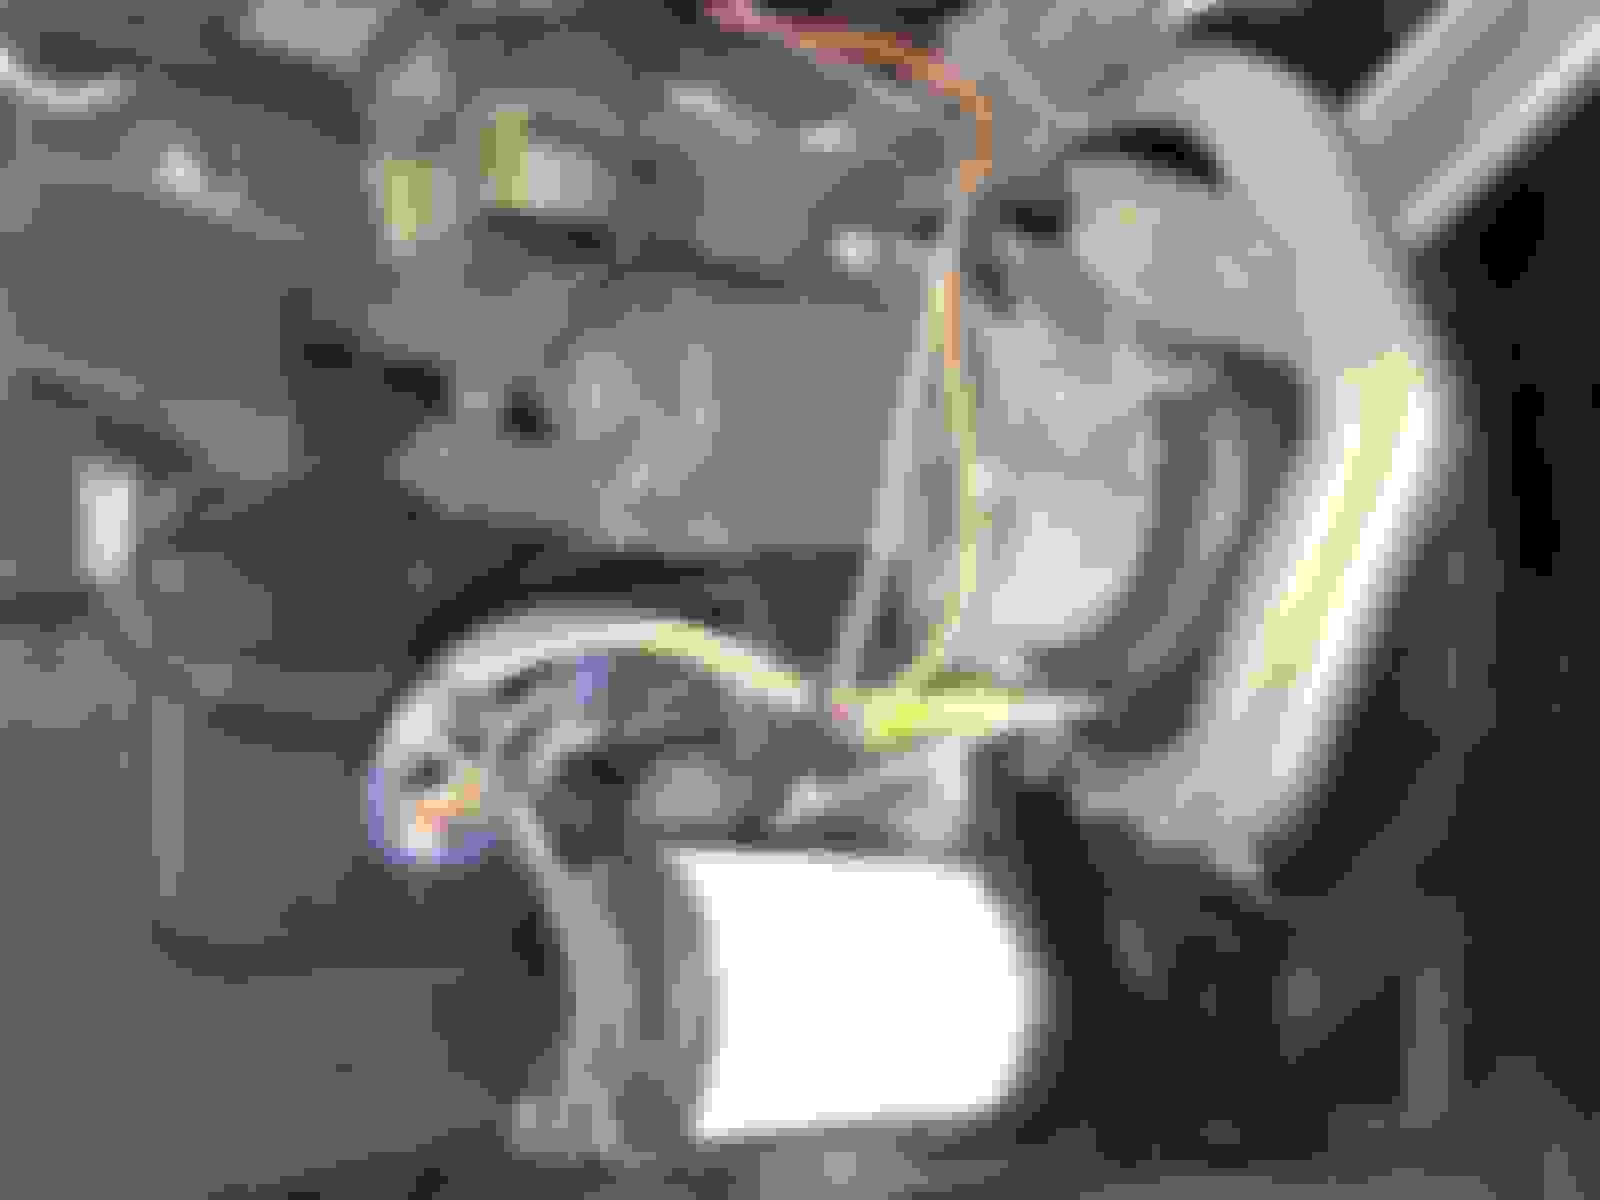
You can find this in the passanger foot well, open the door and remove the rubber, there is a screw on the inside holding the panel in place, remove this screw and pull the side panel off, this is just clipped in so its easy to remove, lift the carpet and you'll see the ECM, undo the 2, 10mm bolts and remove (be careful with the wires) now i found it easier to unplug the ECM and work with the wires at hand.
Follow the instructions here, there was only one thing that held me up here and that was that the instructions were not that clear! Be clear in your mind before you attempt this as you do not want to blow the ECM, make sure you connect and double check before you start the car, if all's well and you've connected the battery, your car should start and run as normal.
CRANK PULLEY
This is a bit of a git to get off but i managed to remove this with a huge pair of grips and a friend oh and a great big pole. Please turn this anti clockwise and be prepaired and make sure you've had your shreddies
When refitting you will need to put the original pulley on first then torque up the recommended settings, (do not put the extension pully on yet as you can only put one pulley at a time due to the steering rack).
(I didn't have the original Comptech pulley so i had to drill the original, this isn't a problem if you dont have it, just be sure when you drill the origianal that its in line and you tap the threads properly.)
VACUUM HOSES
Please make sure you mark these before you take them off, otherwise you'll be scratching your head when you make all the changes. It is straight forward enough but be sure not to lose any pipes. ACV (air control valve) is also easy to relocate, just be sure that you run all the lines away from the S/C.
SUPERCHARGER
I started this by putting all of the brackets on loosely, making sure all the bolts go to the right fittings, you will find this easier as the instuctions are a bit shit here. I also ran the belt behind the charger making it easier to fit when bolted down Next i put on the oil lines, top one first as it was easier, you will need to drop the oil to put the second oil line on as it is connected straight into the sump, ie it replaces the sump plug, then connects to the bottom of the charger. Check that all the bolts and tentioner are tight.
FUEL REGULATOR
As this is made for the US market, you will need to relocate this, First remove the 2 x 10mm bolts holding the fuel line into the fuel rail, be careful here as you are going to need the rubber O ring, disconnect the fuel line, now be careful here as there will be a little bit of fuel in the lines and it will spill. Put the new connector on not forgetting the O ring and tighten.
Now there are many ways to fit the regulator but i found it easier to turn the bracket (supplied) unside down and remove the water pipe bracket and bolt it there, this way you will not need to replace any pipe work and it looks great See Pic.
AFTERCOOLER
This is another item that is easy to fit following the instructions, the only thing is to make sure that all the water pipes are free so they are not rubbing. Also make sure when putting on the connecting rubbers that you put the large clips on first then the smaller ones in behind, this will save you time when connecting, belive me, its easy to connect then realise it wrong!!!
Check all pipes then fill with water and antifreeze 50/50, this holds about 4 lts of water so i would advise to put in 1 ltr at a time and check for leaks etc.
Now switch your ignition on and check the pump is working and the air will be pushed out.
Switch the pump off then fill the rest of the cooler.
Run the engine and check for leaks, especially the oil.
About time to
ESM comes with "taps" IIRC I soldered mine as there is some history of the taps failing.
Where's the install instruction on the plug cover
 01-09-2008, 08:39 AM