
Fuel pump install with SOS wiring kit

Thread Starter
Joined: May 2010
Posts: 3,422
Likes: 2
Installed my fuel pump yesterday using Science of Speeds pump wiring kit. Kit comes with factory terminals to rewire your fuel pump directly to the battery with a relay without drilling through the pump carrier housing. Kit is very nice, high quality relay, factory terminal pins, relay socket and fuse holder, color pictured thorough instructions (only one part I think could have been described better).
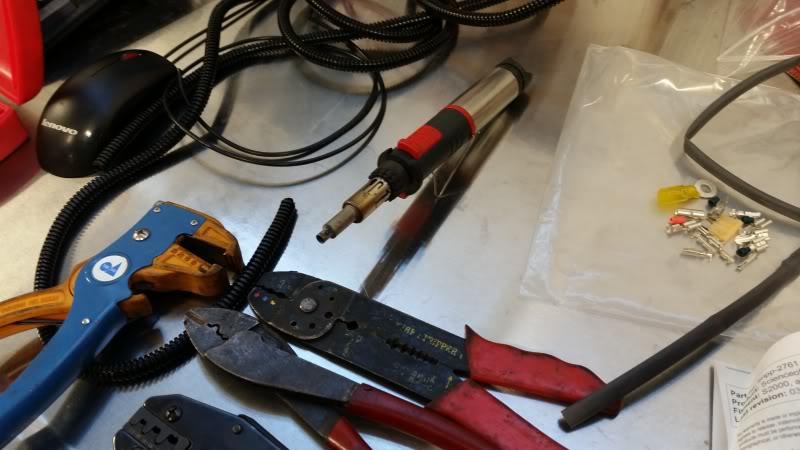
Here are the tools you'll need to do the job (minus the crimps at the very top). One other thing you'll need that isn't listed, is either a depin tool or a fine straight pick.
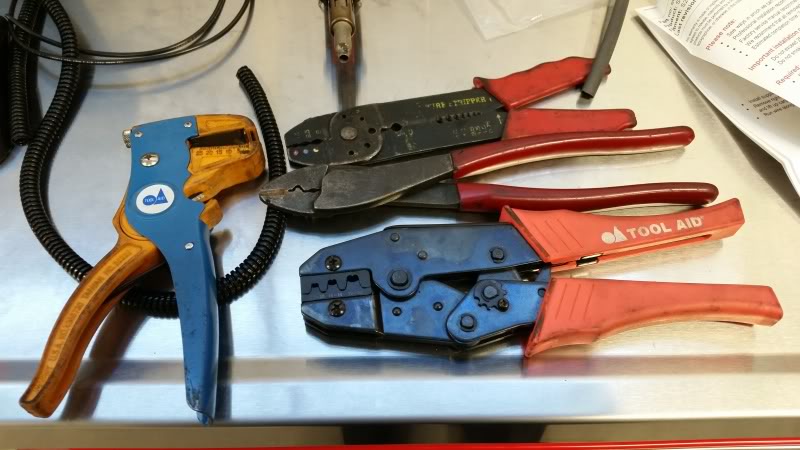
Wire torch/soldering iron
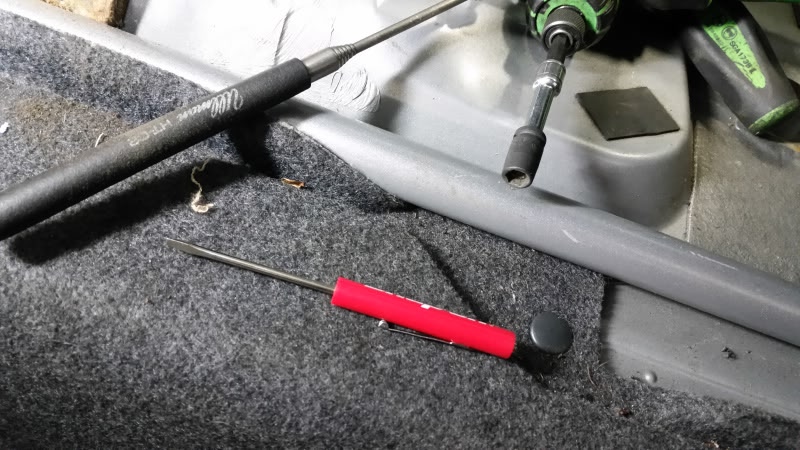
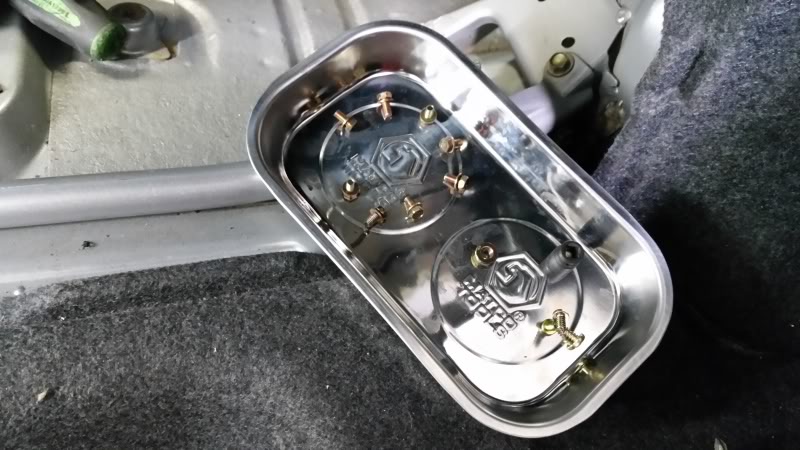
I didn't go into extreme detail of the pump install and wiring as it is pretty straight forward/same as most pump installs. This is mostly to show and give direction to anyone else with this kit. As it got later in the night, I got less and less photogenic. With my battery being in the hidden compartment, I skipped the instructions for running wire from the battery, through the car to the pump connector. The kit comes with plenty of wire to do this and corrugated wire loom to protect it and give it that factory look. For my install, I started here.
The black socket in this picture is a magnetic 8mm, if you don't have one, I recommend it. Good for not loosing the bolts from the pump housing.
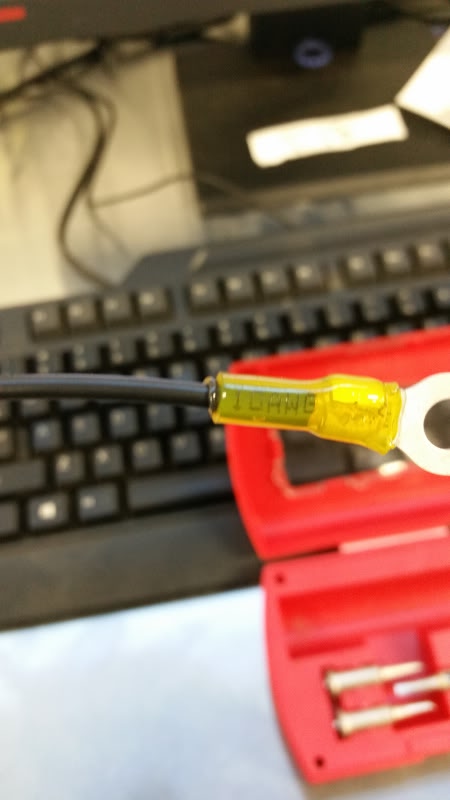
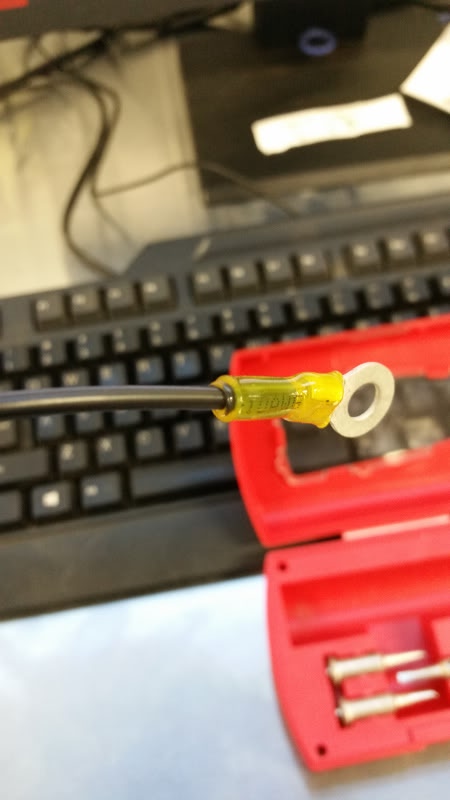
New 12awg ground with eyelet terminal. Crimp this on good to insure good continuity through your circuit. Once you heat the eyelet housing, try to get all the air bubbles out. Heat until you see the glue ooze out slightly.
Once you get the connector off the pump housing, the fun starts. This is were you'll need the depinning tool. All the pins WILL come out once you have released its lock and locking tab. If the wire doesn't come out with a gentle tug DO NOT PULL HARDER. The pin tab is not released. General rule of thumb for this, if it doesn't come off easily, you're doing it wrong. With the exception of the pump connector and fuel lines, those can be a pain.
Wires removed from connector housing. I couldn't get a clear picture, but inside the connector for each pin is a very small tab that needs to be pushed up (if you have the 2 pin side of the connector facing up) once the blue lock has been removed.
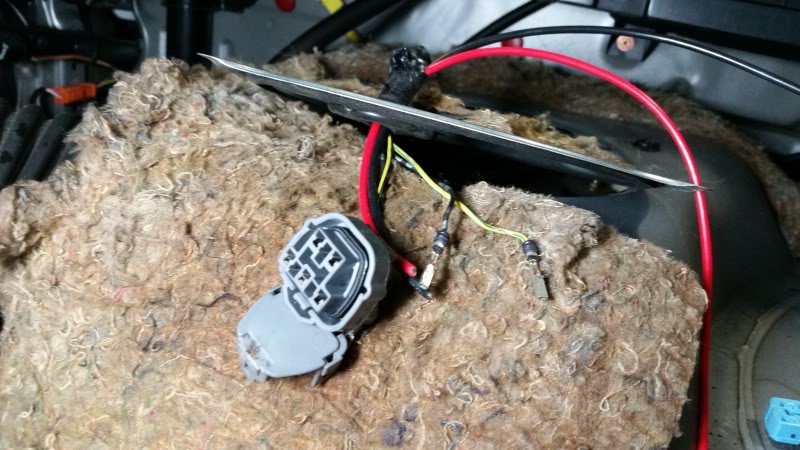
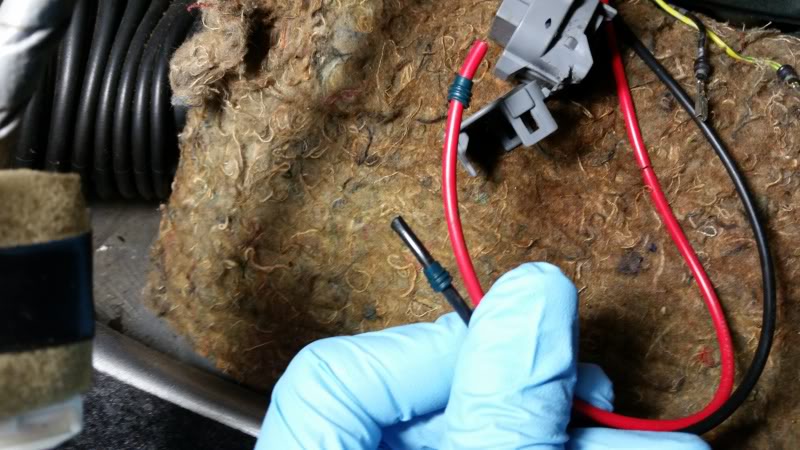
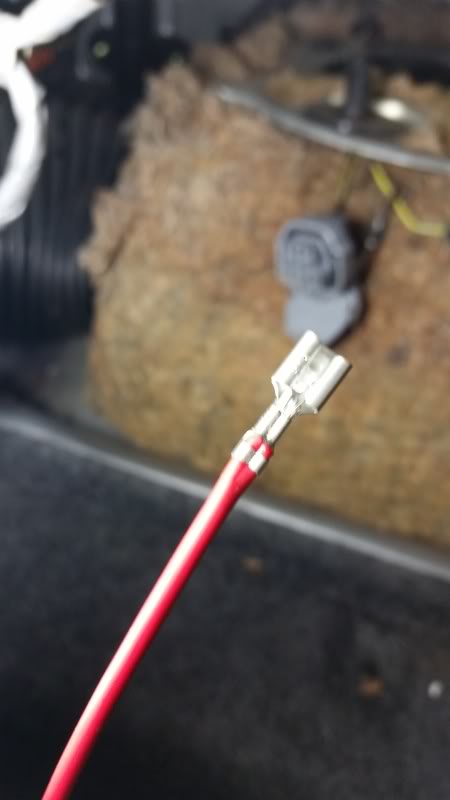
Here are the power and ground wires that will be pinned and used to power the pump. The green seal is a factory weather seal and can be a pain to crimp on with the terminal. Found it easiest to do this way. Put the seal on the wire first.
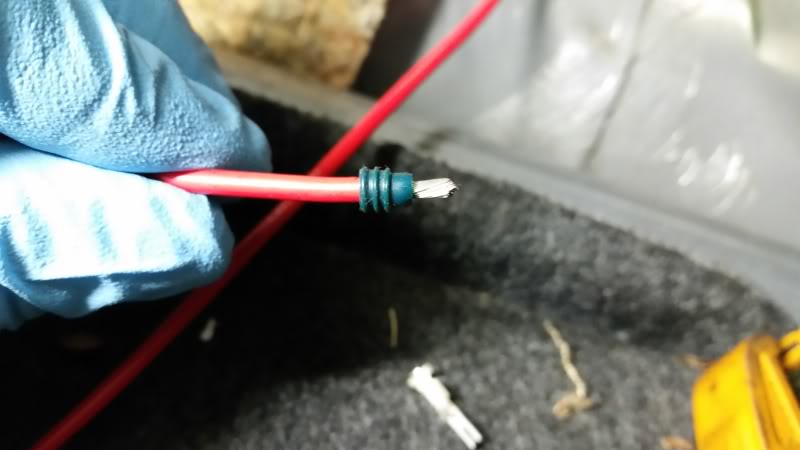
Strip back a small amount (SOS covers the amount to strip in each section pretty well) and then push the seal until its at the edge of the wire insulation.
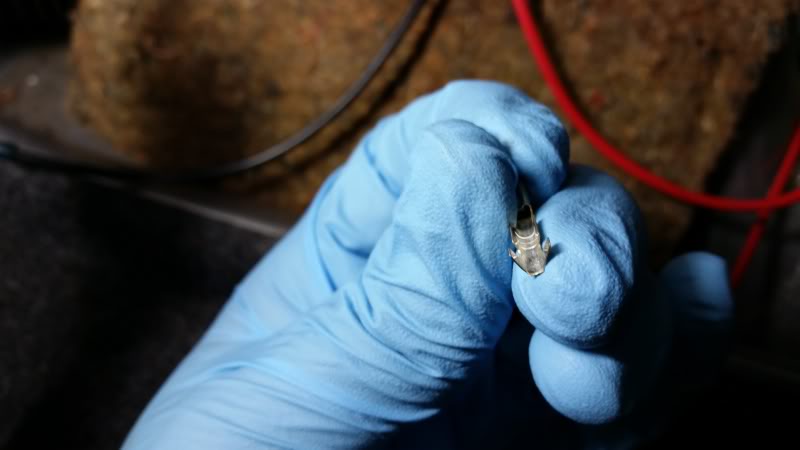
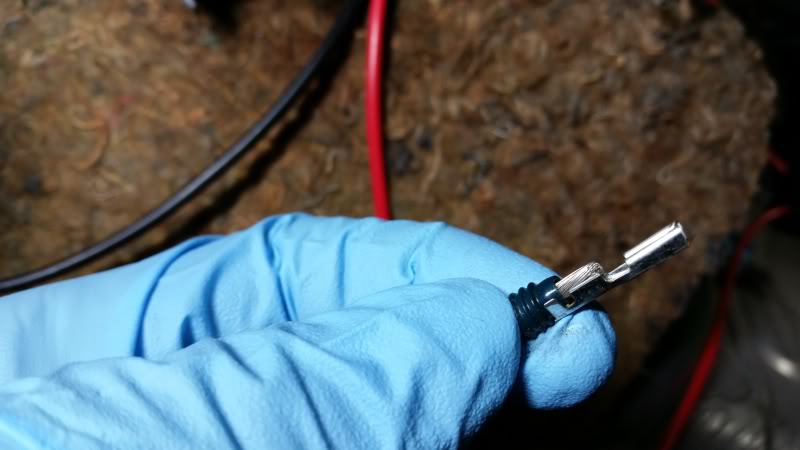
VERY genitally push the two ends of the terminals that are pointing up together. Put the end of the seal in that part you just pushed together some. You want it tight enough that it holds the seal some for you. You can see in the first picture how spread apart they are at first.
As for actually crimping the pins and wire, I don't have any pics of that. When your using the double roller crimp, make sure ONLY the end of the terminal pin and wire are being crushed down by the crimper. If any part of the terminal besides those are in the crimper, you'll crush the pin. For crimping the wires without the seal, place part of the wire in the very end of the pin and crimp down firmly (SOS also do a great job covering this)
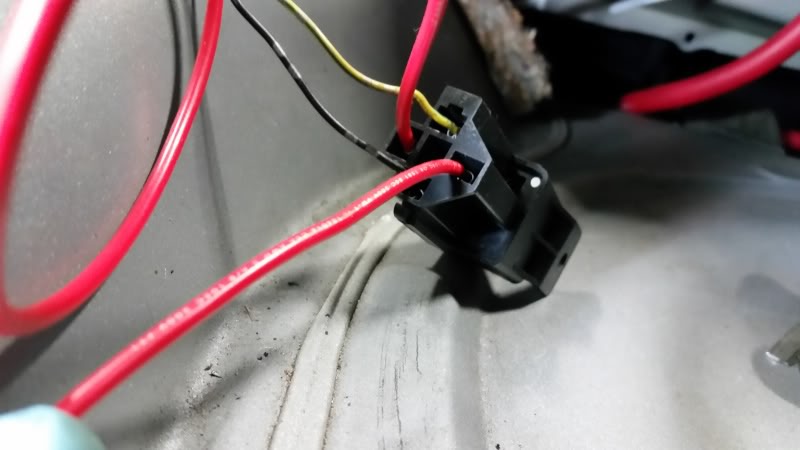
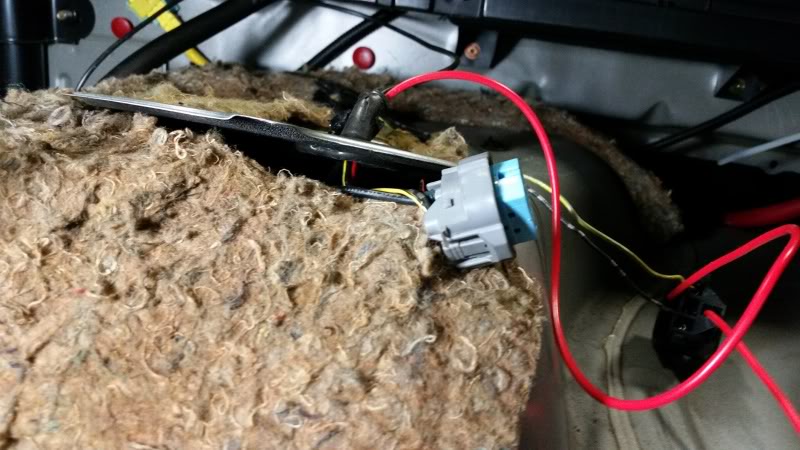
Wires installed into relay socket and new power and ground installed into pump socket
Wires taped up and relay zipped tired down. I couldn't secure mine to the located SOS specifies so I made my own mount.
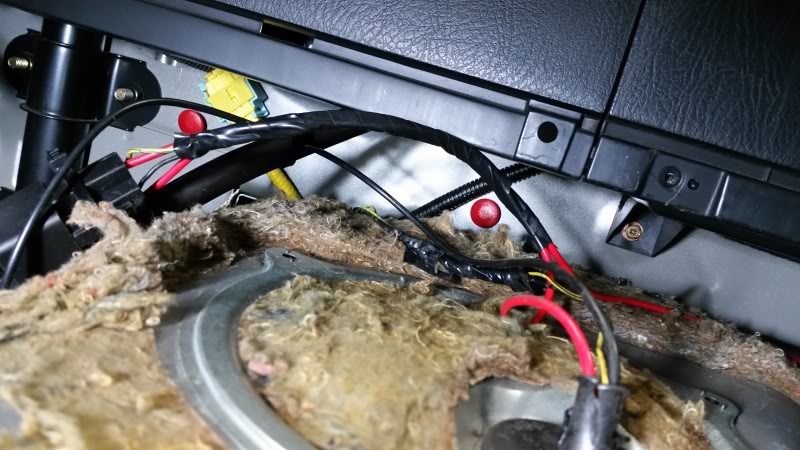
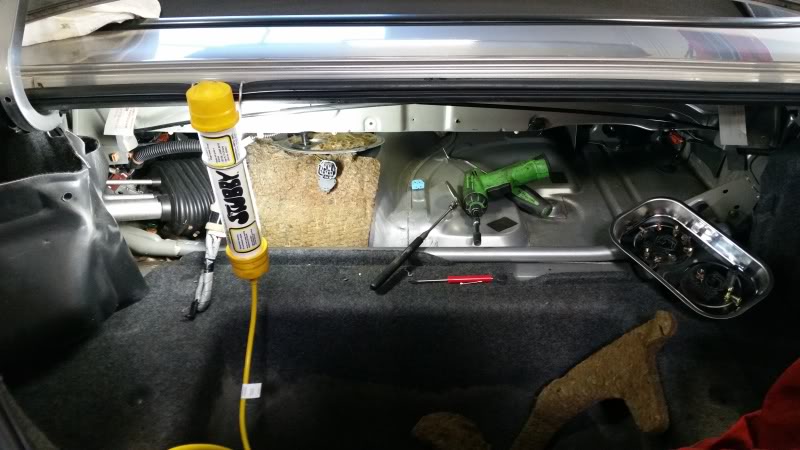
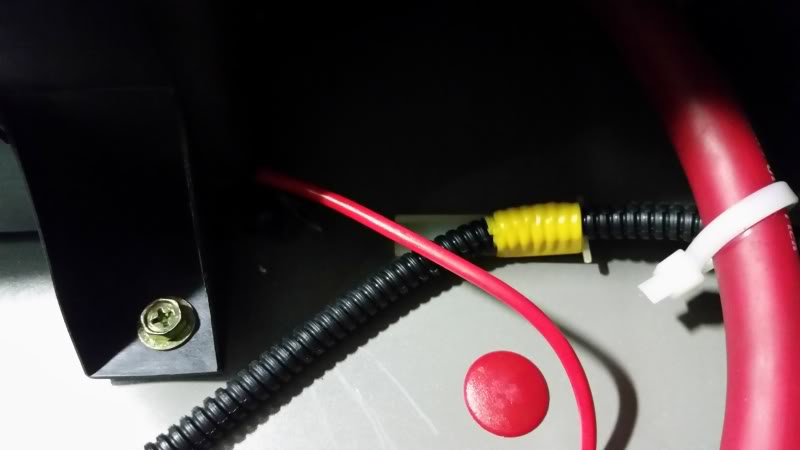
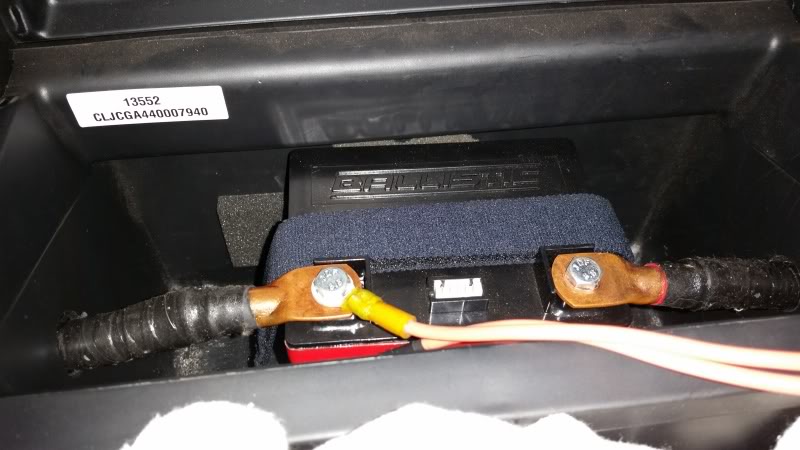
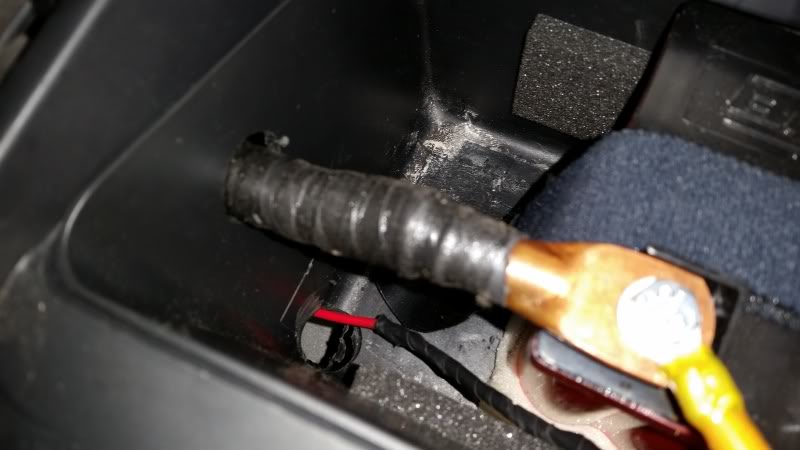
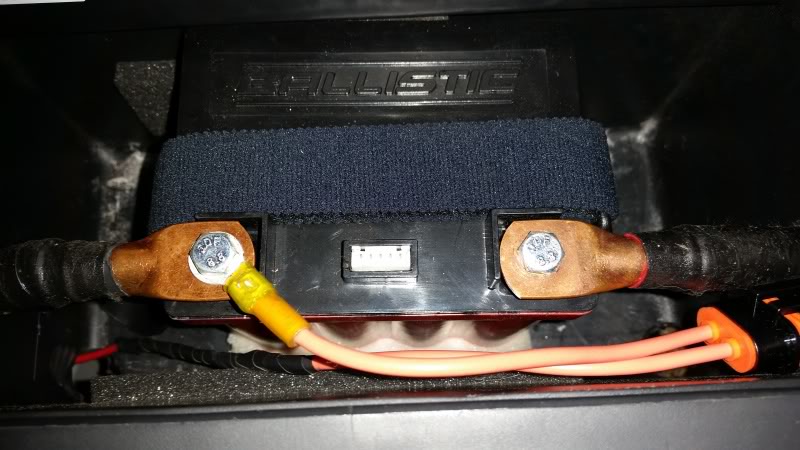
As stated above, my battery is in the secret compartment in the middle. These pictures are all showing the power wire being routed to the battery and the fuse holder.
All in all, I think this a great option for direct wiring your pump and covers all bases need to do so properly. The only issue I had was in the instruction, it tells you to do something with "the wire". It doesn't specify which wire and I just feel they could have told you red or black. No big deal honestly just something I noticed. I didn't show it cause I was tired but the kit does include pins for you to wire the power and ground wire inside the tank also. Great product from SOS
Please forgive editing mistakes. I'll proofread later.
Here are the tools you'll need to do the job (minus the crimps at the very top). One other thing you'll need that isn't listed, is either a depin tool or a fine straight pick.

Wire torch/soldering iron

I didn't go into extreme detail of the pump install and wiring as it is pretty straight forward/same as most pump installs. This is mostly to show and give direction to anyone else with this kit. As it got later in the night, I got less and less photogenic. With my battery being in the hidden compartment, I skipped the instructions for running wire from the battery, through the car to the pump connector. The kit comes with plenty of wire to do this and corrugated wire loom to protect it and give it that factory look. For my install, I started here.

The black socket in this picture is a magnetic 8mm, if you don't have one, I recommend it. Good for not loosing the bolts from the pump housing.


New 12awg ground with eyelet terminal. Crimp this on good to insure good continuity through your circuit. Once you heat the eyelet housing, try to get all the air bubbles out. Heat until you see the glue ooze out slightly.


Once you get the connector off the pump housing, the fun starts. This is were you'll need the depinning tool. All the pins WILL come out once you have released its lock and locking tab. If the wire doesn't come out with a gentle tug DO NOT PULL HARDER. The pin tab is not released. General rule of thumb for this, if it doesn't come off easily, you're doing it wrong. With the exception of the pump connector and fuel lines, those can be a pain.
Wires removed from connector housing. I couldn't get a clear picture, but inside the connector for each pin is a very small tab that needs to be pushed up (if you have the 2 pin side of the connector facing up) once the blue lock has been removed.

Here are the power and ground wires that will be pinned and used to power the pump. The green seal is a factory weather seal and can be a pain to crimp on with the terminal. Found it easiest to do this way. Put the seal on the wire first.

Strip back a small amount (SOS covers the amount to strip in each section pretty well) and then push the seal until its at the edge of the wire insulation.

VERY genitally push the two ends of the terminals that are pointing up together. Put the end of the seal in that part you just pushed together some. You want it tight enough that it holds the seal some for you. You can see in the first picture how spread apart they are at first.


As for actually crimping the pins and wire, I don't have any pics of that. When your using the double roller crimp, make sure ONLY the end of the terminal pin and wire are being crushed down by the crimper. If any part of the terminal besides those are in the crimper, you'll crush the pin. For crimping the wires without the seal, place part of the wire in the very end of the pin and crimp down firmly (SOS also do a great job covering this)

Wires installed into relay socket and new power and ground installed into pump socket


Wires taped up and relay zipped tired down. I couldn't secure mine to the located SOS specifies so I made my own mount.

As stated above, my battery is in the secret compartment in the middle. These pictures are all showing the power wire being routed to the battery and the fuse holder.


All in all, I think this a great option for direct wiring your pump and covers all bases need to do so properly. The only issue I had was in the instruction, it tells you to do something with "the wire". It doesn't specify which wire and I just feel they could have told you red or black. No big deal honestly just something I noticed. I didn't show it cause I was tired but the kit does include pins for you to wire the power and ground wire inside the tank also. Great product from SOS
Please forgive editing mistakes. I'll proofread later.

Registered User
Joined: Jul 2013
Posts: 162
Likes: 0
Wow, didn't know there was a kit, didn't think to look either. Wiring is pretty straight forward, the PITA for me was getting everything out so I could get to it. Sometimes being a big fat guy really sucks.
Finding the mouse nest and chewed up wires sucked too.
Nice write-up though, should help some guys. I haven't seen the battery in the secret compartment before - cool idea.
Finding the mouse nest and chewed up wires sucked too.
Nice write-up though, should help some guys. I haven't seen the battery in the secret compartment before - cool idea.

Former Sponsor
Joined: Jan 2002
Posts: 2,864
Likes: 6
From: Phoenix
Thank you for your post & feedback! We're glad you enjoyed the kit!
We are very interested in which sections of the user manual you found unclear. Would you please drop us an e-mail: info@ScienceofSpeed.com
Here is the part this post is referencing for more information:
http://scienceofspeed.com/products/e...ump_power_kit/
We are very interested in which sections of the user manual you found unclear. Would you please drop us an e-mail: info@ScienceofSpeed.com
Here is the part this post is referencing for more information:
http://scienceofspeed.com/products/e...ump_power_kit/


Trending Topics
Thread Starter
Joined: May 2010
Posts: 3,422
Likes: 2
Update for the instructions: Not sure if its cause I've done the install now and have a better understanding of what needs to be done or if it's cause I'm not tired now while reading but I don't see which part I thought was unclear. I think it was the paragraph at the top of page 7.