When you click on links to various merchants on this site and make a purchase, this can result in this site earning a commission. Affiliate programs and affiliations include, but are not limited to, the eBay Partner Network.
I've got all the instructions provided for the clutch install off this site. I have spent many an hour pondering the do-it-yourself-ness of the project and have decided to go ahead and get-r-done as it were. The car is lifted at my father's shed, and I have removed the airbox. Nothing else is done. I will be taking pictures of just about every bolt and hand turn necessary since the only thing I find lacking so far is ample picture documentation. Hopefully I will be able to help anyone else who may be intimidated as I still seem to be. I will use this thread to document each day's work since I have allowed for the entire week after work and the entire week-end to do the install.
EDIT: As an aside and since I'm unable to afford lawyers:
Any and all information provided herein is offered as nothing more than information. I do not claim to be perfect and you assume any risk in performing any proceedures I document below. Do not blame me if you break anything. Of course, if you think I could offer some helpful knowledge, feel free to ask or PM.
Man, I look forward to seeing your writeup. I would love to know how a DIY clutch replacement ranks in terms of difficulty for the average guy. I have a garage, air tools, hand tools, etc. but no lift or drive-over pit. I believe the car needs a lot of lifting in order to drop the engine / tranny cradle. That is my biggest hurdle. Or at least that is my fear.
What parts are you going to be replacing? And with what?
Good luck with the project. Hope it works out well. Is she your daily driver?
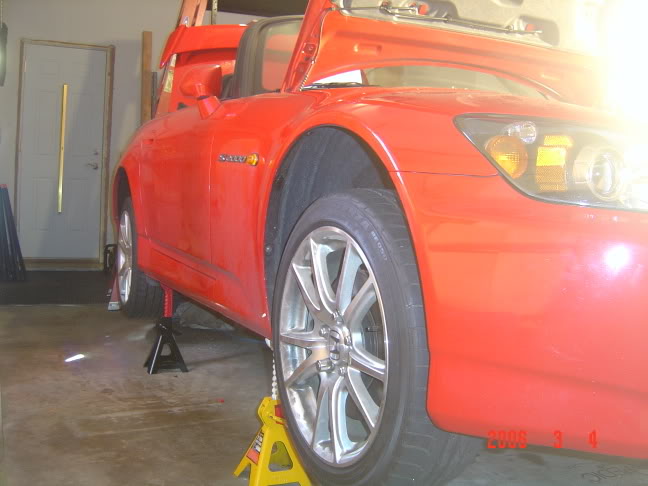
Your pics are exactly what I'm going to try to do here. They're very helpful. I'm going to take a lot of pics and write it up from a home wrench-turner point of view. I have pleanty of garage space but no lift or pit. The car is up on jackstands. More info to come. I'm up to releasing the steering column right now.
I recently replaced the clutch and pressure plate on my car, two months ago.
My friend and i had my car on jack stands, maybe like 2-3 feet in the air.
Wasnt fun, but def doable especially after i found out that the honda dealership wanted one thousand to do the job.
Here are some pics...
ps, Please dont forget to take the alternator off to get to One bolt who lives behind the alternator, you will need an extension with a swivle.
Good Luck.
Clutch swap is pretty easy if you are mechanically inclined at all. Just get a shop manual and follow the instructions! The hardest part for me was the prop shaft bolts which I ended up cutting off because I had rounded them out.
If you have trouble with the alignment tool like I did than just leave the bolts to the pressure plate loose enough so that the clutch plate slides around, bolt the tranny to the block and than tighten the bolts through the hole where the shift fork is. You have to turn the crank with a wrench for every bolt so that you tighten in a "star patern", and you can only tighten each bolt about half way the first couple of times aournd. Mark one with a paint pen so that you know when you have gone all the way around. I messed around with the alignment tool for about an hour and everytime I tried the tranny would not go on, the spline was hitting on the pilot bearing. Maybe I am just not as talented as others but I can tell that it got the best of me!
Originally Posted by ex-eclipse,May 2 2006, 07:52 PM
Clutch swap is pretty easy if you are mechanically inclined at all. Just get a shop manual and follow the instructions! The hardest part for me was the prop shaft bolts which I ended up cutting off because I had rounded them out.
If you have trouble with the alignment tool like I did than just leave the bolts to the pressure plate loose enough so that the clutch plate slides around, bolt the tranny to the block and than tighten the bolts through the hole where the shift fork is. You have to turn the crank with a wrench for every bolt so that you tighten in a "star patern", and you can only tighten each bolt about half way the first couple of times aournd. Mark one with a paint pen so that you know when you have gone all the way around. I messed around with the alignment tool for about an hour and everytime I tried the tranny would not go on, the spline was hitting on the pilot bearing. Maybe I am just not as talented as others but I can tell that it got the best of me!
You mis-diagnosed your problem: the splines don't reach the pilot bearing when the transmission is bolted down. Think about it: the splines have a larger diameter than the hole in the pilot bearing. They'd never fit.
The whole purpose of an alignment tool is to hold the clutch disk in place so that when the splined part of the transmission input shaft slides through the splines in the disk, the small end of the shaft is aligned with the hole in the pilot bearing.
However, I compliment you on your ingenuity: you got the job done, and that's what counts. My hat's off to you for an "out of the box" solution to the problem.
Ok, I will come back and edit this post with more pics as time goes on.
1 Remove air box, 10mm heads / Battery terminals 10mm stubby wrench
2 Accessory belt, 14mm head on a breaker bar for the tensioner
The arrow points to the tensioner you apply the breaker bar to. Turn counter-clockwise to loosen the belt. Easy-peasy.
3 Heat shield on manifold, 12mm heads (I say heads because the threads are stated in manual)
These are the two on top:
But there are at least 3 more below. I think I removed the one with the red arrow unnecessarily.
4 Battery heat shield, 10mm Last bolt just loosens
These are the middle two. There's one more at the far back and one more at the front. Pretty easy so long as you don't try and remove the one closest to the firewall.
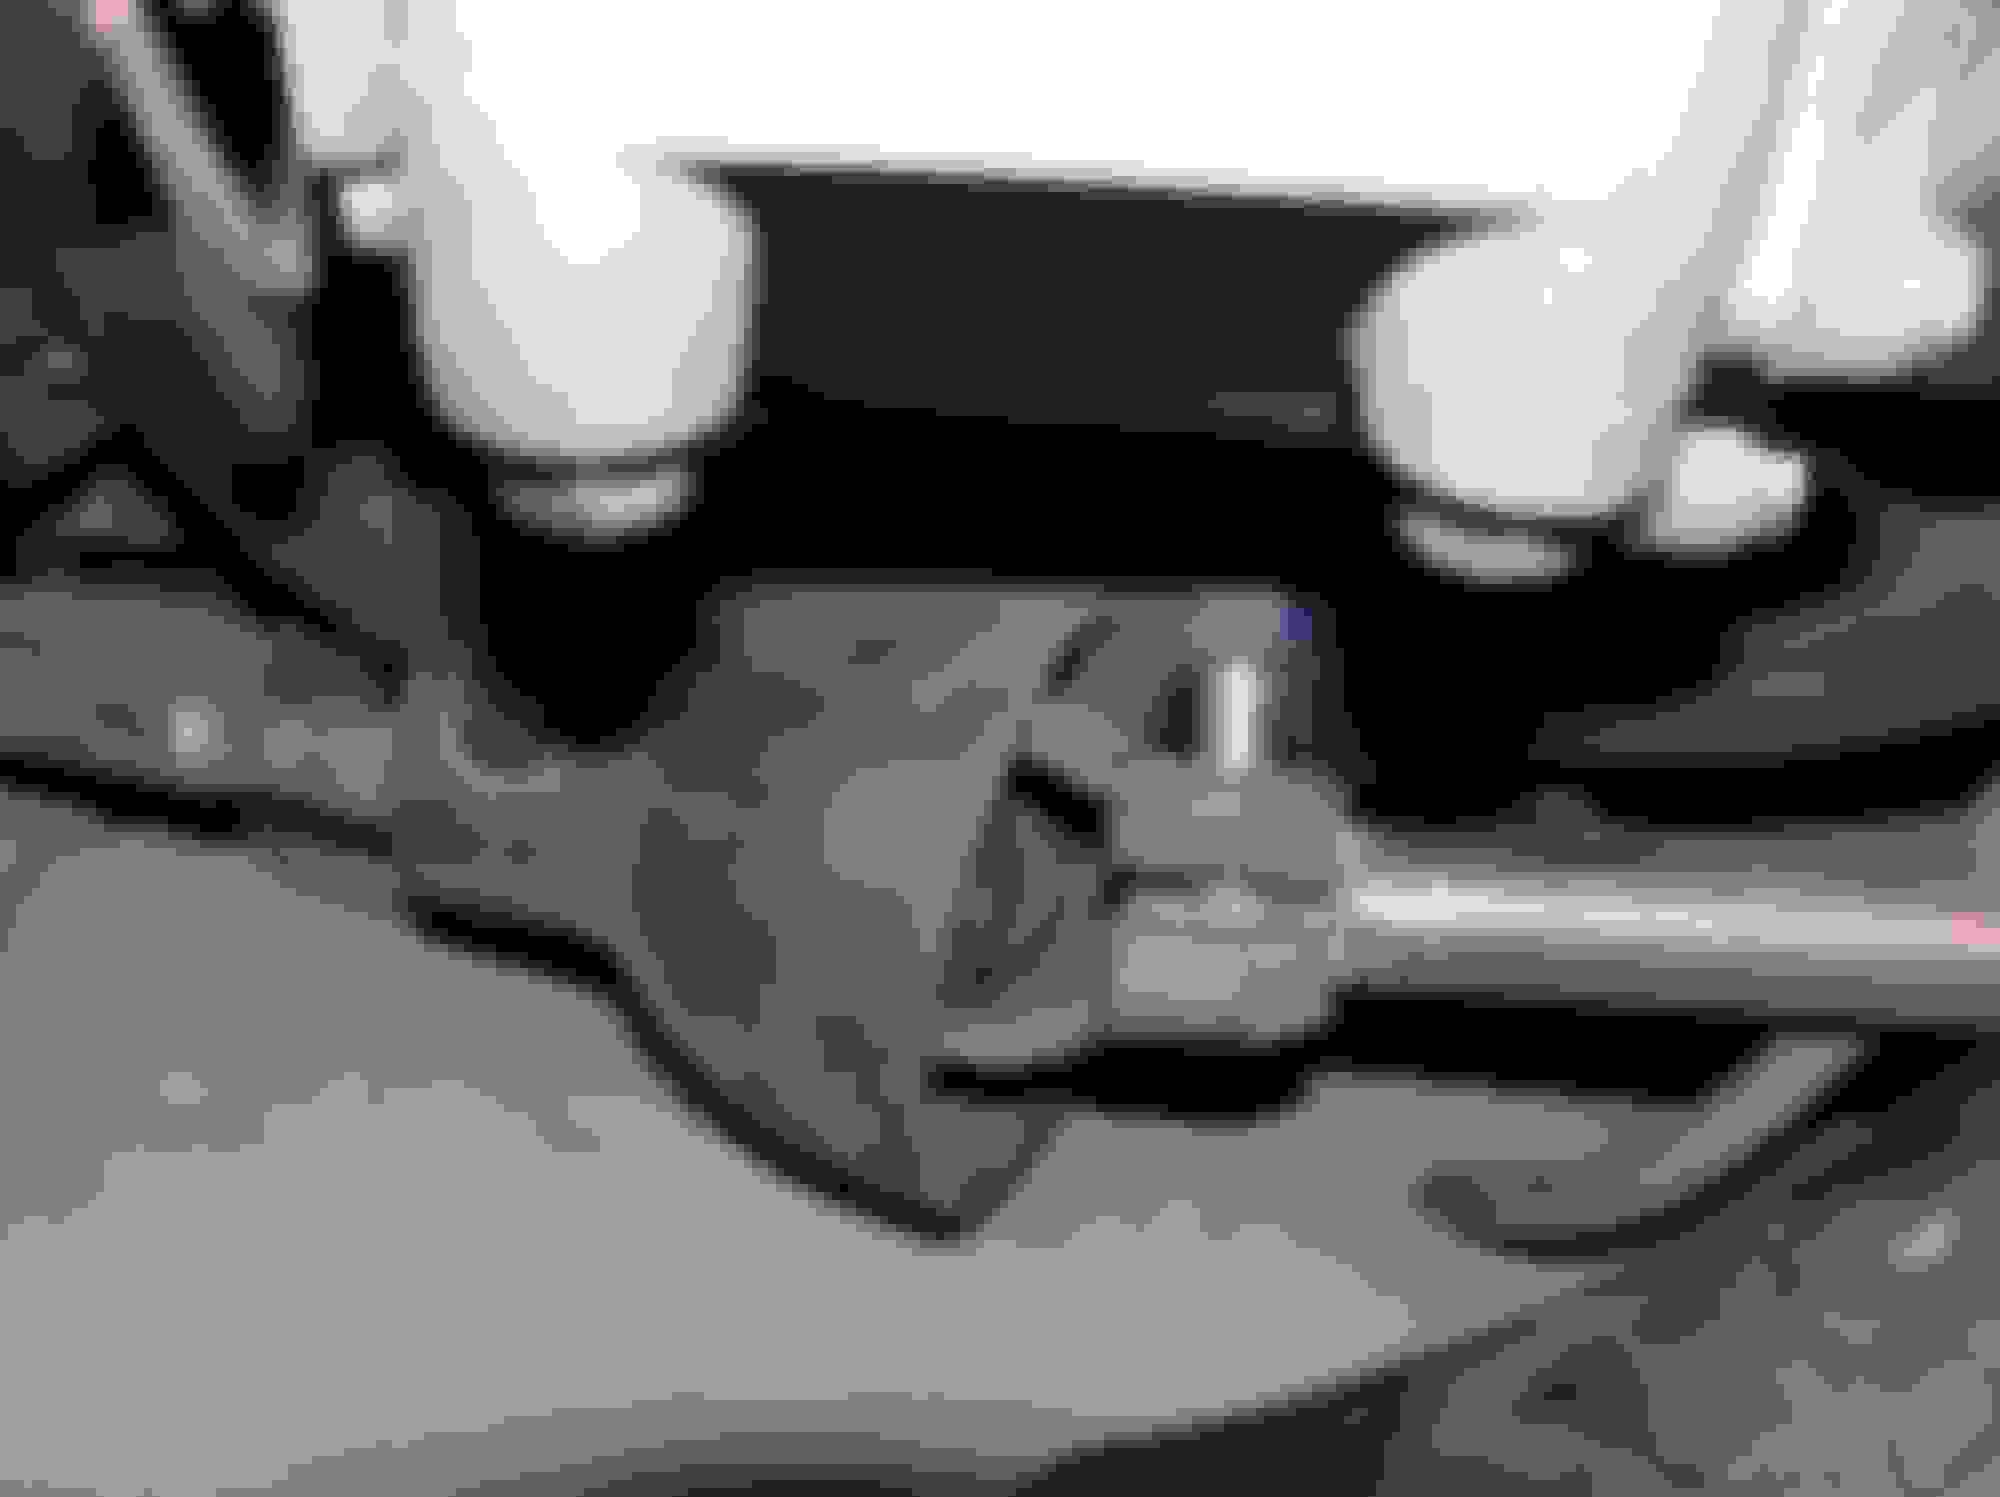
5 Alternator top bolt out, loosen lower, 14mm
These two are pretty easy. You'll remove the top one and push the alternator to the right to get past it to the infamous starter bolt.
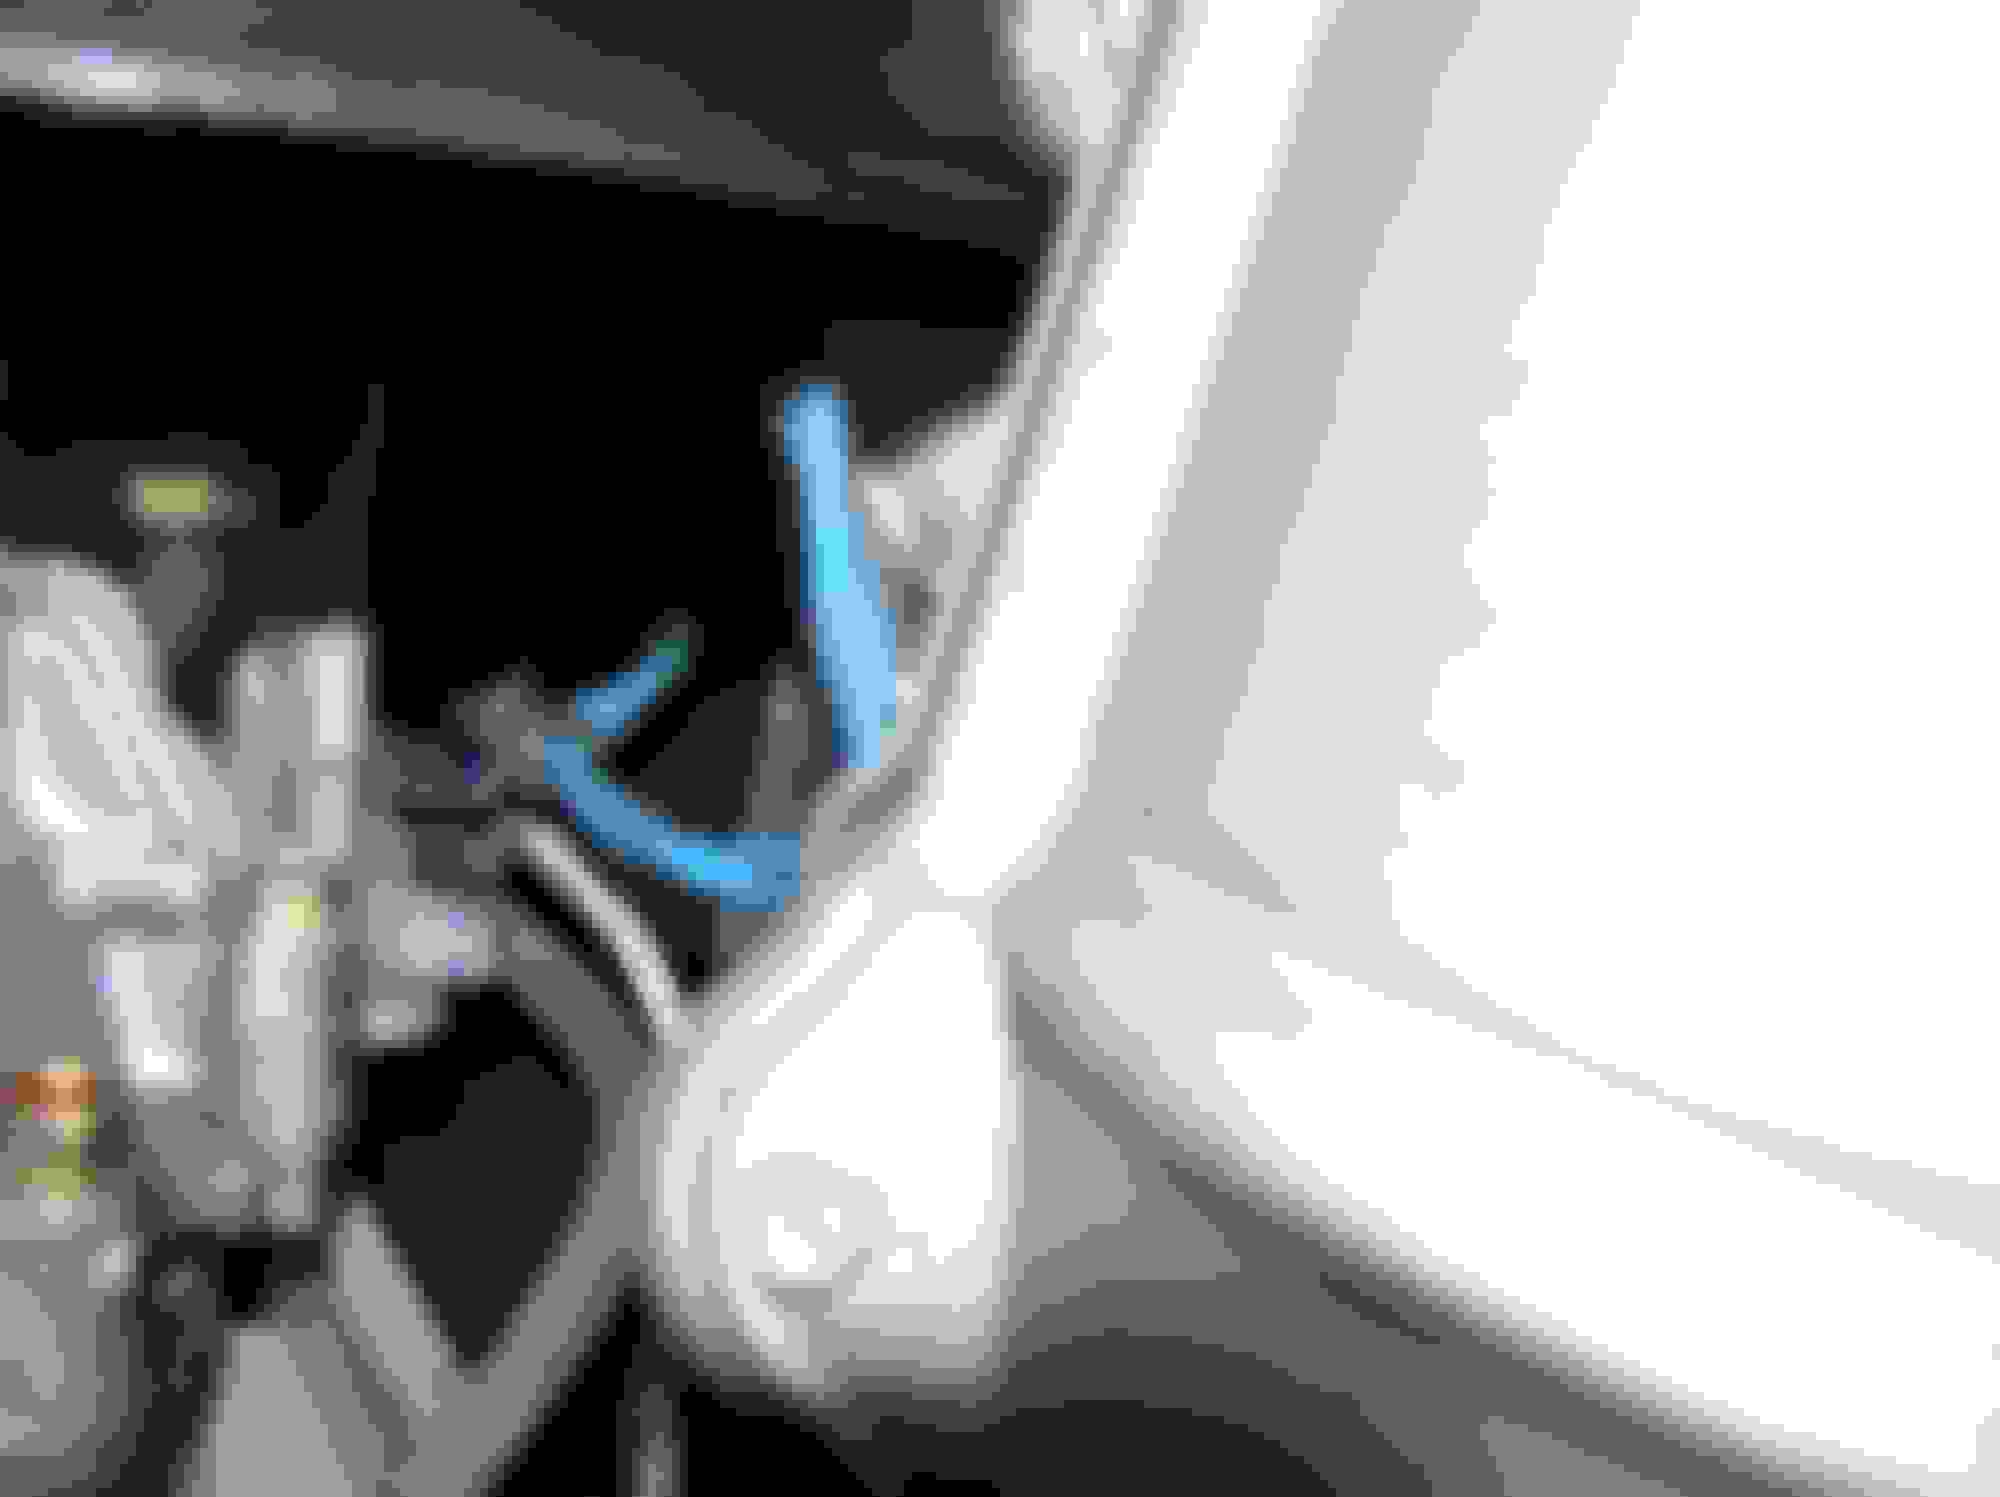
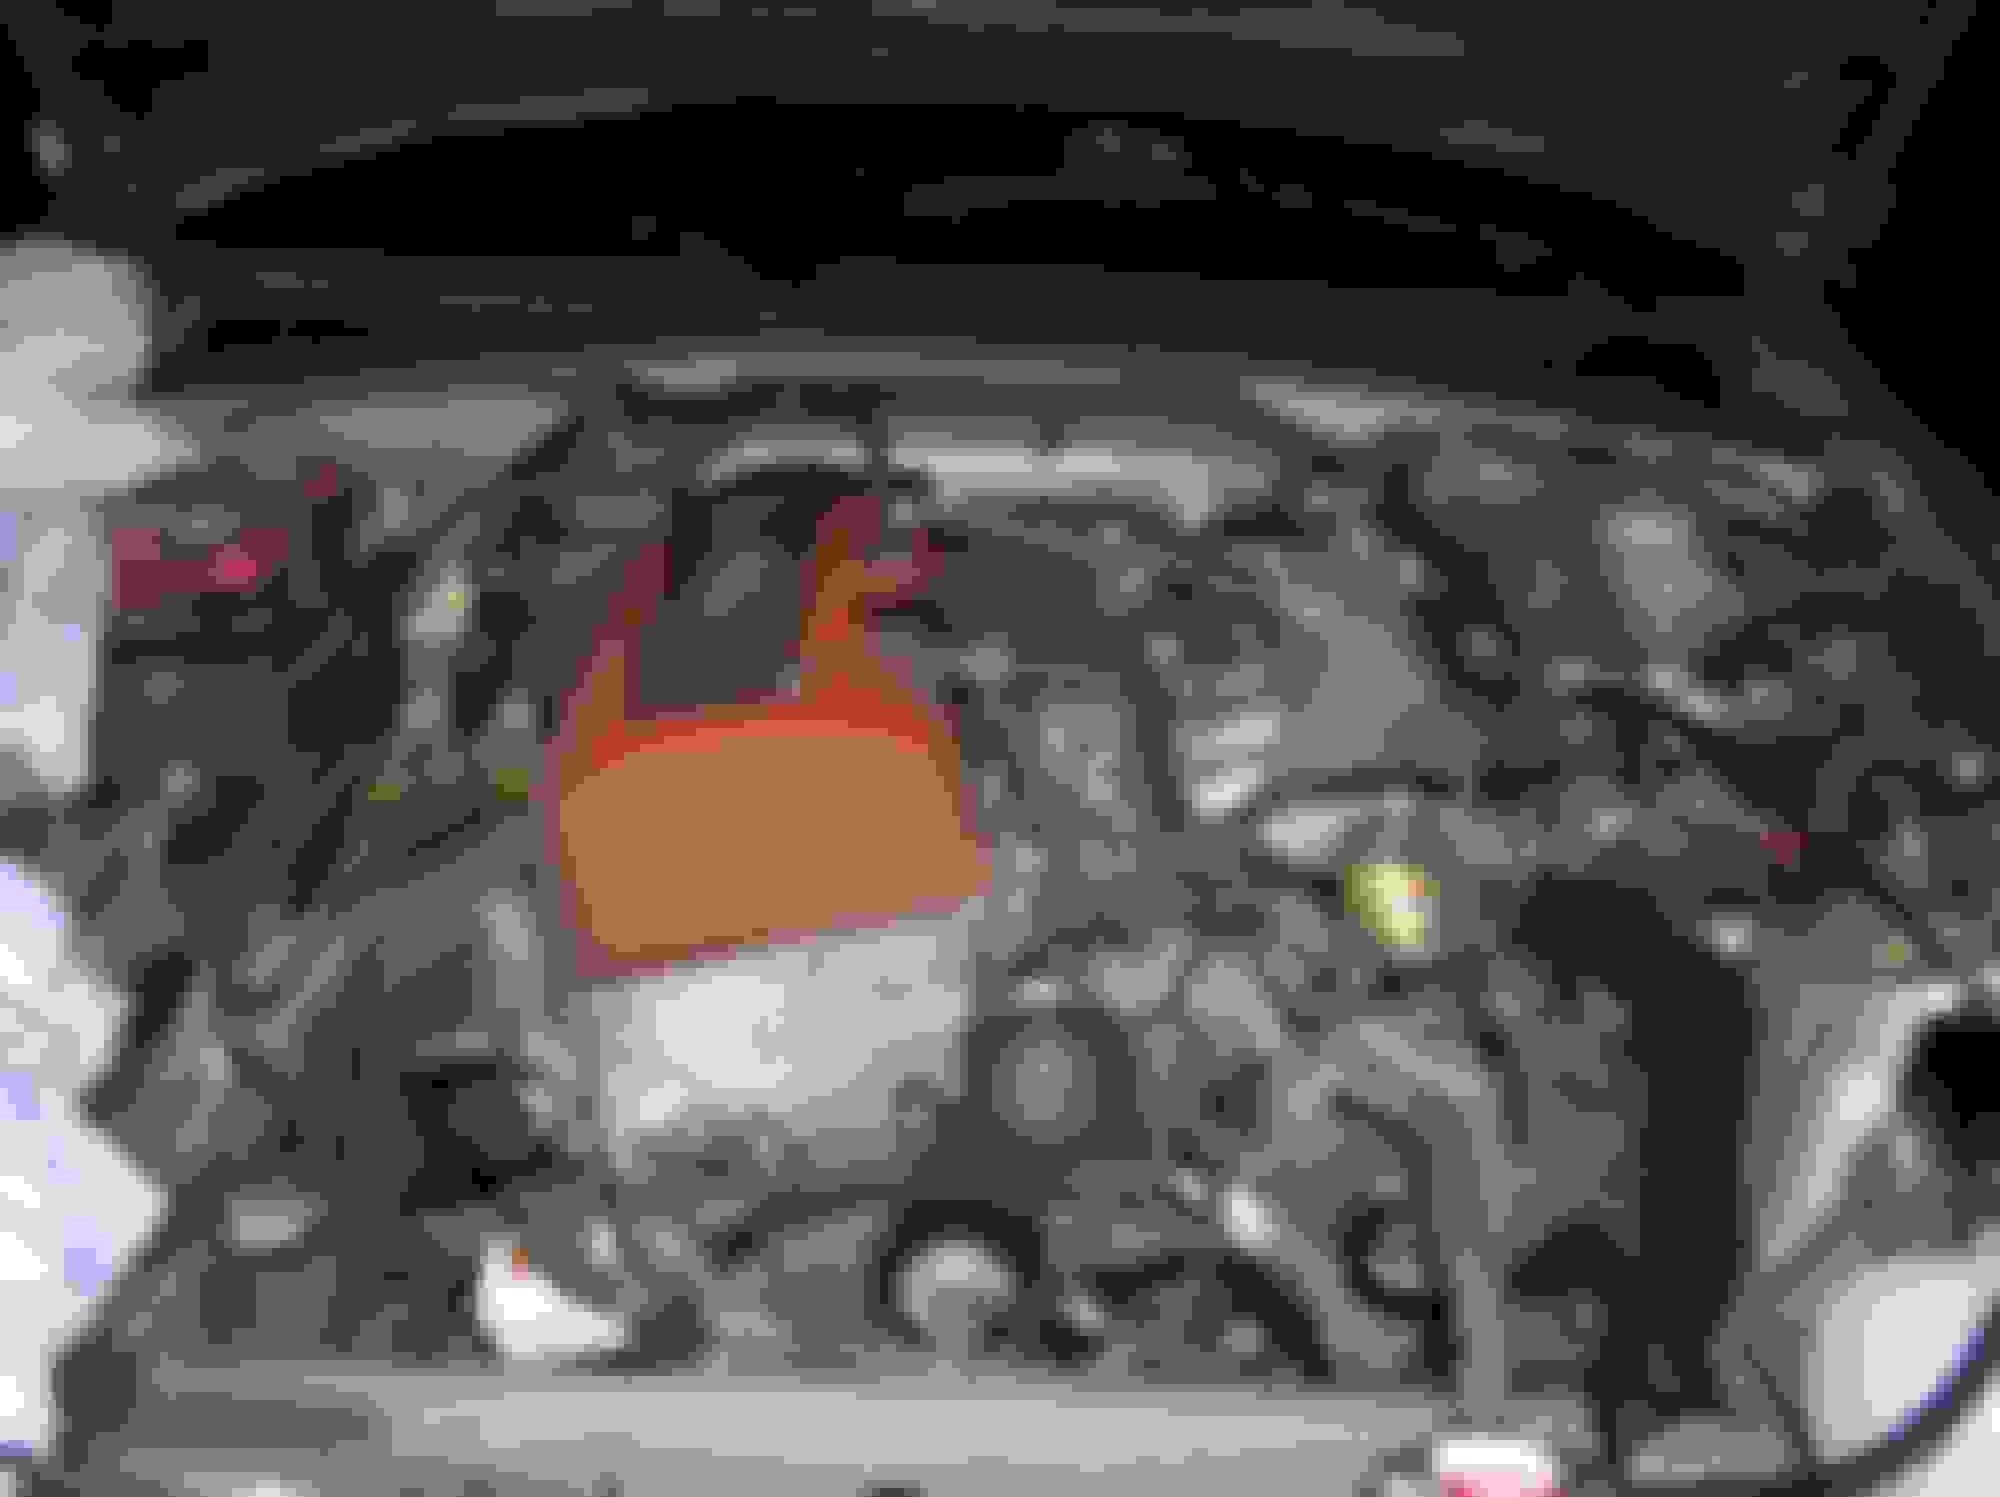
6 A/C pump bolts loosen 2x 14mm on top, remove forward most top bolt, disconnect wire from under car later
The yellow arrow is the bottom alternator bolt. The blue arrow points to the other bolts for the A/C. They angle to the right from this view and the front one you remove is looooooong. You will need to move the hose out of your way to get it out.
7 Disconnect two sensor plugs on head by the firewall
These two are easy to get to. Marked in blue.
8 Disconnect vacuum hose (the one shown in manual at rear of head ((suction valve))
Haven't quite found this one yet. Will update pic later.
9 Mark steering joint, and remove 10mm bolt at front (other bolt loosened later)Make sure steering wheel is locked straight.
You can see the metal notching I did to mark the rod. The bolt with the blue arrow is what you remove. Not tough. I got at this from under the car.
10 Swing alternator out a bit to get to upper starter bolt, 14mm remove but leave bolt resting on alternator,
YOU WILL WANT A 14mm FLEX SOCKET . . . + about 24" of extension, I recommend using duct tape so you wont drop the socket amid all the hoses and wires. You get at this bolt from an angle, and directly between the throttle body and alternator.
Ok, this bolt is a bit of a bitch to get out. It sits above the starter in this picture. I used 2 people. I was under the car using my hand to guide the socket while the other person managed the other end of the extensions and loosened the bolt when it was seated.
Don't kill yourself trying to get this out before lifting the car or alone. Just have someone to help.
11 Disconnect power steering connectors, one big and one small (electrical)
Will get pics here as well.
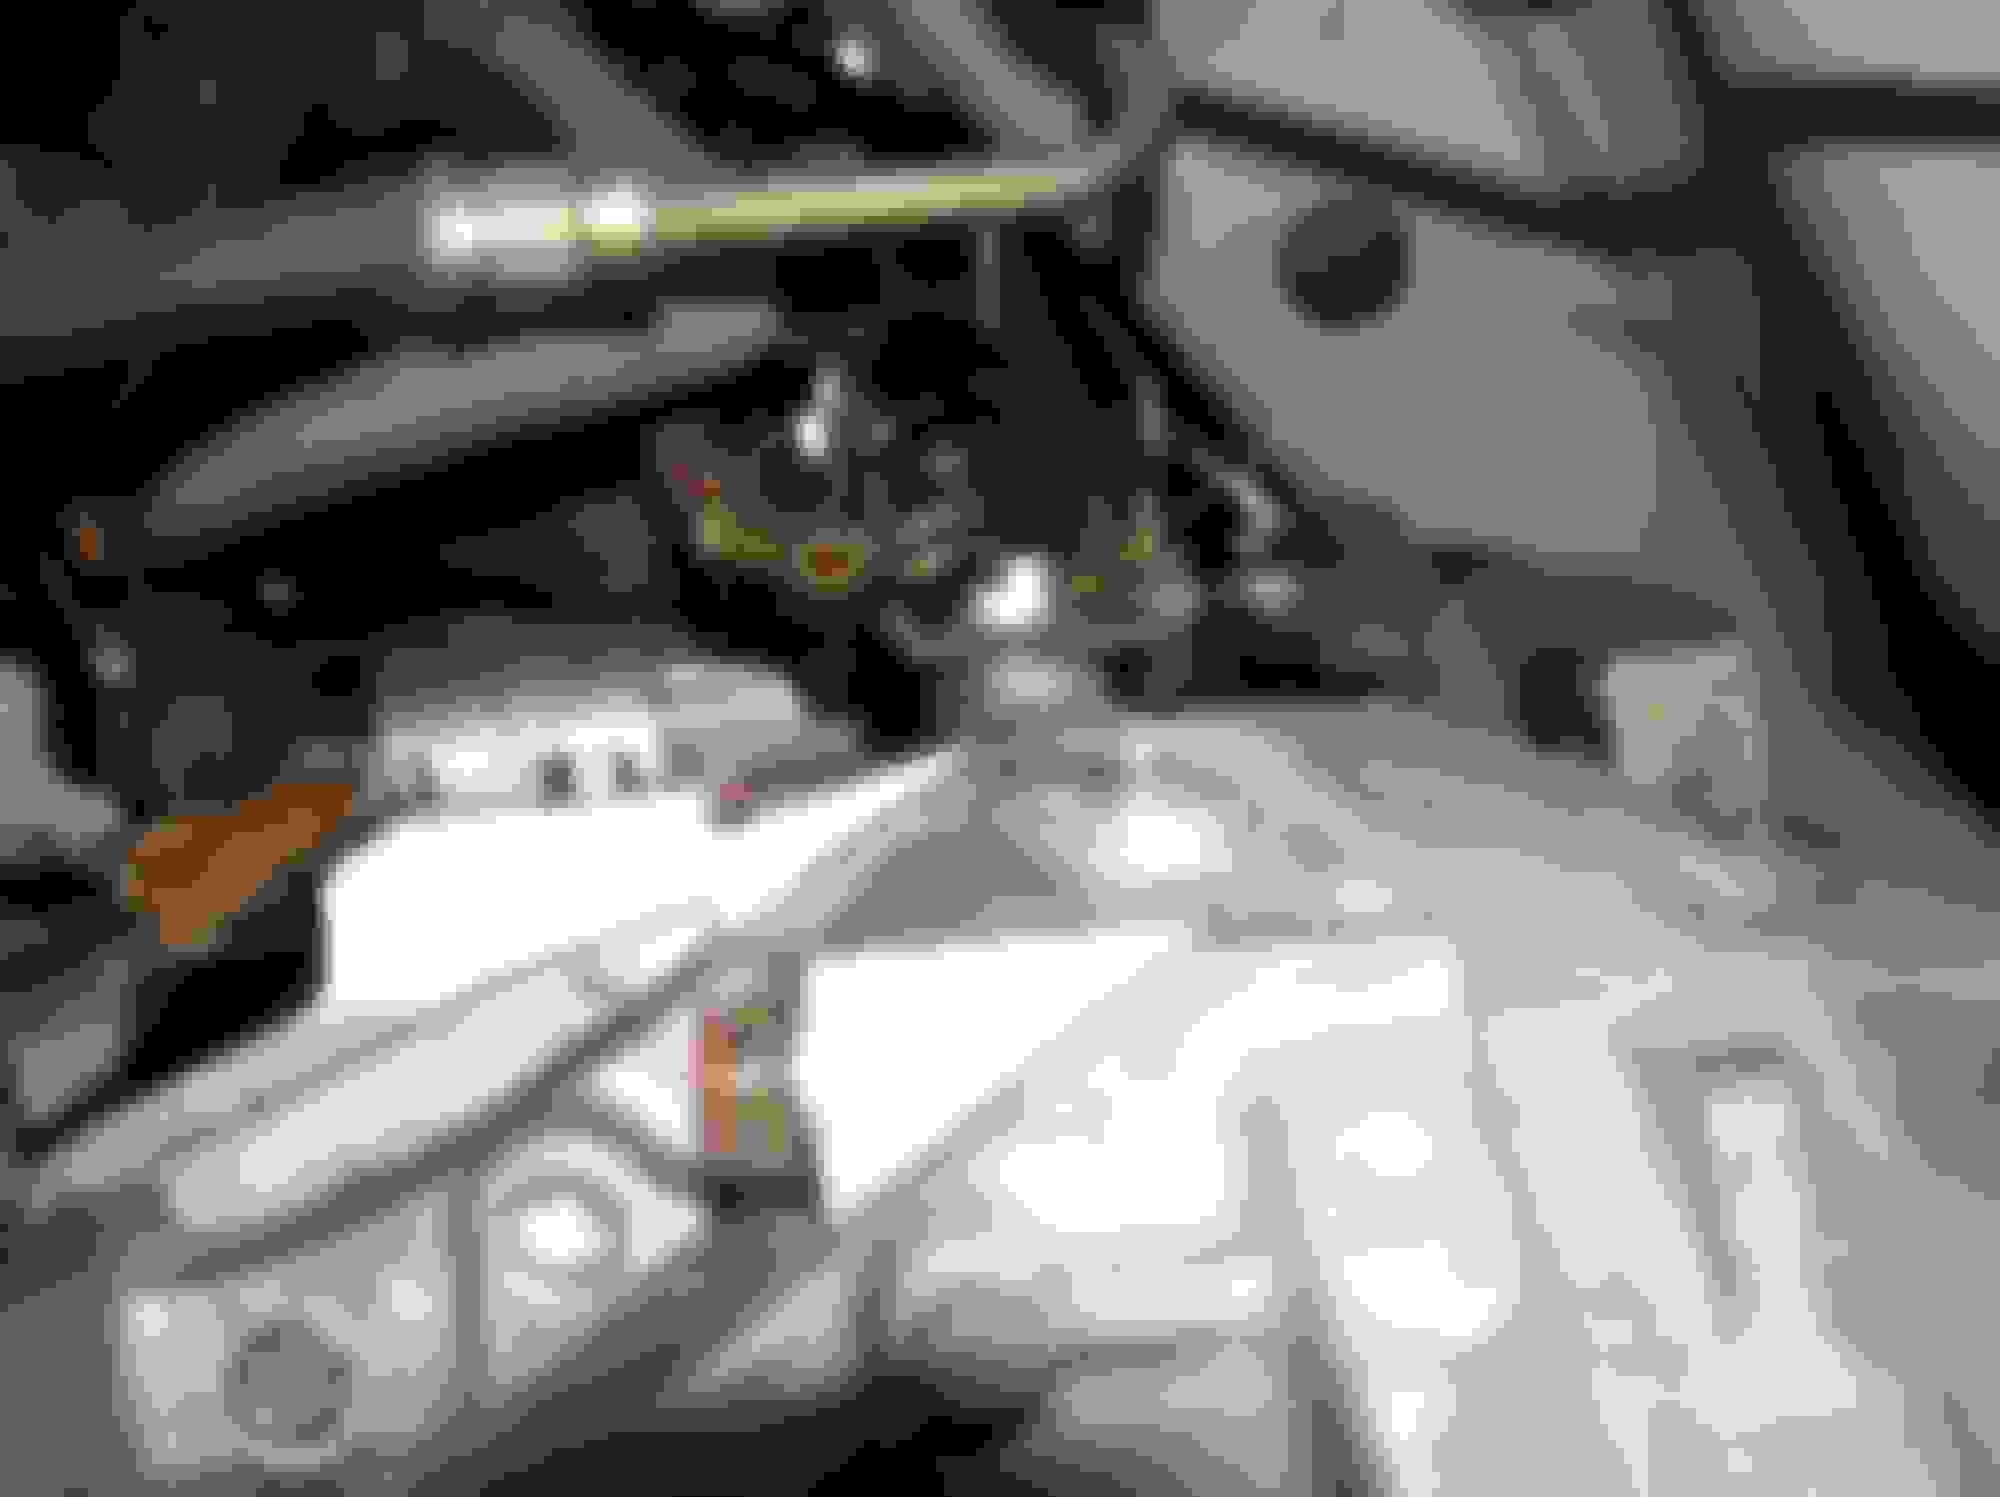
12 Loosen exhaust manifold bolts at head 12mm (Keep Snug)
You'll want to snap the bolts loose. A little penetrant won't hurt. I removed the 10mm bolt on this bracket which will allow you some room to get to the rear nuts. The yellow line shows the angle you'll use.
13 Remove 14mm bolt at rear of intake manifold, wiring harness support bar
I think this is the bolt that the ratchet is on. I'll figure it out for sure tomorrow.
14 Raise car, I recommend at least 24" clearance at body jack points. I managed to get here in 18 min.
For me, about 6 hrs. But I'm taking it slow, careful, and taking lots of pics.
When under car you will want these
10mm combo wrench, I use a gearwrench
12mm,14mm,17mm combo wrenches
12mm deep,12mm,14mm, 17mm socket, 6mm hex socket (short as possible)
24" and 12" extensions you'll need at least 36" for the top tranny bolts
Small crook needle nose pliers for removing plastic snap in wire holders
Ratchets, 3/8" and 1/2" drive with 1/2 to 3/8 adapter
Impact wrench with 17mm, 19mm deep sockets or short extension.
1 Remove splash shield
2 Remove front engine bump stop (I just leave mine off now)
Top of bump stop has two bolts:
Bottom of bump stop has one:
To get this out, pull towards the oil pan and down at the same time, it will snap off.
3 Loosen rear steering joint bolt and slide joint back to disconnect, 10mm
I had to tap the joint to get it off, but it did come off.
4 Disconnect A/C wire and remove remaining bolts from pump (3)
I pulled the wire off of the holder and then disconnected the wire. No biggie. Getting the top one out was a bit of a pain, but the A/C unit should float freely once you get all 4 out.
Sorry, same as the above pic, but you can see the bottom two bolts for the A/C unit.
5 Remove cable ground wire to engine block
The bolt is arrowed in blue and is right next to the lower starter bolt with the red arrow, the disconnected wire goes on the bolt, I replaced the bolt to keep from loosing it.
6 Remove 14mm bolt on lower wiring harness support bar
In the above photo, this is pointed out in yellow.
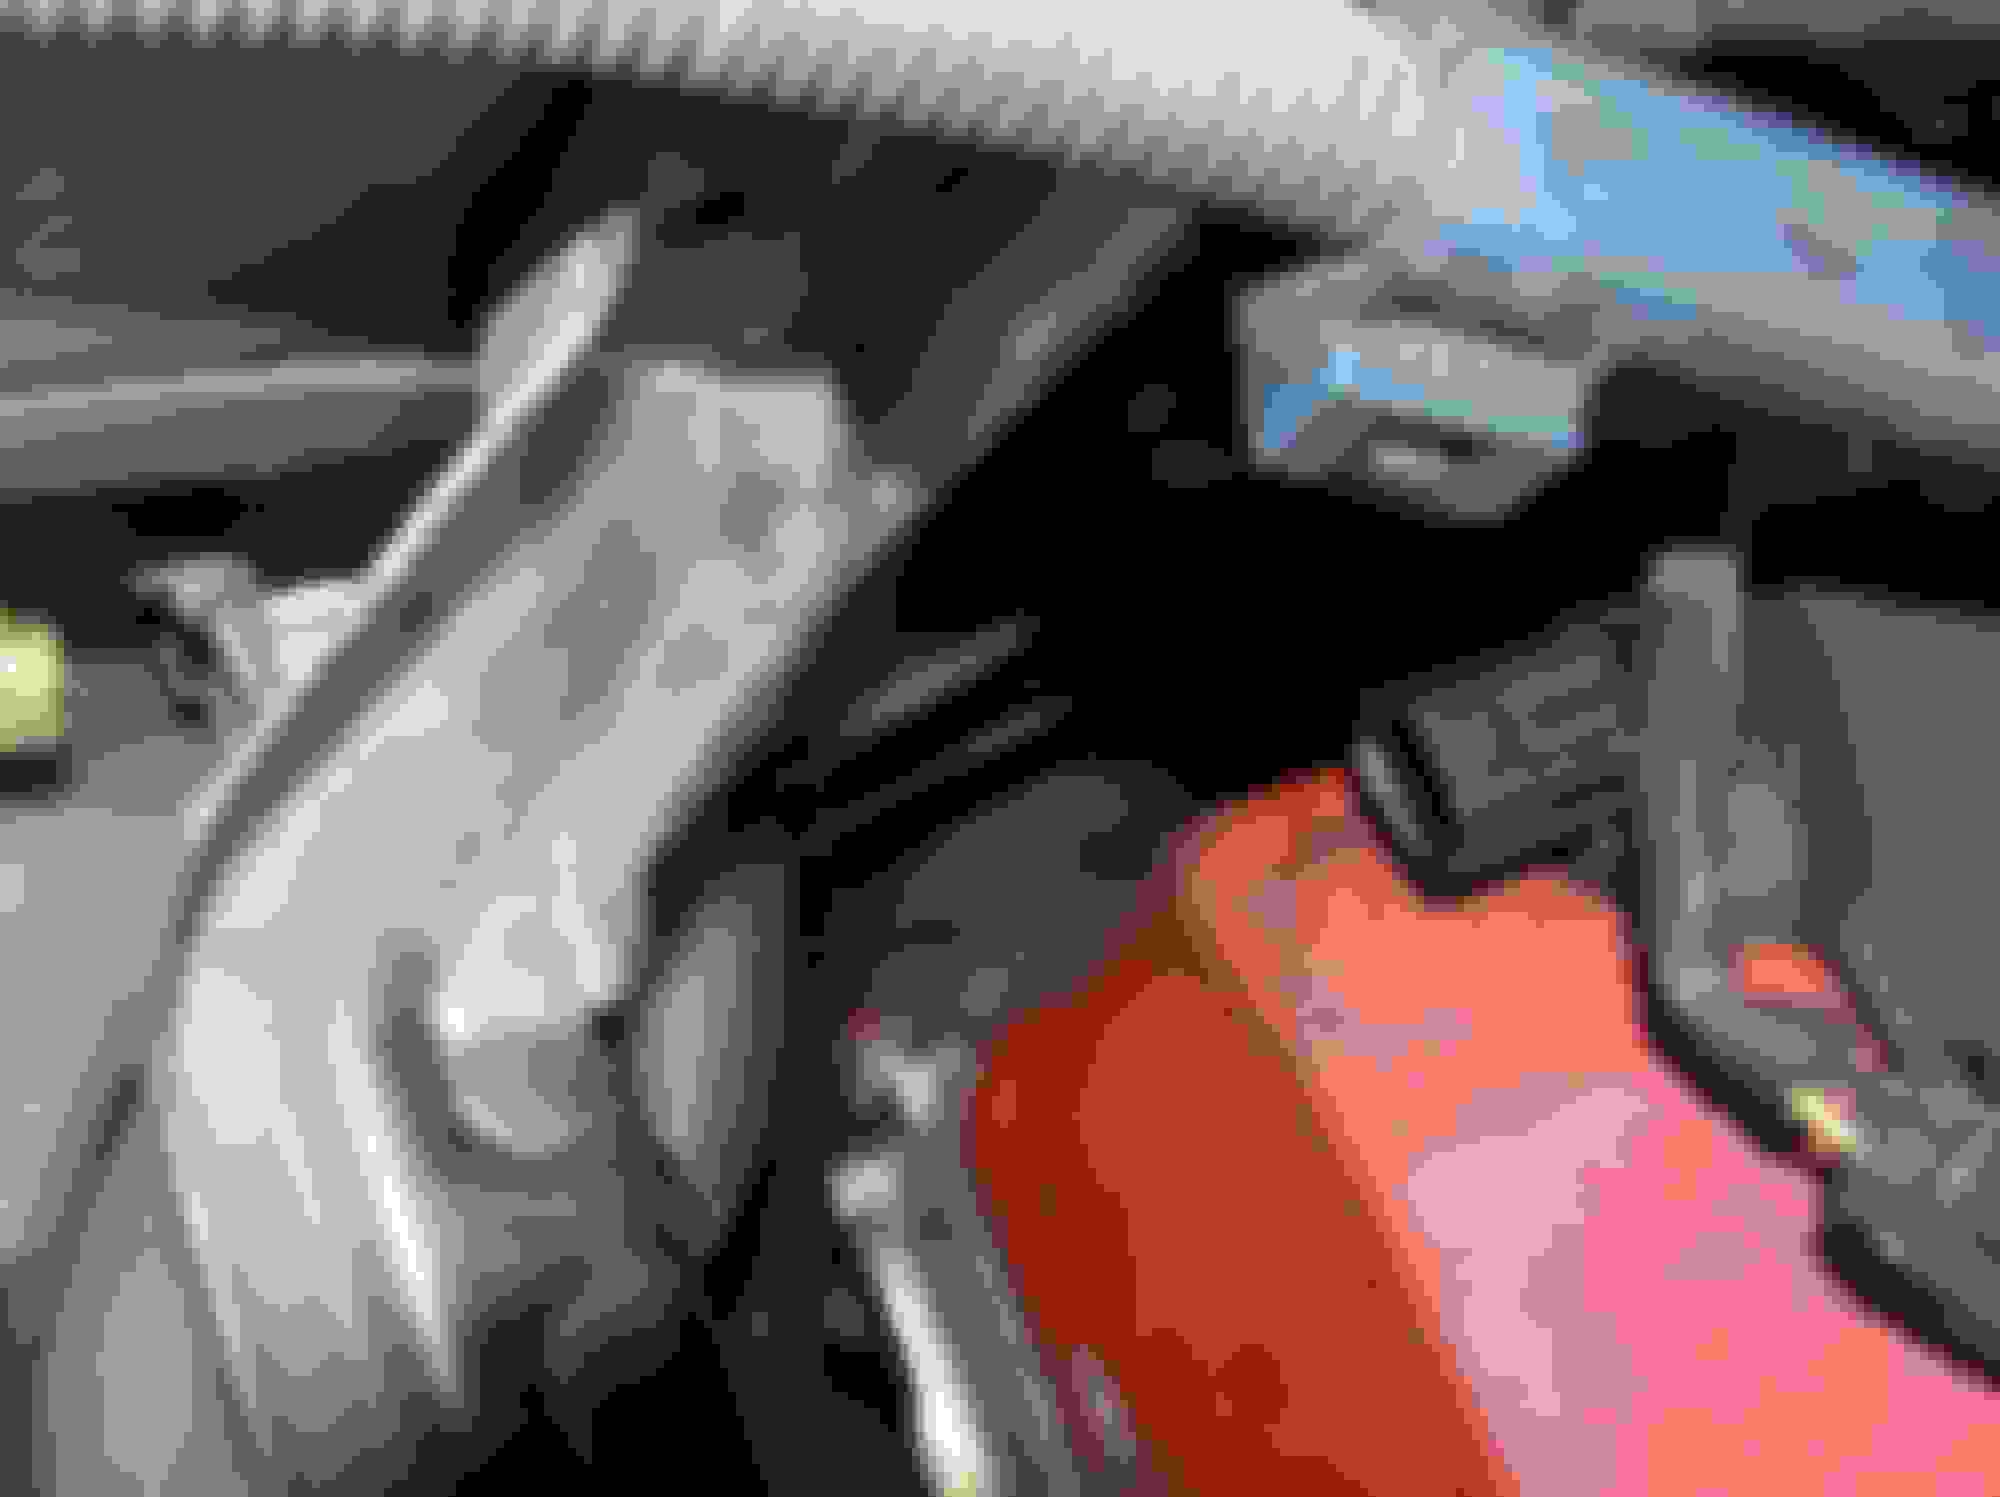
7 Remove clutch slave cyl. 12mm open end wrench
Remove only the blue arrow bolts, the red arrow bolt is the hydraulic line and will get fluid everywhere if you mess with it.
8 Disconnect 02 sensor connectors, and tranny wiring harness
You really have to feel around for these connectors, there's like 5 and two are above the tranny and VERY hard to get.
You will need to completely free the O2 Sensor line that goes to the Catalytic Converter. There are two different snaps that hold it down. This is the lower one, the second is above the tranny out of sight:
9 Remove cat. conv. use the deep 12mm socket and box end 12 wrench for the front two, 14mm combo for the rear
Front:
Rear:
10 Loosen 3 lower driveshaft bolts(on each end), 6mm hex, if you cant get the wrench in there, remember the
shaft slides on cv joints. Parking brake should be on.
Don't forget, you've got front and rear driveshaft bolts to remove.
Front:
Rear:
11 Remove 14mm bolts on exhaust manifold support, remove manifold. When your're up top again to remove
the manifold nuts, release the parking brake, and remove the shifter knob/lever. 10mm heads
I did not remove the exhaust manifold entirely. I did loosen it, but I will let you know if I end up having to remove it to do the job.
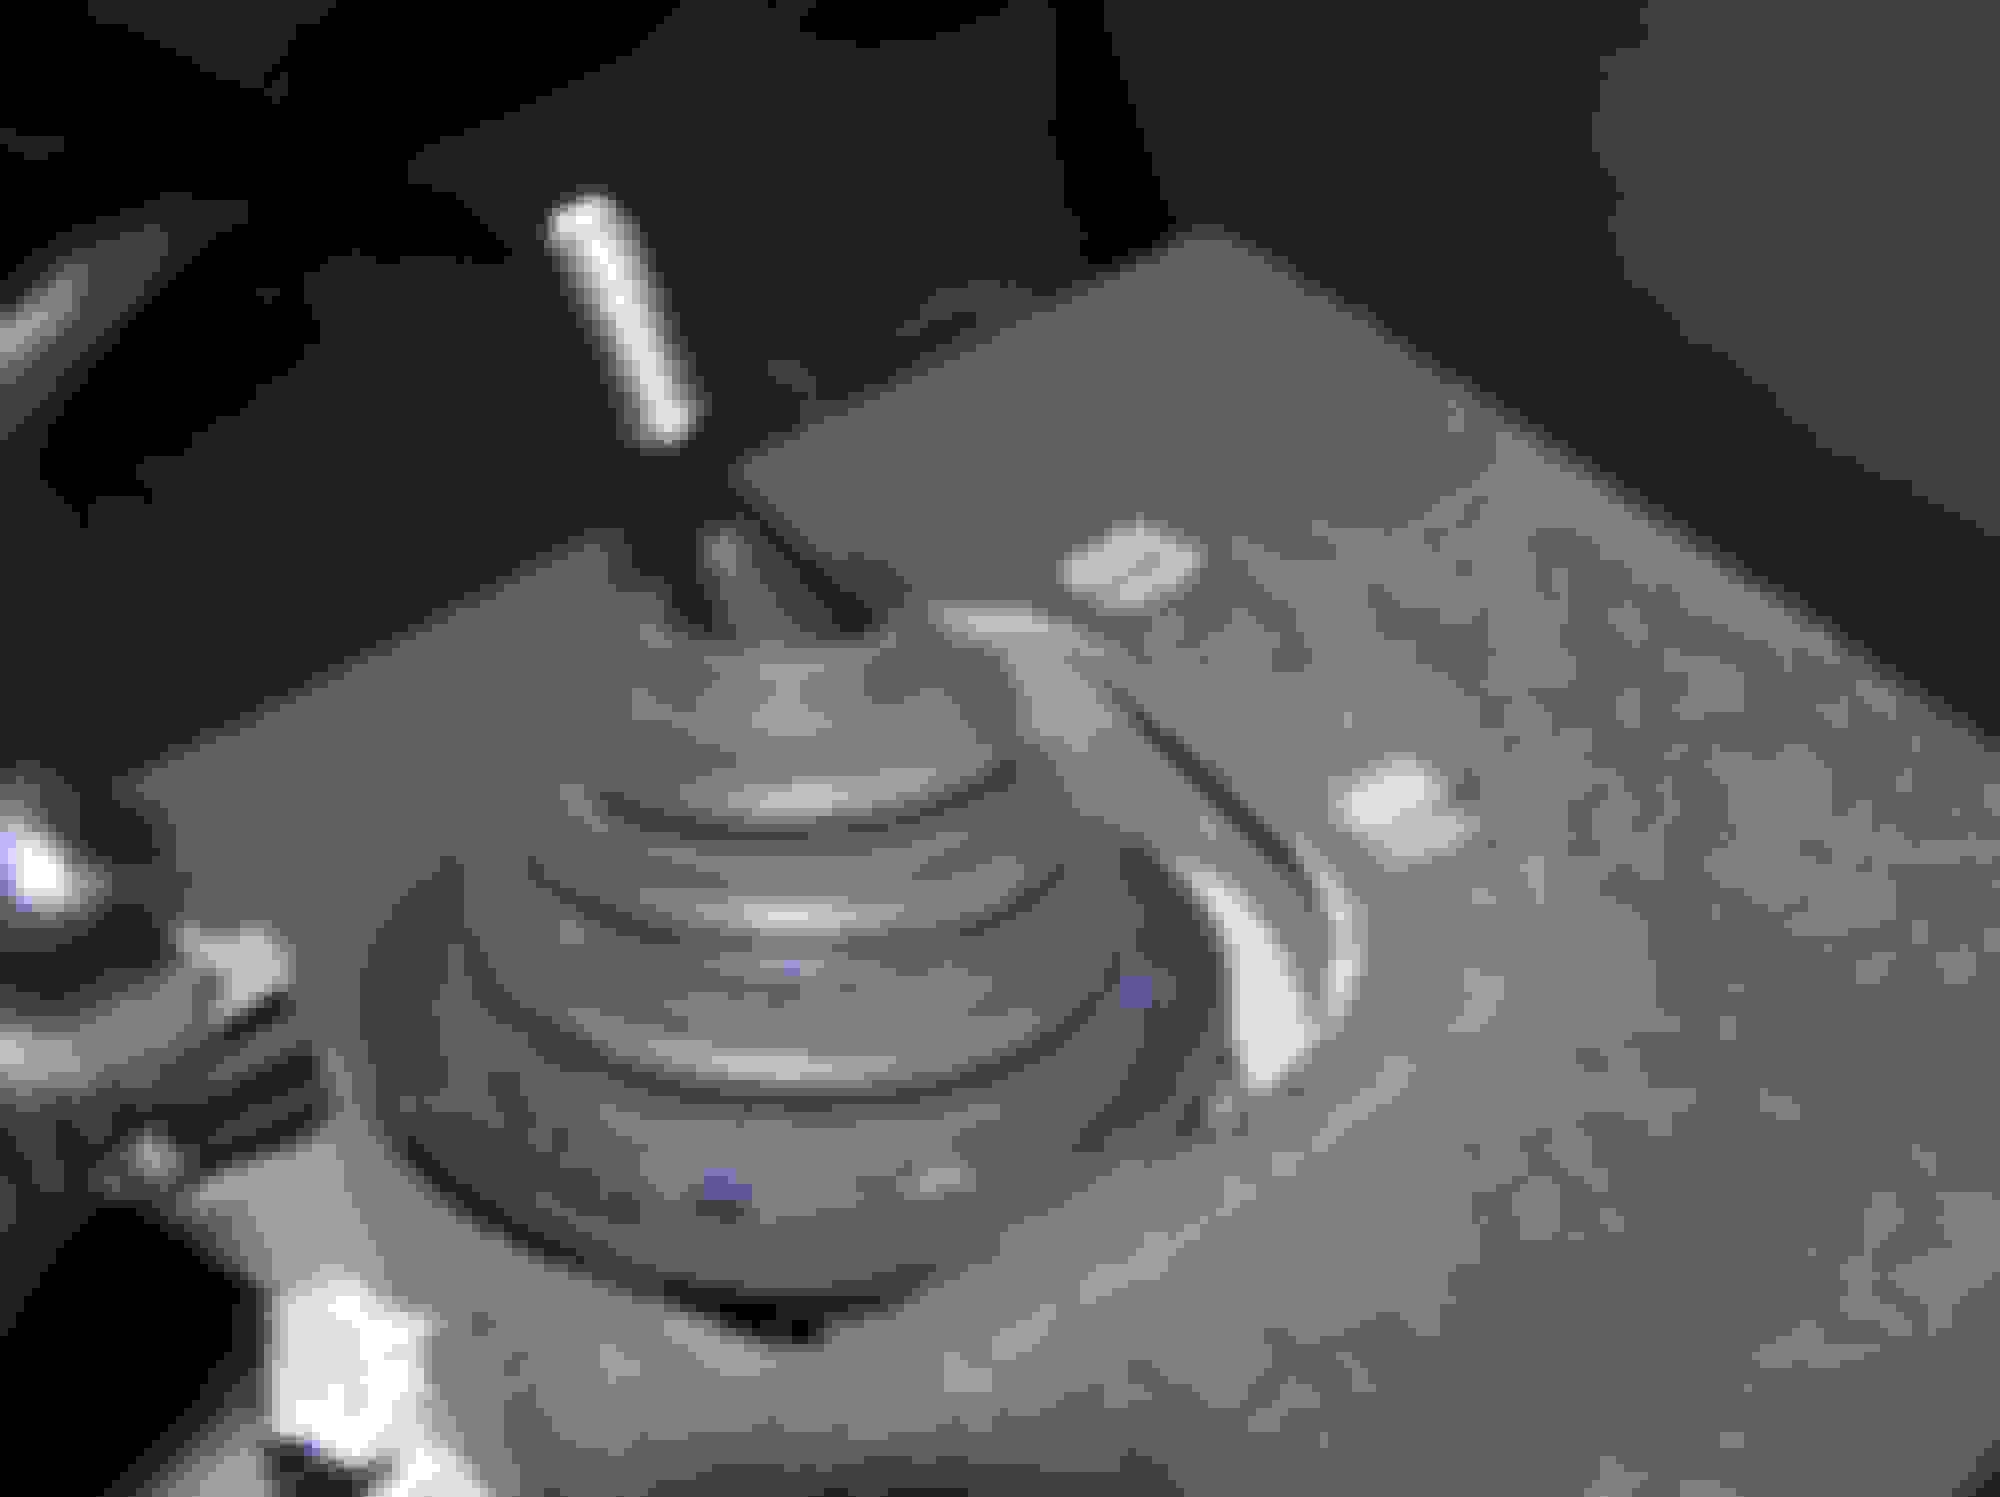
I decided to go pretty in-depth in how to remove the shifter. I want to avoid any broken retainers.
11.1 First off, remove the gearshift knob.
11.2 Remove center console plastic, this pops right up and slides off of the shifter. There are two connectors at the hazard button and roof switch.
11.3 Remove the retainer clip by putting a flathead screwdriver on the inside of the ring next to the raised arrows on the ring. Push down into the rubber slot, wedge the screwdriver blade against the tab to release it, and pop the ring up in that spot.
Do this to all four locations with tabs. (Ring inverted)
11.4 Remove the shift boot by sliding it up the shifter shaft. Note the holes that the retainer clip tabs go through.
11.5 Here is what you see below the boot. Note the slots where the tabs lock to the car chasis.
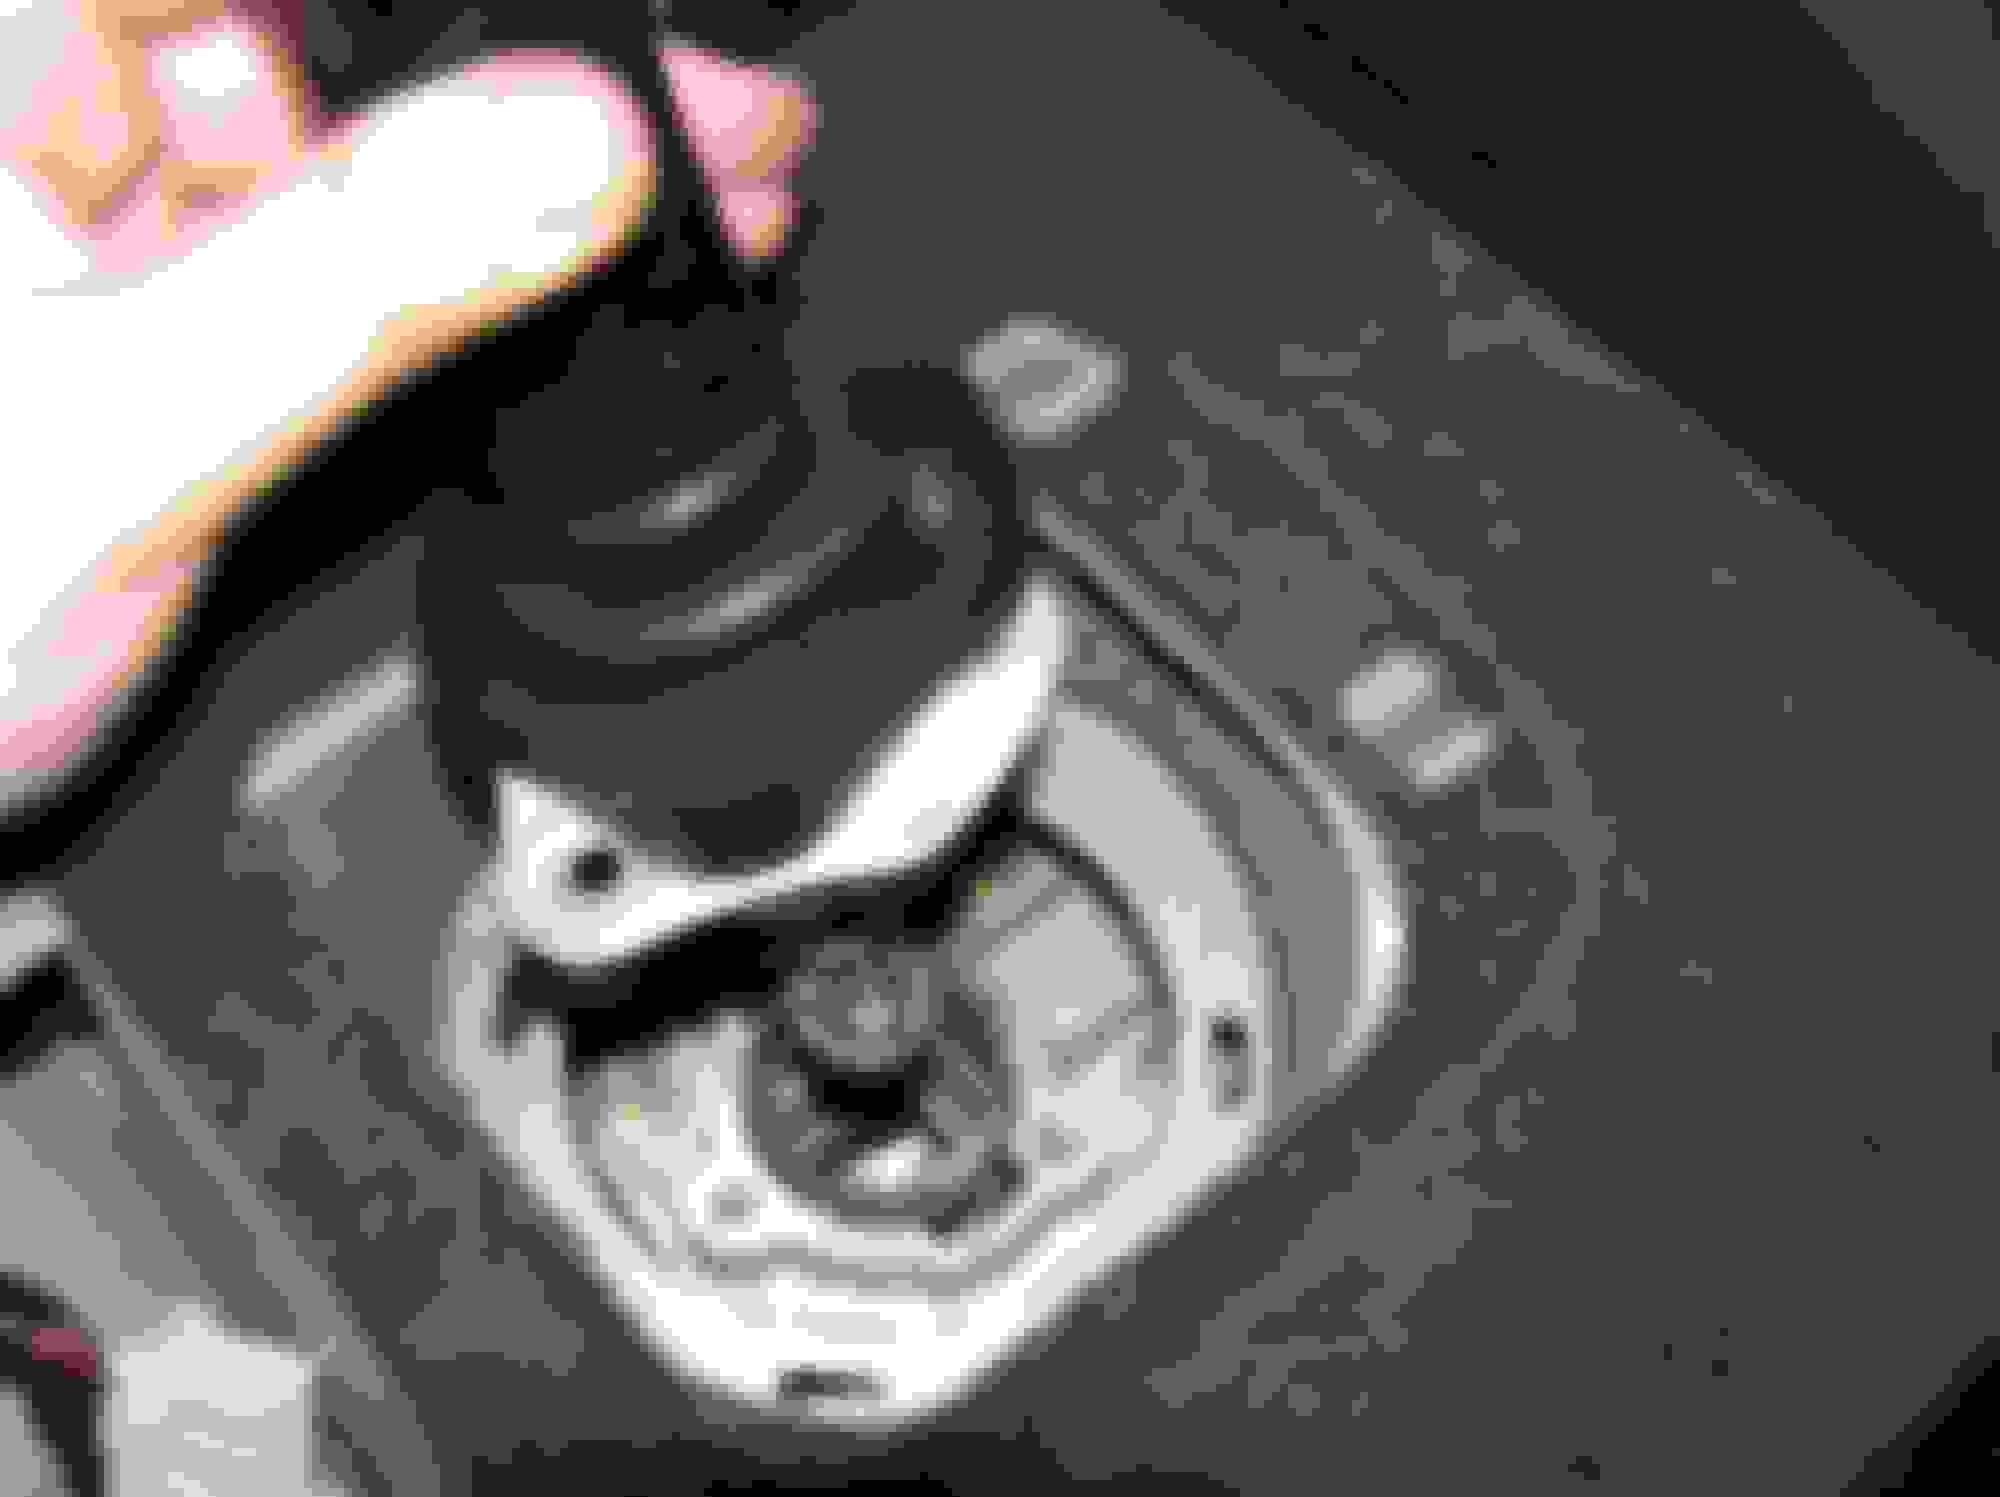
11.6 Pull up rubber cover around the base of the shifter and remove 3x 10mm bolts holding the shifter in place.
11.7 Once you remove the bolts, the shifter will lift right out and you're done.
12 Remove 19mm subframe bolts (The middle ones that come out)
The blue arrow points to where the bolt goes, I had already removed it by this point.
13 Turn driveshaft 180*
This is easily achieved by turning one of the rear wheels. Have someone underneath tell you when to stop, though, and it's easy to set and unset the parking brake so that each bolt is in optimal position for removal.
14 Remove bolts that connect shifter box to tranny tunnel, 10mm
4 Bolts, 10mm. Not too tough, they are up above the rear end of the tranny. I had removed my driveshaft before removing these bolts, it made accessing them easier.
15 Loosen lower tranny to engine bolts, 14mm/17mm
The blue arrows point to where the 14mm ones are, they go from the tranny to the engine. (Point forward) The yellow points to where the 17mm bolts are. They point the other direction.
16 Put the brake back on, then loosen the other 3 driveshaft bolts (each end) Mark driveshaft if it is not yet, and remove.
Back of Tranny without driveshaft:
Front of Differential without driveshaft:
17Now its time to support the subframe, I just use a 24" 2x4 on a jack placed under the front beam and the oil pan.
when supported, back out the front subframe bolts 3" (19mm) and the rear subframe bolts 3" (17mm)
When the subframe comes down a bit you can see exactly how for to back out the bolts by looking at the gap in the
threads.
There are 4 bolts to lower, 2 in the front right behind the lower a-arms:
And 2 in the rear, at the very back of the subframe:
I know it has been shown before, but here are a couple shots with the engine lowered:
Ok, now for a little of my own authoring. I had to remove the exhaust to get all of the passenger side bolts off the transmission. Hopefully it should go back together easy enough. Wish I had enough for a header.
Here's one of the upper bolt locations. This picture is the passenger side, there's one on the other side of the head on the driver's side. These weren't simple to get out, but it's easier since you lowered the engine/tranny group.
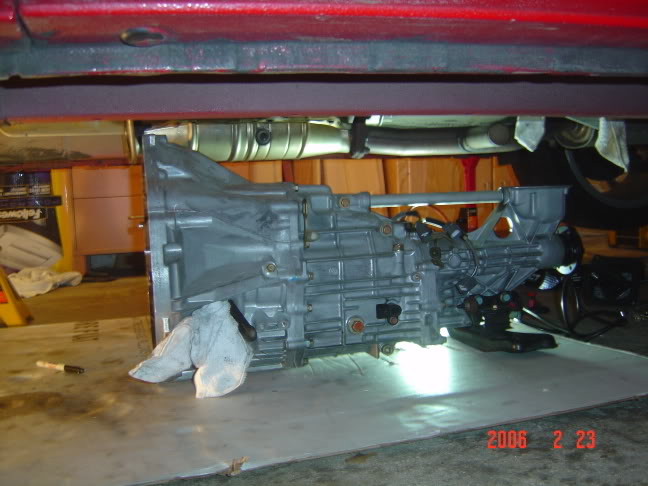
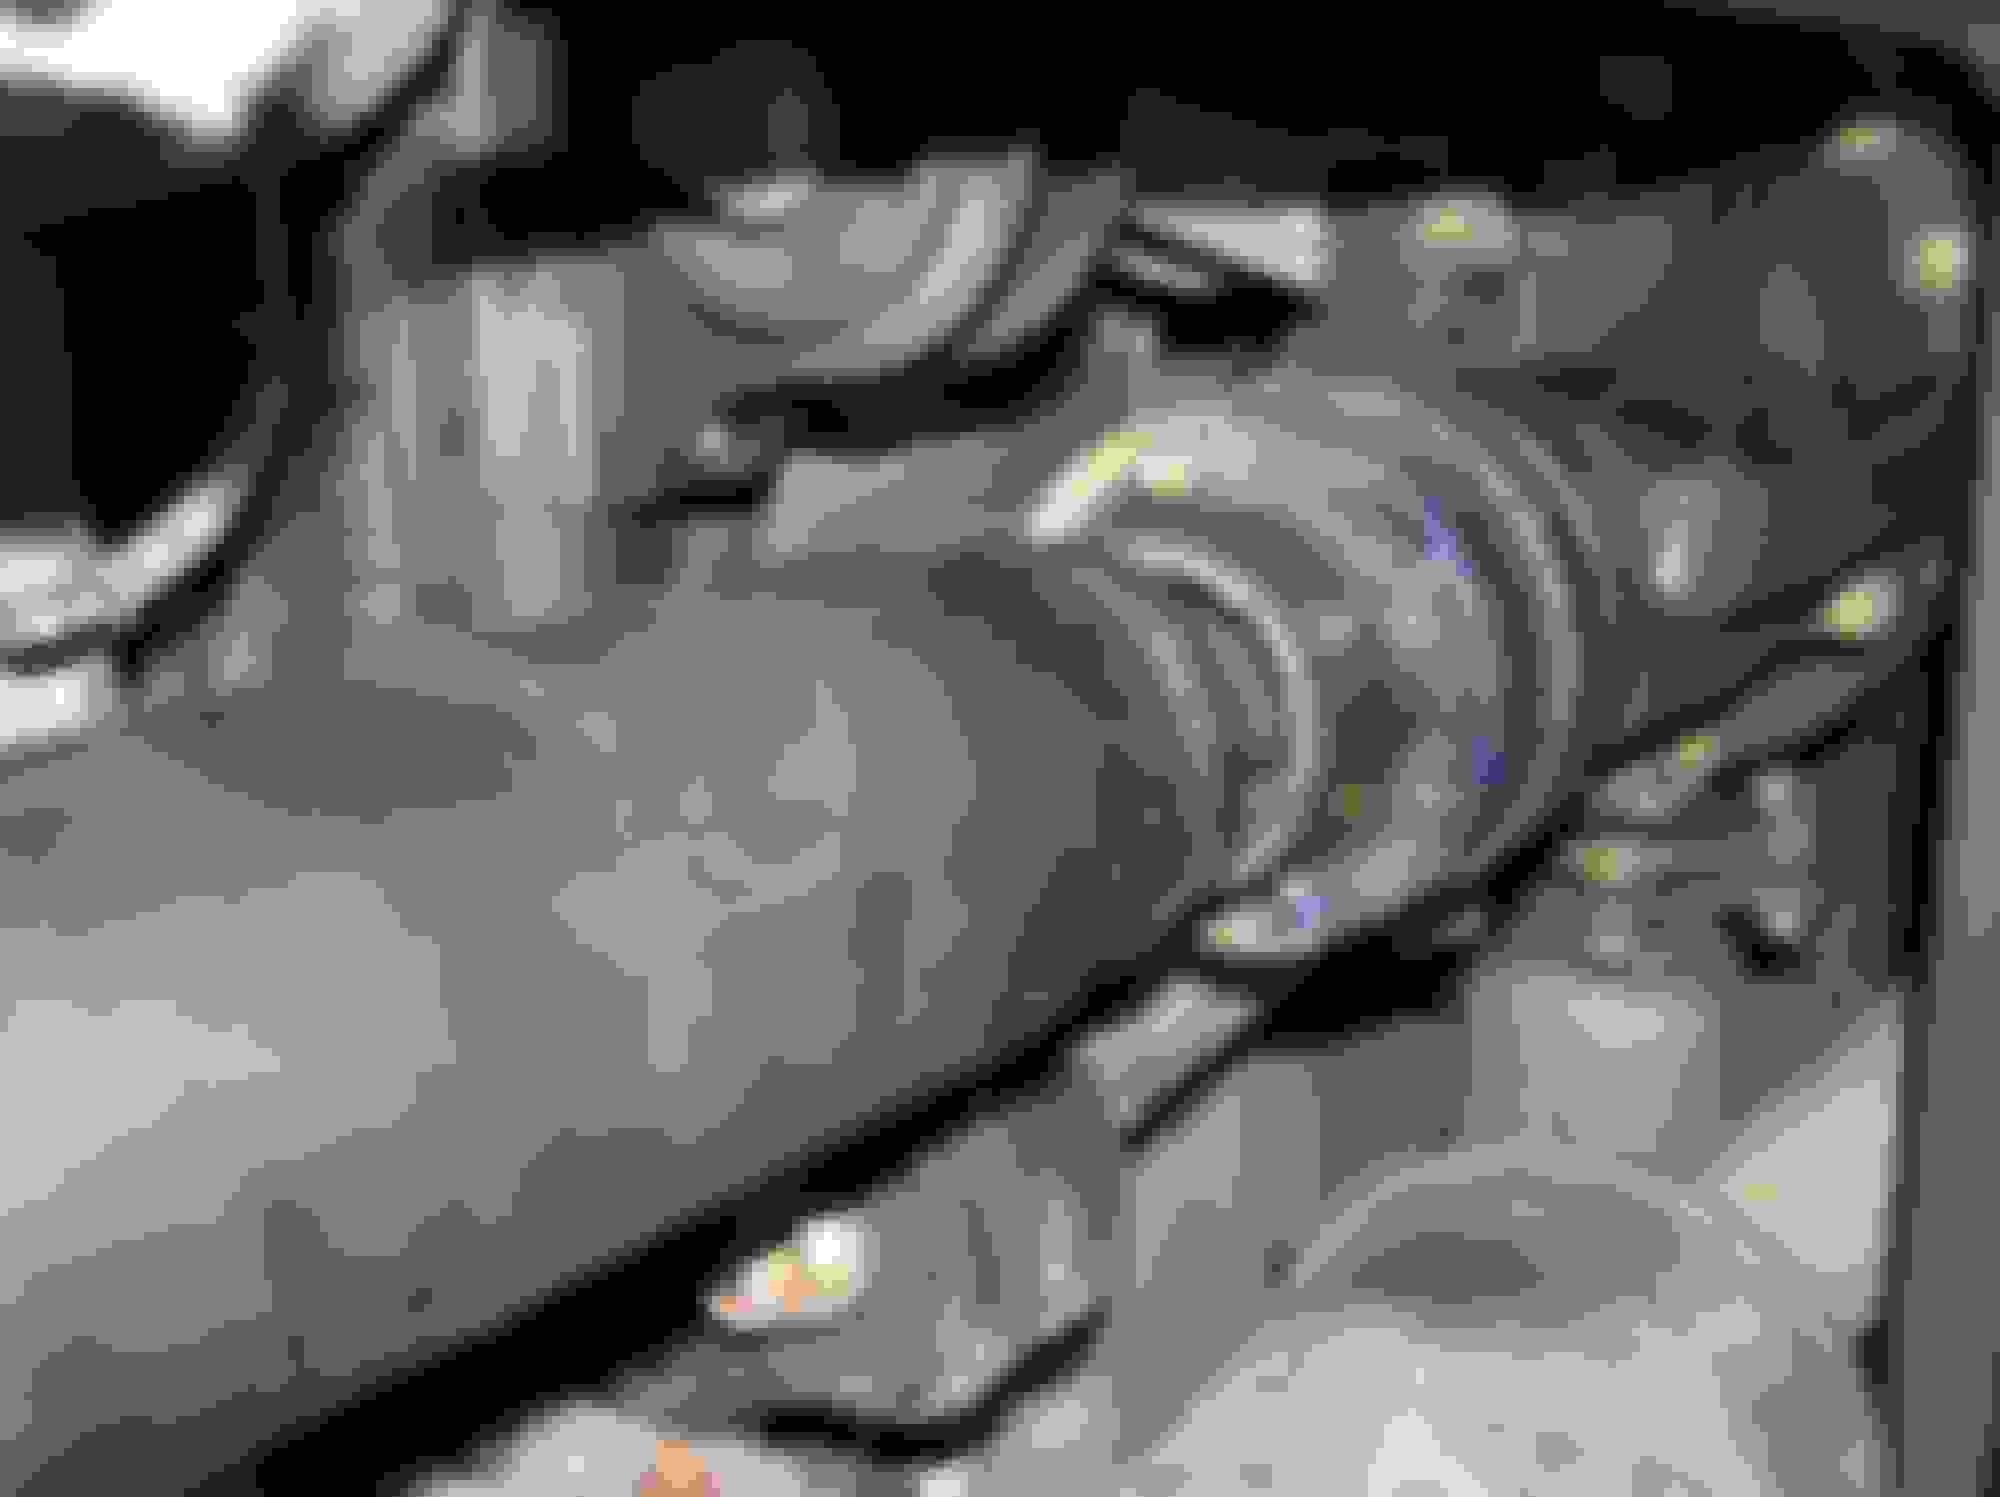
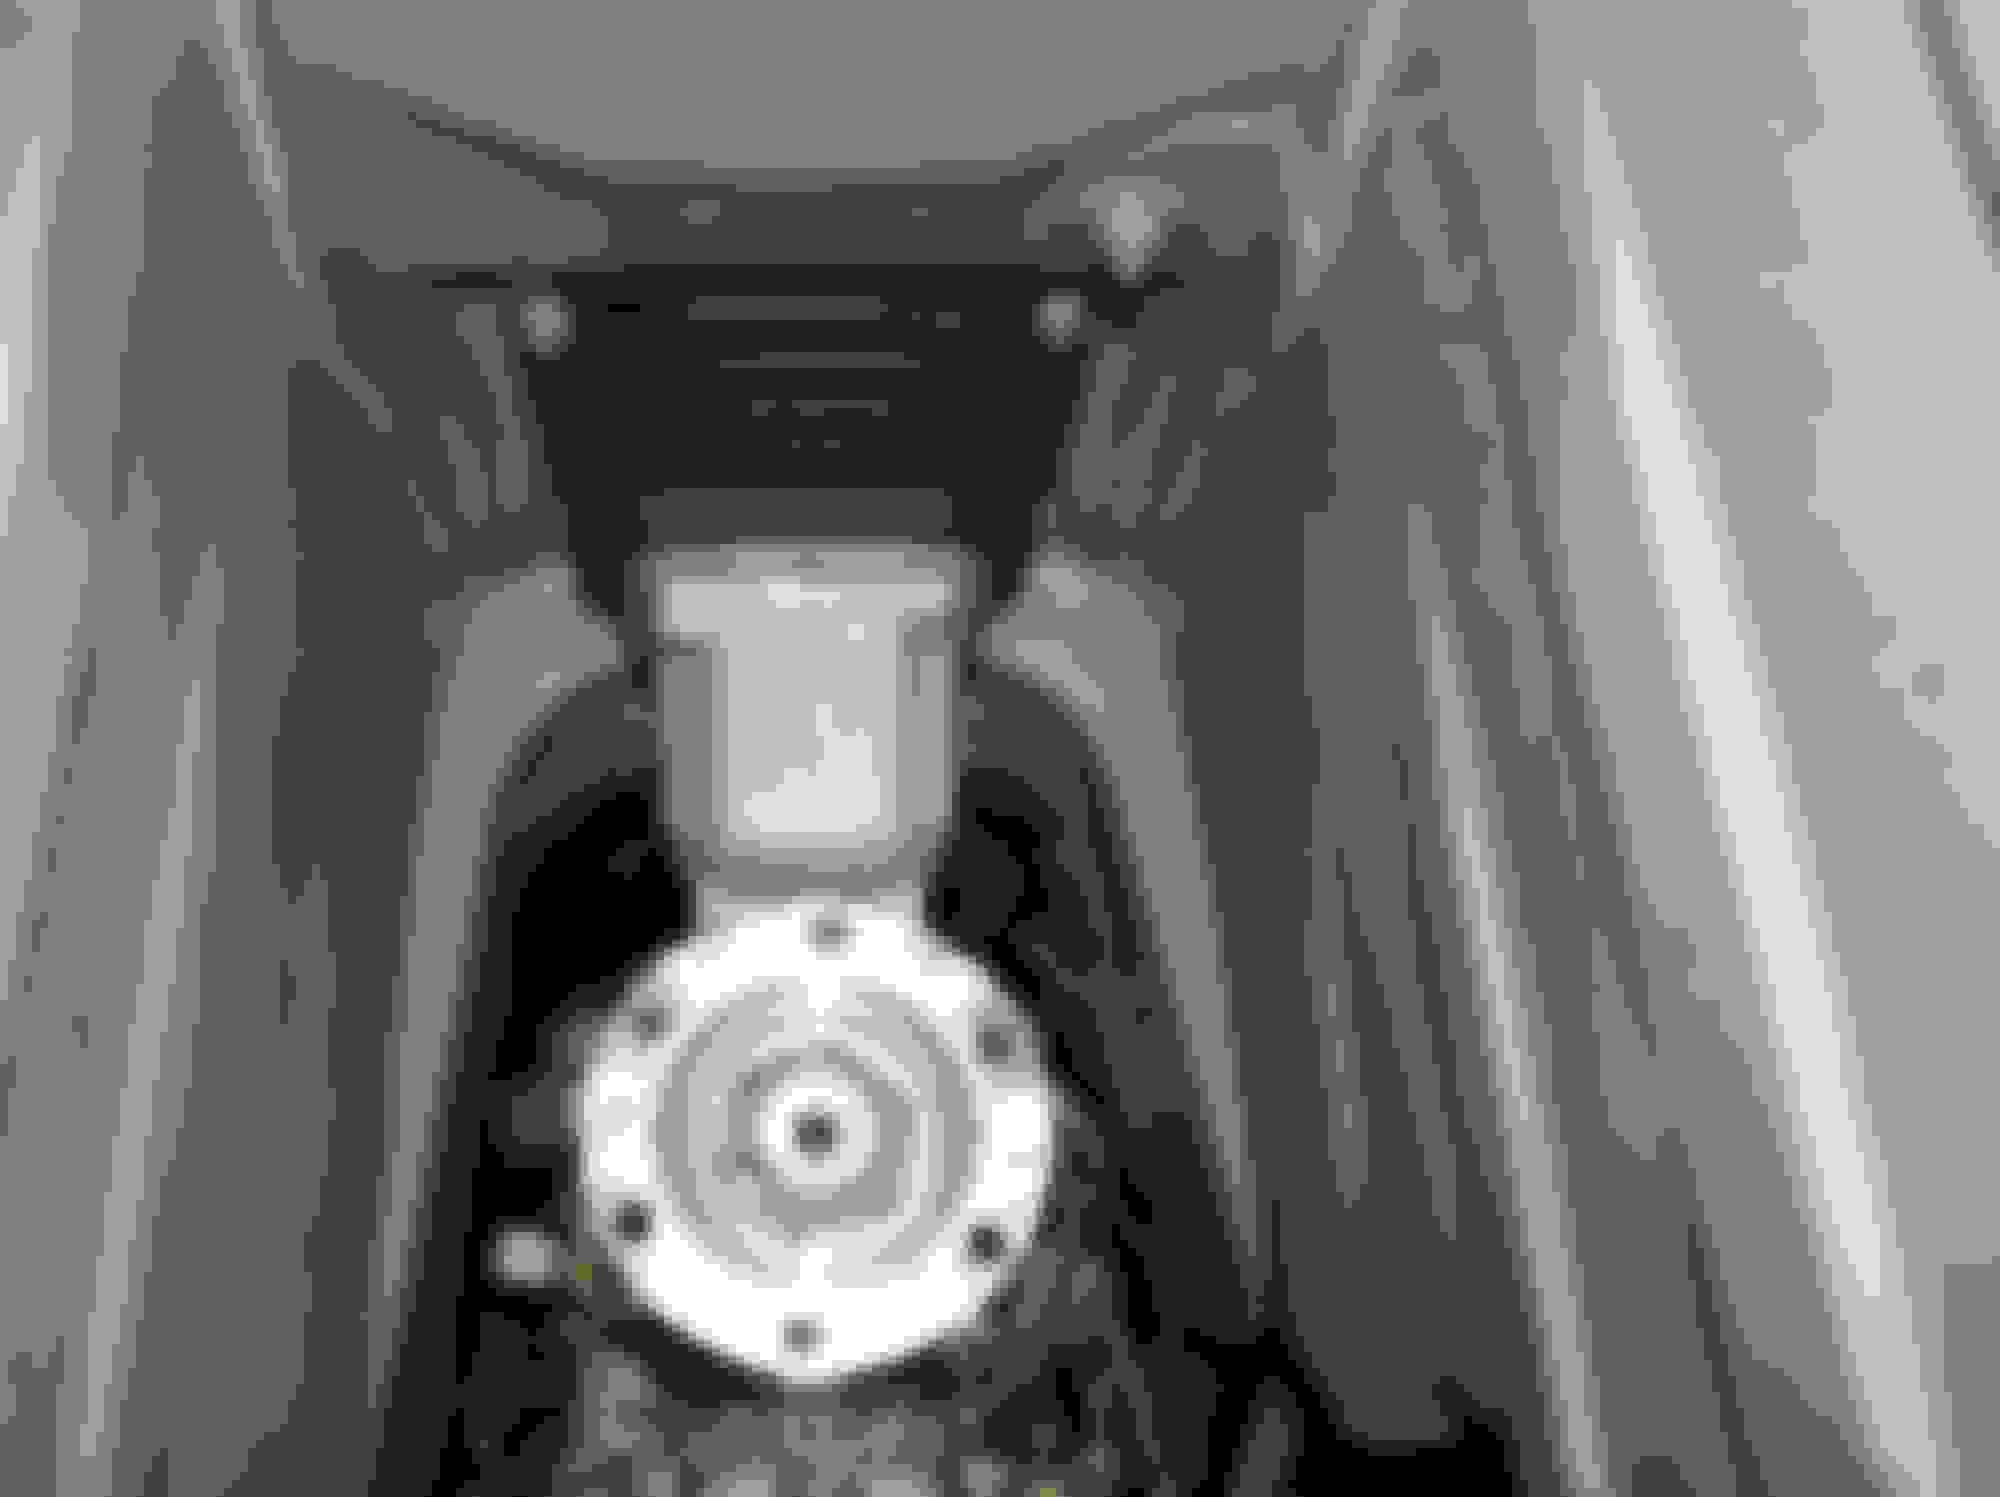
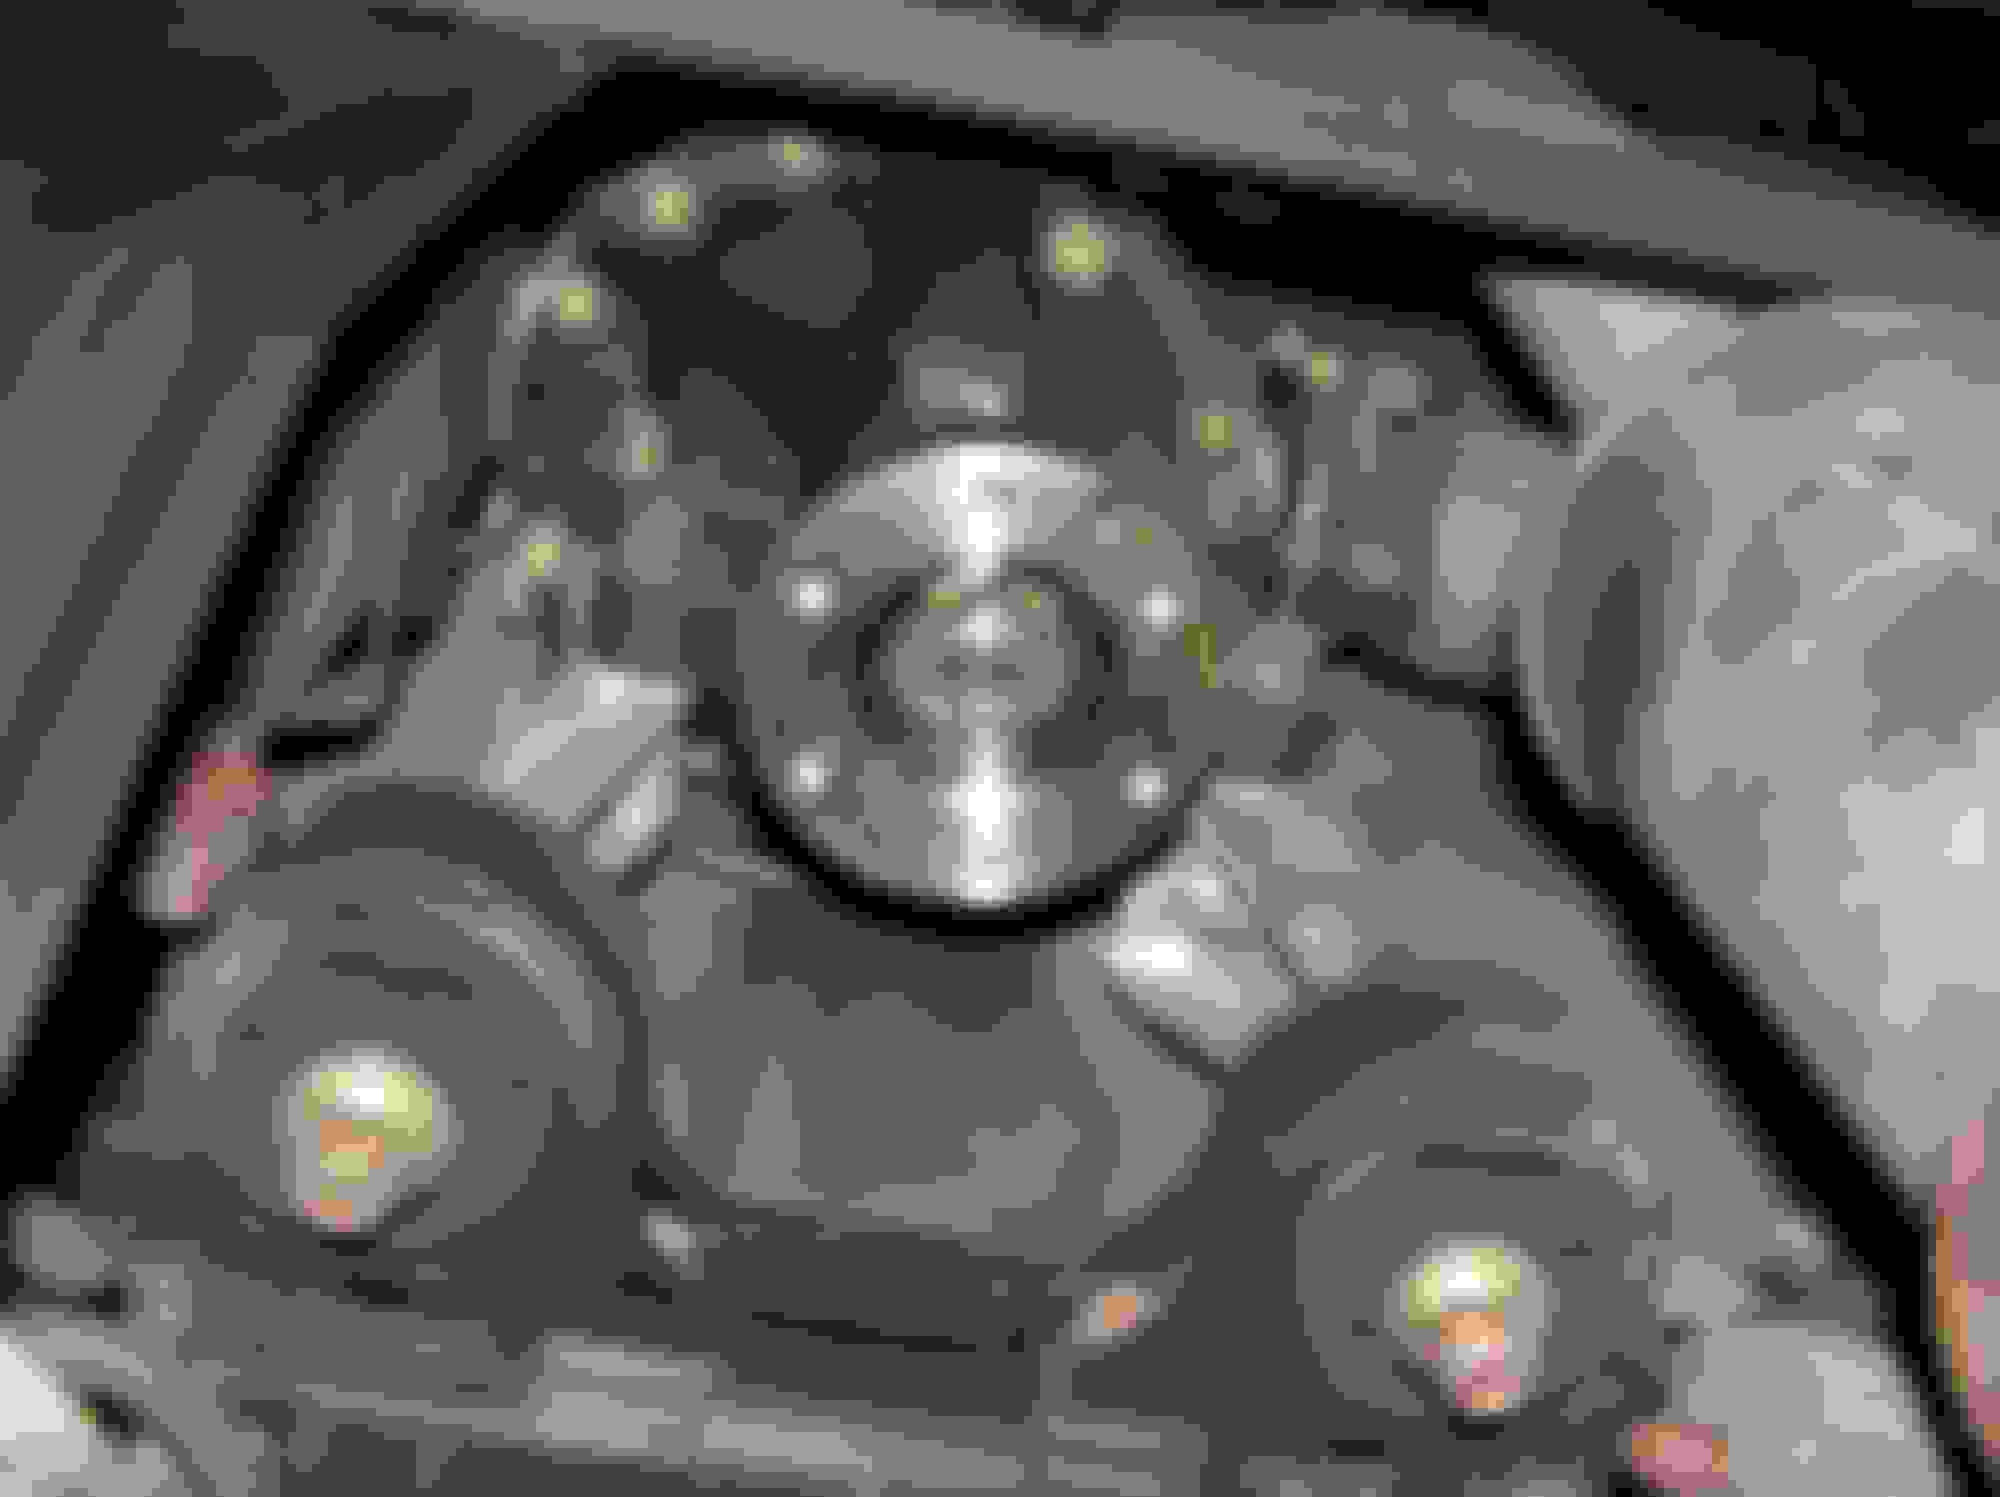
Well, we got the transmission off, finally. Here's the whole old clutch/pp/flywheel assembly on the engine.
You remove the PP bolts. You will need a 12 pt socket to do this. Also, putting someone on the crankshaft bolt on the front of the engine to hold the crankshaft in place while you loosen these bolts will definately make it easy to do. They're not put in hard so this part was pretty easy. NOTE: You will get NASTY removing these bolts. They tend to be coated in caked on clutch dust that falls on you constantly. Wear goggles. I got this crap in my eye and it stung something nasty.
Watch when you release the pp, the clutch will fall out from between the flywheel and pp. Make sure to catch it. I broke my old clutch (no big loss) because it hit the floor and broke a spring retainer.
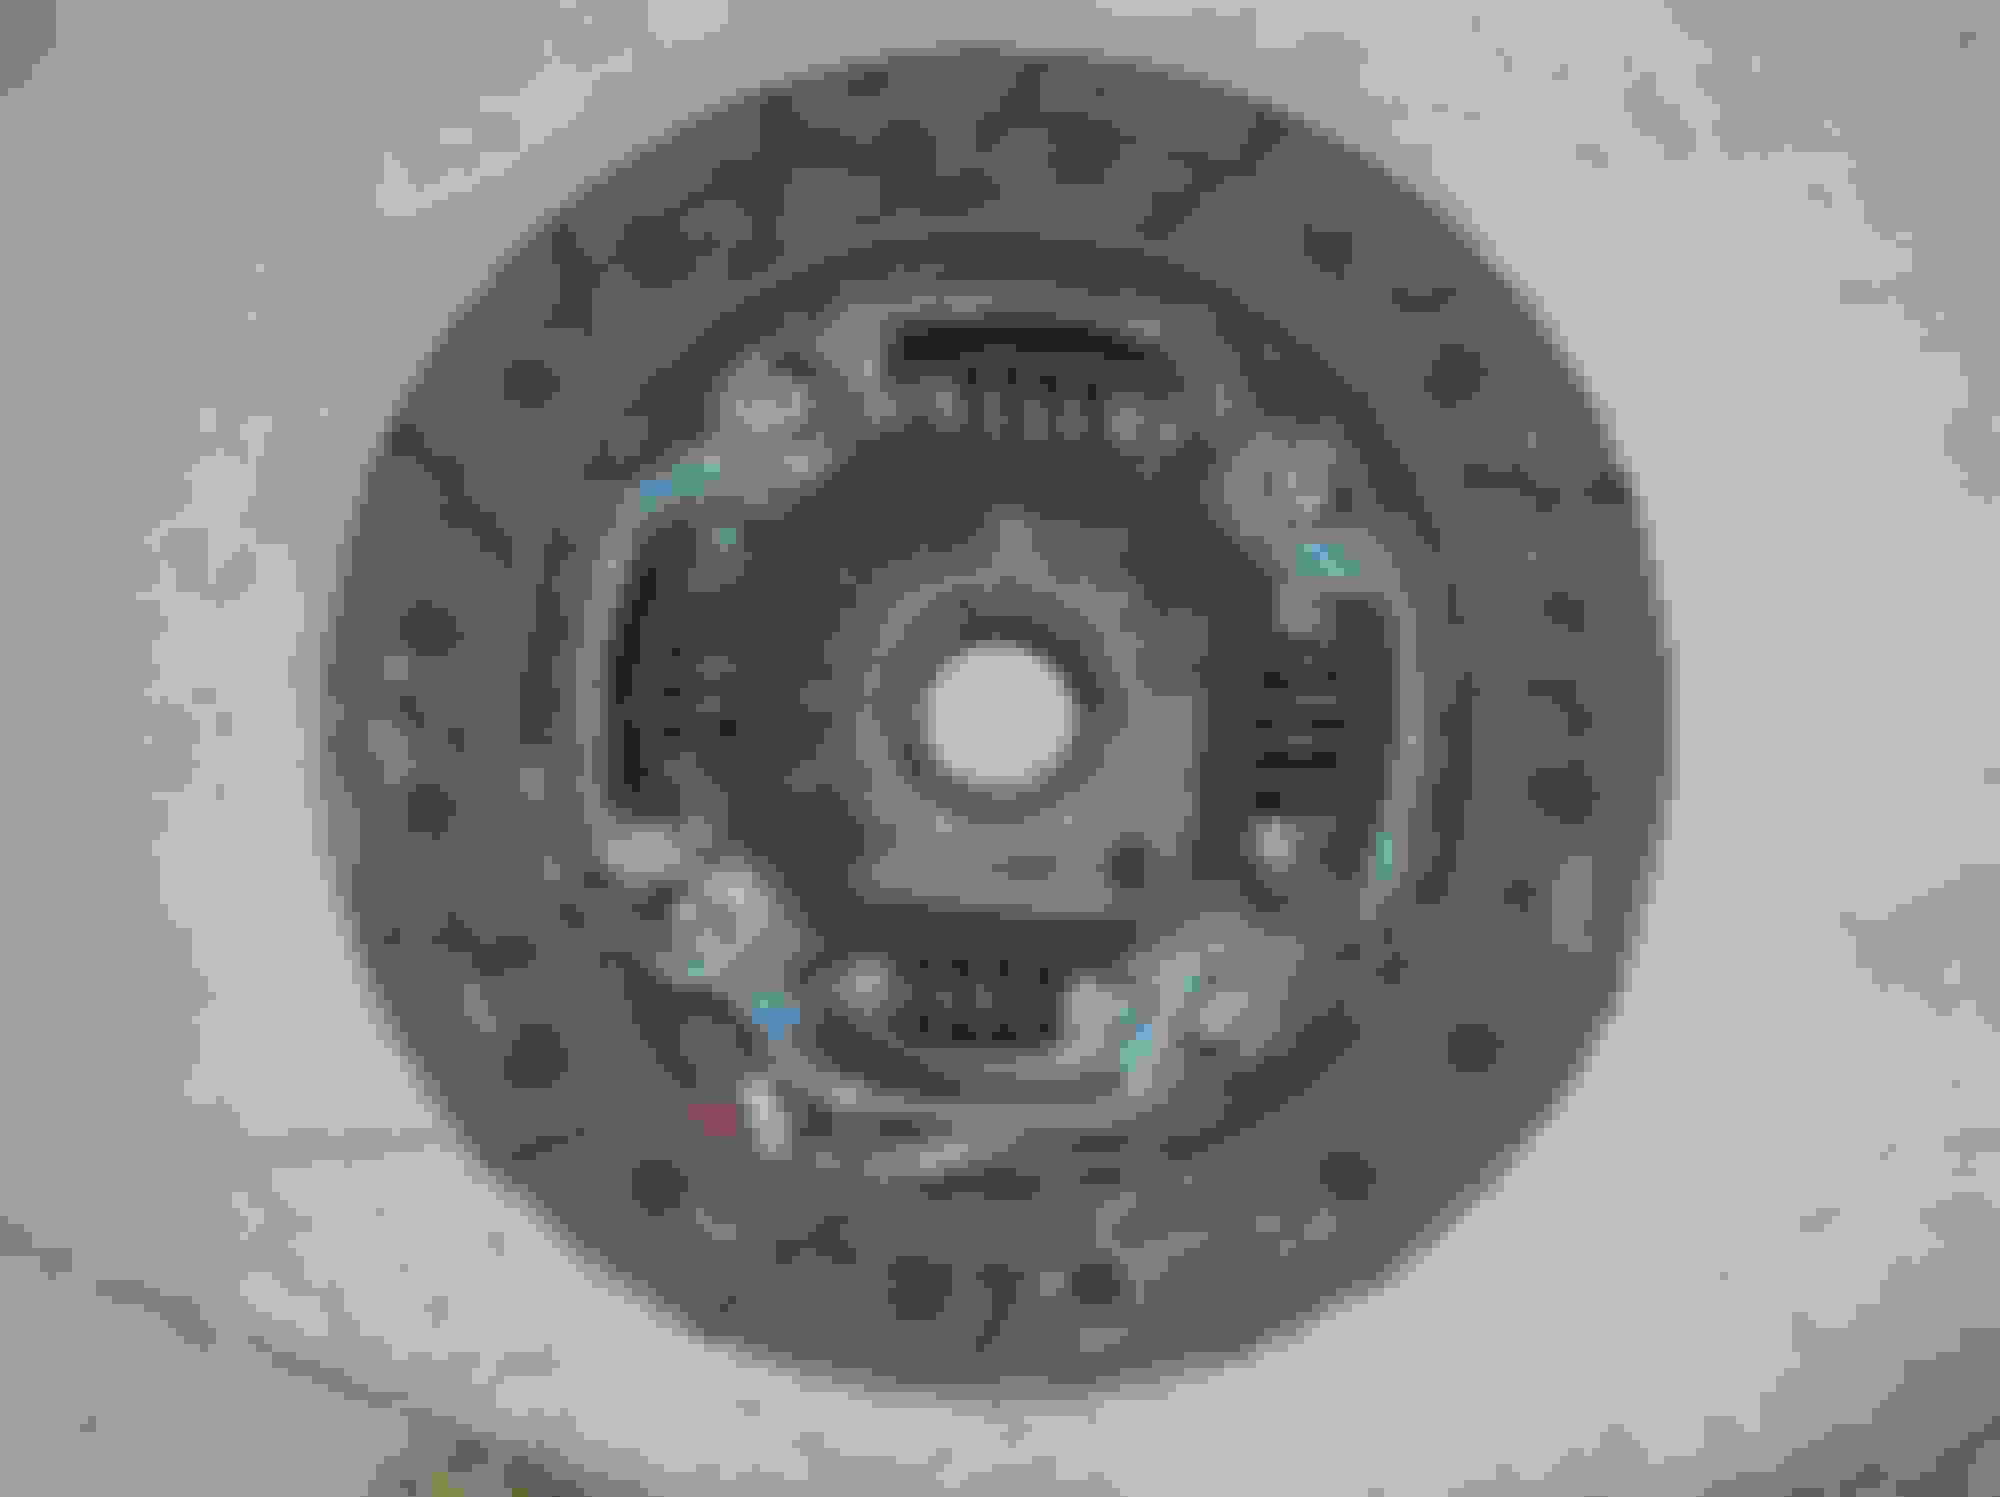
Here's the old clutch. It was darn near down to the nub.
Look how thin that pad material got. I changed it just in time. P.S. This is the spring that broke its retainer.
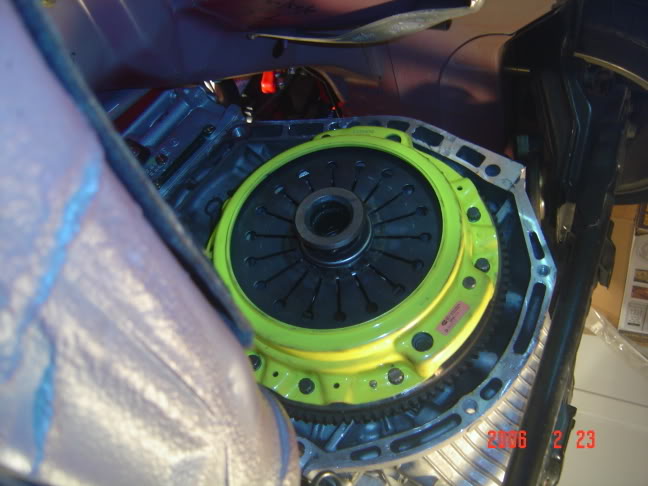
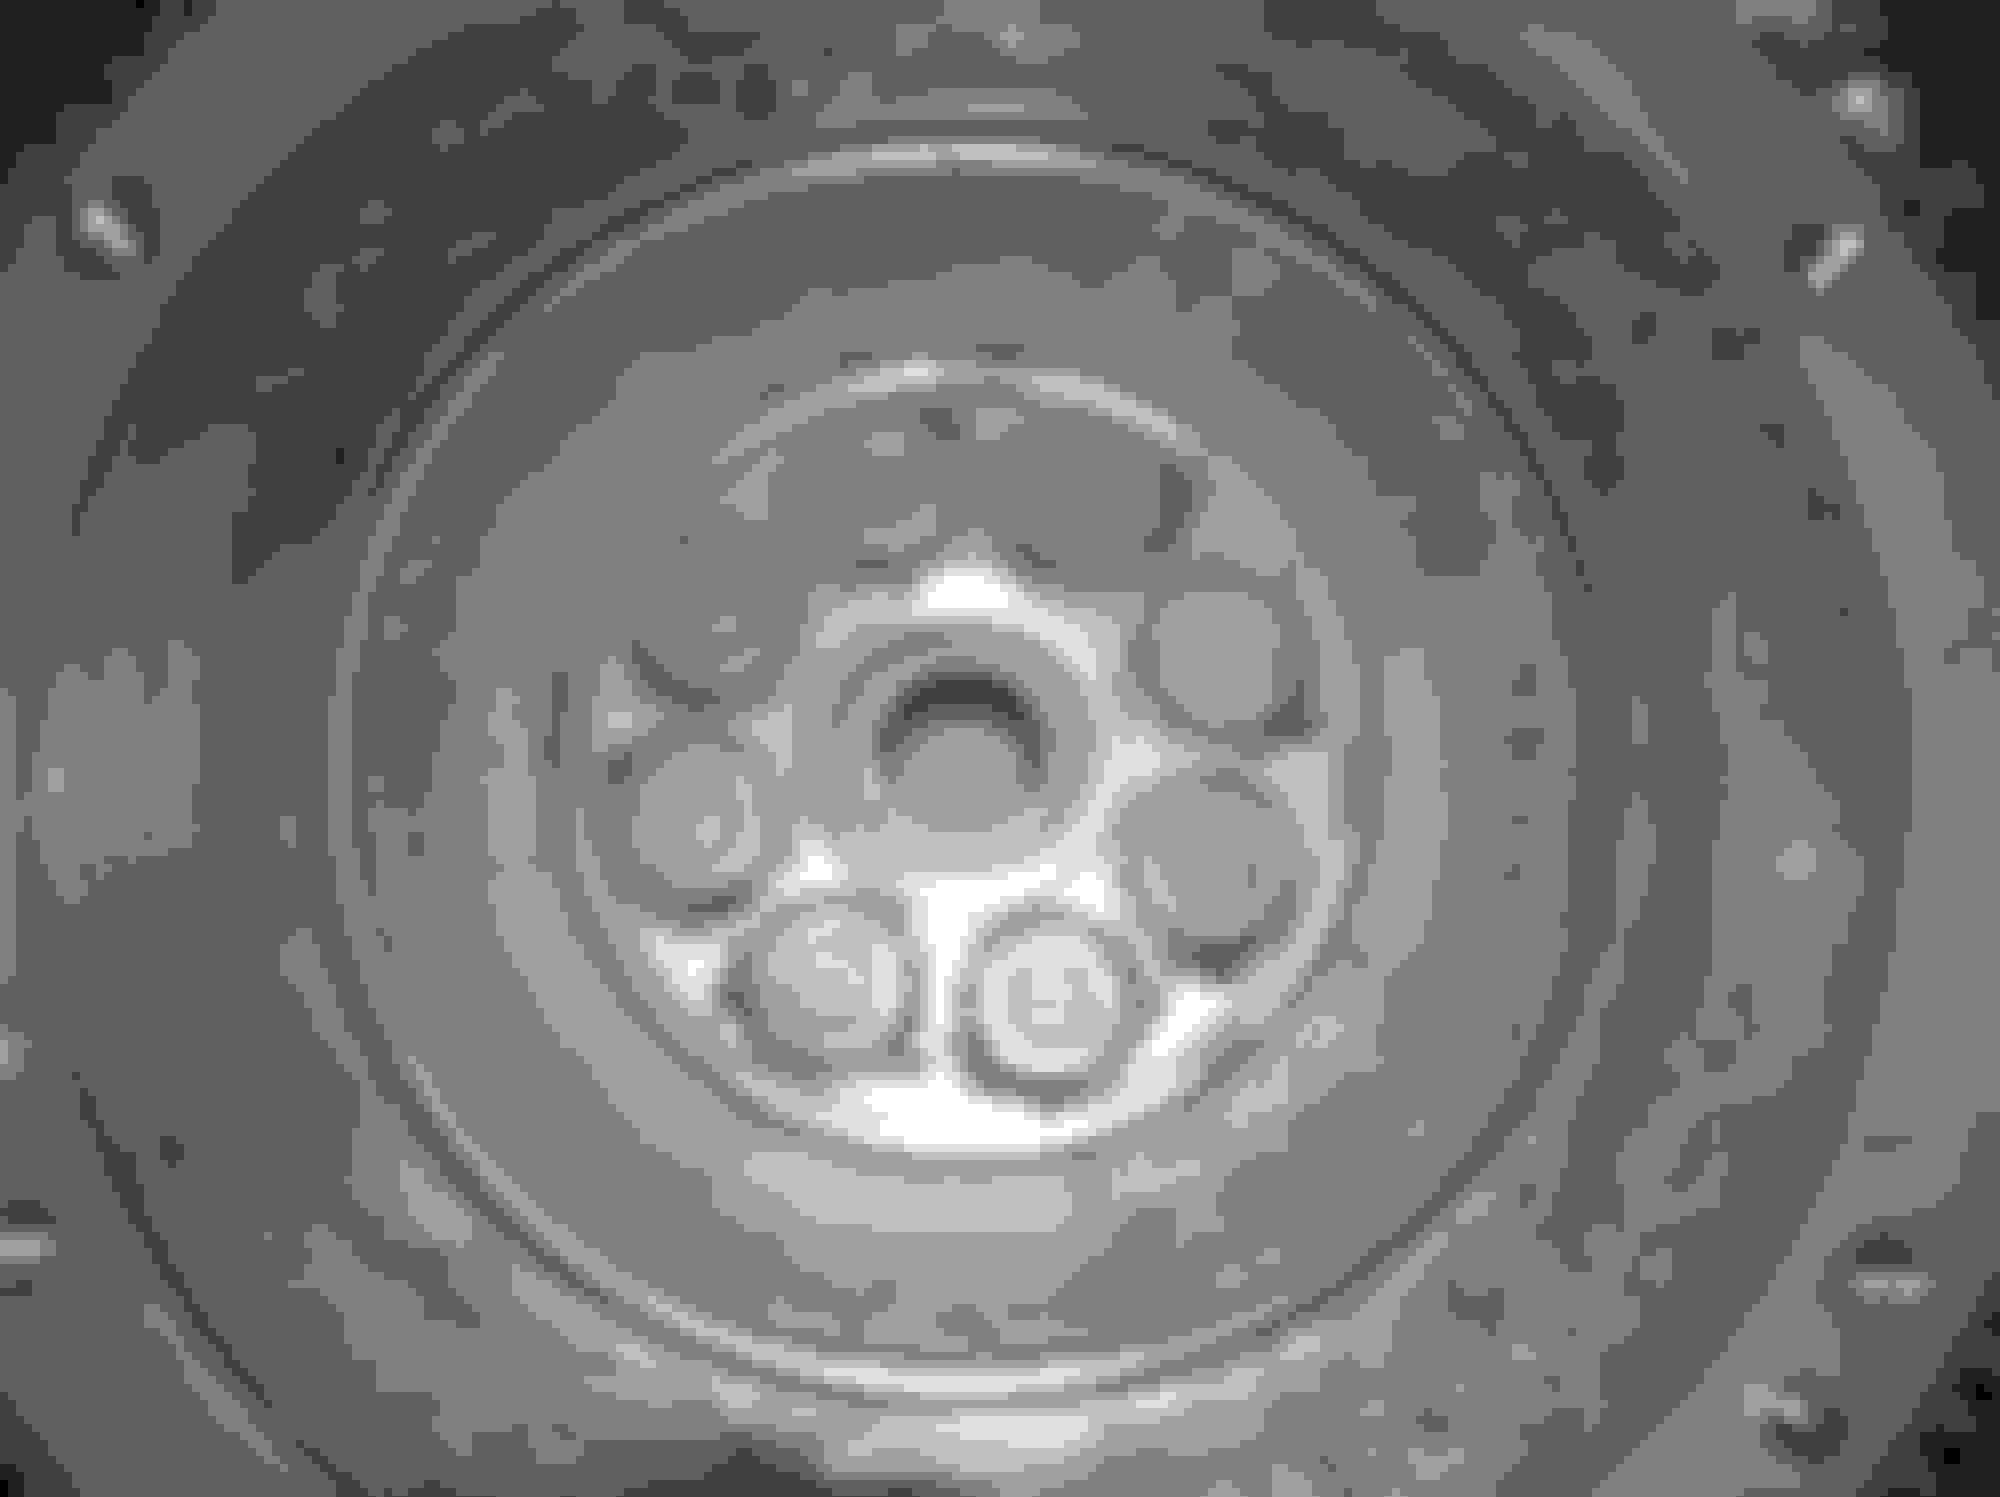
Here's the old PP. I did order a new one. Even though the PP and Flywheel look good enough to be resurfaced and readied for just a new clutch and throwout, I figure that if I'm pulling apart my entire engine for this crap, I only want to do it once. I got a new pp, flywheel, and throwout bearing.
Old flywheel, still on the crankshaft.
Ok, in the interest of time, I had to bypass taking pictures of anything as I reassembled. I just have to get my car back on the road, and I feel the pictures so far are more than enough to allow anyone to get this done. So, below, I'll add a few hints I bumped in to.
First off, alignment tools are great things. I had to eyeball it and it ended up fitting the first time. I got lucky!
Also, the pp for the flywheel will only line up one way, make sure you get that sucker on there correctly the first time. The guide pins are what you are looking for, they are not all in the same place!
Next, if you have removed the exhaust manifold from the car as I had to. REPLACE IT BEFORE raising the engine cradle! I had to unbolt the clutch cage, tranny mounts, and relower my cradle to get it back in since I only have the car maybe 24 inches off the ground. It sucked!
Torque wrenches are our friends. Have the book and torque everything to specifications! Have smaller torque wrenches that can get down into the single digits of N/m.
 05-02-2006, 05:37 AM