
DIY Rear Brake Caliper Refresh

Thread Starter
Former Moderator
Joined: May 2006
Posts: 14,847
Likes: 10
From: Emmett
This is what I do to keep my brakes from seizing up.
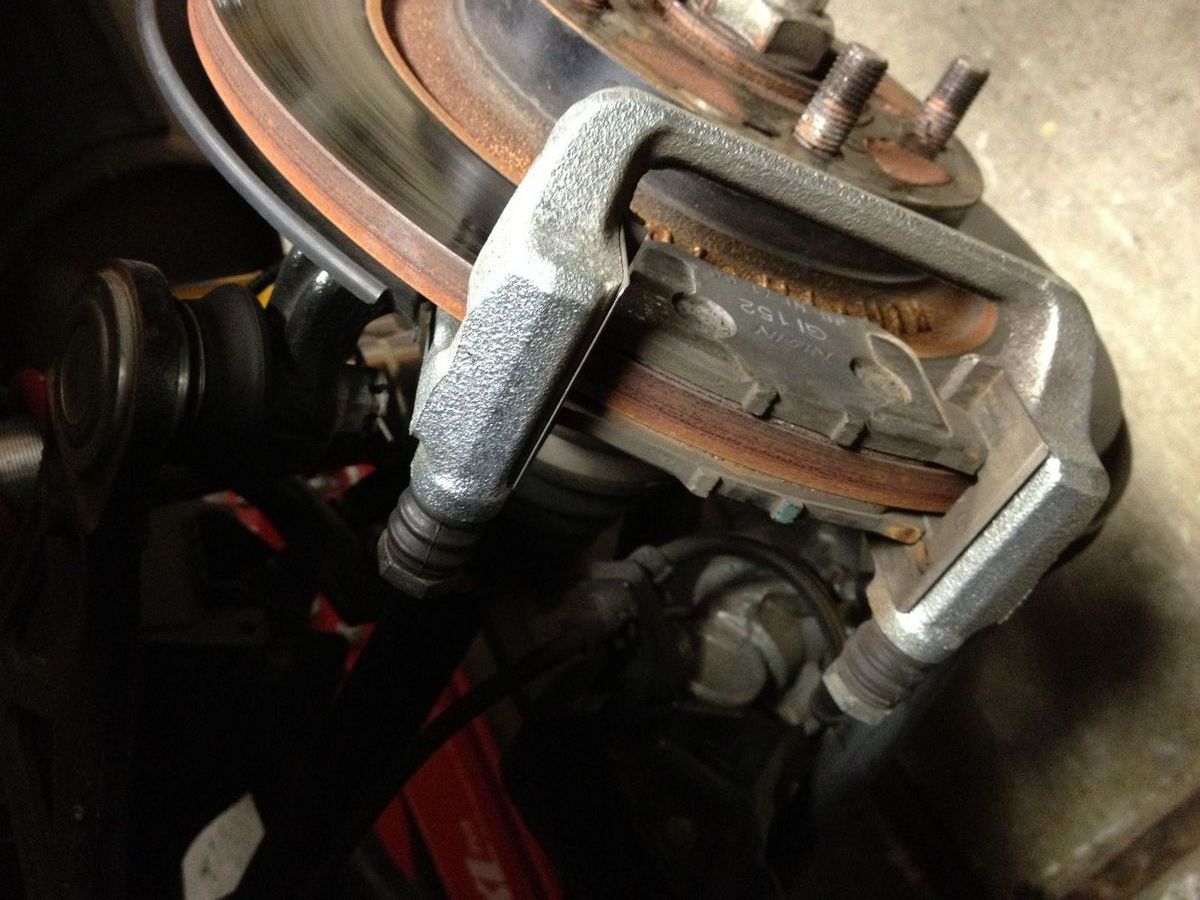
I know I've skipped a step but this is where this DIY starts with the caliper removed
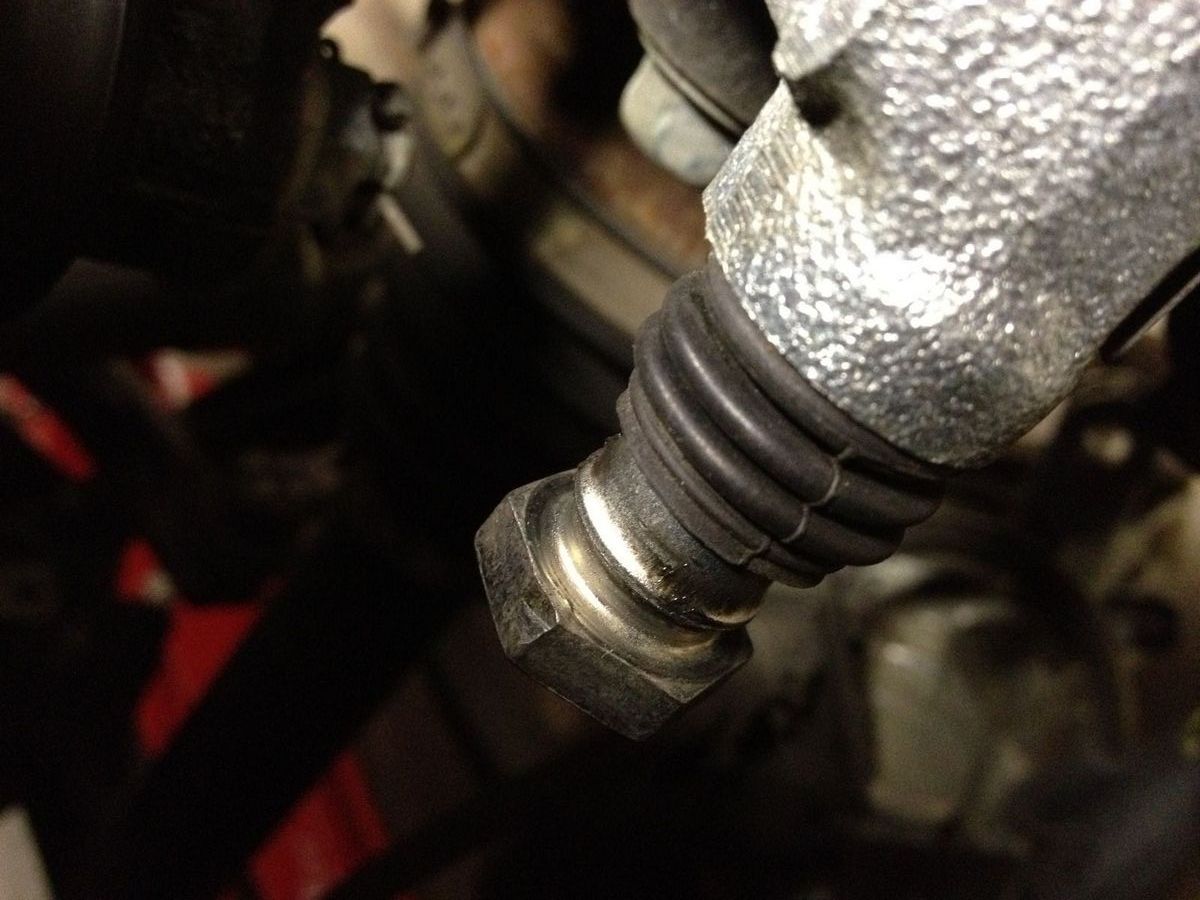
You're going to remove the rubber boot from the slider pin

It should look like this
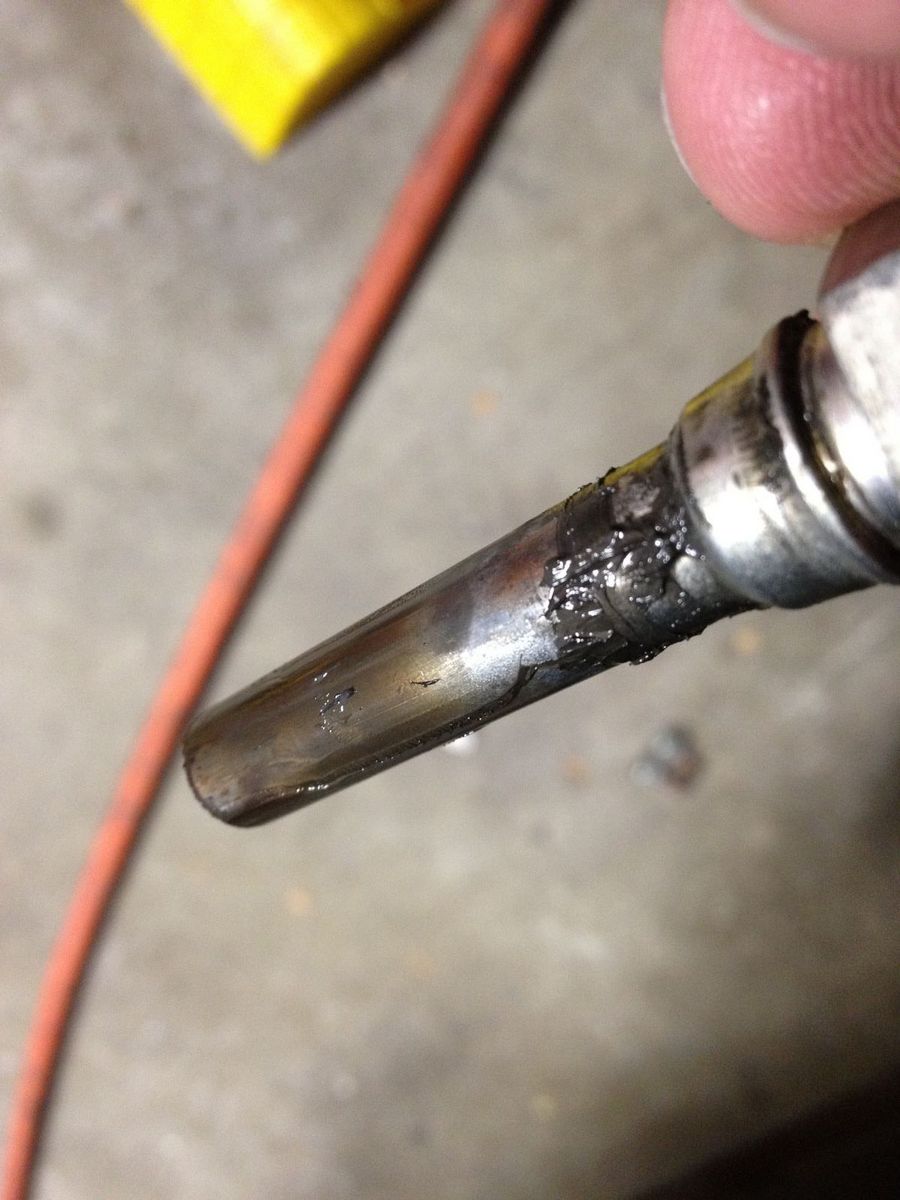
Slide the pin all the way out and clean it off
Remove the rubber boot and clean the inside of it, if it's cracked or burned then you'll need to replace it. You can put a bit of ShinEtsu on the outside to keep them from getting brittle over time although they're cheap enough to replace.

Clean the inside of the slider housing of all the old nasty burned lube

I normally clean it until it looks like this, if yours are real bad then you can remove the carrier and clean it with brake clean

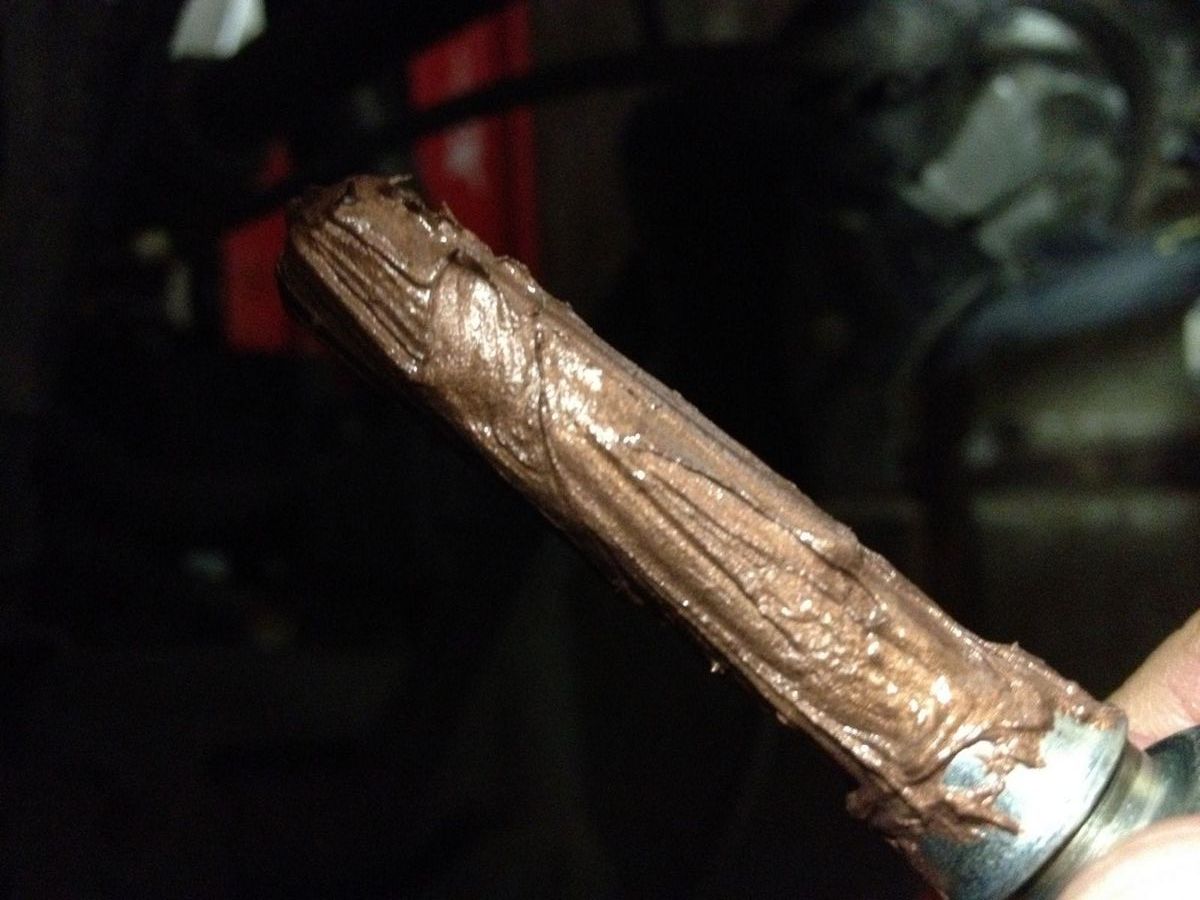
Apply a generous amount of brake lube (I use 3M) on the slider and slide it in to the carrier so the carrier gets lubed up and be sure you do this without the slider boot. If you do this with the slider boot in place then you'll just fill the boot up with the lube
Next install the boot onto the carrier first and then the slider goes in
Do this to the other slider and then you may need to rotate the piston in if you're installing new pads and this can be done with a 3/8's ratchet

Even if you're not replacing pads make sure the piston slots are lined up like this, you also want the piston in far enough so you can slide the caliper on easily but not so much that the pin on the brake pad won't engage with the slot in the piston. If your pads don't have pins then don't worry about this step

I know I've skipped a step but this is where this DIY starts
with the caliper removedYou're going to remove the rubber boot from the slider pin
It should look like this
Slide the pin all the way out and clean it off
Remove the rubber boot and clean the inside of it, if it's cracked or burned then you'll need to replace it. You can put a bit of ShinEtsu on the outside to keep them from getting brittle over time although they're cheap enough to replace.
Clean the inside of the slider housing of all the old nasty burned lube
I normally clean it until it looks like this, if yours are real bad then you can remove the carrier and clean it with brake clean
Apply a generous amount of brake lube (I use 3M) on the slider and slide it in to the carrier so the carrier gets lubed up and be sure you do this without the slider boot. If you do this with the slider boot in place then you'll just fill the boot up with the lube
Next install the boot onto the carrier first and then the slider goes in
Do this to the other slider and then you may need to rotate the piston in if you're installing new pads and this can be done with a 3/8's ratchet
Even if you're not replacing pads make sure the piston slots are lined up like this, you also want the piston in far enough so you can slide the caliper on easily but not so much that the pin on the brake pad won't engage with the slot in the piston. If your pads don't have pins then don't worry about this step
Thread Starter
Former Moderator
Joined: May 2006
Posts: 14,847
Likes: 10
From: Emmett


