
Stripped Spark Plug ; Timesert DIY


Thread Starter

Joined: May 2006
Posts: 567
Likes: 0
So I was driving home from work, and about 15 miles out, my car starts to flash it's check engine light. I shut off the car and rolled it down into a lot next to the freeway. My friends come and help me out and AAA/strap pull me home.

I check the codes and its a misfire in cylinders 2 and 3.
As I try to pull out cylinder 2's coil pack, this happens.


Vice grip, yank it out, and...
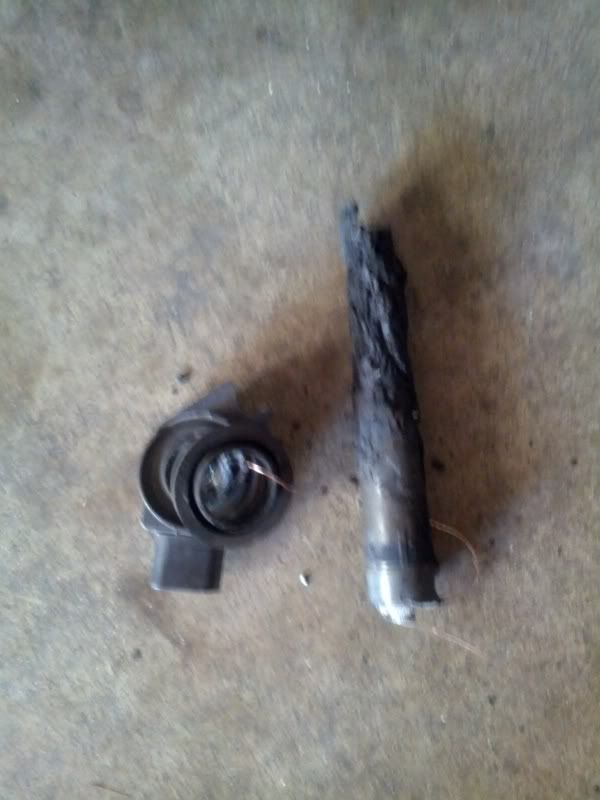
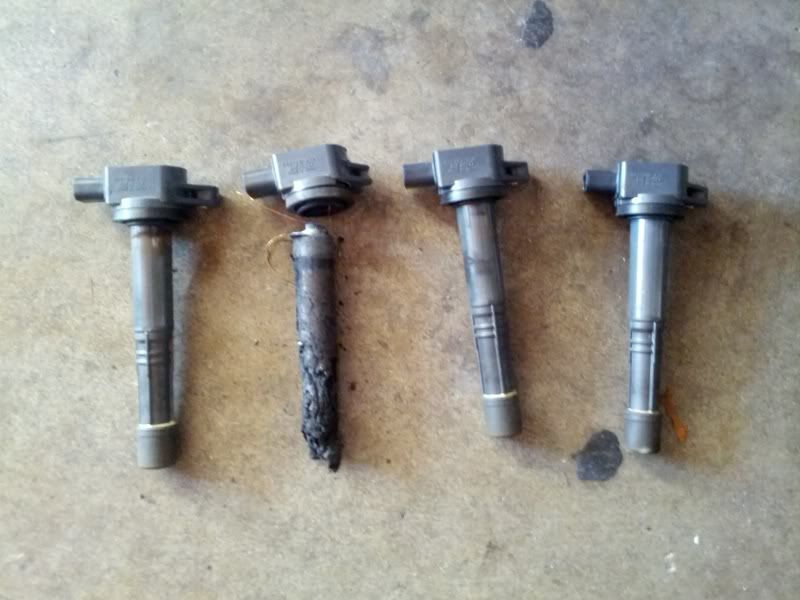

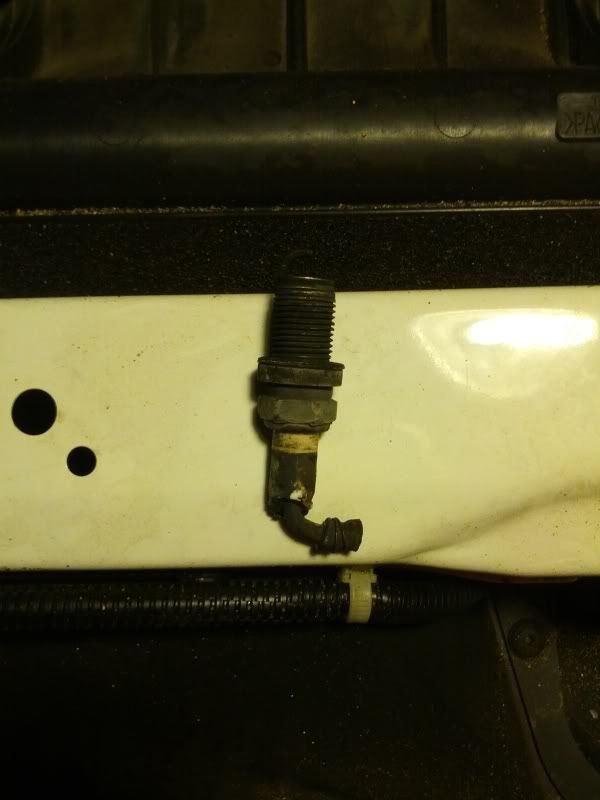
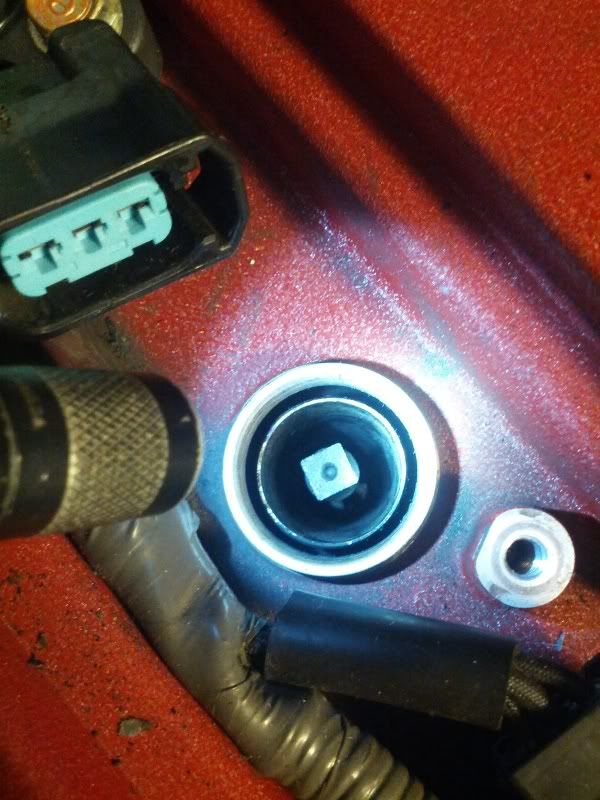
Okay whatever. Let me pull the sparkplug out.. wait a minute..

It was completely out. Not threaded in whatsoever. I call my friend to bring his really long needle nose and we pull it out. Cool.

And the other plugs
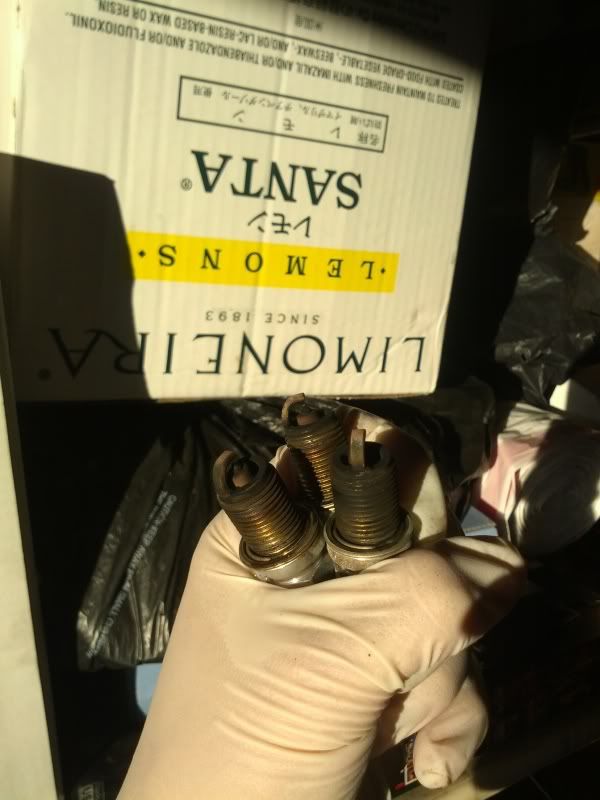
I look at the threads on the head where my spark plugs thread in, and cylinder 2 is stripped. Previous owner/previous mechanic/dealership probably stripped it while changing plugs or compression testing. My options were timesert or get a new head, I went with the timesert.
I went ahead and ordered new packs and plugs.
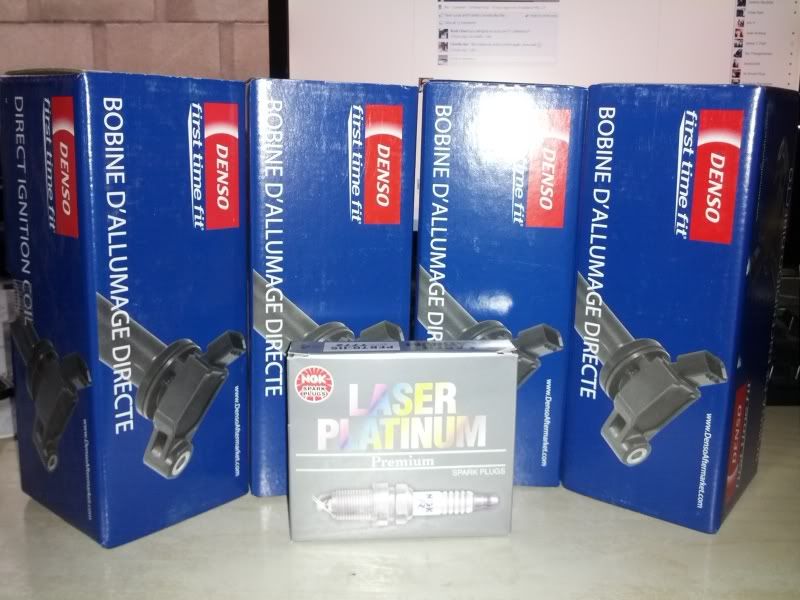
I started researching timesert kits and I was about to pull the plug and buy one, but my friend told me that he had a friend who just did one and he'll see if I could borrow it. I lucked out and he let me use the kit for free and also gave me a timesert to use. I slipped him some cash anyway.
Step 1
(Thanks for reminding me chris_barry)
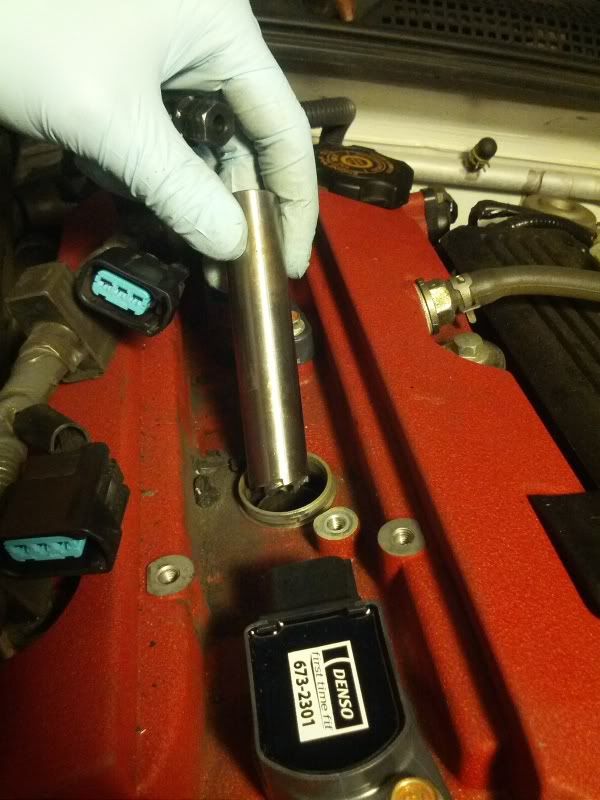
Look down the spark plug tube when plug is out. Make sure your piston is not at the top position to avoid accidental damaging)
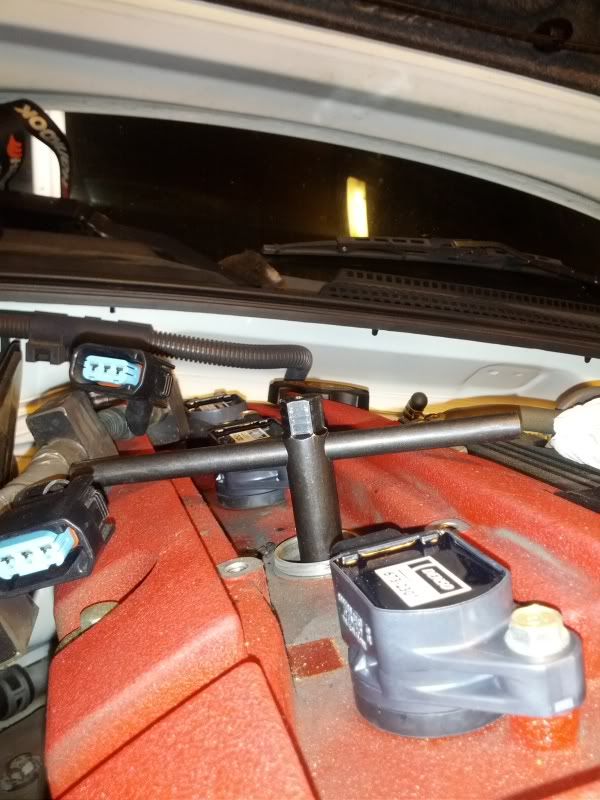
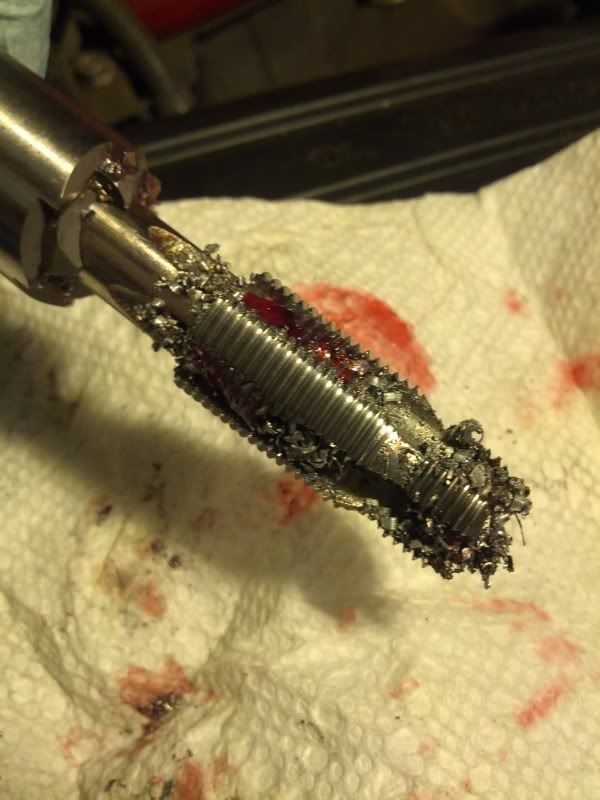
Grease up the tap and align it. Grease will catch most of the shavings.
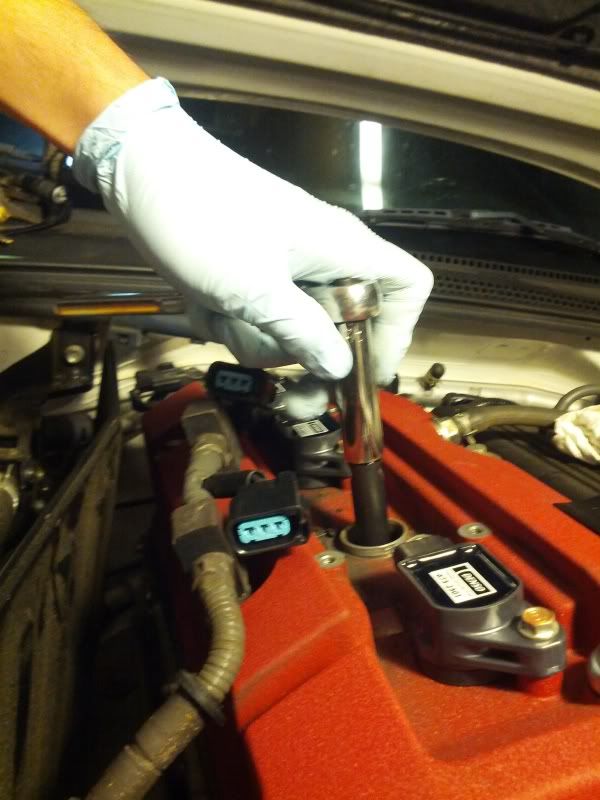
Then put the extension that comes with the kit on. Their little leverage bar wouldn't work because it would hit the valve cover, so I used a ratchet instead.
Step 2
Tap it.
Step 3
Put in the taper tool.
Repeat Step 2 for about 4 turns (cant remember exactly)
Step 4
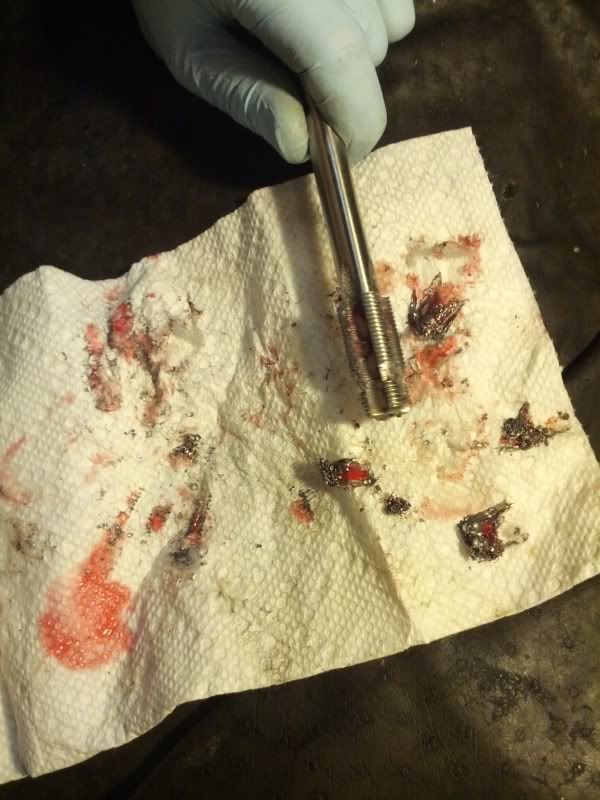
Pull out and clean the new threads (very important). There should be NO debris in between the new threads and the timesert. After its clean, use the tool to put the timesert piece in with some loctite.
Step 5
Thread in the new spark plug with some anti-seize and put everything back together.
My car runs like new. No issues and it was way more affordable than paying for a new head. But, I also lucked out and had someone lend me their kit.
I check the codes and its a misfire in cylinders 2 and 3.
As I try to pull out cylinder 2's coil pack, this happens.
Vice grip, yank it out, and...
Okay whatever. Let me pull the sparkplug out.. wait a minute..
It was completely out. Not threaded in whatsoever. I call my friend to bring his really long needle nose and we pull it out. Cool.
And the other plugs
I look at the threads on the head where my spark plugs thread in, and cylinder 2 is stripped. Previous owner/previous mechanic/dealership probably stripped it while changing plugs or compression testing. My options were timesert or get a new head, I went with the timesert.
I went ahead and ordered new packs and plugs.
I started researching timesert kits and I was about to pull the plug and buy one, but my friend told me that he had a friend who just did one and he'll see if I could borrow it. I lucked out and he let me use the kit for free and also gave me a timesert to use. I slipped him some cash anyway.
Step 1
(Thanks for reminding me chris_barry)
Look down the spark plug tube when plug is out. Make sure your piston is not at the top position to avoid accidental damaging)
Grease up the tap and align it. Grease will catch most of the shavings.
Then put the extension that comes with the kit on. Their little leverage bar wouldn't work because it would hit the valve cover, so I used a ratchet instead.
Step 2
Tap it.
Step 3
Put in the taper tool.
Repeat Step 2 for about 4 turns (cant remember exactly)
Step 4
Pull out and clean the new threads (very important). There should be NO debris in between the new threads and the timesert. After its clean, use the tool to put the timesert piece in with some loctite.
Step 5
Thread in the new spark plug with some anti-seize and put everything back together.
My car runs like new. No issues and it was way more affordable than paying for a new head. But, I also lucked out and had someone lend me their kit.
Thread Starter
Joined: May 2006
Posts: 567
Likes: 0
Electrode still intact. Just the threaded portion would slide up and down so the electrode would hide behind the threads.


 Awesome job sir. Adding to the FAQ


Joined: Jan 2011
Posts: 2,207
Likes: 7
From: Long Island
Here is a neat video with the process shown on a head which has been cut so you can see a profile view of what's happening. Unfortunately there's no sound.
http://www.youtube.com/watch?v=Ntiy8L97Nco
http://www.youtube.com/watch?v=Ntiy8L97Nco
Trending Topics

Joined: Jan 2011
Posts: 2,207
Likes: 7
From: Long Island


Joined: Oct 2009
Posts: 30,062
Likes: 5,500
From: Ontario Canada
You can use a small bit of anti-sieze if the plug is removed, but on first installation they recomend taht they go in dry, apparently the new plugs have a coating on them. It's not the end of the world and you won't get the anti-sieze off now, so re-check the plug torque a couple times going forward to make sure they remain tight.