Dave@Canibeat.com's Laguna Blue Project
 05-24-2012, 10:46 AM
#111

Alright so my car has been down in Maryland now for almost 3 weeks at my friends shop and he has been sending me a bunch of iPhone updates but I haven't posted anything in a while.
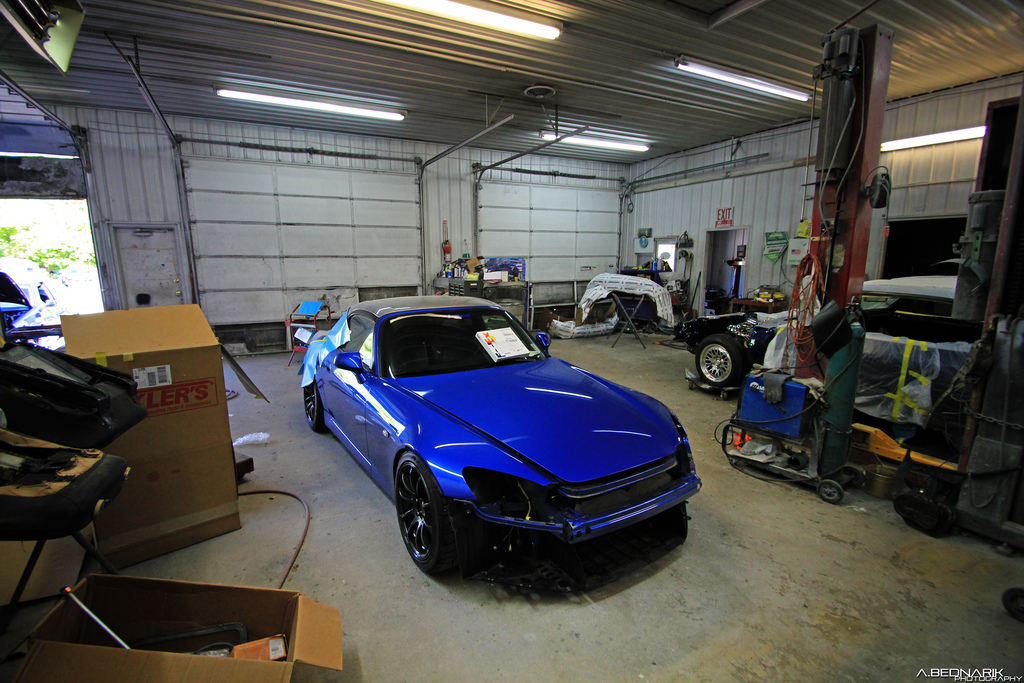
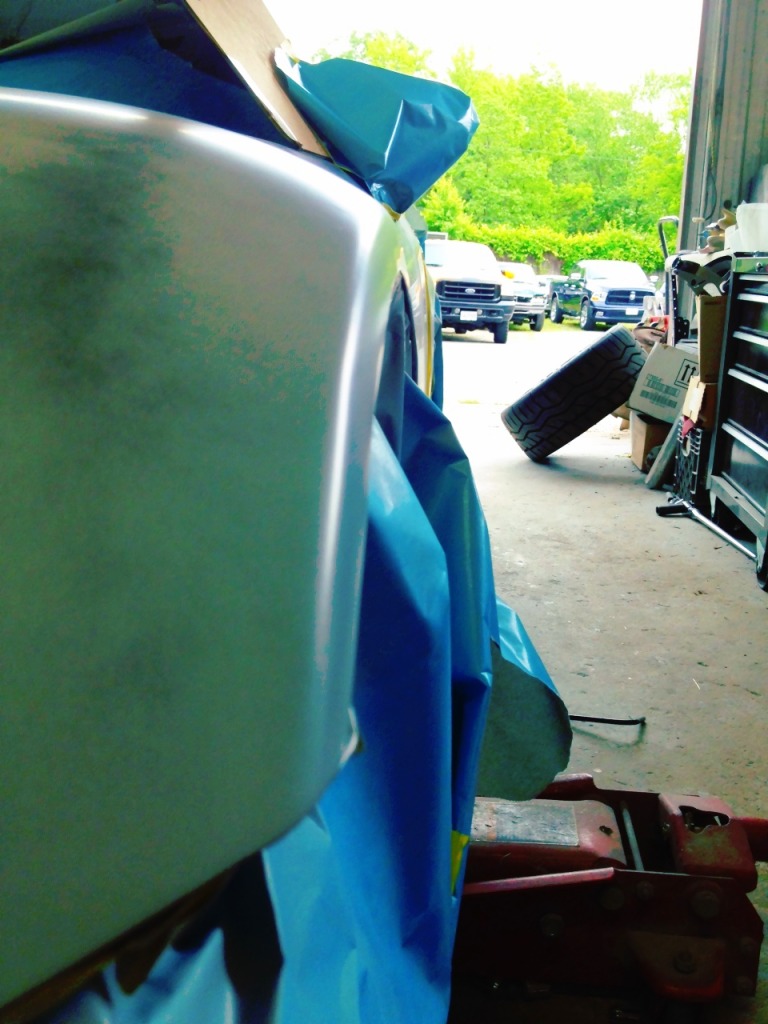
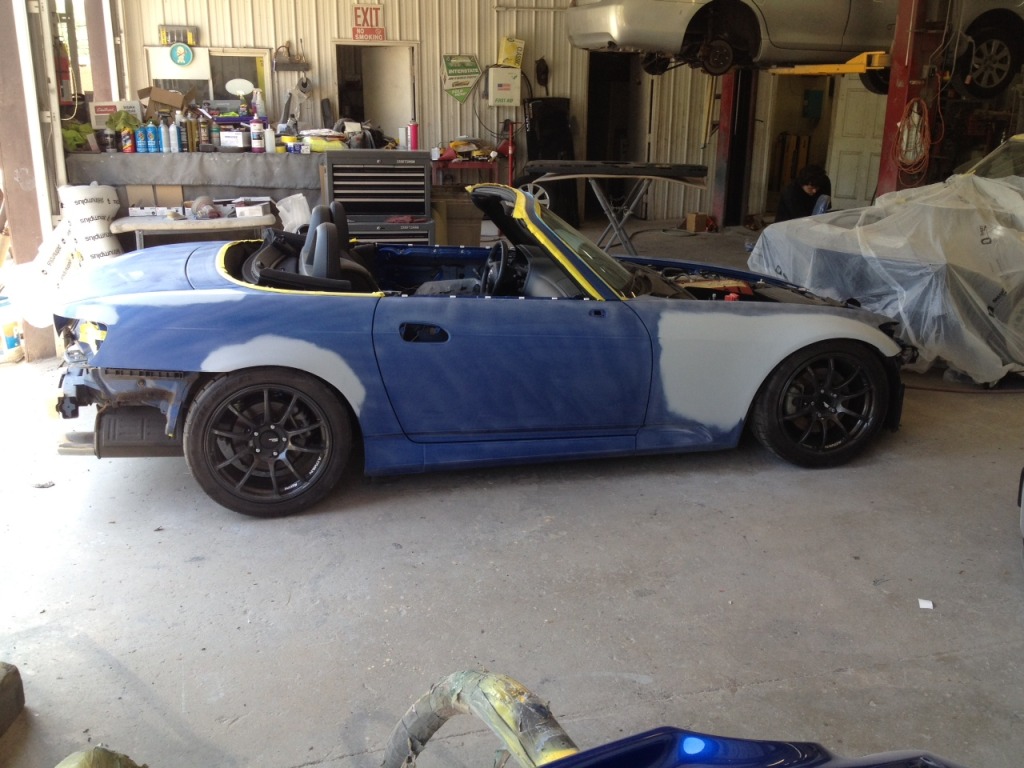
Here is a shot of the car my friend took while hanging out at the shop (I live over 2 hours away). This was taken after the trunk and antenna had been shaved and the bumpers and headlights were off the car.
From here he started working on the fenders...
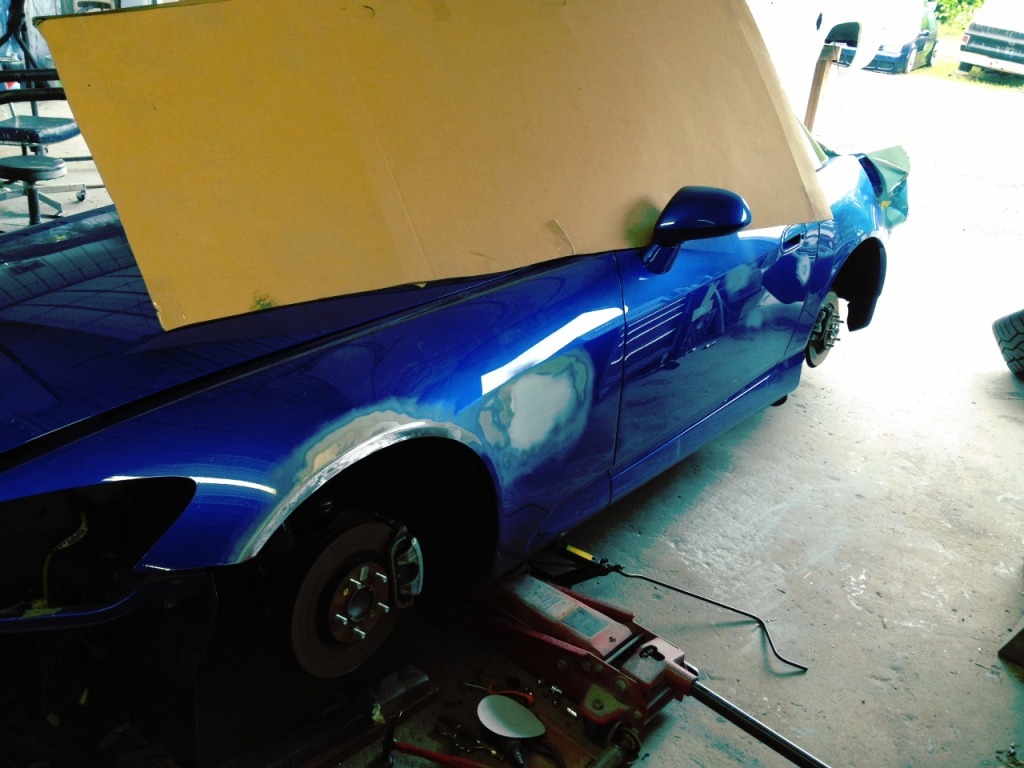
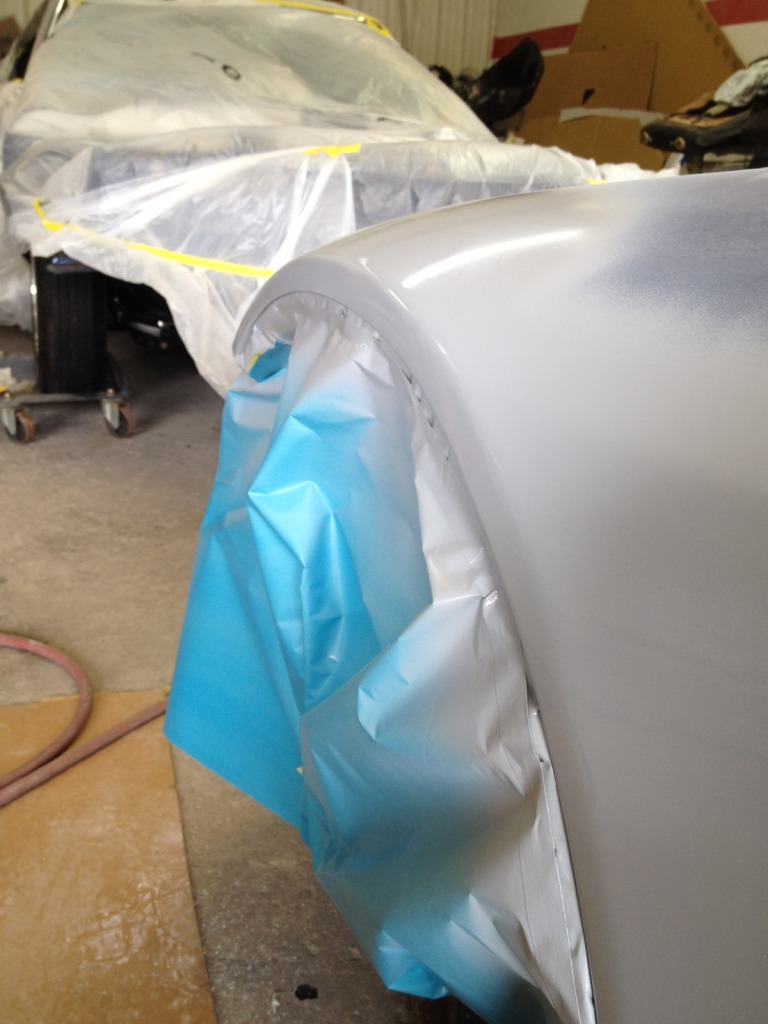
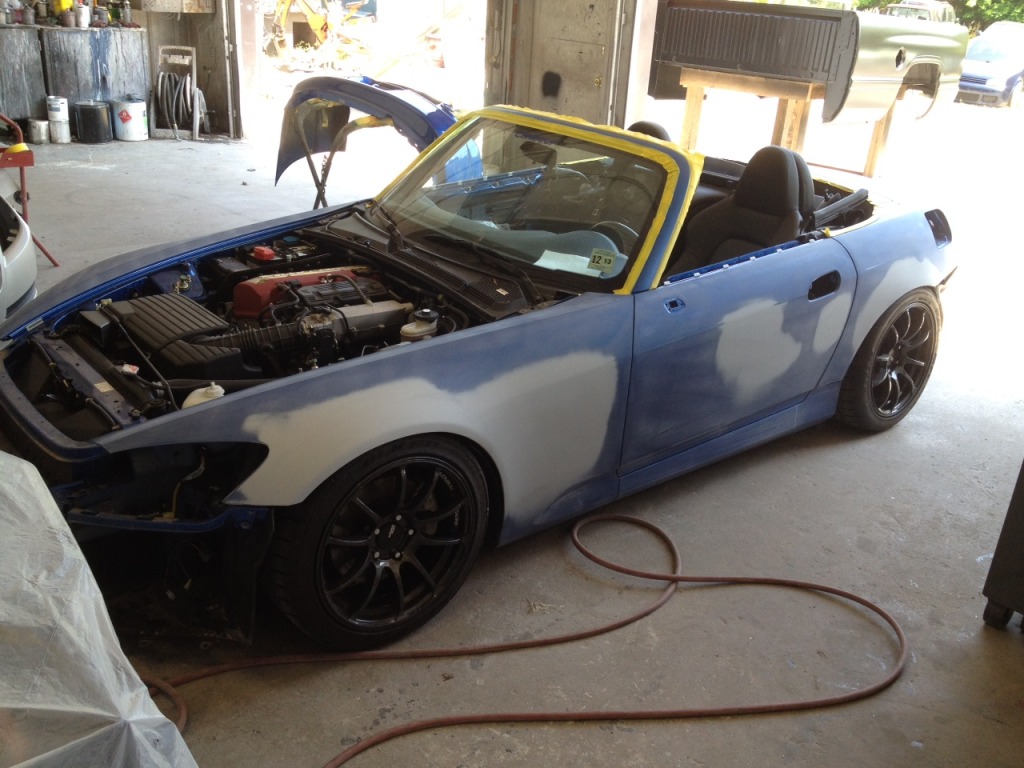
I cut the fender fender liner tabs off the front fenders, trimmed the fender liners, and rolled the fenders before bringing the car down but the fenders weren't perfect. I still wanted the inner fender lip hammer and dolly'd flat and I wanted the side markers shaved.

Here you can see the fenders being worked on before primer. I wanted to maintain the factory flat section of the front fenders and rear quarters but give them a slight flare to get a little more clearance out of them without pulling the bumpers. I still want the factory bumper to line up with the fender and qtr's.

After the first coat of primer.
I don't have any good before and afters but the inner fender lip still had a slight v-shape to is when I dropped the car off. Here you can see how thin they are now.

Similar treatment to the rears.
The fronts again...
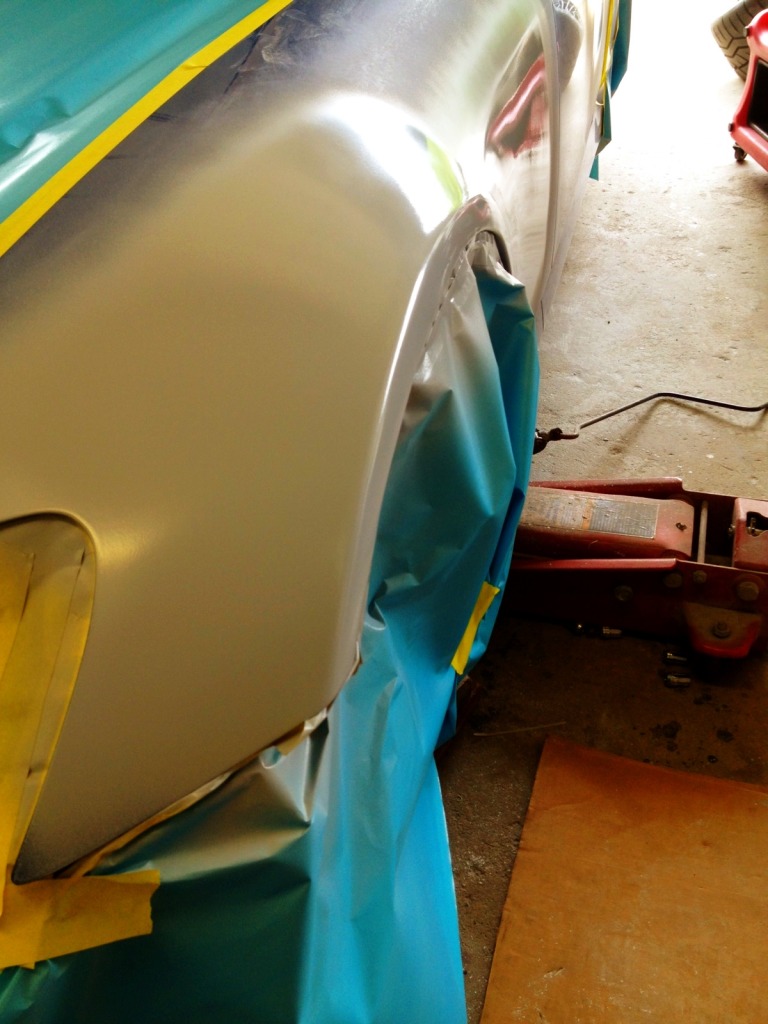
Here you can see the fenders still look almost stock from the outside with the 90 edge to them.
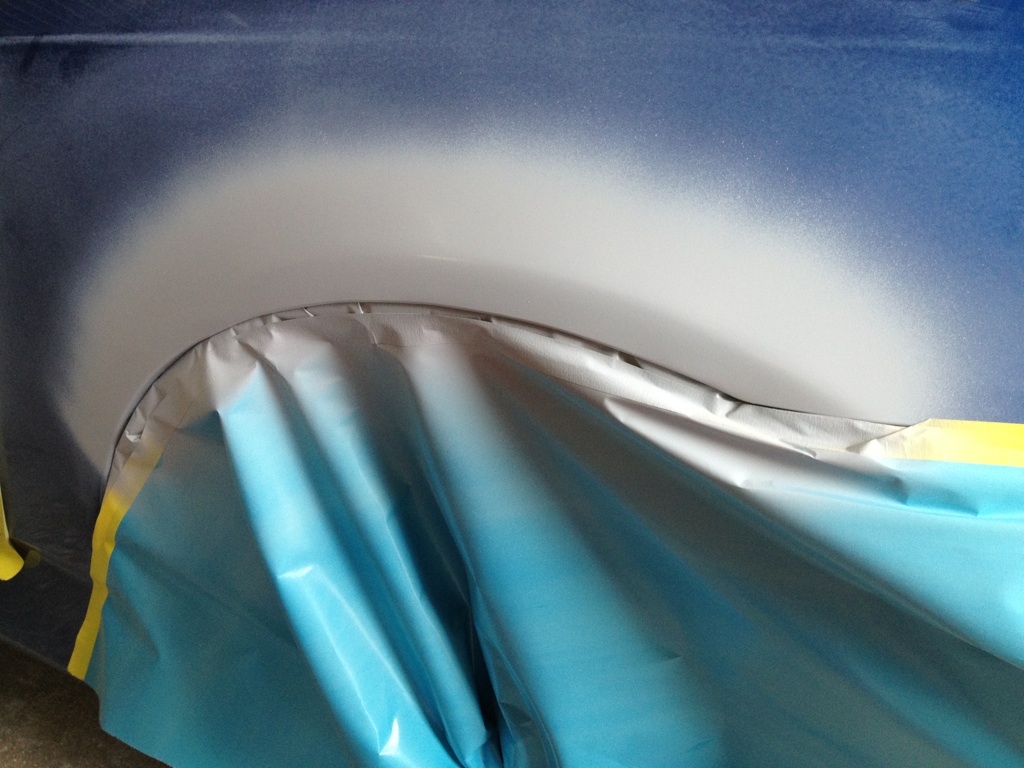
I wanted to get a little more flare/angle to them so he went back to work on the fenders...

So he sanded down the primer again and worked them out a little further. Since I'm not pulling the bumpers the key is making the flare very subtle so that the fenders and rear qtr's still line up with the bumpers properly and there isn't a "bulge" where the two meet.

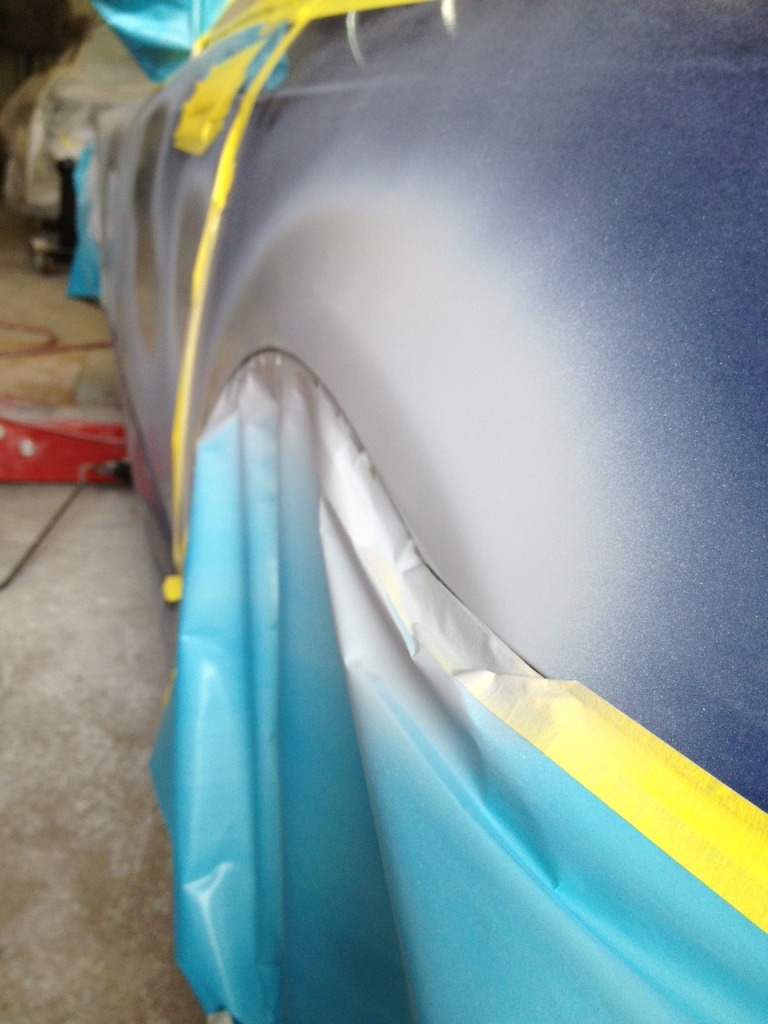
Here are the fenders after being worked out a little and with the first coat of primer on them again curing in the sun. (They still need one more coat of primer applied and blocked down at this point).
The same for the rears.
While the first coat of primer cured on the front fenders and rear qtr's he started painting pieces yesterday.
Here is a shot of the car my friend took while hanging out at the shop (I live over 2 hours away). This was taken after the trunk and antenna had been shaved and the bumpers and headlights were off the car.
From here he started working on the fenders...
I cut the fender fender liner tabs off the front fenders, trimmed the fender liners, and rolled the fenders before bringing the car down but the fenders weren't perfect. I still wanted the inner fender lip hammer and dolly'd flat and I wanted the side markers shaved.
Here you can see the fenders being worked on before primer. I wanted to maintain the factory flat section of the front fenders and rear quarters but give them a slight flare to get a little more clearance out of them without pulling the bumpers. I still want the factory bumper to line up with the fender and qtr's.
After the first coat of primer.
I don't have any good before and afters but the inner fender lip still had a slight v-shape to is when I dropped the car off. Here you can see how thin they are now.
Similar treatment to the rears.
The fronts again...
Here you can see the fenders still look almost stock from the outside with the 90 edge to them.
I wanted to get a little more flare/angle to them so he went back to work on the fenders...
So he sanded down the primer again and worked them out a little further. Since I'm not pulling the bumpers the key is making the flare very subtle so that the fenders and rear qtr's still line up with the bumpers properly and there isn't a "bulge" where the two meet.
Here are the fenders after being worked out a little and with the first coat of primer on them again curing in the sun. (They still need one more coat of primer applied and blocked down at this point).
The same for the rears.
While the first coat of primer cured on the front fenders and rear qtr's he started painting pieces yesterday.
 05-24-2012, 10:47 AM
#112

Front bumper primed

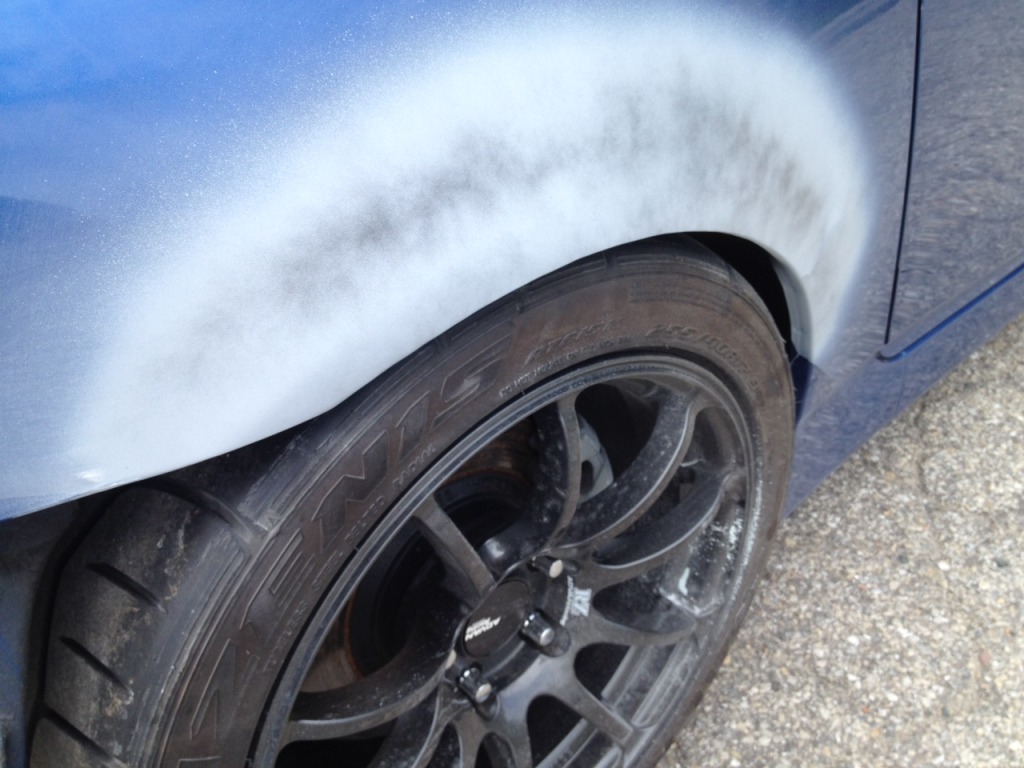
Not the best picture but this is the rear bumper and since I already relocated the rear bumper bolt and cut off the orginal location he cleaned up my cut and reinforced the new mounting location, as well as shaving down the 90 degree edge where the tires were rubbing on the bumper.
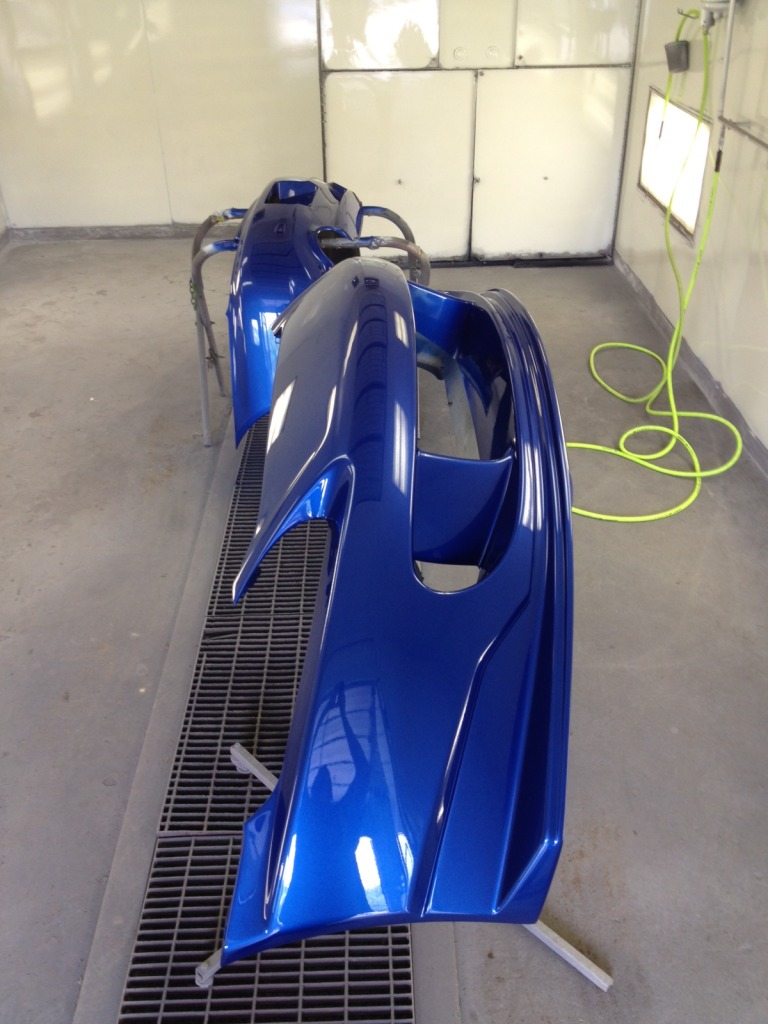
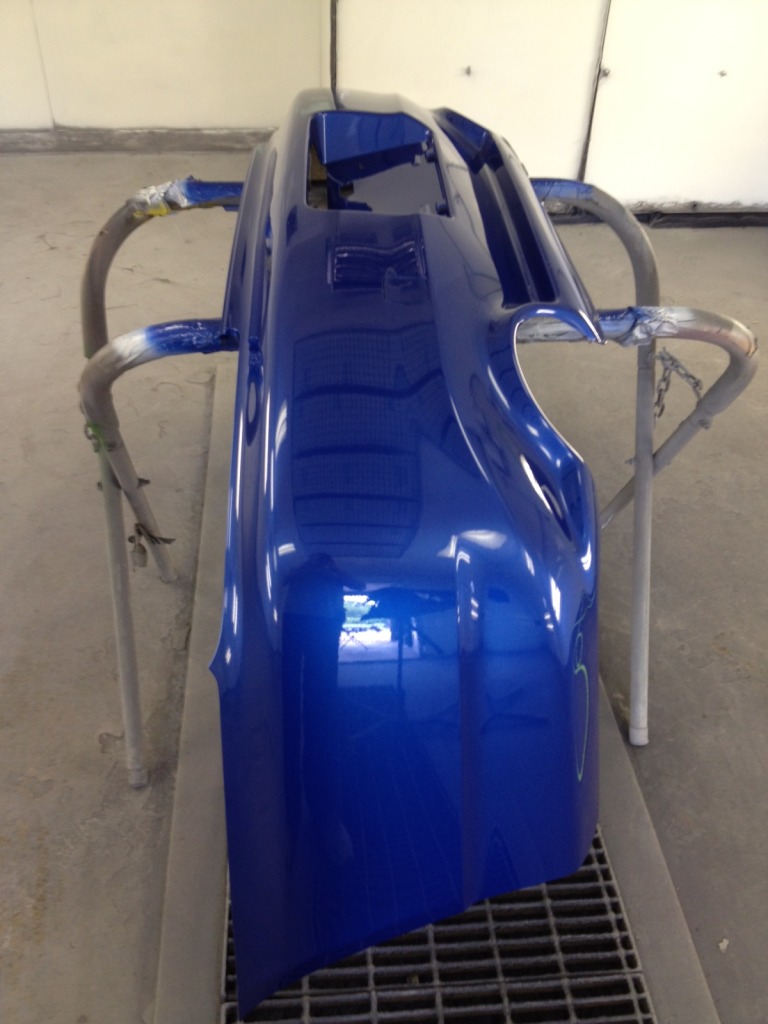
And here is the front bumper in the booth with the base coat!
And the rear bumper also
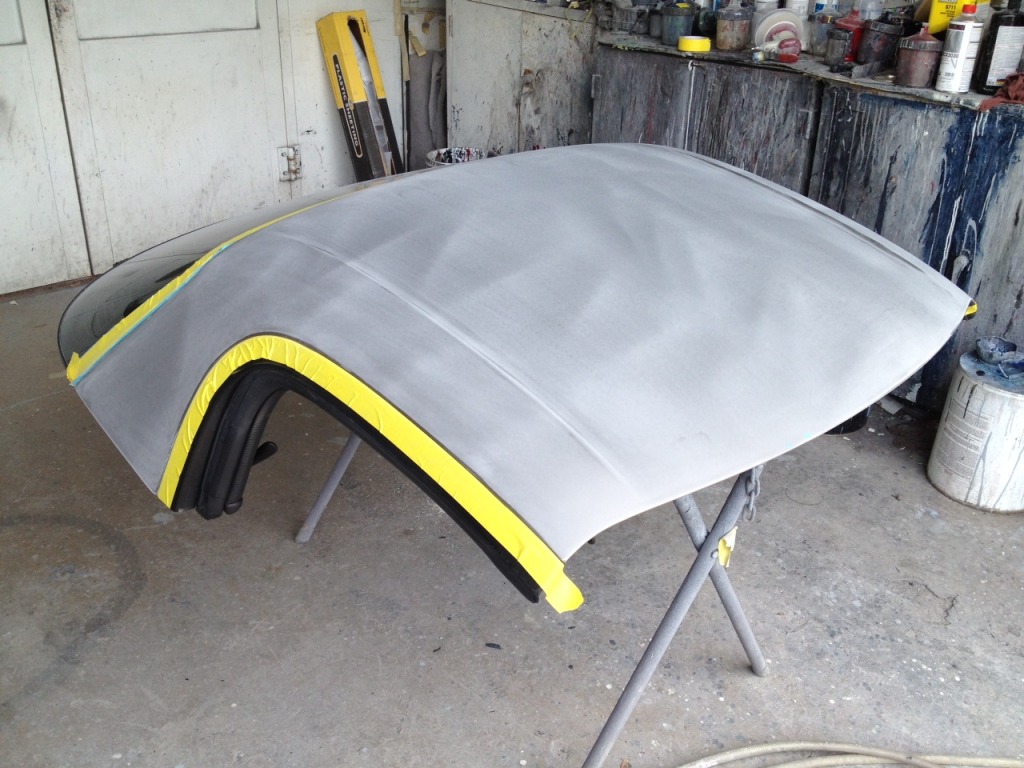
The hardtop was also primed and prepped with lift tape and ready for paint yesterday. No more two tone!
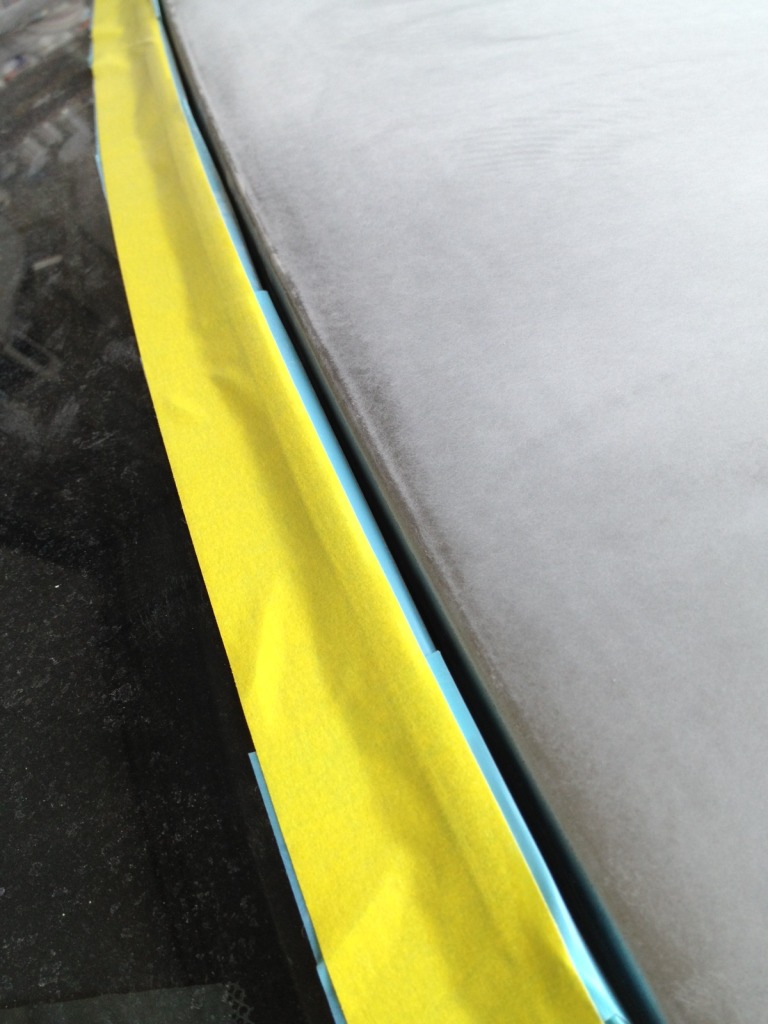
Here is a close up of the lift tape used to get inside the gaskets so he doesn't have to remove the rear window on the hardtop and there won't be any Silverstone visible anymore!
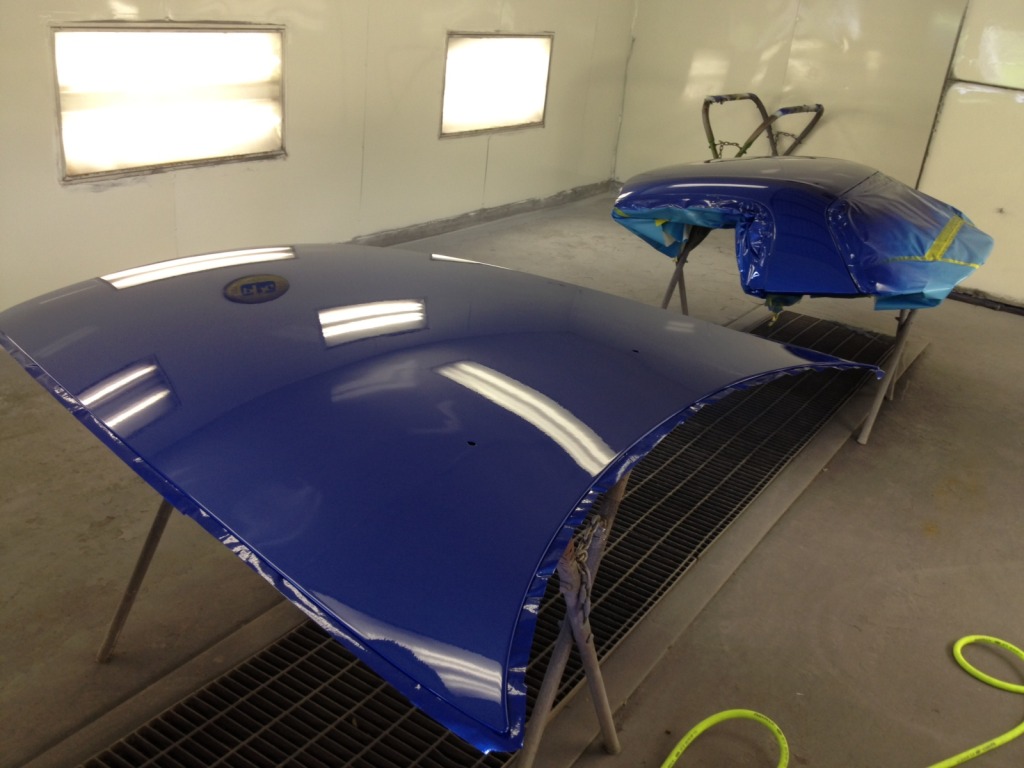
And here is the hood and hardtop in the booth being sprayed!
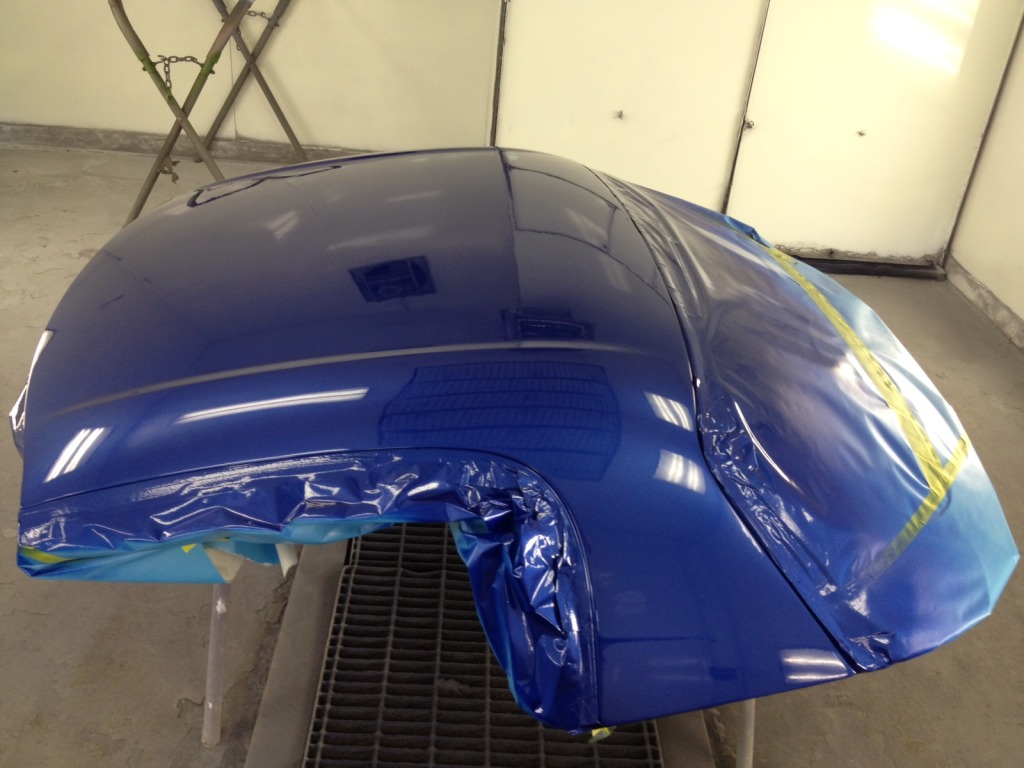
The hardtop closer up
And after letting the first coat of primer cure on the fenders, trunklid, antenna, and doors the second coat was ready to be applied and blocked down today!
The trunklid and the antenna hole shaved and and ready for paint!
Sidemarker shaved and fenders re-worked and ready to go.
Driver's side ready to go also... the reason for the primer on the door is because of a few door dings that were repaired.

And lastly a closer look at the shape of the fenders

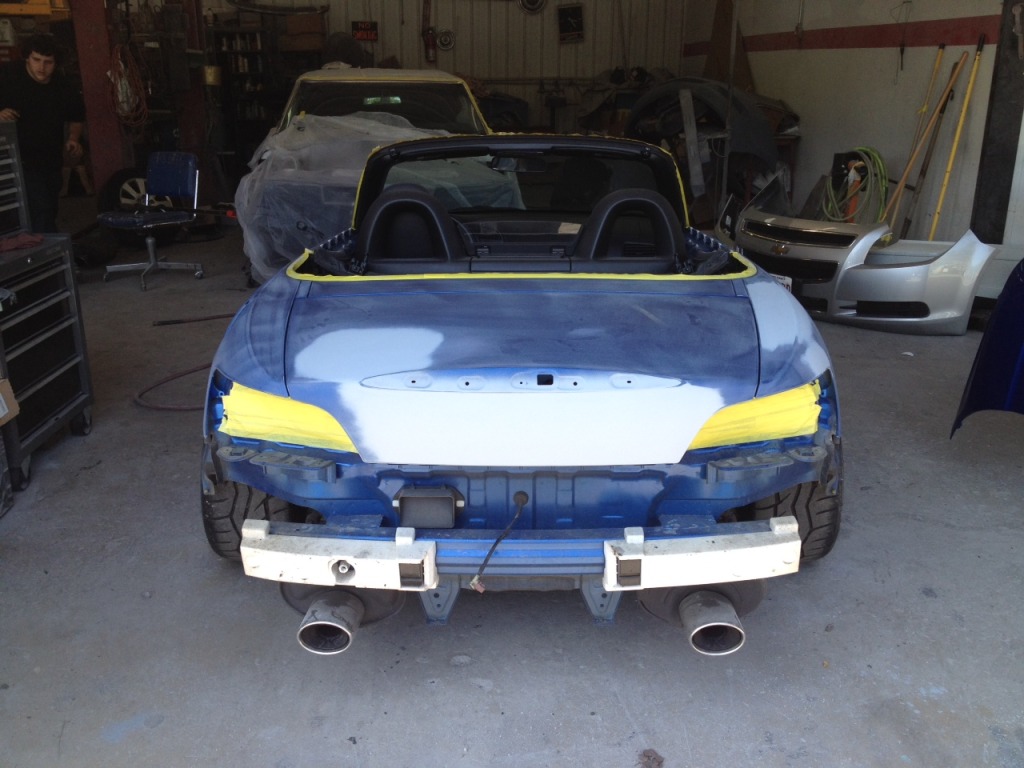
The body and Accord door handles are now ready for paint! Once everything is painted the reassembly will start and the front bumper will be wrapped with a custom cut clear bra before going back on! If all goes well I should be picking up the car next weekend


 05-24-2012, 02:47 PM
#115
Wow man, that seriously a serious body shop. I've never seen that lever of care and perfection out of any work I had done on my car. May e one day I'll hit you up for his number.
