
ASM GT Front Bars


Thread Starter
Registered User
Joined: Aug 2010
Posts: 367
Likes: 0
Yep, Its me again...  This time its installing the ASM GT front tower bar and GT front lower bars. Its a pretty straight forward process. But I didnt have instructions and had to go off of pics found on GoTuning.com and use a lil common sense.
I did this using a lift but it can be accomplished on the ground. I used a combination of air and hand tools.
Basic tools are needed:
10mm
14mm standard and deep 3/8 drive(I'll explain why later)
17mm
small flat head screw driver
pliers
3ft extension 3/8 drive
Allen key set
I started with this bar first.

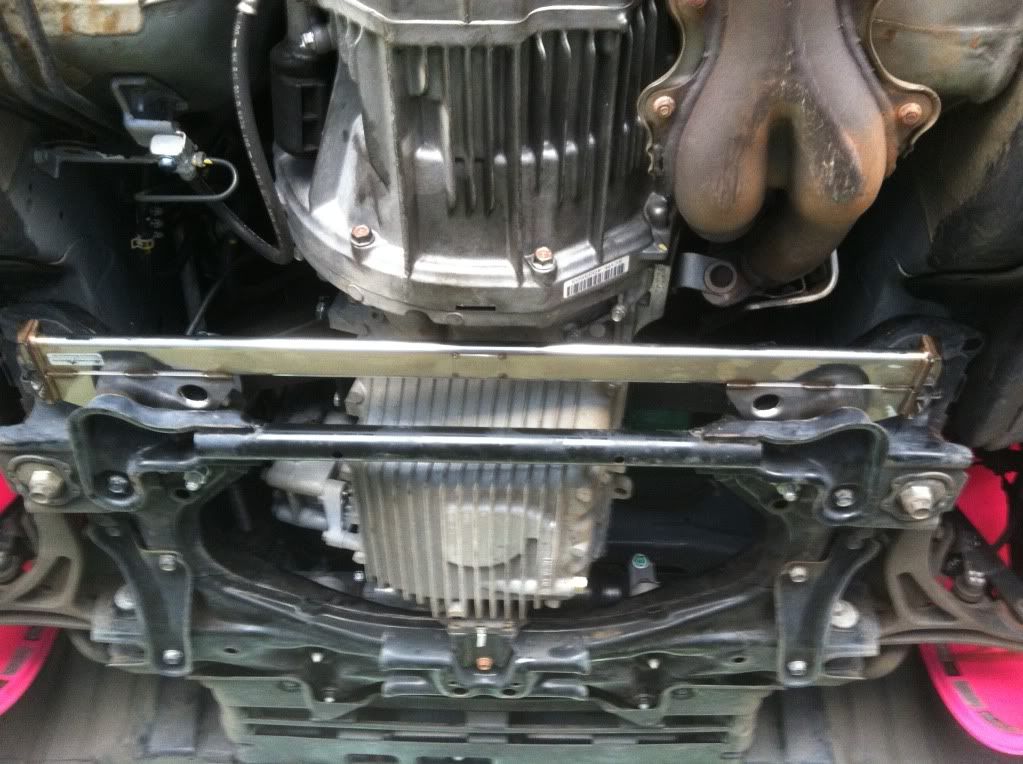
You need to remove the oem front lower bar (4x bolts and 2x nuts,14mm) and both 17mm sub-frame bolts. Before I removed the sub-frame bolts I used a stand and placed it where the trans and engine meet as a brace/safety. Just a heads up, if you havent taken the sub-frame bolts out before... Theyre long...lol. Then I put the ASM brace in place and used the 2x14mm nuts to hold it there and put the 2x17mm sub-frame bolts back in place. Then I removed the 2x14mm nuts and put the oem brace back in place and buttoned it all up. The reason that I did like that is because there isnt much wiggle room with these bars. They fit very tight.
Next were the 2 short bars. These bars are also done from under the car. First thing is to remove the oem plastics that cover this area using the small flat head screw driver. If your careful you wont need to buy new ones... I used to be one of those guys that would just say F_ck it, I don't need that shizz but I like to put everything back where it belongs if possible.
Bottom view left and right:
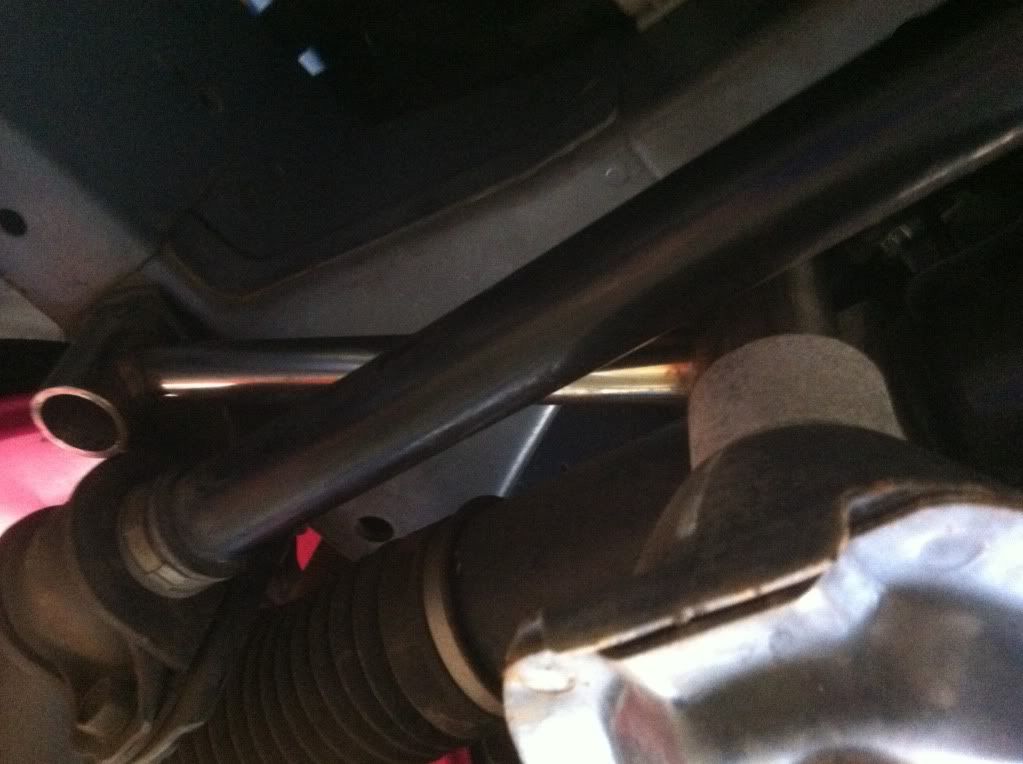
These bars connect the front of the steering rack to the outside frame rail where the sway bar bushing are located as you can see from the pics above. Remove the 14mm bolts on each side and your in business...
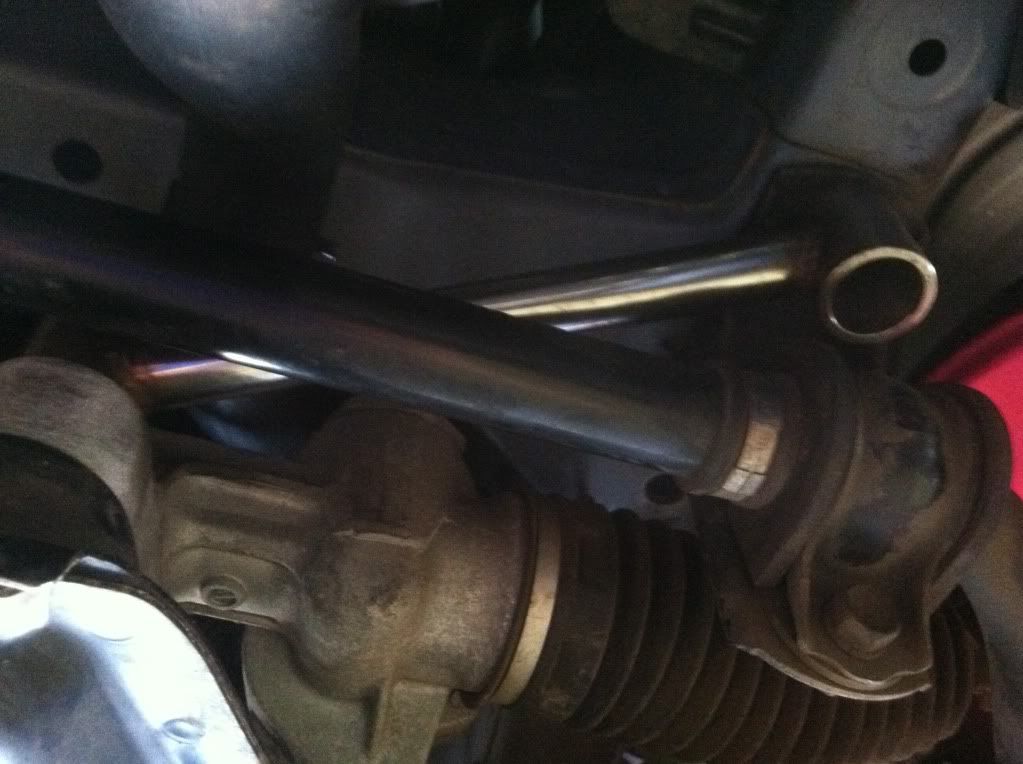
Top view left and right:
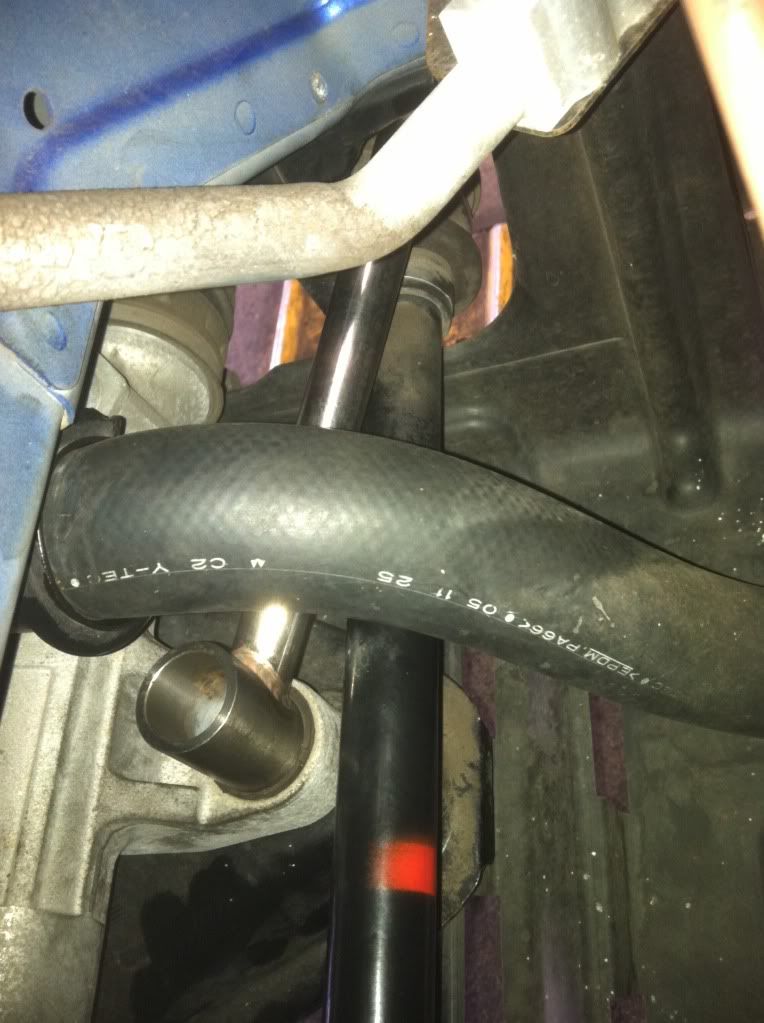
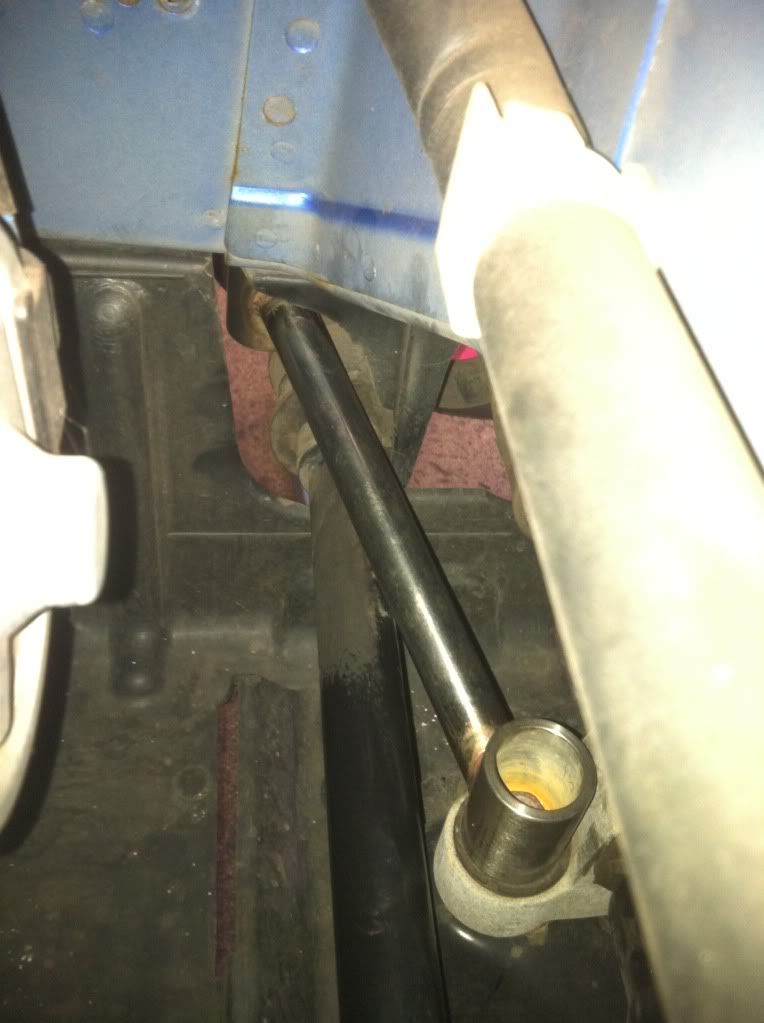
This is where the 14mm deep socket 3/8 drive is going to come into play. I should have taken more pics but as you can see the lower radiator hose is kinda in the way, it sits right over the 14mm bolt on the steering rack. And because the ends of the ASM bars are cupped you need a socket that will fit into it but clear the front support bar that sits right above the rack. There's a little bracket that holds the lower radiator hose in place, you could either remove it or bend it outta the way to make things easier. From here put the bars where they need to go and button it up...
Next was the front tower bar. This was done from the top of the car even though it runs to the rear of the steering rack. And this is where the 3ft extension comes into play.
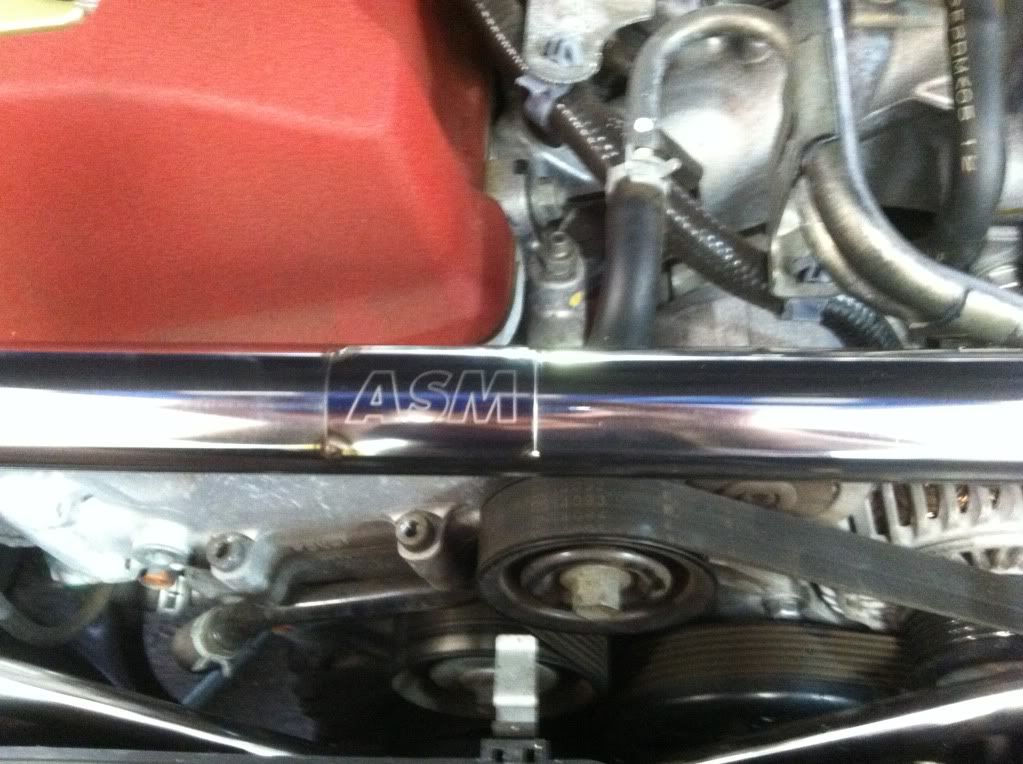
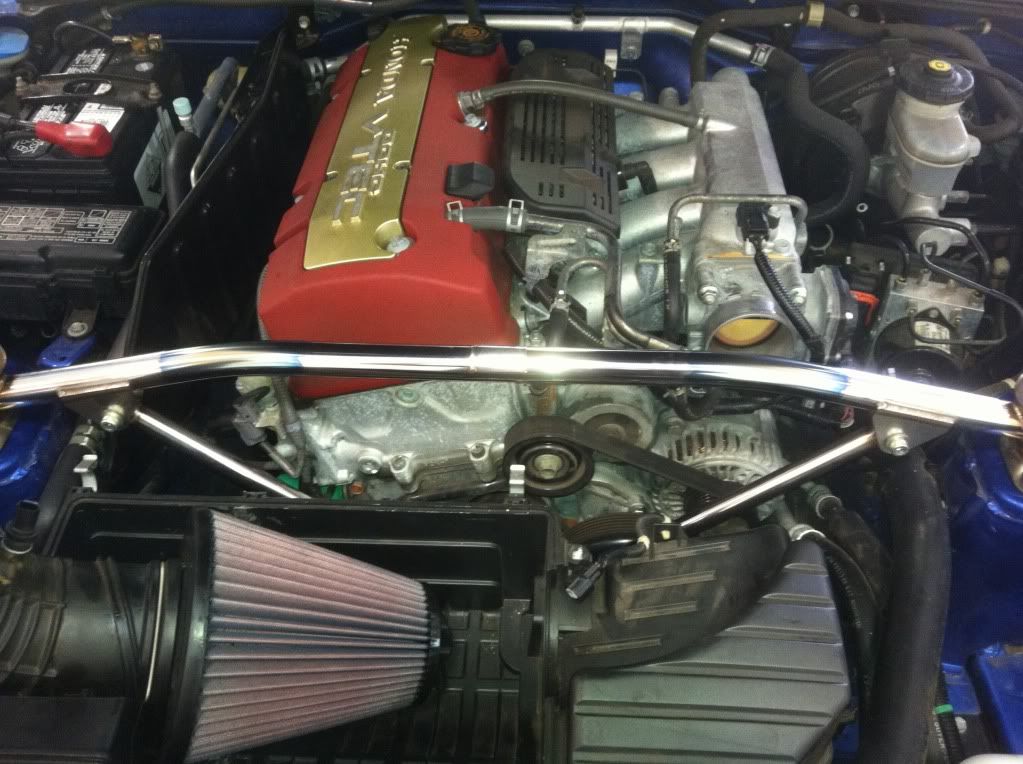
You will need to disconnect your intake from the TB to give you room. This bar fits VERY tight. I fit the X bar to the rear steering rack bolts first and left the 2x14mm bolts fairly loose. Then removed the 2x14mm nuts that hold the front strut on both sides in place. I had to fit one side onto the studs of he strut and push the other strut down so that the bar sat on the strut tower, then pulled the strut back through and into place, leaving the nuts loose. Then, using a lil finesse, I connected the X bar to the strut bar and tightened the 2x14mm bolts that hold the bottom of the X brace to the rear of the steering rack. Whenever I loosen or remove any suspension nuts/bolts I always load the suspension prior to tightening. This ensures that everything is sitting in its proper place as if the car was on the ground. Now button everything up. Double/Triple check your work, making sure everything you loosened or removed is in its right place and tight!
Happy Driving...!
This time its installing the ASM GT front tower bar and GT front lower bars. Its a pretty straight forward process. But I didnt have instructions and had to go off of pics found on GoTuning.com and use a lil common sense. I did this using a lift but it can be accomplished on the ground. I used a combination of air and hand tools.
Basic tools are needed:
10mm
14mm standard and deep 3/8 drive(I'll explain why later)
17mm
small flat head screw driver
pliers
3ft extension 3/8 drive
Allen key set
I started with this bar first.
You need to remove the oem front lower bar (4x bolts and 2x nuts,14mm) and both 17mm sub-frame bolts. Before I removed the sub-frame bolts I used a stand and placed it where the trans and engine meet as a brace/safety. Just a heads up, if you havent taken the sub-frame bolts out before... Theyre long...lol. Then I put the ASM brace in place and used the 2x14mm nuts to hold it there and put the 2x17mm sub-frame bolts back in place. Then I removed the 2x14mm nuts and put the oem brace back in place and buttoned it all up. The reason that I did like that is because there isnt much wiggle room with these bars. They fit very tight.
Next were the 2 short bars. These bars are also done from under the car. First thing is to remove the oem plastics that cover this area using the small flat head screw driver. If your careful you wont need to buy new ones...
I used to be one of those guys that would just say F_ck it, I don't need that shizz but I like to put everything back where it belongs if possible. Bottom view left and right:
These bars connect the front of the steering rack to the outside frame rail where the sway bar bushing are located as you can see from the pics above. Remove the 14mm bolts on each side and your in business...
Top view left and right:
This is where the 14mm deep socket 3/8 drive is going to come into play. I should have taken more pics
but as you can see the lower radiator hose is kinda in the way, it sits right over the 14mm bolt on the steering rack. And because the ends of the ASM bars are cupped you need a socket that will fit into it but clear the front support bar that sits right above the rack. There's a little bracket that holds the lower radiator hose in place, you could either remove it or bend it outta the way to make things easier. From here put the bars where they need to go and button it up...Next was the front tower bar. This was done from the top of the car even though it runs to the rear of the steering rack. And this is where the 3ft extension comes into play.
You will need to disconnect your intake from the TB to give you room. This bar fits VERY tight. I fit the X bar to the rear steering rack bolts first and left the 2x14mm bolts fairly loose. Then removed the 2x14mm nuts that hold the front strut on both sides in place. I had to fit one side onto the studs of he strut and push the other strut down so that the bar sat on the strut tower, then pulled the strut back through and into place, leaving the nuts loose. Then, using a lil finesse, I connected the X bar to the strut bar and tightened the 2x14mm bolts that hold the bottom of the X brace to the rear of the steering rack. Whenever I loosen or remove any suspension nuts/bolts I always load the suspension prior to tightening. This ensures that everything is sitting in its proper place as if the car was on the ground. Now button everything up. Double/Triple check your work, making sure everything you loosened or removed is in its right place and tight!
Happy Driving...!


Thread
Thread Starter
Forum
Replies
Last Post
xplizitremix
Archived Member S2000 Classifieds and For Sale
0
Aug 13, 2011 11:37 AM