When you click on links to various merchants on this site and make a purchase, this can result in this site earning a commission. Affiliate programs and affiliations include, but are not limited to, the eBay Partner Network.
Mugen Installation Report -Part 1- (long with many pics!)
Hi,
i want to write a little installation report. Before i start, please apologize my bad grammar, but i live in Germany and my english knowledge is only average. Ok, let's start.
I installed a Mugen Header, Mugen Fan Switch, Mugen Thermostat, Mugen Radiator Cap and the Mugen Oil Cap. It tooks me about 8 hours, splitted in 2 days. I am sure you can make it faster but i did it a little slower to prefend any mistakes.
First of all I drove my car on 2 ramps, because you need to do the mostly work under the car. Here is a pic which shows my car on the ramps:
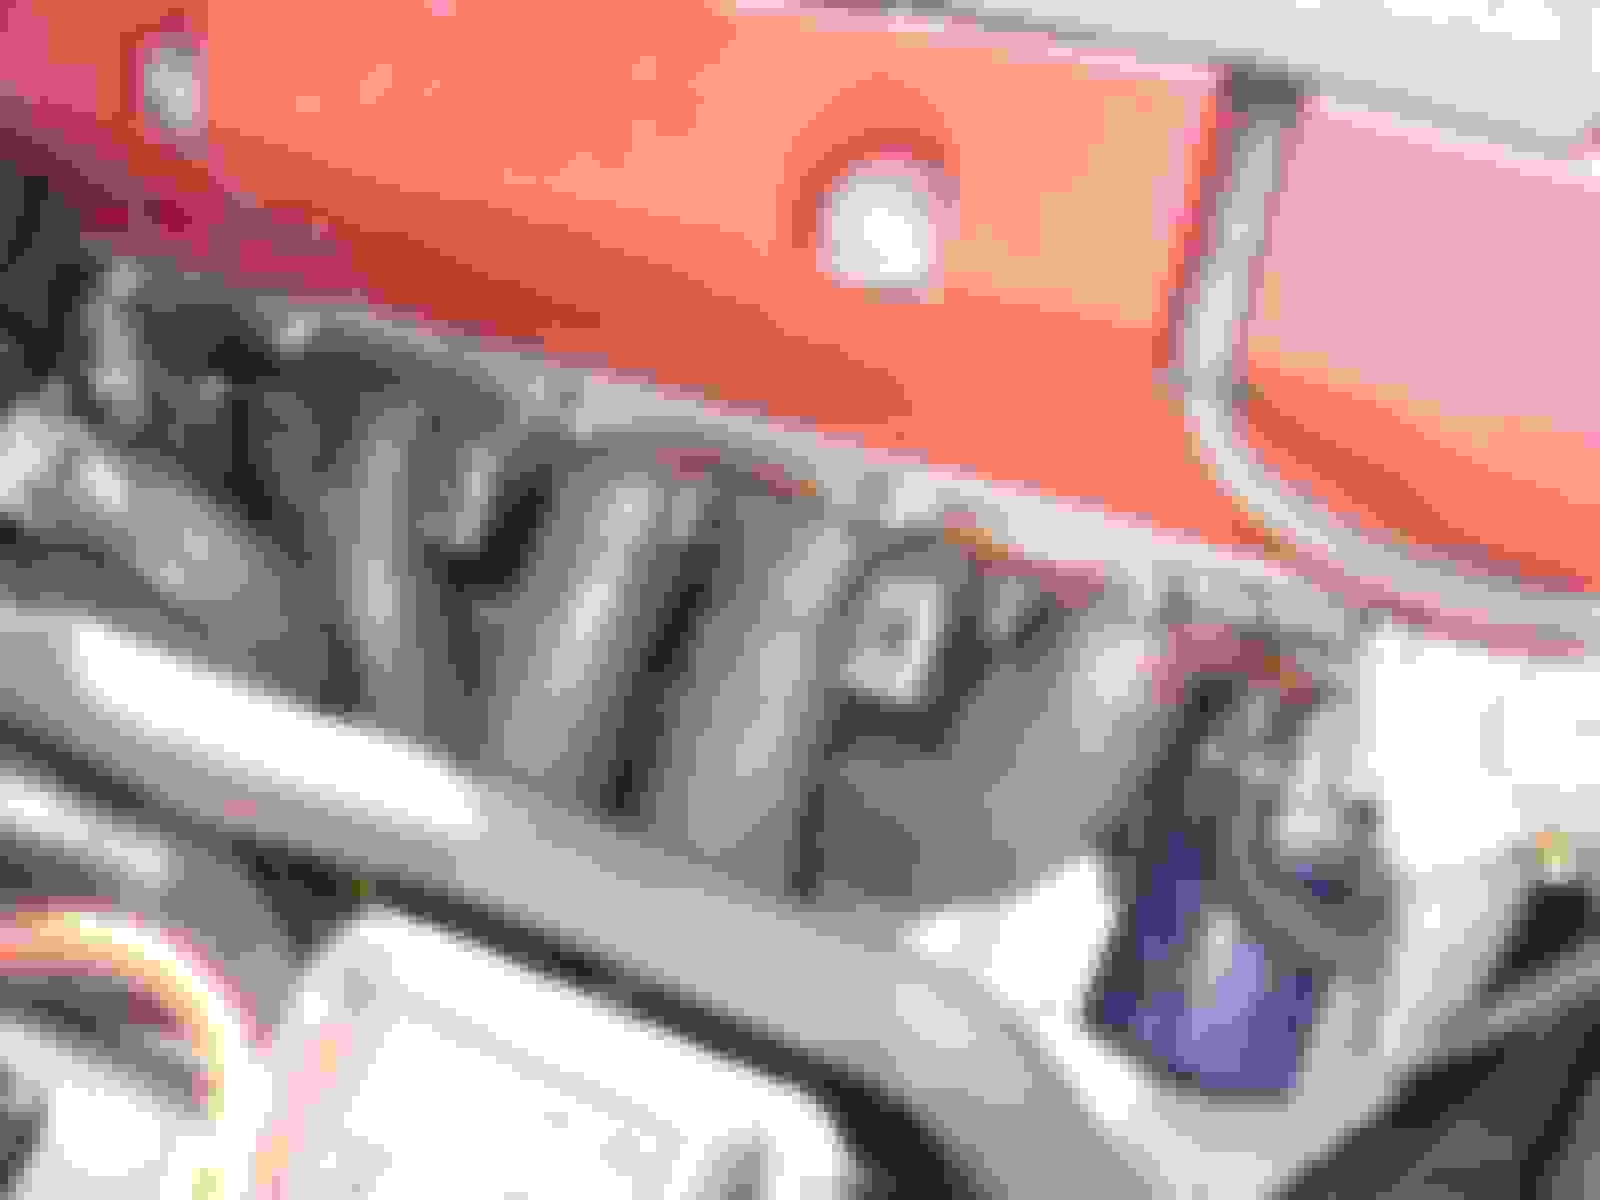
I started now to remove the 2 heatshields (right of the batterie and on the oem header). After that i unscrewed the header from the kat and the engine. (Don't forget to remove the Sensor). The OEM header comes out easily.
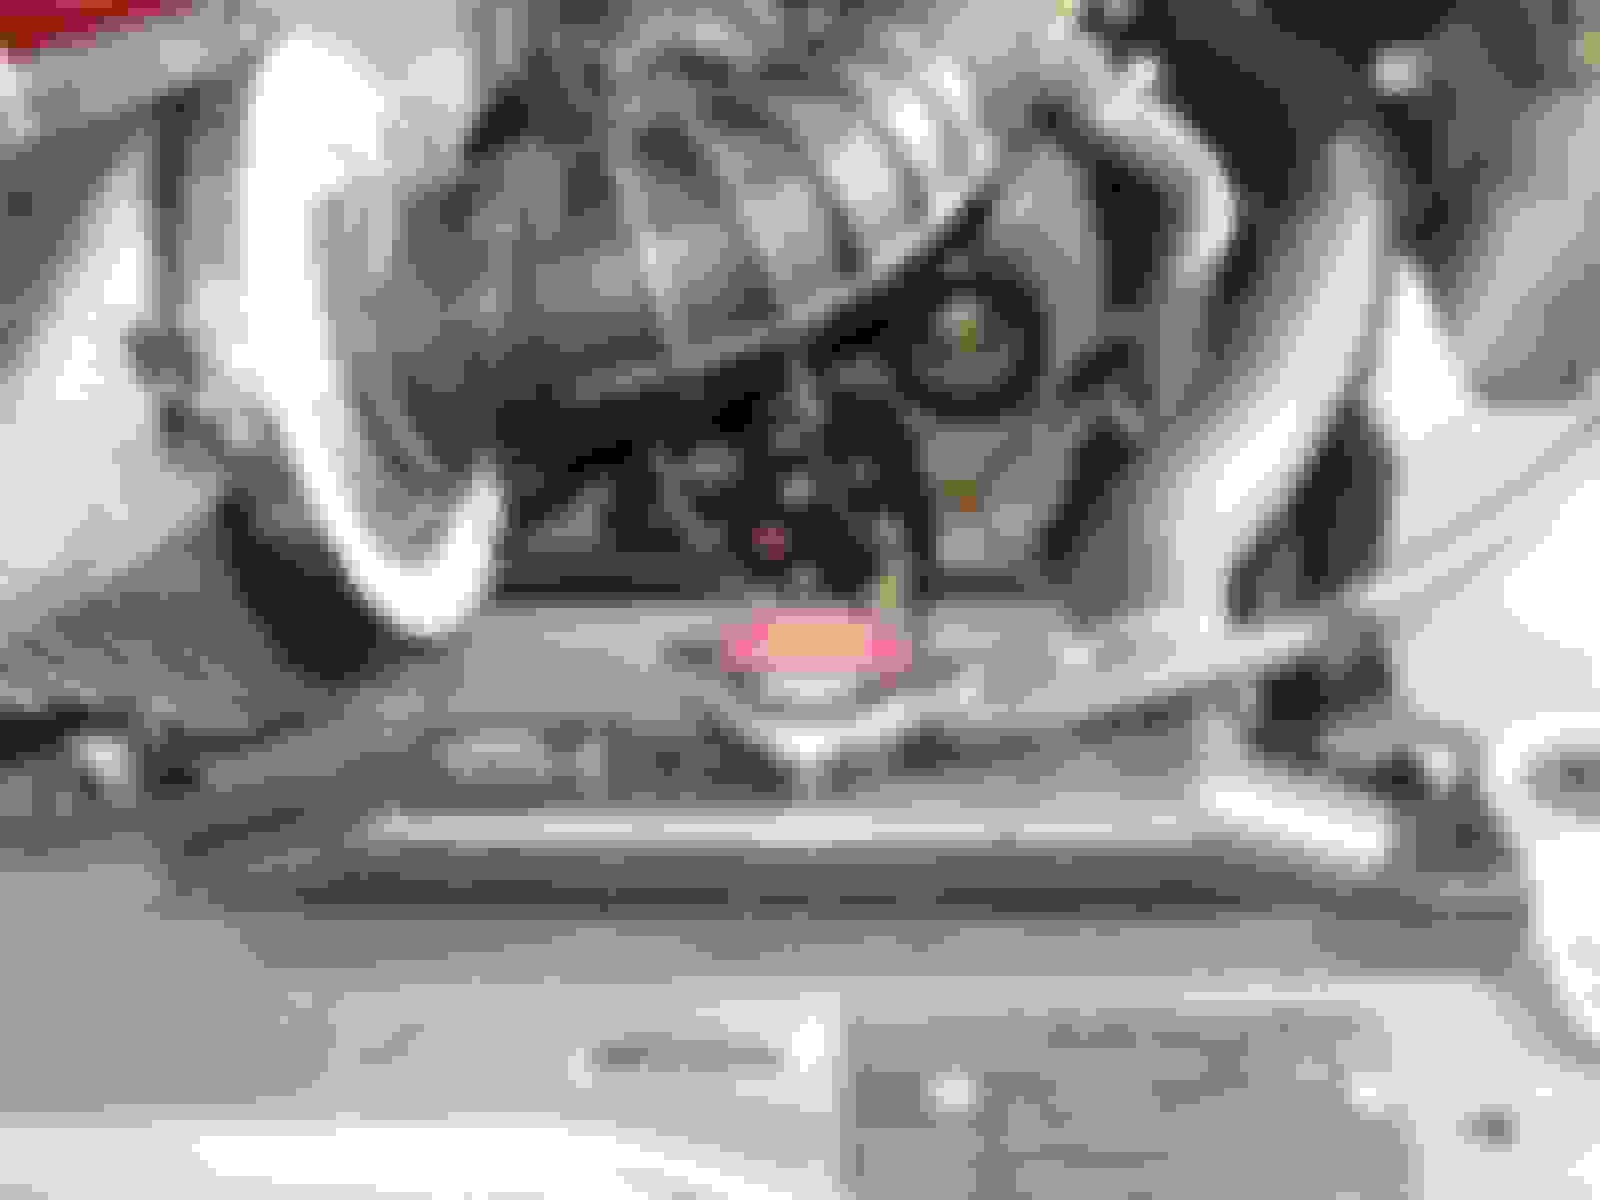
Here is also a pice which shows the OEM header next to the Mugen Header:
After that i started to install the Mugen Header, first i tried it to get it in form under the car. But I can't get it in because of the different header design. I read a post from Prolene, that he uses the oem car jack on the engine to get more space. This method worked like a charm, and i finally got the header in.
First i replaced the headergasket, and secured the the Mugen header on the engine.
Than i first fixed the heater on the kat, the engine mount and installed the sensor. After that, i used a torque wrench and installed the header on the engine.
After the the cooler water was flushed out, i started to replace the Fanswitch. A very easy task, which took me about 20 Minutes.
Than comes the thermostat.... My god, was this thing hidden! But afterall i managed it to remove the oem thermostat with a small wrench. You have to loose 2 screws and than the thermostat:
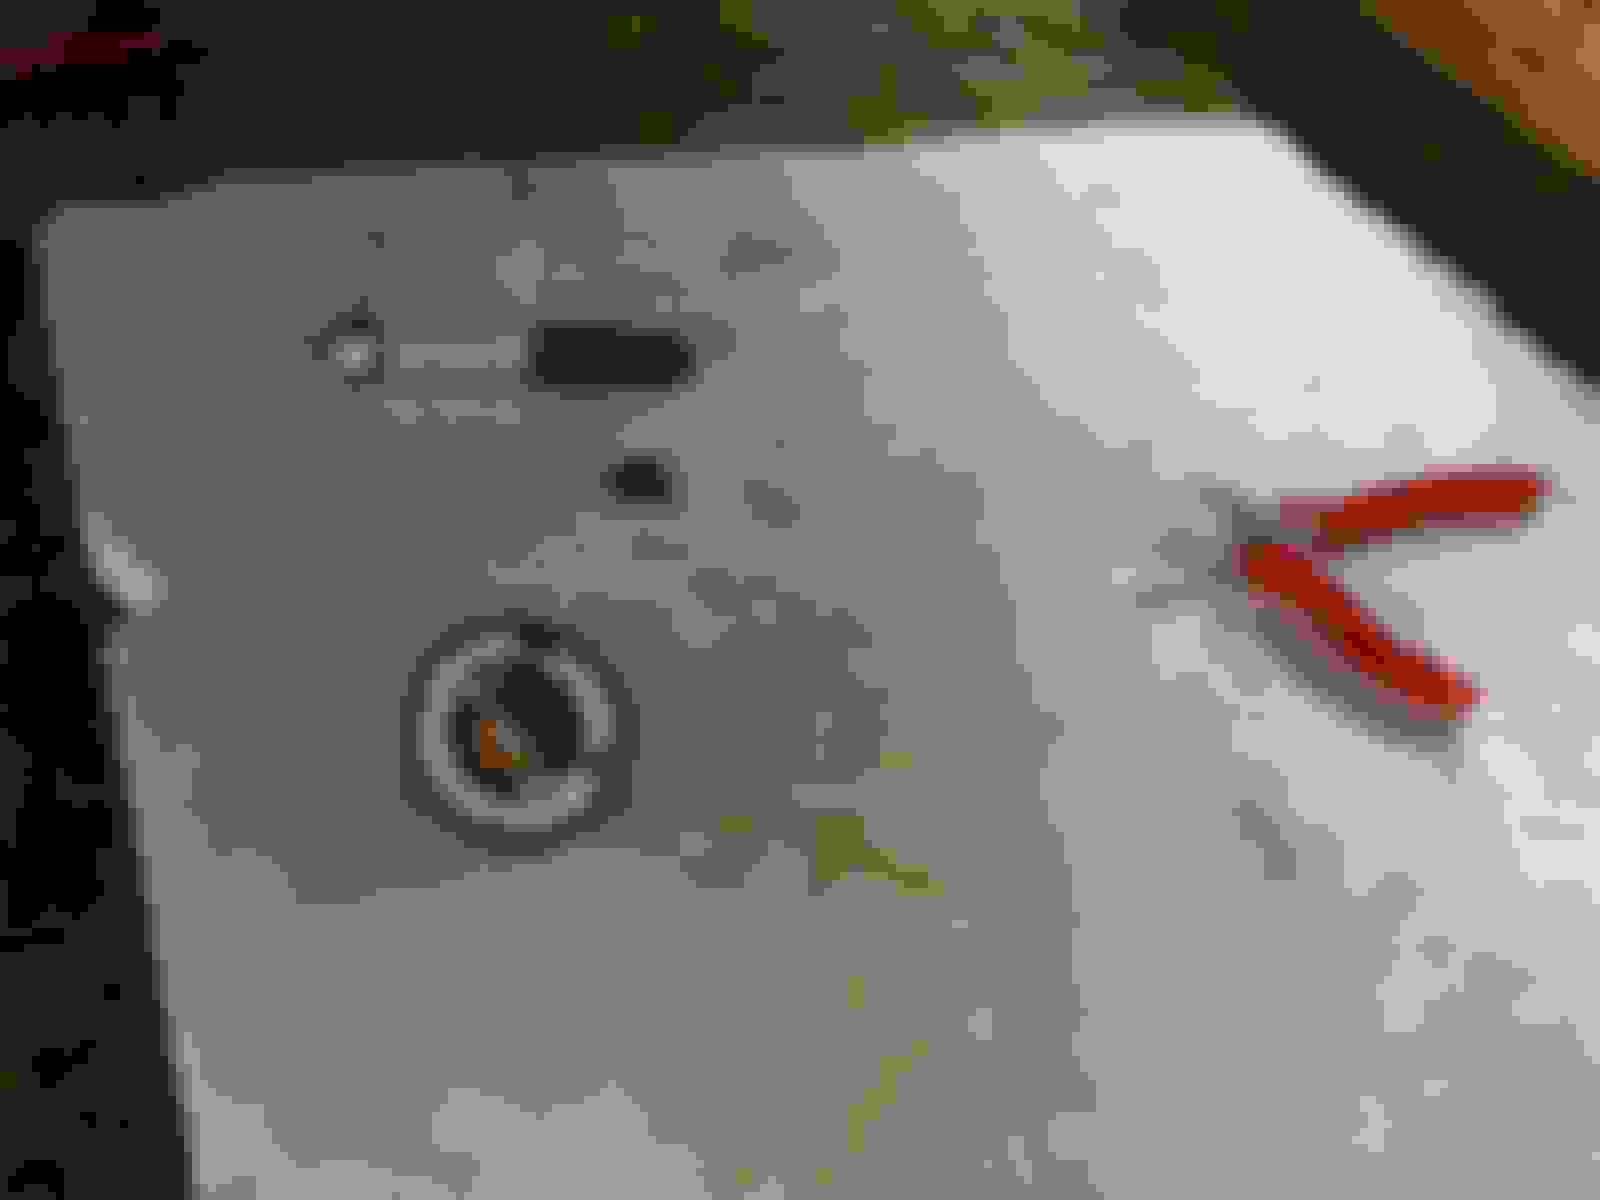
As i finally get out the thermostat, a nice shower of cooler water welcomes me.... Man, this stuff don't taste very well Here pic of the shower
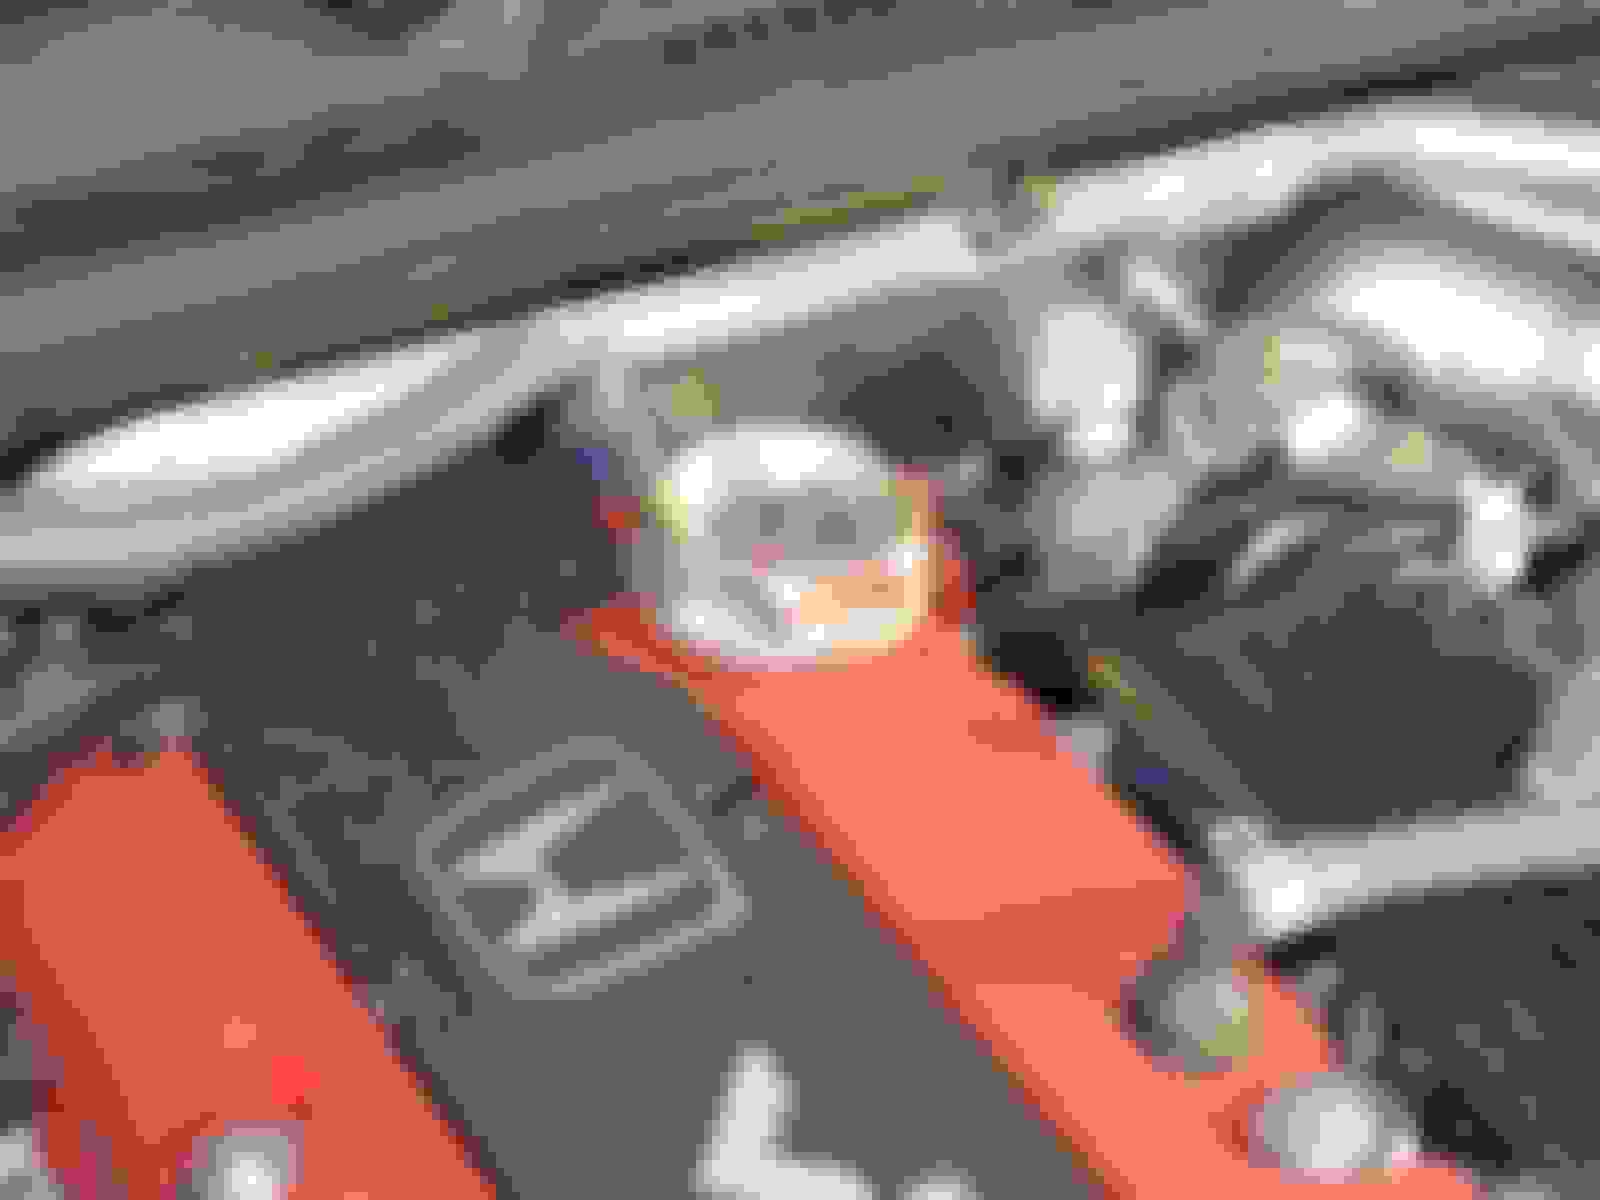
Now i installed the Mugen Thermostat, secured all screws, and flushed the radiator 5 times, as described on XViper's report. After the flush i replace the coolant, and installed the the Mugen Radiator Cap.
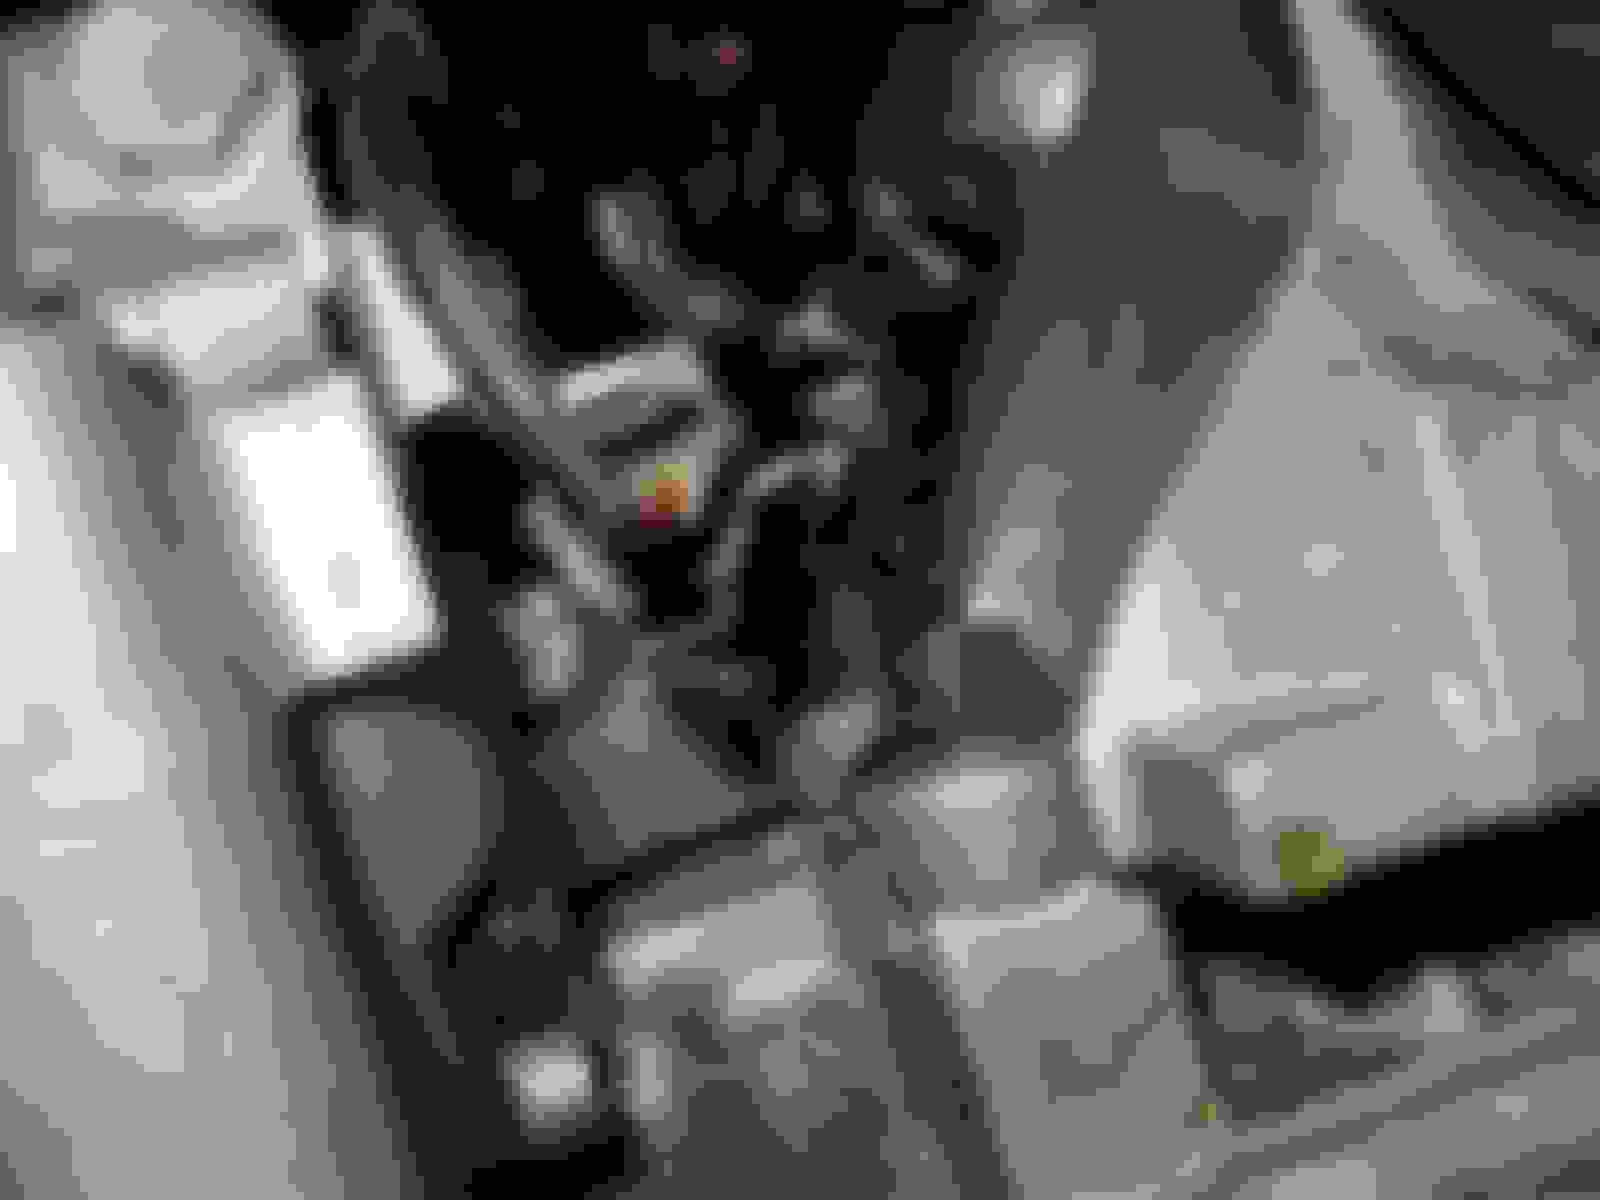
Now reinstalled the heatshields and the hardest part --> Mugen Oil Cap
After all i was happy and proud to do the stuff bymyself. On 1st March i will start my first testdrive and will install the Mugen ECU.
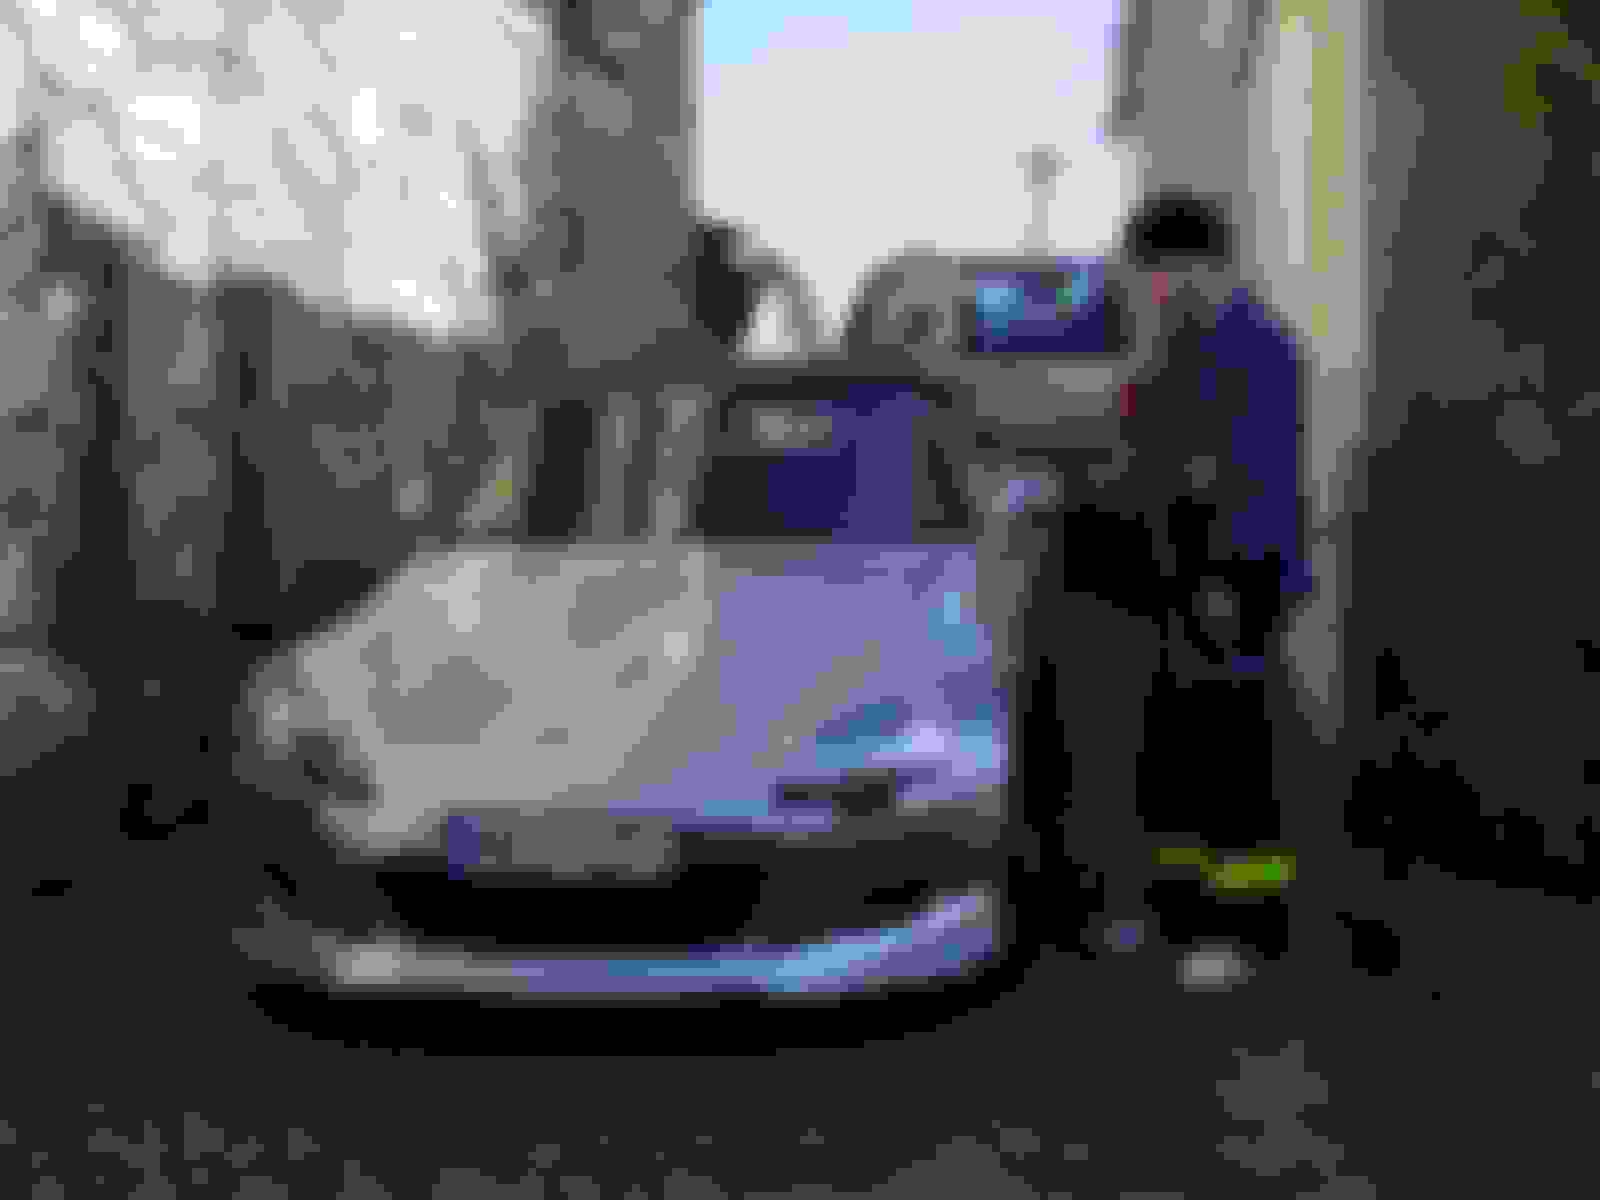
Here finally the last pic, which shows me standing proud next to my S2K
Also, i want to thanks King Motorsports for their great customer service and suppert!!!
My first testdrive with the new mods will be on the 1st March. This is because my car has a "season license number", this means that i can drive my car from 1st March till 30th October. On the other hand i dont have to pay tax and insurance during the other time (wintersleep). But i will write up a report of course than.
turbo_pwr: Did you put the headtshield back on? You should.
Of course, i put back the heatshields (black one next to the batterie and the one of the mugen header).


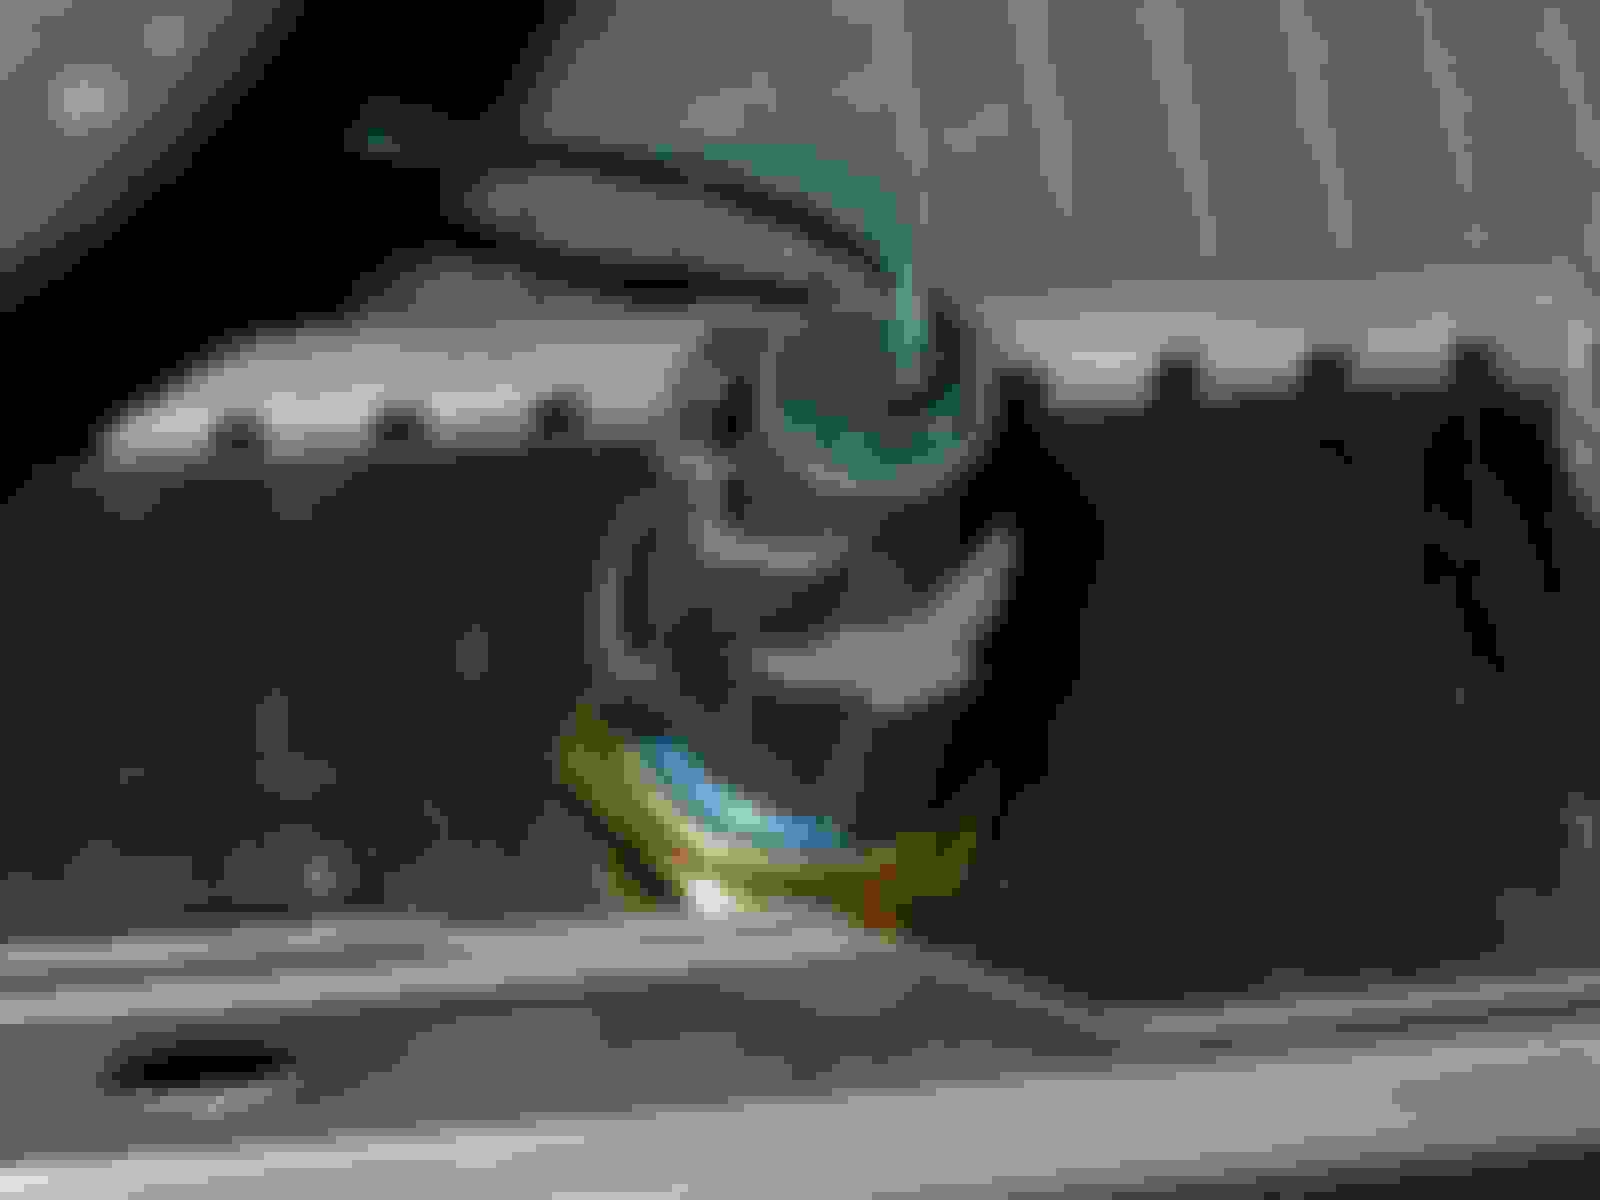

 Here pic of the shower