
DIY: HKS Hi-Power install

Thread Starter


Joined: Mar 2005
Posts: 3,297
Likes: 11
From: V I C E C I T Y
HKS Hi-Power exhaust system D.I.Y Install
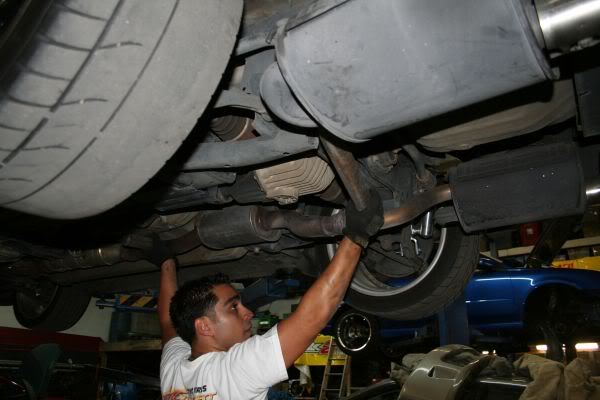
The Car
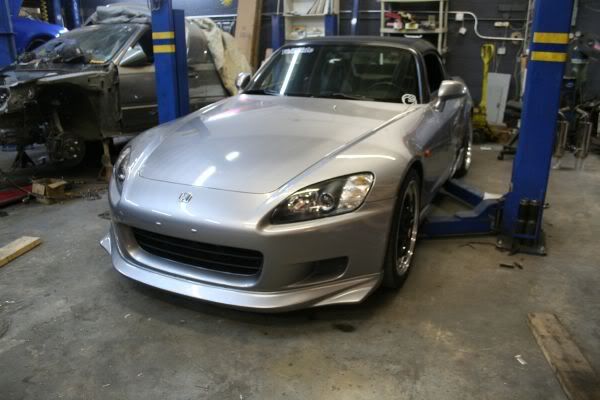
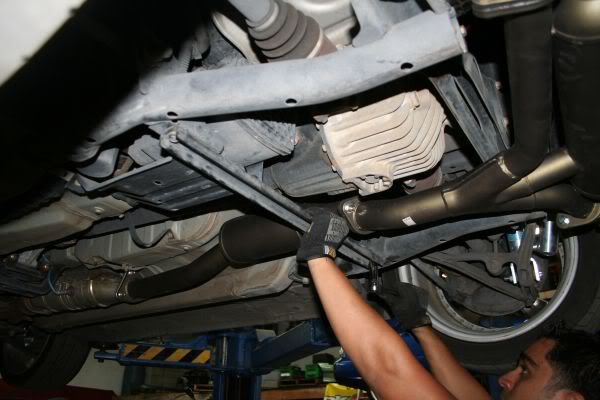
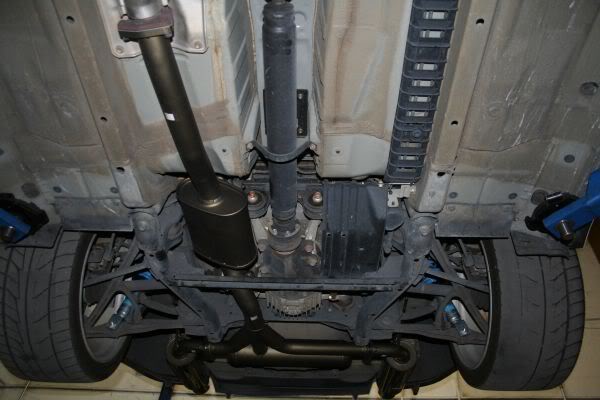
Stock exhaust
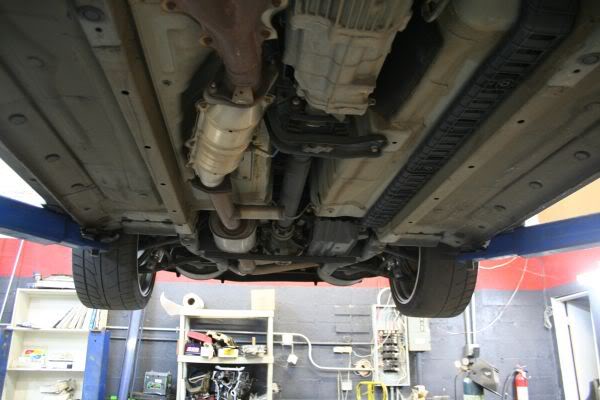
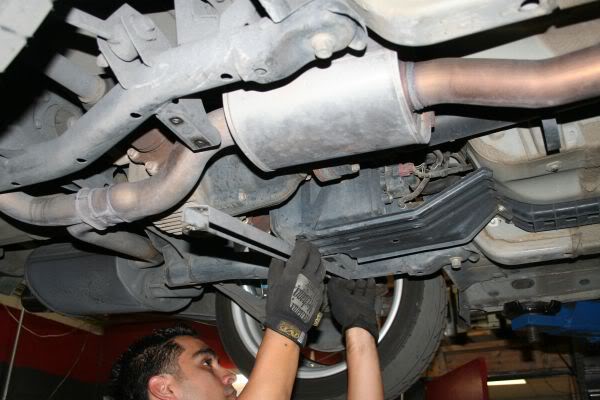
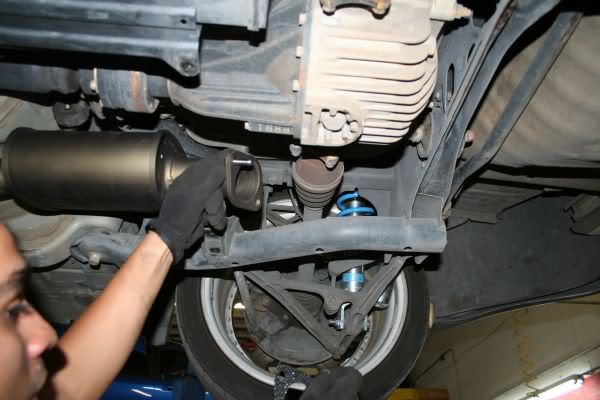
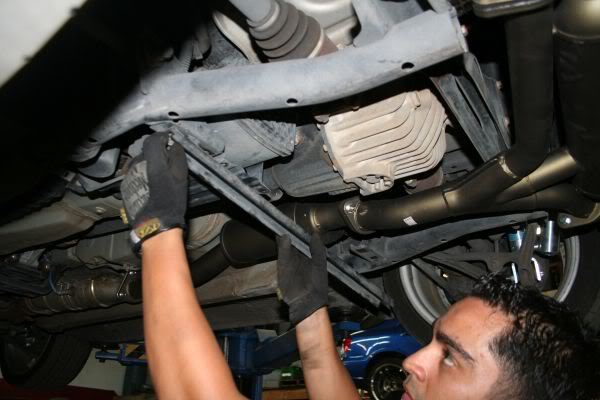
Start by removing the lower stab. bar
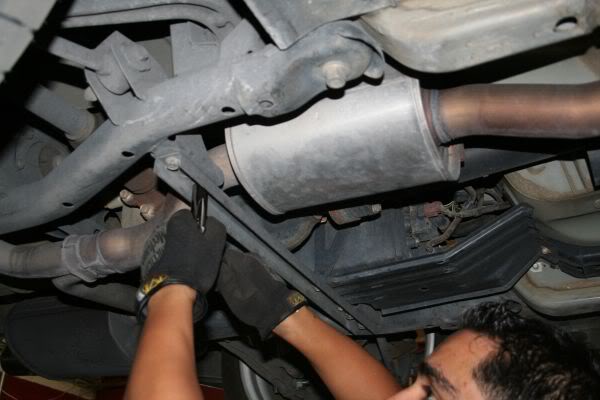
Then loosen up where the exhaust meets the cat
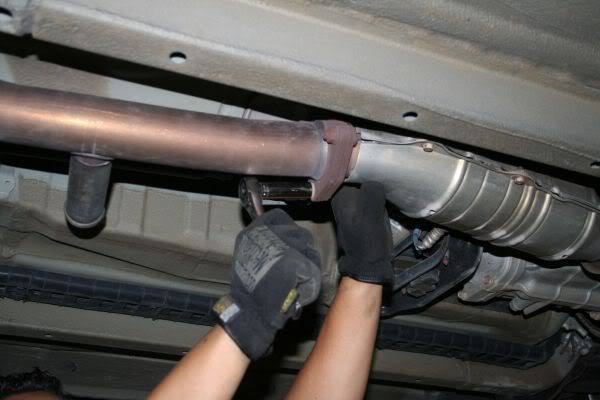
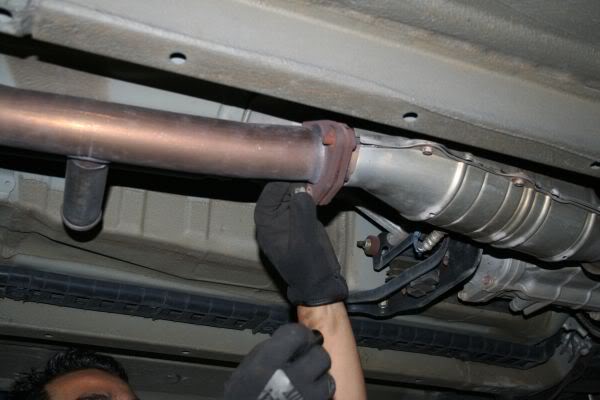
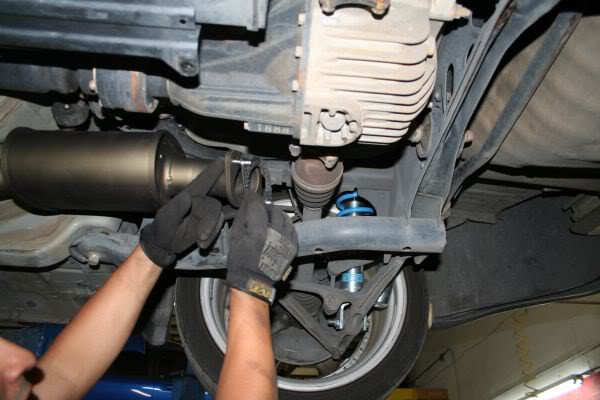
Loosen up the hanger aswell
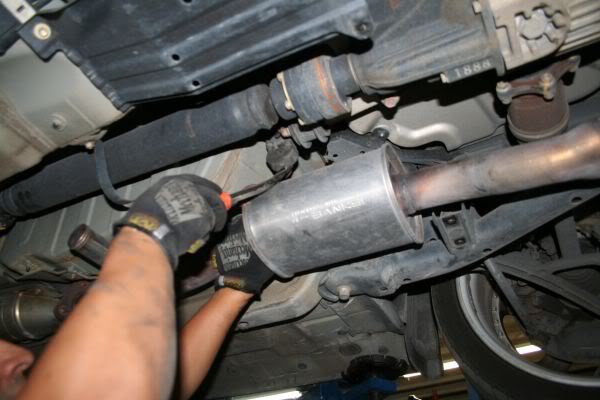
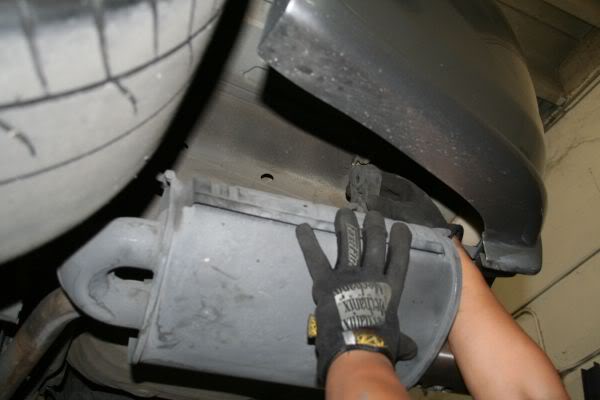
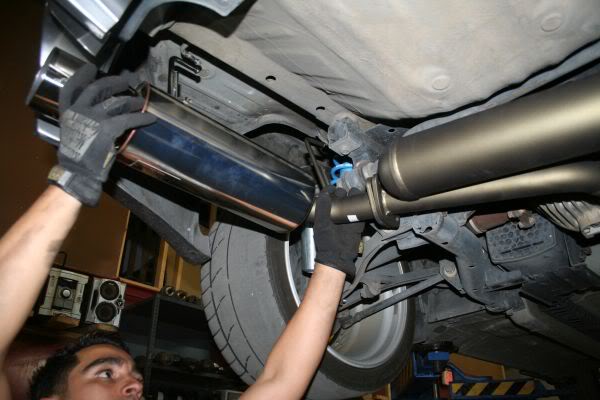
unmount the exhaust, you will need 2 people for this
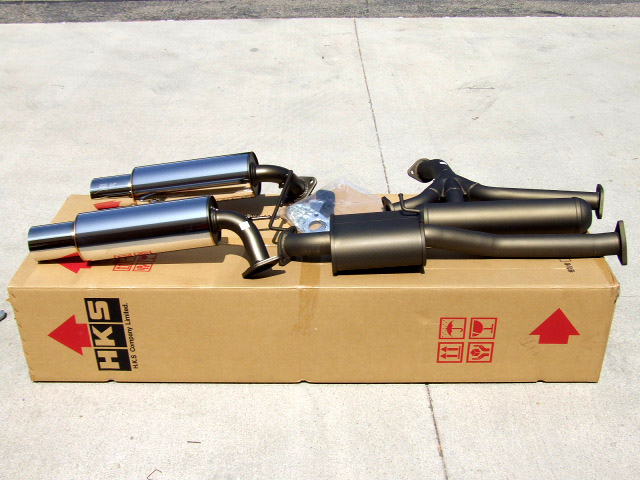
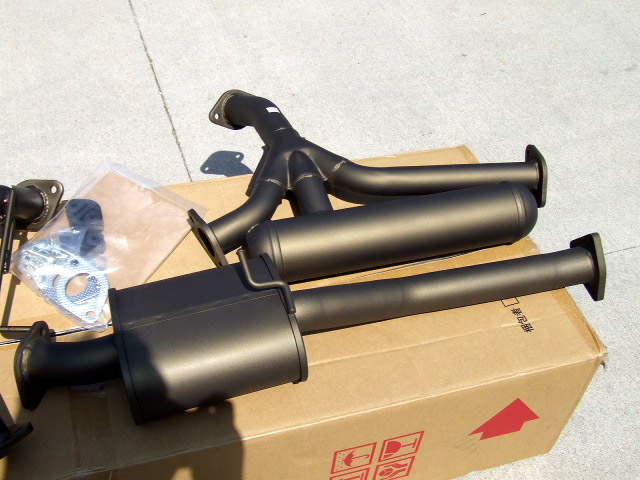
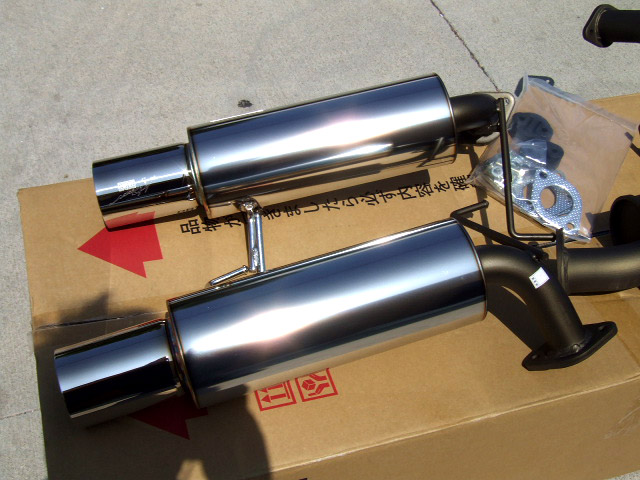
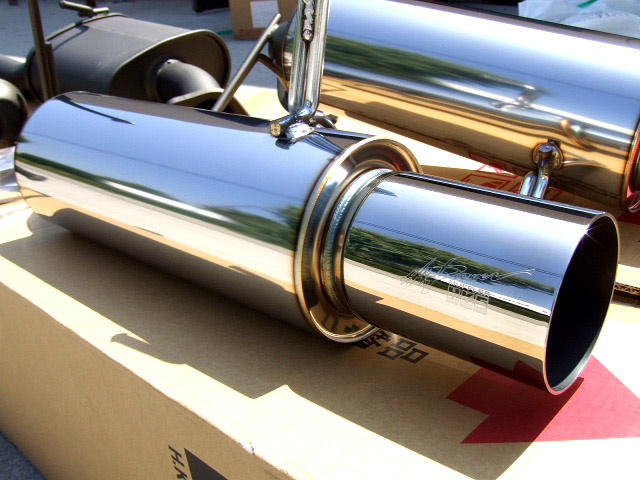
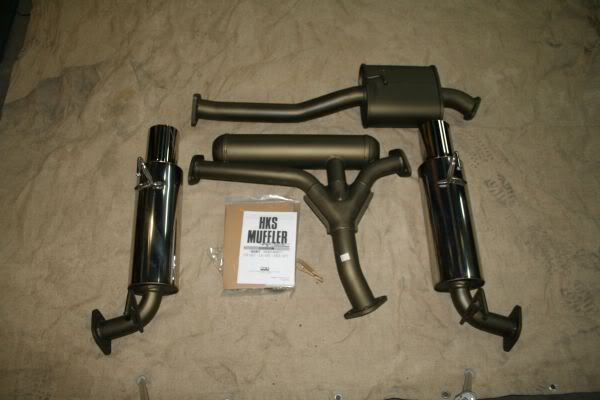
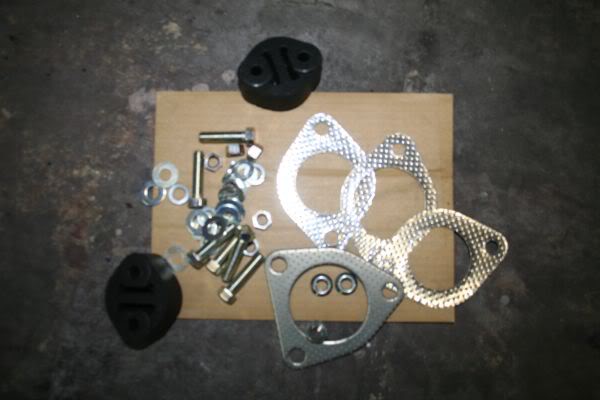
Parts
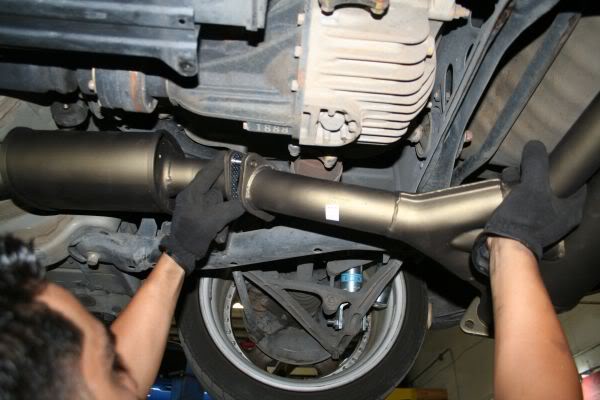
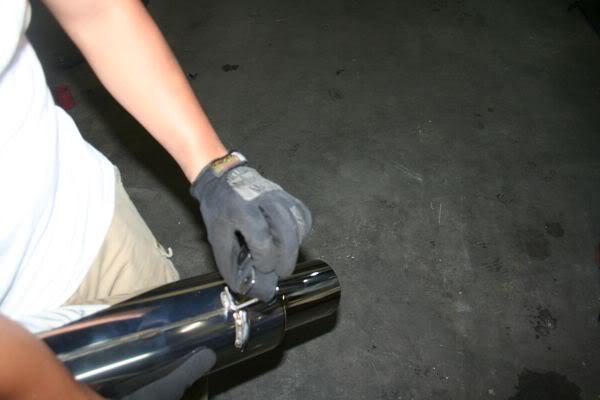
Mount the mid pipe of the HKS on the hanger and position flange provided

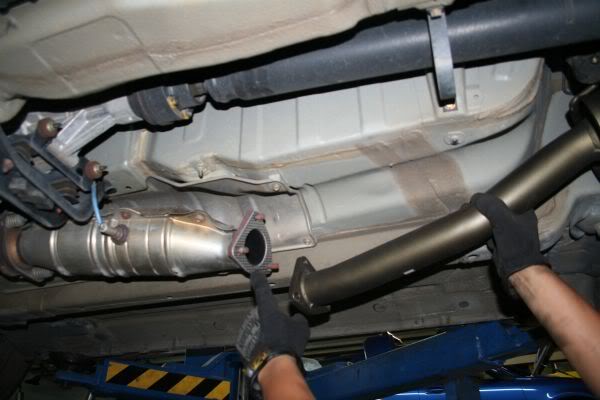

Bolt up and tighten

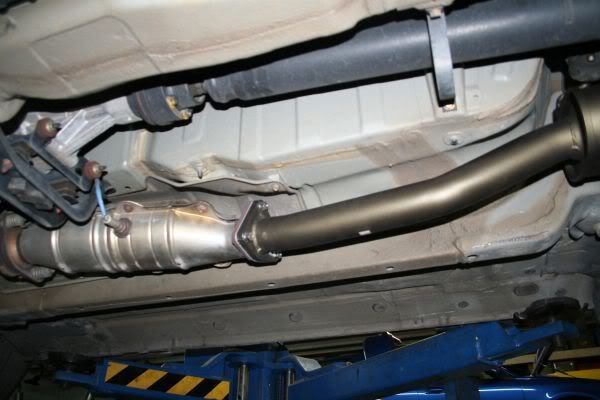
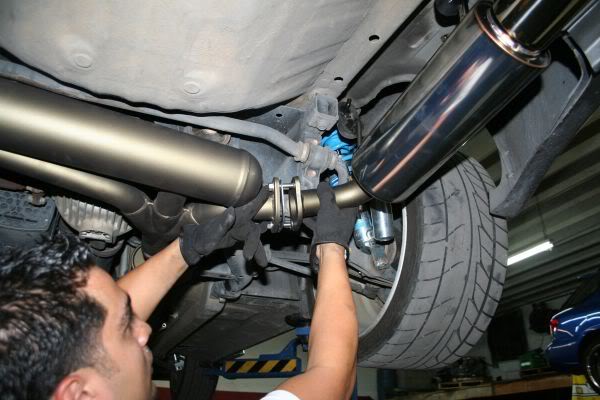
install hardware and flange at the end of the mid pipe
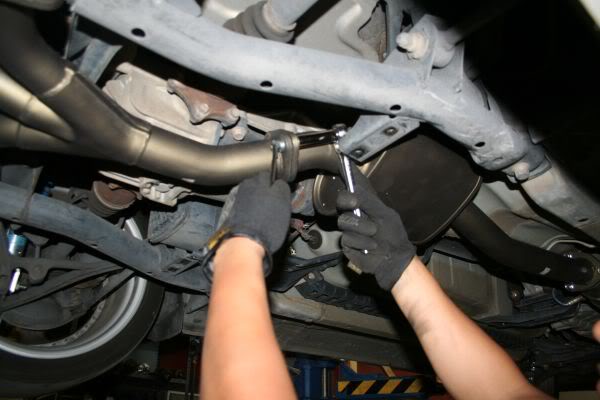
Mount the second piece of the HKS insert flange and bolts

tighten up hardware
since i have the VeilSide Ver.1 lip kit i had to more or less check if it would comprimise the rear lip
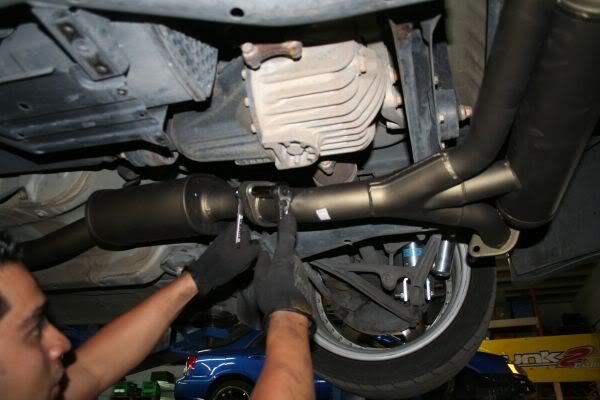
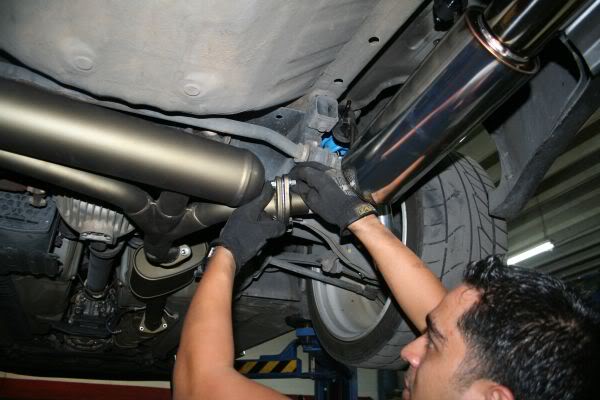
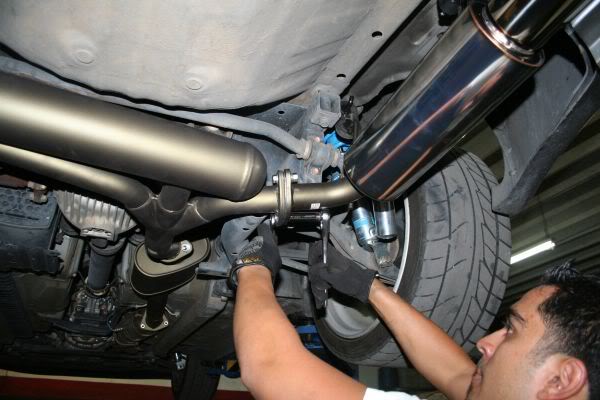
install hangers on exhaust and mount them, try using some lube to get them in
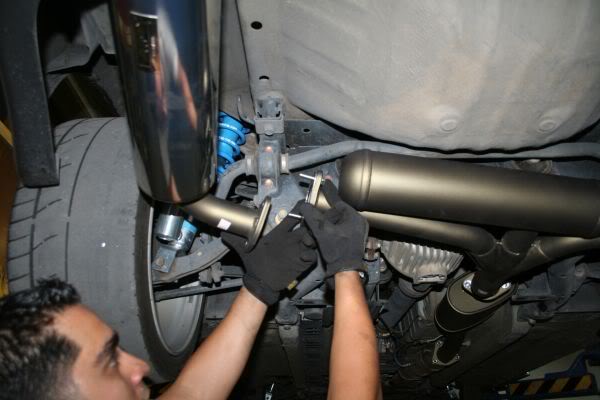
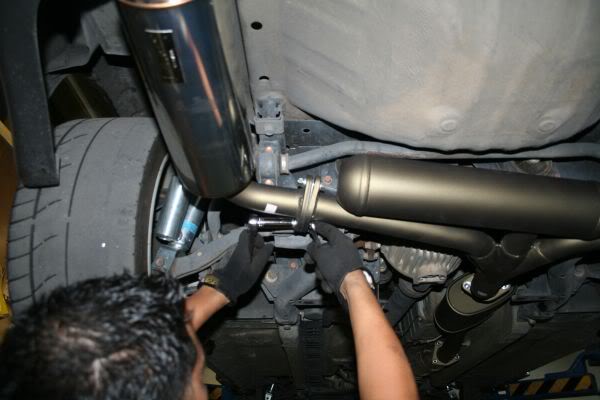
Now apply flange and hardware to connect the canisters to the rest of the exhaust and tighten
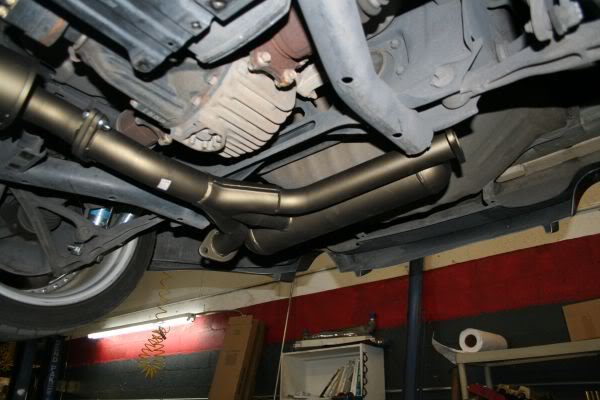
Re-install the factory stab. bar and your done
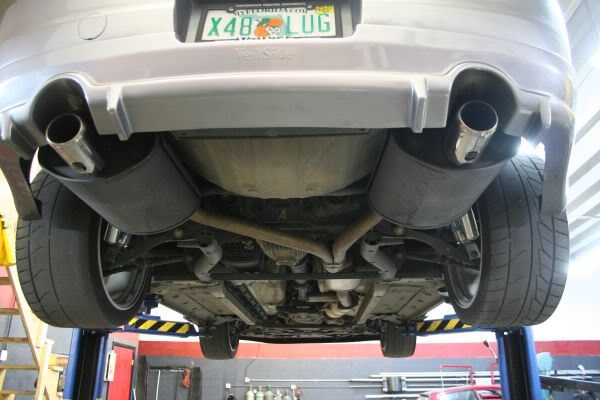
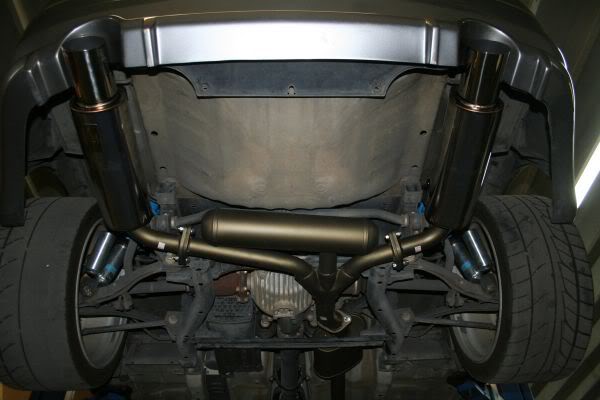
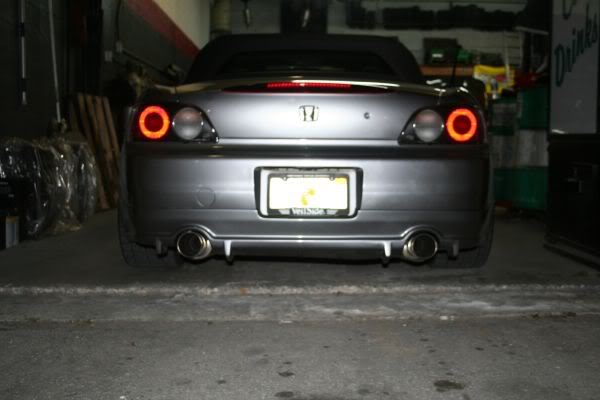
Final product
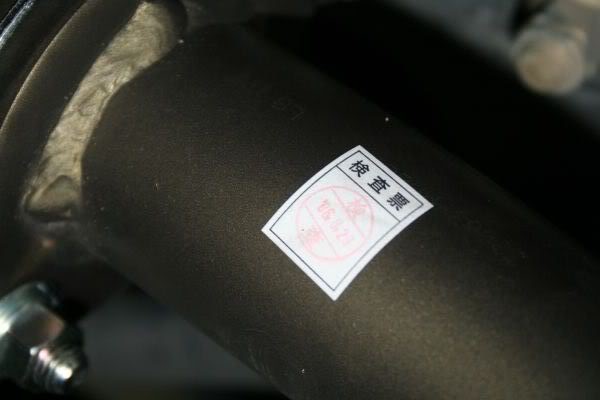
Manufactured 8/29/06
The Car
Stock exhaust
Start by removing the lower stab. bar
Then loosen up where the exhaust meets the cat
Loosen up the hanger aswell
unmount the exhaust, you will need 2 people for this
Parts
Mount the mid pipe of the HKS on the hanger and position flange provided
Bolt up and tighten
install hardware and flange at the end of the mid pipe
Mount the second piece of the HKS insert flange and bolts
tighten up hardware
since i have the VeilSide Ver.1 lip kit i had to more or less check if it would comprimise the rear lip
install hangers on exhaust and mount them, try using some lube to get them in
Now apply flange and hardware to connect the canisters to the rest of the exhaust and tighten
Re-install the factory stab. bar and your done
Final product
Manufactured 8/29/06


Registered User
Joined: Sep 2003
Posts: 821
Likes: 0
From: Louisville, KY
Great write up! Any little tips? How does the exhaust sound when it's brand new? Does it change any once it gets broken in? I should be getting my HKS soon, but will not have a lift for the install. How did everything match up? Good fitment?
Thread Starter
Joined: Mar 2005
Posts: 3,297
Likes: 11
From: V I C E C I T Y
Originally Posted by 05berlinas2k,Nov 16 2006, 08:33 AM
that driver side rear tire is worse than mine 
looks like your running some crazy camber for it to wear that bad
anyways nice write up thanks
looks like your running some crazy camber for it to wear that bad
anyways nice write up thanks
[QUOTE=stylinhonda,Nov 16 2006, 08:40 AM]Great write up!

