
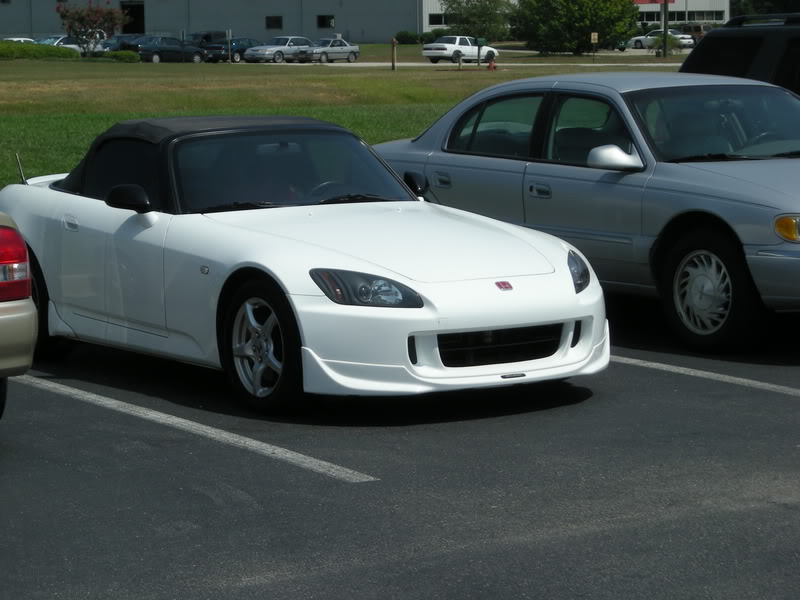
MULDERIZED AP1 HEADLIGHT

Thread Starter
Community Organizer
Joined: Jul 2004
Posts: 11,936
Likes: 12
From: Charleston
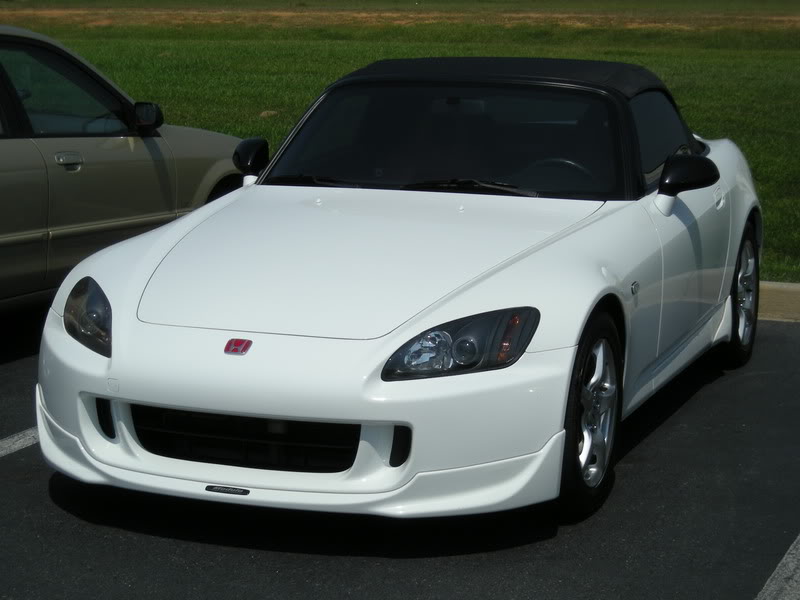
MULDER's AP1 HEADLIGHT MOD

VIDEOS:
VID 1
VID 2
VID 3
Time: 6-8 hours
Cost: $20
***NEW - Get a badge!!!

Just copy the link and place it in your signature! Replace all "{ and }"s with "[ and ]"!!
{img}https://www.s2ki.com/forums/index.php?act=module&module=gallery&cmd=viewimage& img=475067{/img}
OFFICIAL GALLERY:
https://www.s2ki.com/forums/index.php?showt...&#entry11408779
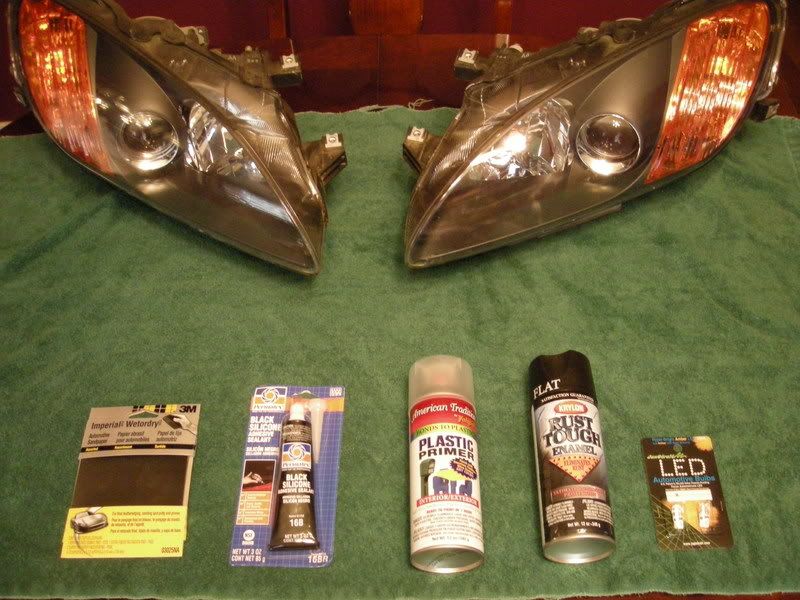
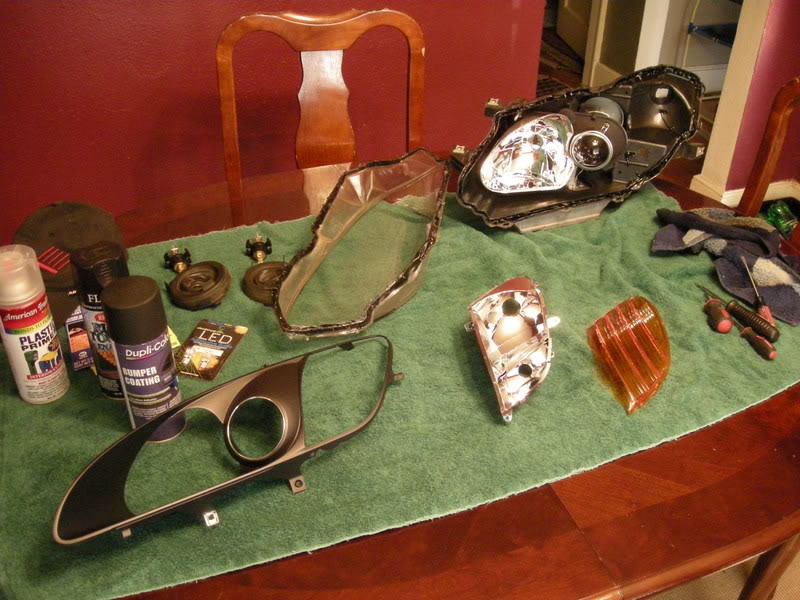
Materials:
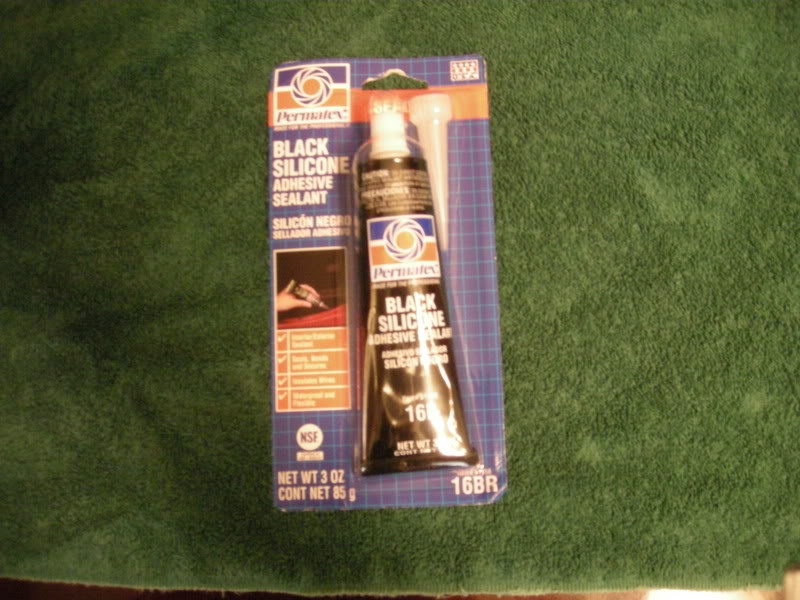
A. Black Silicone
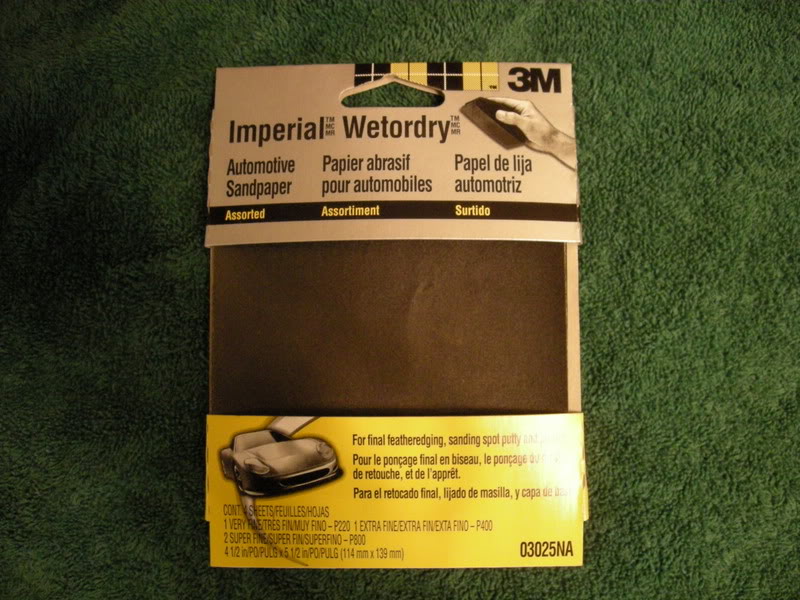
B. Sand Paper (400 and 800)
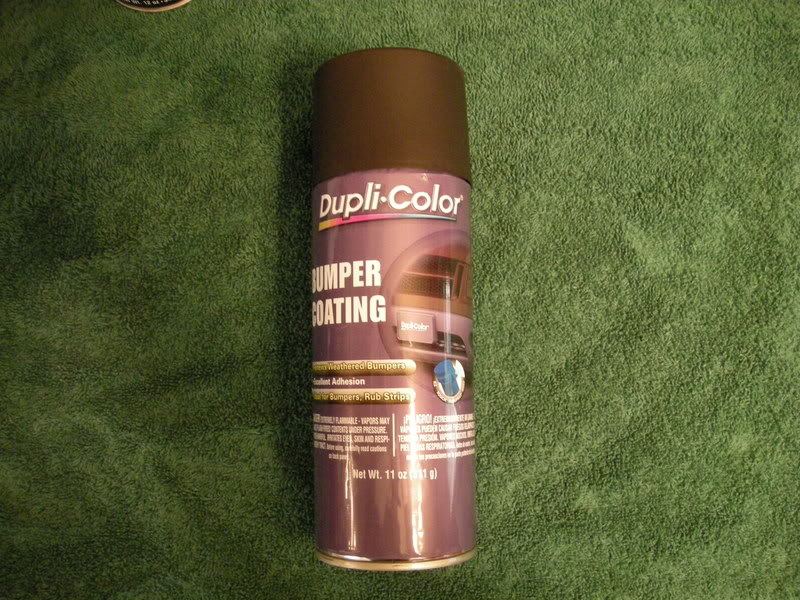
C. Prime Coat (Plastic Primer OR Black Bumper Coating)
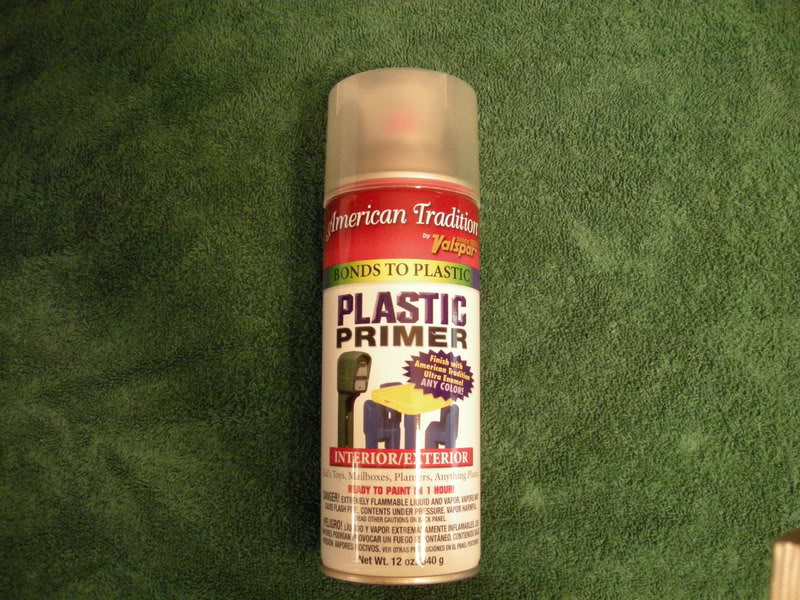
OR
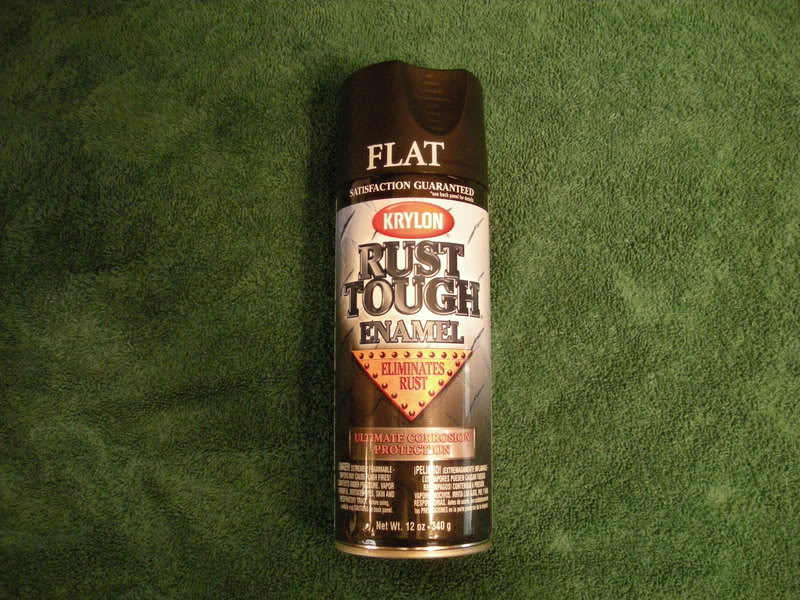
D. Top Coat (Rustoleum Flat Black, matches color and texture of inner housing extremely well... I went through a lot of paint )
)
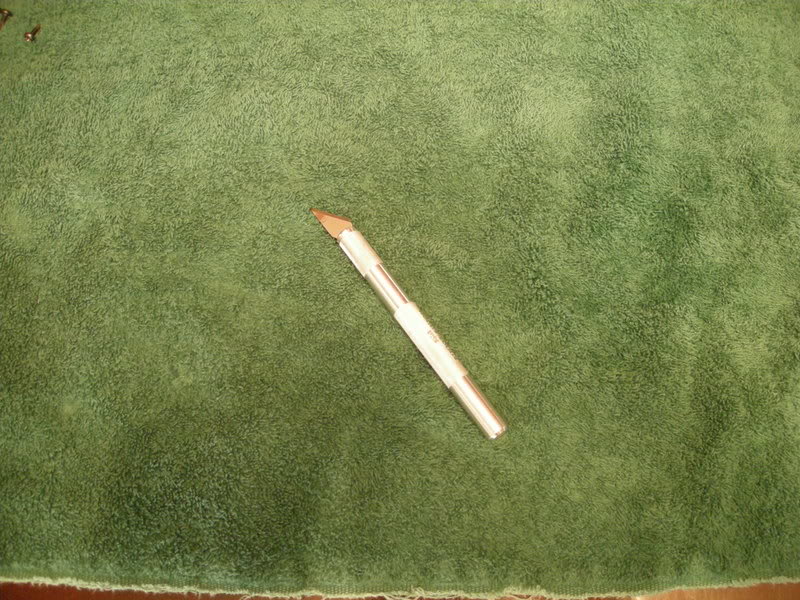
E. Model Knife
F. Painter's Tape
G. OEM Amber Diffusers
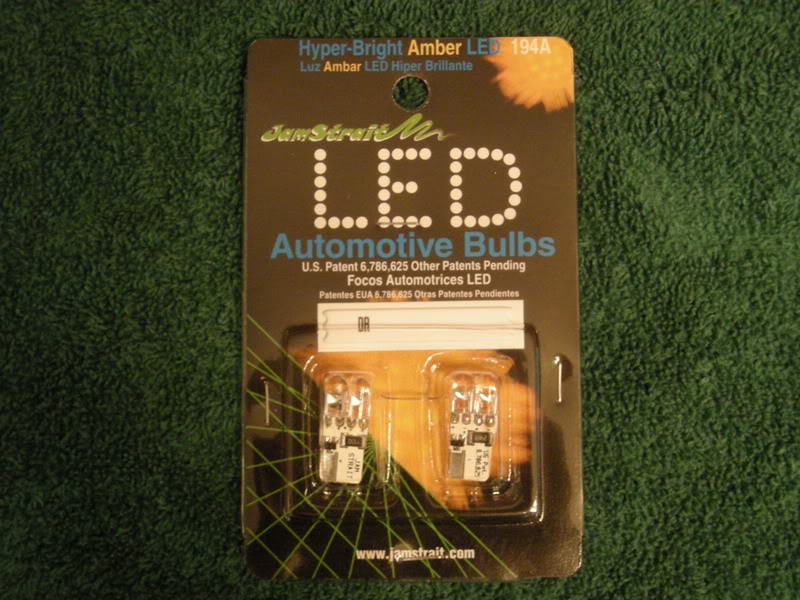
H. LED 194 bulbs (Optional)
VIDEOS:
VID 1
VID 2
VID 3
Time: 6-8 hours
Cost: $20
***NEW - Get a badge!!!
Just copy the link and place it in your signature! Replace all "{ and }"s with "[ and ]"!!
{img}https://www.s2ki.com/forums/index.php?act=module&module=gallery&cmd=viewimage& img=475067{/img}
OFFICIAL GALLERY:
https://www.s2ki.com/forums/index.php?showt...&#entry11408779
Materials:
A. Black Silicone
B. Sand Paper (400 and 800)
C. Prime Coat (Plastic Primer OR Black Bumper Coating)
OR
D. Top Coat (Rustoleum Flat Black, matches color and texture of inner housing extremely well... I went through a lot of paint
)E. Model Knife
F. Painter's Tape
G. OEM Amber Diffusers
H. LED 194 bulbs (Optional)
Thread Starter
Community Organizer
Joined: Jul 2004
Posts: 11,936
Likes: 12
From: Charleston
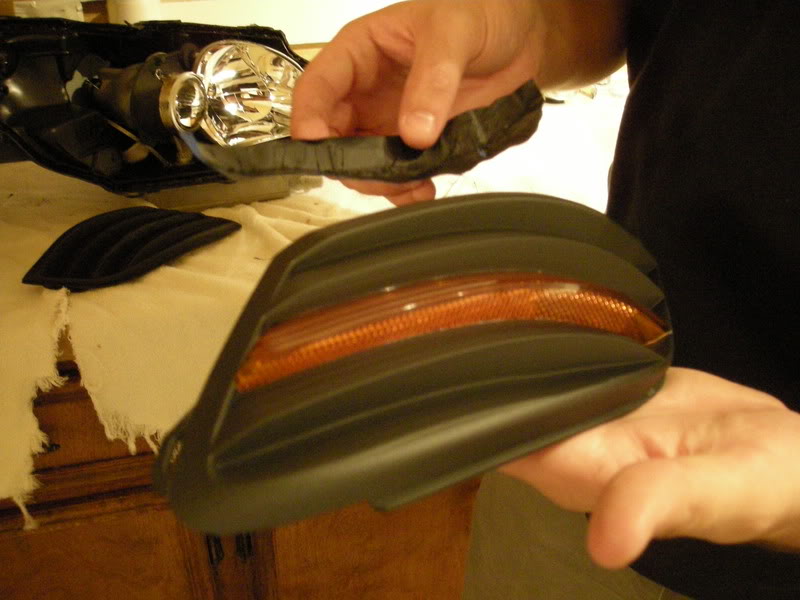
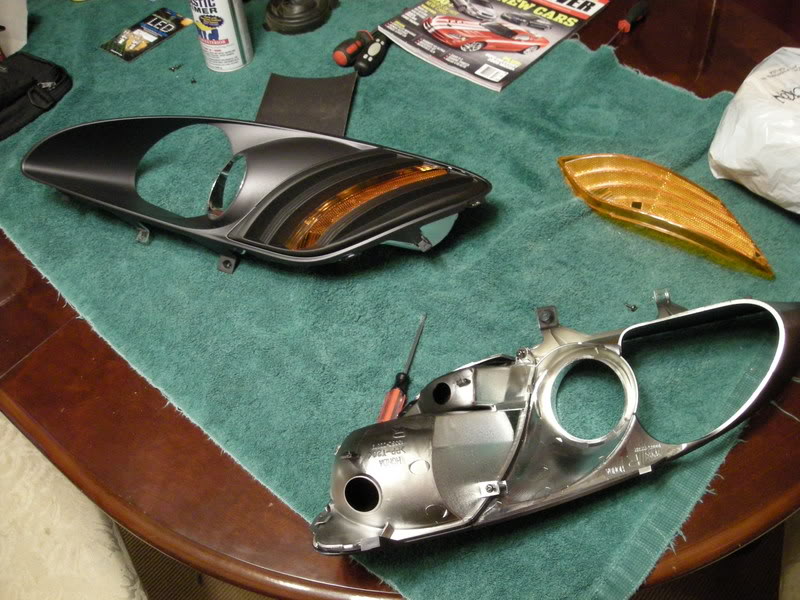
STEP 1: Remove Headlight
Note :If your diffusers are already removed, skip to STEP 2.
Using Rick's directions, remove the headlights, then diffusers from your S2000. Directions for this can be found here:
RICK'S DIRECTIONS FOR DIFFUSER REMOVAL... CLICK HERE!!!
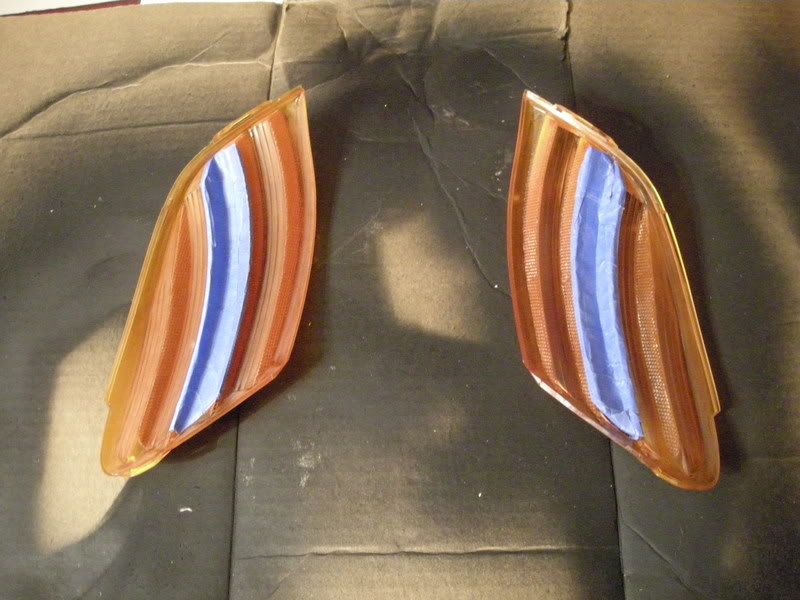
STEP 2: Tape Diffuser
Note : Taping is the most time consuming part of this modification. You must have patience and be prepared to spend several hours on the prepping stage alone. You get one shot, don't mess it up!
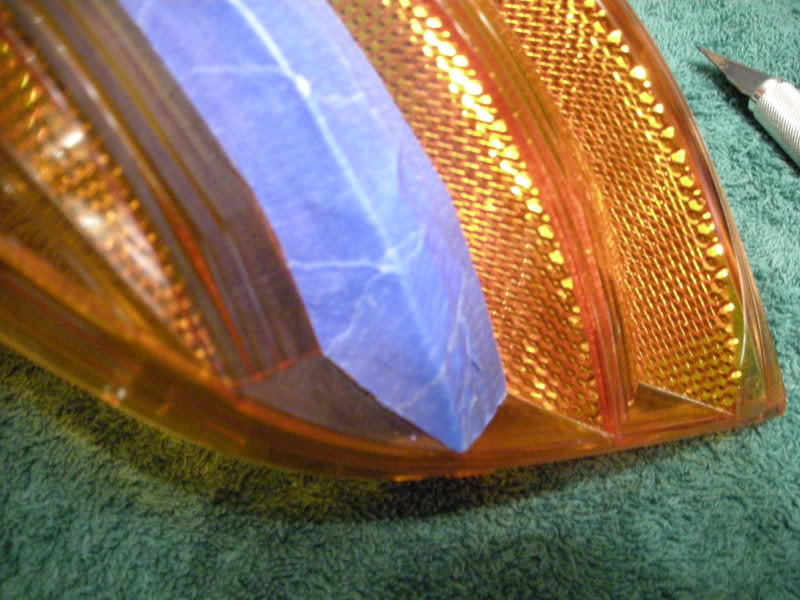
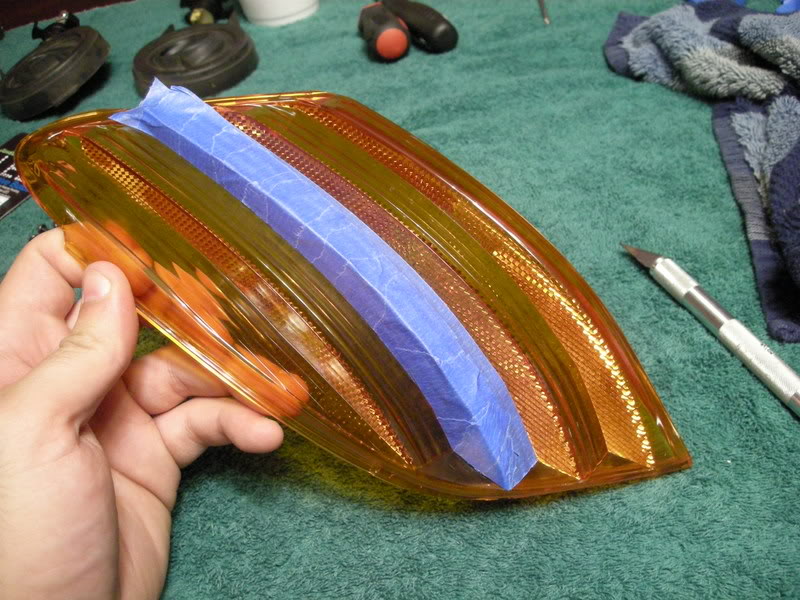
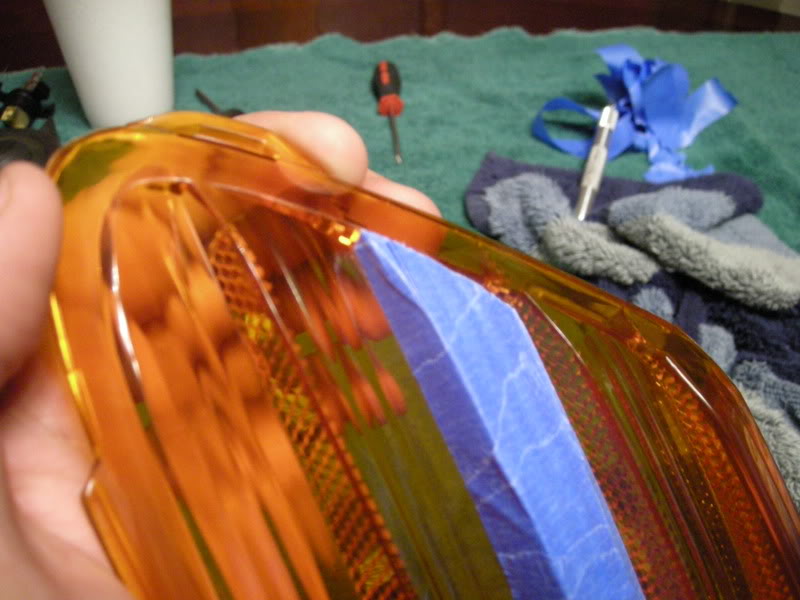
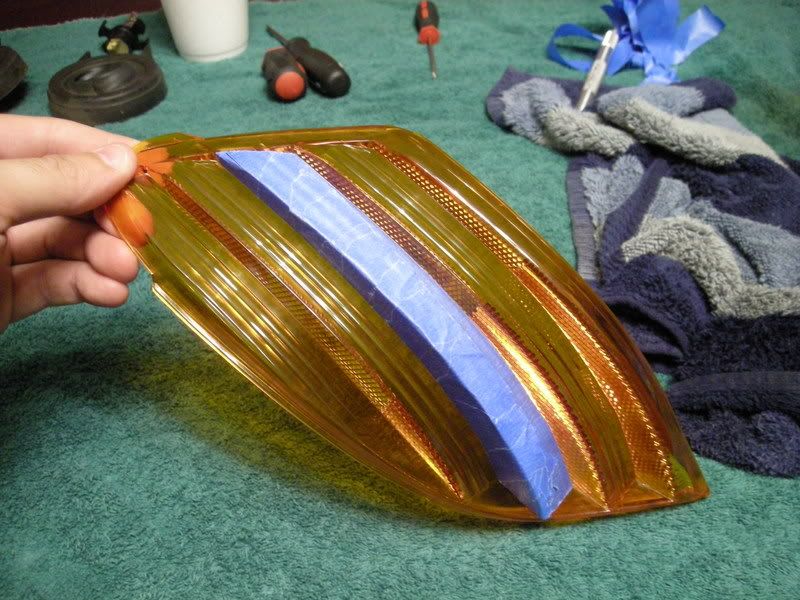
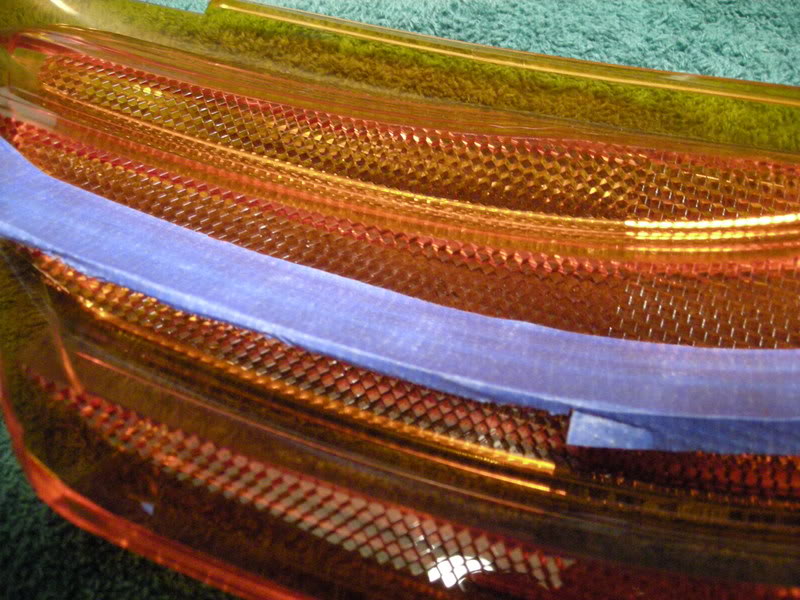
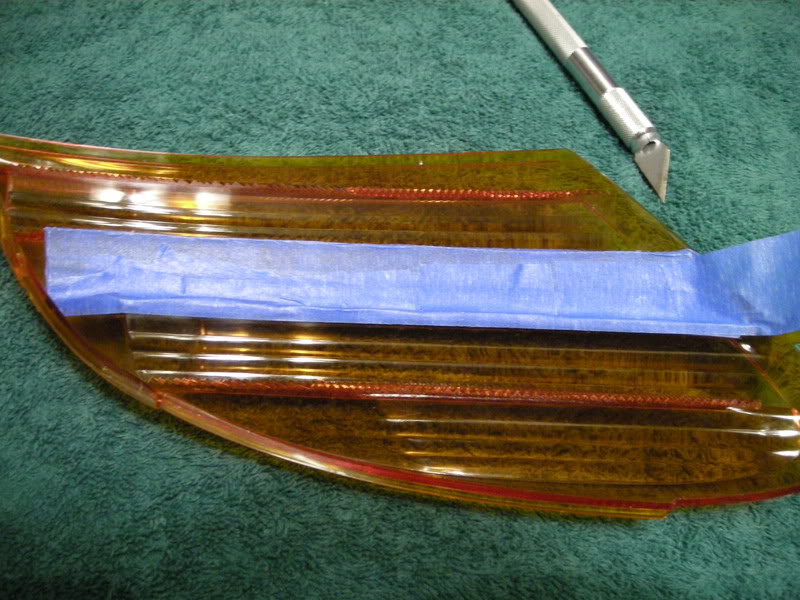
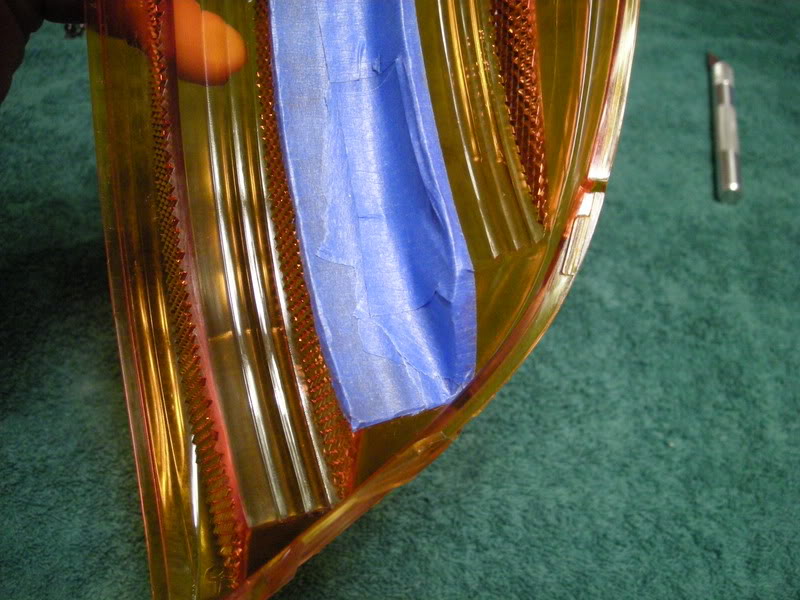
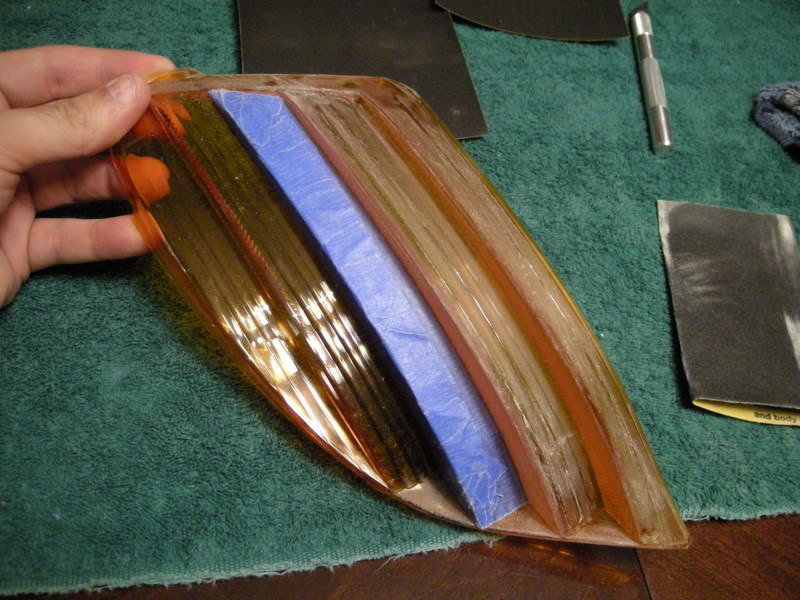
A. Start with the outer side of the diffuser and begin with a long stip along the outer surface. Make sure that the tape bumps up to the corner perfectly without being too far away or overlapping the corner. Press tape FIRMLY to the surface. Once you think it is pressed firmly enough.. do it again, especially along the edges!!! If this is not done it will ruin the painted edges and ruin your project. In the corners, use a the edge of a towel of cloth to press into the corner edge to insure it is attached.

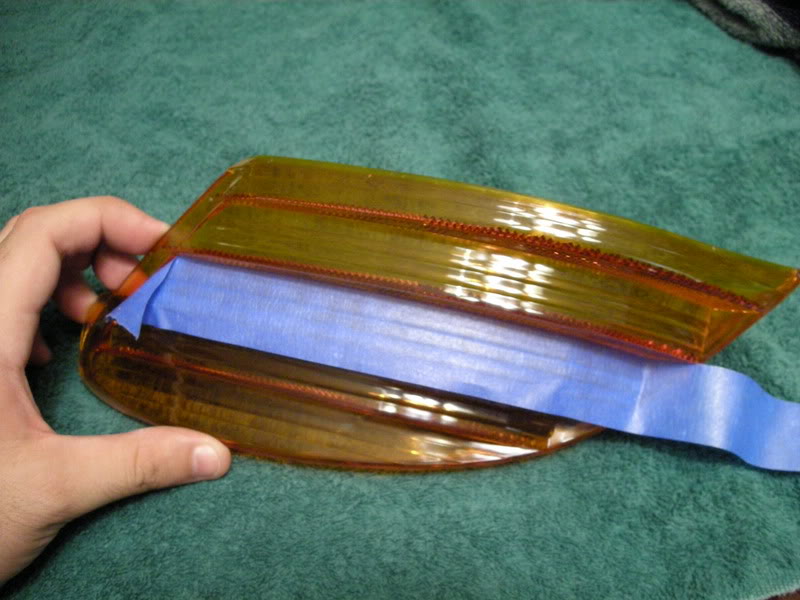
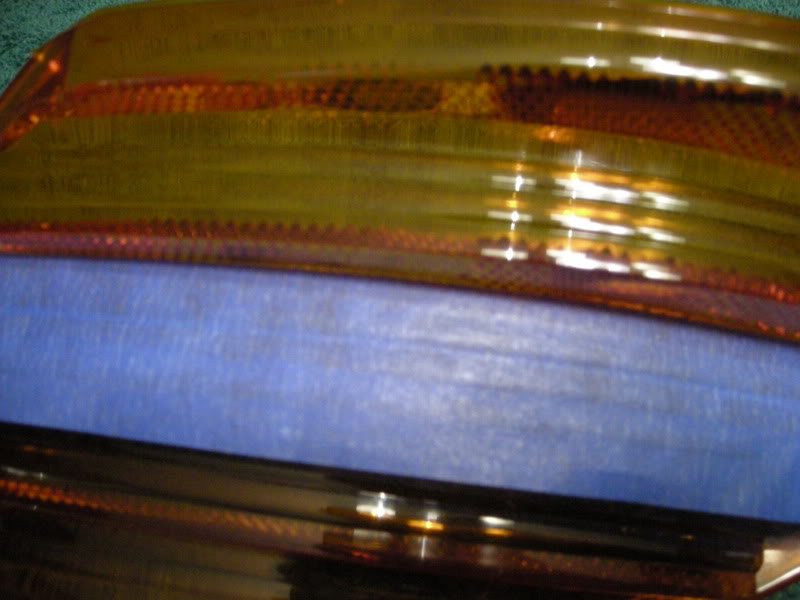
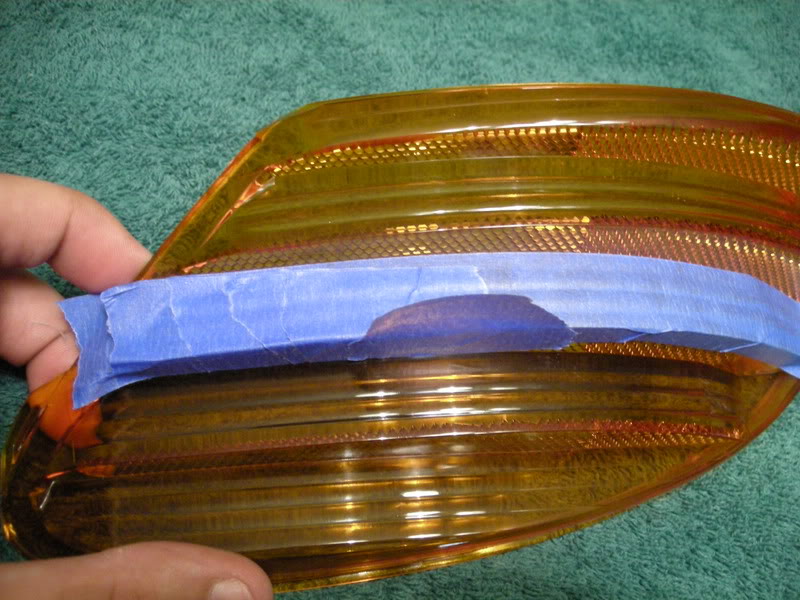
B. Along the top edge, fold a crease and fit it into the edge along the top of the diffuser as seen below:
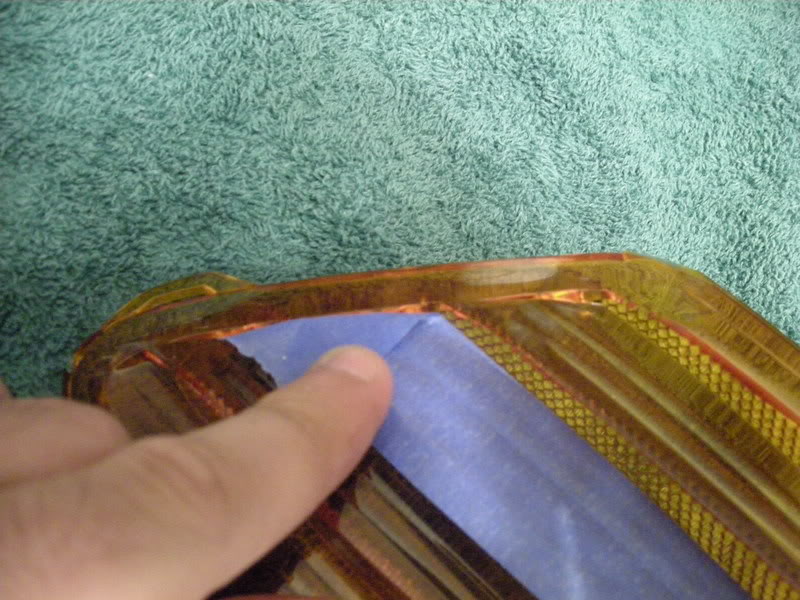
C. Do the same for the edge that runs along the bottom.
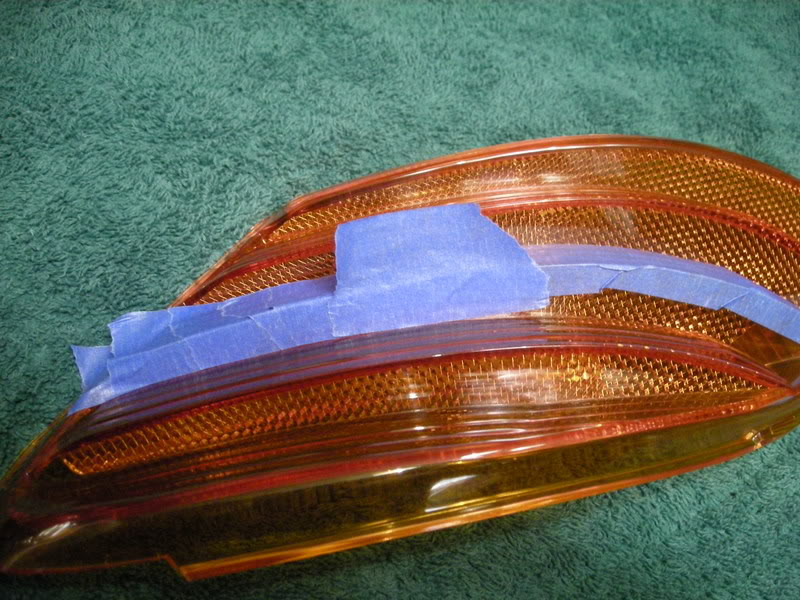
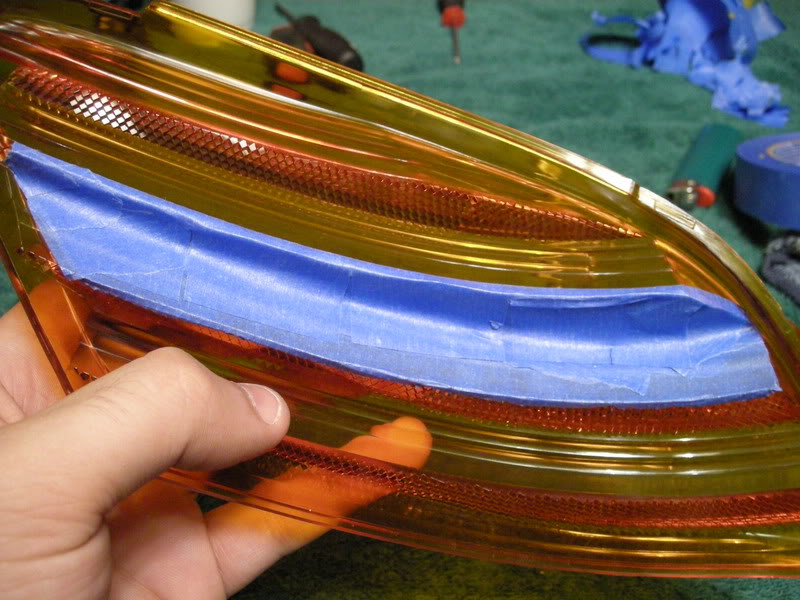
D. Now begin taping the side or reflective outer surface. Use small strips overlapping to perfectly recreate the smooth rounded surface and create a clean uniformed line. Work from the top of the diffuser down. The advantage of this is once the diffuser is painted, when removing the tape it canned be pulled off all in one clean motion.

Note :If your diffusers are already removed, skip to STEP 2.
Using Rick's directions, remove the headlights, then diffusers from your S2000. Directions for this can be found here:
RICK'S DIRECTIONS FOR DIFFUSER REMOVAL... CLICK HERE!!!
STEP 2: Tape Diffuser
Note : Taping is the most time consuming part of this modification. You must have patience and be prepared to spend several hours on the prepping stage alone. You get one shot, don't mess it up!
A. Start with the outer side of the diffuser and begin with a long stip along the outer surface. Make sure that the tape bumps up to the corner perfectly without being too far away or overlapping the corner. Press tape FIRMLY to the surface. Once you think it is pressed firmly enough.. do it again, especially along the edges!!! If this is not done it will ruin the painted edges and ruin your project. In the corners, use a the edge of a towel of cloth to press into the corner edge to insure it is attached.
B. Along the top edge, fold a crease and fit it into the edge along the top of the diffuser as seen below:
C. Do the same for the edge that runs along the bottom.
D. Now begin taping the side or reflective outer surface. Use small strips overlapping to perfectly recreate the smooth rounded surface and create a clean uniformed line. Work from the top of the diffuser down. The advantage of this is once the diffuser is painted, when removing the tape it canned be pulled off all in one clean motion.
Thread Starter
Community Organizer
Joined: Jul 2004
Posts: 11,936
Likes: 12
From: Charleston
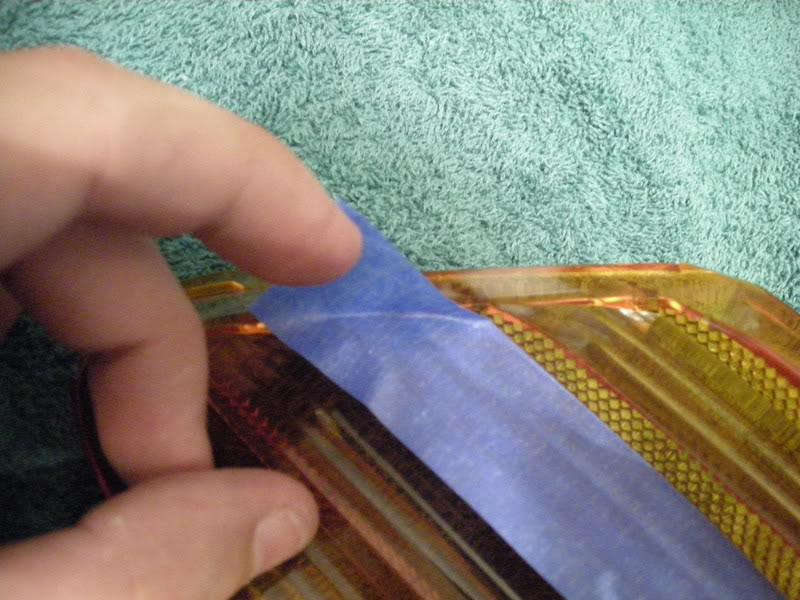
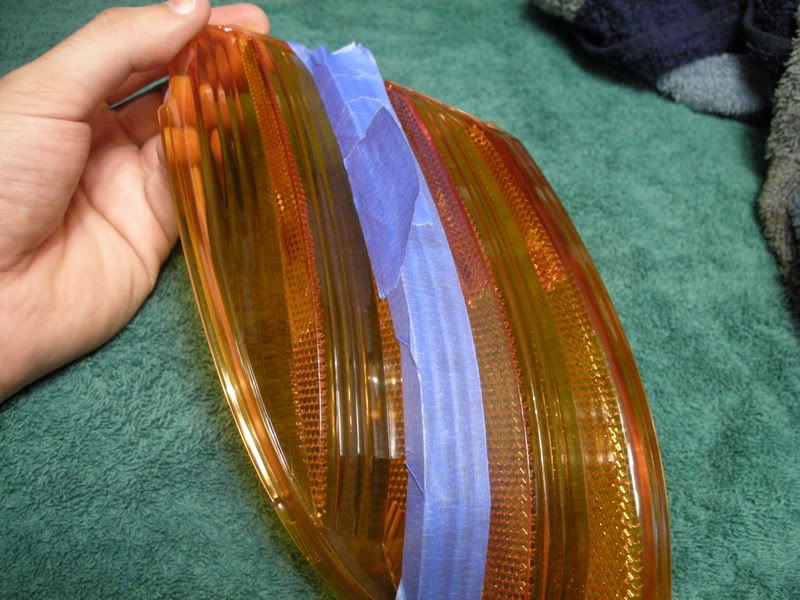
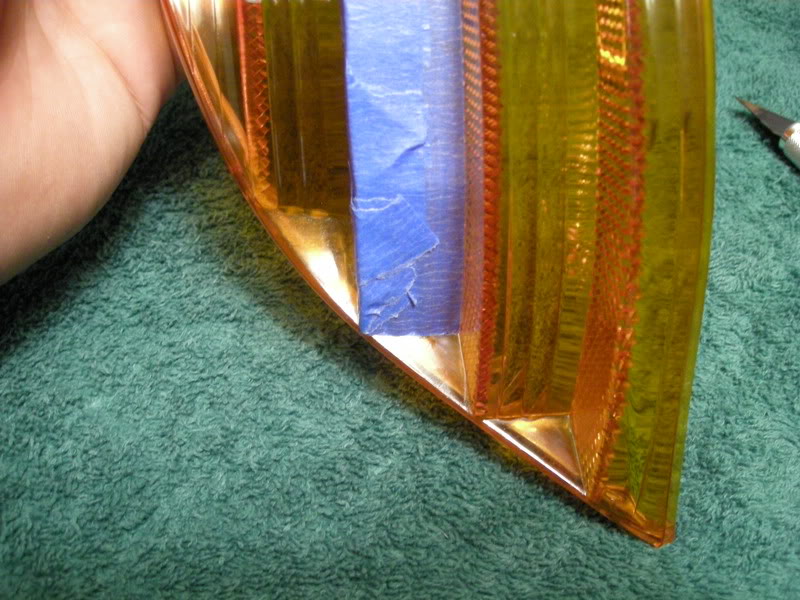
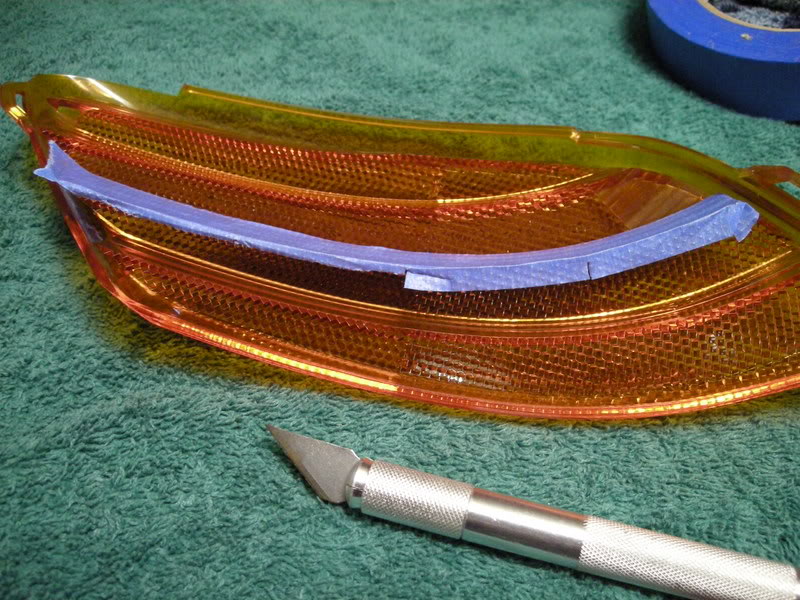
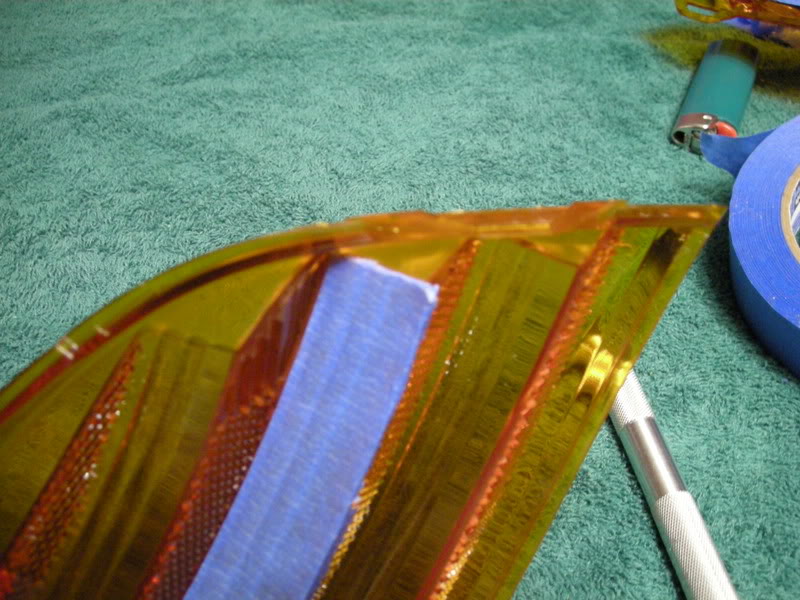
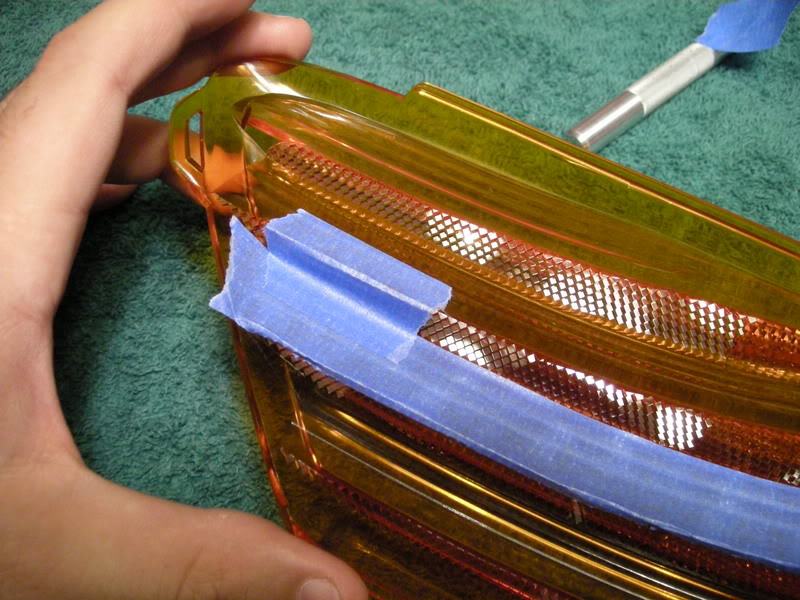
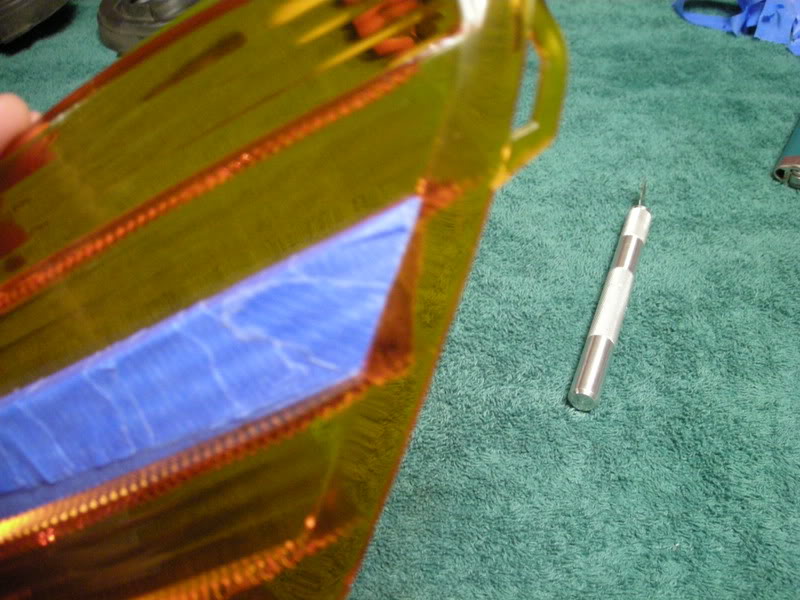
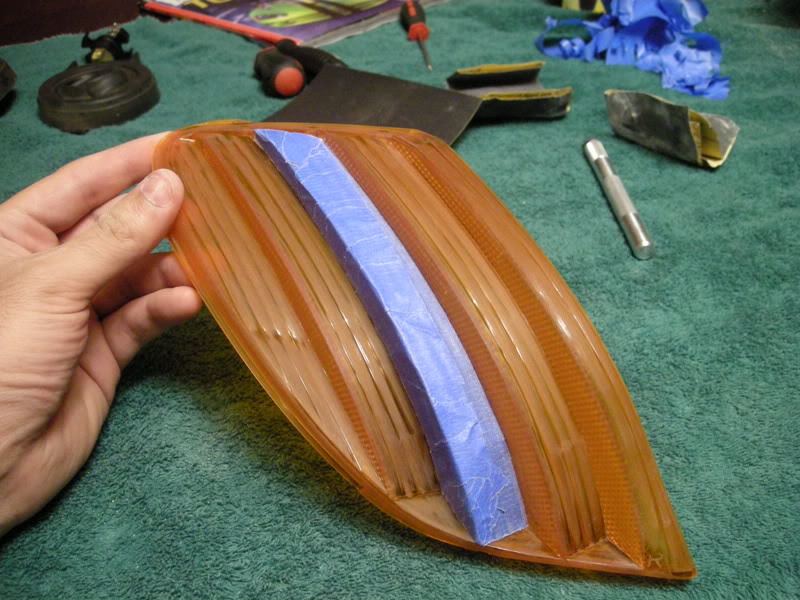
E. Again, fold the tape in the corners along the bottom edge.
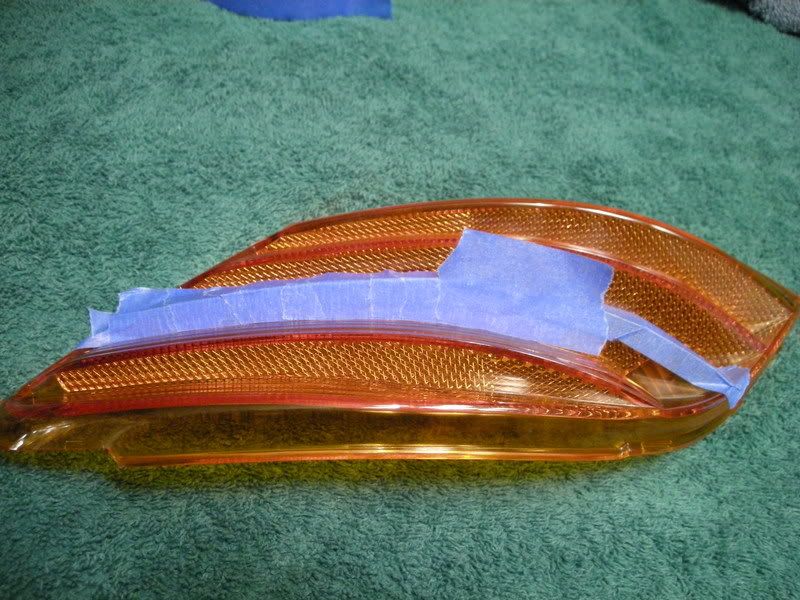
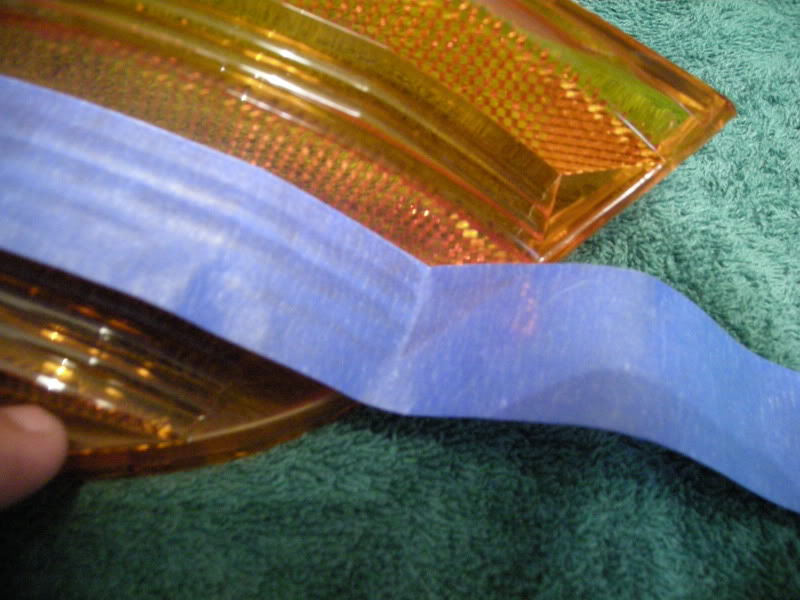
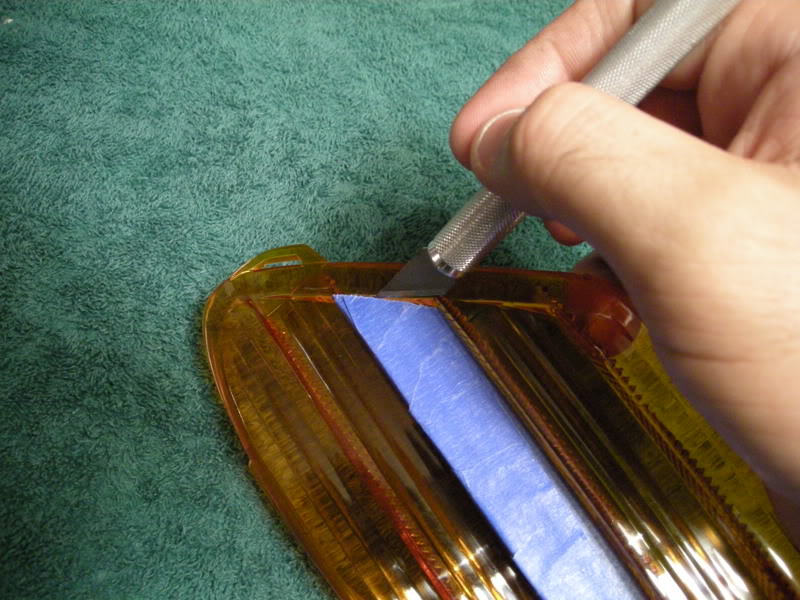
F. Now, cut the tape along the crease at the bottom using the model knife.
G. Do the same along the line at the top:
H. Now tape of the area on the inside of the diffuser. Be sure your edges are just as sealed as those on the outer surface.
Note : Given the thickness of the diffuser, it is ok and recommended that your inside edges overlap the edge slightly, the only exception being the very top and bottom edges. Those edges need to match up perfectly on both sides.
Thread Starter
Community Organizer
Joined: Jul 2004
Posts: 11,936
Likes: 12
From: Charleston
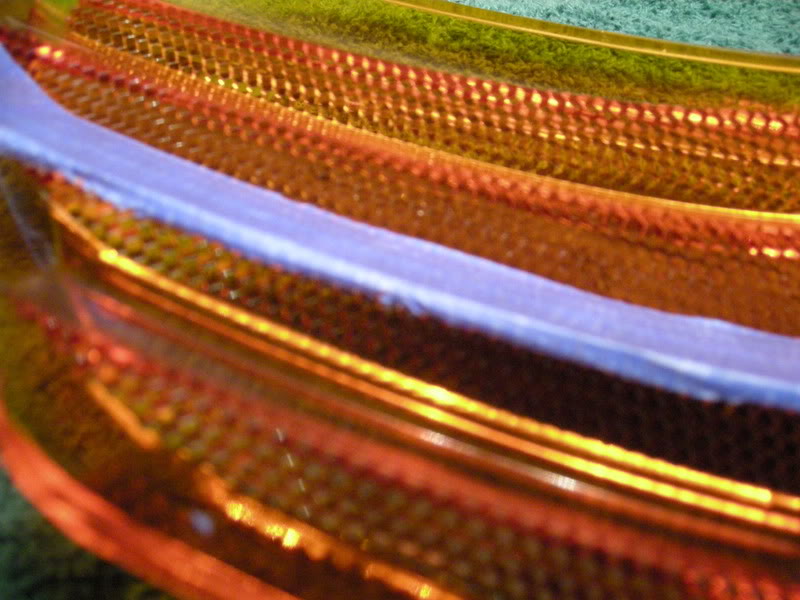
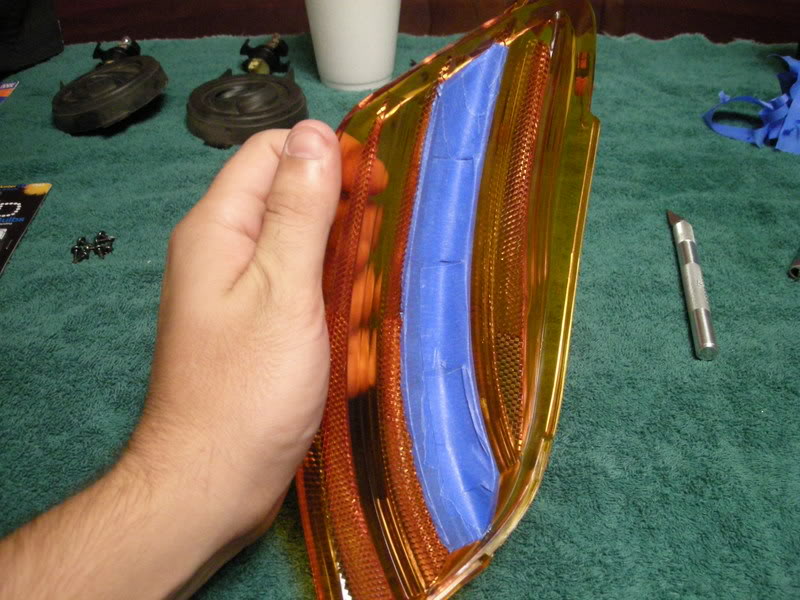
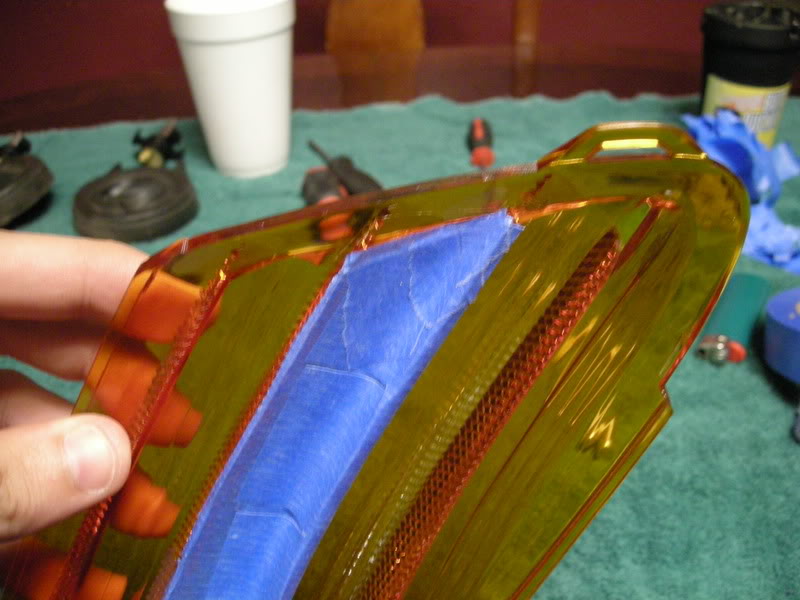
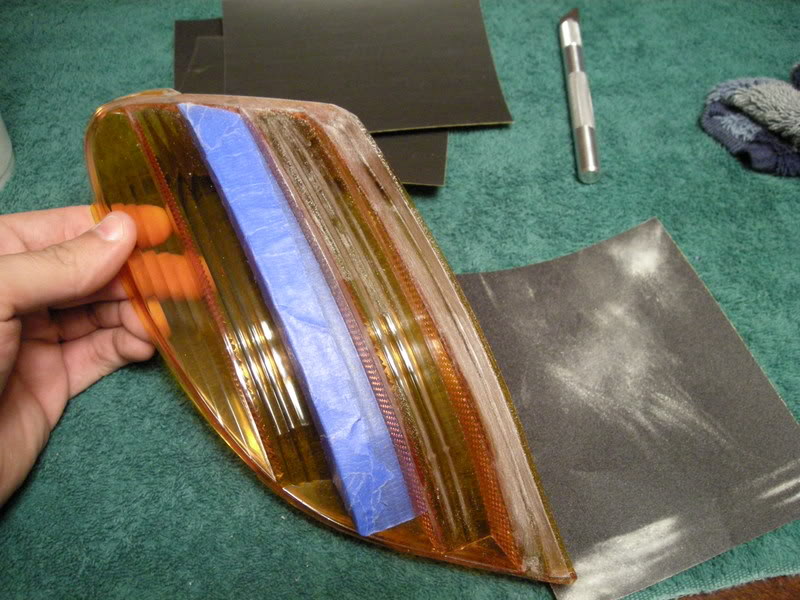
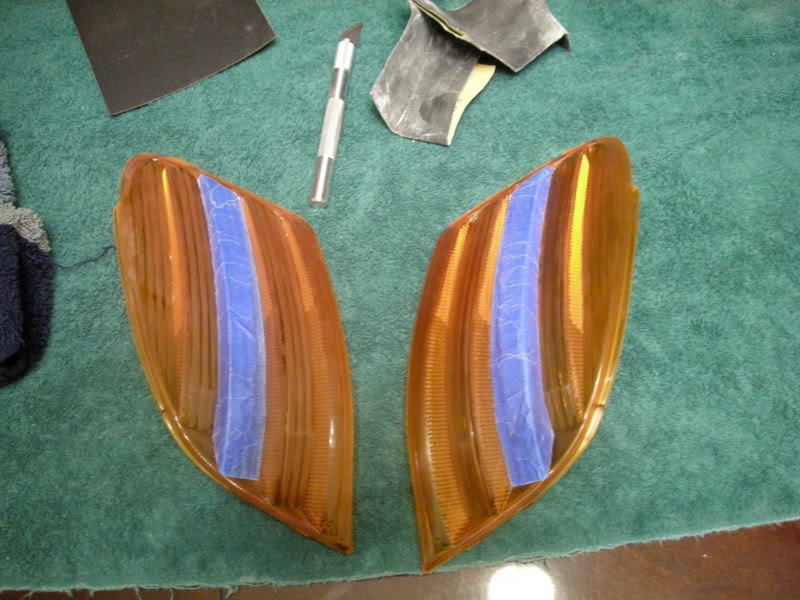
I. Now begin taping the inner reflective surface.
Note: Do not press so hard that the high points of the reflective surface punch through the tape. This is where making sure that your tape edges are sealed is most crucial.
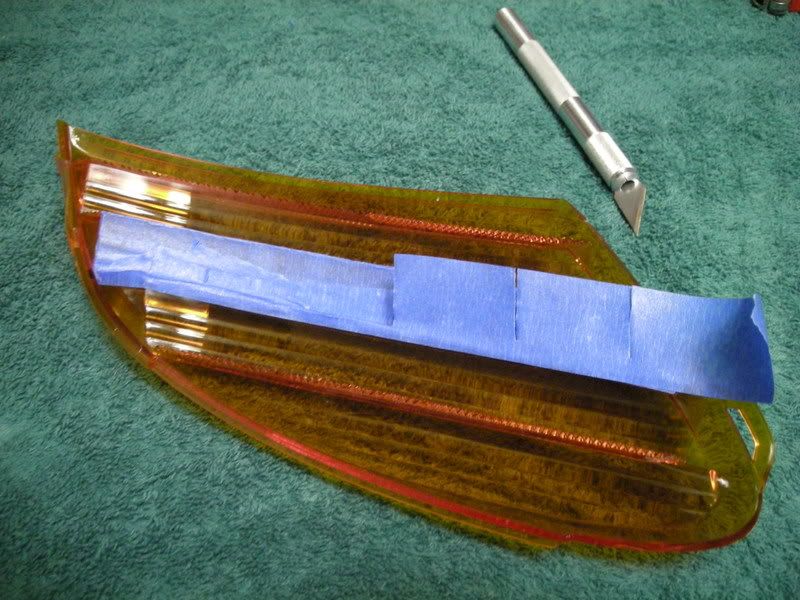
J. Now, clean up the edges using the model knife and make sure the tape is firmly attached.
Thread Starter
Community Organizer
Joined: Jul 2004
Posts: 11,936
Likes: 12
From: Charleston
STEP 3: Sand Diffuser
In this step you will begin sanding the diffuser; the final step before painting.
K.Using the 400 grit sand paper, begin sanding the outer surface, thoroughly getting into the creases and corners of the entire surface.
Note : Be careful not to damage the tape during the sanding process or retaping will be required.
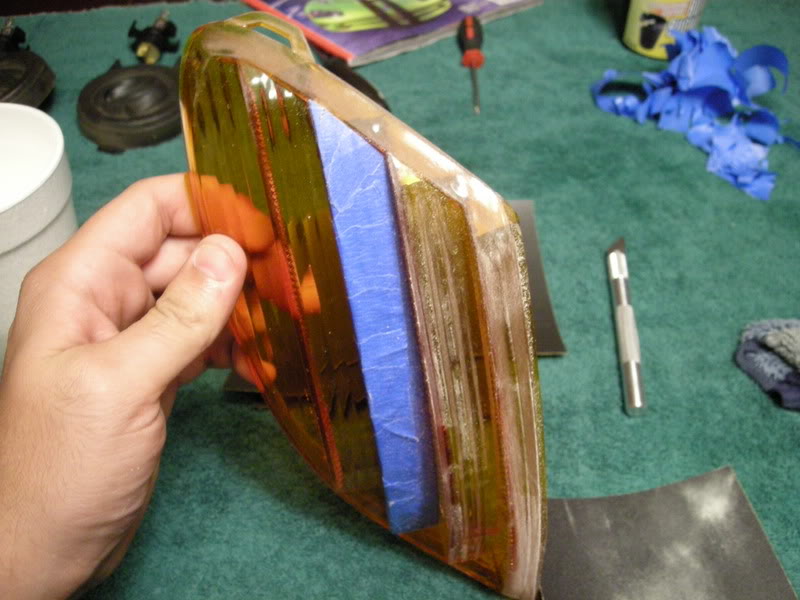

L. Now sand the inside. Once the forward surfaces are sanded, use what is left of the sand paper to know the sharper points of the reflective surfaces off.
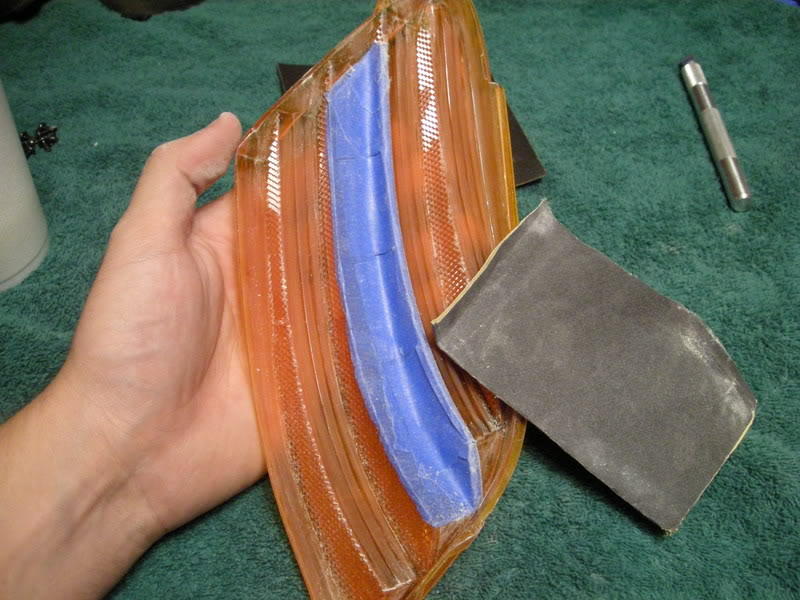
M. Using the 800 grit, lightly go over the diffuser it knock off any burrs and create a uniform surface for painting.
N. Now the diffusers on the painting surface with the inside up first.
In this step you will begin sanding the diffuser; the final step before painting.
K.Using the 400 grit sand paper, begin sanding the outer surface, thoroughly getting into the creases and corners of the entire surface.
Note : Be careful not to damage the tape during the sanding process or retaping will be required.
L. Now sand the inside. Once the forward surfaces are sanded, use what is left of the sand paper to know the sharper points of the reflective surfaces off.
M. Using the 800 grit, lightly go over the diffuser it knock off any burrs and create a uniform surface for painting.
N. Now the diffusers on the painting surface with the inside up first.
Thread Starter
Community Organizer
Joined: Jul 2004
Posts: 11,936
Likes: 12
From: Charleston
STEP 4: Painting Diffuser
Finally! Ok, here is where its do or die. I have noted above in the materials two separate base coats. The most logical choice for the prime coat would be the plastic primer. I have only used and prefer the black bumper coating for several reasons. First, it adds additional black pigment to the diffuser which means fewer coats to achieve complete opaqueness.
O. Begin spraying the prime coat. Use multiple thin layers allowing each layer to dry just enough to not be adhesive to the touch before applying the next. Repeat the process at minimum at least twice.
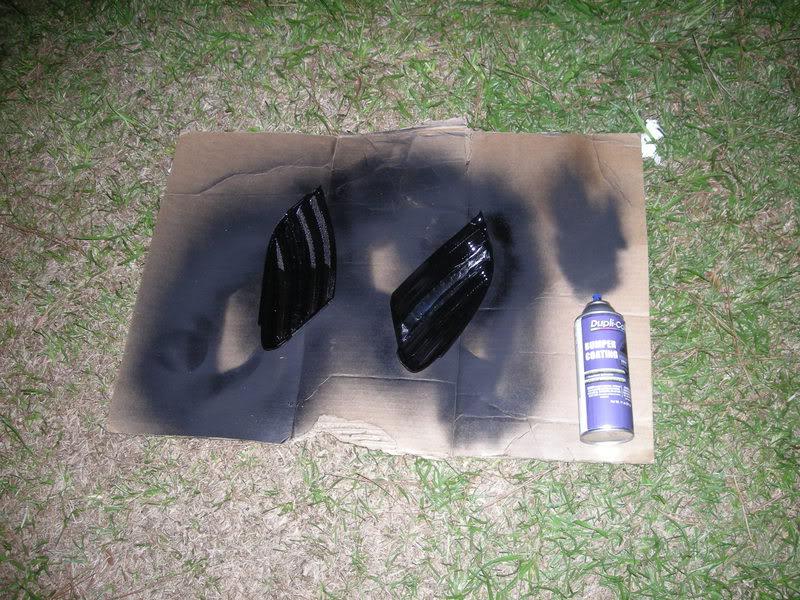
P. Prime the inside first, them prime the outside. Once you have finished priming begin to apply the top coat (Rustoleum Flat Black Paint). Apply this in layers of moderate thickness but be careful of too much because of runs. Three to for layers on both sides starting with the inside first and then the outside should be enough. To be certain of absolute opaqueness, between each layer hold the diffuser next to a bright light to see the areas that need more paint and how much light is passing through. Then allow to dry again to the touch.
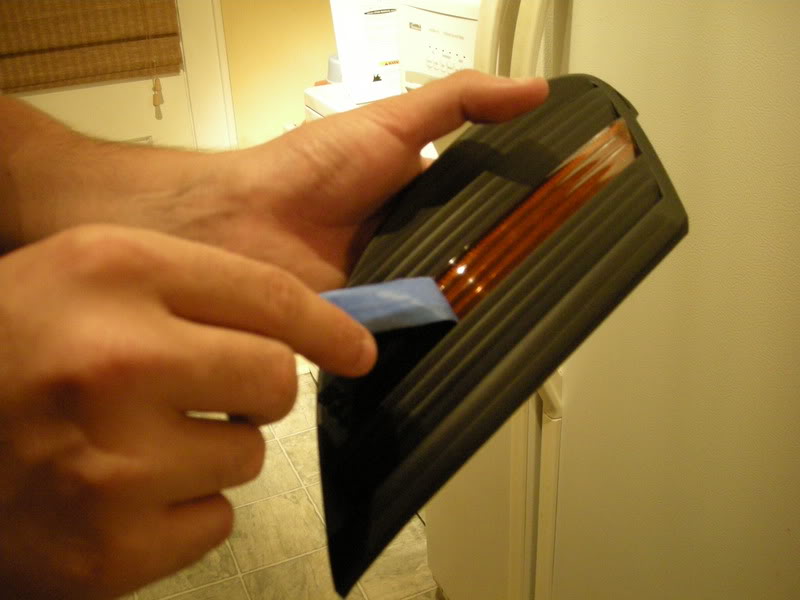
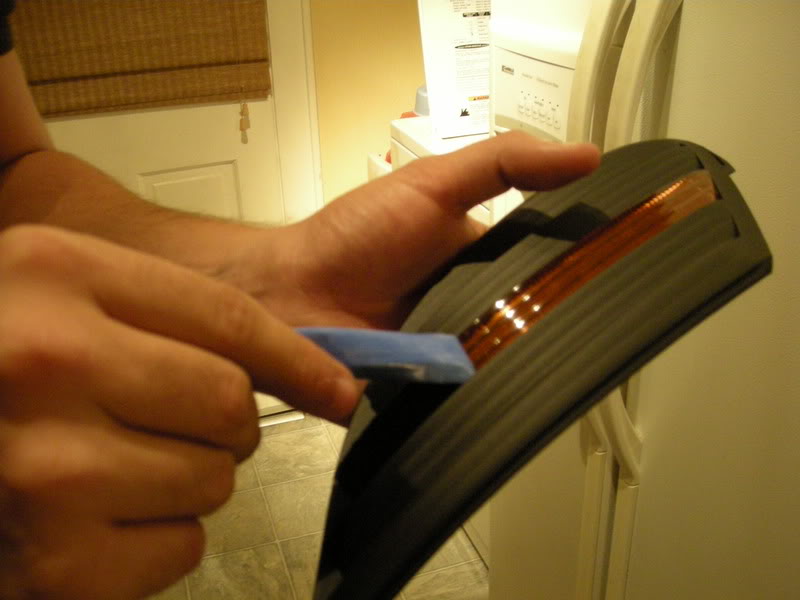
Q. Once the diffuser is complete opaque and has dried to the touch, holding the diffuser gently and carefully from the sides use the hobby knife the delicately peel back the top corner of the tape and begin pulling it at an opposite angle away from the surface.

Finally! Ok, here is where its do or die. I have noted above in the materials two separate base coats. The most logical choice for the prime coat would be the plastic primer. I have only used and prefer the black bumper coating for several reasons. First, it adds additional black pigment to the diffuser which means fewer coats to achieve complete opaqueness.
O. Begin spraying the prime coat. Use multiple thin layers allowing each layer to dry just enough to not be adhesive to the touch before applying the next. Repeat the process at minimum at least twice.
P. Prime the inside first, them prime the outside. Once you have finished priming begin to apply the top coat (Rustoleum Flat Black Paint). Apply this in layers of moderate thickness but be careful of too much because of runs. Three to for layers on both sides starting with the inside first and then the outside should be enough. To be certain of absolute opaqueness, between each layer hold the diffuser next to a bright light to see the areas that need more paint and how much light is passing through. Then allow to dry again to the touch.
Q. Once the diffuser is complete opaque and has dried to the touch, holding the diffuser gently and carefully from the sides use the hobby knife the delicately peel back the top corner of the tape and begin pulling it at an opposite angle away from the surface.
Thread Starter
Community Organizer
Joined: Jul 2004
Posts: 11,936
Likes: 12
From: Charleston
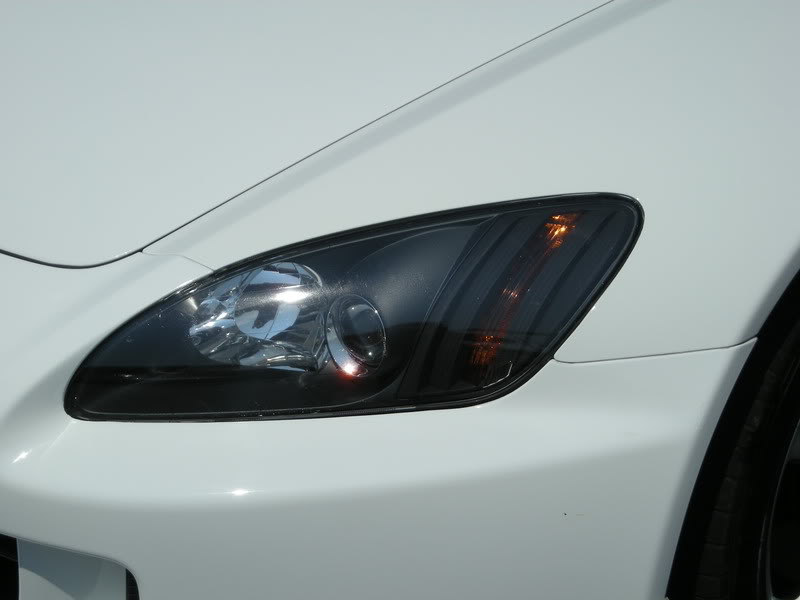
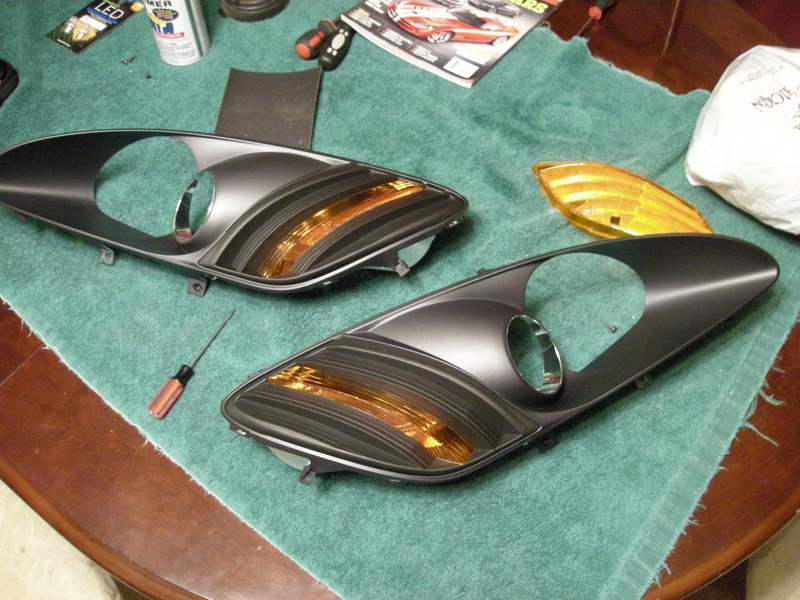
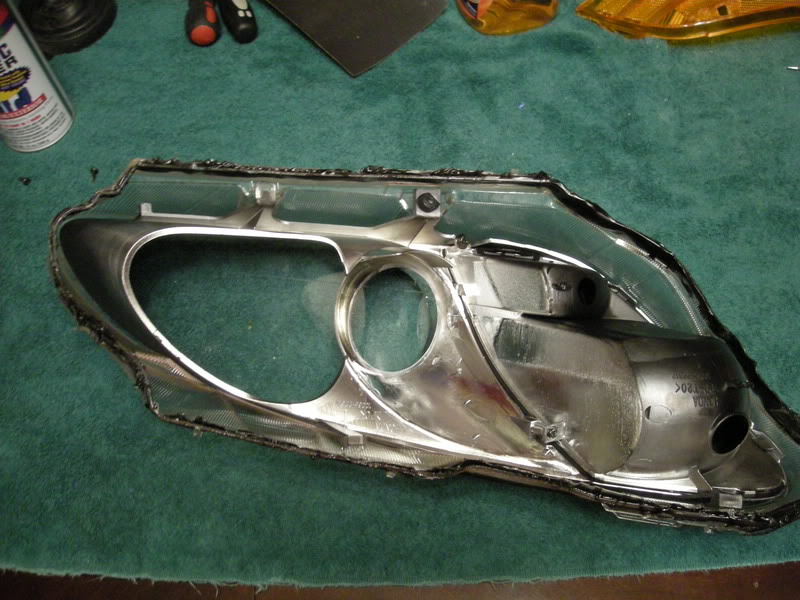
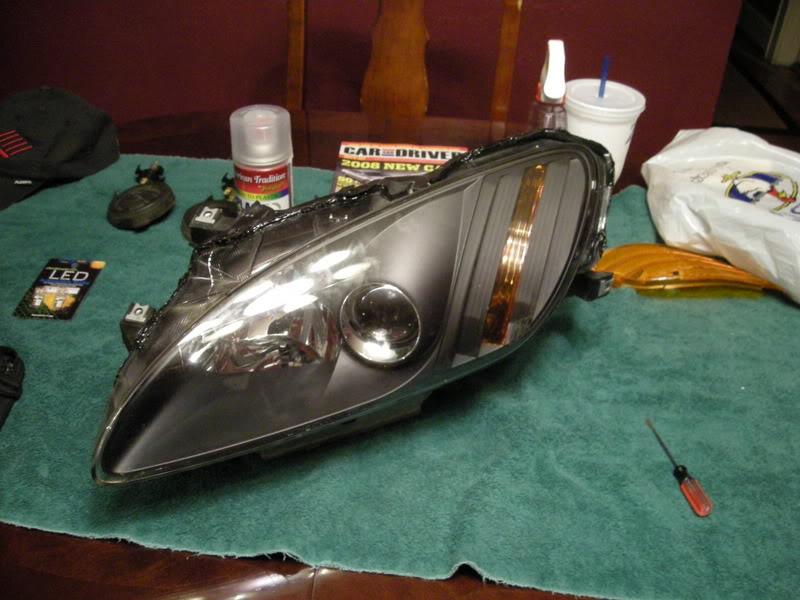
R. Now set them under a fan or vent for at minimum one hour. Once sufficiently dry, you can how begin to reassemble the headlight housing. Remember to follow RICK'S directions to reassemble the headlight. Make sure before assembling that the all surfaces are clean and free of lint, dust, or anything else. This includes the inside of the clear outer housing and the reflective and lens surfaces on the inner housing. How reassemble the headlight and front end and you are done!
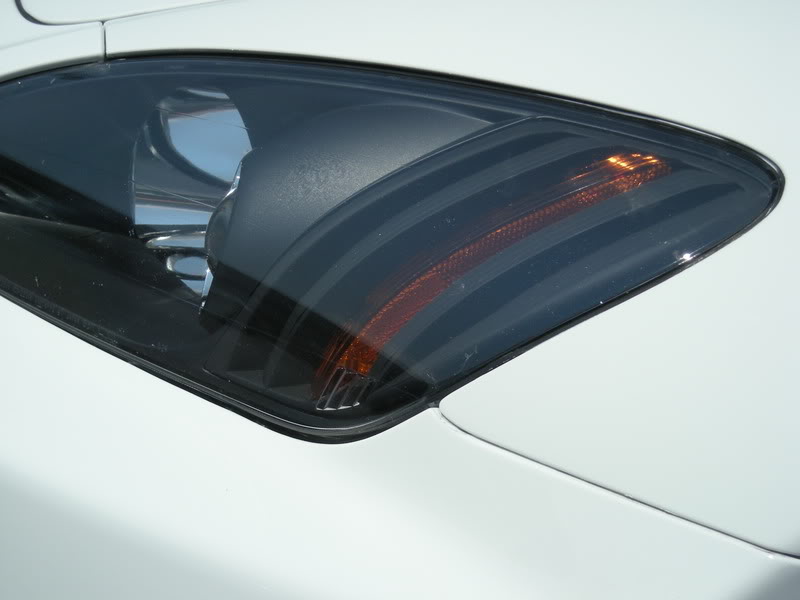
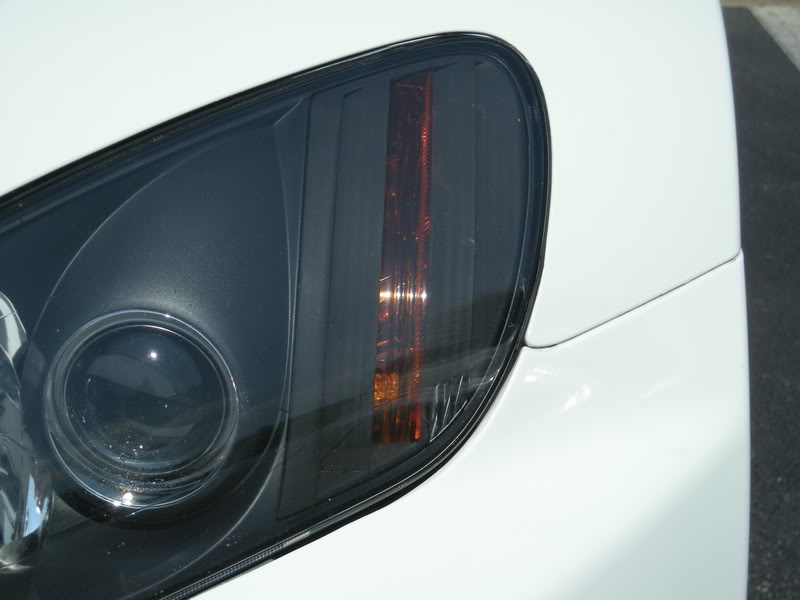
Note: For running lights, to reduce heat on the inside of the diffuser I use LEDs to replace the incandescent bulbs. The advantages of this are
A. A unique and cleaner night signature
B. Longer life
C. Reduced heat
This is optional but I HIGHLY RECOMMEND IT. I am not responsible for any damages that may occur.

Now .. enjoy your new look and make sure to post photos!
: - MULDER
Note: For running lights, to reduce heat on the inside of the diffuser I use LEDs to replace the incandescent bulbs. The advantages of this are
A. A unique and cleaner night signature
B. Longer life
C. Reduced heat
This is optional but I HIGHLY RECOMMEND IT. I am not responsible for any damages that may occur.
Now .. enjoy your new look and make sure to post photos!
:
- MULDER


