When you click on links to various merchants on this site and make a purchase, this can result in this site earning a commission. Affiliate programs and affiliations include, but are not limited to, the eBay Partner Network.
Ok so here goes. I have now gone from never pulling a rear diff on an s2k to r&r-ing 5 times now in 1 month. I found that no one had a DIY for this and decided to make one. Hope this helps everyone. FYI It is easier than you think. repair manual calls for only 2.5 hours total. So good luck and be patient.
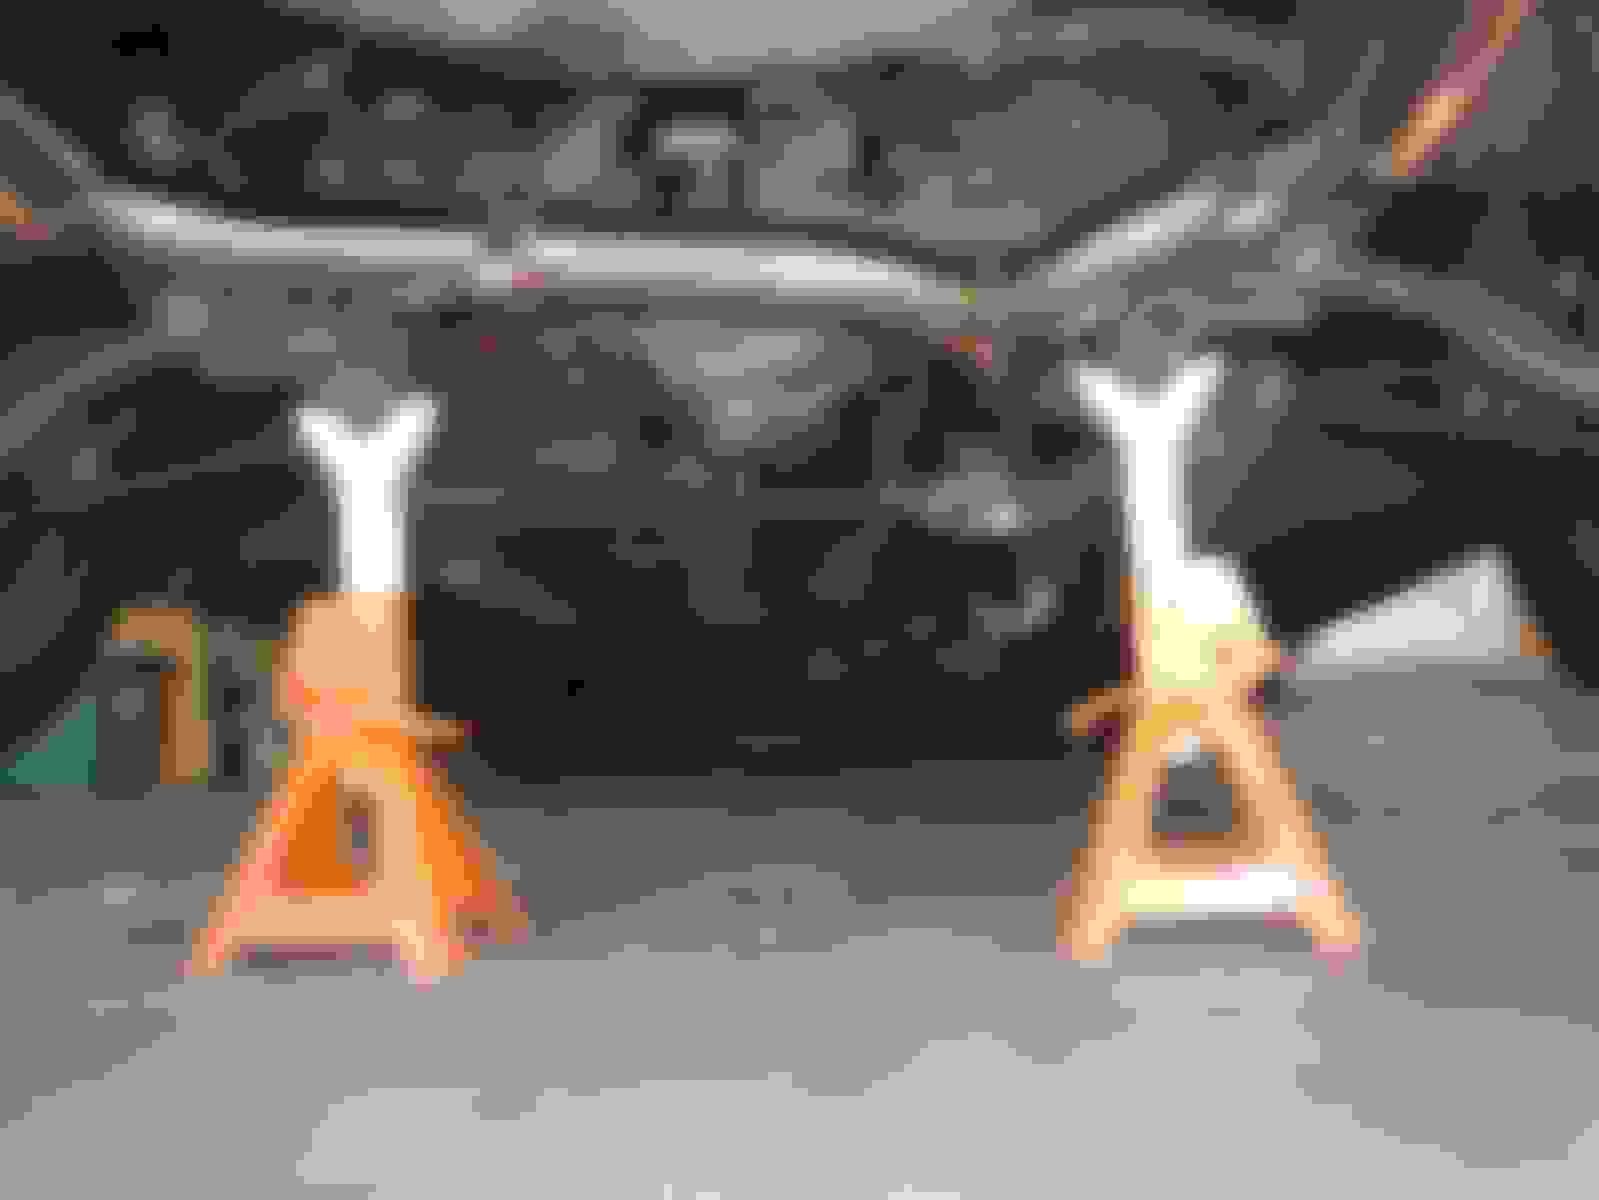
first Lift car. I used the diff as lift point. you can do this or lift from sides. does not matter just make sure you get the back end of the car as high as posible. it will make this much easier.
Second Support vehicle. I used the subframe. it gave the most working room. you could use side lift points if you want.
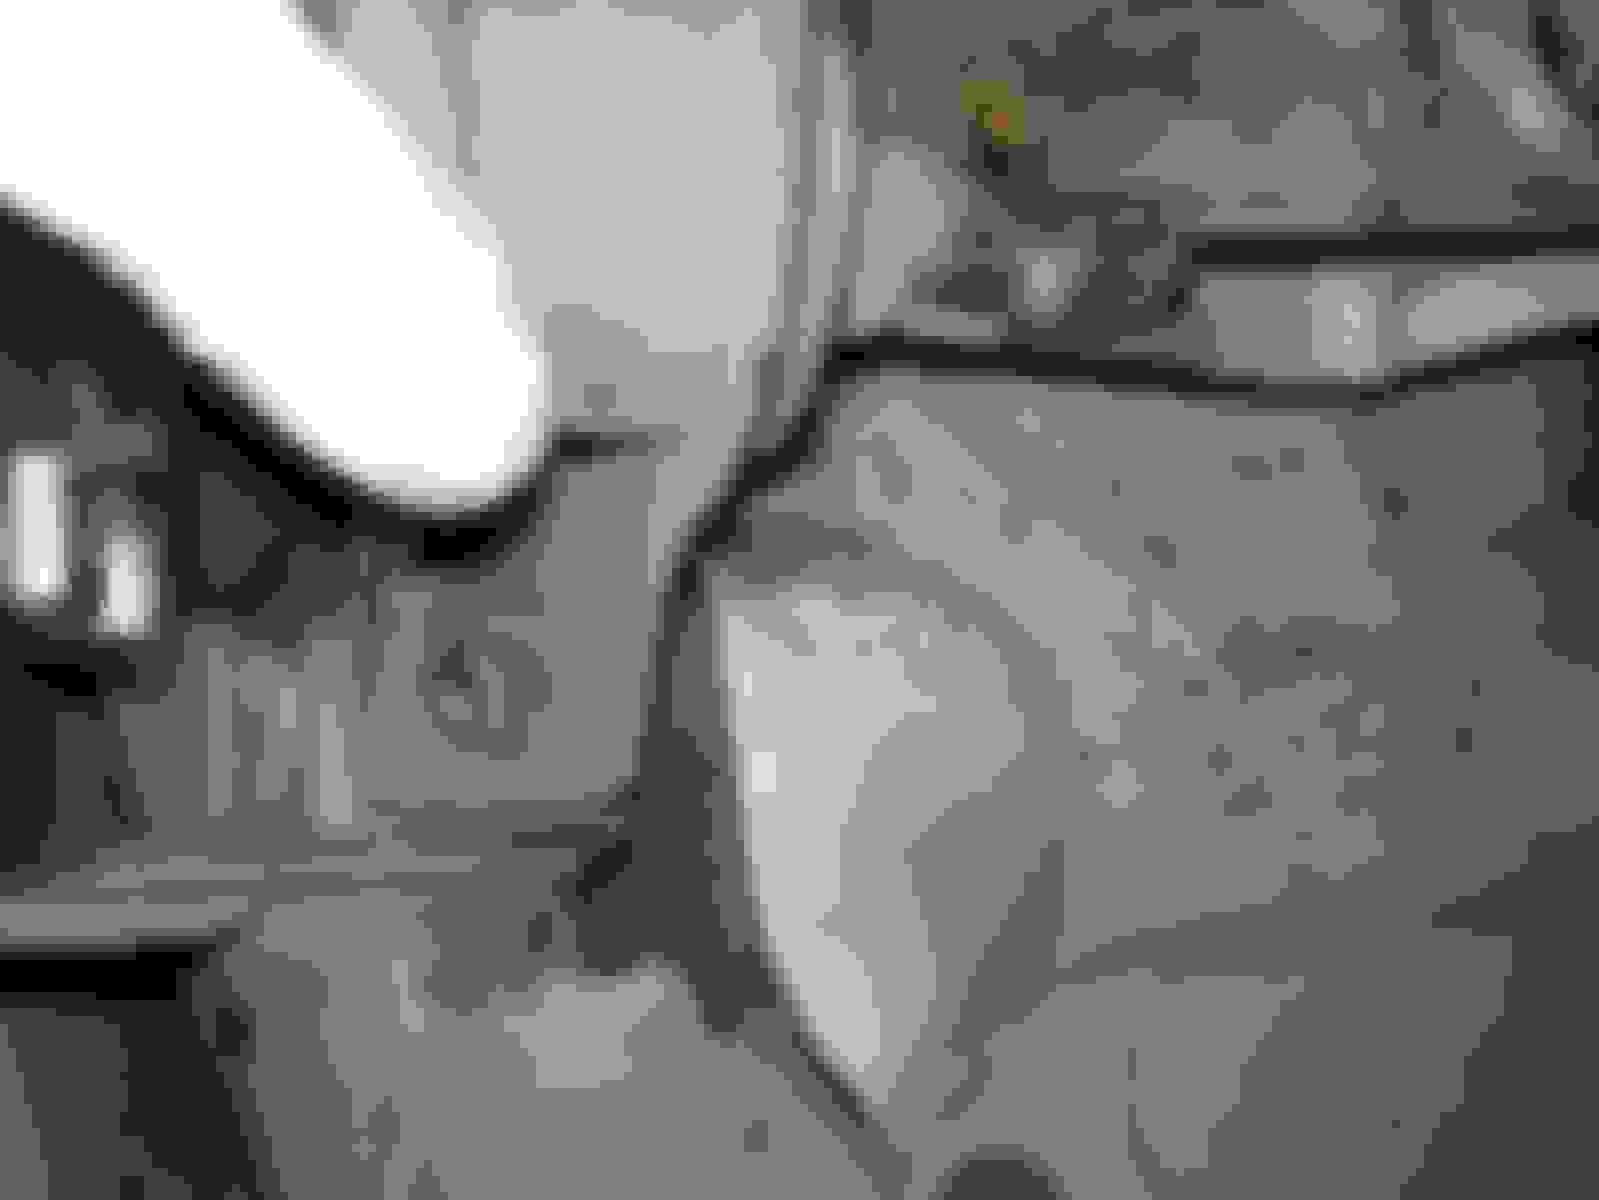
Third remove cross bar and shield.
Fourth remove exhuast. I have no pics of this. I think that if you are attempting this you should know how to remove your exhaust.
Fifth take you r drive shaft loose from diff. There are 6 bolts that take a 6mm allen wrench or socket. it makes it easier to loosen them if you lock the e brake and loosen and rotate as needed. be very careful loosening these they strip easily.
Sixth take loose sway bar mount bolts that hold it to subframe. once loose you can let it hang down. it will be easier to access mounts this way. 4 14mm bolts.
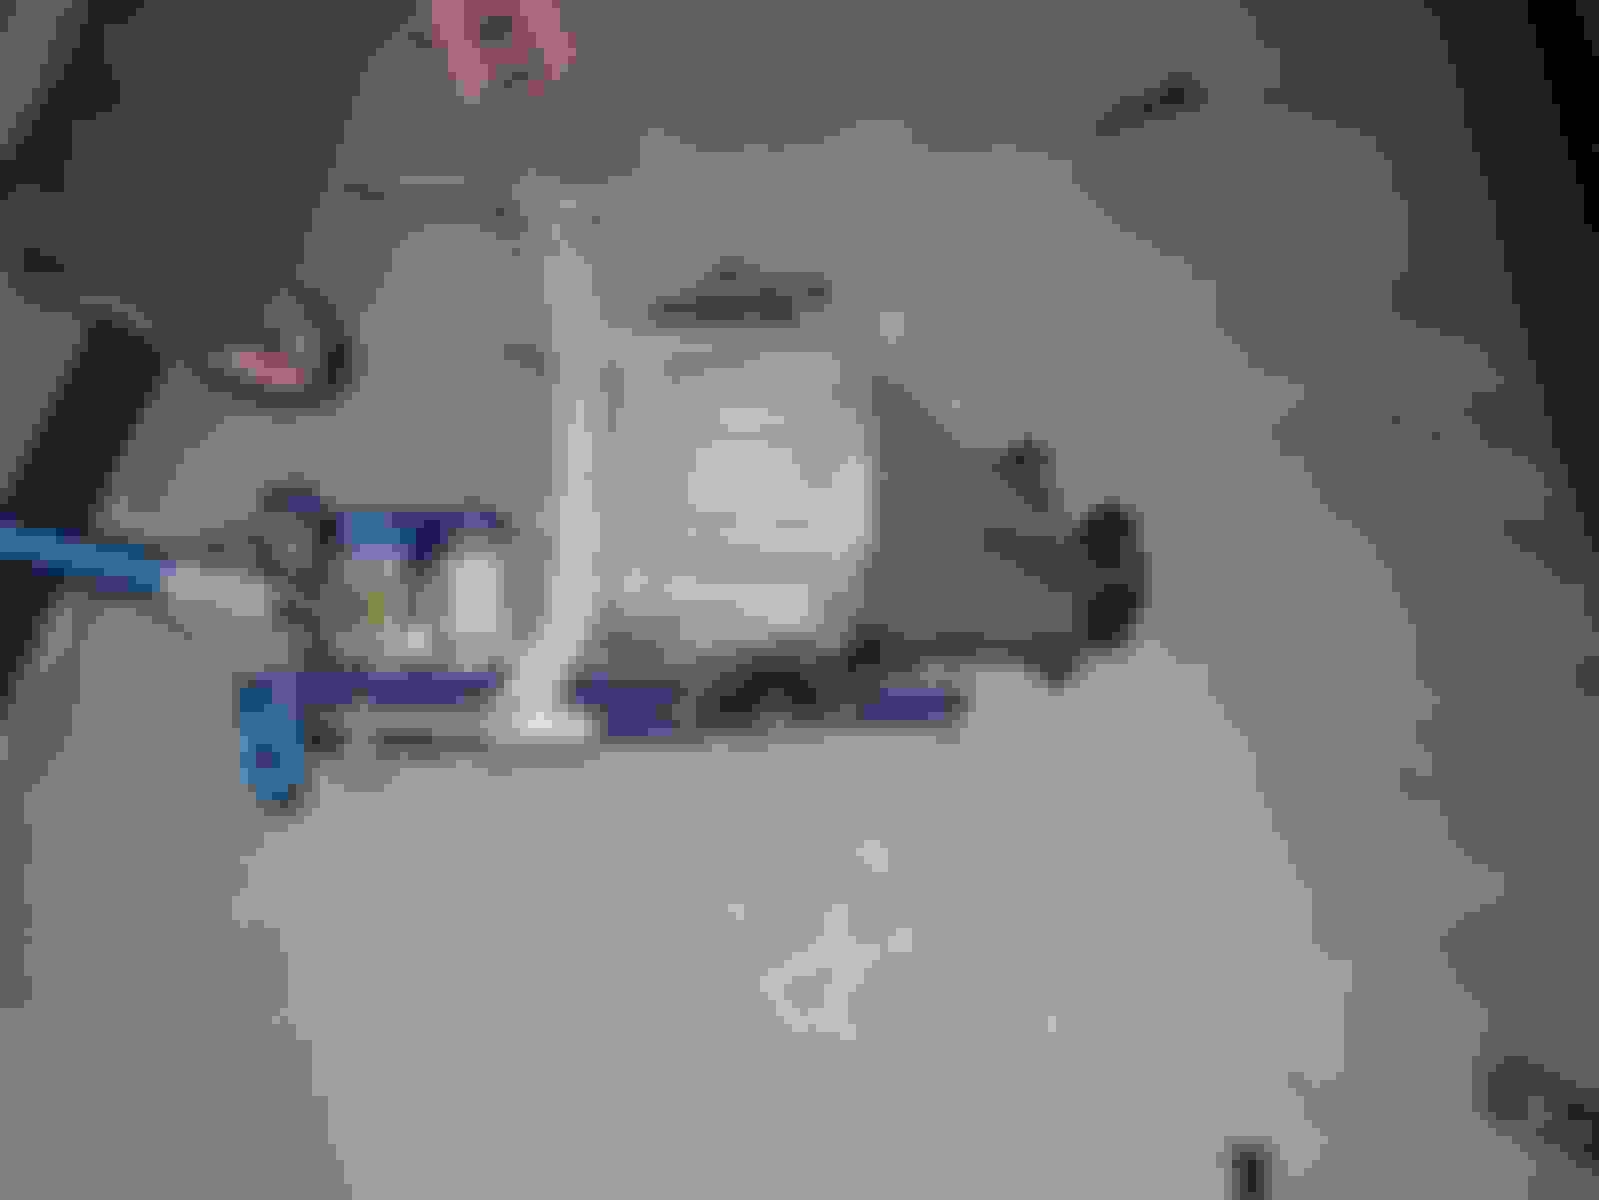
7th take off rear diff mounts. 4 14mm bolts each and then center 19mm nuts on each. soak the center nuts they are on there tight. once all are all remove mounts and let studs rest on subframe.
8th take axles loose from diff you will have 6 14mm bolts and nuts each side. these should be on there really tight it helps to have some there to work wrench on inside and you work socket on outside. try to use 6 point socket on outside.
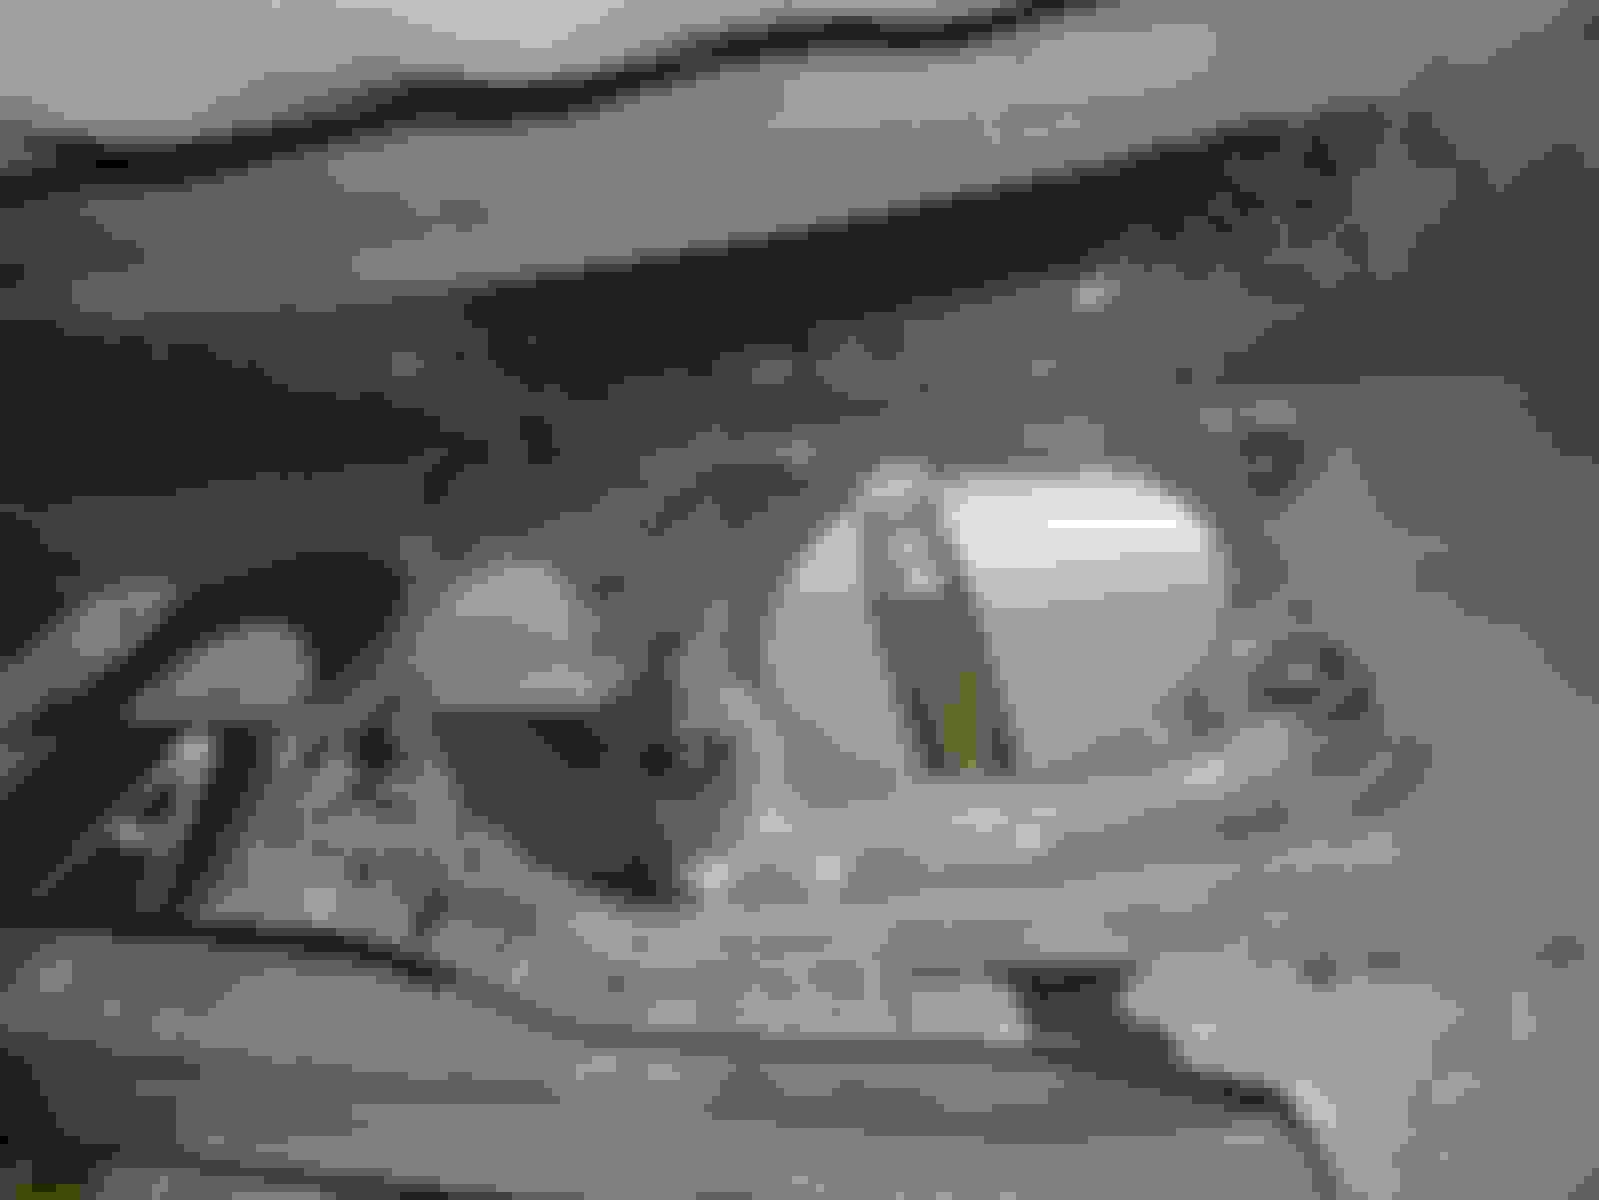
9th take loose main diff mounts. dont worry the diff will not fall out. there will be 2 14mm upper bolts each side and 2 17mm lower bolts each side. remove mounts.
10th you dont have to do this you could try to fight the diff side to side to get it out but i found it easier this way. support diff with jack and take right upper rear control arm loose. before you take arm loose take abs sensor loose. 1 10mm bolt holding it to hub 2 10mm bolts holding wire to control arm. next on control arm should be 17mm bolts each side. remove both bolts. there is a trick to getting rear bolt out once you get it broke loose use open end of wrench to take it all the way loose and then you will find that it hits the spring so then place jack under lower ball joint and lift until the bolt will slide between 2 coils. once those are out the control arm will pull outwards just let it rest it will not damage brake line.
next is the fun part. pull right axle outwards to clear diff. there is a long aligning pin that goes into diff. once the right one is out then move diff right and slide left axle out of diff. then lower diff and move foward as it comes down..
YOU ARE DONE WITH REMOVAL. now the fun part reinstalling. just follow the steps in reverse make sure to tighten all nuts and bolts securely. Hope this helps and good luck.
the first time took me about 3.5 hrs now i can do it in about 1:45 . practice does help.
Did we really sit out there for 3.5hrs the first time? I guess time flies when you've got a cooler of beers next to you and your watching someone else work.
Bug's, you're not counting the time grilling the hamburgers in that 3.5hrs are you?
Originally Posted by negcamber,May 15 2009, 11:02 AM
Did we really sit out there for 3.5hrs the first time? I guess time flies when you've got a cooler of beers next to you and your watching someone else work.
Bug's, you're not counting the time grilling the hamburgers in that 3.5hrs are you?
the 3.5 includes reinstalling it.
i think i removed it the first time in about hour and half.
now 30-45 min.
I did this a few times last summer, and most recently in February or so. I think I used a DIY in the DIY section, but it didn't have as many pictures. Just a few comments:
a) I've always left my exhaust on, but perhaps it makes a difference what exhaust is on the car, I have a Tanabe somethingortheother, never really gotten in the way;
b) I've never removed the sway bar or the rear diff mounts either. I've removed the eight bolts holding the diff mounts to the subframe, and then the four big bolts that hold the aluminum 'arm' to the diff.
A bit of wriggling here and there, and then the diff drops down and done!
Initially I tried removing just the four big bolts that holds the arm to the diff, but there wasn't enough room to wriggle the diff out, so then I took out those other eight that hold the mounts to the subframe. All the time, the mounts stay in the car, and as there's enough room to move around, it's not too bad getting it back in.
Now I have a quiet diff and hopefully won't have to remove the diff ever again...


 there will be 2 14mm upper bolts each side and 2 17mm lower bolts each side. remove mounts.