DIY Door Panel Inserts
#1
Registered User
Thread Starter
Hello everyone. I havent seen a DIY for this, so thought I would do one just for fun. I am de-smurfing my suzuka's blue interior some, and got some black inserts for my doors. (I also got black carpet im putting in this weekend. Might do a DIY for that also.) Okay so lets begin.
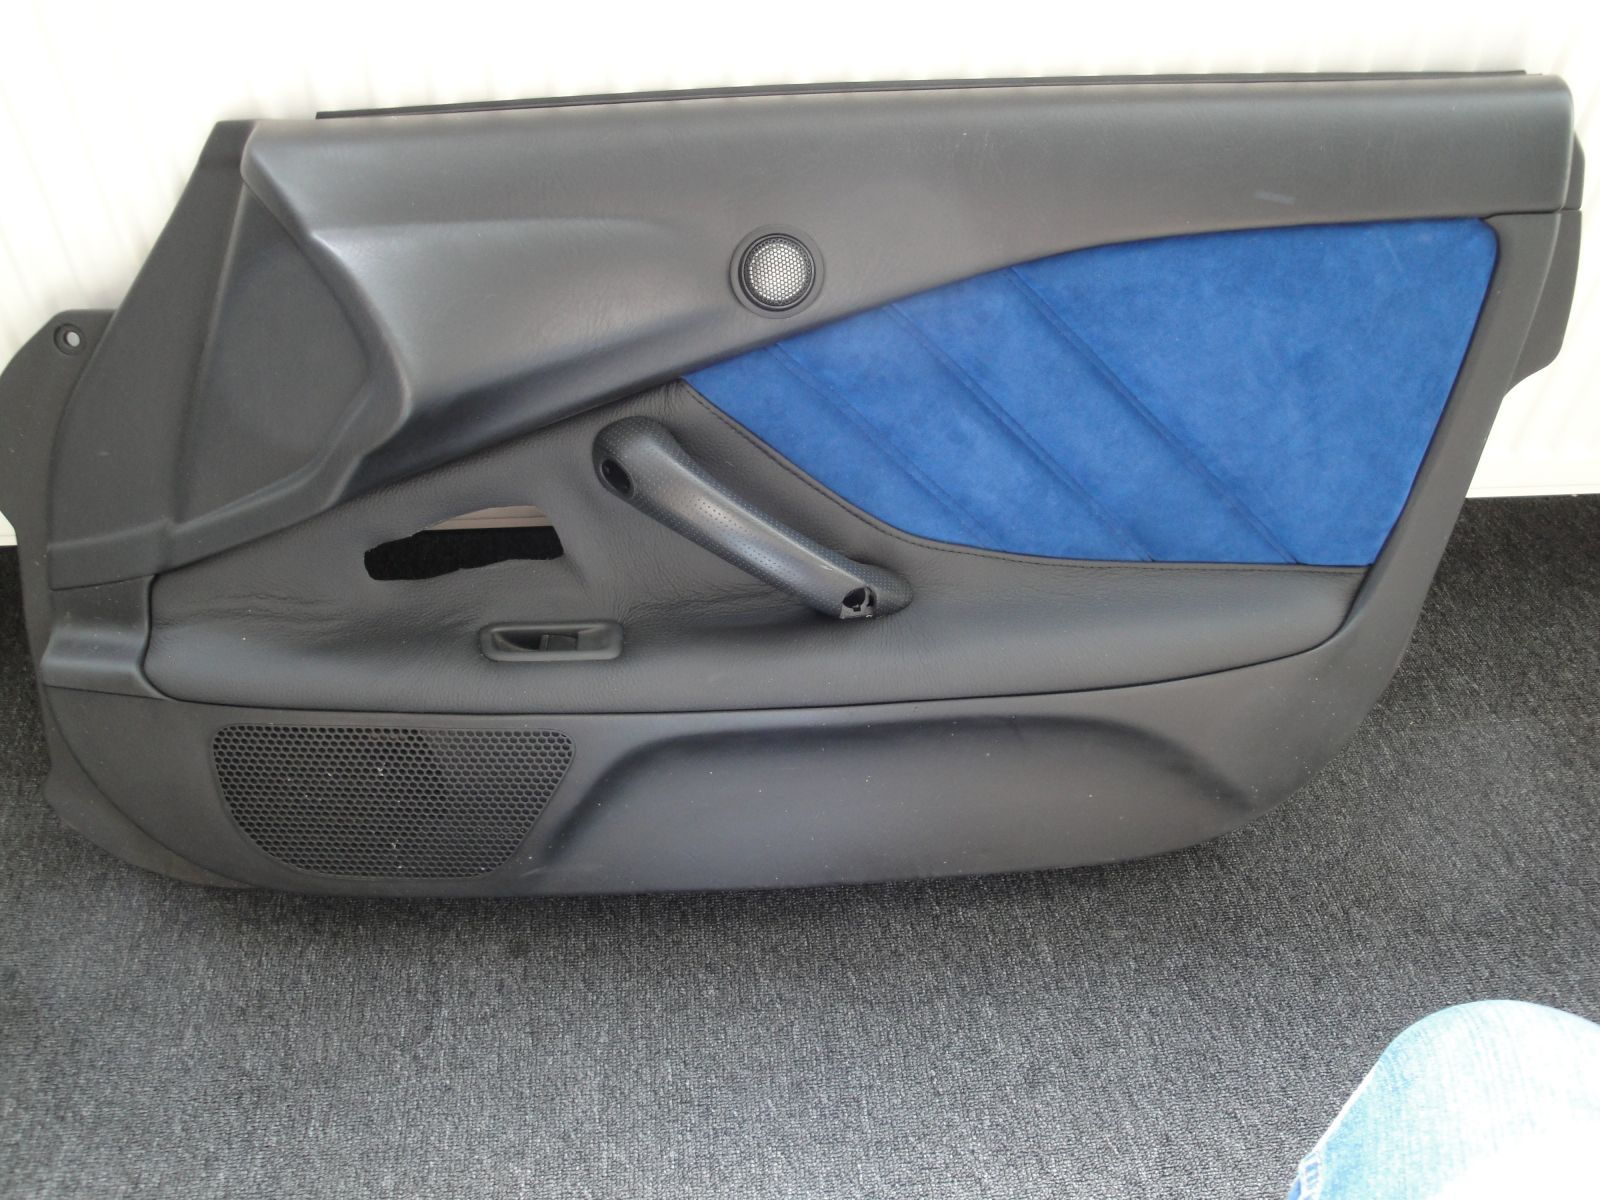
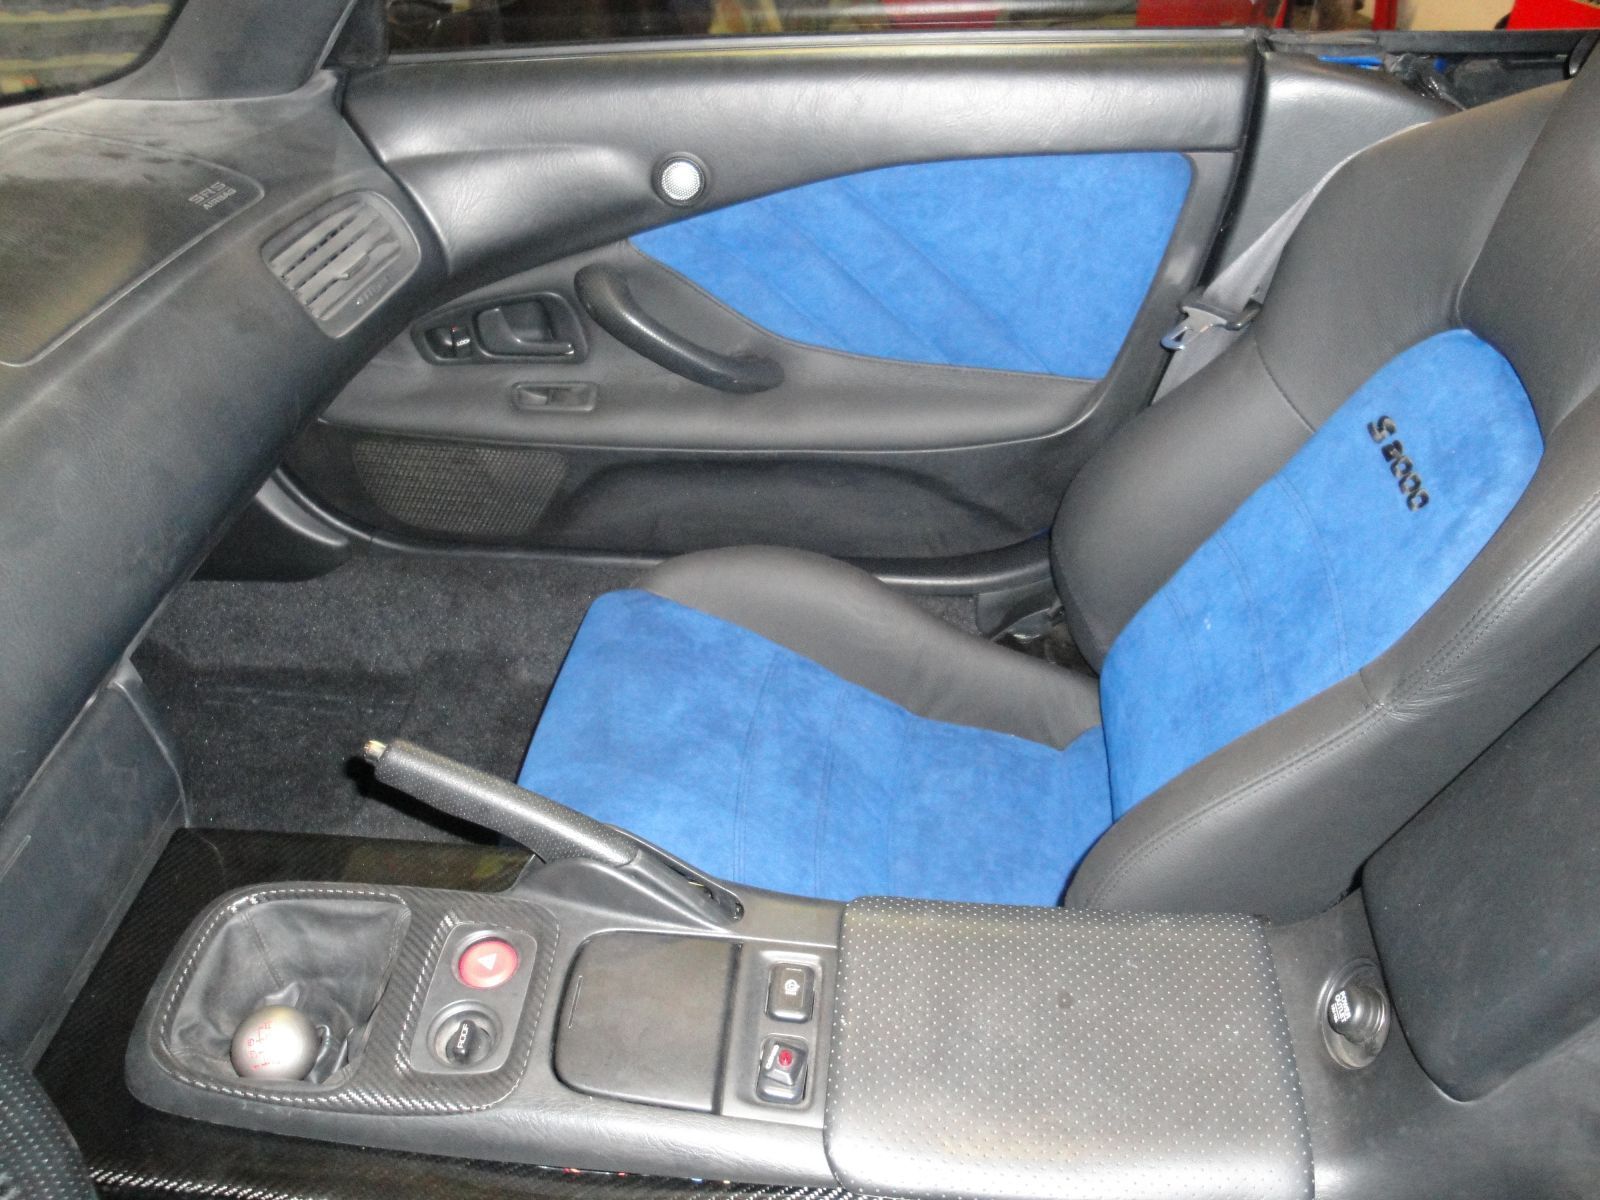
The all blue door panel

First thing I did was remove the 1 screw that is in the little cup of the door handle trim. You will have to pull the door handle back all the way to get your screwdriver in there strait on the screw. It is a phillips screw. Once the screw is out, if I remember right you have to pull on the trim peice towards the back of the panel, and it will come loose. You will then have to pull it out a little, and turn it sideways to pull it off the door handle through the slot.

On the the flat part of the door panel that goes up against the dash when the door closed, there is a little push tab in there. This is easily removed by a flat head screwdriver. Just put a peice of painters tape on the end of your screwdriver so you dont scrape your panel up trying to get it out.

Next take out the two little plugs on the door handle, and there will be a phillips screw in each of these holes, remove both of those.

Okay now your door panel is loose. Start by tugging on the bottom of the panel, it is held on my just plastic clips now. Dont be afraid to tug on it to pop it off.

To remove the rest of the panel once its all popped loose, you will need to grab the panel and push upwards, toward the roof of the car. It should slide off. Dont yank the panel away or anything since your window controls and tweeters are plugged in still. On the driver side there are 3 connectors you need to un-clip, and on the passenger there are 2.

Okay now take your panel inside or wherever your going to be working on it. You will then need to remove the window switches. These are not held in by any screws or anything, look on the backside of the panel and you can see there is a long clip on the front of the module so it doesnt come out. Just push from the inside out on the back of the module and then just grap it from the outside, and pull it off.

Now there are a bunch of phillips screws holding the insert in. You will need to remove all these. I circled them in red in this pic. The one circles in blue is a little tab. This can be removed without breaking the plastic with a small flathead screwdriver.

There is some foam like padding that goes around the speaker that is partly attached to the insert. If your new inserts have this still on it, just tear it where the end of the insert meets the panel, and install the new insert and it will make a whole. If your new insert does not have this on it, just carefully rip it where the insert meets the actual panel, and then remove it from just the insert. You can use adhesive to hold it onto your new inserts.

After that, put your new inserts into your panel exactly how you removed them. Just do everything in reverse, and install your panel back into the car. Be sure to hook up all the connectors and everthing before getting the panel back on.
Enjoy you new door panel inserts!


The all blue door panel

First thing I did was remove the 1 screw that is in the little cup of the door handle trim. You will have to pull the door handle back all the way to get your screwdriver in there strait on the screw. It is a phillips screw. Once the screw is out, if I remember right you have to pull on the trim peice towards the back of the panel, and it will come loose. You will then have to pull it out a little, and turn it sideways to pull it off the door handle through the slot.

On the the flat part of the door panel that goes up against the dash when the door closed, there is a little push tab in there. This is easily removed by a flat head screwdriver. Just put a peice of painters tape on the end of your screwdriver so you dont scrape your panel up trying to get it out.

Next take out the two little plugs on the door handle, and there will be a phillips screw in each of these holes, remove both of those.

Okay now your door panel is loose. Start by tugging on the bottom of the panel, it is held on my just plastic clips now. Dont be afraid to tug on it to pop it off.

To remove the rest of the panel once its all popped loose, you will need to grab the panel and push upwards, toward the roof of the car. It should slide off. Dont yank the panel away or anything since your window controls and tweeters are plugged in still. On the driver side there are 3 connectors you need to un-clip, and on the passenger there are 2.

Okay now take your panel inside or wherever your going to be working on it. You will then need to remove the window switches. These are not held in by any screws or anything, look on the backside of the panel and you can see there is a long clip on the front of the module so it doesnt come out. Just push from the inside out on the back of the module and then just grap it from the outside, and pull it off.

Now there are a bunch of phillips screws holding the insert in. You will need to remove all these. I circled them in red in this pic. The one circles in blue is a little tab. This can be removed without breaking the plastic with a small flathead screwdriver.

There is some foam like padding that goes around the speaker that is partly attached to the insert. If your new inserts have this still on it, just tear it where the end of the insert meets the panel, and install the new insert and it will make a whole. If your new insert does not have this on it, just carefully rip it where the insert meets the actual panel, and then remove it from just the insert. You can use adhesive to hold it onto your new inserts.

After that, put your new inserts into your panel exactly how you removed them. Just do everything in reverse, and install your panel back into the car. Be sure to hook up all the connectors and everthing before getting the panel back on.
Enjoy you new door panel inserts!


#4
Registered User
Thread Starter
Thanks. I bought the inserts and the black carpet off a member on here. Btw my blue ones are for sale. Once I get the blue carpet out that will be for sale also.
#7
Registered User
Thread Starter
No problem! I try to do DIY's on here for alot of the things I do. That is if there isnt aleady one. I know DIY's have helped me before, so thought I would maybe help some people out. 

Trending Topics
#8
Registered User

well done man!!!
i'm thinking to do just the opposite - my door panels are all black and i consider to make that stiched cushion part from perforated blue elcantara....
Gennady
i'm thinking to do just the opposite - my door panels are all black and i consider to make that stiched cushion part from perforated blue elcantara....
Gennady
#10
Registered User

are those blue door panels still for sale? Have a laguna blue car, would LOVE blue inserts. ALL black gets a little boring, having a little colour would be awesome.


 .
.
