2004 Honda S2000 rebuild

Thread Starter
Registered User
Joined: Jan 2009
Posts: 1,601
Likes: 14
From: Zionsville, IN
As some of you may have followed, http://honda-tech.com/showthread.php...onda+S2000+AEM , in late 2009, the car ran 9's in daily driver trim. This was done on the same tires I drove the car around on the street, pump gas, and an AEM Water/Meth injection system. We were shocked with the performance that we got out of this setup! Towards the end of the season we started running into some issues with the rear end breaking, so in the off-season we elected to upgrade it. We decided to go with a "bolt in" 4-link style rear end so that the car could still fit into several street classes and because we didn't want to cut the car up or back half it. This car is still a 100% stock chassis car and all the suspension utilized on the car bolts into the stock locations.


Thread Starter
Registered User
Joined: Jan 2009
Posts: 1,601
Likes: 14
From: Zionsville, IN
The front setup is custom setup designed by MR2 performance and built by Santhuff. MR2 Performance also designed and built a custom front crossmember to incorporate a new steering rack system that eliminated the heavy stock electric rack.


Thread Starter
Registered User
Joined: Jan 2009
Posts: 1,601
Likes: 14
From: Zionsville, IN
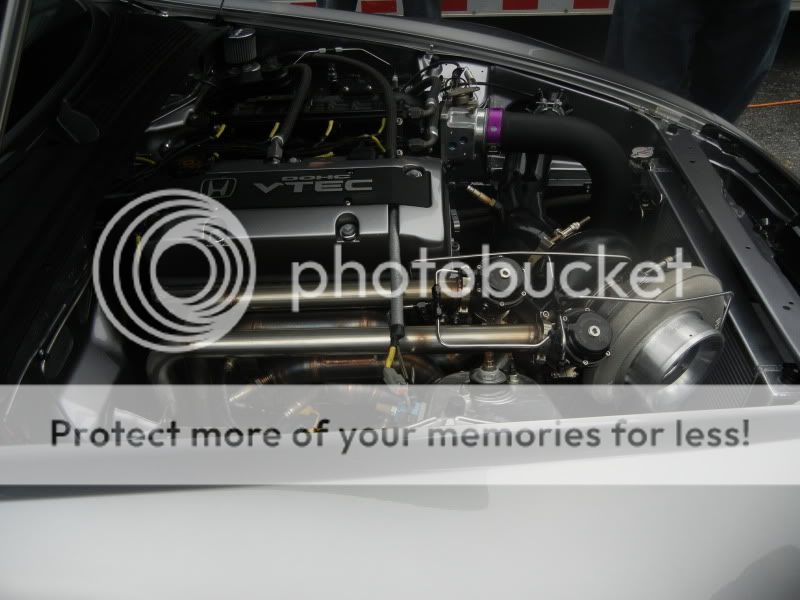
At this point we figured we might as well go all out and redo the entire engine/turbo combination for the power that the new trans and rear end setup could hold. We also decided it would be best to mount the motor solid to the chassis so we fabricated front motor plates and a rear mid-plate to bolt the setup into the car


Thread Starter
Registered User
Joined: Jan 2009
Posts: 1,601
Likes: 14
From: Zionsville, IN
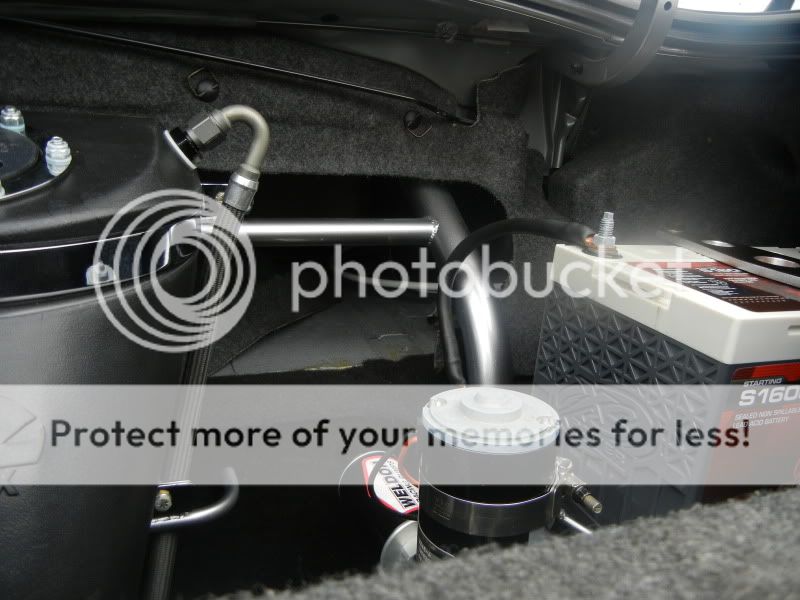
The entire electrical system was rewired and electronics were upgraded with a plethora of AEM parts.
AEM Series 2 EMS
AEM 4 channel Wideband
AEM 4 channel Thermocouple
AEM Inline Wideband
AEM Pencil Coils
AEM Twin Fire
AEM Pressure Sensors
AEM Boost Control Solenoid


AEM Series 2 EMS
AEM 4 channel Wideband
AEM 4 channel Thermocouple
AEM Inline Wideband
AEM Pencil Coils
AEM Twin Fire
AEM Pressure Sensors
AEM Boost Control Solenoid
Thread Starter
Registered User
Joined: Jan 2009
Posts: 1,601
Likes: 14
From: Zionsville, IN
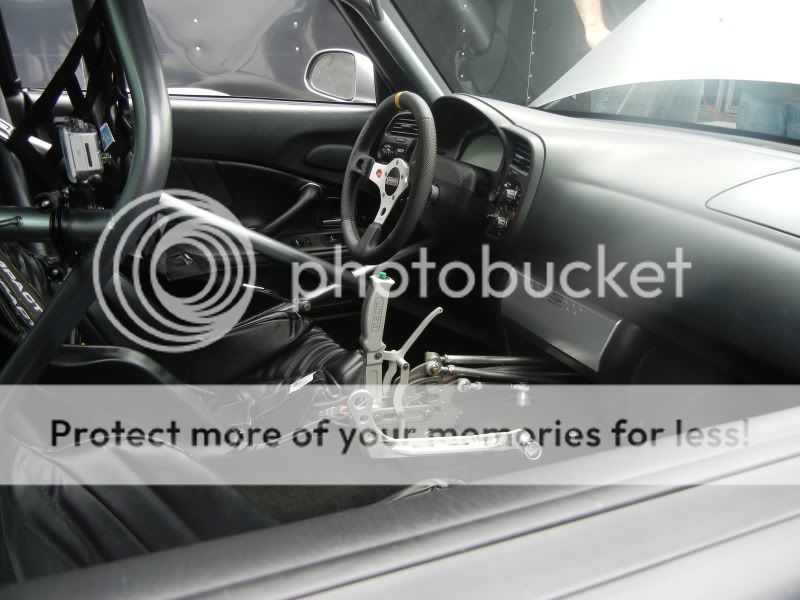
We decided since we were going to be running an adjustable slipper clutch that it would be good to also incorporate a Racepak V300SD and IQ3 dash to keep an eye on all the chassis related data. This works great in conjunction with the AEM via an interface cable and allows us to watch absolutely everything that's going on with the car.


Trending Topics


Thread Starter
Registered User
Joined: Jan 2009
Posts: 1,601
Likes: 14
From: Zionsville, IN
Overall, from start to finish, the upgrades done to the car took 2 years to complete. Throughout this time, I had the help and advice from several manufacturers to help reach our goals. Last week we tested the car in Bradenton and the first full pass we made down the track netted an 8.98 at 150.5. This was done on the car's lowest power setting (wastegate spring pressure) and we were all elated on how well the car performed on such low boost. We had one more shot to try and better the times that day, so we decided to add another 4 - 5 psi to the car in 4th and 5th gear and it went 8.91 at 159.4. Once I get a little more used to the car and get the clutch / suspension setup dialed in, we'll start putting the power to it. This combination made 1100hp at only 37psi of boost on the engine dyno, so it's ready to make some jam when the car and driver is ready to take it. It's been a long journey, a ton of hard work, but it's great when everything comes together as it did with little to no issues whatsoever.