
Another IN-DASH cut/install


Registered User
Joined: Dec 2008
Posts: 173
Likes: 0
From: 201 N.Jerzy
Originally Posted by azunboy,Aug 7 2009, 10:45 AM
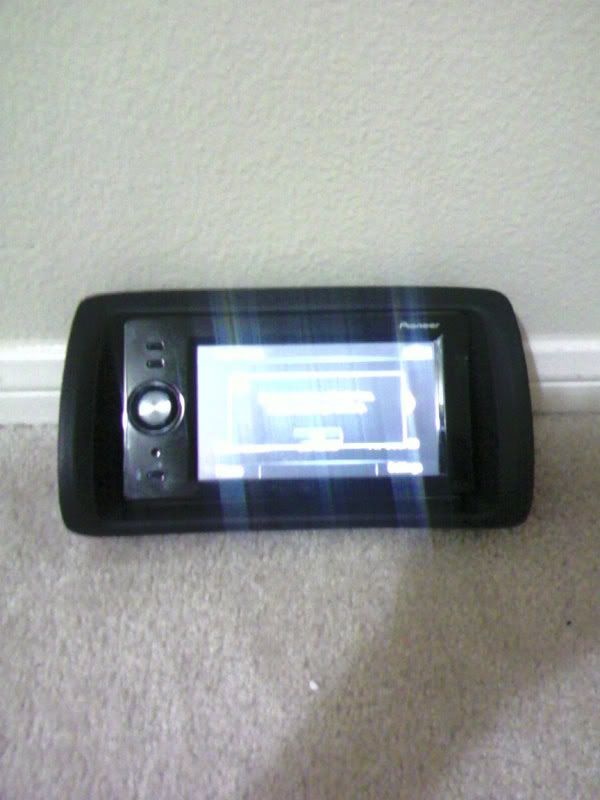
Excuse the crappy cell phone pictures 
So it started with a scuff mark on my dash the lady friend put there that i couldnt help but keep staring at and couldnt remedy it so.....here it is removed

OHh..now theres a hole..no biggie ill just fill it in with this
Argghhhh the SOB bezel wouldnt fit right in there without the gaps...so i started modding it and shaping it and after a hr of working on it to get the shape right i ended up with this
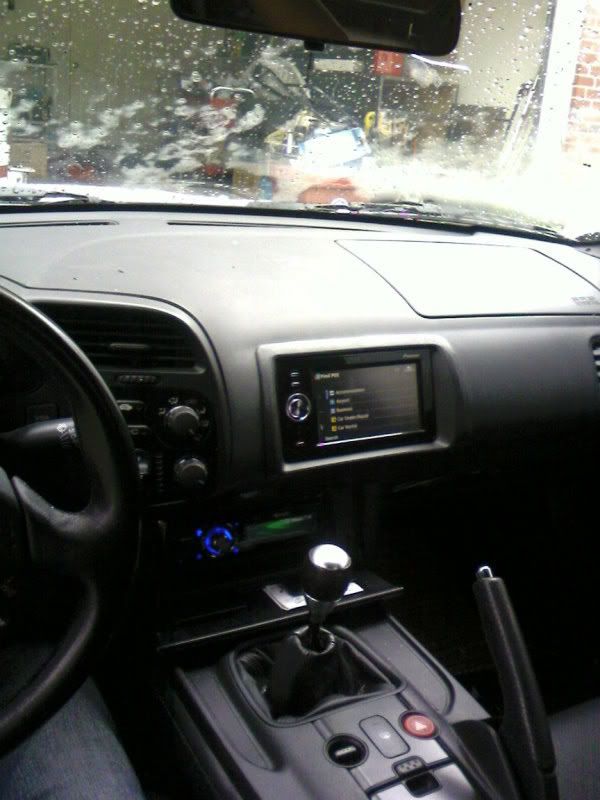
The end....i solved the scuffed mark and i have navi built in now
The time it took: 3hrs
The Tools: dremel and tape/choice of epoxy
The ICE: pioneer f500BT
The Bezel: JDM bezell modified
The Result: sitting so flushhh
and Im going to whore the thread with a cell phone picture again

So it started with a scuff mark on my dash the lady friend put there that i couldnt help but keep staring at and couldnt remedy it so.....here it is removed
OHh..now theres a hole..no biggie ill just fill it in with this
Argghhhh the SOB bezel wouldnt fit right in there without the gaps...so i started modding it and shaping it and after a hr of working on it to get the shape right i ended up with this
The end....i solved the scuffed mark and i have navi built in now
The time it took: 3hrs
The Tools: dremel and tape/choice of epoxy
The ICE: pioneer f500BT
The Bezel: JDM bezell modified
The Result: sitting so flushhh
and Im going to whore the thread with a cell phone picture again

Thread Starter
Registered User
Joined: Oct 2006
Posts: 988
Likes: 0
Originally Posted by RL1924,Aug 14 2009, 04:10 PM
Seems like a popular install.. If i could just understand the brackets a little better i would jump on doing this

Registered User
Joined: Dec 2005
Posts: 185
Likes: 0
From: Stockton
Man I have nice screen ready to do this for some time now but never really knew what to do after cutting the dash. Now I know you need to install brackets of some sort to have the deck secure. My question is what type bracket did you use and where did you mount it on the inner part of the dash? Because the deck has its screw mounting points like your stock deck would but the inside of the dash itself looks like its a big gapping hole. Or is there some plastic behind there somewhere that you can screw the bracket to that we can't see in the pics?
Sorry for long post but I'm sure others that are considering this are wondering as well. Your install is clean for a diy job! Props!
Sorry for long post but I'm sure others that are considering this are wondering as well. Your install is clean for a diy job! Props!
Thread Starter
Registered User
Joined: Oct 2006
Posts: 988
Likes: 0
Originally Posted by dav1boy,Aug 20 2009, 10:10 AM
Man I have nice screen ready to do this for some time now but never really knew what to do after cutting the dash. Now I know you need to install brackets of some sort to have the deck secure. My question is what type bracket did you use and where did you mount it on the inner part of the dash? Because the deck has its screw mounting points like your stock deck would but the inside of the dash itself looks like its a big gapping hole. Or is there some plastic behind there somewhere that you can screw the bracket to that we can't see in the pics?
Sorry for long post but I'm sure others that are considering this are wondering as well. Your install is clean for a diy job! Props!
Sorry for long post but I'm sure others that are considering this are wondering as well. Your install is clean for a diy job! Props!