
Build-up pics of my MCB S2K


Thread Starter

Joined: Feb 2007
Posts: 1,373
Likes: 1
From: Poland
Originally Posted by stocky,Apr 14 2008, 11:00 PM
NIce and clean!
Do you sit lower than OEM with the buddy club seatrails and the sparcos?
Do you sit lower than OEM with the buddy club seatrails and the sparcos?


Registered User
Joined: Jul 2006
Posts: 817
Likes: 0
From: Germany
Awesome setup, even with the new wheels.
However, I would have powdercoated the bottom parts in car color instead of gold.
BTW: Did my Airbox-Mod within the last days.
Cut the devider wall but did not remove it completely so the 2-chamber hydrolock-safe-effect is still active.
Furthermore I covered every invisible spot with aluminum tape.
I reattached the L-shaped tunnel by the way and it showed even a better performance than w/o it, don't know why or how to substantiate it with evidence of physics but it feels slightly better so I gonna leave it that way. Might be because the tunnel guides the air directly to the filter on the one hand, plus, due to the removed devider, it has a second way to breath.
Did you realize that w/o the resonator, the airbox sits a bit slanted due to the missing 3rd mount?
I fixed that by screwing that rubber mount to the bottom of the "new" outside of the box (same height). Now everything sits in place perfectly without slanting.
Thank you alot for your help!
Thread Starter
Joined: Feb 2007
Posts: 1,373
Likes: 1
From: Poland
Originally Posted by L-X,Apr 15 2008, 10:55 AM
Awesome setup, even with the new wheels.
However, I would have powdercoated the bottom parts in car color instead of gold.
BTW: Did my Airbox-Mod within the last days.
Cut the devider wall but did not remove it completely so the 2-chamber hydrolock-safe-effect is still active.
Furthermore I covered every invisible spot with aluminum tape.
I reattached the L-shaped tunnel by the way and it showed even a better performance than w/o it, don't know why or how to substantiate it with evidence of physics but it feels slightly better so I gonna leave it that way. Might be because the tunnel guides the air directly to the filter on the one hand, plus, due to the removed devider, it has a second way to breath.
Did you realize that w/o the resonator, the airbox sits a bit slanted due to the missing 3rd mount?
I fixed that by screwing that rubber mount to the bottom of the "new" outside of the box (same height). Now everything sits in place perfectly without slanting.
Thank you alot for your help!
However, I would have powdercoated the bottom parts in car color instead of gold.
BTW: Did my Airbox-Mod within the last days.
Cut the devider wall but did not remove it completely so the 2-chamber hydrolock-safe-effect is still active.
Furthermore I covered every invisible spot with aluminum tape.
I reattached the L-shaped tunnel by the way and it showed even a better performance than w/o it, don't know why or how to substantiate it with evidence of physics but it feels slightly better so I gonna leave it that way. Might be because the tunnel guides the air directly to the filter on the one hand, plus, due to the removed devider, it has a second way to breath.
Did you realize that w/o the resonator, the airbox sits a bit slanted due to the missing 3rd mount?
I fixed that by screwing that rubber mount to the bottom of the "new" outside of the box (same height). Now everything sits in place perfectly without slanting.
Thank you alot for your help!
Once I'll have my snorkel I will experiment with the devider wall as well.  Glad you like it buddy!
Thread Starter
Joined: Feb 2007
Posts: 1,373
Likes: 1
From: Poland
Now my car is back in the body shop - this time to have the ASM overfenders mounted. Here's some progress pics:
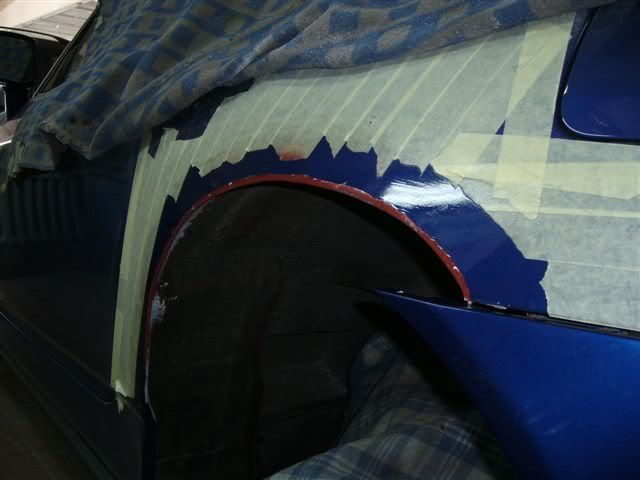
huge cut-out
new rants are made - just like OEM, but a lot higher
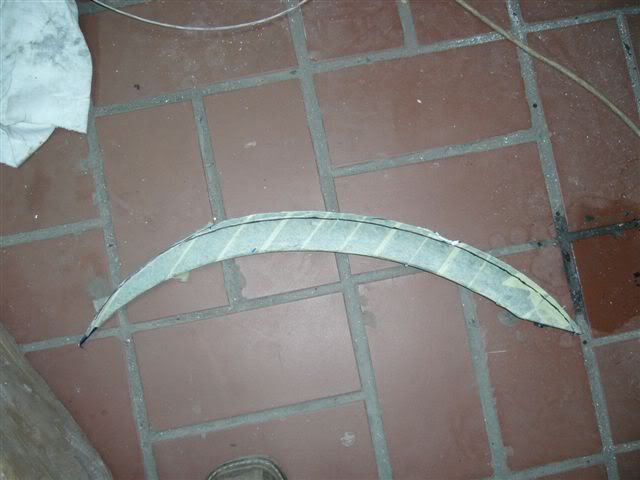
bye bye you useless piece of fender
yeah, that's about it...
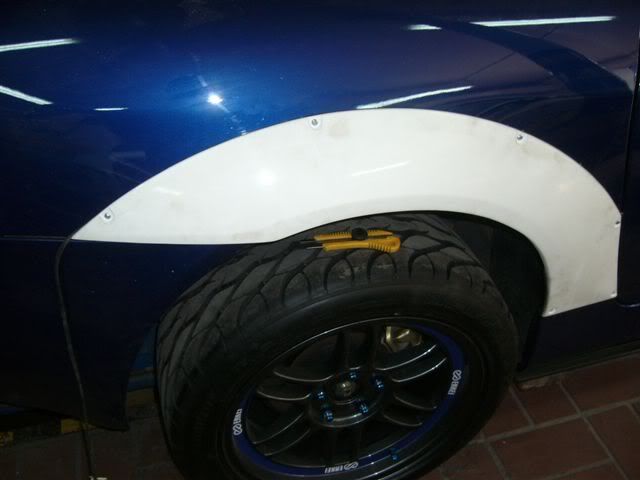
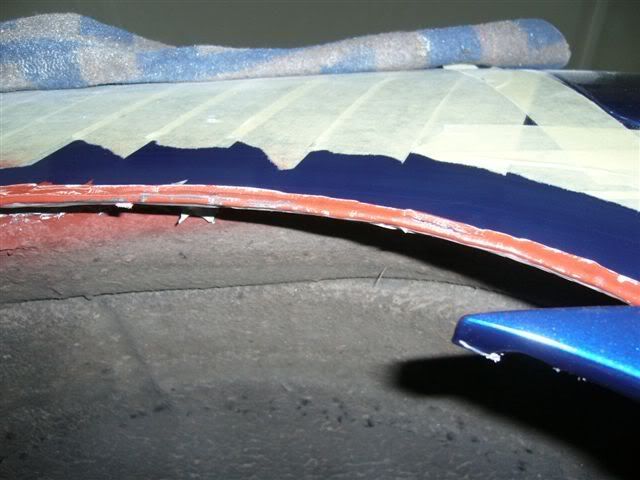
a little better now
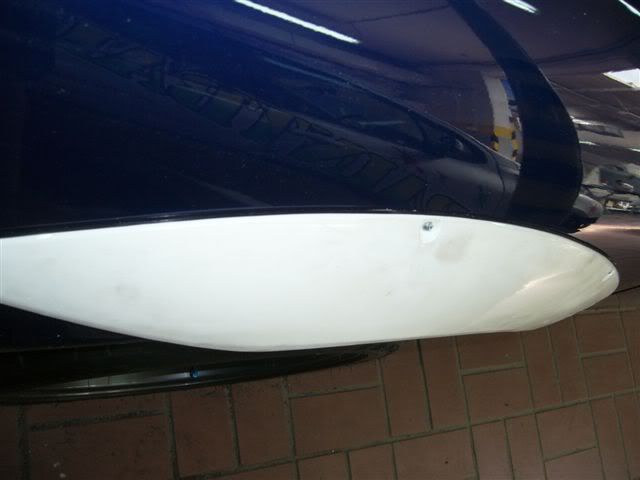
check out a little gasket between the fender and overfender - still debating wether to keep it or not...

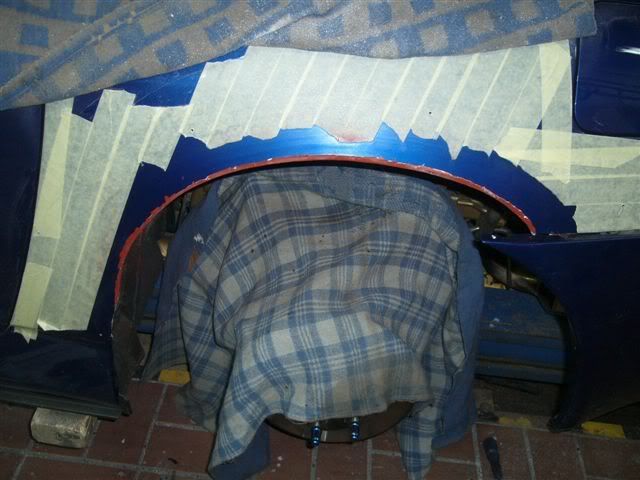
guys at the shop having some fun - I guess the Dumbo Ears idea will work on any Honda...

huge cut-out
new rants are made - just like OEM, but a lot higher
bye bye you useless piece of fender
yeah, that's about it...
a little better now
check out a little gasket between the fender and overfender - still debating wether to keep it or not...
guys at the shop having some fun - I guess the Dumbo Ears idea will work on any Honda...
