

Hard Dog Roll Bar


Thread Starter
Joined: Jun 2008
Posts: 1,402
Likes: 2
From: CA
Hi,
First off, I'm sorry, I decided not to make a comprehensive install guide, though at the time such a thing would have been invaluable to us during the install. Oh well, guess you guys will just have to go through the same pains if you are to install this. So, if that's what you're looking for, sorry (though if you have questions, feel free to contact me--I'd be glad to help). This will just be me talking about the experience.
So, I bought the Hard Dog Roll Bar for the S2000 with ALL the trimings--detachable cross bar, detachable harness bar, seat belt attachments, and custom foam (in hindsight, could have probably ordered with permanently attached bars as they were not as intrusive as I thought they would be, though installating would probably have been that much more painful because of decreased working space). Total bill with shipping was $925. Just finished installing it. And OMG, what a f'er to install!!! I thought about having a pro install this beast, but ultimately decided to do it myself for these reasons:
1. Save money (obviously)
2. Learn to work on my car more
3. Even if a pro does the work, it doesn't mean they will do it better. Faster, probably. But better, doubtful. There are so many places where one can f-up, and it's very easy to cover up your mistakes since you can use parts to hide screw-ups. You would never know where the "pro" screwed up your car until it's too late, like you're parting-out.
4. I wanted it installed my way--I wasn't sure at the time which pieces I wanted to cut, or simply leave out.
Before starting:
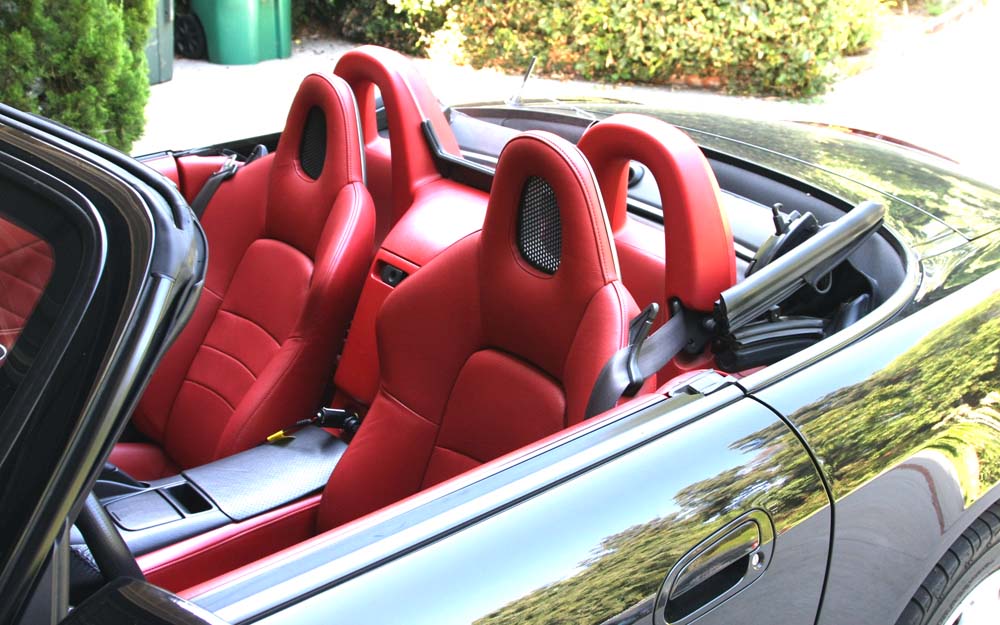
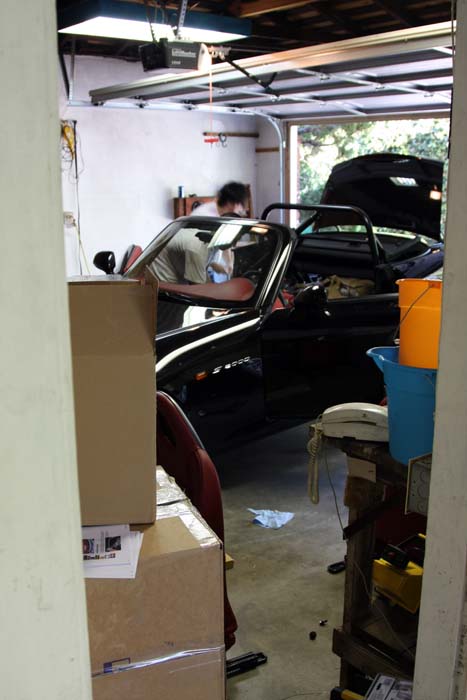
1. Before.
First off, I'm sorry, I decided not to make a comprehensive install guide, though at the time such a thing would have been invaluable to us during the install. Oh well, guess you guys will just have to go through the same pains if you are to install this. So, if that's what you're looking for, sorry (though if you have questions, feel free to contact me--I'd be glad to help). This will just be me talking about the experience.
So, I bought the Hard Dog Roll Bar for the S2000 with ALL the trimings--detachable cross bar, detachable harness bar, seat belt attachments, and custom foam (in hindsight, could have probably ordered with permanently attached bars as they were not as intrusive as I thought they would be, though installating would probably have been that much more painful because of decreased working space). Total bill with shipping was $925. Just finished installing it. And OMG, what a f'er to install!!! I thought about having a pro install this beast, but ultimately decided to do it myself for these reasons:
1. Save money (obviously)
2. Learn to work on my car more
3. Even if a pro does the work, it doesn't mean they will do it better. Faster, probably. But better, doubtful. There are so many places where one can f-up, and it's very easy to cover up your mistakes since you can use parts to hide screw-ups. You would never know where the "pro" screwed up your car until it's too late, like you're parting-out.
4. I wanted it installed my way--I wasn't sure at the time which pieces I wanted to cut, or simply leave out.
Before starting:
1. Before.
Thread Starter
Joined: Jun 2008
Posts: 1,402
Likes: 2
From: CA
This install took a whopping whole week to complete! Started on Sat, and finished most of it by Fri. Crazy. In the process I've learned a lot about how the interior of my car is put together--that's good. I also burnt some of my face from flying shrapnel, ha ha--bad. Took so long for 2 reasons:
1. Mainly I worked on this with my friend Danny. He goes to school, and I work. So, besides the weekend, we only really could put in about 4-5 hours a night.
2. The Hard Dog instruction SUCK F'ING FLYIN DUNG. I mean, like OMG, could you at the very least just have taken a few snapshots of what things are supposed to look like!? And not to mention, I have a feeling they did not test install their bars with various combinations of options. We'll talk about that later.
K, so we got to work...
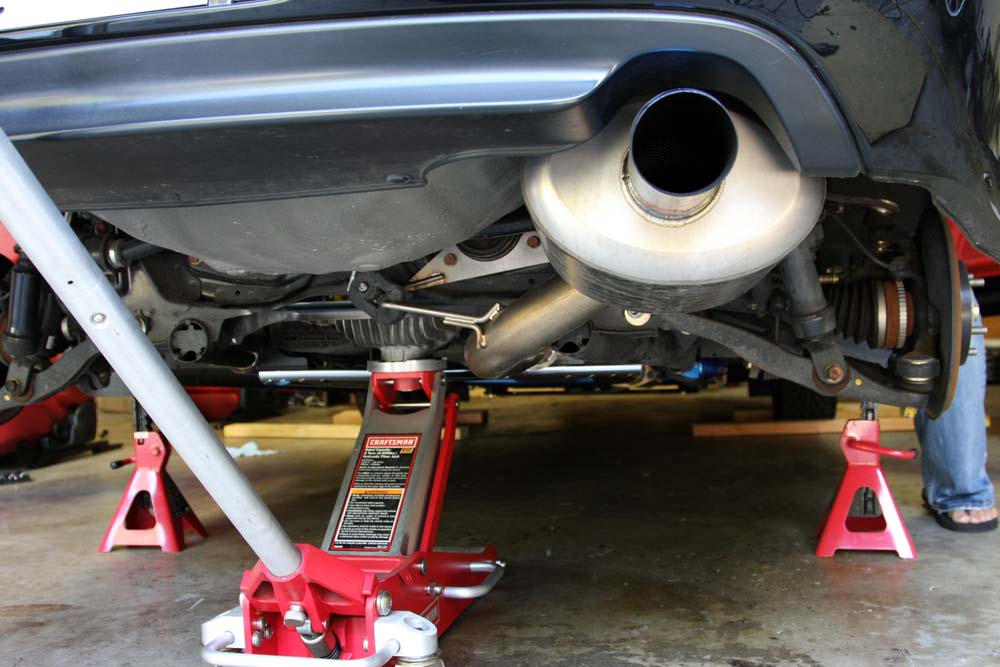
2. Jacked up.
1. Mainly I worked on this with my friend Danny. He goes to school, and I work. So, besides the weekend, we only really could put in about 4-5 hours a night.
2. The Hard Dog instruction SUCK F'ING FLYIN DUNG. I mean, like OMG, could you at the very least just have taken a few snapshots of what things are supposed to look like!? And not to mention, I have a feeling they did not test install their bars with various combinations of options. We'll talk about that later.
K, so we got to work...
2. Jacked up.
Thread Starter
Joined: Jun 2008
Posts: 1,402
Likes: 2
From: CA
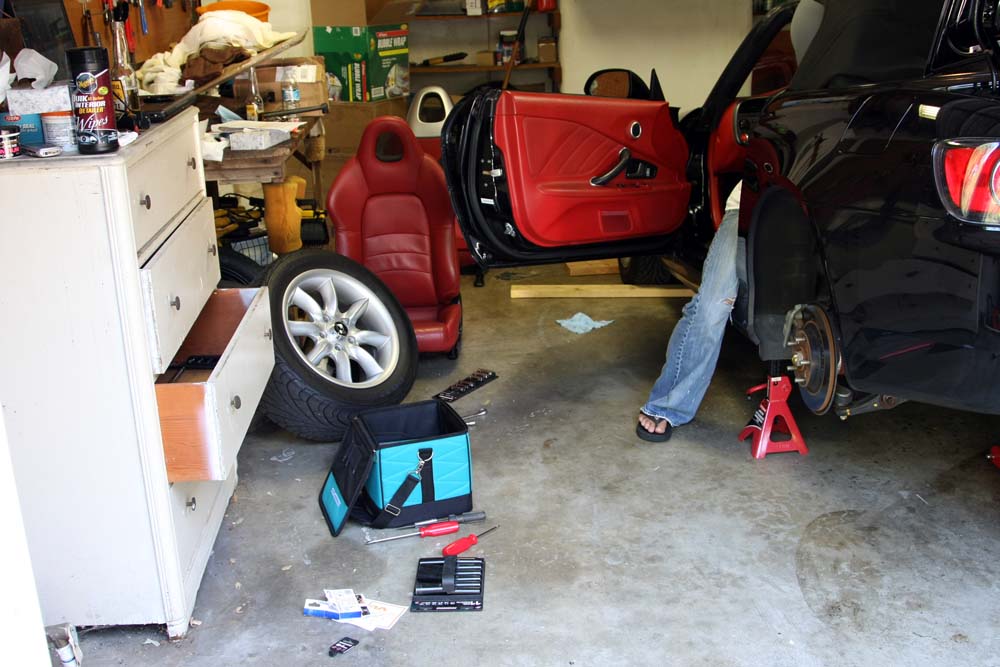

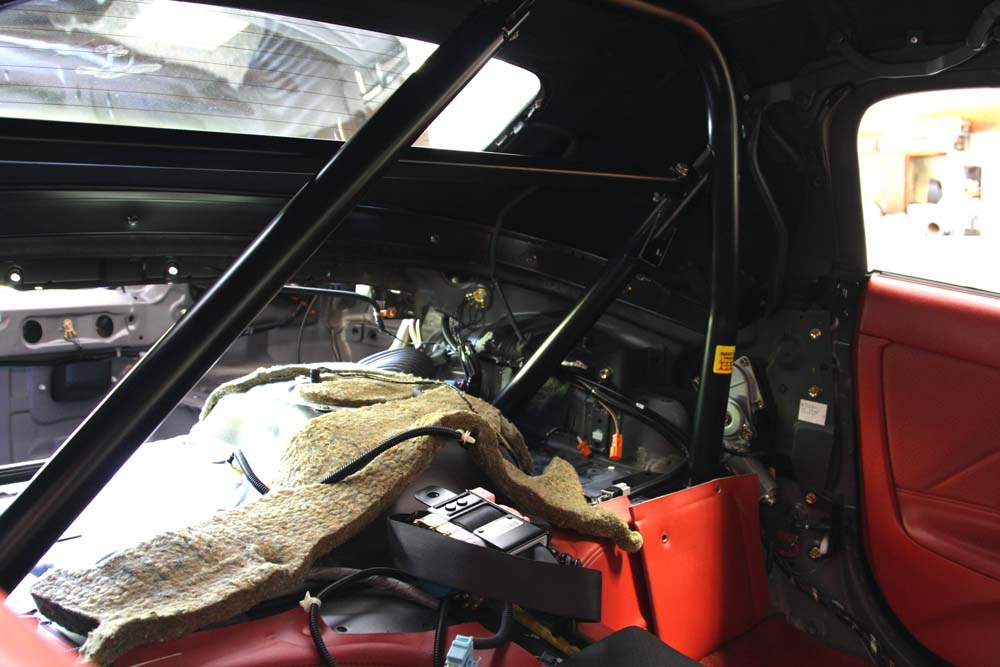
3. Removed all rear interior.
Removing the interior was actually a little harder than I expected. Most of the tabs holding in panels were pretty strong, so we only ended up breaking one (and it turns out that was the only casualty of this whole ordeal, incredibly). I dunno if we suck or what, but that's pretty good for us. When we removed panels from my 240SX and AE86, let's just say that we were lucky that they didn't have to go back in, ha ha. However, there were some pieces, in particular the center console, that were a pain in the ass to take off. Almost all the pain could have been alleviated should the instructions been accurate and have pictures! But after consulting multiple times with the Factory Service Manual and trying to think like a Hard Dog mechanic, we finally got it out.
Thread Starter
Joined: Jun 2008
Posts: 1,402
Likes: 2
From: CA
So, the next step was to start drilling holes and cutting boxes into the wheel wells to insert the front plates:
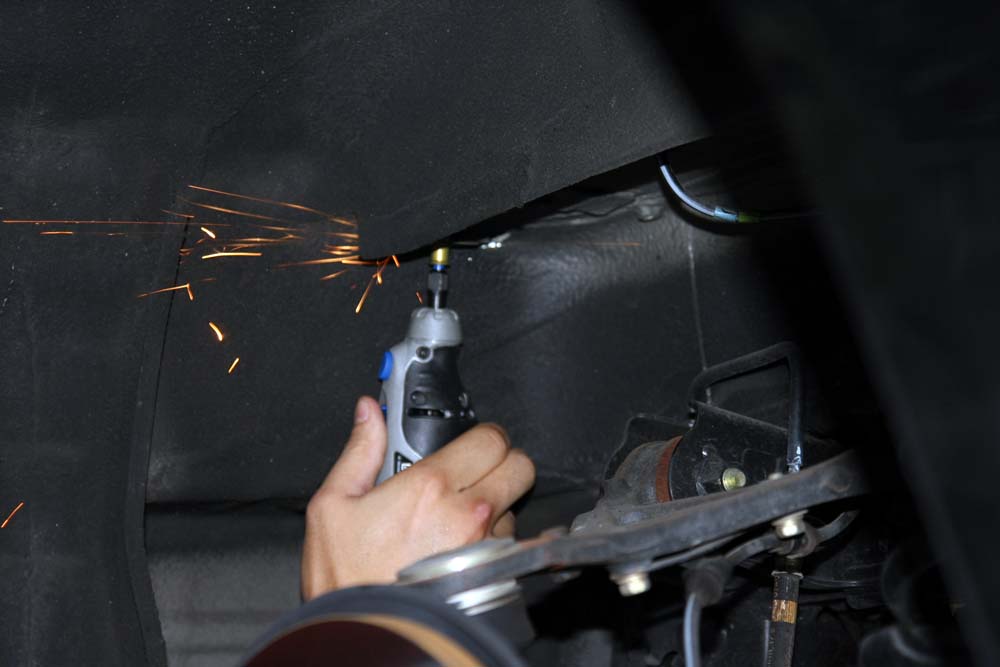
4. Cutting into wheel well with a Dremel.
For drilling holes from the trunk bed, we used a titanium bit. And for cutting the box, we used a Dremel with a metal grinding tip. I don't think we could have used a full-sized grinder as the space was too confined. (I used this opportunity to buy myself a top-of-the-line Makita battery operated drill and impact driver along with the Dremel XPR 400. All in all, about $400 in tools, but so worth it.) Well, it turns out that this step was the most gruelsome of the whole ordeal. Let me just say once again, instructions are a total failure!
Here's what it says about this step: "From the rear wheel wells, cut the opening required for the front mount backing plates. [so far so good] The opening should start at the top forward end of the wheel well, 3/4" from the vertical ribs, and extend inward to the front corner where the front panel forms a corner and transitions to the inside part of the well." Right.
Okay, so, totally ignoring wtf that meant, we used the holes drilled from the top as guide points in cutting. We started with a smaller slit and enlarged to just fit the plate. Worked pretty well I must say. I think our tolerance was pretty darn good--doubt anyone could have cut closer.
Took two days and about 10 Dremel metal grinding wheels to cut those slits, but it's doable. But after doing that, we found that the plates would still not fit! Turns out that there is a "rib" inside that opening that has to be cut down. Welp, we have a problem--the Dremel grinding wheel does not extend far enough to cut that rib far enough. Luckily, a trip to Home Depot returned with a metal oxide sanding tip. Used that to just basically sand down that rib. Took a while, but it worked. Success!
Thread Starter
Joined: Jun 2008
Posts: 1,402
Likes: 2
From: CA
Okay, so time to mount that badass bar!
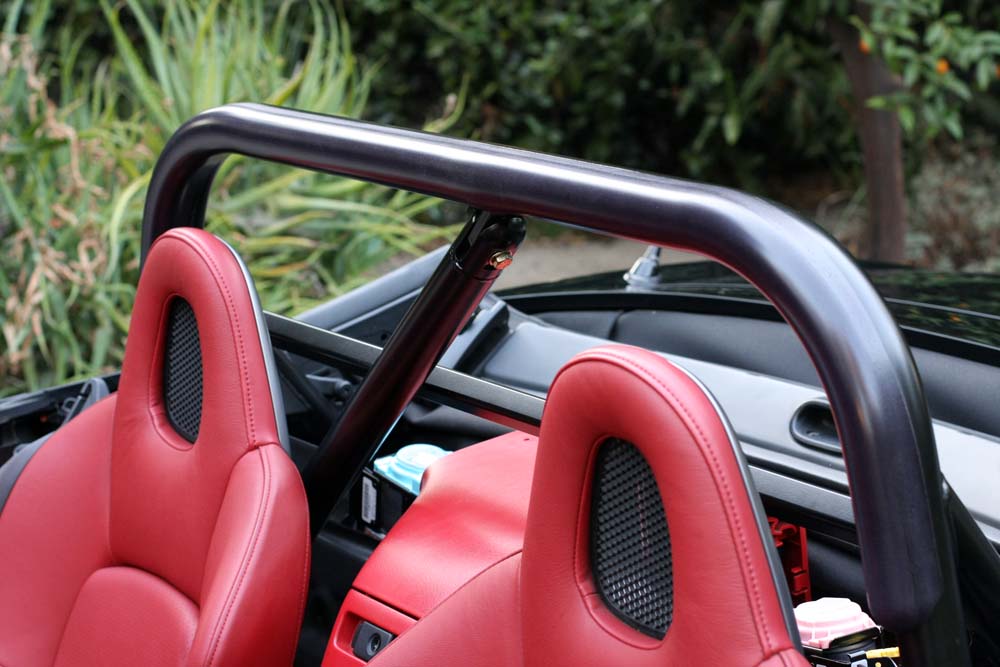
5. Mouting the badass f'er.
Alright so, we mounted the thing and bolted it down. Torqued everything to 50ft/lbs (wasn't sure what value to use, but for those sized bolts and the thickness of the bed, which was kinda thin, we decided that was good.) Wow, everything fit. High-fives all around!!! Now time to start putting the essentials back in. First the bulkhead:
"Install the rear bulkhead. It will take a little fiddling and you will need to adjust the top position."
Remember how I said before that I doubted the Hard Dogs test installed their products with varying options? Well, we tried for 2 hours, nearly to midnight, trying to get the bulkhead in. No dice. Totally absolutely impossible. One reason might have been that I had the seat belt attachments welded on. And that might have reduced the working space just enough. I don't know. All I know is there is no way in hell that bulk head is going in with the bar bolted in.
Well, the next day we came in and totally undid the bar, put in the bulk head first without bolting it, and then mounted the bar on top of it. Worked. So now you know--make sure you mount the bulkhead at the same time, as it will save you so much effort. Even if it did fit, it's so much easier this way!
Thread Starter
Joined: Jun 2008
Posts: 1,402
Likes: 2
From: CA
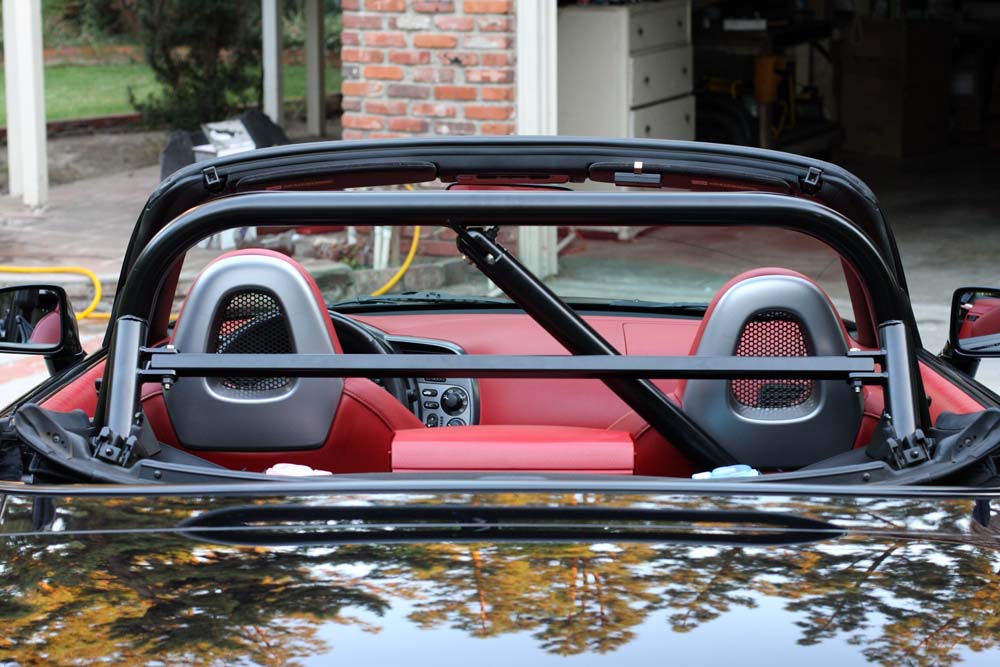
Welp, the rest went pretty logically. I decided to only put back those plastic trim pieces that were operationally required. Needed that center console as it's just so much more convenient to put often-accessed things like sunglasses there. Also needed that rear package shelf to protect the top glass from scraping against the trunk bed (which I attached with zip-ties to the console) when the top is down. That's about it. Left the whole trunk bare. Definitely need to leave those factory roll-hoops off--didn't weigh them, but must be close to 15-20lbs by themselves. Plus, if I ever need to part out, I don't have to worry about cut up plastic pieces (which btw, if you wanted to know, you would have to cut the roll-hoops and 2 of the panels on each side.)

Trending Topics
Thread Starter
Joined: Jun 2008
Posts: 1,402
Likes: 2
From: CA

7. Dad.
I think my dad thought that Danny and I did a nice job.
Thanks to all--Danny (couldn't have done this without you), David and Eric, Elainia (for letting me rip apart our car), and everyone else...
The end.
Thread Starter
Joined: Jun 2008
Posts: 1,402
Likes: 2
From: CA
Originally Posted by INTJ,Sep 6 2008, 01:25 PM
Great write up. Do you have any other closeups of the interior drilling/cutting? Did you fit a strengthening plate under the bolts? Is the car stiffer?
Thanks!
Thanks!
The bar package is pretty good actually--the bottom plates are the same shape as the top plates. Looks really tough, and adequately large enough in covered area. So, I don't think any more plates are needed beyond what was included. The bar is rock solid--probably more solid than the rest of the car. The stock trunk bed metal was suprisingly thin--about 1mm in thickness.
As for the car being stiffer, I haven't had a chance to really drive hard or hit the track yet. But this car has been stiffened up the ass--Spoon strut bar, Rick's x-brace, Cusco subframe brace, and Cusco rear brace. With this bar added, I don't think the car can get any stiffer other than using a full roll cage, which I did think about--but I figured this car is so tight as it is that having a full cage would pretty much make it painful to drive.
I did have a Z06 prior to this car, and coming out my driveway at an angle I can feel the car bending. With this car, it's rock solid. No perceivable flex at all coming out driveways.