When you click on links to various merchants on this site and make a purchase, this can result in this site earning a commission. Affiliate programs and affiliations include, but are not limited to, the eBay Partner Network.
**Please note: The following is for entertainment purposes only. If you decide to use it is at YOUR OWN RISK***
Frustrated by DIY's that leave out the problems that occur while installing things yourself, I decided to do a more comprehensive write up for lamens like myself.
Hope you enjoy!
Things you will need prior:
Jack
Jackstands(recommended)
Torque wrench
Short Ratchet (for the hard to reach areas)
Wrench Set
Socket Set
Needle nose pliers
Impact wrench
Drill/Concrete drill (recommended)
Drill bit set
Wire mesh attachment
Vice Grips
Brake fluid 2-3 bottles
Clear hose
Empty container
Lots of shop towels
Safety Glasses (yes, this is important)
Stock
1)Before you jack up the car, loosen all the lug nuts on your wheels front and back
2)Jack up the front of the car and place two jack stands underneath. Repeat for rear so the car shold be floating
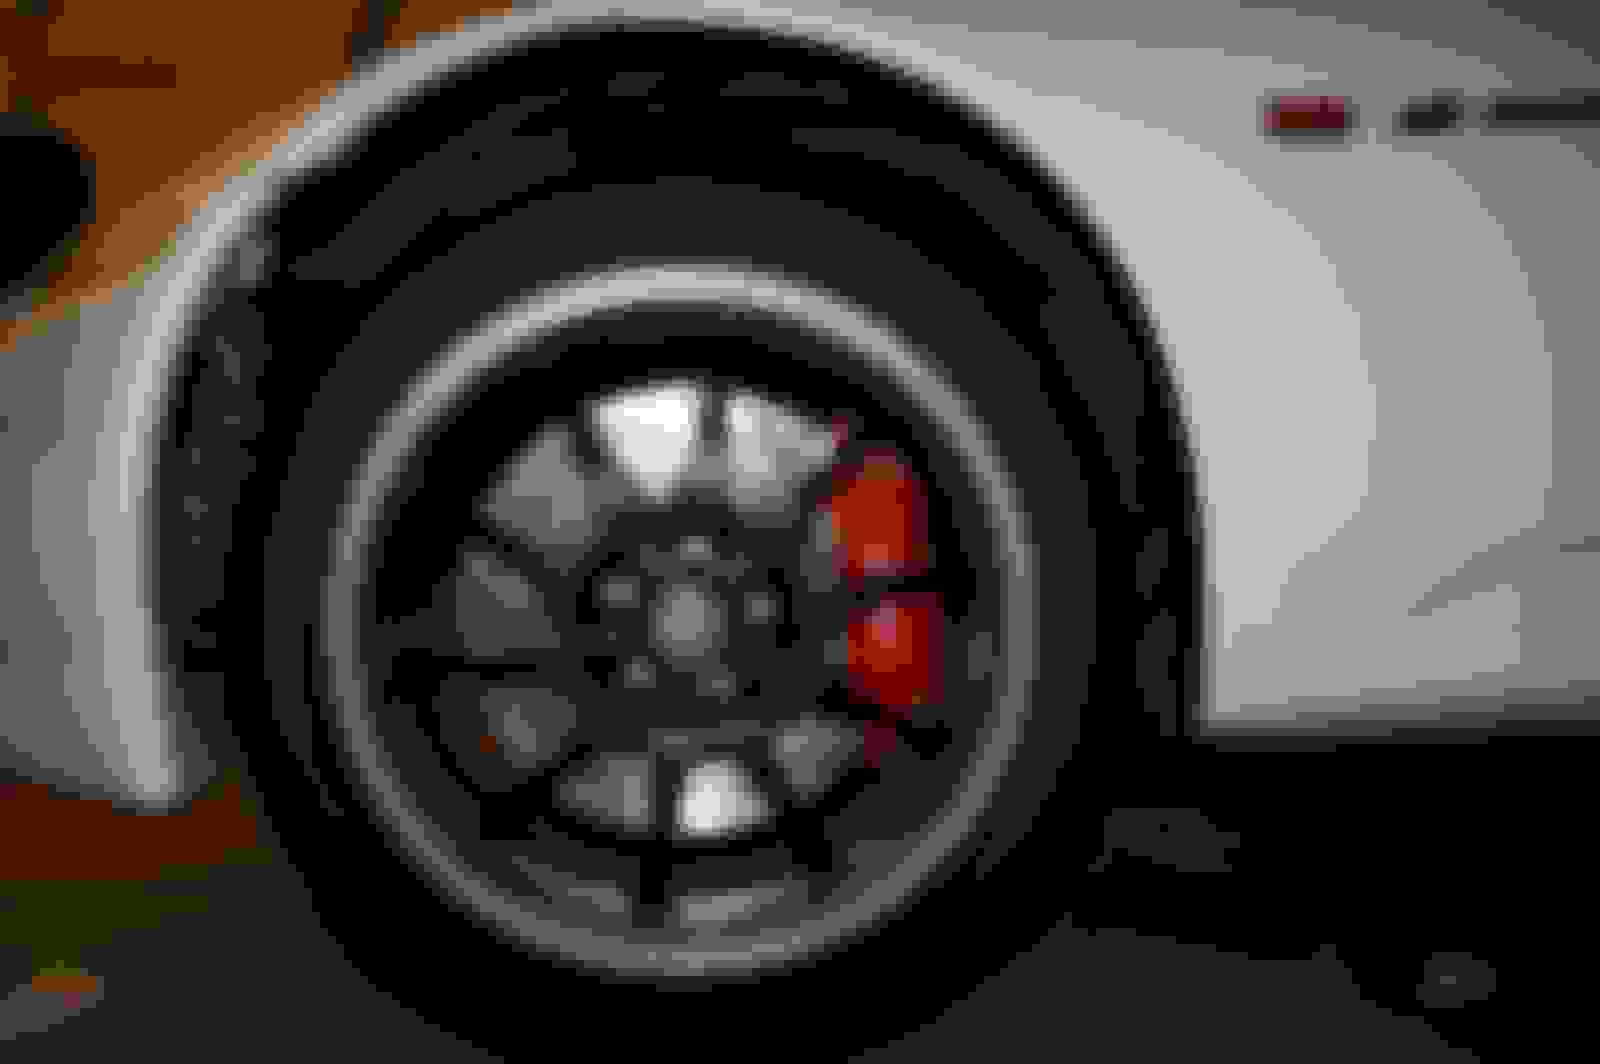
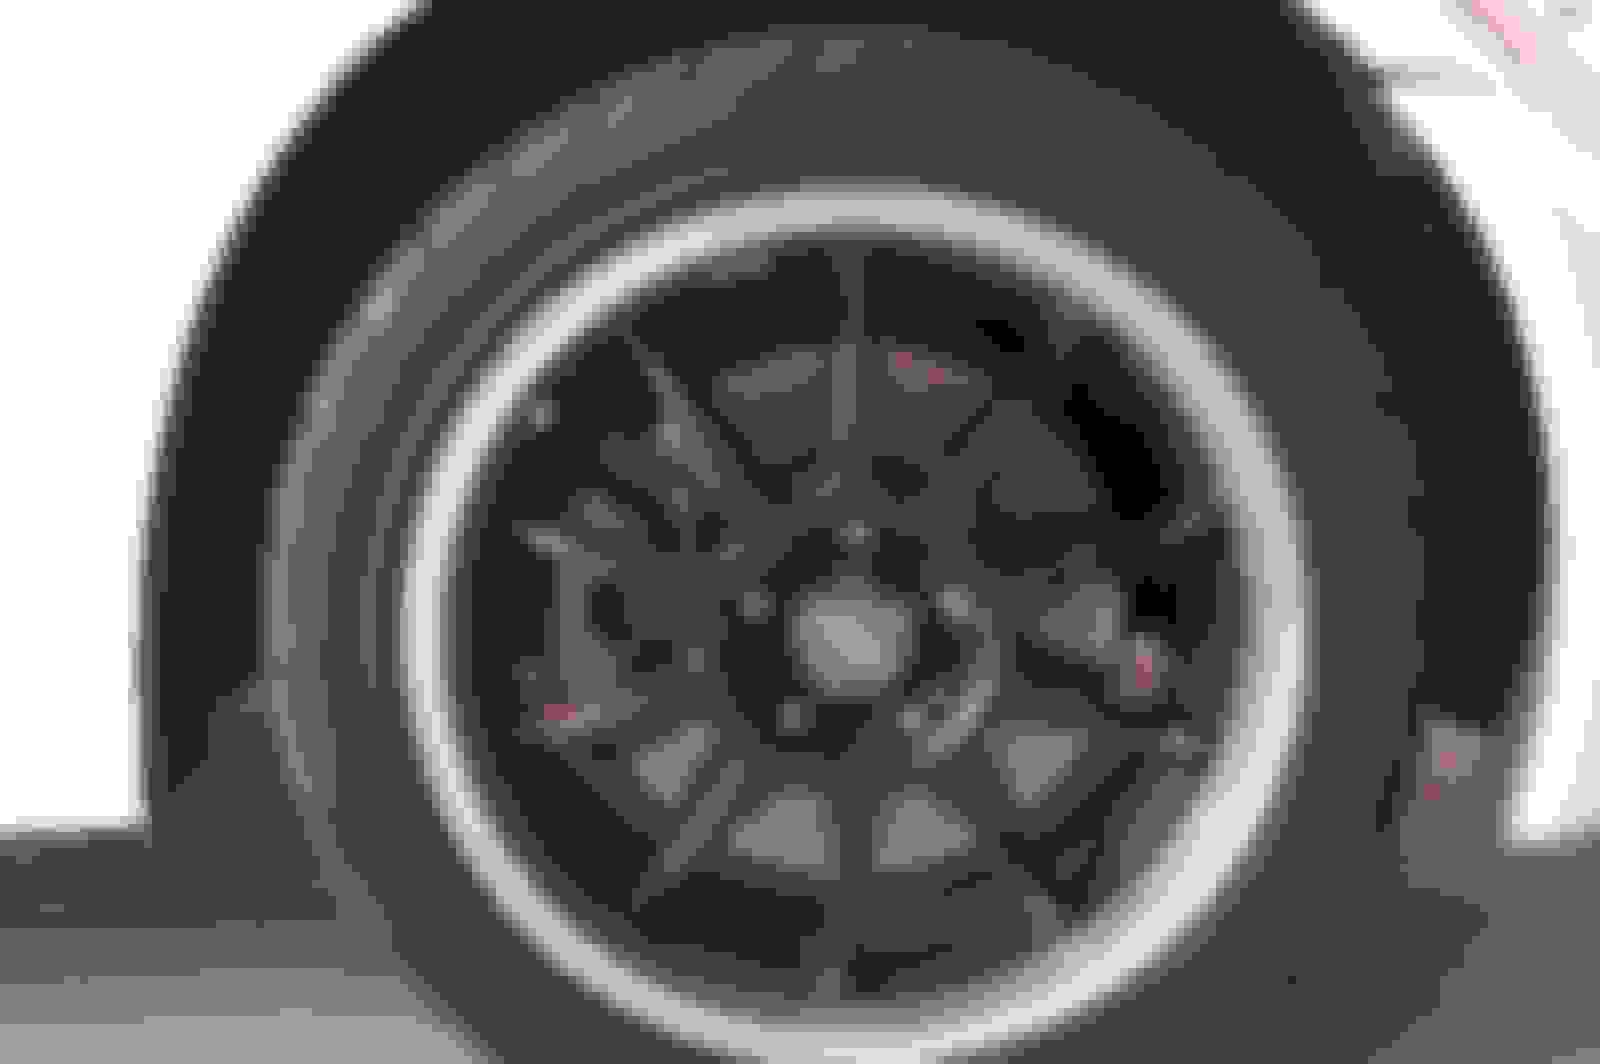
3)Finish removing all lug nuts and remove all 4 wheels and tires. Will look like this:
4)Now start with the brake lines. Take a wrench and loosen the bolt where the two brake lines connect. Just Loosen.
5) Set a few shop towels on the ground as the brake line will start to leak.
6) Continue loosening the bolt until you can take off the top brake line
7) There is a very small black cap on the stock caliper where you bleed the brakes that you can use to plug the line from leaking. Do this ASAP.
8) Now undo the bolt holding the braket to your coilovers/suspension. Use the vice grips to hold the nut while using the wrench to undo the bolt.
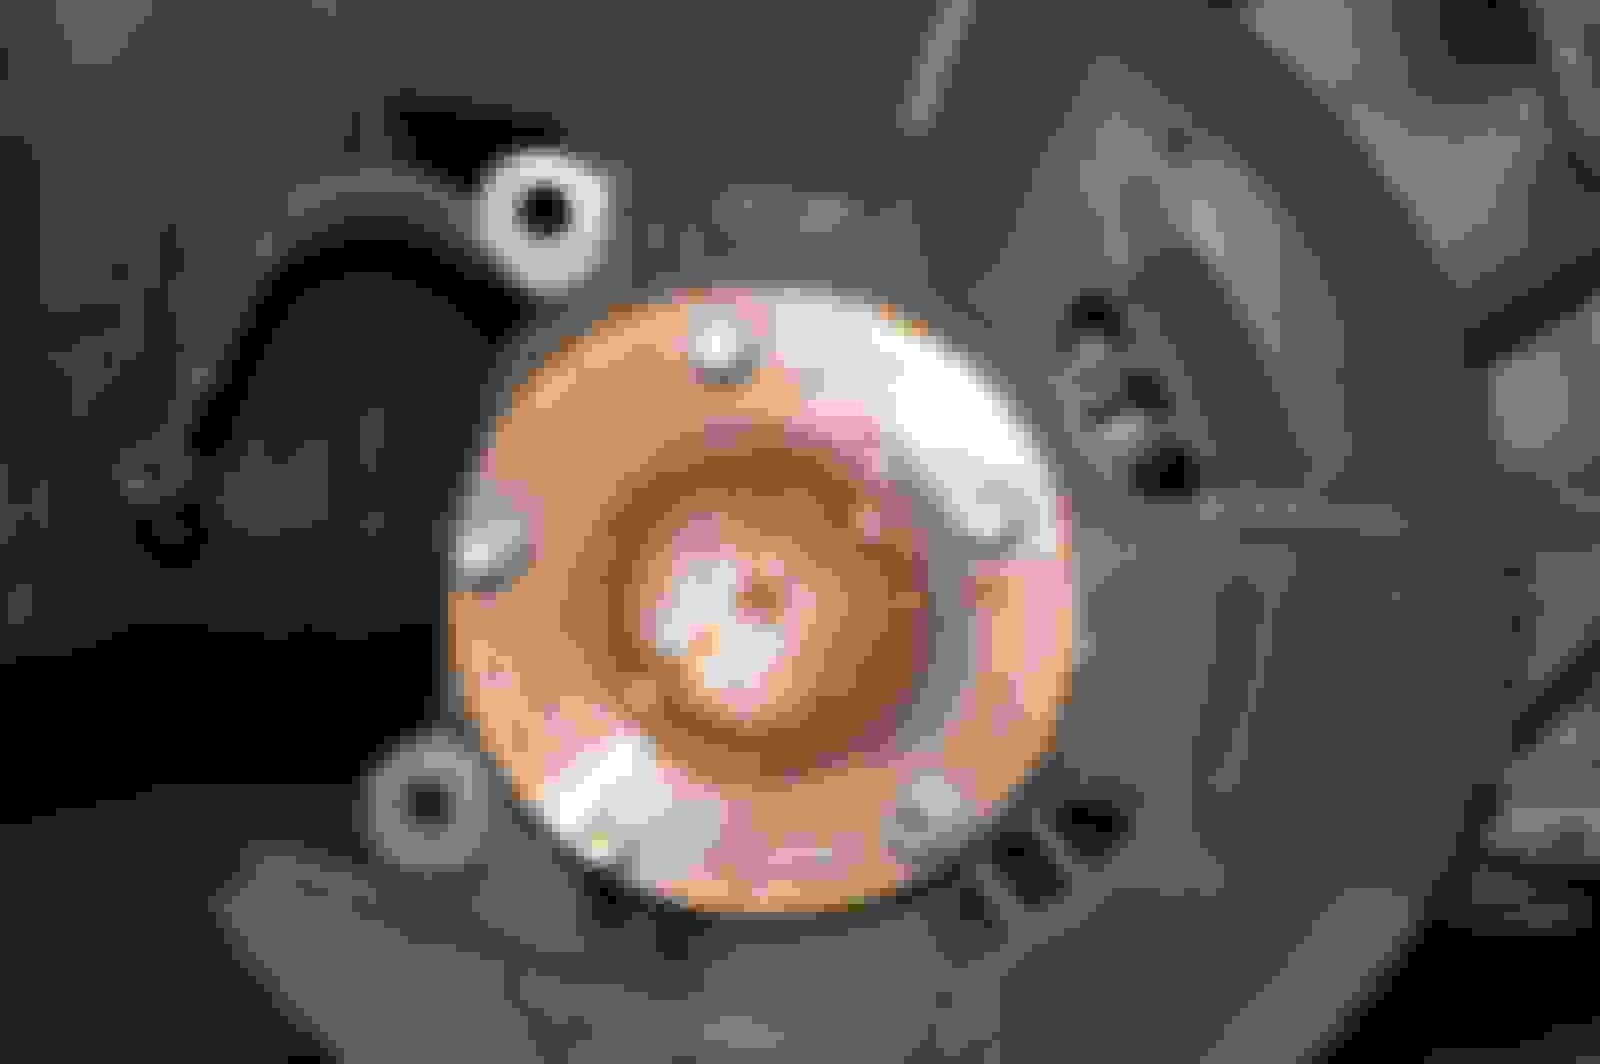
9)Now undo the main bolt to the stock caliper using a wrench. It is the gold bolt in the middle of the caliper in the picture
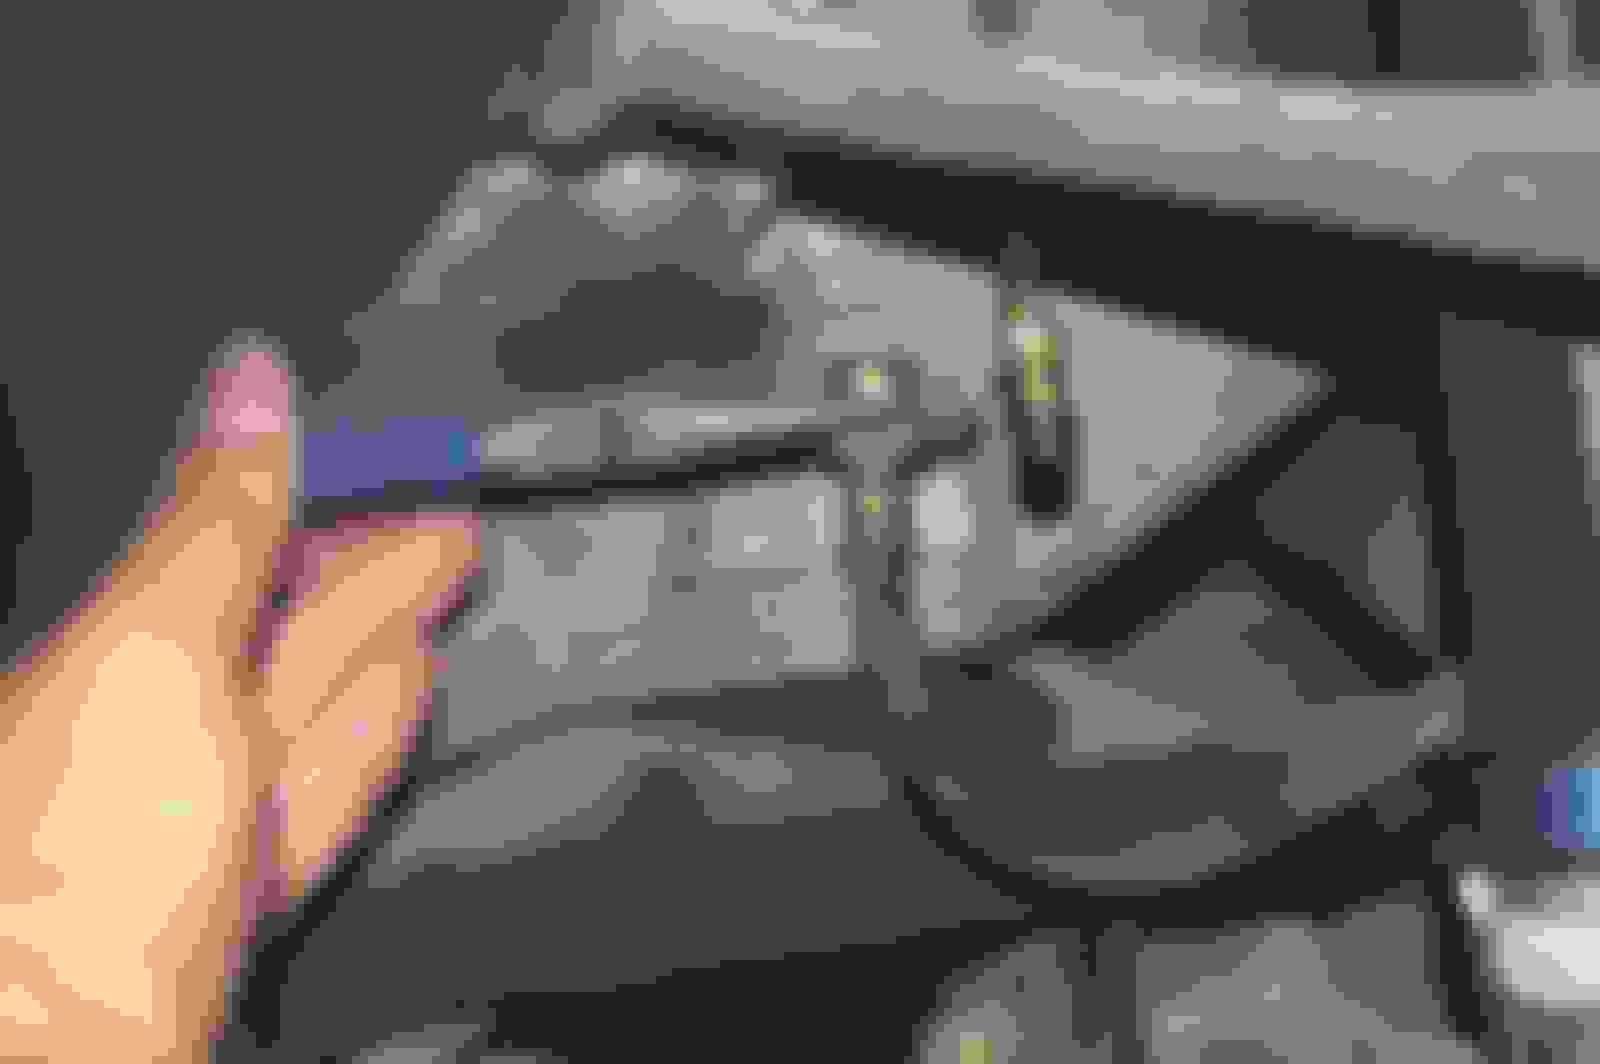
10) We will return to the brake line a little later. There are two large bolts behind the caliper and is the bracket holding the caliper on. Where my fingers are pointing is NOT those bolts. They are larger and behind the rotor.
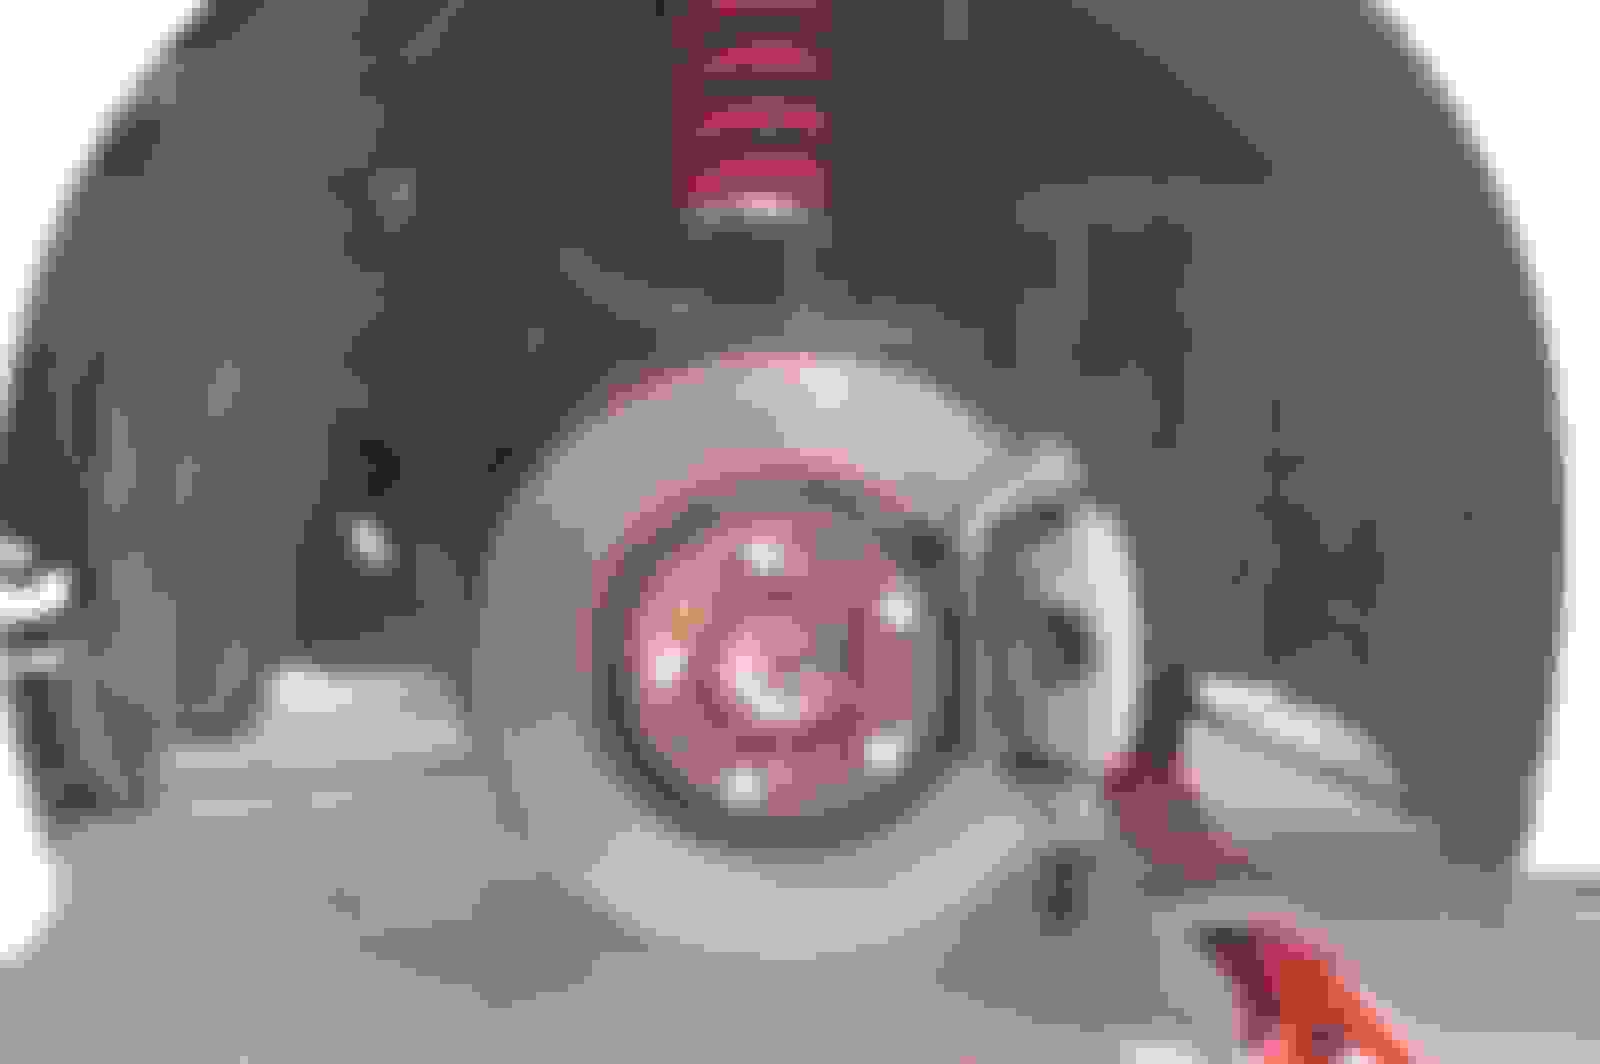
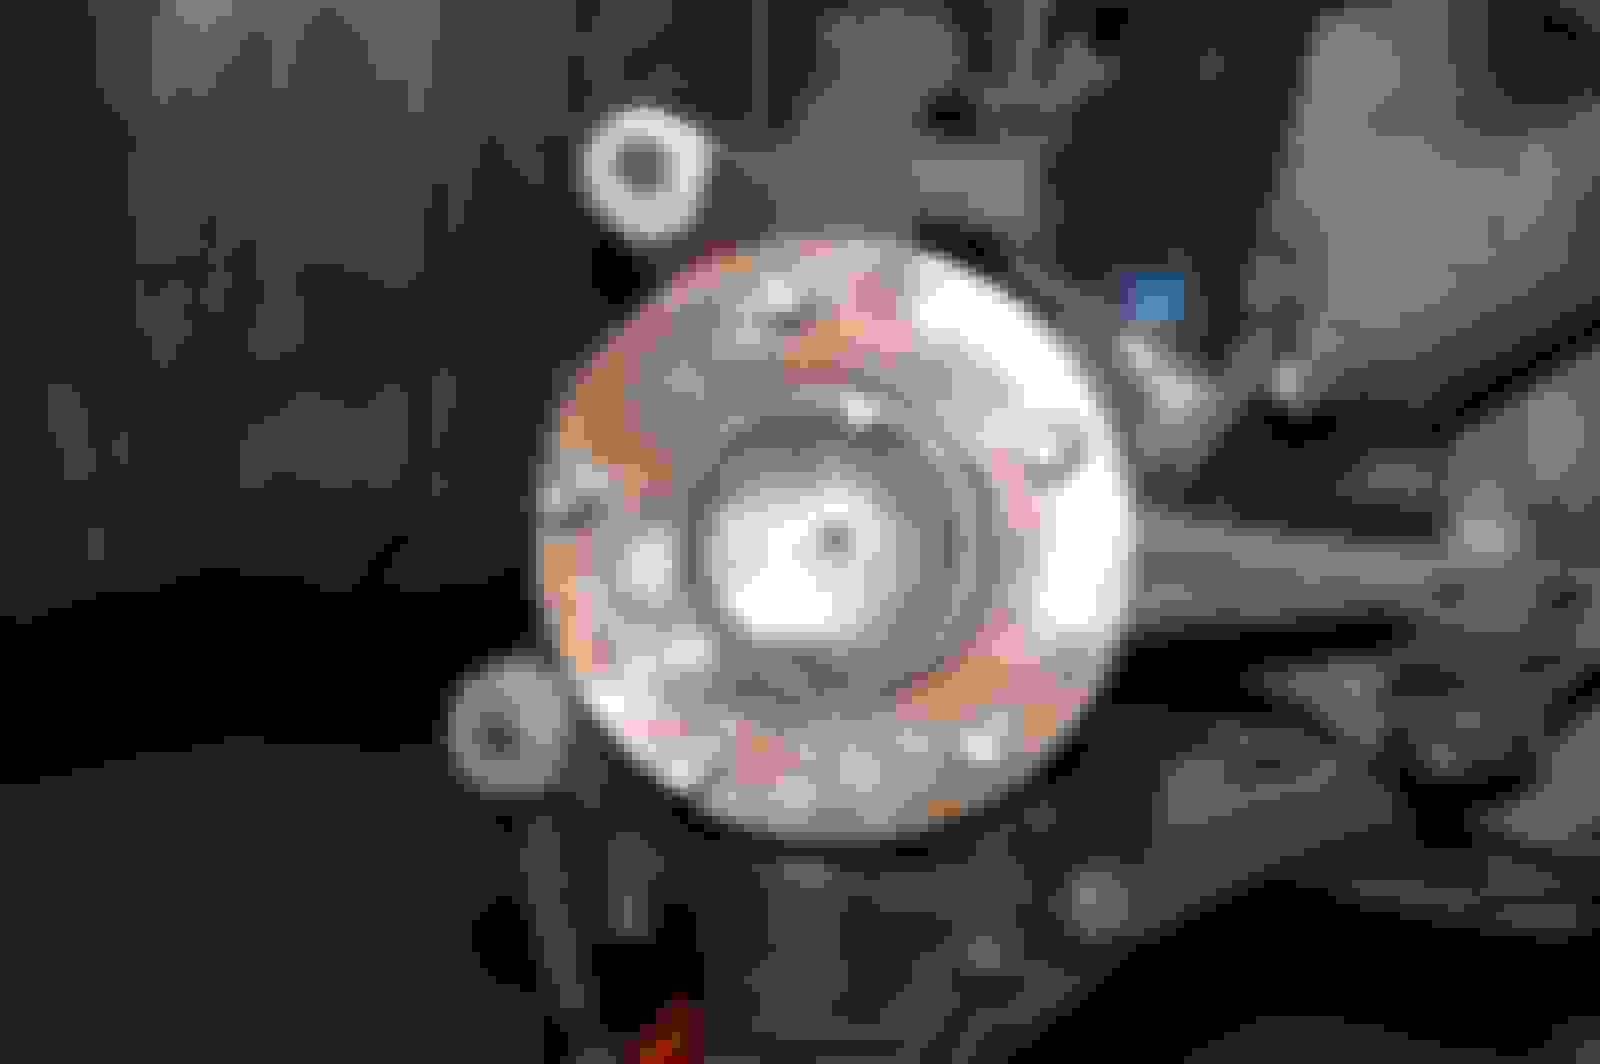
11)After undoing those bolts the stock caliper should come right off leaving just the rotor and dust shield
(Stock caliper vs Rotora caliper)
12) There are 2 screws holding the rotor on the hub. Use an impact wrench to remove these as they strip easily. If they do strip (like mine did) then you will have to get a concrete drill like this and an E-Z out bit set to drill them out.
(Stock rotor vs Rotora rotor)
13) There are 3 VERY SMALL screws holding the dust shield in. Rather than find midget tools, I used my vice grips (use a set of shears instead) to remove the shield while still keeping the screws on. (This is what an angry man can do )
14) Now you should be left with just the hub which if your car is used will be very rusty. Attach the wire brush to your drill to clean up the hub.
15) Back to the brake lines. Take your pliers and remove the clip on the brake line bracket
16) Now undo the last bolt holding the the brake line on. You will need to use a wrench
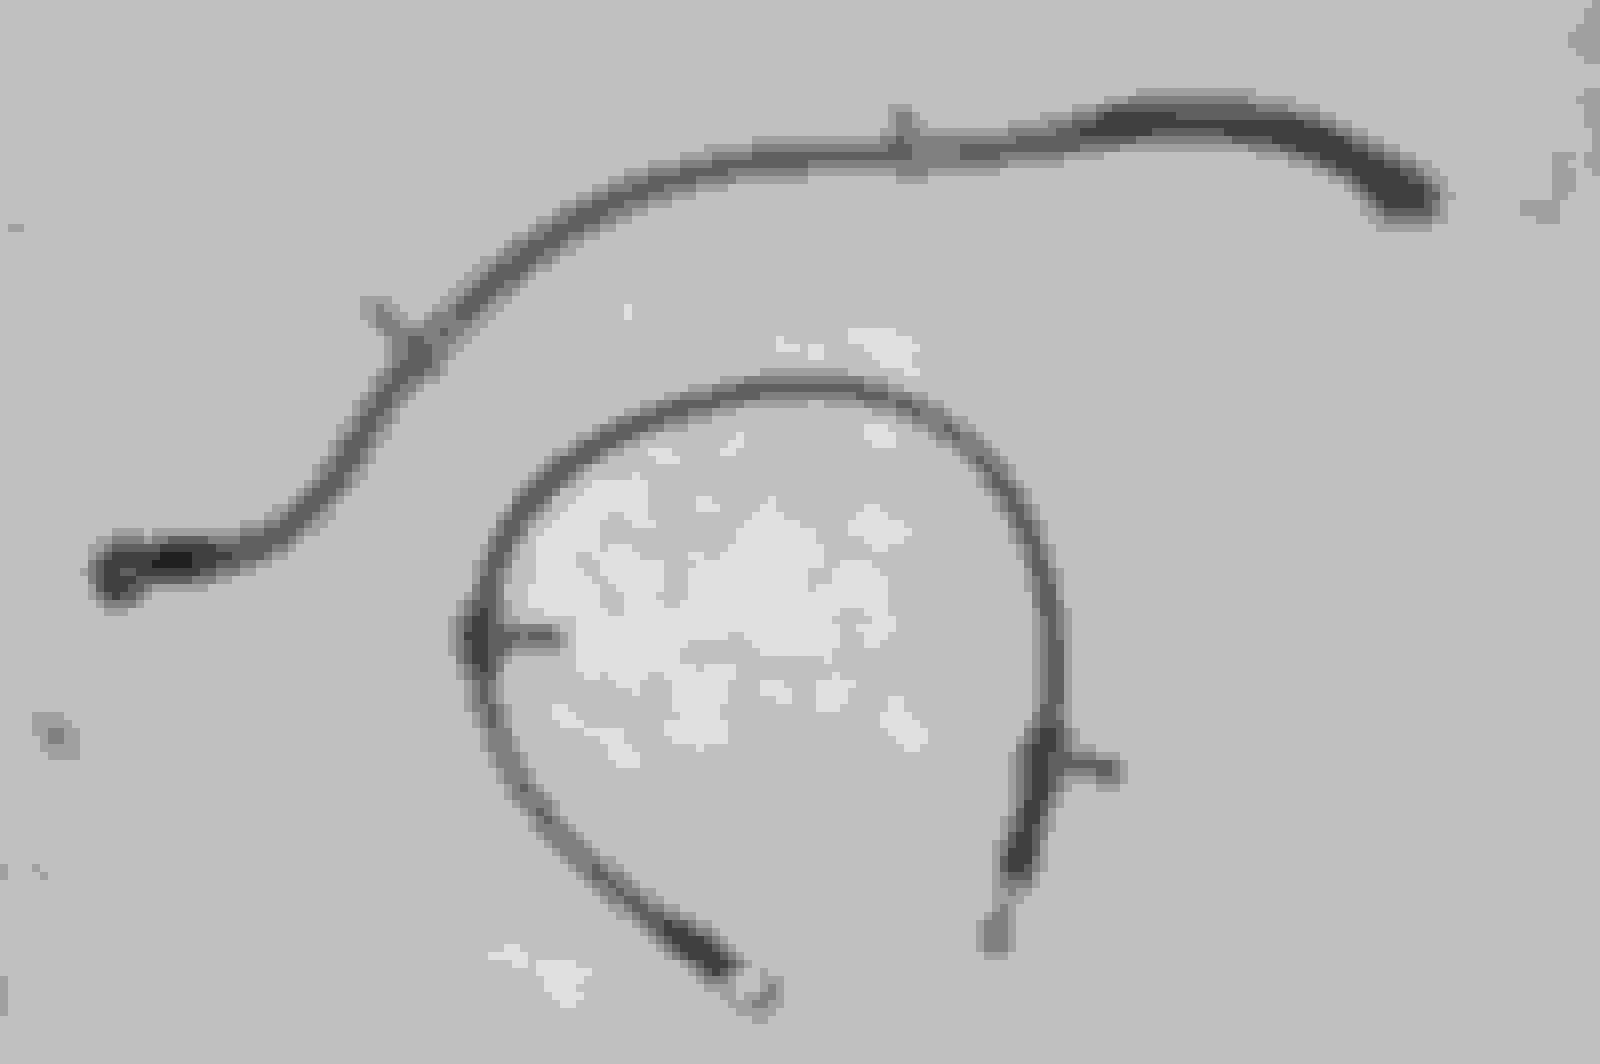
(Stock Brake Line vs Rotora line)
Half way there! Now your area should look like this:
17) The install will start with the new brake lines. Attach the new line to the 3 areas (On the brake, on the suspension, on the bracket against the fender) and tighten with wrench. DO NOT reconnect the brake line coming from the engine bay yet!
18) Once the brake line is on we can proceed to the rotor installation
19) On the packaging for the rotor L= Driver's Side and R=Passengers side
20) Insert the Rotora rotors onto the hub and use the lug nuts to keep the rotors in place or reinsert the two screws back onto the rotor.
21) The Rotora caliper comes preassembled. Make sure the right caliper is on the right side! To identify which is which, the bleeder nipple should be facing up.
22) Fit the caliper on and hand tighten the 2 bolts to the bracket. Torque to 65lbs ft. Should now look like this...
23) Bolt the Rotora brake line to the back of the new caliper.
24) Last step is to reattach the two brake lines. DO NOT connect the brake lines yet!! You will want to bleed the fronts first with the new fluid before connecting. Once you bleed the old fluid out of the front, connect the brake lines and finish bleeding the brakes.
You're almost Done!!! Repeat all steps 4-24 for other side.
Once both sides have been finished it is time to bleed the brakes on all 4 sides. By now all of the old fluid has been removed and it is just a matter of getting fresh fluid in all 4 lines front and reas. There is a nipple on the outside and inside of the caliper. This is the best link I found to match this DIY even though it is for an NSX.
**If you find that the wheels will not fit because there is not enough wheel stud to keep them on you will need a 5-10mm spacer.
**If you find that the wheel not only doesn't fit , but the spokes hit the caliper, you will need spacers with studs on them 15mm+ (I had to use 15mm to fit this kit)
Great write up. I found the screws that held the dust shield almost impossible to remove, even with midget tools. They stripped before they would loosen.
Originally Posted by modMonkey,Jul 26 2008, 12:36 AM
Great write up. I found the screws that held the dust shield almost impossible to remove, even with midget tools. They stripped before they would loosen.
Somebody sticky this.
you need to use an impact screw driver. its a really common tool. you use a bit and this tool, compress it a little then whack the hell out of the back end till the screw breaks free. should take 6-7 solid whacks.
i usially hit it till it no longer sounds hollow and sounds like im hitting something solid
Originally Posted by midnightsunset,Jul 26 2008, 12:26 AM
Bonus Features:
**If you find that the wheels will not fit because there is not enough wheel stud to keep them on you will need a 5-10mm spacer.
**If you find that the wheel not only doesn't fit , but the spokes hit the caliper, you will need spacers with studs on them 15mm+ (I had to use 15mm to fit this kit)
Originally Posted by spectacle,Jul 26 2008, 12:18 PM
How would you rate the new brakes in terms of performance vs stock?
As far as DD you can certainly tell the difference in clamping force. Very consistent and predictable and no harshness with the more aggressive pads that come with kit.
I won't be doing any track time unless I switch the rotors (the cross drilled ones are not meant for track).
other than that nice write up and it looks awesome
I didn't list them because spacers are for temporary means and even if you get hubcentric ones I recommend not keep them on for too long. Not a package deal.
Since I don't drive my S too much I can risk running them until I get the wheel set with the proper clearance next year.
Mixed reviews running spacers, but my .02 is to error on the side of caution.


 )
)


 Make sure the right caliper is on the right side! To identify which is which, the bleeder nipple should be facing up.