When you click on links to various merchants on this site and make a purchase, this can result in this site earning a commission. Affiliate programs and affiliations include, but are not limited to, the eBay Partner Network.
UK & Ireland S2000 CommunityDiscussions related to the S2000, its ownership and enthusiasm for it in the UK and Ireland. Including FAQs, and technical questions.
Ok had a go at the saggy arse today. basically it needs lifting towords the rear. The plastic locators along each side did't seem to want to move depsite lossening screws and not sure if this would have an effect.
It seems the rear of the bumper just wants to sag down at the corners
l
With lights out as suggested i shoved and pushed and managed to get the gaps closed and everything reasonbly lined up within the limitations of the tolerances of the body shell and bumper, things do not line up perfectly , the curve of the bumper and the wing where they meet at the light unit differs from side to side and is in now way a perfect match.
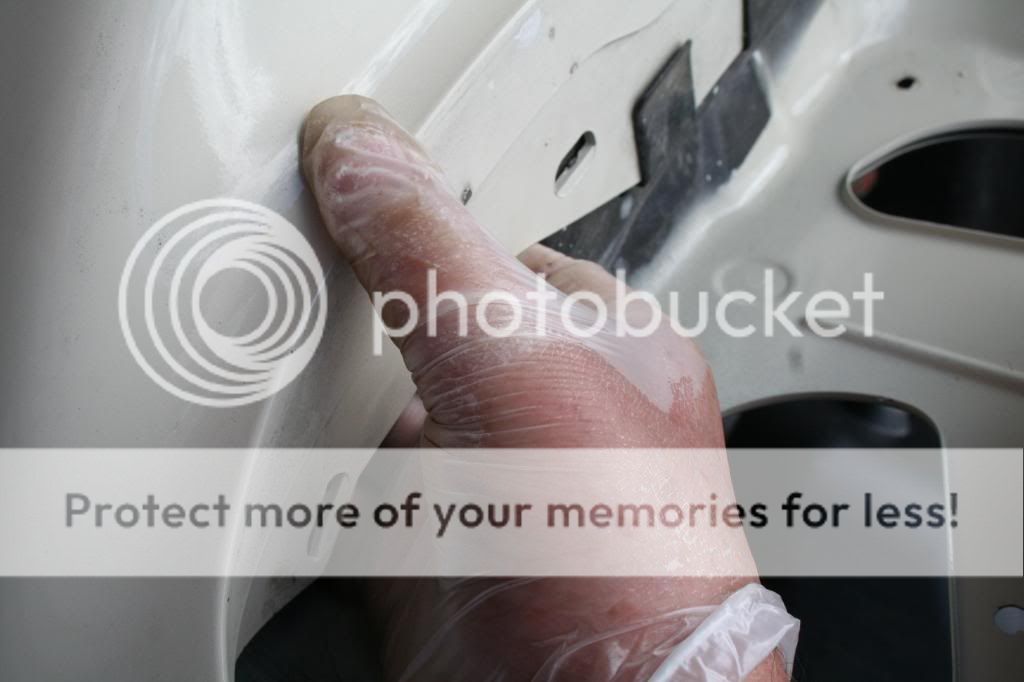
I found that i needed to bend up the location tags on the brackets under the lights to allow the bumper to lift up, indeed on the near side i let the bumper sit on top of these.
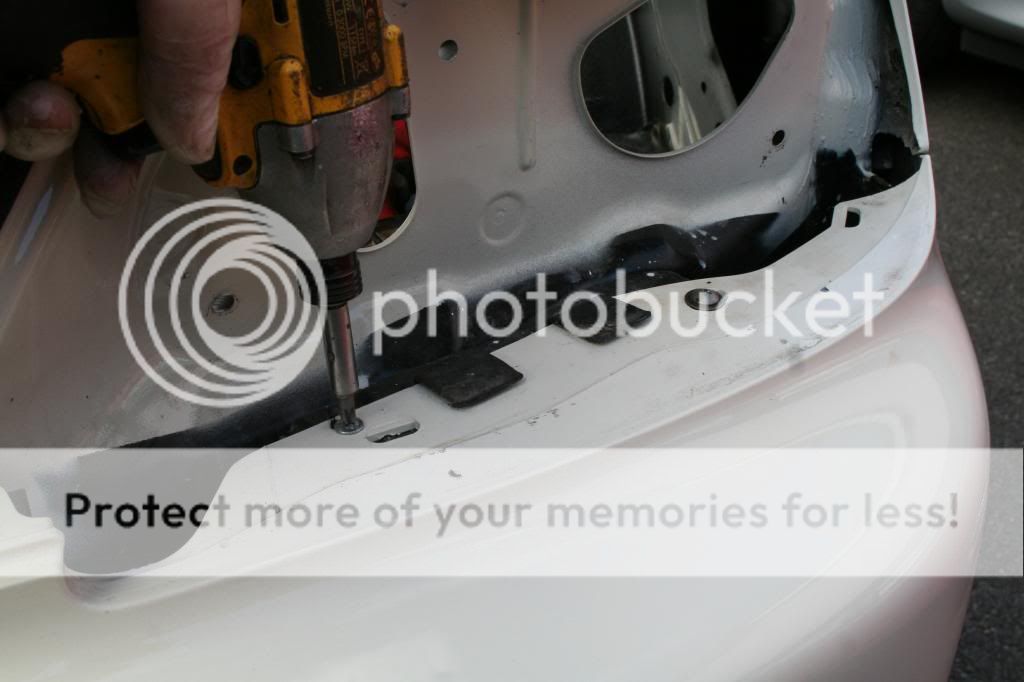
Then i realised i was missing a screw either side, although i dont remember taking them out form this location, I also added a self drilling seft tapper further along near the middle, there are lots of holes in the bumper with no corresponding brackets or fixing points , maybe that was as a result of cost engineering as the car went into production.
Any way photo's
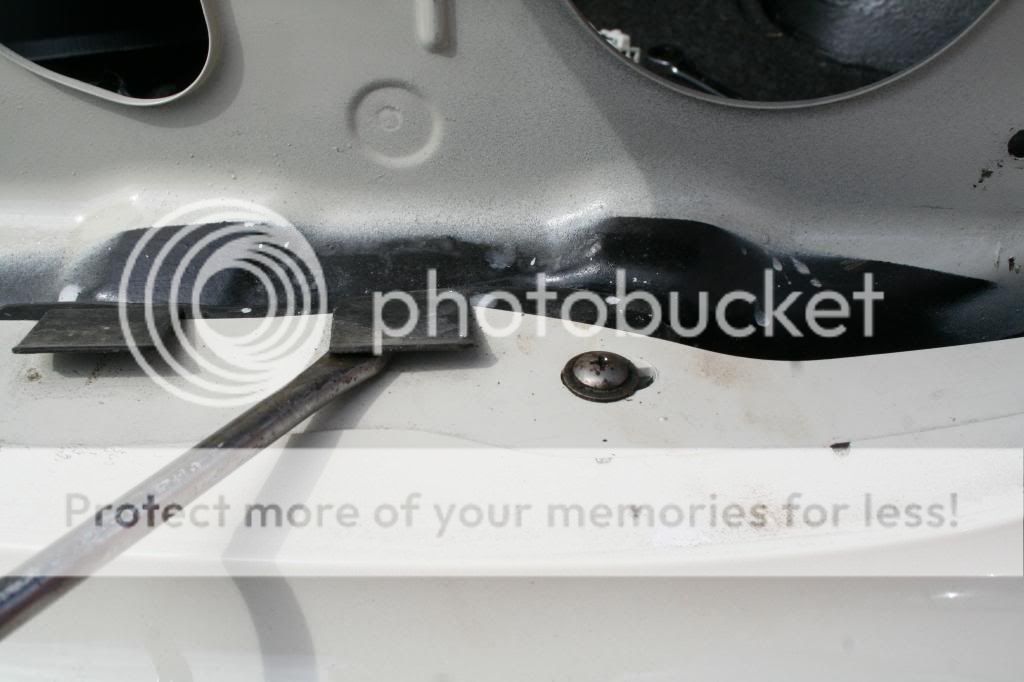
You can see in the pic above shoving and pushing with ohter fixings removed you can get it to sit right, the porblem is holding it there, you can see 2 slots for fixings in the pic, I found there was a hole for a self tapper for the outer most on each side and its at this point i packed the bumper up with 3 or 4 M6 SS mudgaird washers\
Above I bent up the location tabs to alow the bumper corners to rise
The screw to the right is the one that seemed to have a hole in the bumper and a corresponding one in the bracket it's here that i packed up the bumper
This is the screw i added on each side to further secure the bumper, you can clearly see all the un-used fixing holes in the bumper in this photo
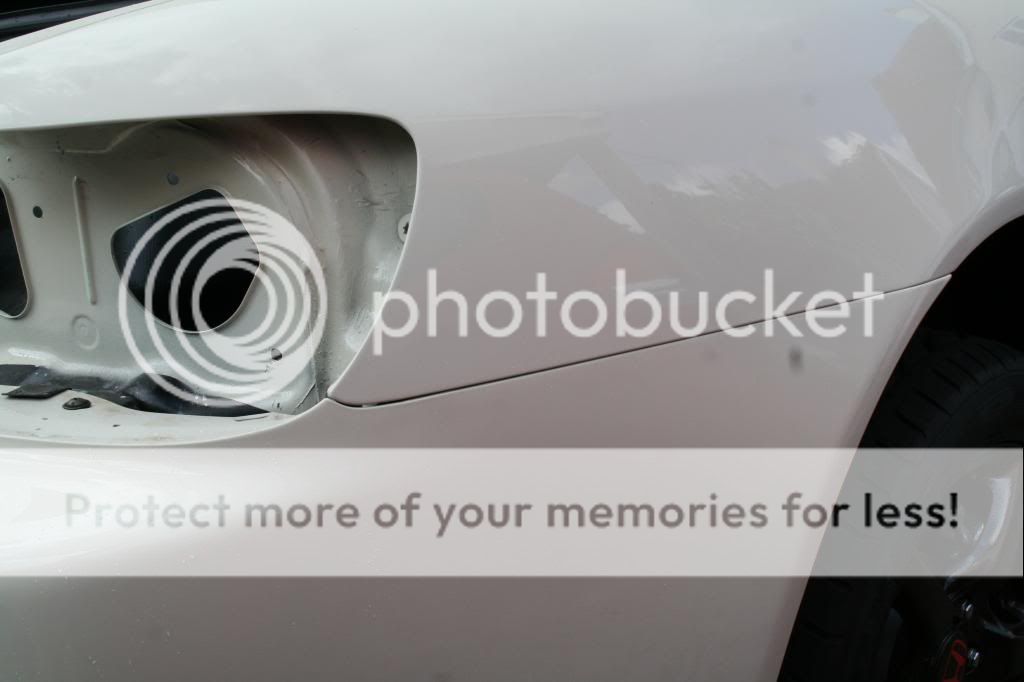
End result which is far better than it was .
TO further improve the fit the only way forward i can see is to make some brackets and bolt them to the big seam and use those to lift the corner. Also if you improve the fit by pulling the sides back, you then make the light unit fit worse. I suppose you could pack the light unit out a bit but them it would leak unless you made thicker seals
Cheers for the snaps! That's a really good effort so will give it a go.
Decided to see if I could sort the sagging arse. Here is what I think is happening. Removing the bumper weakens it especially in the corner where it first meets the light. IMHO no amount of adjustment can remedy this - it has to be lifted. So I put a 5mm spacer there (brown) and put a bolt in to hold it together. I don't have a before picture but it was bad. Why was it sagging? I have owned the car since new (1st August 2022) and the only time the bumper had been off was when I asked a bodyshop to silicone the air vent as I had water ingress into the boot (didn't help). They probably pulled quite hard to get it off.
Anyway let's have a look at the result.
It is about as good as I can get it.
I thought of that, but I could not dislodge the black plastic blocks. I unscrewed the 3 screws but it seemed stuck. Any suggestion?
There are two or three big square push-through clips things on the back side of them. Take the boot carpet out to get to them squeeze them to push back through.
There are two or three big square push-through clips things on the back side of them. Take the boot carpet out to get to them squeeze them to push back through.
Many thanks. Mine did look damaged. Would you by any chance have the part number?