S2000 Clutch and Supercharger install
 08-05-2012, 06:18 AM
#1
Registered User

Thread Starter
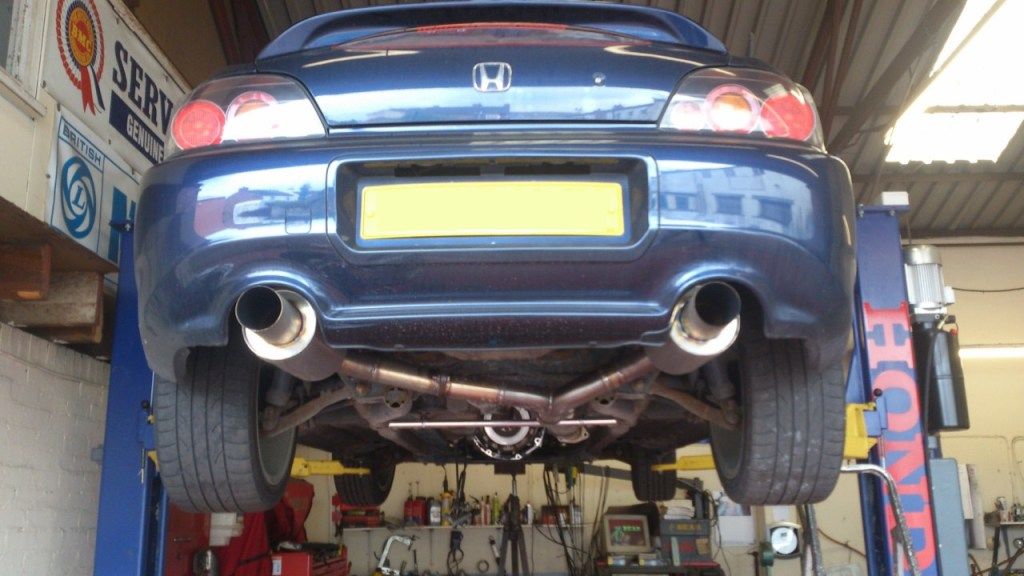
A good friend of mine dropped his S2000 off with me and asked me to install his Supercharger and clutch for him.
Difference being this time, is that he demanded to pay me for my work which is something I don't really accept.
That now makes him a customer!
Anyway, save doing the clutch on the floor, Daytona Autos offered me their 2 post ramp to make the process easier.
So despite mucking about, stopping for lunch, the gearbox being a bit stubborn to line up correctly (by no means the worst i've had with gearbox fittings mind), losing the pressure plate (my face was a picture!) and me failing to locate the clutch fork properly (which I have done before and is admittedly a 2 minute fix!) it took about 4.5 hours. Not bad for an exploratory job.
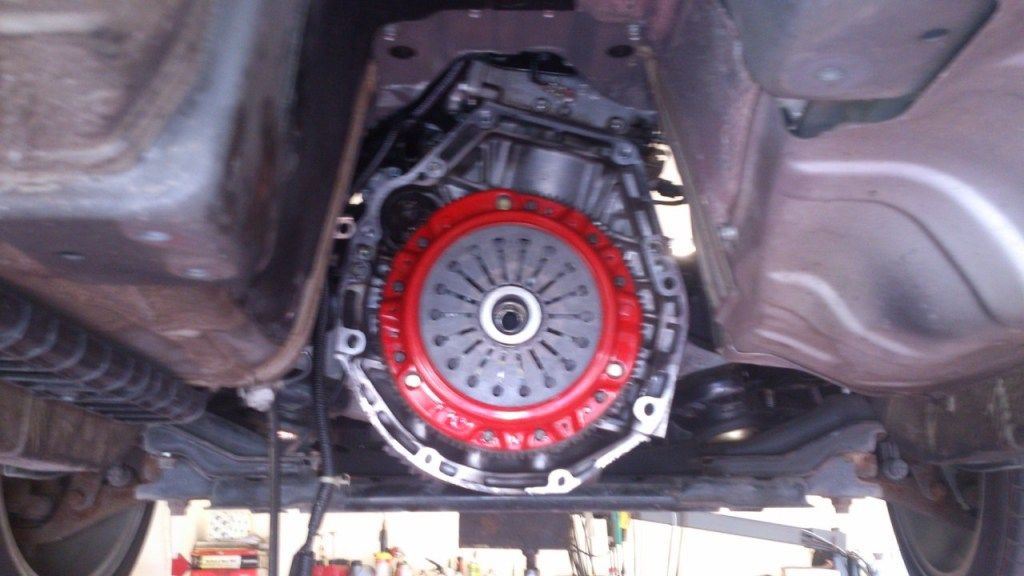
Car up in air with box off
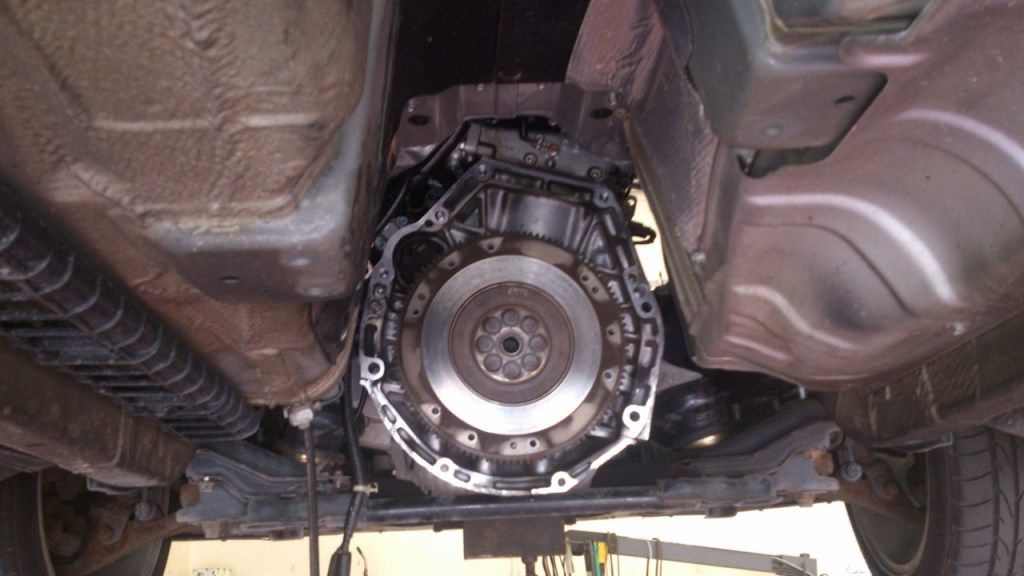
Flywheel
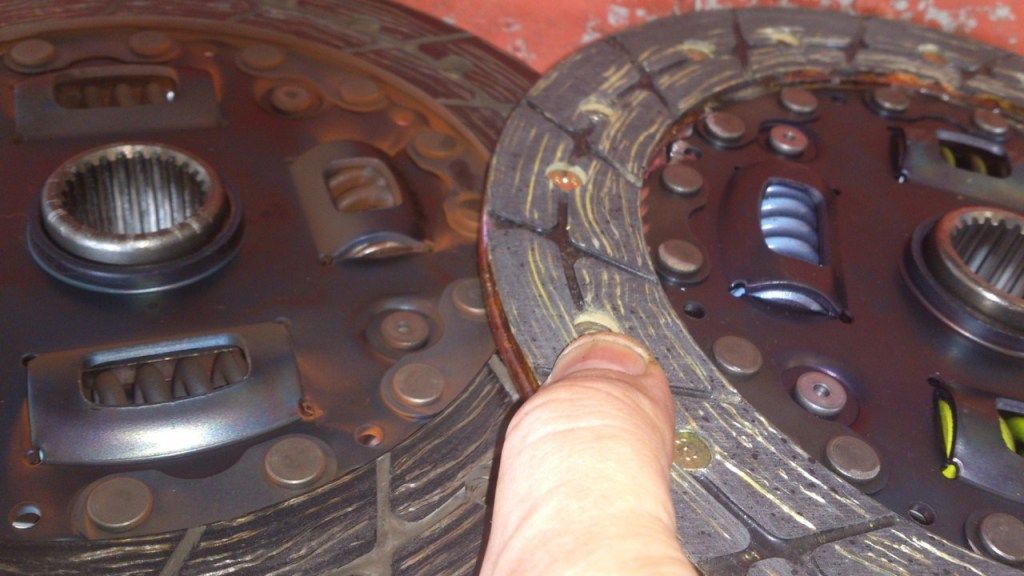
Old clutch left, new clutch right. For a 40k mile car, the clutch, despite some loose springs, was in EXCELLENT condition (90% new)
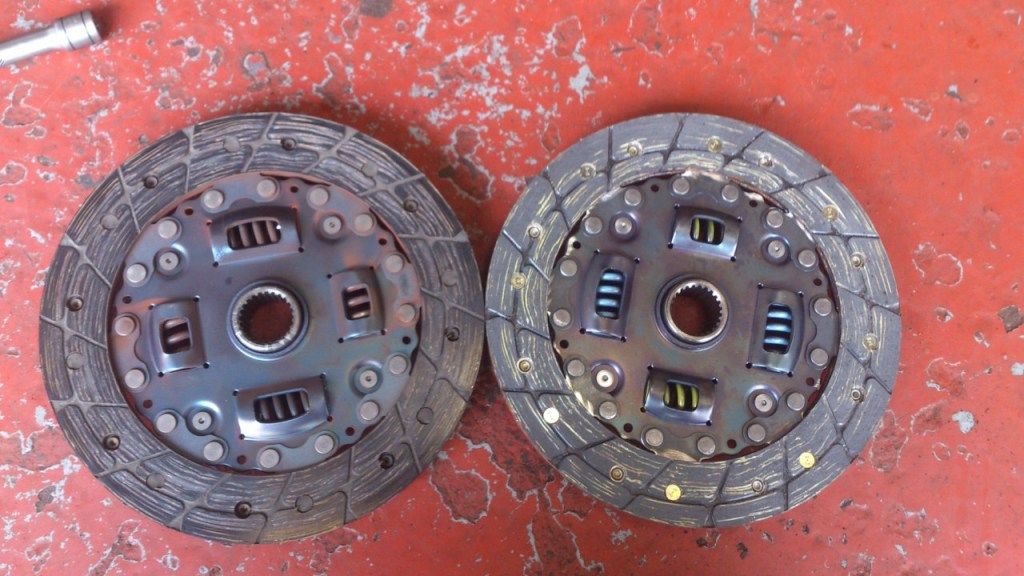
More comparrisons
A blurry shot of the new clutch install and it's nioce red pressure plate!
So now we move onto the Supercharger.
The kit itself is an Science of Speed kit with a Novi Paxton blower.
The kit itself seems, on the whole, very good with all major components of decent quality.
However, some of the bolts/fastners are completely dire and made from silver chocolate.
Being a time served Aircraft engineer, I have worked with a wide variety of fastners and performed stress tests to failure following stress/strain and Young's Modulus etc.
I have also had my time and dealings with sheared bolts and stripped threads.
Suffice to say I wouldn't have trusted certain bolts, within this kit, on an airfix model!
True, you could 'probably' get away with fitting them, but there is a way you expect a bolt to behave and these bolts didn't.
Quite dangerous to be honest, because if they'd have broke, you'd probably have an engine fire.
Anyway, Crank pulley was a bit of a b1tch to remove, but it did indeed come loose and new pulley was fitted.
Fuel pump was somewhat a bu99er due to lack of space, but again no real issue.
Waiting on the new bolts now before we continue with the fitting!
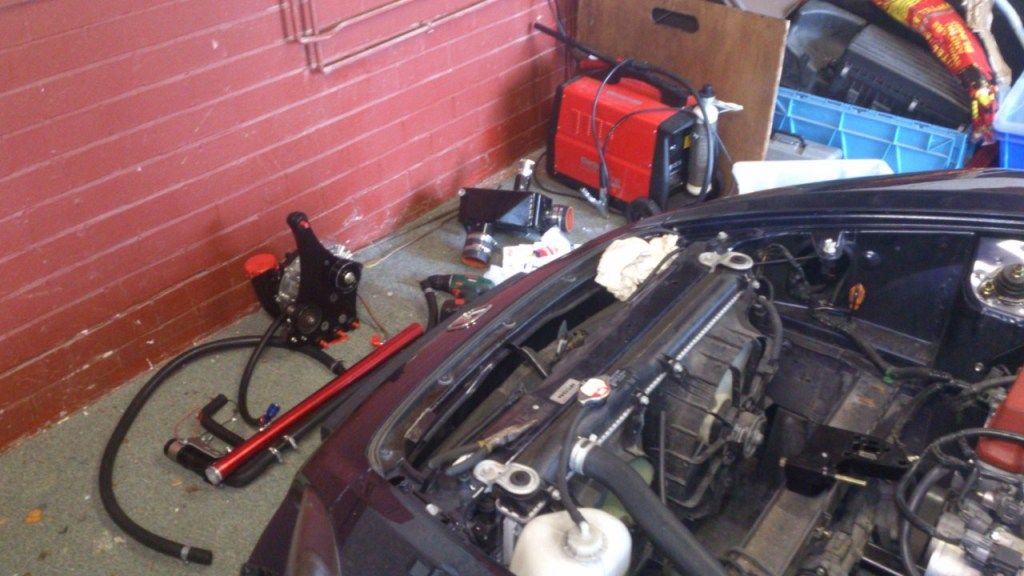
Bits of supercharger!
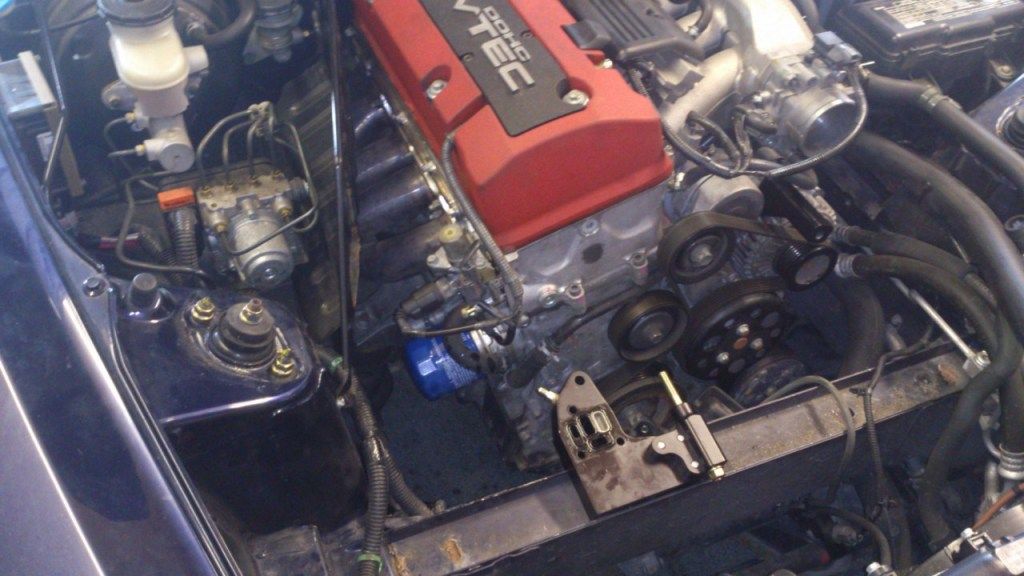
VTEC Solenoid spacer
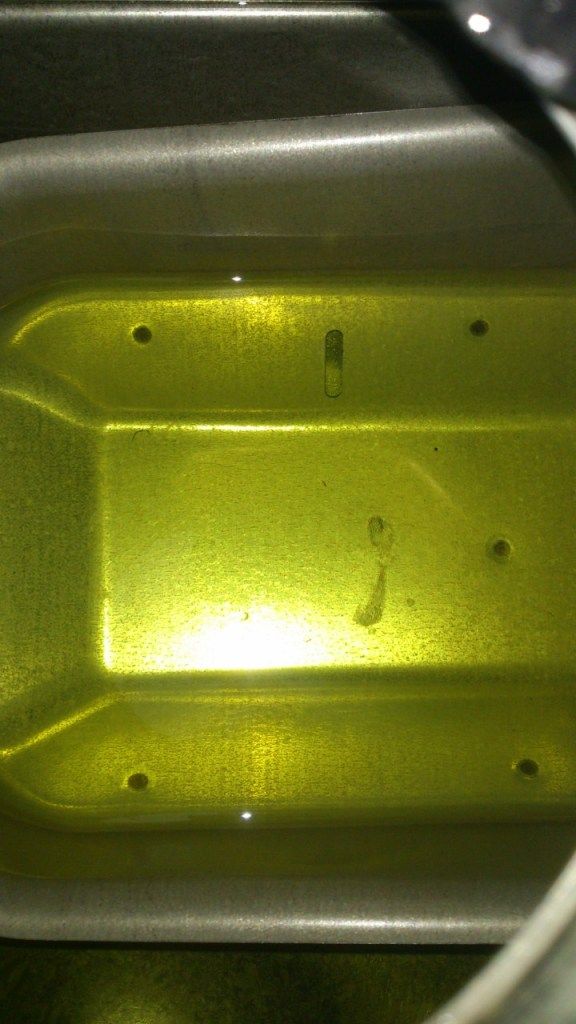
Tight space for the fuel pump
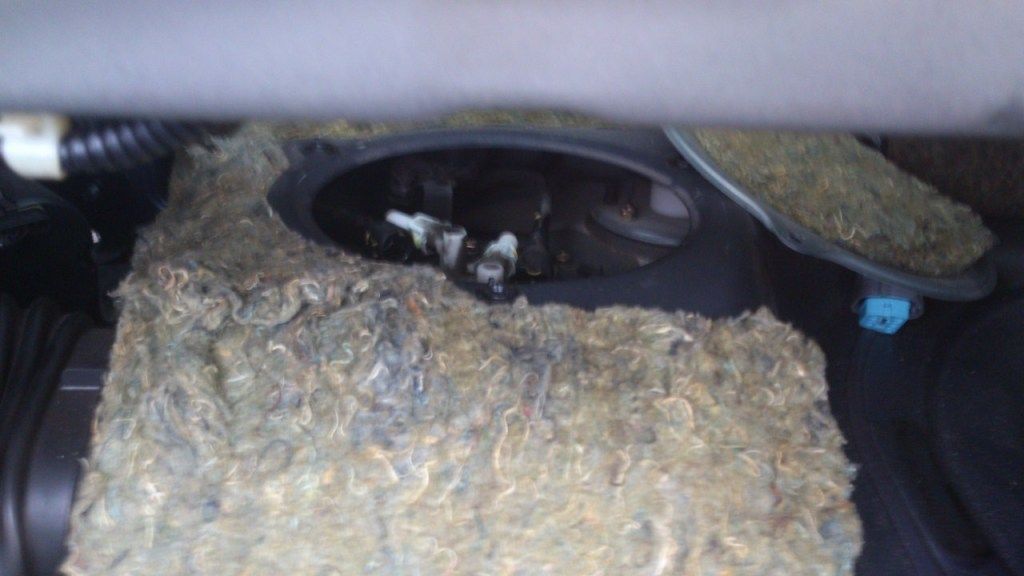
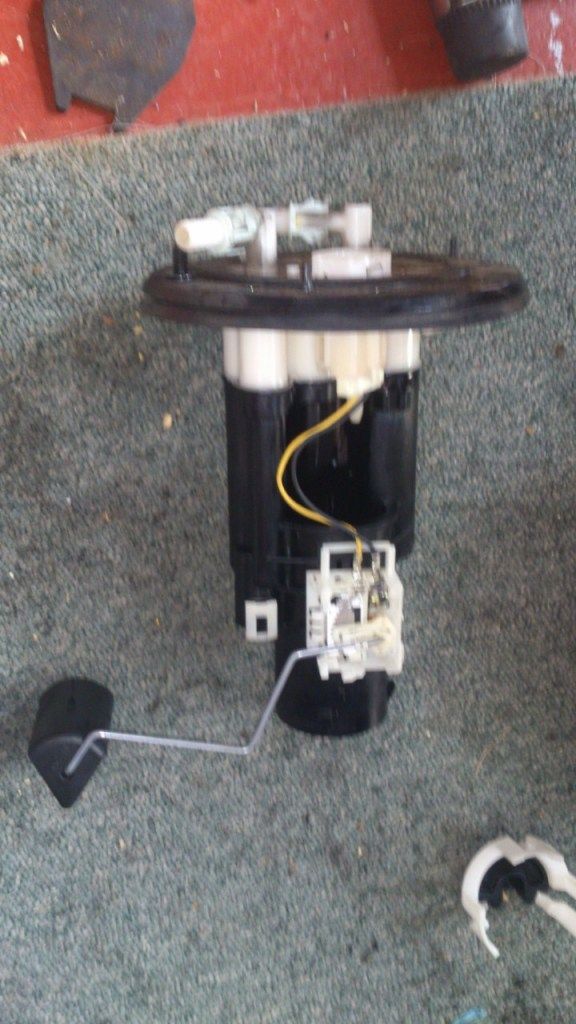
The last three pics are of the fuel pump and sender. Seeing this now you can understand why the fuel gauge is a bit rubbish as it is baffled and doesn't really see the full extent as to what goes on!
Fuel pump and sender
two fuel pumps
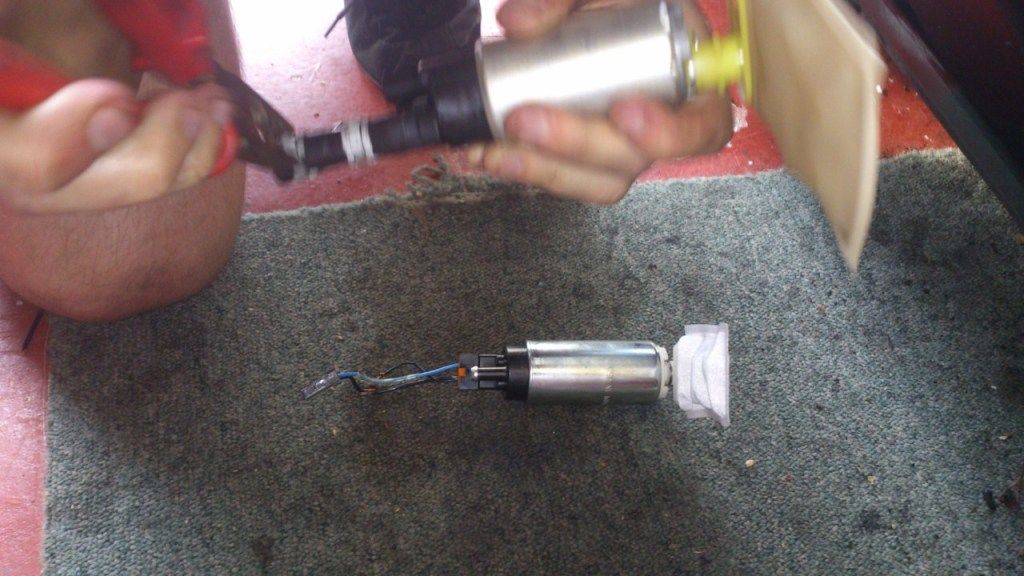
This is to all those who panic about running low on fuel and picking up crap in the fuel tank!!
More as it comes
Difference being this time, is that he demanded to pay me for my work which is something I don't really accept.
That now makes him a customer!
Anyway, save doing the clutch on the floor, Daytona Autos offered me their 2 post ramp to make the process easier.
So despite mucking about, stopping for lunch, the gearbox being a bit stubborn to line up correctly (by no means the worst i've had with gearbox fittings mind), losing the pressure plate (my face was a picture!) and me failing to locate the clutch fork properly (which I have done before and is admittedly a 2 minute fix!) it took about 4.5 hours. Not bad for an exploratory job.
Car up in air with box off
Flywheel
Old clutch left, new clutch right. For a 40k mile car, the clutch, despite some loose springs, was in EXCELLENT condition (90% new)
More comparrisons
A blurry shot of the new clutch install and it's nioce red pressure plate!
So now we move onto the Supercharger.
The kit itself is an Science of Speed kit with a Novi Paxton blower.
The kit itself seems, on the whole, very good with all major components of decent quality.
However, some of the bolts/fastners are completely dire and made from silver chocolate.
Being a time served Aircraft engineer, I have worked with a wide variety of fastners and performed stress tests to failure following stress/strain and Young's Modulus etc.
I have also had my time and dealings with sheared bolts and stripped threads.
Suffice to say I wouldn't have trusted certain bolts, within this kit, on an airfix model!
True, you could 'probably' get away with fitting them, but there is a way you expect a bolt to behave and these bolts didn't.
Quite dangerous to be honest, because if they'd have broke, you'd probably have an engine fire.
Anyway, Crank pulley was a bit of a b1tch to remove, but it did indeed come loose and new pulley was fitted.
Fuel pump was somewhat a bu99er due to lack of space, but again no real issue.
Waiting on the new bolts now before we continue with the fitting!
Bits of supercharger!
VTEC Solenoid spacer
Tight space for the fuel pump
The last three pics are of the fuel pump and sender. Seeing this now you can understand why the fuel gauge is a bit rubbish as it is baffled and doesn't really see the full extent as to what goes on!
Fuel pump and sender
two fuel pumps
This is to all those who panic about running low on fuel and picking up crap in the fuel tank!!
More as it comes

 08-05-2012, 07:50 AM
#3

Just done the same job myself.
My fuel filter looked brand new!
Some of the Comptech brackets arn't great, mainly the heat exchanger brackets. I remade my own.
Hurry up and get it finish so AJ can work his magic
My fuel filter looked brand new!
Some of the Comptech brackets arn't great, mainly the heat exchanger brackets. I remade my own.
Hurry up and get it finish so AJ can work his magic
08-05-2012, 07:50 AM
#4
Damn that looks fun!
I have soo many questions! I'll start with what psi Will the charger producer?
Can you take more pics of the mounting points so I can compare them to my tts kit? The vtec solenoid bracket looks very similar.
I have soo many questions! I'll start with what psi Will the charger producer?
Can you take more pics of the mounting points so I can compare them to my tts kit? The vtec solenoid bracket looks very similar.
08-05-2012, 07:53 AM
#5
08-05-2012, 09:43 AM
#6
The novi 1200 is better than the old novi 1000, as it flows better well more air in terms of CFM.
If the kit is pushing out 15psi then 500BHP/high 300's low 400's WHP at high boost levels is easily achievable on this kit, i think the novi1200 will max out at 18psi.
One thing for sure is hold onto your hat when you get into double figures of boost around 6000rpm!, it will be very very quick.
If the kit is pushing out 15psi then 500BHP/high 300's low 400's WHP at high boost levels is easily achievable on this kit, i think the novi1200 will max out at 18psi.
One thing for sure is hold onto your hat when you get into double figures of boost around 6000rpm!, it will be very very quick.
08-05-2012, 11:09 AM
#7
Registered User


Join Date: Mar 2012
Posts: 68
Likes: 0
Received 0 Likes
on
0 Posts
The pics of the kit fitted on the attached link look pretty good and apart from the intake very oem like.
Be really interested to see the end result, now if only I had a good few grand lying around.
I also wish I had friends as handy with the tool kit as you
Be really interested to see the end result, now if only I had a good few grand lying around.
I also wish I had friends as handy with the tool kit as you
Trending Topics
08-05-2012, 12:36 PM
#8
Registered User

Thanks for posting this. The SOS kit is on my plan for next yr. mind sharing which bolts in your eyes aren't up to the job so I can note for future or is it obvious?
This is their current 1200/1220 kit?
This is their current 1200/1220 kit?
 08-11-2012, 03:06 PM
#10
Community Organizer

I popped round to Ron's earlier today for a cup of tea & a chat and decided to take a few pictures of his mate's S 
OEM vs. 1000cc injectors


The A-Team

Novi 1200


Novi 1200 s/c complete with SOS aftercooler

Preparing for the heat exchanger:

Heat exchanger fitted

Ron's mate is going to be one happy owner once this S starts to breath fire
OEM vs. 1000cc injectors
The A-Team
Novi 1200
Novi 1200 s/c complete with SOS aftercooler
Preparing for the heat exchanger:
Heat exchanger fitted
Ron's mate is going to be one happy owner once this S starts to breath fire