berlin's progress
 12-02-2013, 07:57 PM
#31
Registered User

Thread Starter

Join Date: Aug 2012
Location: socal
Posts: 76
Likes: 0
Received 0 Likes
on
0 Posts
The car is looking great man, I know how you feel with the front fenders, I did the same thing, gonna have them resprayed once I get back to go with the new front end. Like the new wheels as well, how did you go about doing the tuck because I would also like to clean up my bay a little too, great job overall.

 12-22-2013, 02:32 AM
#32

Originally Posted by miloking' timestamp='1386024363' post='22904106
[quote name='redkid' timestamp='1363761524' post='22415311']
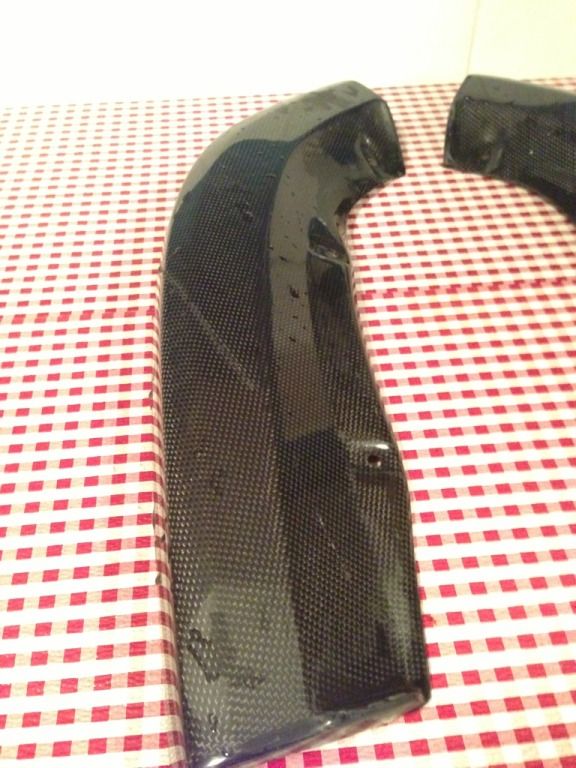
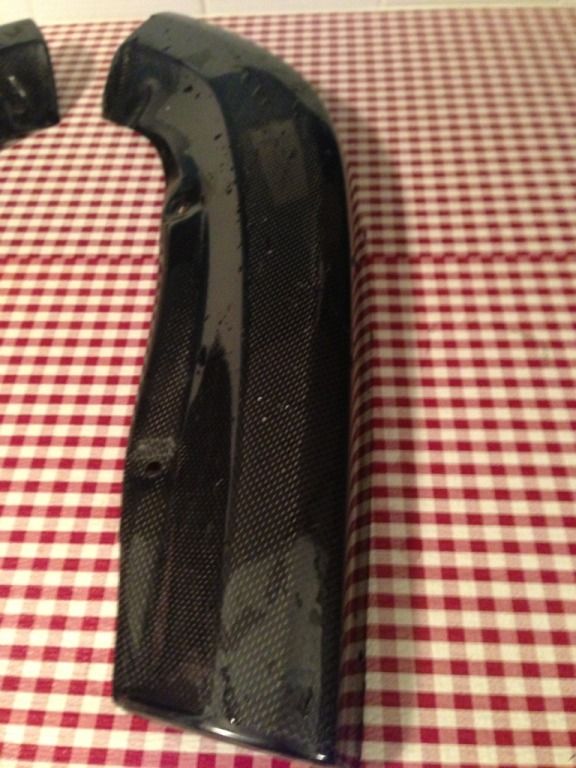
oh and since i got the jdp these are up for sale theres a scratch on one of them looks to be repairable pm me
oh and since i got the jdp these are up for sale theres a scratch on one of them looks to be repairable pm me
How much do you want for those rear bumper caps? Are they only for AP2 bumper?
[/quote]
Sorry to hijack your thread these are your rear bumper caps... modified to fit AP1 bumper and painted to match ap1 "faux" difuser color...
Thanks again!
 12-22-2013, 01:17 PM
#33
Registered User
Thread Starter
Join Date: Aug 2012
Location: socal
Posts: 76
Likes: 0
Received 0 Likes
on
0 Posts
Originally Posted by redkid' timestamp='1386030122' post='22904219
[quote name='miloking' timestamp='1386024363' post='22904106']
[quote name='redkid' timestamp='1363761524' post='22415311']
oh and since i got the jdp these are up for sale theres a scratch on one of them looks to be repairable pm me
[quote name='redkid' timestamp='1363761524' post='22415311']
oh and since i got the jdp these are up for sale theres a scratch on one of them looks to be repairable pm me
How much do you want for those rear bumper caps? Are they only for AP2 bumper?
[/quote]
Sorry to hijack your thread these are your rear bumper caps... modified to fit AP1 bumper and painted to match ap1 "faux" difuser color...
Thanks again!
[/quote]
it looks real nice!!!!
 12-27-2013, 09:49 AM
#35
Registered User
Thread Starter
Join Date: Aug 2012
Location: socal
Posts: 76
Likes: 0
Received 0 Likes
on
0 Posts
if that's the ebay seller then yes they are the same ones. as far as the install goes, I'm not going to lie when i 1st started i didn't know what the hell i was doing but its pretty straight forward, basically take the seat apart and then pull the skins off. as your pulling off the skins you need to cut the little metal retainer rings. and then use the retainer rings they supply you with on the new skins, i didn't know there was a special tool you can buy to install the rings, makes it a lot easier. as far as fitment there are some wrinkles around where the hole is for the head rest but personally i don't think it looks bad also the skins look a lot better then oem because they aren't as glossy
12-30-2013, 06:52 PM
#36
Originally Posted by s2krxx' timestamp='1388121821' post='22939299
Nice red seats! I think I saw a post where you said you ordered from seats01. I'm still waiting for mine to come in...How difficult was the install? Also, was fitment pretty good?
12-31-2013, 12:21 PM
#37
Registered User
Thread Starter
Join Date: Aug 2012
Location: socal
Posts: 76
Likes: 0
Received 0 Likes
on
0 Posts
Originally Posted by redkid' timestamp='1388170156' post='22939884
[quote name='s2krxx' timestamp='1388121821' post='22939299']
Nice red seats! I think I saw a post where you said you ordered from seats01. I'm still waiting for mine to come in...How difficult was the install? Also, was fitment pretty good?
Nice red seats! I think I saw a post where you said you ordered from seats01. I'm still waiting for mine to come in...How difficult was the install? Also, was fitment pretty good?
[/quote]
yes it is. the oem red is gloss/shinny these don't have a shine to them
03-22-2014, 01:08 PM
#39
Registered User
Thread Starter
Join Date: Aug 2012
Location: socal
Posts: 76
Likes: 0
Received 0 Likes
on
0 Posts
update- I've decided to change the look of the car for this season, I'm trying to think outside the box but at the same time maintain the clean look heres an idea of what I'm working with still waiting on a few little parts
Tamon duckbill and ASM hood

Jay-Z lipped my Works but they aren't 100% done still got a little some up my sleeve for them

fitted my camber ball joints but haven't really dialed them in waiting on the wheels to be done

and lastly some interior porn

Tamon duckbill and ASM hood

Jay-Z lipped my Works but they aren't 100% done still got a little some up my sleeve for them

fitted my camber ball joints but haven't really dialed them in waiting on the wheels to be done

and lastly some interior porn

