Jah's MY03 GPW Build Thread
 11-25-2015, 09:59 PM
#41

Yes, I know. My previous Tacoma def got yellow again and again after I polished the headlights.
Funny..I was coincidentally planning the exact same thing for the headlights - 3M or Xpel. Funny, because almost no one mentions using it after they spent so much time wetsanding and restoring their headlights and they usually always use some kind of (the many available) headlight protective liquid coatings (which are expensive and the same price as PPF), or actual clearcoat paint, or even Helmsman spar urethane. Those little injector-containers with a few CCs of that specialized headlight protective coatings is the same price as PPF..so might as well just PPF it, right? PPF is undoubtedly more durable (almost indestructible) and will last waay longer than those little viles of special headlight coatings.
Funny..I was coincidentally planning the exact same thing for the headlights - 3M or Xpel. Funny, because almost no one mentions using it after they spent so much time wetsanding and restoring their headlights and they usually always use some kind of (the many available) headlight protective liquid coatings (which are expensive and the same price as PPF), or actual clearcoat paint, or even Helmsman spar urethane. Those little injector-containers with a few CCs of that specialized headlight protective coatings is the same price as PPF..so might as well just PPF it, right? PPF is undoubtedly more durable (almost indestructible) and will last waay longer than those little viles of special headlight coatings.
Yet with PPF, you just lay it on, and it solves the problem, and adds an additional layer of shatter protection, pretty much forever. It fact, last year a thread went on about this, I suggested it, and it was just like ignored. It was really weird.
But, I've done it on four cars and it works perfect, looks perfect, and lasts forever, for about $50. Do it when the car is relatively new and you don't even have to polish them in the first place.
 11-25-2015, 11:12 PM
#42

Thread Starter
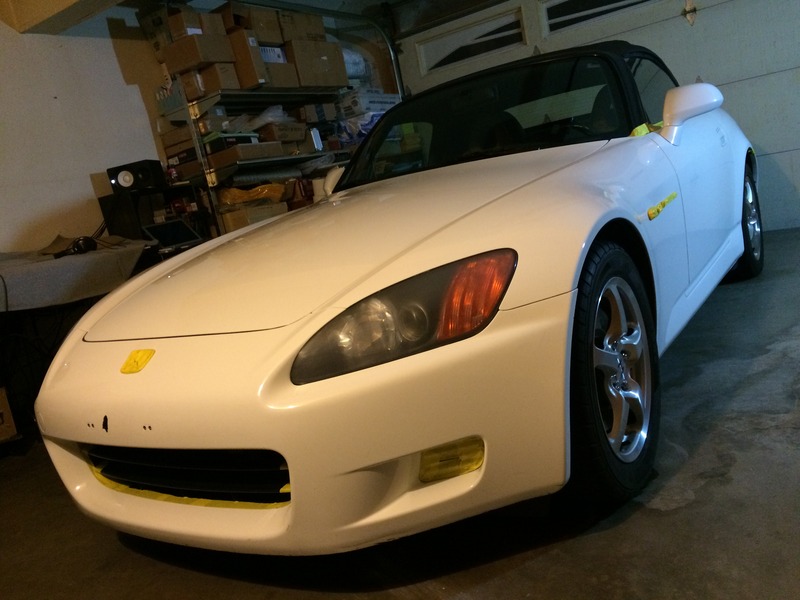
I wish my car was new lol, so I could do the front-end clear bra and keep it pristine. Idk if it'd be worth it on my car since there's a good amount of chips on the hood and fenders already and the front bumper needs to be resprayed and also fixed up some (a lot of deep scrapes around where the lip goes). The paint/clearcoat/color isn't anywhere near perfect since it's at 96k miles. Maybe though, if I see it looks decent still after a good and proper detail and paint-correction. Idk yet till I have that done.
 11-26-2015, 09:29 AM
#44
Thread Starter
 11-27-2015, 12:42 PM
#45
Thread Starter
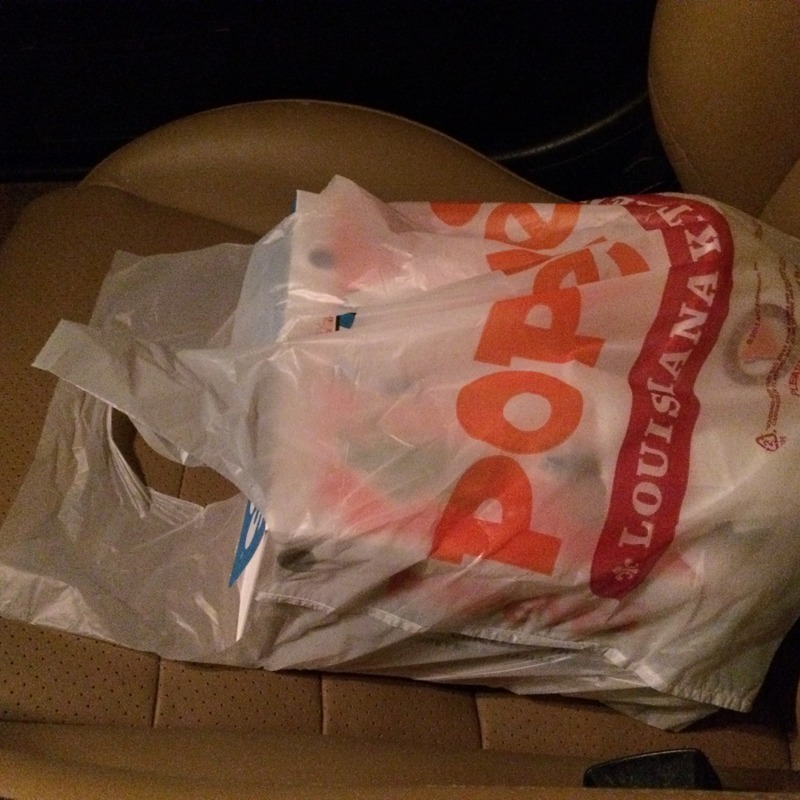
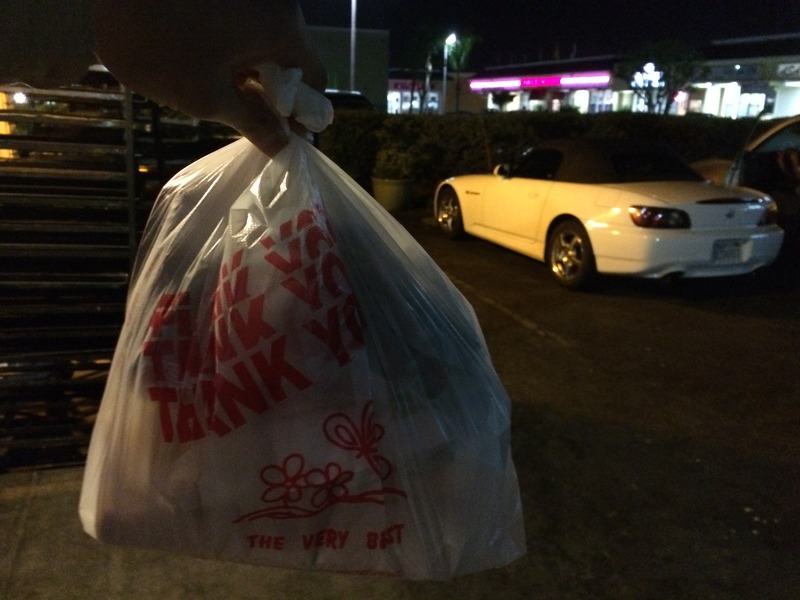
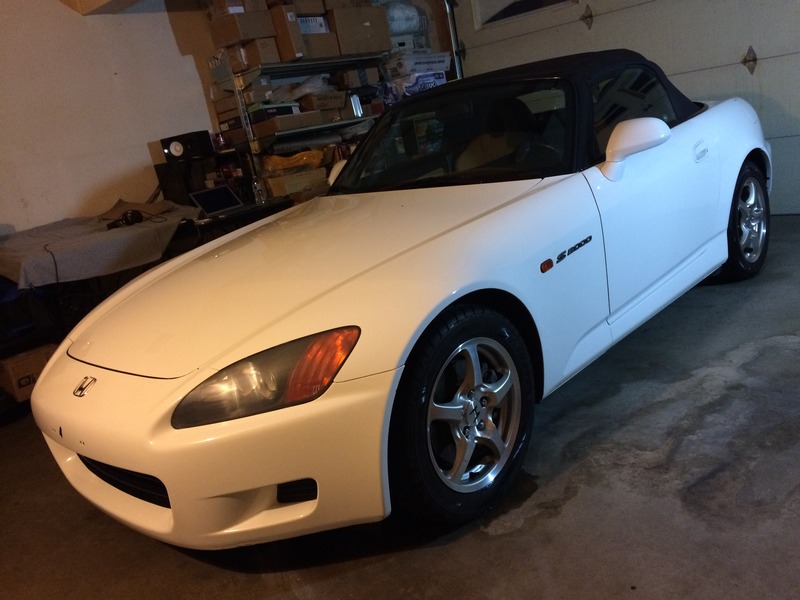
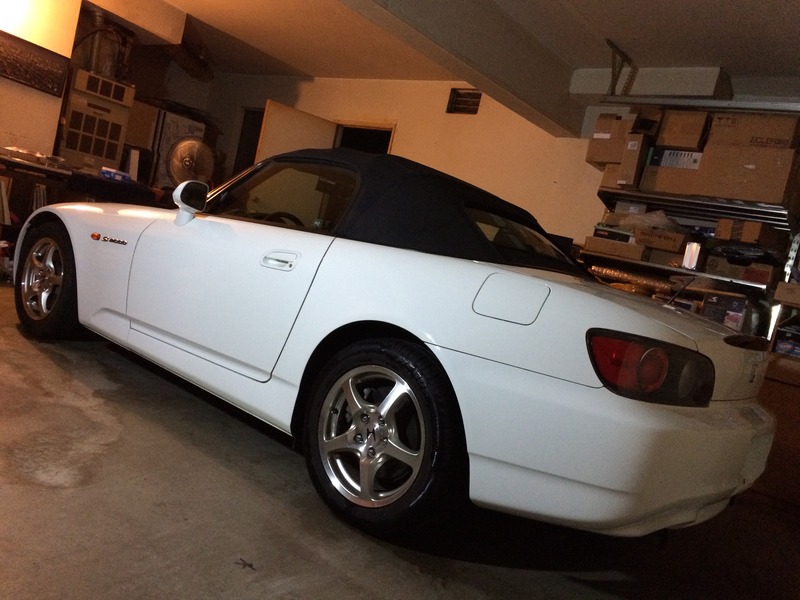
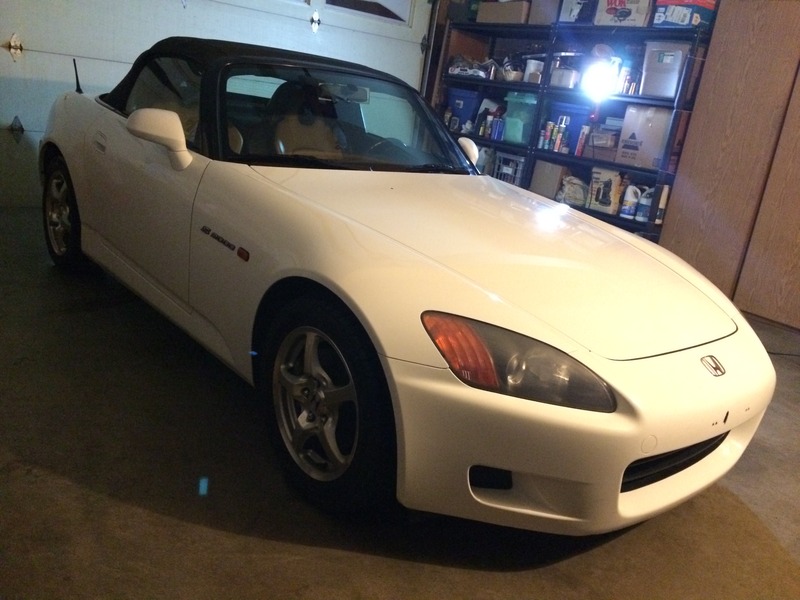
1st Popeyes run
 12-02-2015, 12:31 PM
#46
Thread Starter
Did a paint-correction 2x2” “test-spot” with an old bottle of Meg’s Ultimate Compound I had around. I rubbed it by hand for only 10-20 secs, then wiped it down with OPC all-purpose cleaner to get rid of any oils/fillers from the compound that may or may not hide scratches (for a more fair before&after test-spot comparison). Simply and only UC used - this wasn’t followed by a 2nd, lighter, finishing polish step (though, I plan to of course do a proper 2-stage polish when I do the whole car).
My car’s paint will definitely and obviously benefit big with a nice polish. The test-spot turned out pretty good for a quick 10-20 sec hand polish. You can still see a few remnants of slightly deeper scratches; but, I am sure those would easily be removed by a DA machine.
I was planning to use Optimum’s Hyper-Compound&Polish. But, seeing how well Meg’s UC works (I did my entire previous Tacoma with it with great success), as well as the expensive price of Optimum Hyper-Compound&Polish ($26/bottle) vs Meg’s Ultimate polishes ($11/bottle).. I think I will just use Meg’s Ultimate-Compound&Polish.


 12-12-2015, 11:17 AM
#48
Thread Starter
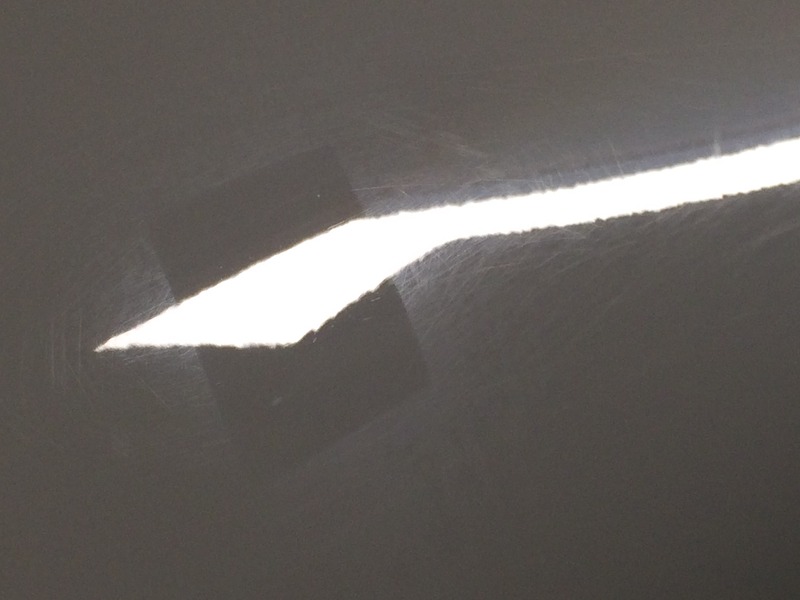
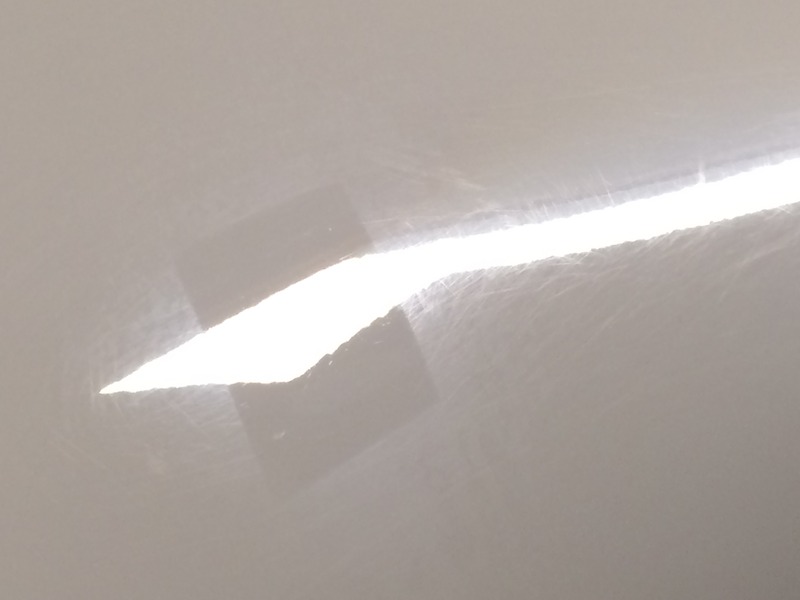
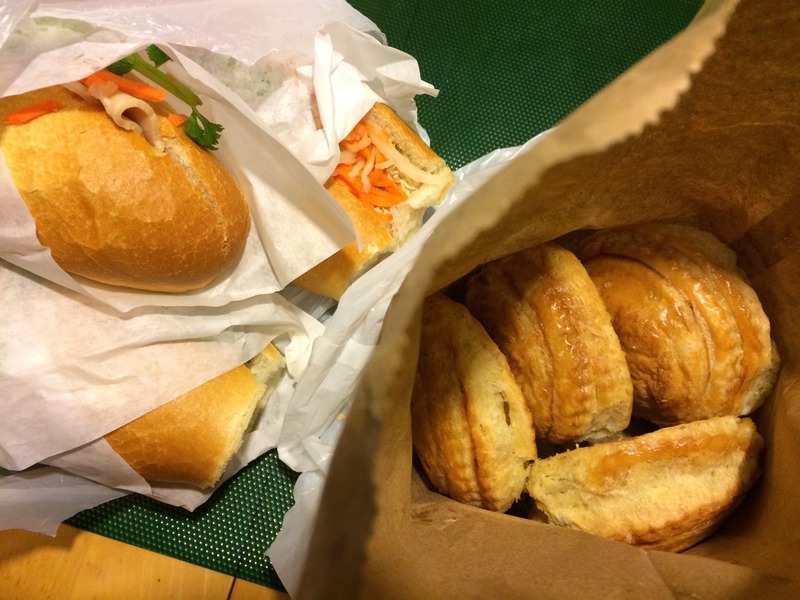
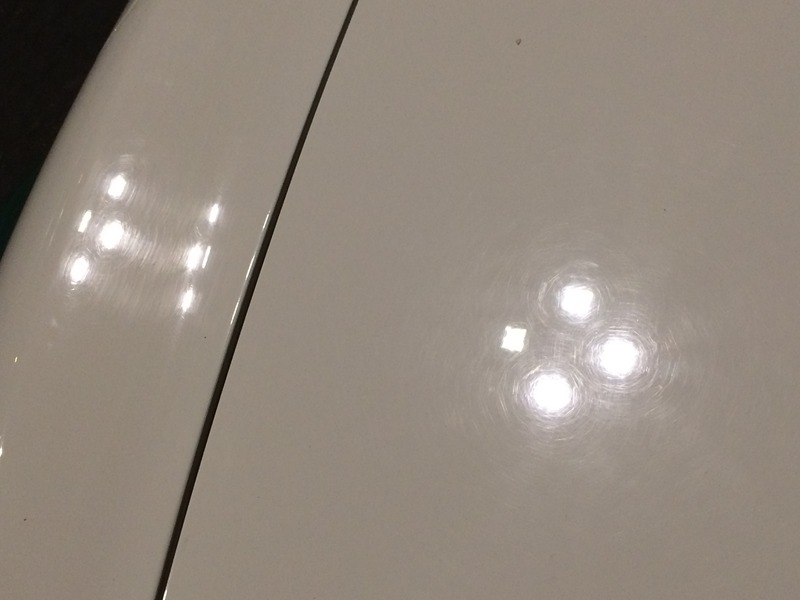
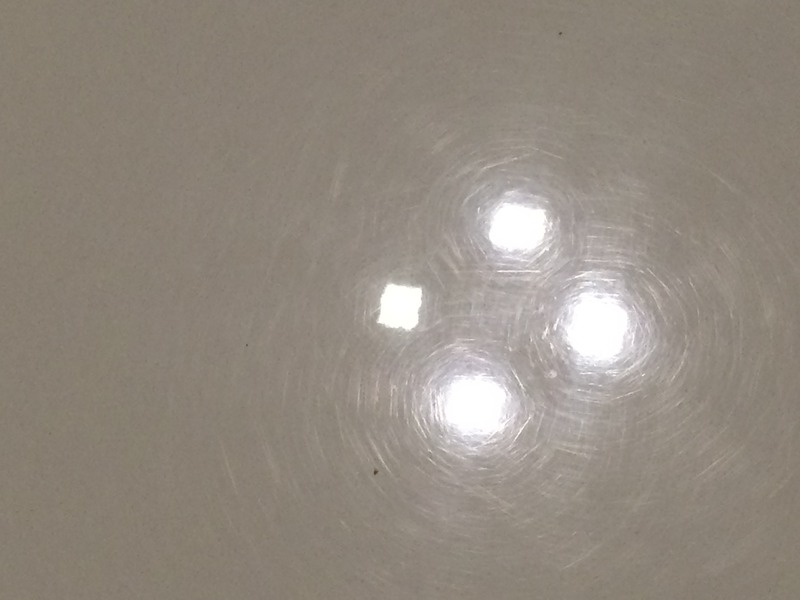
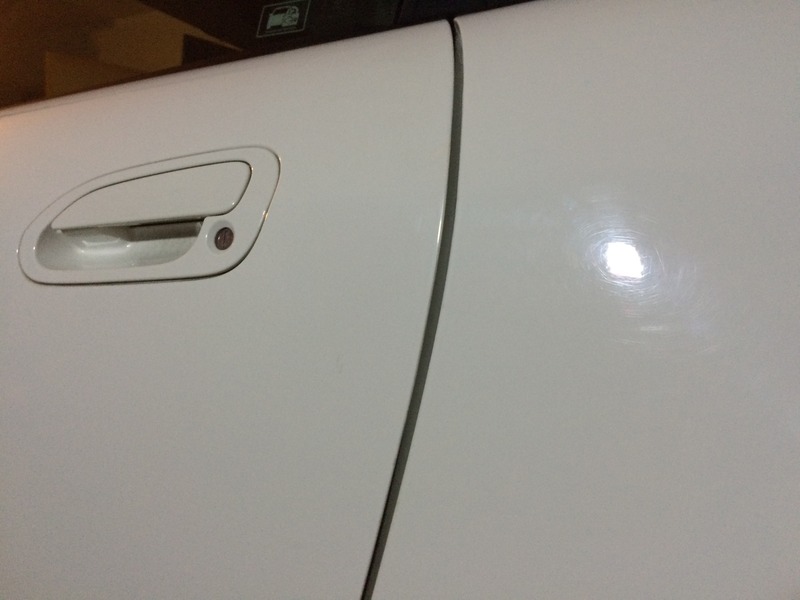
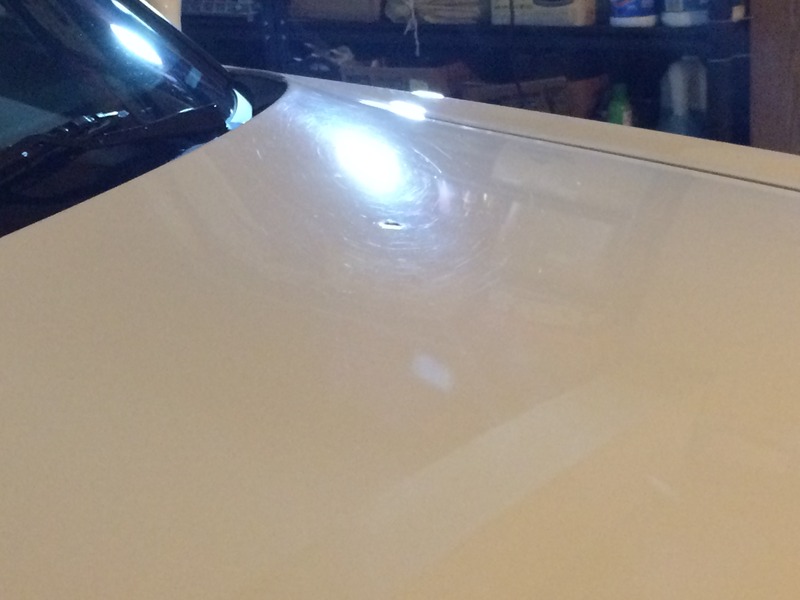
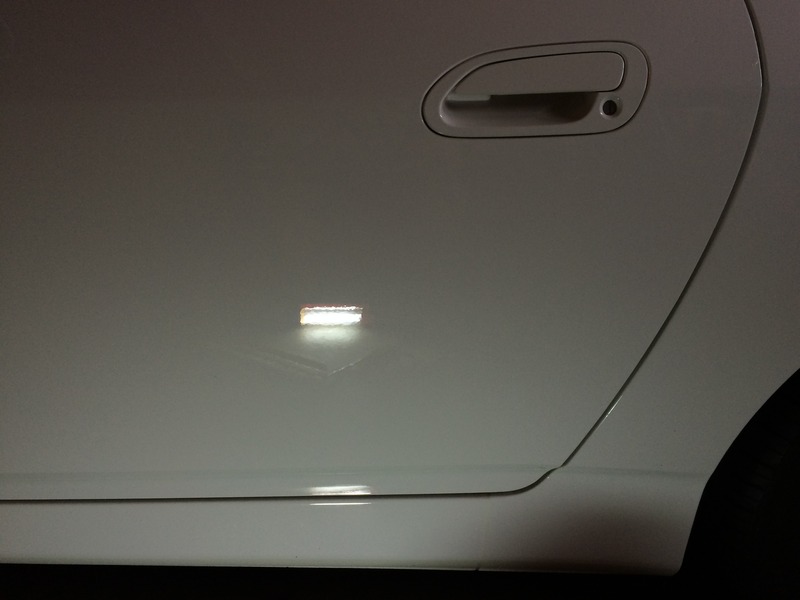
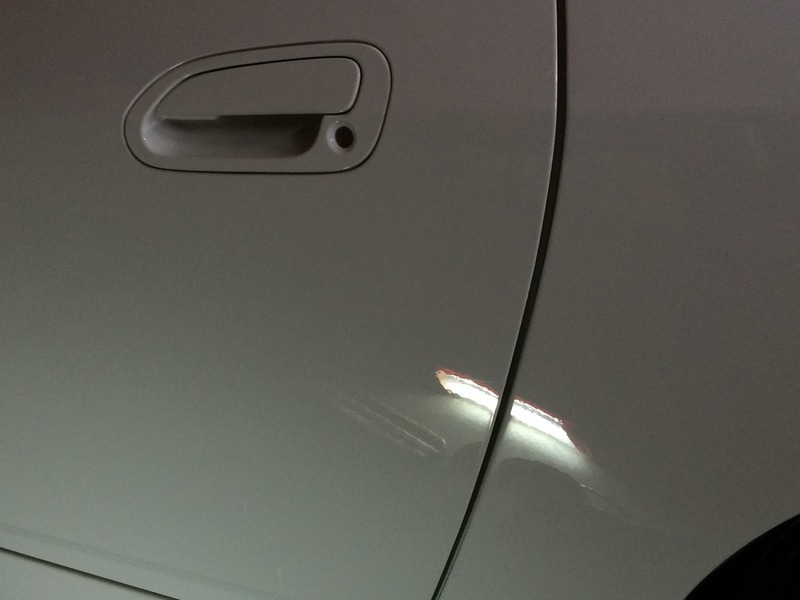
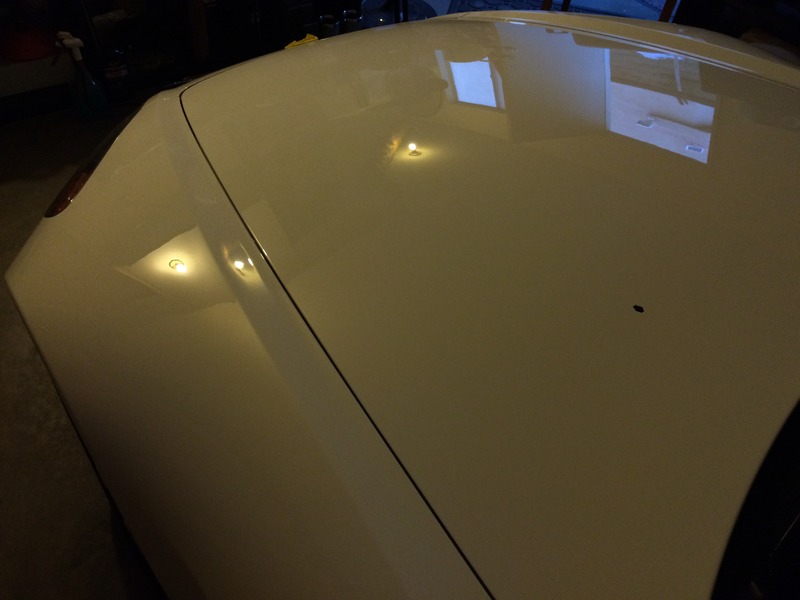
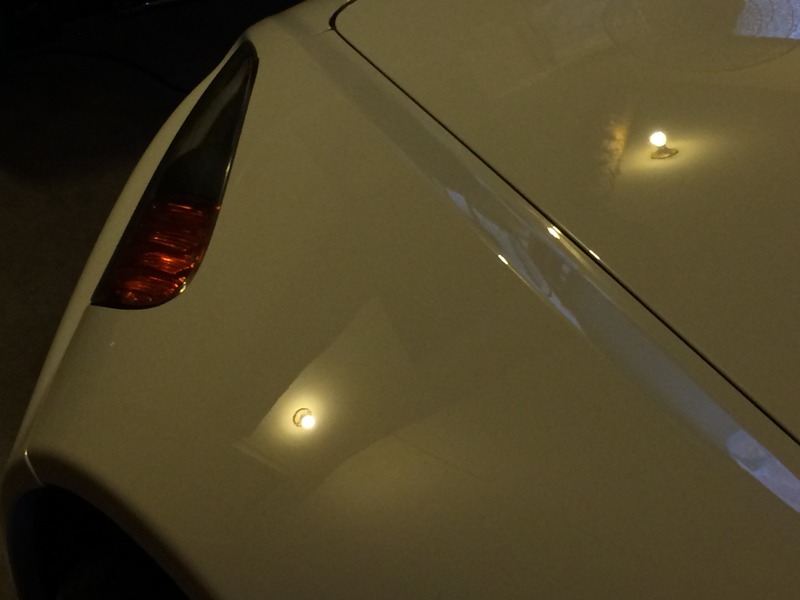
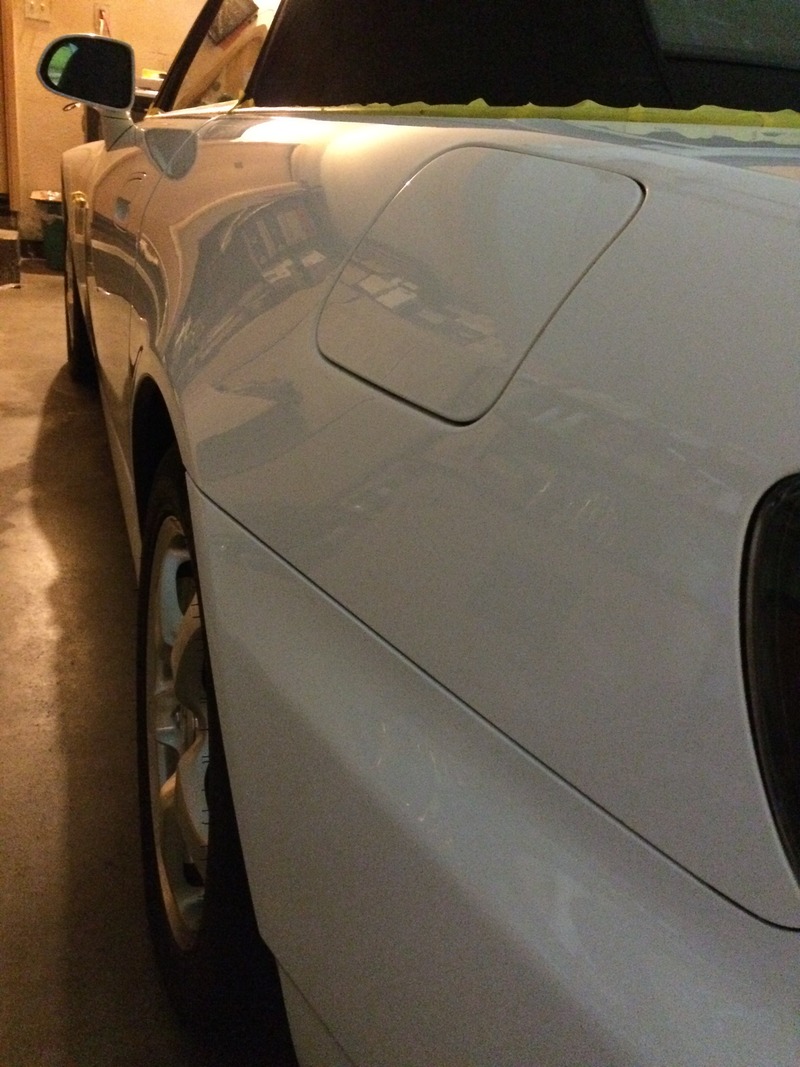
Banh Mi swoop and some paint defect pics under lamppost lighting.


 12-12-2015, 11:55 AM
#49
Thread Starter
Finally got around to do a full paint-correction detail:
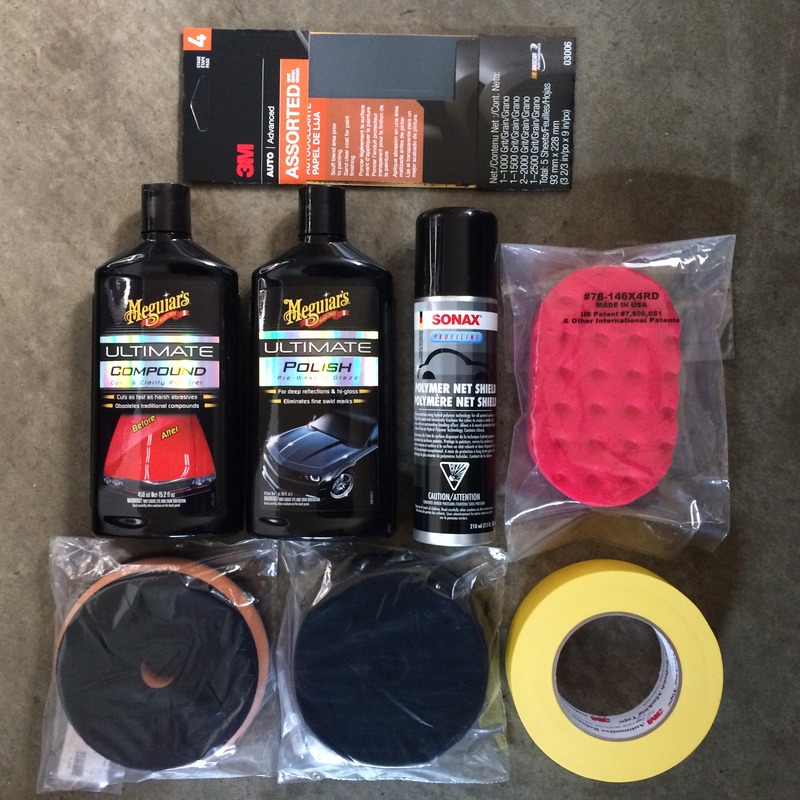
The products I used.
DAY 1:
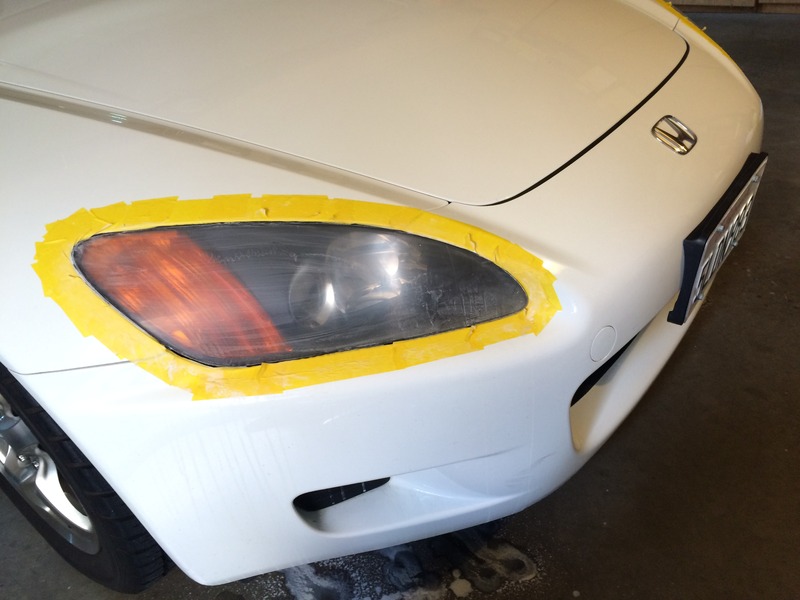
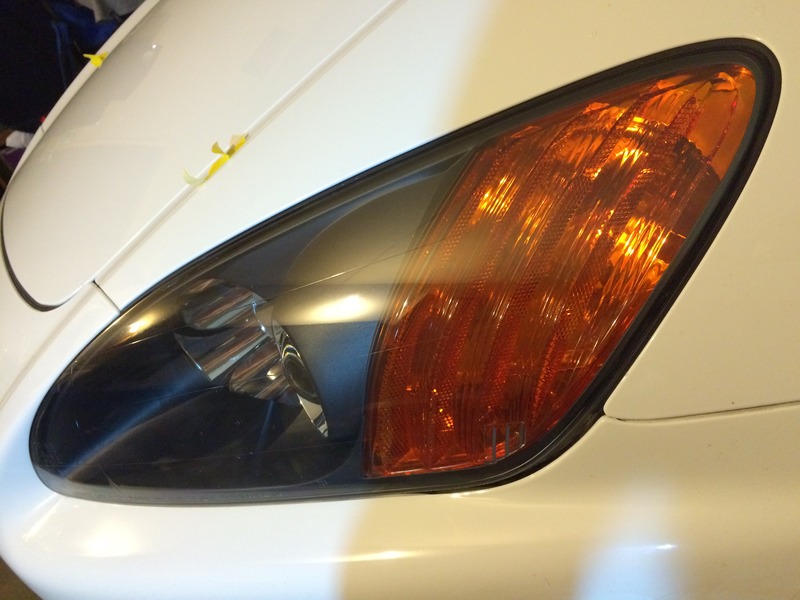
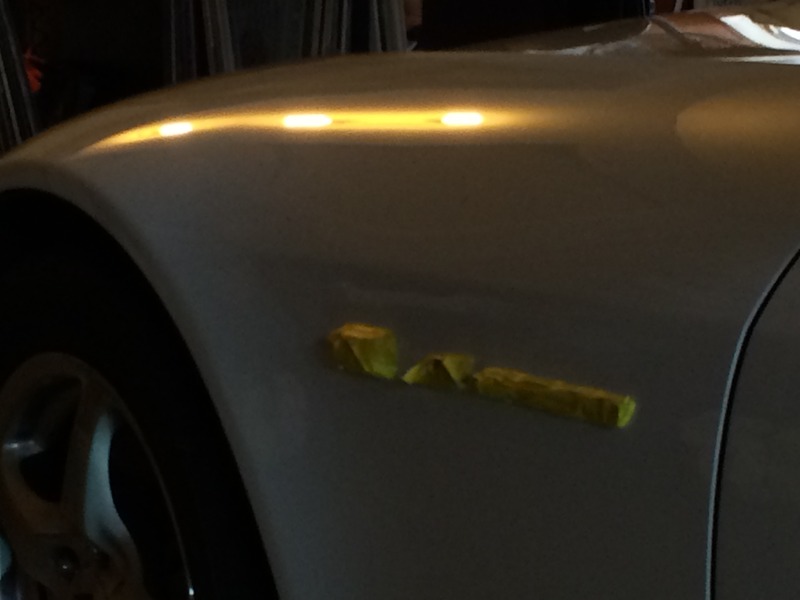
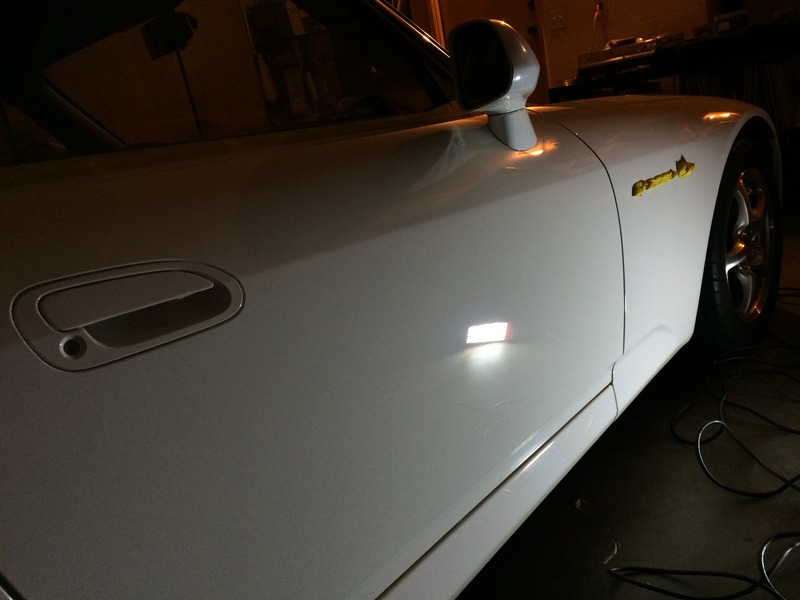
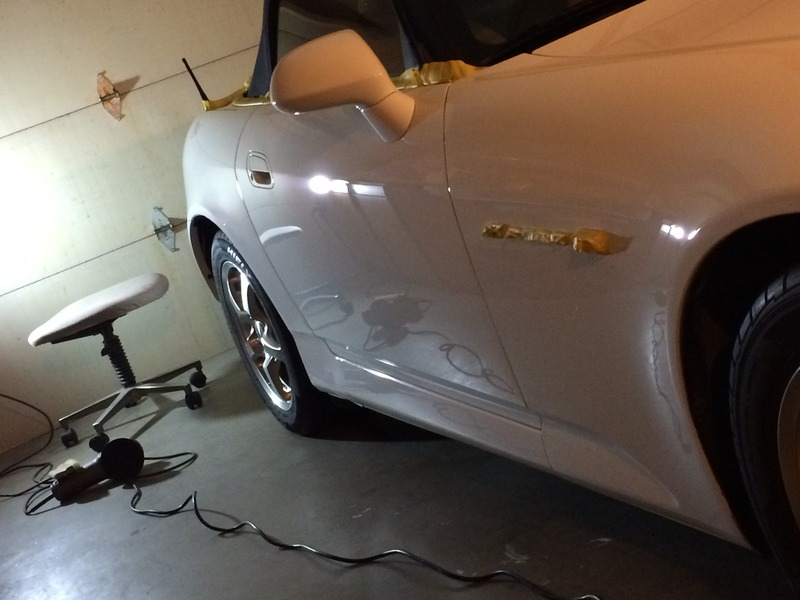
Wetsand headlights. The small and inexpensive “assorted” pack was perfect. $3 and came with all the grits I needed (1000, 1500, 2000, 2500). Beats buying each/every grit at $5 at the hardware/poopboys store and having way too many extra sheets than needed.
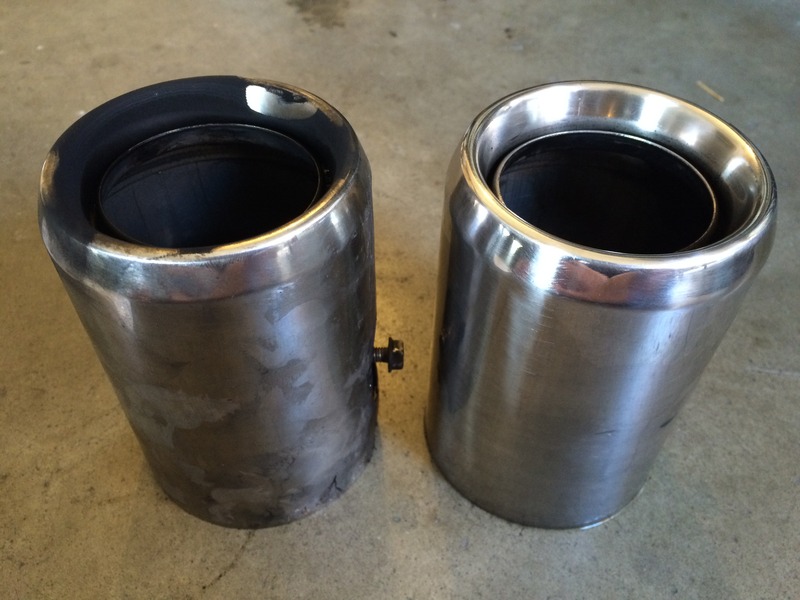
Cleaned exhaust tips.
Washed and clayed.
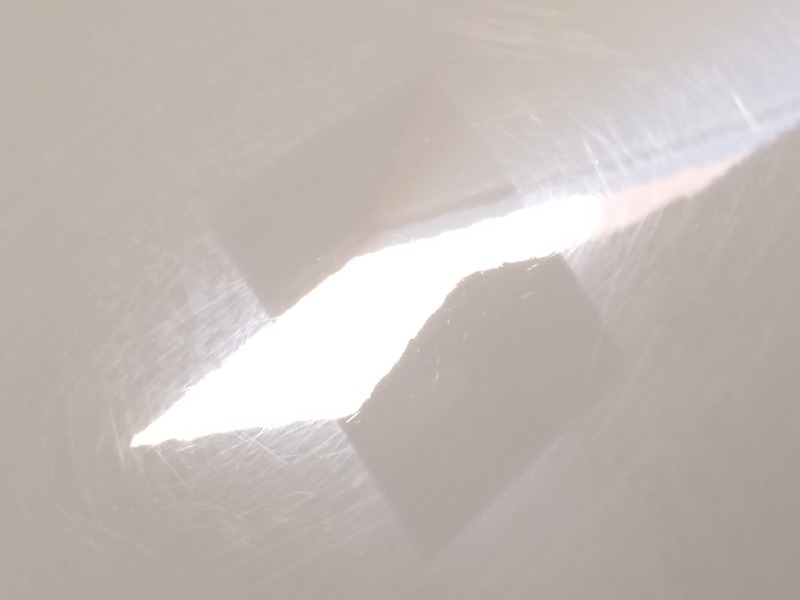
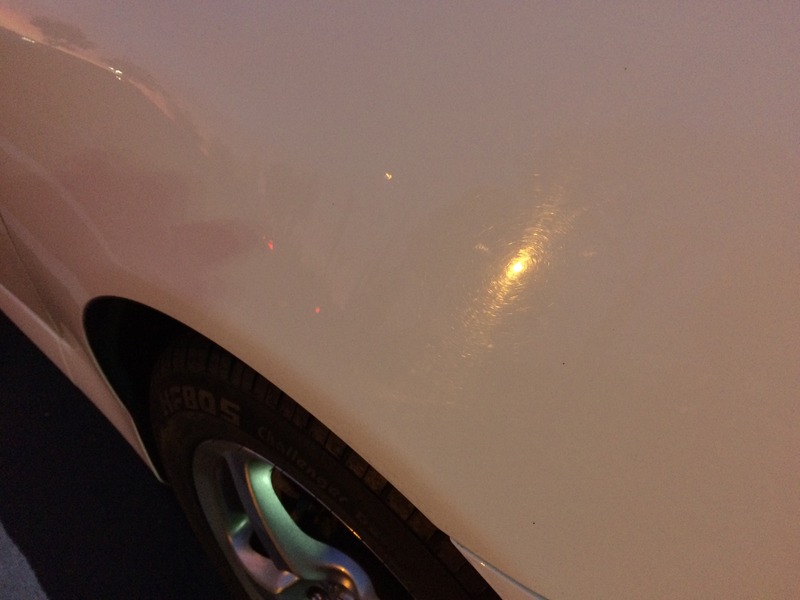
More paint defect/swirl pics. A lot of marring and water spots/stains too under closer inspection while claying.
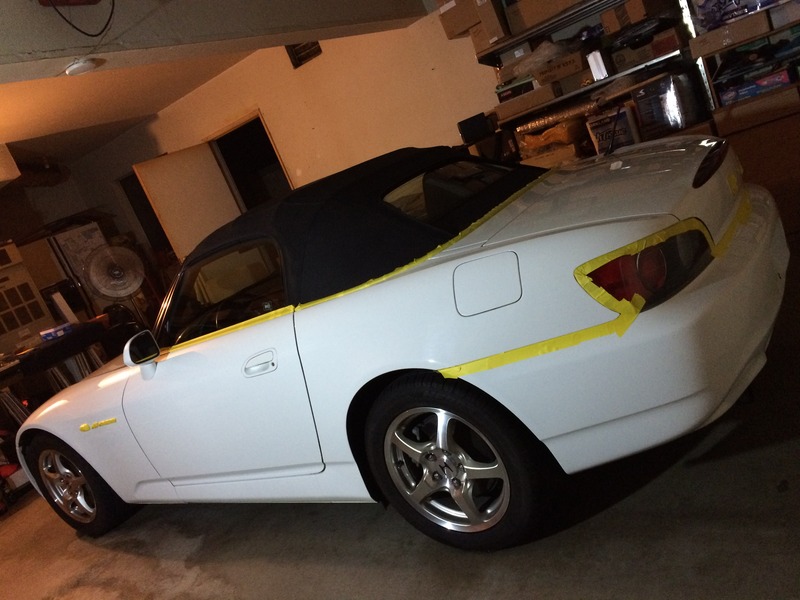
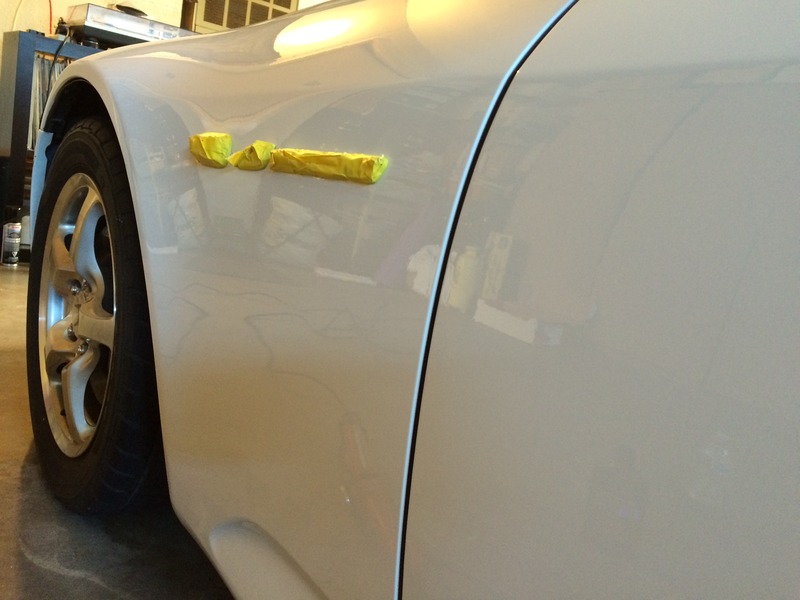
Masked.
Time to jam. Big up to @s2ka for lending me his PC 7424xp.
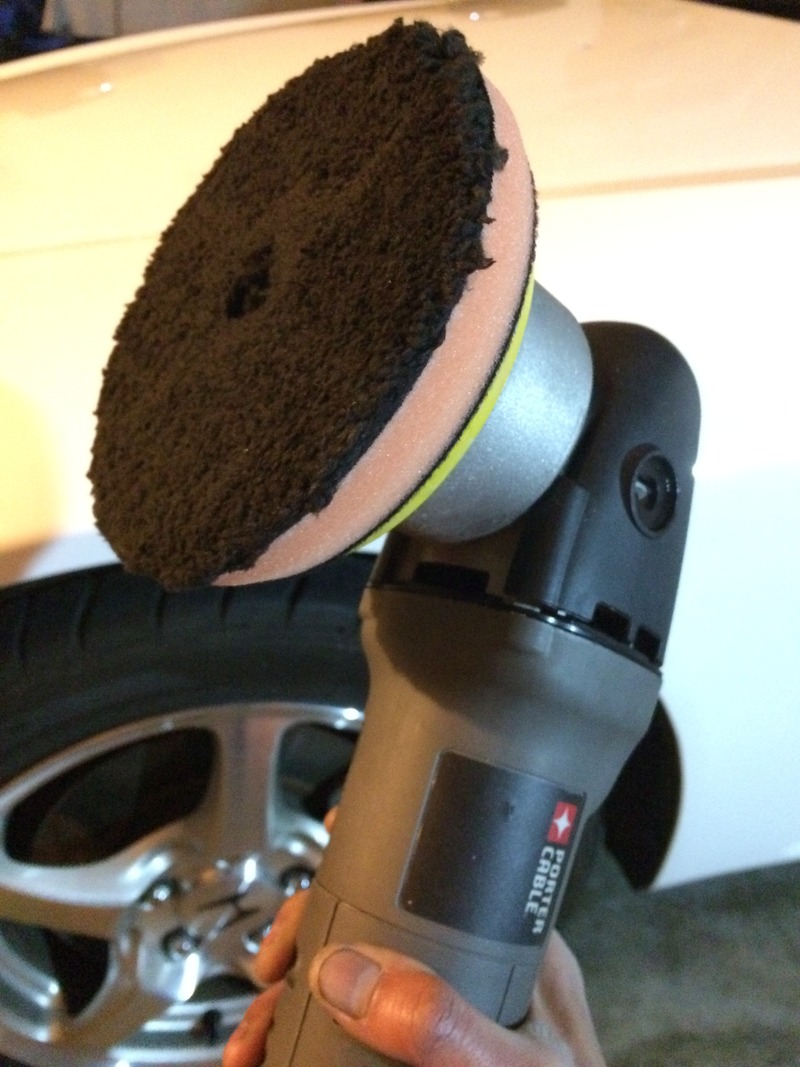
Ultimate Compound will be the 1st compounding/polishing step. Only finished the headlights and hood tonight. Will continue the rest tomorrow.
The products I used.

DAY 1:
Wetsand headlights. The small and inexpensive “assorted” pack was perfect. $3 and came with all the grits I needed (1000, 1500, 2000, 2500). Beats buying each/every grit at $5 at the hardware/poopboys store and having way too many extra sheets than needed.

Cleaned exhaust tips.

Washed and clayed.


More paint defect/swirl pics. A lot of marring and water spots/stains too under closer inspection while claying.


Masked.


Time to jam. Big up to @s2ka for lending me his PC 7424xp.

Ultimate Compound will be the 1st compounding/polishing step. Only finished the headlights and hood tonight. Will continue the rest tomorrow.

 12-12-2015, 11:59 AM
#50
Thread Starter
DAY 2:
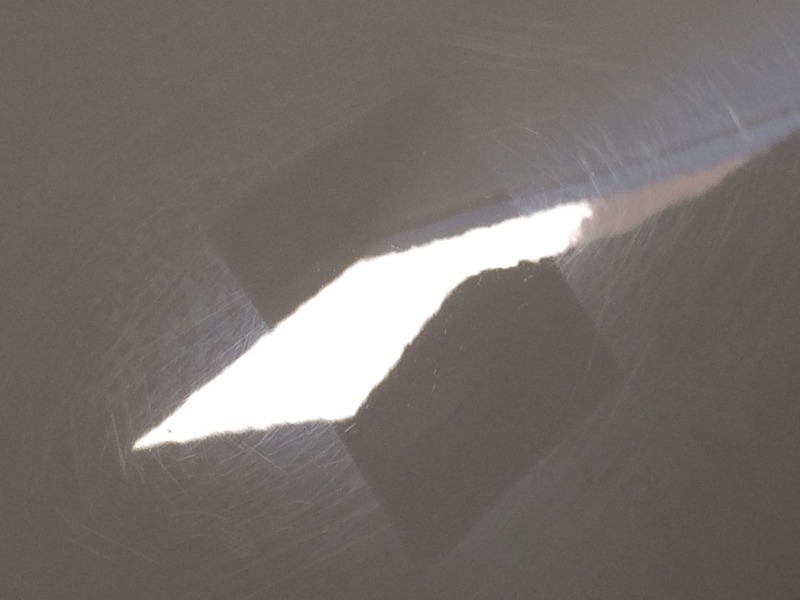
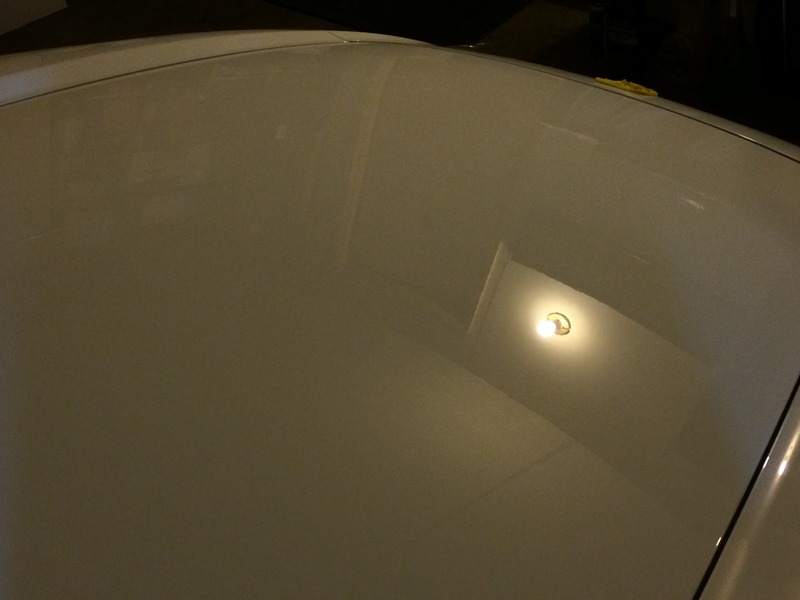
Continuation of using UC today. As you can see, the 1st step UC gets rid of the vast majority of the paint defects.
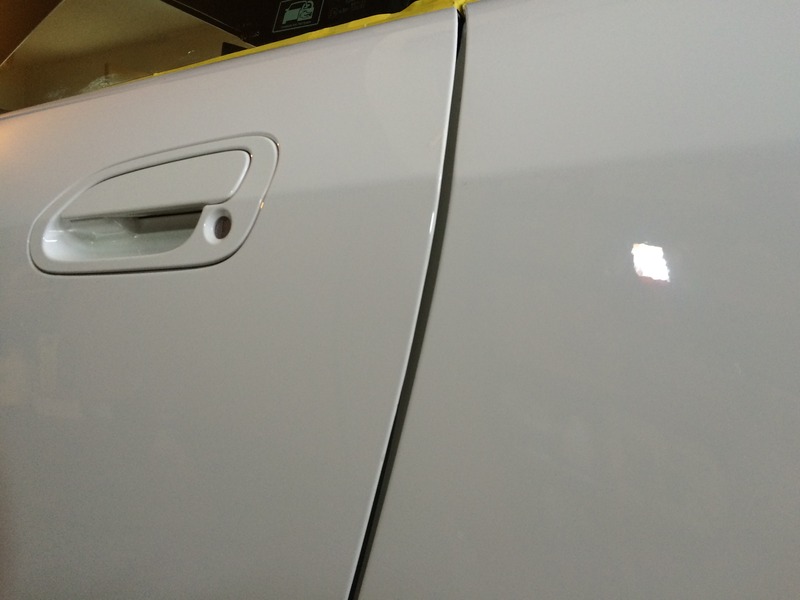
Continuation of using UC today. As you can see, the 1st step UC gets rid of the vast majority of the paint defects.


