When you click on links to various merchants on this site and make a purchase, this can result in this site earning a commission. Affiliate programs and affiliations include, but are not limited to, the eBay Partner Network.
It's alive! It's been a long journey to get this thing road legal but here we are now.
I did at least have it together enough to go for a nice drive in the mountains Saturday morning. I had honestly been losing some love for the S2000 and this drive brought back all of those good feelings.
One thing I was most anxious to see driving was how it did with the geared rear end. The car has a Puddymod built 4.56 rear end and I was wondering just how it would feel. 4.56 sounds wayyy too short for the AP2 and in some cases it is but more often than not I thought it was just fine. Around town you almost wouldn't know it's geared any shorter. I think this gearing is great for the mountains but I could see how it would be a little less than ideal at the track. I also noticed that the car needed just a little harder of a blip on downshifts to get the rev match just right. It could have been that or the less than ideal seating position of factory seats. While I enjoyed it, it will be coming out of the car. I got the original diff with the car as well so it's going to go back in and I'm about 99% sure I'll be doing the ATS gear in the trans to make it equivalent to a 4.3 rear end. I think that's going to be the best mix for the AP2. The diff is going to a local friend in his AP1 where it is much needed.
I still have a lot of my parts I kept from the Sebring car to go back on this one and will slowly be working to get them installed in the next few months. My goal is to have this car 100% back together before the end of the year.
Long time, no update. Small one here. The car is almost back together now. Like all things when I get it apart I dig into a bunch of things I don't really need to and it inevitably sits longer. Once it's together my goal is not to do a thing but drive it and clean it for the rest of 2018.
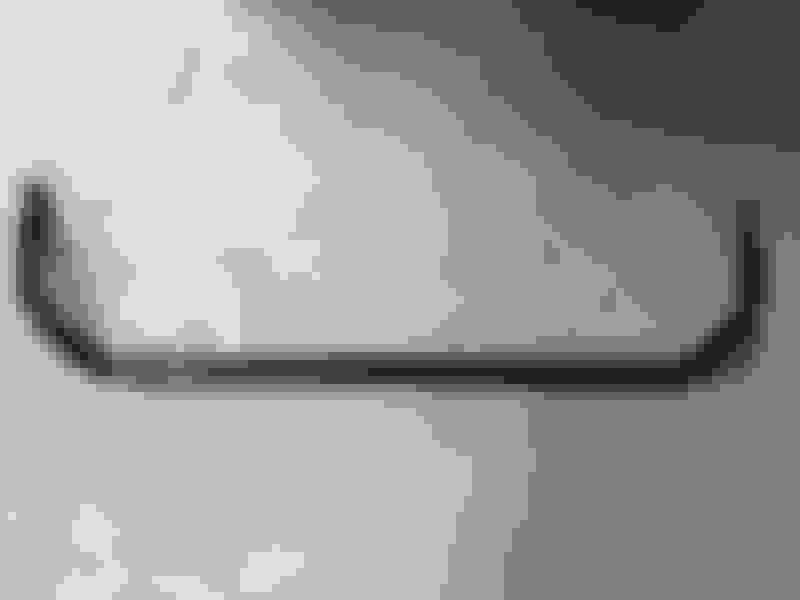
Got my Eibach sway bar on. I bought it from a friend who had it powdercoated black but never installed. Stealth look
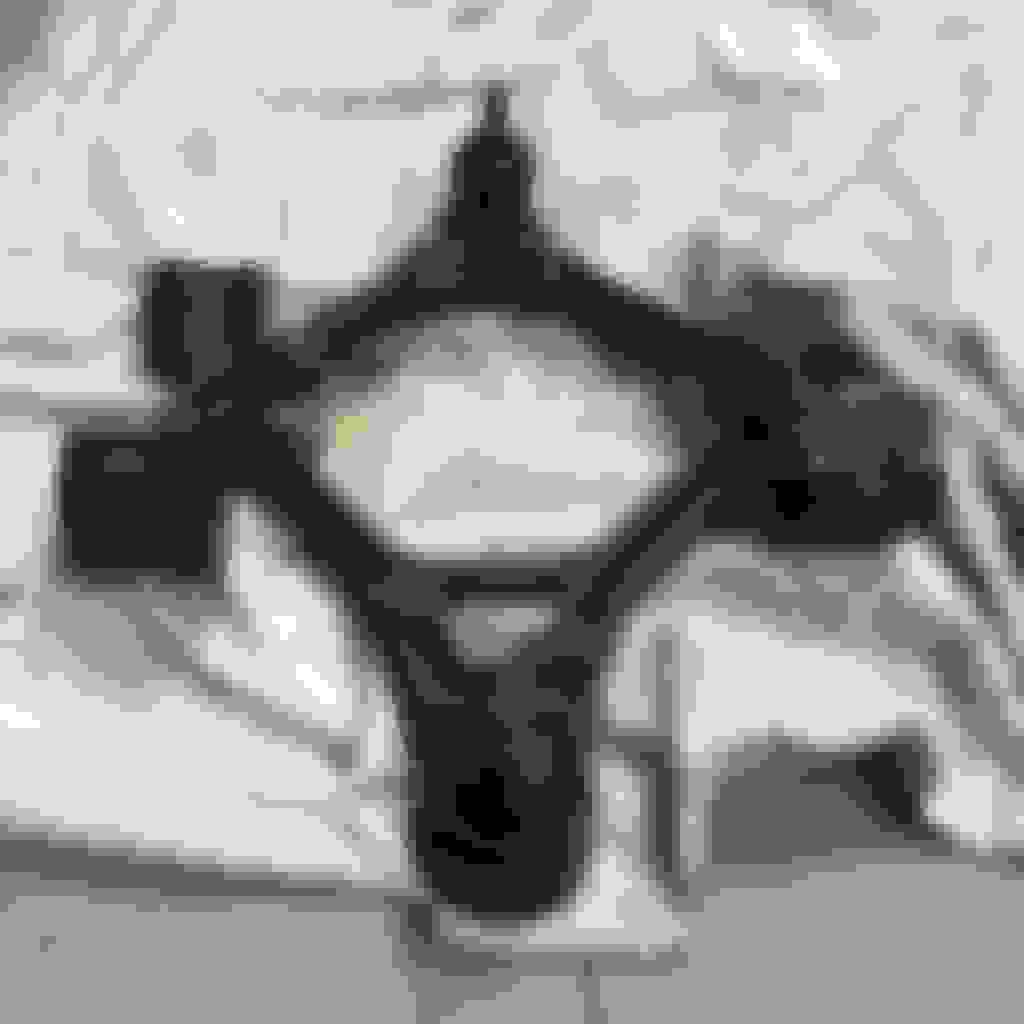
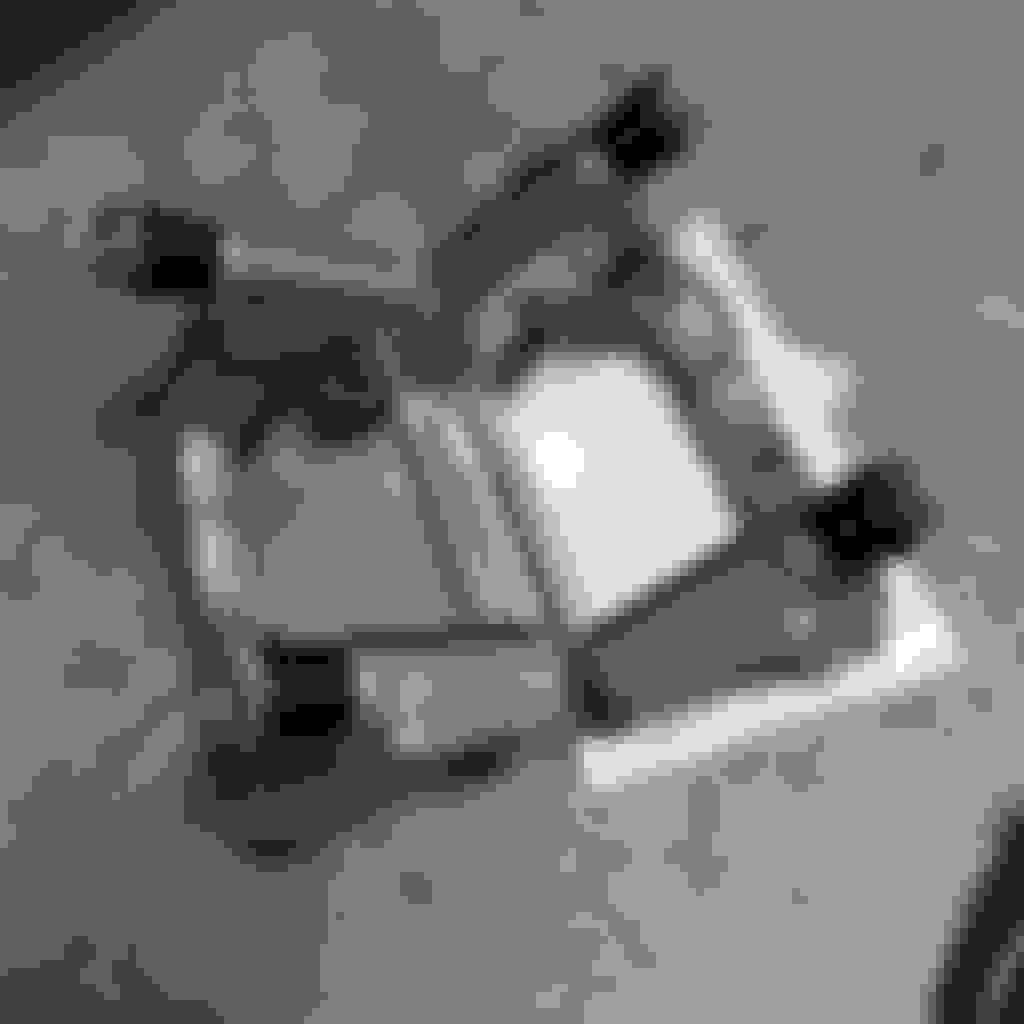
Origin offset upper control arm bushings finally in! In the process of removing the arms I tore both ball joint boots so new OEM boots were installed. I just put these back on the car last night.
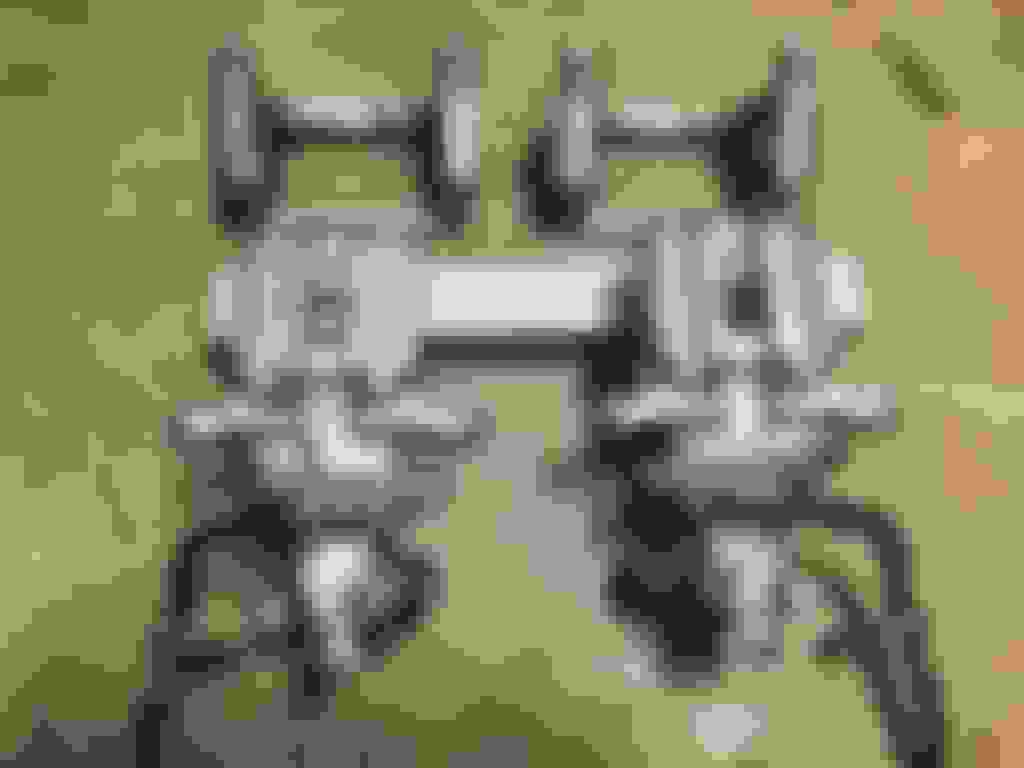
I can't stand nasty looking old calipers and I didn't like the gold color these previously were painted. Sanded/grinded down to bare metal and painted with Duplicolor silver caliper paint. I've found it's very close to what new OEM calipers look like, just a little less like raw metal. The brackets got new dust boots and slide pins. I also got my Stoptech BBK re-installed. The rear calipers were installed with Stoptech stainless lines.
My remaining list of necessary items has gotten shorter and shorter to have this car back on the ground. Hoping to make more progress this weekend.
-Trim inner lip on rear bumper for wheel clearance
-Install AP2 lip
-Bleed brakes
-Put new wheels on
-Install new fender liners
-Spot check all nuts and bolts I touched
It feels good to finally see the light at the end of this long long tunnel
Great stuff steve, I've also been wanting to repaint my rear calipers and this may be the motivation that I need to do so. Glad to see you enjoying this one!
 10-23-2017, 03:54 AM


 steve! long long tunnel
