When you click on links to various merchants on this site and make a purchase, this can result in this site earning a commission. Affiliate programs and affiliations include, but are not limited to, the eBay Partner Network.
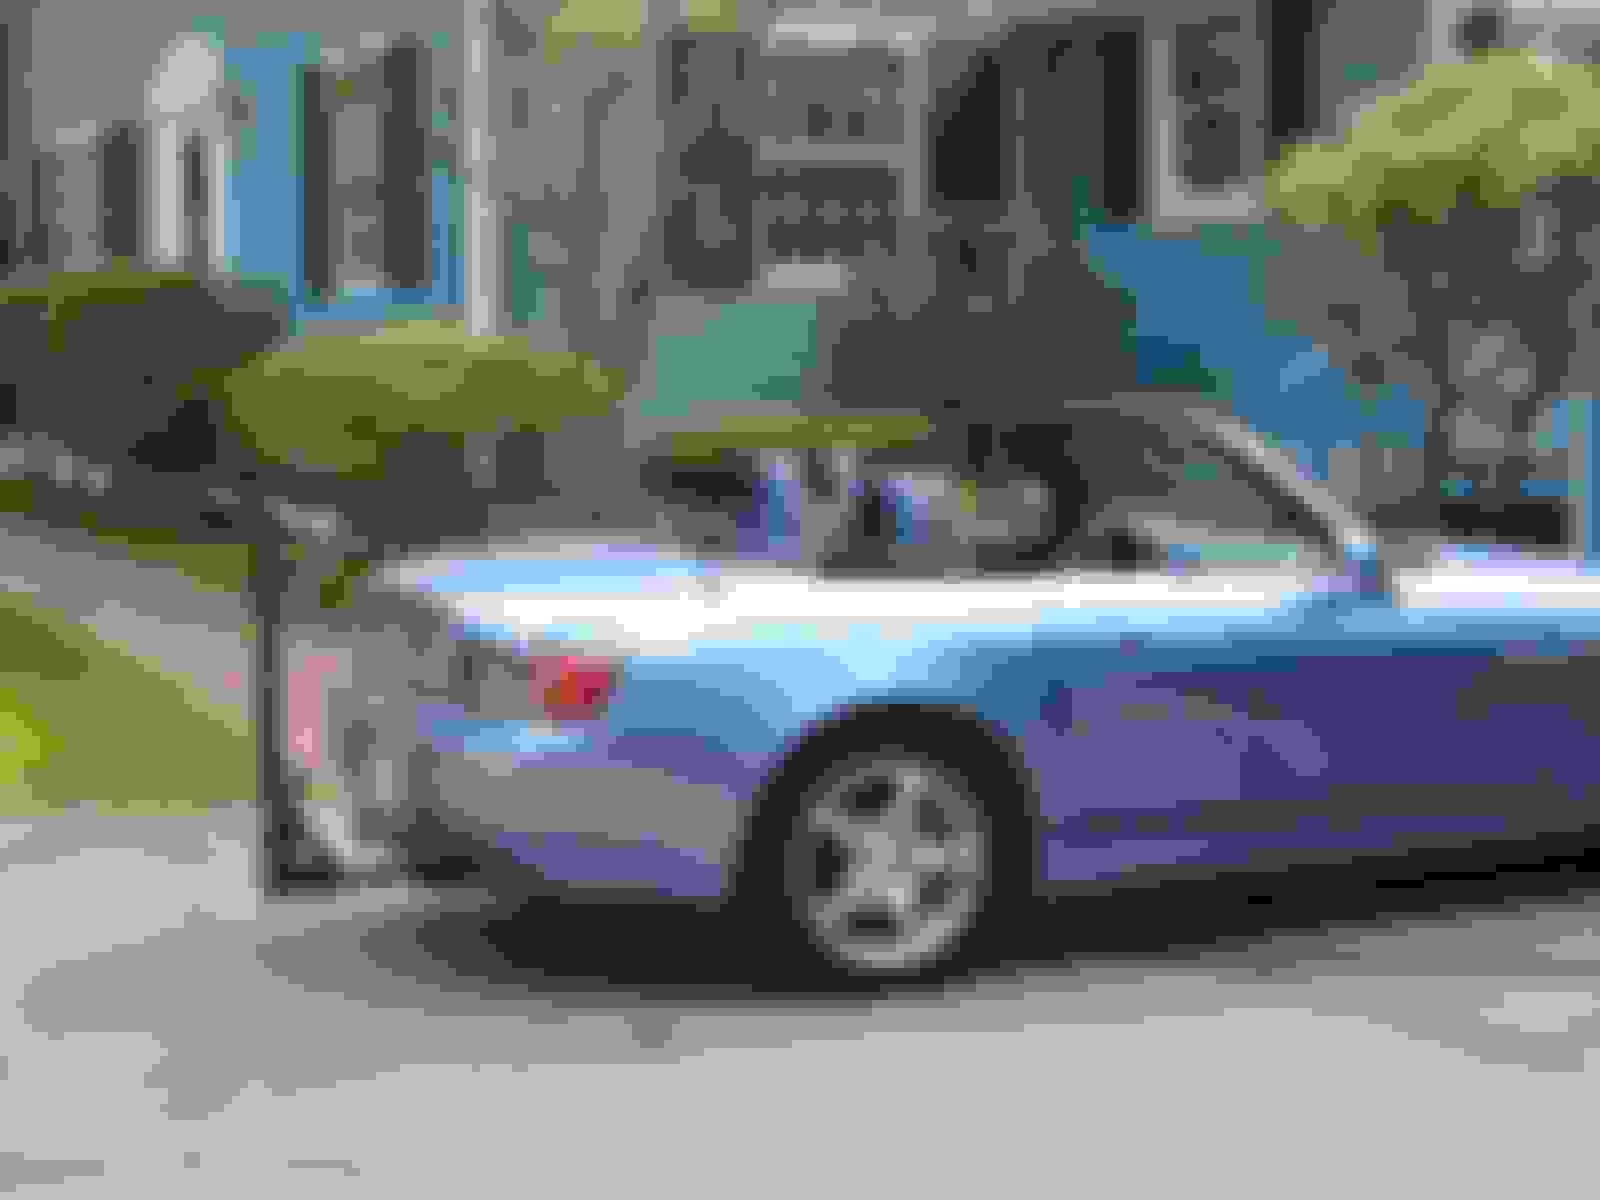
Last year I asked Doug Chase (see Doug's website) to fabricate an S2000 tow hitch for me. Some of you may be familiar with the original Hammerly hitch design, to which Doug has made some improvements, and can build one for AP1 or AP2 models. You can use this 1-1/4" square hitch to mount a bike rack (my usage) or to tow a small trailer for track tires, etc. One guy I've seen tows a boat, but that's perhaps a bit over the top -- you be the judge.
Anyway, this hitch rocks. You pull three cotter pins, slide out the aluminum bolts and the T-bar comes right off the plates. No trace of the thing except if you look under the car and see the plates in front of the muffler cans! A thing of beauty. Putting it back on is a little tricky, and is easiest to do with the car jacked at the rear diff.
Here's a DIY thread on installing this hitch. Doug has some pictures and instructions on his site, but I hope my pictures complement his and provide a little more detail. I hope this is useful to folks.
I want to thank Legal Bill and Bass, two fellow New England members, who helped me get this job done. I recommend three people for doing this job, especially when handling the bumper cover (which isn't heavy, but you need help with it at times).
Step 1 - Jack the car up at the rear diff using a floor jack. Place chocks in front of the front wheels, and place jack stands under the frame rails beside the diff. Lower onto the jack stands. Double check the chocks. Do not proceed unless the car is firmly anchored and stable.
Step 2 - Removing the wheel-well screws: You must unscrew all the phillips-head screws that secure the bumper cover to the wheel well. There are three on each side of the car.
Step 3 - Removing the bumper cover fasteners: There are three of these on the top of the bumper cover lip (where the bottom of the trunk hides them). These are the kind of clips where you pop the middle up and then just pull them out. There are two on the bottom of the bumper that can be difficult to remove. Try to use a small flathead to pry up the middle section, unless you have to revert to a needle-nose pliers. If you really have trouble with these, you should go to the dealer and get replacement(s) -- they're like 2 bucks each. I had to replace one.
Step 4 - Slide the side sections of the bumper cover out from the ridges they attach to. Start pulling from the wheel well, and gently unseat each side. Best to have someone do this on each side.
Step 5 - Unseat the bumper cover from the rear. This is cake. Just gently tug at it, since the sides were already detached in the prev. step. But, don't yank it off! You've still got the license plate harness to remove.
Step 6 - Remove the power harness for the license plate light. This was the *most time consuming* part of the whole install. We didn't know that the connector seats sideways (to the left), not to the top. It looks like it should pull out, but try 90 degrees from what you expect. Plus it's hard to get to. Keep working at it, but don't tear the wires. Use your two buddies to hold the bumper cover in place as you work the harness loose.
Here's a shot of the bumper cover off. I strongly recommend placing the bumper on the ground (or carpet) with it's bottom edge on the ground. Don't ever rest it on the top edge, as there are a few pointy edges on top that can get blunted if you scrape it on the ground. You will, however, definitely want to wipe the inside of the cover off as it has collected lots of dirt.
Step 7 - Remove the styrofoam bumper pads. These pull straight out. They collect dirt, so be prepared to dirty your floor!
Here's a shot of the styrofoam removed from the bumper, and a clear shot of the harness. Note also the trunk pressure flap which, FYI, lets some air puff out when you close the trunk.
Here's a picture of one of the the inward-facing side of the styrofoam. That black cup collects a ton of crap! Dump it out before reinstalling later.
Step 8 - Installing the hitch's bumper plates: Doug's site says you should remove all the bumper bolts and the bumper itself, but that's not necessary. Instead, do one side at a time. Take three bolts out of the left side, and install the left plate (put the bolts back in, but leave them loose so you can move the plate around!), then do the same with the two bolts on the right side.
Here are three pictures showing the installation of the plates. At no time did I have the metal bumper off the car.
Step 9 - Installing the hitch's cross-member plate. Doug provides two longer bolts to replace the originals. Just remove the originals, and bolt the plate onto that cross-member behind the differential. Note, this is why you need jack stands on the frame -- a floor jack on the diff will get in your way here. Again, bolt this in, but not tightly yet.
Step 10 - Mount the T-bar. This is why you didn't tighten down the bolts yet... Jiggle the heim joints (one for the cross-member plate, and two for the bumper plates) into place and insert the aluminum bolts. You may find that you have to adjust the threading of the heim joints into the T-bar a couple of times before you can get the heim joints to slide into the bumper plates (and be level).
If the heim joints at the points of the T are seating too far away from the bumper plates, then screw the heim joint at the cross-member plate in a half-turn and try again... Let it out if the opposite is the case.
Next, check that the T-bar is level. Bill is shown here using a micrometer to check the distance from the bottom bumper clip anchors to the T.
Step 11 - Reinstalling the bumper cover. OK it's easy from here. First pop the styrofoam back on.
Now, with friends holding the bumper, reattach the wiring harness.
Next, gently put the back edge of the bumper cover back on the bumper. This should seat perfectly. Make sure it's centered and the correct edges are framing the taillights.
Finally, with one of you applying pressure to the rear, work the sides back into lip, back-to-wheelwell. You shouldn't have to force anything.
We placed the cover back on the bumper without installing the clips or screws. Then we worked our way from the back to the wheelwell. I.e., we put the clips back on (three on top, two on the bottom), and then we put the three screws in on each side.
Step 12 - Lower the car. Place the floor jack back under the diff. Also, you might want to put a couple of 2x4s under the tires when you lower because the T-bar hangs down now. Remove the jack stands and lower SLOWLY, moving the floor jack to the side so the T-bar doesn't come down on it.
---------- bike rack -----------------
If you're like me, and you want a bike rack, Allen makes a relatively inexpensive 3-bike attachment that requires about 10 minutes to assemble.
Go lay this out behind your car.
Lift it up and slide it in!
Seriously happy Chazmo!!! Once again THANKS, Legal Bill and Bass!!!!!
Note, this is why you need jack stands on the frame -- a floor jack on the diff will get in your way here.
That, plus only an idiot will get under a car that is being supported by a single hydraulic jack.
My Chase Race hitch has served me for several thousand miles of pulling a tire trailer now, twice to Spokane WA and back (600 mile rt) and once to Willows CA (1400 mile rt).
this thing was very easy to install when you got Legal_Bill supervising
you did however forget the pic of your extra JDM (gum) part
OK, folks, here's the JDM gum that was stuck on the top of my bumper. I didn't clean it off because I figured some engineer at the Takanezawa plant made a point of putting that gum on my car. Quite a mod, eh?


 - how this could have gotten behind the styrofoam is beyond me - again maybe that's what they use to keep the styrofoam in place
