When you click on links to various merchants on this site and make a purchase, this can result in this site earning a commission. Affiliate programs and affiliations include, but are not limited to, the eBay Partner Network.
I have noted that there is no thread that details out the DIY or step by step process of adding a turbo... So I am starting this thread and will be adding to it as I go through the steps these next couple months... I will add pictures and description of what I have completed so far this this evening... and continue to update as my FI build continues... More coming soon.
To start my buildup I decided to use the InlinePRO 3mm Head Gasket to lower my compression ratio and allow me to run more boost. So I figured while I was pulling the head I may as well replace it with a freshly rebuilt one from Joe Alaniz. I contacted Sideways and he helped me get ahold of one with 1mm Oversized valved and all the goodies that Alaniz uses in his FI head rebuilds... so I start my DIY here with the teardown of my top end and pulling of my head for core exchange.
Here is my engine bay before we started work.
And a quick pic of my Comptech CAI (which is forsale now pm if interested) and my Koyo radiator.
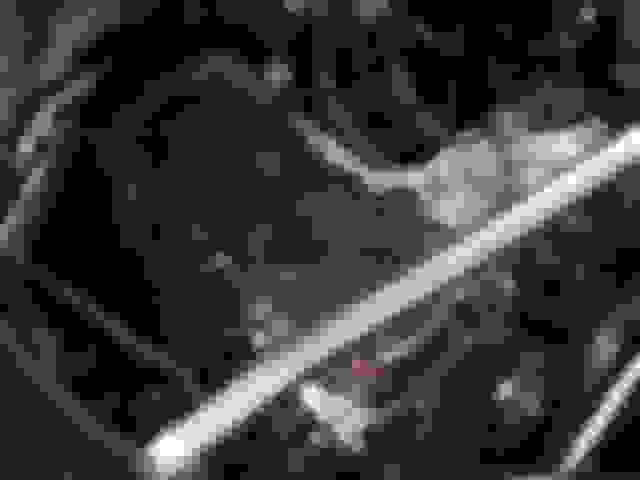
We start the process by removing the bolts that hold the valve cover and spark plug covers in place.
Then remove the spark plug cover to expose the tops of the coil packs...
Pull the bolts holding the coils in place and remove them...
Then making sure everything else is removed and all the bolts holding the valve cover in place are removed then work the cover off and out of the way (its REAL fun when you have a cross brace like I do!)
Now that the cams are exposed I unbolted the Exhaust manifold and lowered it out of the way.
Rotate the engine until the cam gear hash marks line up level with the top of the head indicating that cylinder #1 is at TDC
I am leaving the Intake Manifold attached to the head and pulling/installing them as a set as it is a PITA to take off and I feel this will save time.
Loosen the valve adjustment screws and prepare to pull the cam caps and then the cams themselves
Then simply unbolt the cam caps and remove them one at a time
I then took a 5 x .8mm bolt and nut... thread the nut onto the bolt and thread the bolt into the maintenence hole in the cam chain auto-tensioner... lock the bolt with the nut and this relieves the pressure applied by this part on the cam chain...
Then remove the cam chain auto-tensioner.
Now you can remove the cam gear... there is a washer on the front of the gear and the honda manual STRESSES not to drop said washer into the cam chain case.
Then drain the oil and coolant from your engine and start breaking free the head bolts... there is a special sequence required to do this so as to not warp the head.
Once the bolts are loose remove them all and prepare to remove the head from the short block.
I went ahead and pulled the Intake manifold...
Then I grabbed the spark plug tubes and wiggled it hard back and forth to break it free... once it pops pull the head.
Once I received my Alaniz Head in return it was time to re-install. So I Assembled the intake manifold and the head together so I could install them at the same time.
All that was left was to install the head gasket itself and then the head on top of it. The first thing you want to do is put 2 small dabs of RTV or hondabond at these points on both sides of the timing chain case. The head gasket goes on top of these so you dont want alot just enough to ooze out and make a tight seal.
Set the 3mm HG in placemaking sure it is lined up by using the dowels that fit into the block surface to keep the gasket in the right spot.
Now its time to add more RTV / Hondabond to the area around the timing chain case. I used the Ultracopper RTV you can buy at your local autozone. It works just as good as hondabond in my opinion. Put a small bead of the gasket maker around the top of the timing chain case making sure it stays at lease 2mm away from the edges.
At this point its time to actually install the head which is as simple as holding it straight over the alignment dowels and pushing it down firmly until you can feel it "set" up against the top surface of the block. To get mine to set tightly I tapped it firmly with a rubber mallet.
Once the head is set tight against the block you can apply motor oil to the threads of your headbolts and torque them to spec. There is a sequence to this so make sure to follow the Honda manual when doing this step.
Once torqued down you need to install the cam timing gear. This needs to be "clocked" to allow for the thicker head gasket. Simply remove the three bolts that hold the timing gear to the cam gear and then using a punch and a hammer drive the set pin out of the timing chain gear. Then re-assemble them loosely. Once at this stage rotate the front gear as far clockwise as you can (about 1mm further than with the set pin in place) and torque the bolts holding the gears together back down. This adjusts the timing to the stock settings and allows for the thicker head gasket.
Once the cam timing gears were in and the timing chain was back in place I installed the timing chain auto tensioner. You do this by simply tightening the bolt we used to cage the tensioner more and sliding a pin through the holes at the base of the tensioner. Then you install it back into the head. Remove the access plug on the front of the head and with needle nose pliers pull the pin holding the tensioner back.
Now it is time to install the rocker assembly and caps the cams set in. Tap the tightly machined pieces firmly with a rubber mallet to set them in place. I used rubber bands to keep all the rockers in place and out of the way while installing this.
After the rockers are in place the cams come next. Followed by the cam caps. I lubed all the moving items up with synthetic oil as I was installing them. I also would like to note that I installed the AP1 Intake cam along with an AP2 Exhaust cam as this has been said to be the most turbo friendly setup. I plan on dynoing with all combinations of cams eventually.
This is as far as I am at this point. I am still waiting on all my turbo parts to arrive and will be doing the writup of their installation as they arrive. I am going to be removing alot of the stock plastic and carpet for weight savings reasons. I also am planning on making a carbon fiber center console identical to the one ASM runs on their time attack car, so I will detail the process of this as well. Today I ordered some items to make a wire harness that will allow me to relocate my main underhood fuse box adn battery to the tool well in the trunk. Hopefully all the items I need to complete this will be her by 2/20/08 and I will continue with the relocation in preperation for the soon to be installed turbo manifold. Thanks for looking and I hope this is of some use to those of you in the same process as I am.