When you click on links to various merchants on this site and make a purchase, this can result in this site earning a commission. Affiliate programs and affiliations include, but are not limited to, the eBay Partner Network.
I should have done my halo seat, harness and HANS years ago. WOW, what a difference.
I can't believe you still have a soft top.
I'm sure we'll cross paths sometime this year.
Funny thing is I didn't hesitate to pull the AC, gut the interior, stretch the bodywork, cut the hood. But man I am going to struggle with ditching the soft top. One of my favorite things about this car is putting down the roof and going for a cruise when the weather is just right. But given where I'm going with it, oem top is in my future for sure.
Funny thing is I didn't hesitate to pull the AC, gut the interior, stretch the bodywork, cut the hood. But man I am going to struggle with ditching the soft top. One of my favorite things about this car is putting down the roof and going for a cruise when the weather is just right. But given where I'm going with it, oem top is in my future for sure.
You could always do the Greg thing and buy another
So you're less than 2 weeks away from your first TT. Looking at yet another set of RPF1's and unmounted slicks and you're thinking "those guys aren't going to know what hit them". While determining optimal tire pressures for the slicks, you realize the manufacturer also recommends a camber angle of between 3 and 5 degrees. All of a sudden your oh so sweet UK alignment isn't looking so sweet, and the internet gurus agree. And the internet is only filled with truths. If its on the net, its absolutely 110% true. So what do you do?! I'll tell you what you do: adjustable ball joints. In yet another episode, my ancestral Indian spirit has emerged and dictated we shall save some bucks and install these ourselves! So lets have at it!:
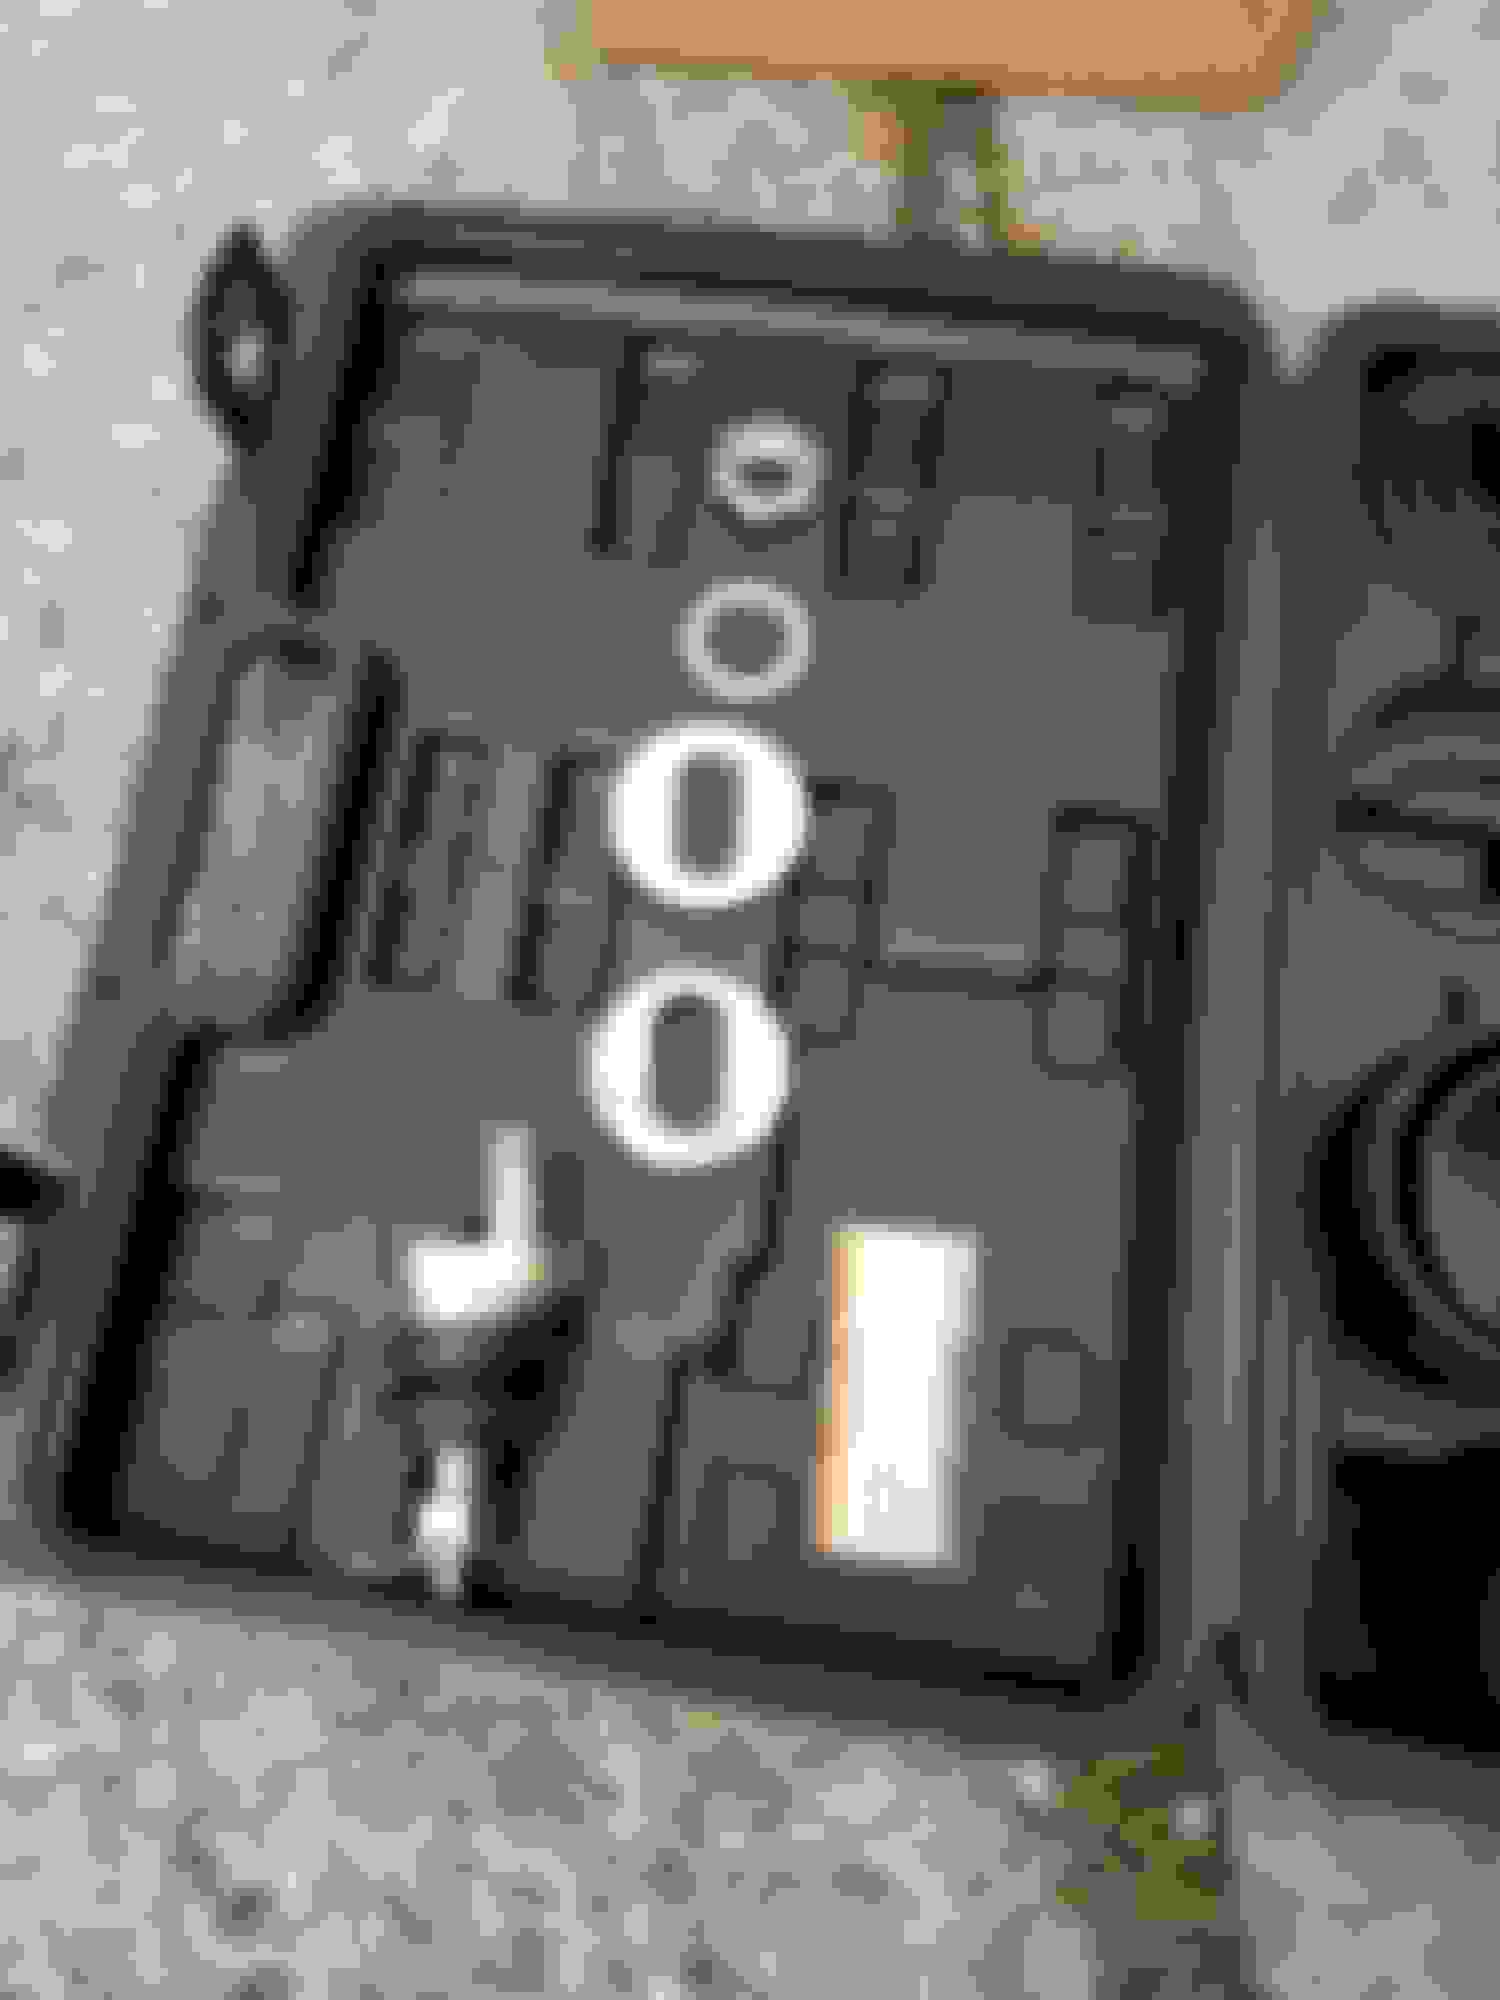
I opted for a set of SPC adjustable ball joints. Why these? Because Aashish told me they were on sale
I also picked up a ball joint separator, as well as a ball joint service kit both from Harbor Freight. I spent about $100 bones total.
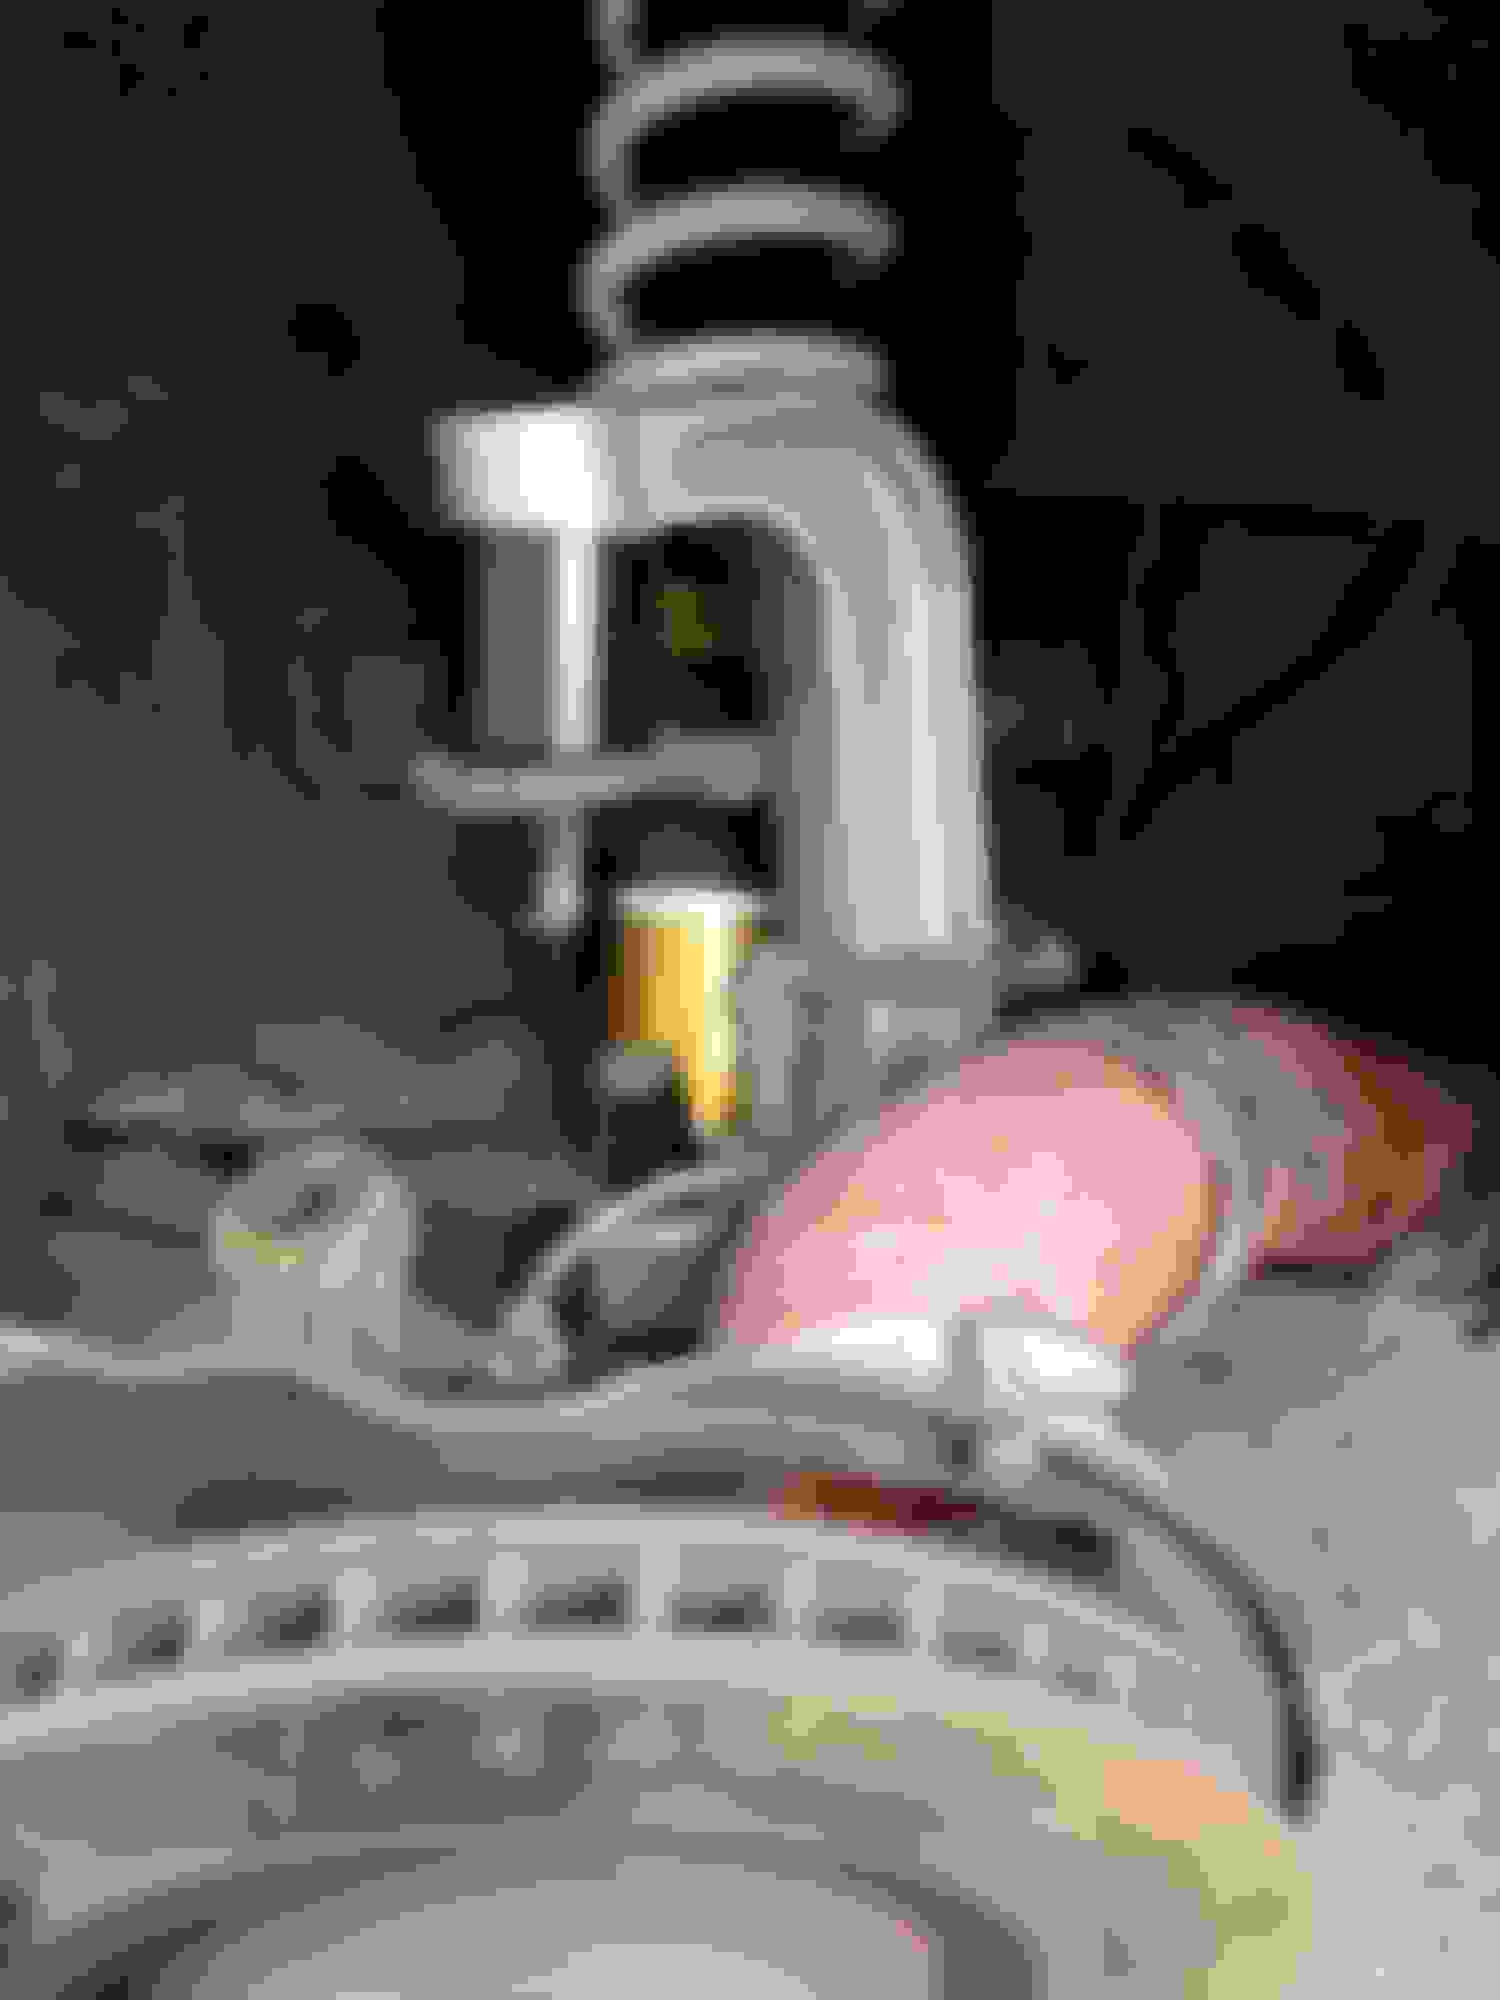
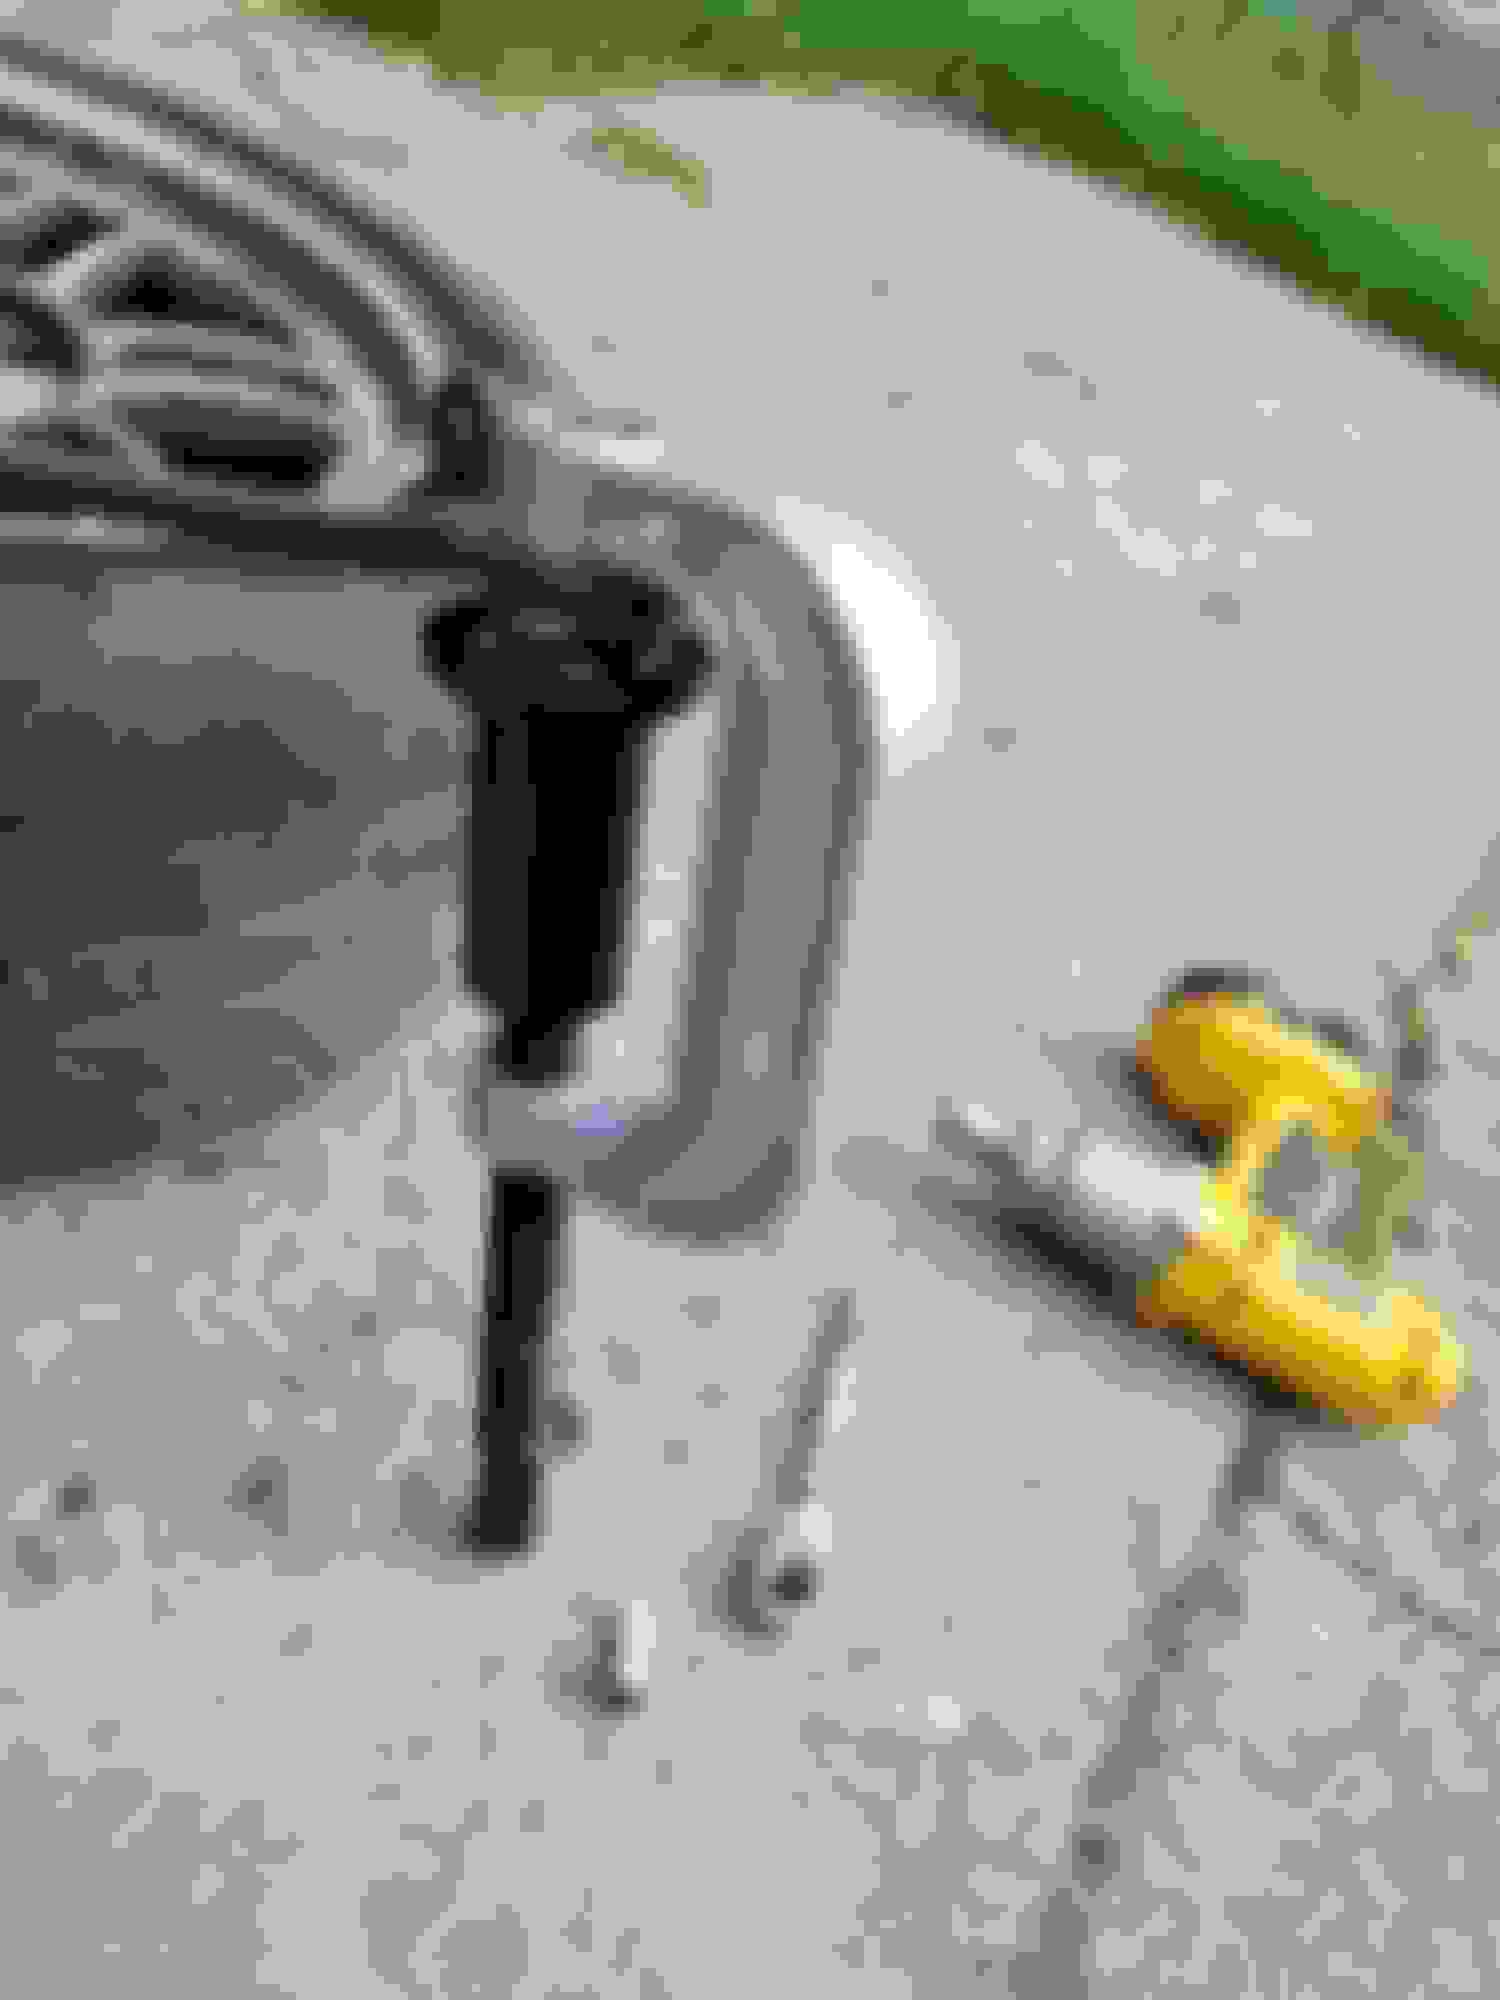
This is the separator. After removing the lower cotter pin and nut, you pop the forked side right below the rubber joint of the joint. The lower finger thing will push up on the threads of the joint. All you gotta do is put a socket on the bolt and spin away. When I say this pops the joint off, I mean it really POPS.
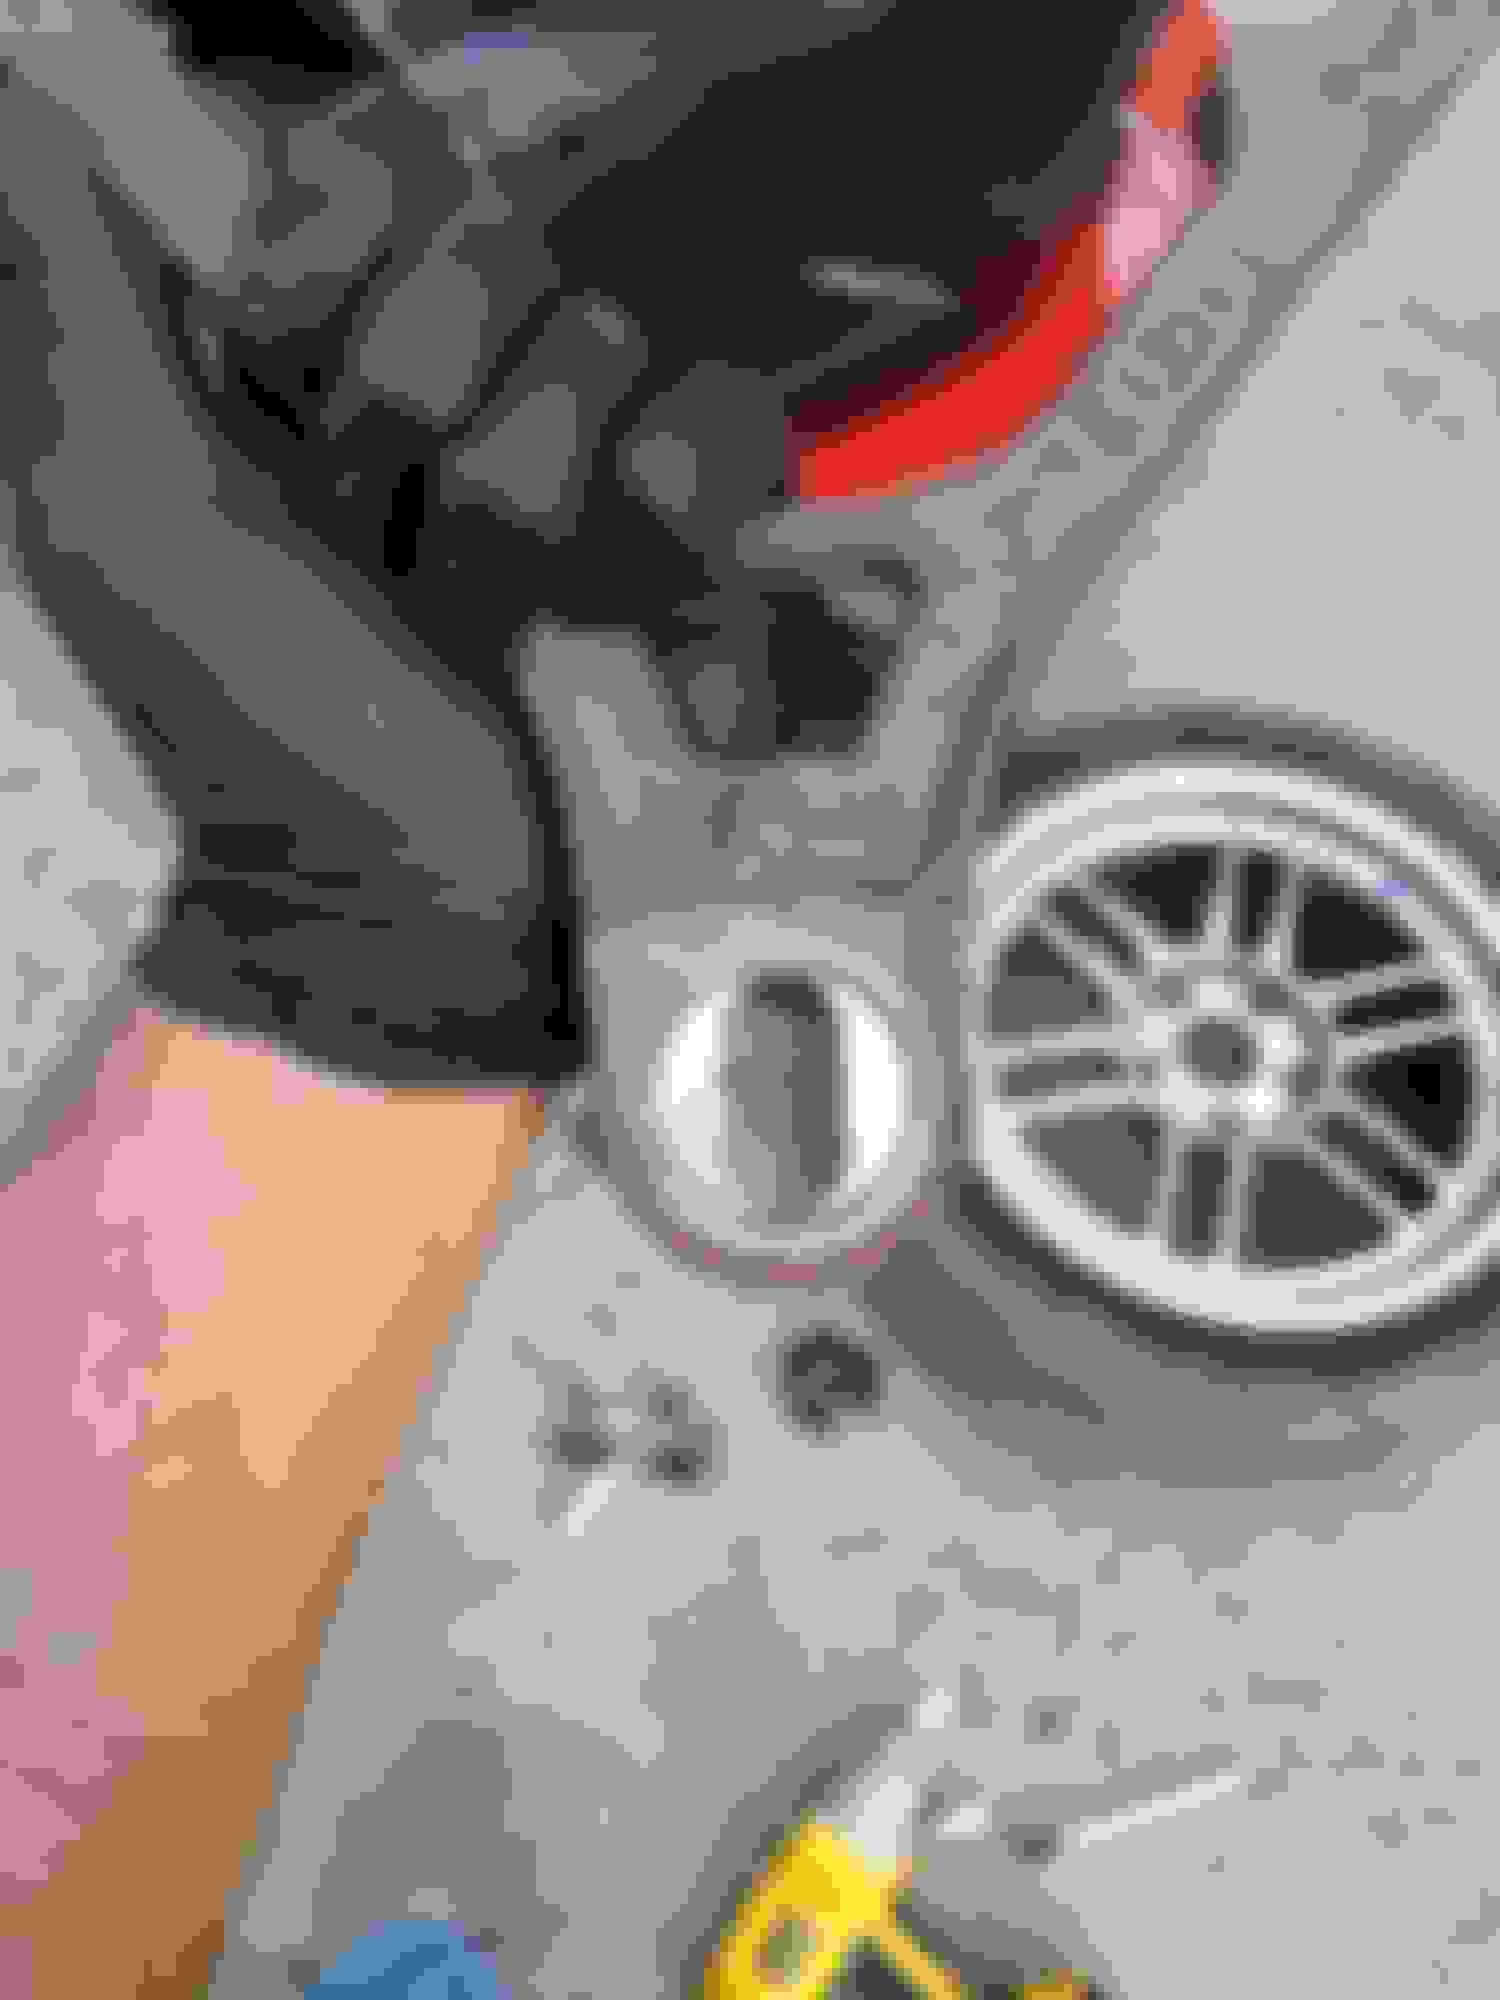
With the joint popped, you pick out the necessary adapters and such and line the clamp up to push the joint out of the top. If this looks slightly askew, thats because it really was. To the point that I just pulled the arm off and did it off the car so I had more space to work.
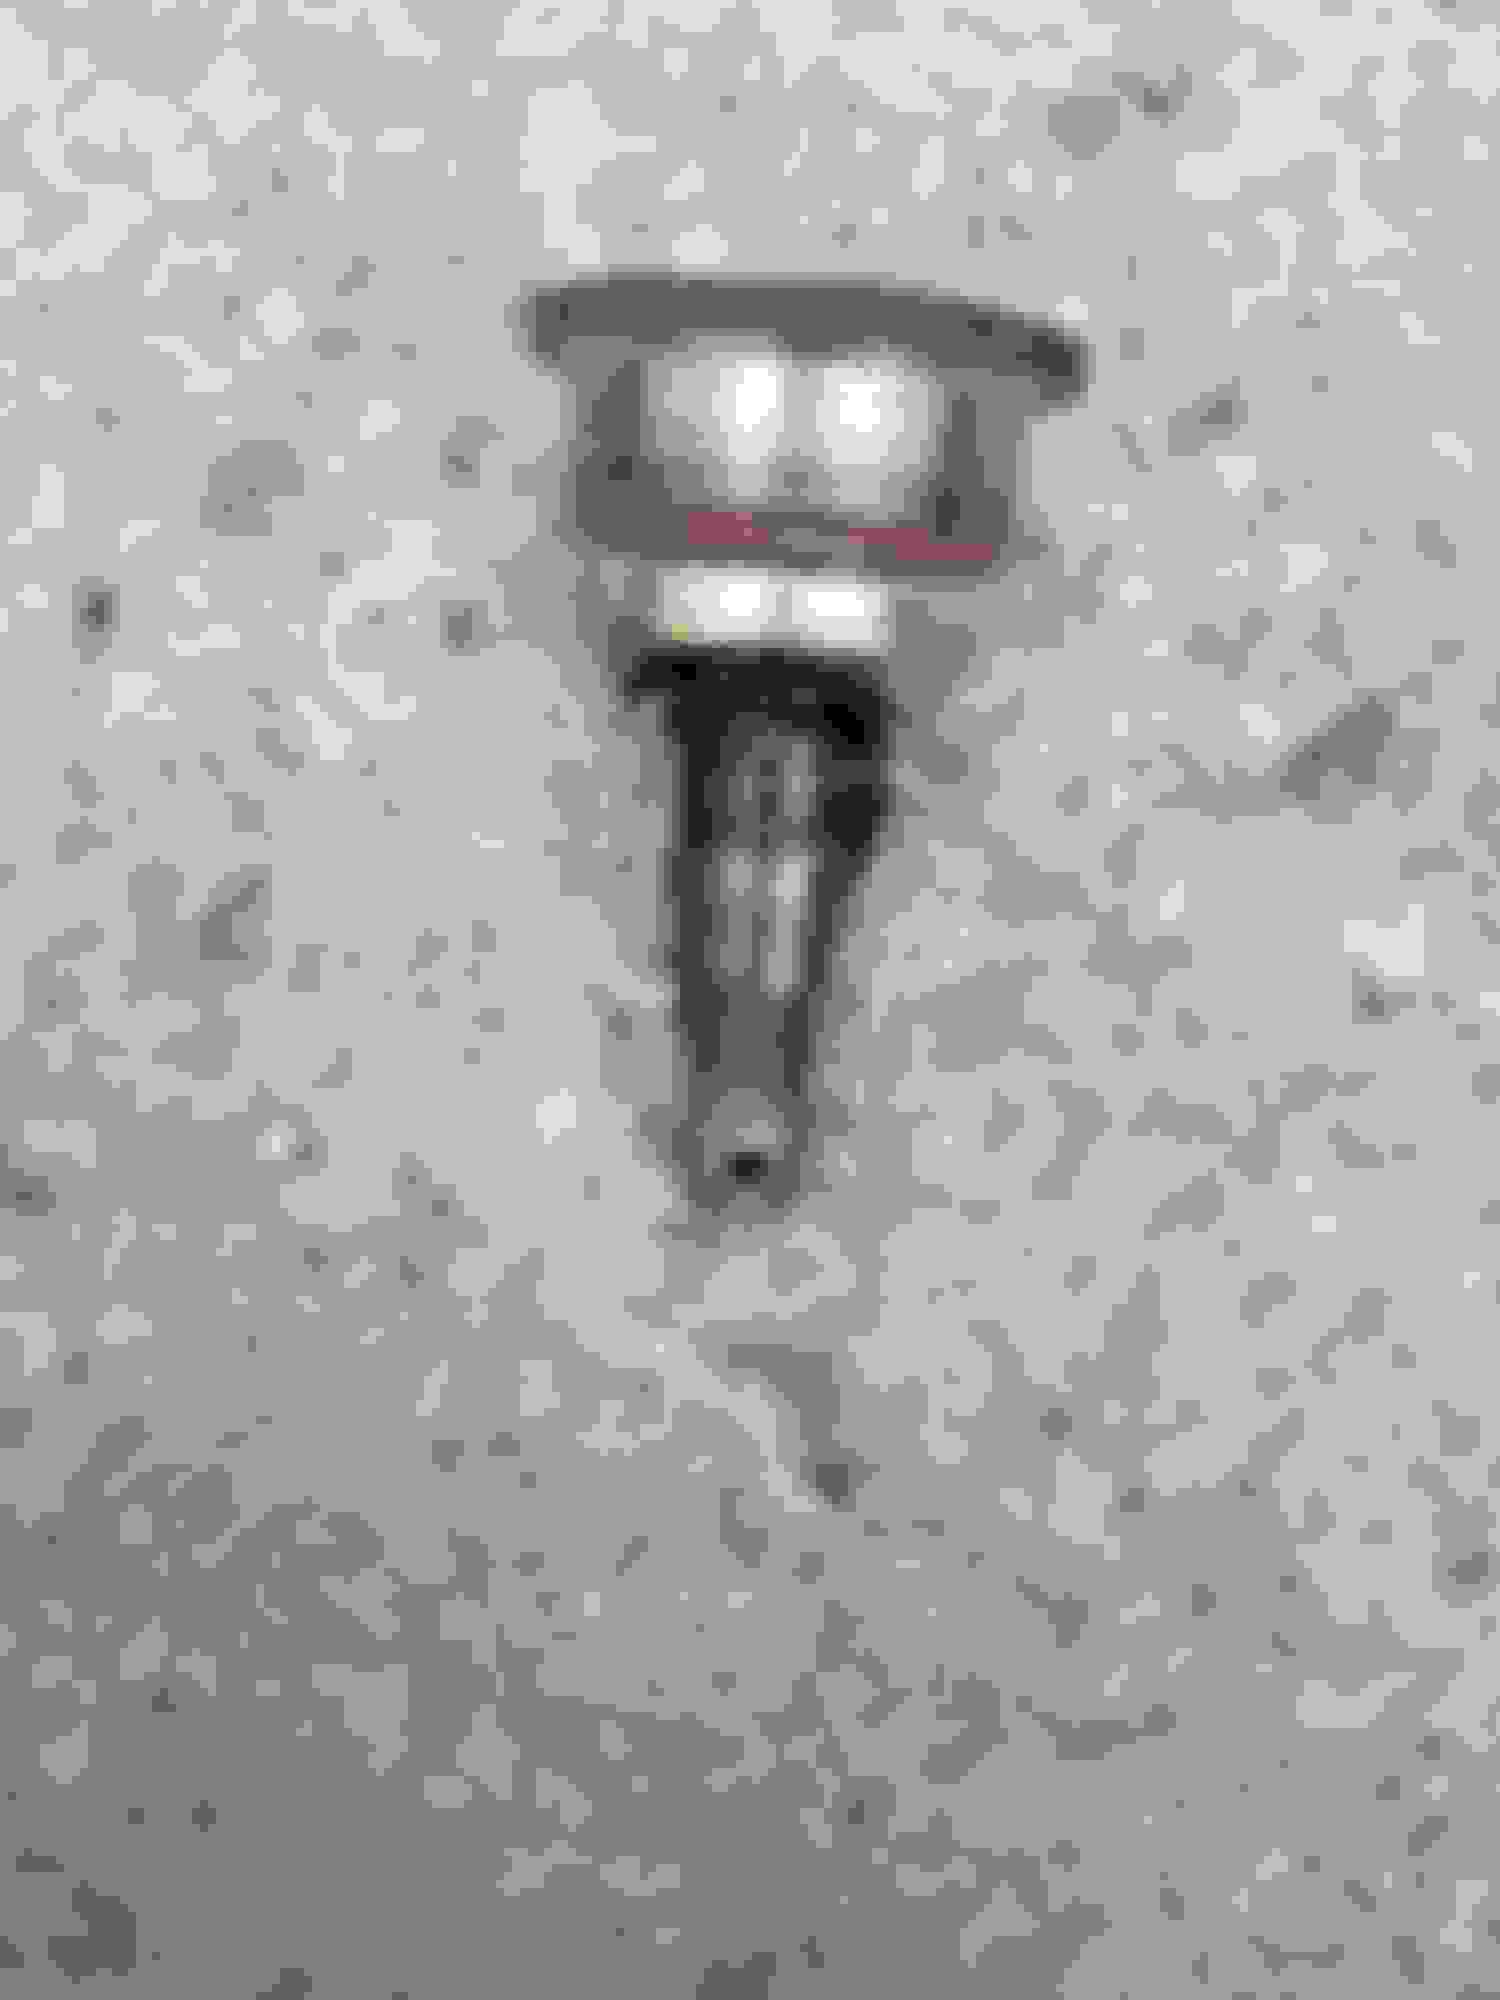
Old vs New
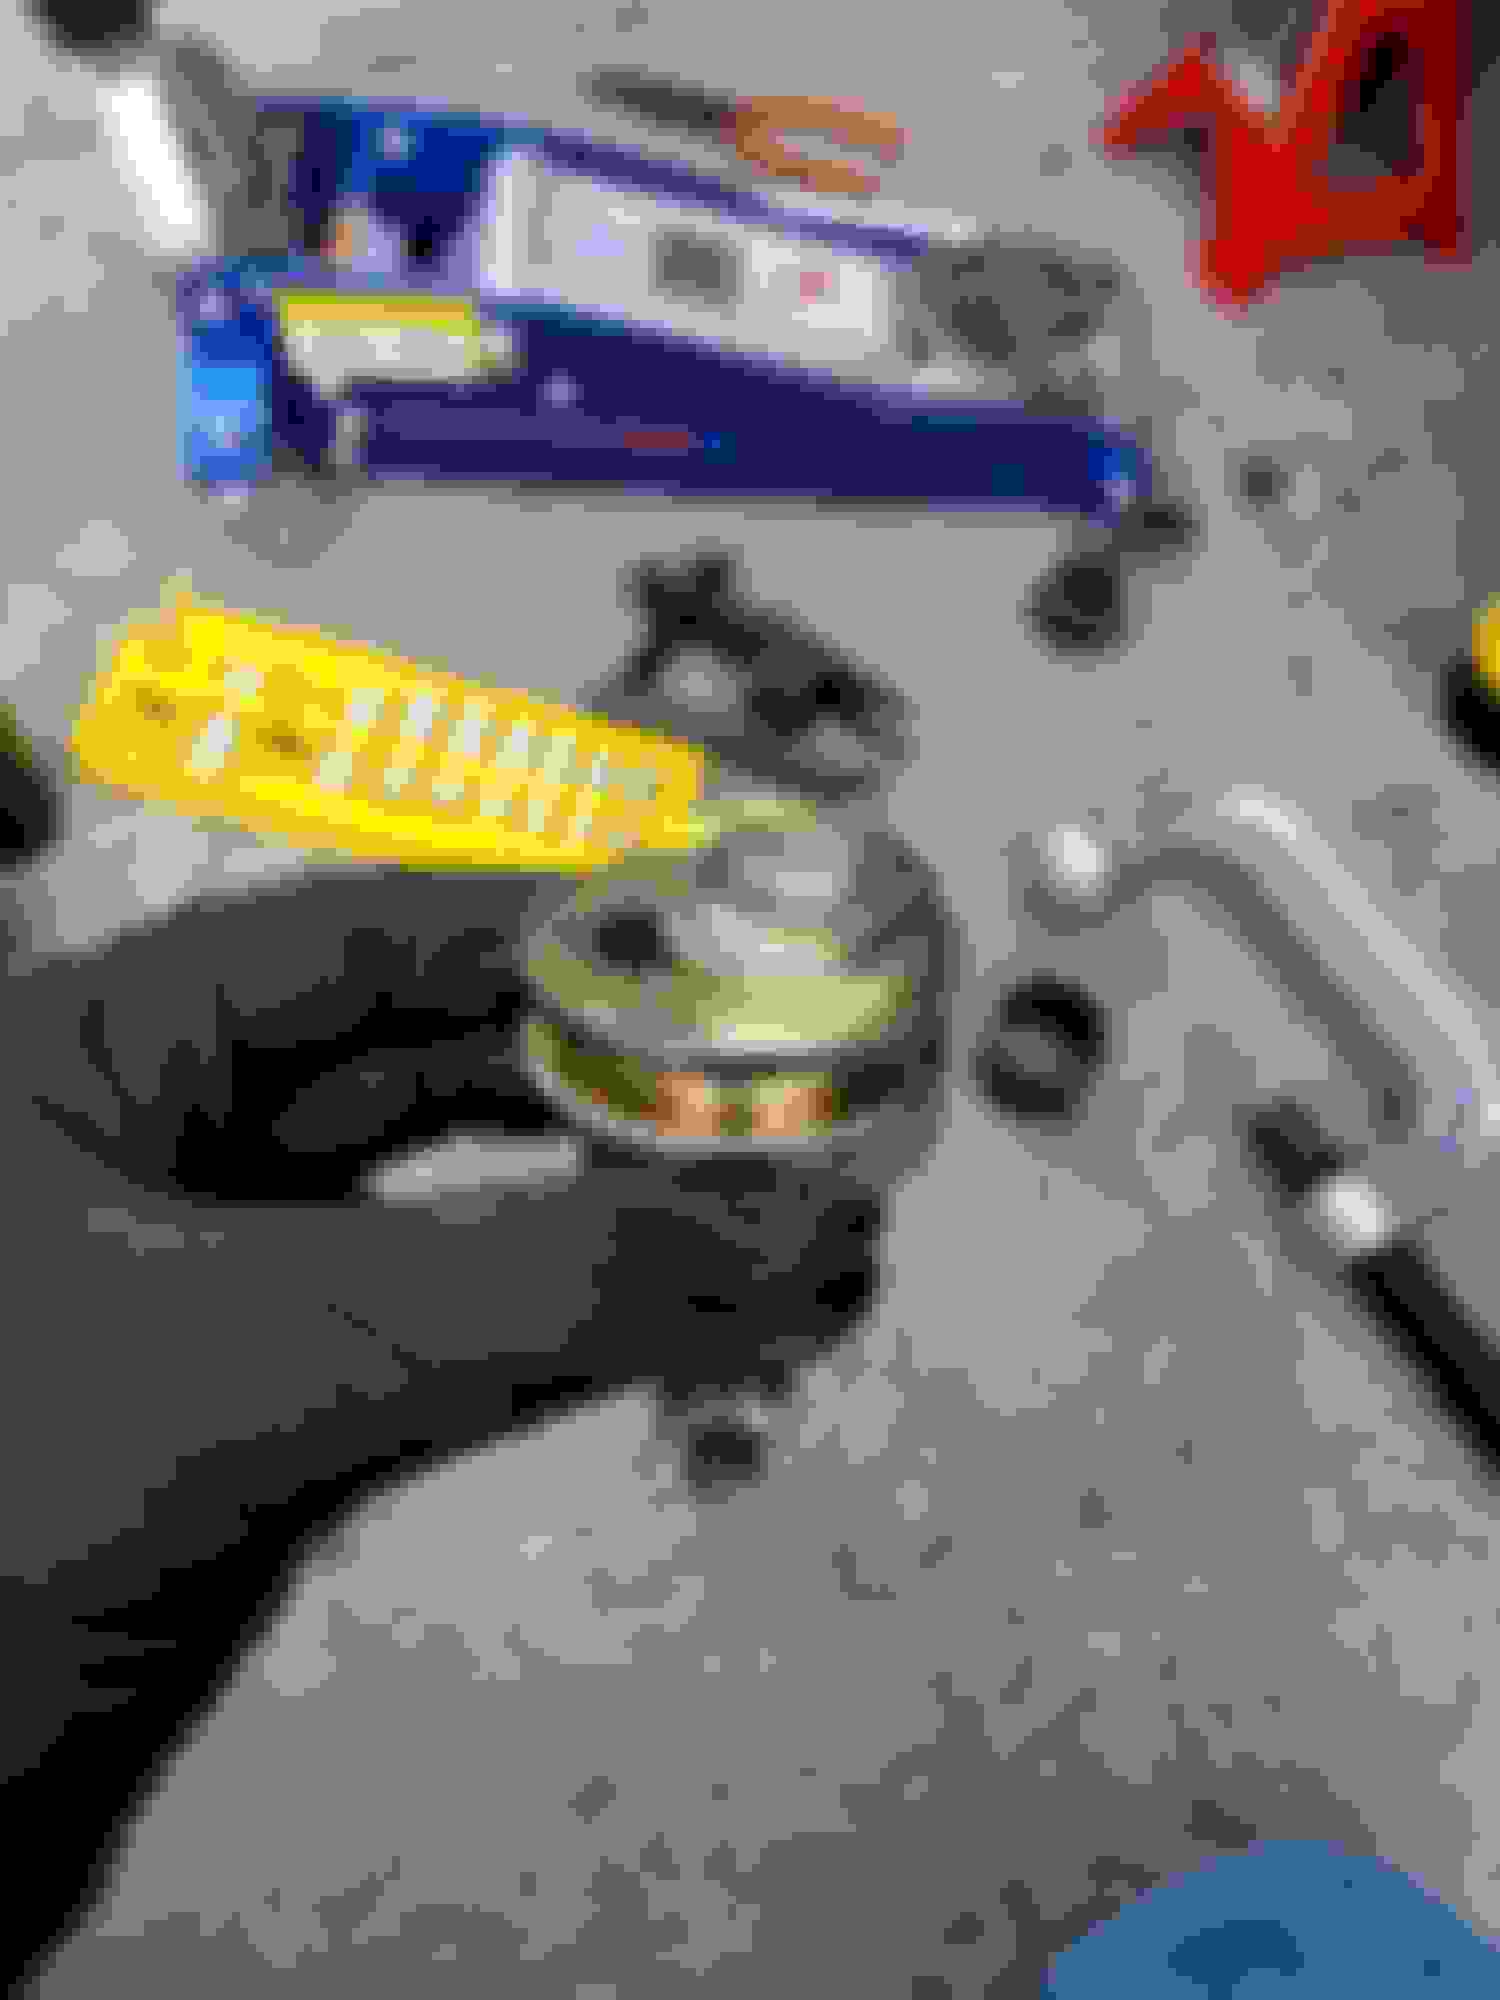
Here is the SPC joint taken apart. The lower plate must be pressed into the arm, the remaining parts are all sandwiched and then bolted together. When installing the bottom place, keep the slot as straight as possible. That is, as perpendicular to the car as possible. The reason being is that if it is angled at all, as you add camber by pushing the joint inward, it will alter the caster angle. I rigged it up like this:
Then I put the impact gun on it and gave it the full vtec juice. I expected that when pressing the plate it, it would rotate, however this was not the case. And here she is pressed in.
After that, its a matter of bolting the arm back to the chassis, installing top plate and nut, reattach bottom of the joint and torque everything down. For now I have the joint pulled all the way out so it shouldn't be any more camber than stock. One important note for anyone that does this: if you look at the ball joint you will notice that is offset. In order to add negative camber, the offset top must be on the outside (away from the car). Overall this wasn't too bad of a job. Took me about 1 hr 45 mins. Previously the prospect of having to press anything in or out was one I didn't want to entertain. However after having done it, its not bad at all. That being said, having a powerful impact gun made the job much easier!
So you're less than 2 weeks away from your first TT. Looking at yet another set of RPF1's and unmounted slicks and you're thinking "those guys aren't going to know what hit them". While determining optimal tire pressures for the slicks, you realize the manufacturer also recommends a camber angle of between 3 and 5 degrees. All of a sudden your oh so sweet UK alignment isn't looking so sweet, and the internet gurus agree. And the internet is only filled with truths. If its on the net, its absolutely 110% true. So what do you do?! I'll tell you what you do: adjustable ball joints. In yet another episode, my ancestral Indian spirit has emerged and dictated we shall save some bucks and install these ourselves! So lets have at it!:
I opted for a set of SPC adjustable ball joints. Why these? Because Aashish told me they were on sale
I also picked up a ball joint separator, as well as a ball joint service kit both from Harbor Freight. I spent about $100 bones total.
This is the separator. After removing the lower cotter pin and nut, you pop the forked side right below the rubber joint of the joint. The lower finger thing will push up on the threads of the joint. All you gotta do is put a socket on the bolt and spin away. When I say this pops the joint off, I mean it really POPS.
With the joint popped, you pick out the necessary adapters and such and line the clamp up to push the joint out of the top. If this looks slightly askew, thats because it really was. To the point that I just pulled the arm off and did it off the car so I had more space to work.
I see some micro cracks in that rotor ....... just saying .......
 05-18-2017, 01:42 PM