When you click on links to various merchants on this site and make a purchase, this can result in this site earning a commission. Affiliate programs and affiliations include, but are not limited to, the eBay Partner Network.
Looking forward to seeing how the seats covers look installed. Ive been wanting to get some in tan with the helmet hole head rests i think it adds class to the car imo. The aero is spot on perfect too just a serious no bs look.
Last edited by F1TwoThousand; 02-07-2019 at 11:18 PM.
Looking forward to seeing how the seats covers look installed. Ive been wanting to get some in tan with the helmet hole head rests i think it adds class to the car imo. The aero is spot on perfect too just a serious no bs look.
I bought some spare seats to install these covers on. They just so happen to be the OEM tan color. You're welcome to the original covers if you want em.
I bought some spare seats to install these covers on. They just so happen to be the OEM tan color. You're welcome to the original covers if you want em.
New seats finished. Did some DIY seat bolster repair and modifying of the stock seat pan to get it a bit lower. Cutting out a little bit of the foam on the battered bolster and filling with expanding foam from a can works excellent. It's much more dense than the original foam.
The quality of the katzskinz is meh imo. I'm a little anal about the finer details so maybe im a little harsh but the quality control is pretty poor. Their version on suede is a very cheap imitation yet they charge extra for it, makes no sense. The seats turned out okay, but if I were to do it again I would not buy katzskinz, mainly because of the cheap ass "suede" they use.
....not to mention they had to redo my order 2 times because reading order details is difficult? First there was no red stitching. Then they decided to do perforations on their "suede"
Anyway, here is the bolster repair. Honestly, I am more pumped on how well the bolsters came out vs the seat upholstery. I did both sides of both seats just so it would feel consistent. They are definitely stiffer than what OEM and it was worth it for sure.
Used the expanding foam and then used gorilla tape to pull the halves together to the correct shape. After the foam cures just take a razor blade to cut the excess off.
New seats with the bolsters repaired
You can see the height difference in the diy seat lowering in this picture. Just re-drilled the front mount and hammered the rear mounts in a bit.
Last edited by Charper732; 02-22-2019 at 02:10 PM.
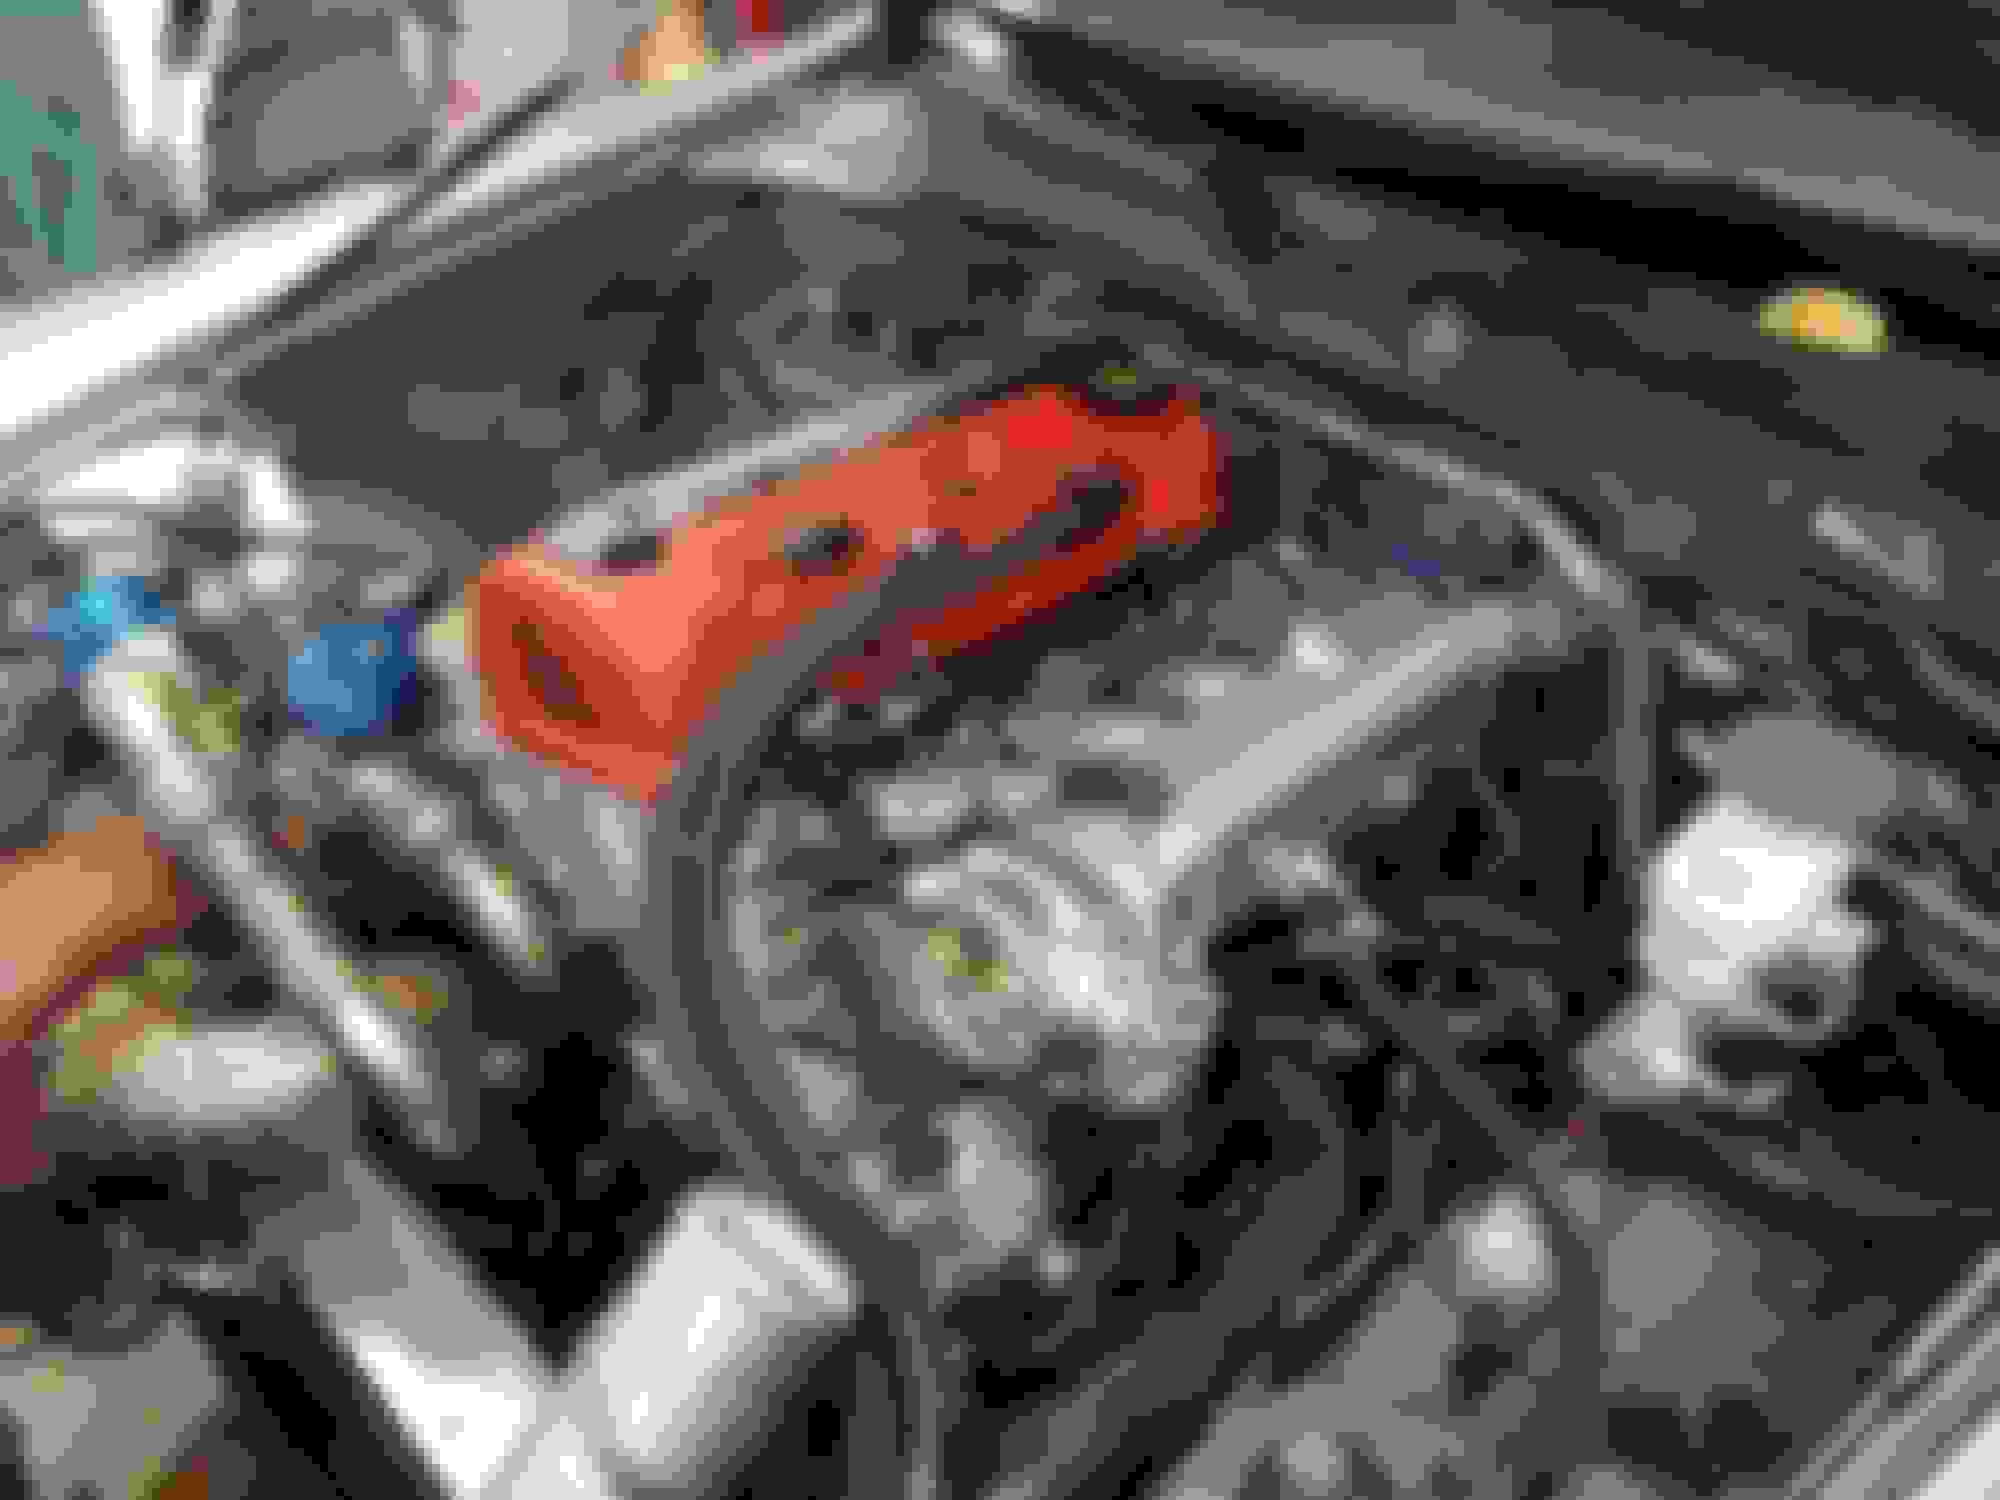
Update: I had dyno time scheduled for this past thursday, but upon doing an inspection before hand I discovered the exhaust cam gear was not allowing me to adjust it. After putting it apart we found the issue. The result was damage to the cam tower and cam shaft. The internal components of the skunk2 cam gear is the same as the OEM cam gear. There are 2 pins and a very thick C clip. The difference being, in the OEM gear the 2 pins are press fit. In the skunk2 those pins were loose and can easily fall out of place... This cause the two gear halves to not be parallel to each other. Being that the gear is helical cut im assuming this causing forces towards the cam tower which resulted in the damage. Im thankful I found this before pushing the engine. Hopefully skunk2 will rectify the situation.
Dyno time is now scheduled for the 5th. Since I had some additional time I got the new fuel system and installed a 06+ ported IM and hypertune TB. I didn't realize how much time/$ it would take to convert a 05 to a 06+ IM & fuel rail. I was also able to make a remote mount for the IACV so I can still have dynamic idle control.
On a side note: my old ported IM and new ballade 70mm TB are now for sale.
The damage. Luckily I have a spare set of cam towers.
The internals of a Skunk2 cam gear. The two pins you see easily come out of their holes. On the OEM cam gear those pins are a press fit..I couldnt remove them.
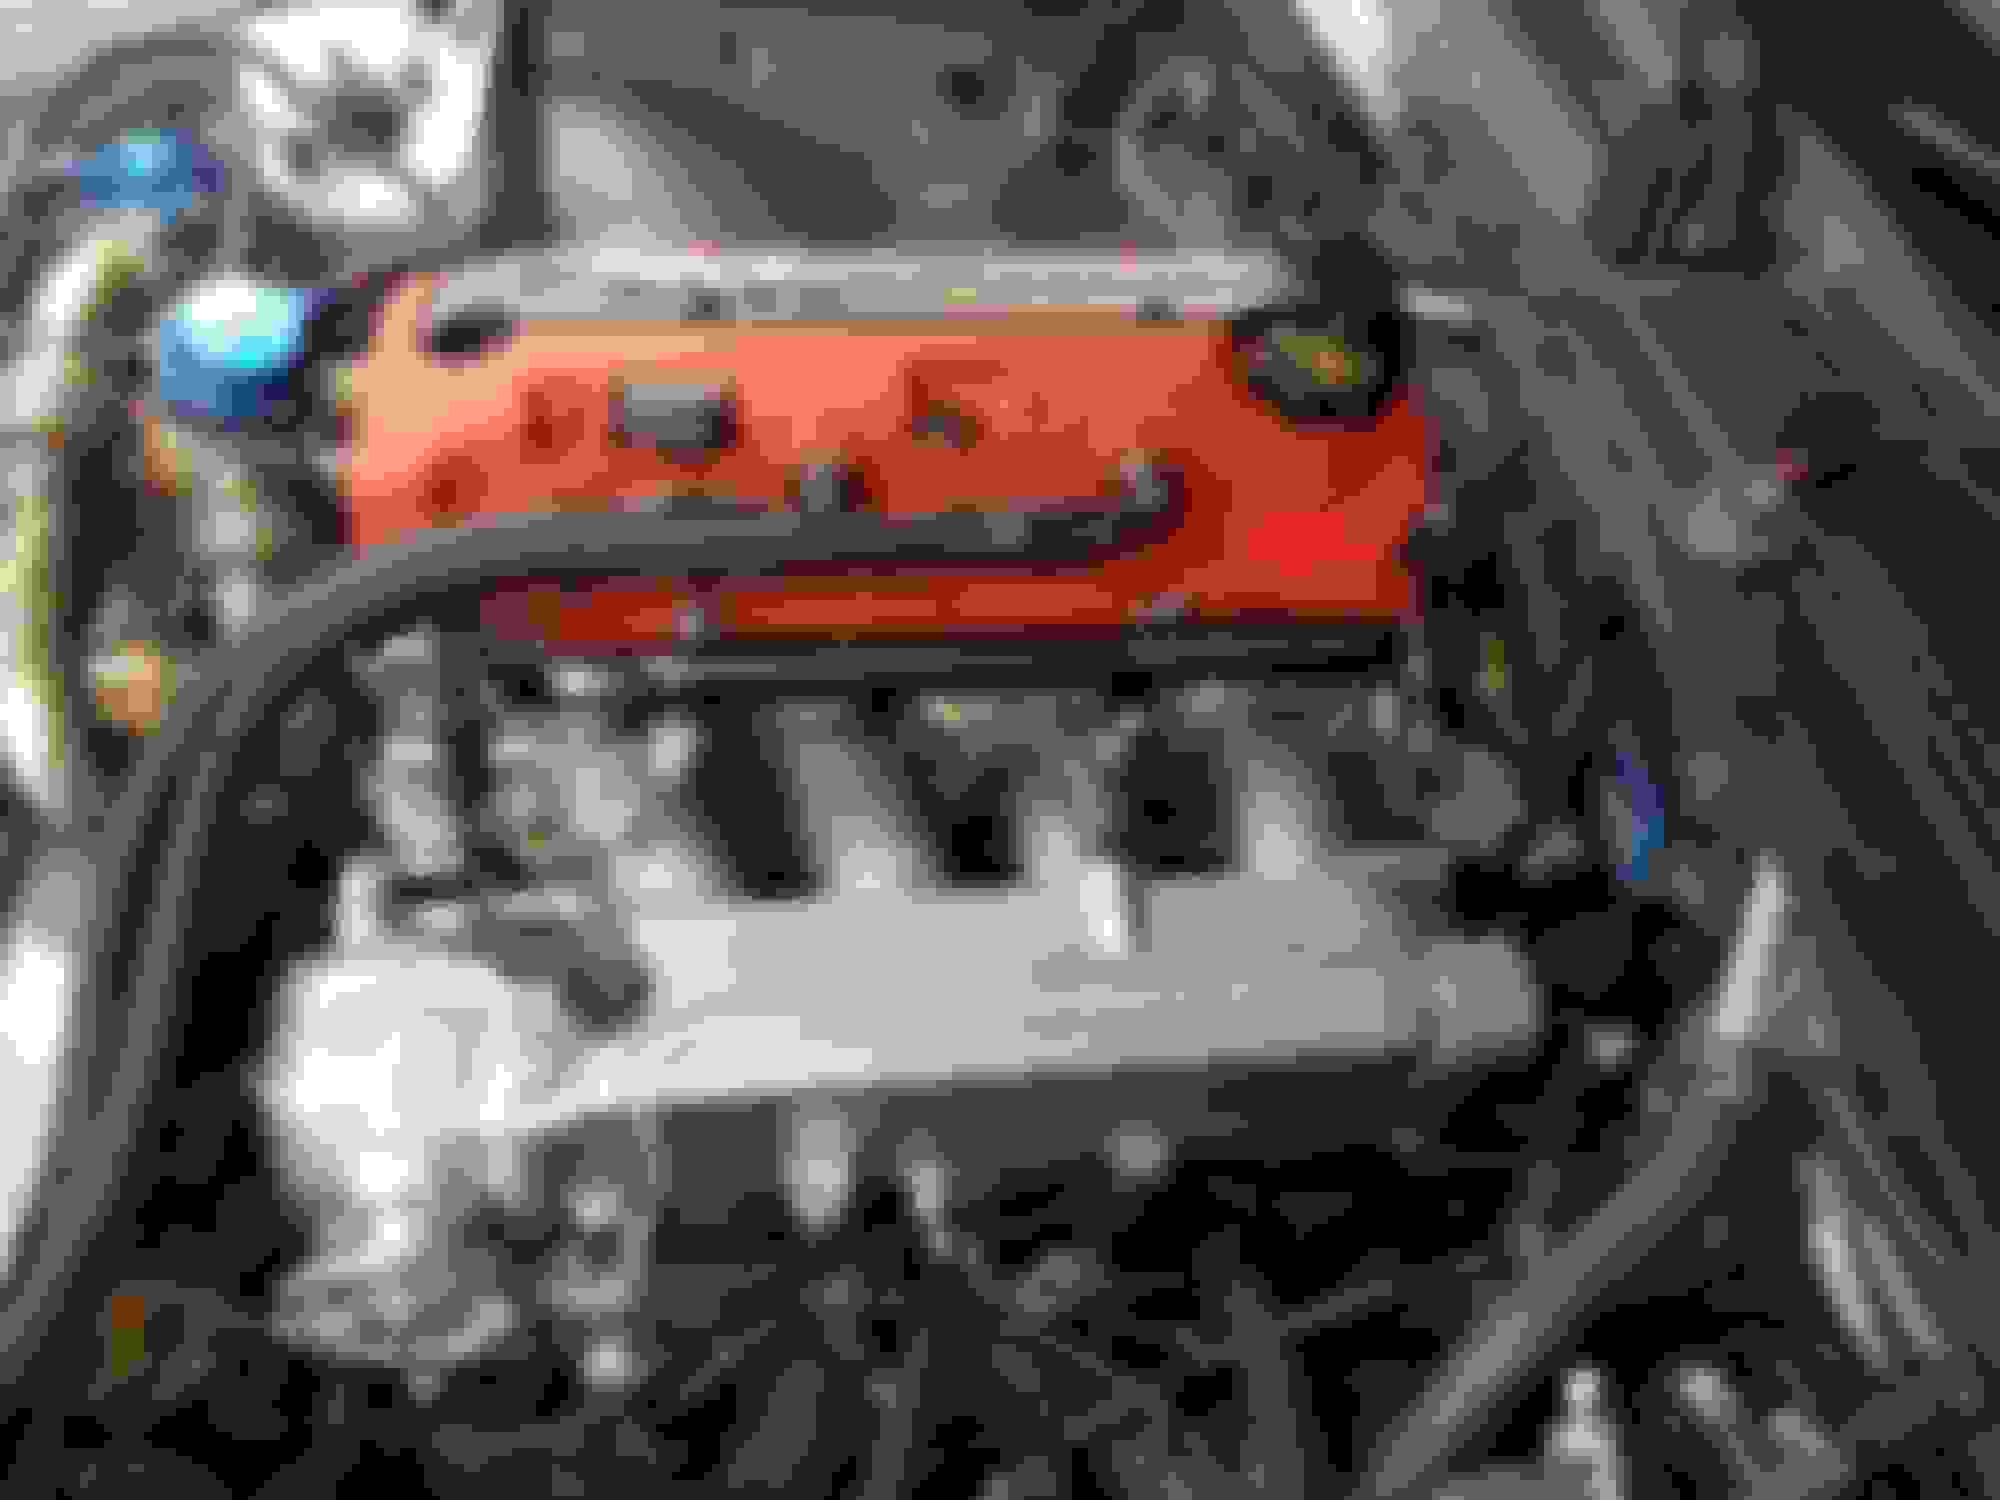
The new IM and fuel rail. The TB is a seriously nice piece of hardware!
drilled a plate to mount the IACV so it can be tucked up under the IM, out of sight.
Man, sorry to hear about the damage. Ive always avoided skunk2 for some reason. Only owned their weighted shift knob on my civic when i was younger.
the 06 intake manifold looks cool with the cable throttle body i dig it.
Same. Sorry to hear about the set back. Ive bought a skunk 2 radiator cap and it was absolutely top quality for what it's worth. Bad design on that issue you had though.
 02-07-2019, 11:14 PM