Im still alive! A write-up of year 2011 mods and upgrades by Joey Butel
 01-01-2012, 04:17 PM
#1
Registered User
Thread Starter

Join Date: Apr 2009
Location: Olathe, KS
Posts: 753
Likes: 0
Received 0 Likes
on
0 Posts
Been somewhat of an absentee on the boards this past season, just been busy with work, side work, and the gf. I have been working on the S2000 though. Scott Donaghue, Chad Charleton(ModifiedbyKC), LJ (FullBlown), Tony(Skunk2), Tony P(T1), Bryan (Berk Tech), Jimmie Martz (Paxton), Scott (Chubbies Fab), Jeff and Chris (SOS) all have lent a great helping hand on this years upgrades. Thanks!
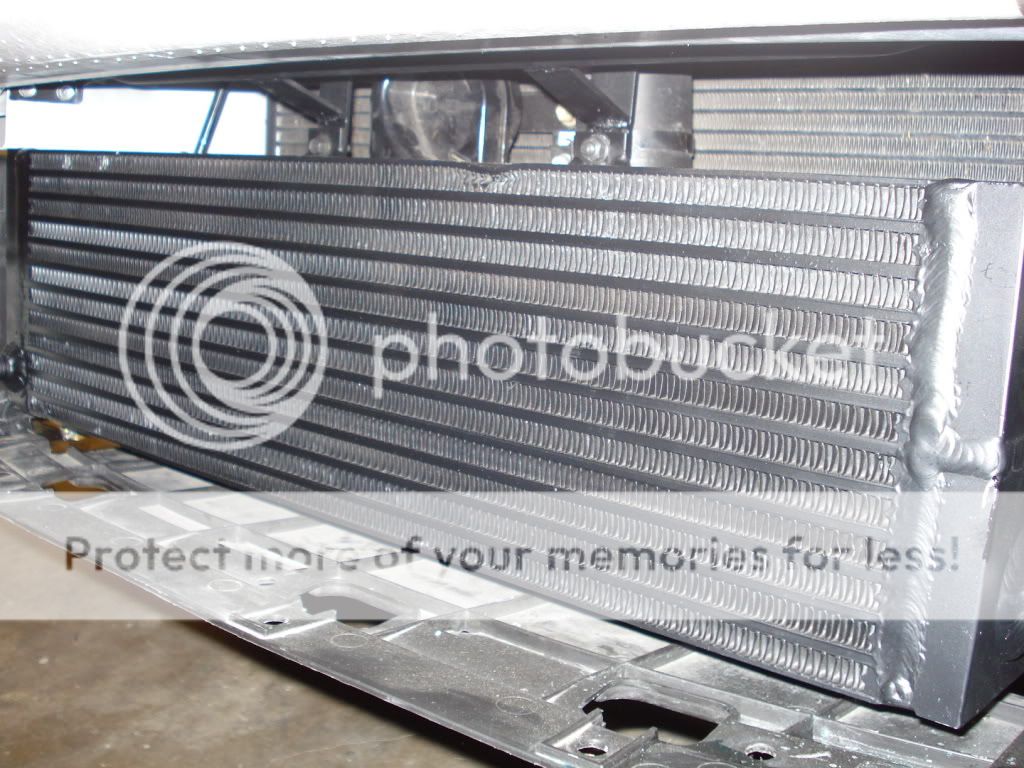
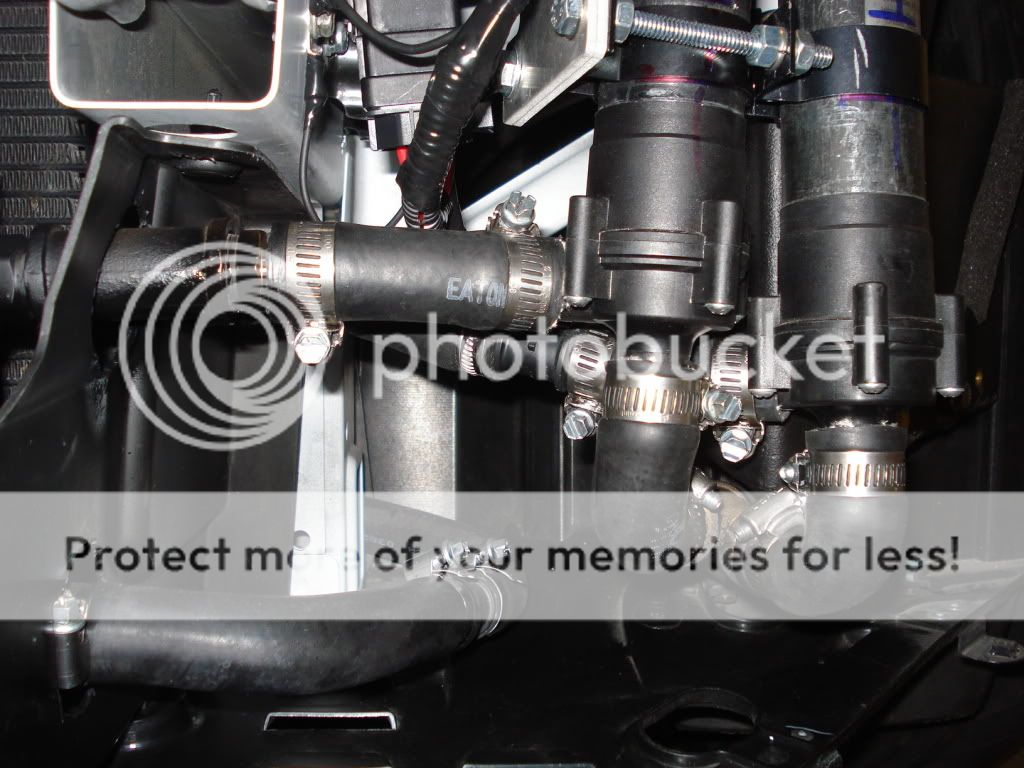
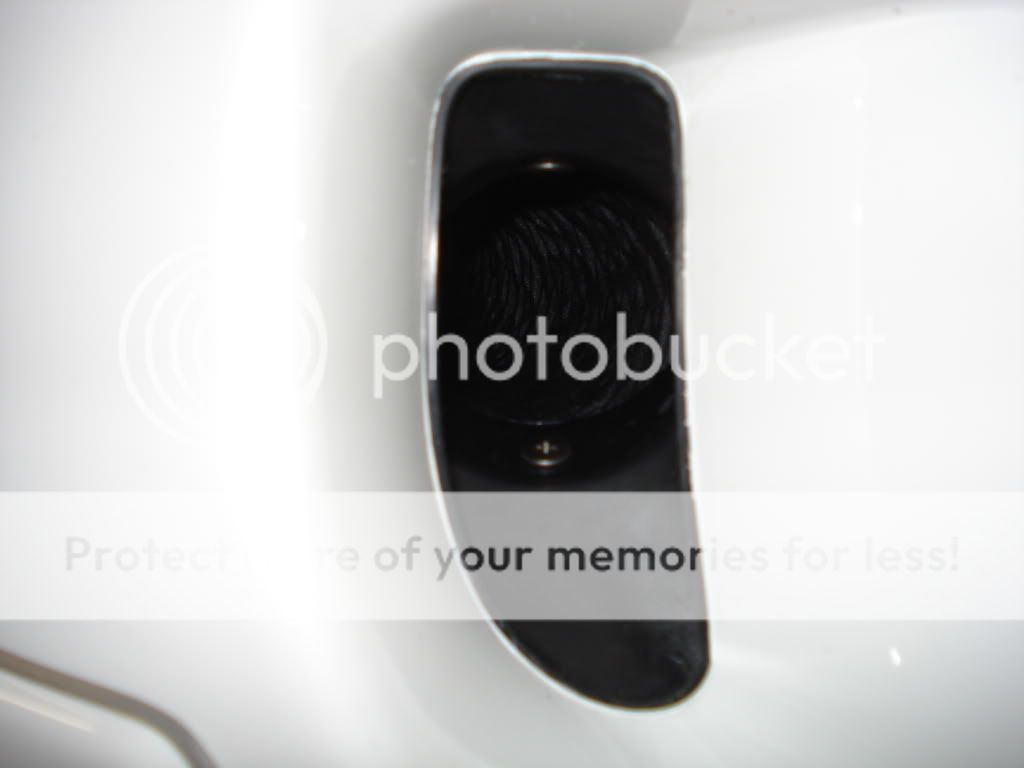
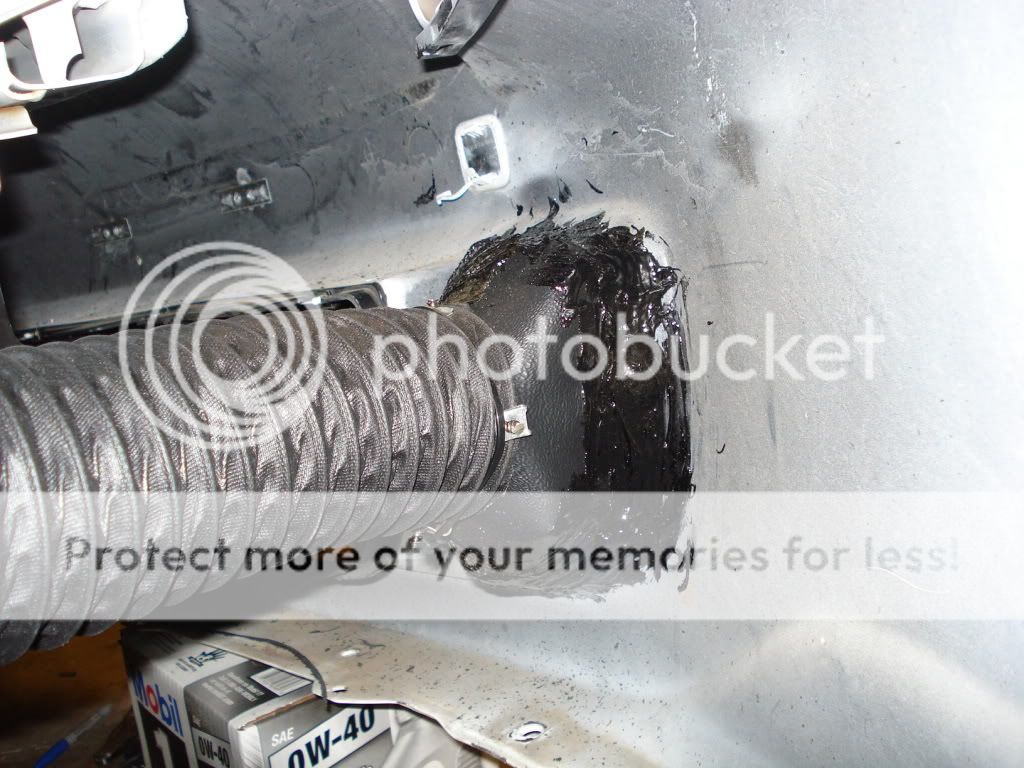
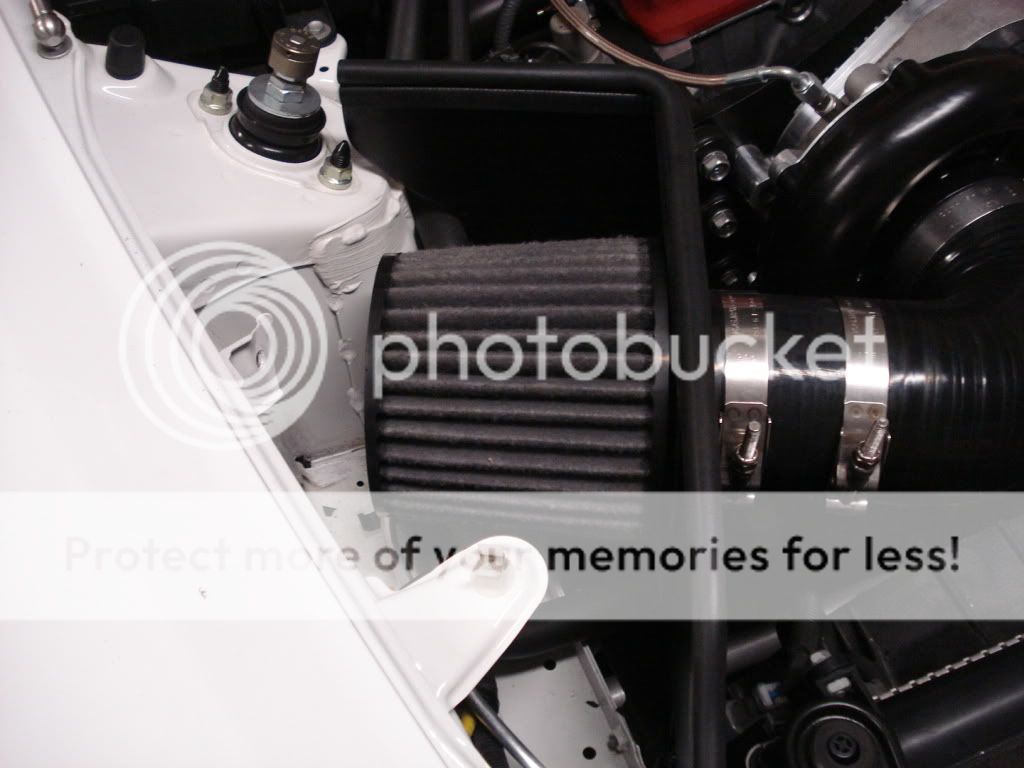
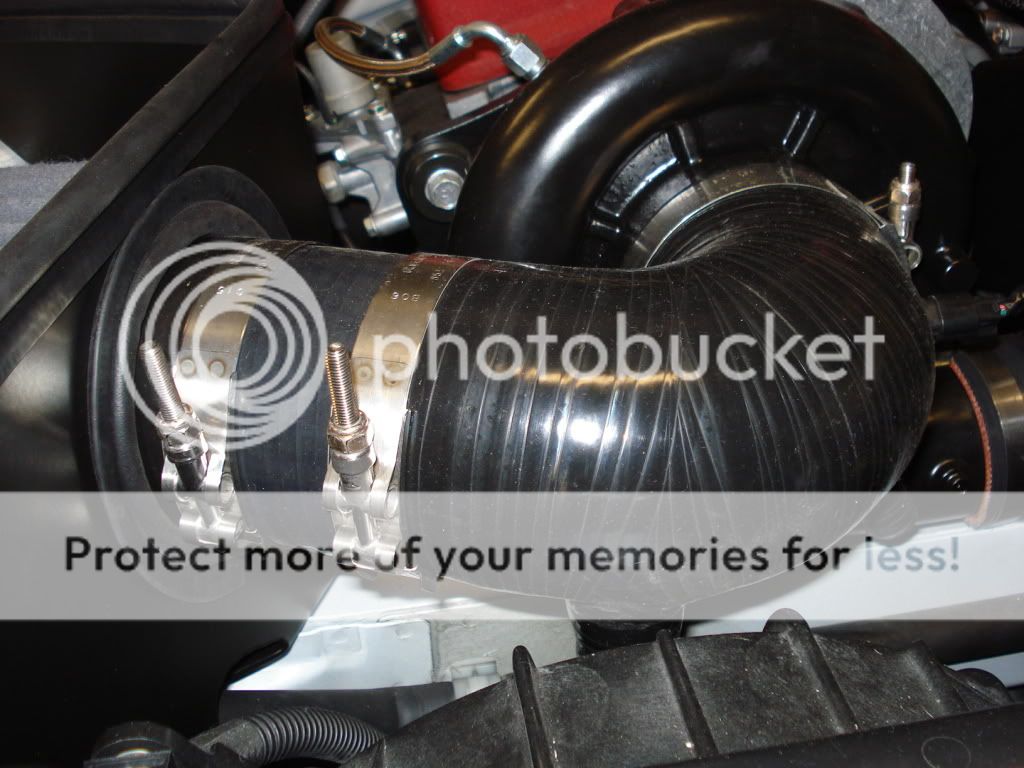
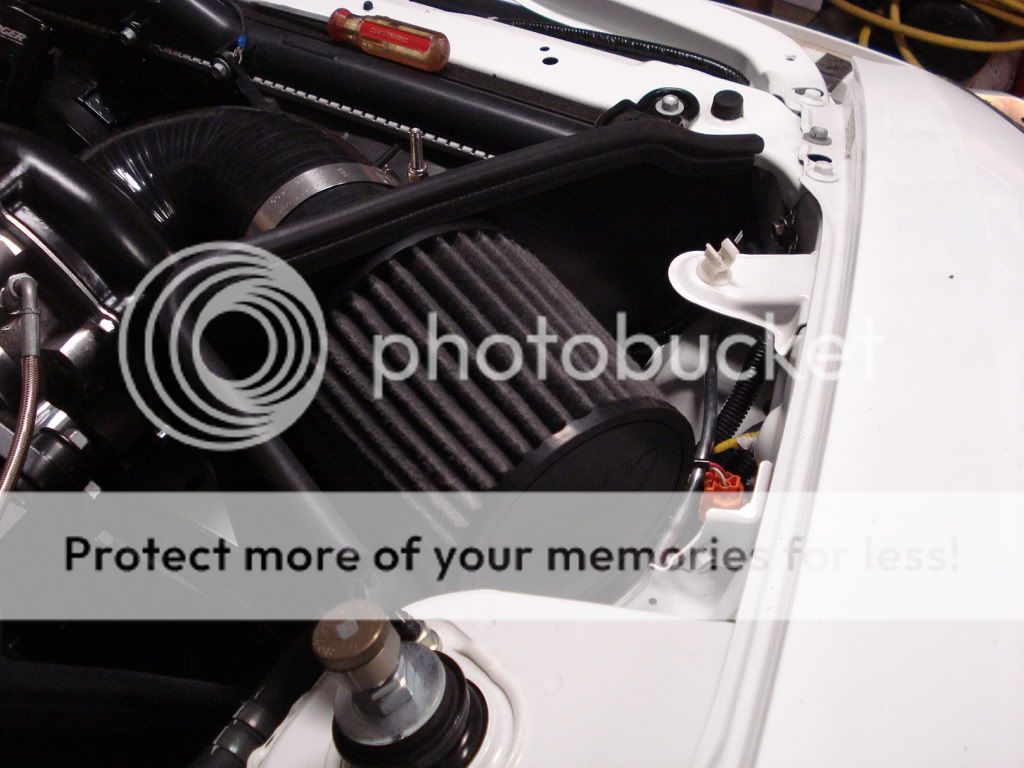
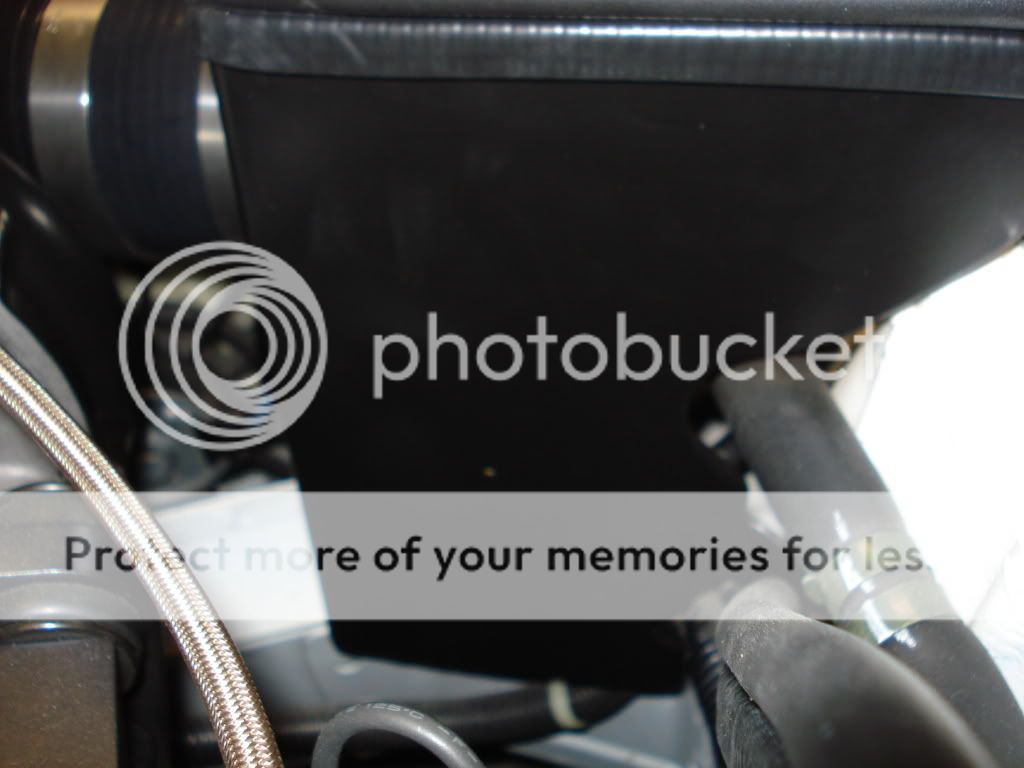
Since last year I upgraded my heat exchanger to a larger core, 26x7x3.5, added a second water pump, added a vortech resevoir, and a new Procharger Race BOV on the stock SOS aftercooler. I will likely upgrade that unit as well sometime this winter. Either way, on my last dyno session I never saw intake temps above 100 degrees showing the massive volume of fluid I'm running (2.5 gallons)to be a worth while mod. I also built an airbox and extended the intake elbow towards the fender. I used a 3in brake duct tube and panel affixed to the right front faux grill opening in the bumper to direct airflow.

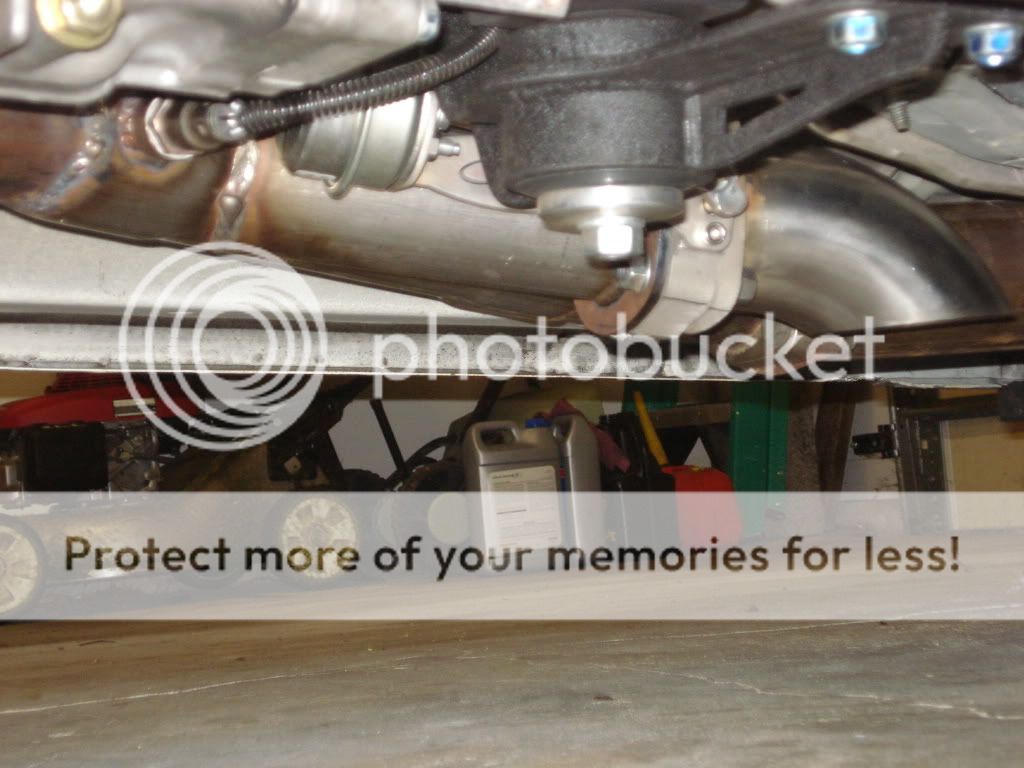
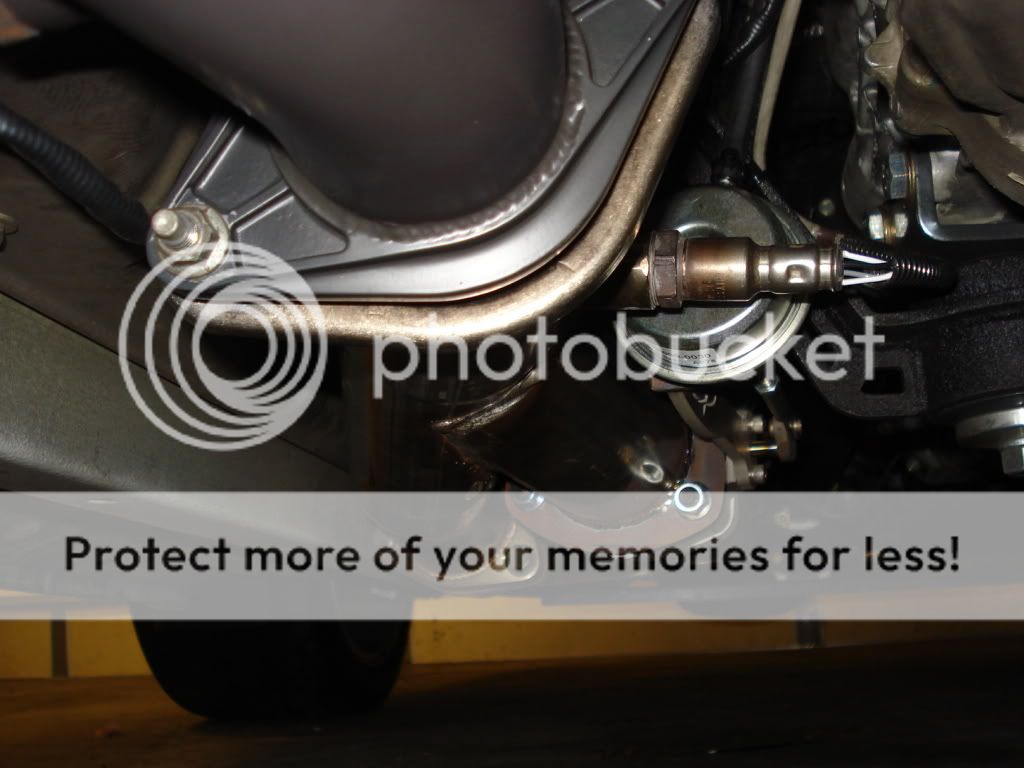
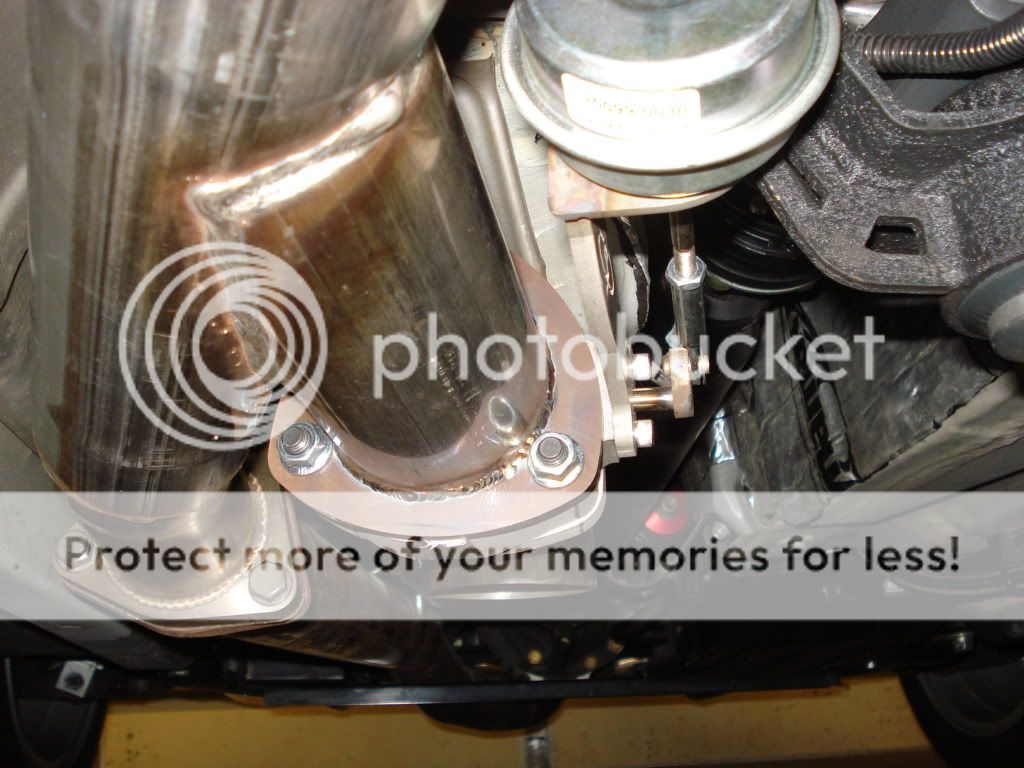
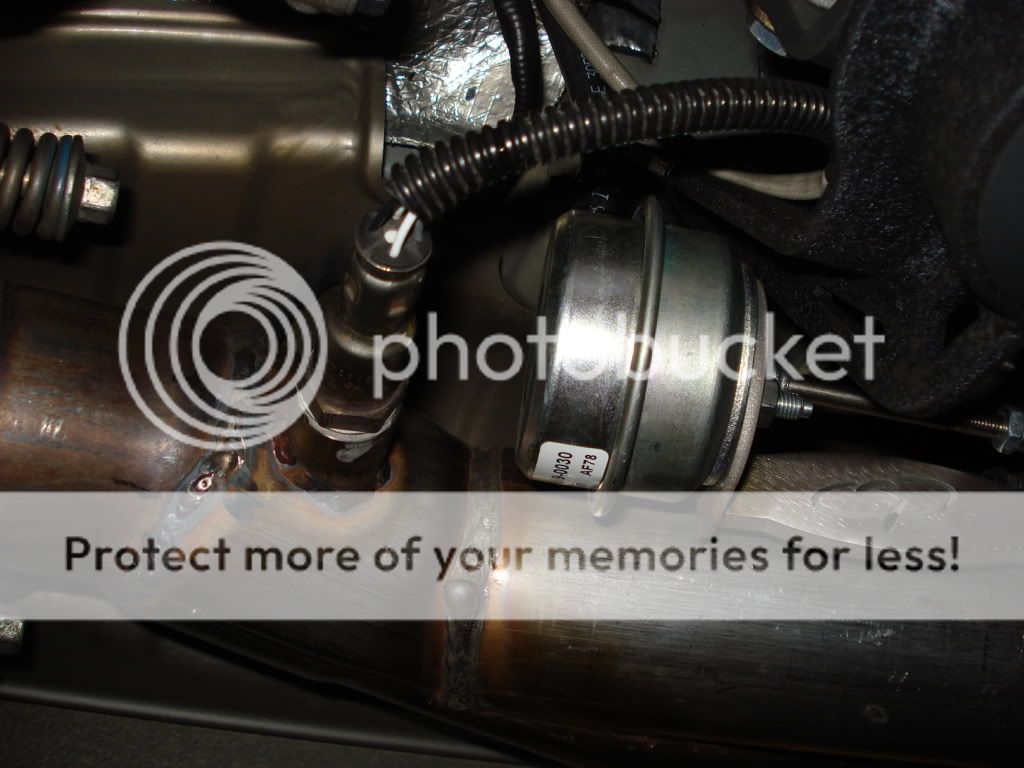
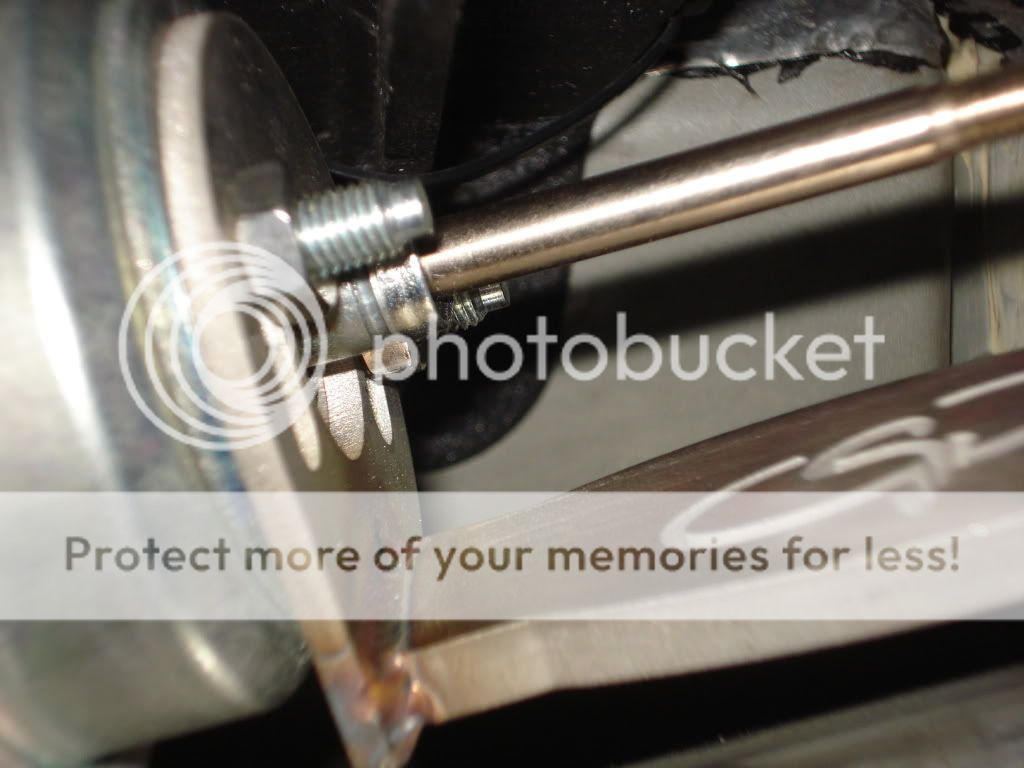
Next up was the exhaust cutout. I bought the parts from Sound Performance, 3.0in stainless Y, exhaust cutout valve, turndown and flange. I cut the flanges off my Berk Tech high flow cat and tacked the Y pipe in the center. With the innovate engine and trans mounts I had just enough room. Valve is fully open at 10psi. I love it. From previous tests, I was gaining 15-20hp with just removing the exhaust post header, and this is with my Ultimate Racing 3.0!!!
Since last year I upgraded my heat exchanger to a larger core, 26x7x3.5, added a second water pump, added a vortech resevoir, and a new Procharger Race BOV on the stock SOS aftercooler. I will likely upgrade that unit as well sometime this winter. Either way, on my last dyno session I never saw intake temps above 100 degrees showing the massive volume of fluid I'm running (2.5 gallons)to be a worth while mod. I also built an airbox and extended the intake elbow towards the fender. I used a 3in brake duct tube and panel affixed to the right front faux grill opening in the bumper to direct airflow.
Next up was the exhaust cutout. I bought the parts from Sound Performance, 3.0in stainless Y, exhaust cutout valve, turndown and flange. I cut the flanges off my Berk Tech high flow cat and tacked the Y pipe in the center. With the innovate engine and trans mounts I had just enough room. Valve is fully open at 10psi. I love it. From previous tests, I was gaining 15-20hp with just removing the exhaust post header, and this is with my Ultimate Racing 3.0!!!
 01-01-2012, 04:18 PM
#2
Registered User
Thread Starter
Join Date: Apr 2009
Location: Olathe, KS
Posts: 753
Likes: 0
Received 0 Likes
on
0 Posts
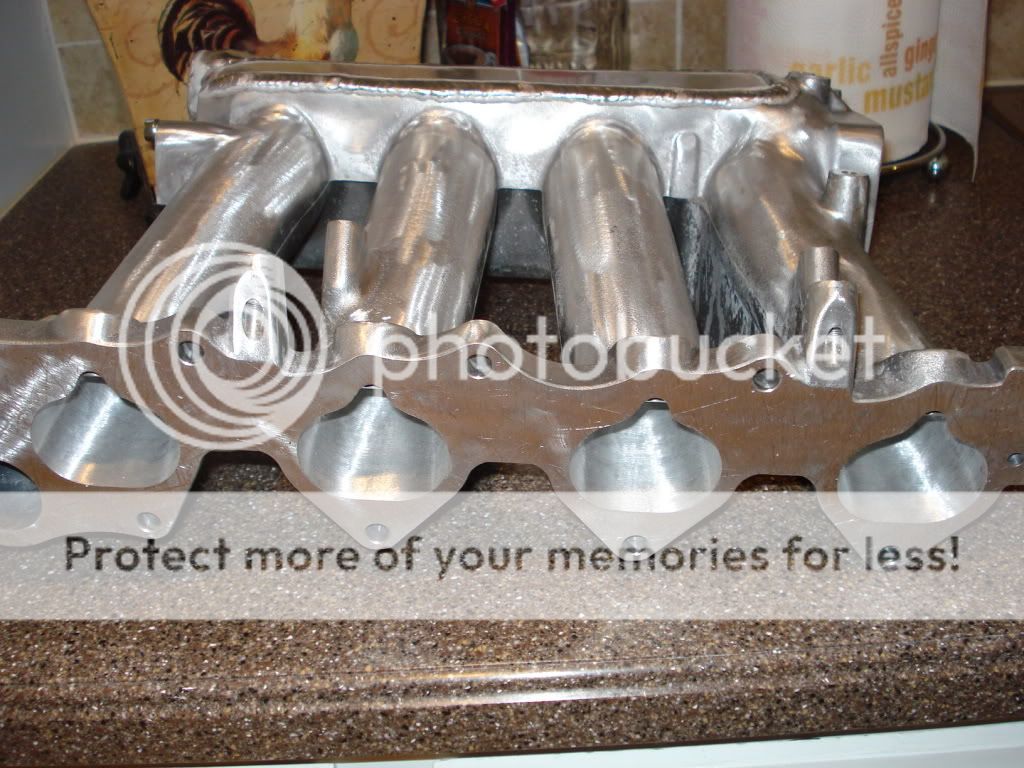
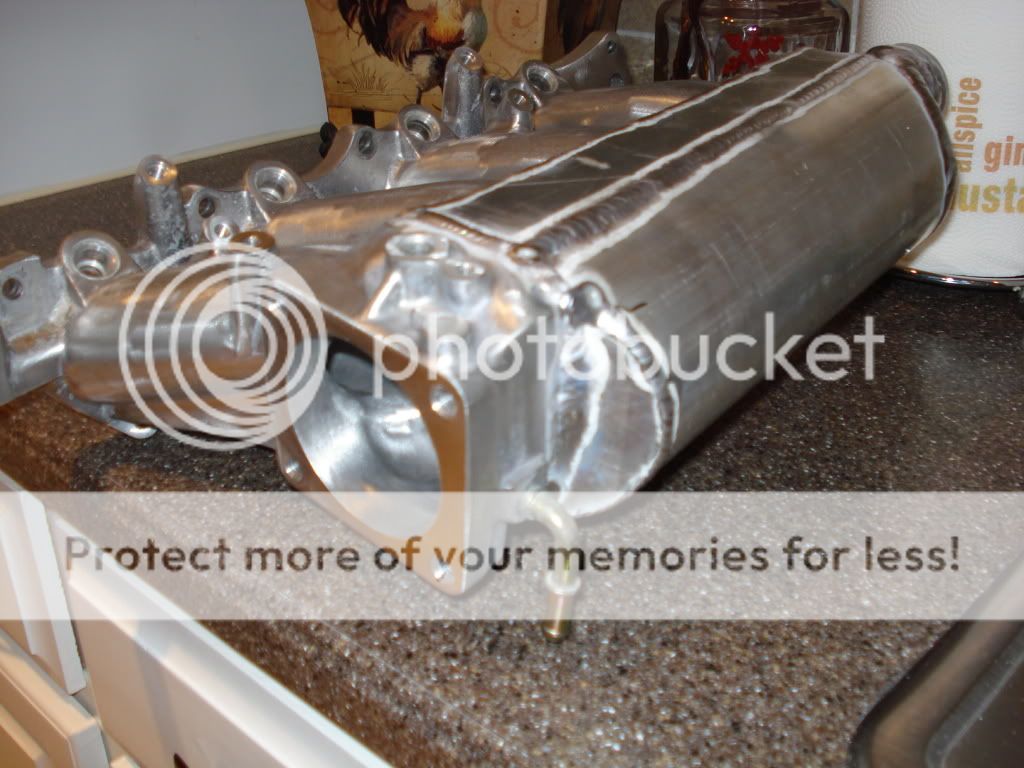
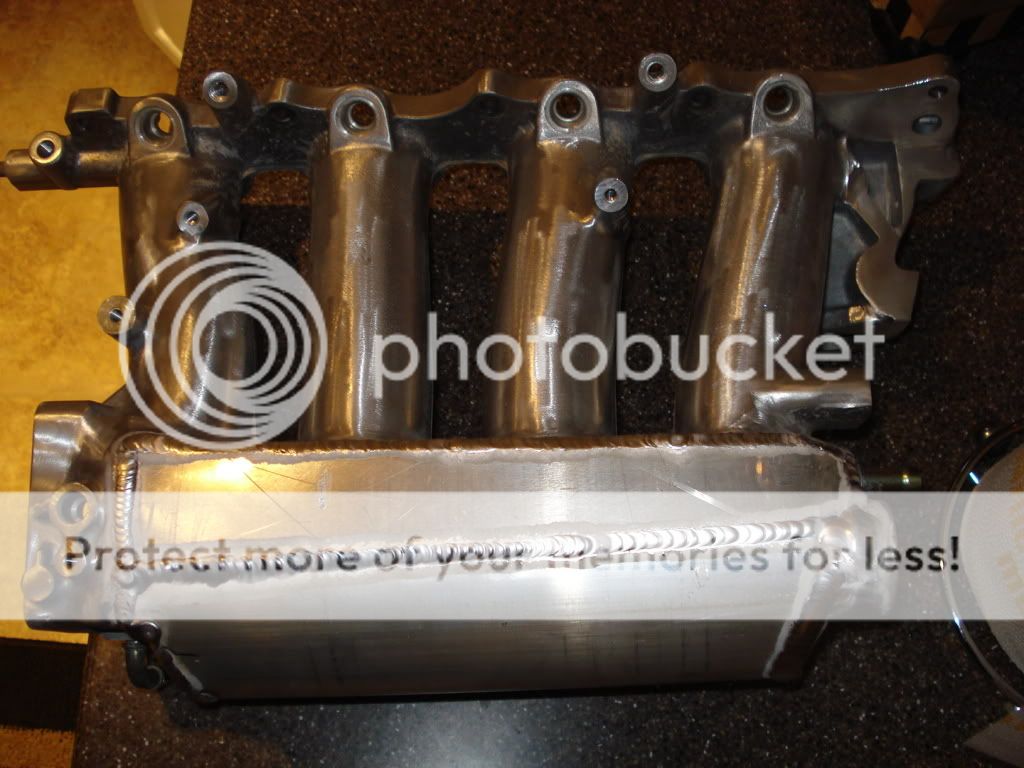
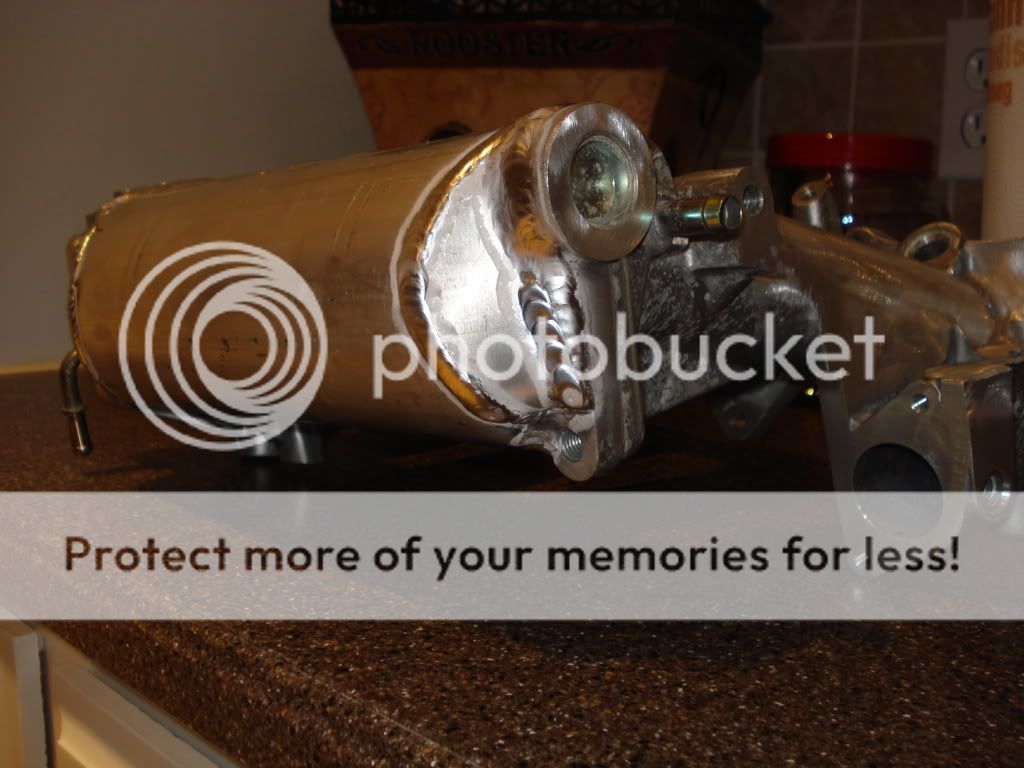
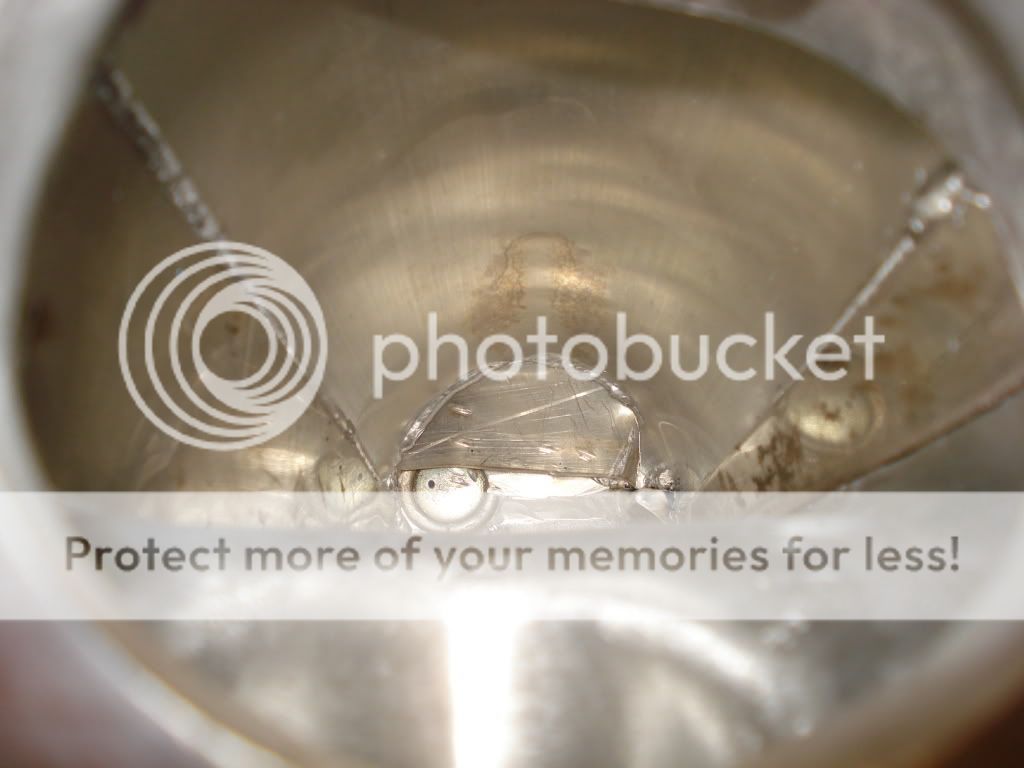
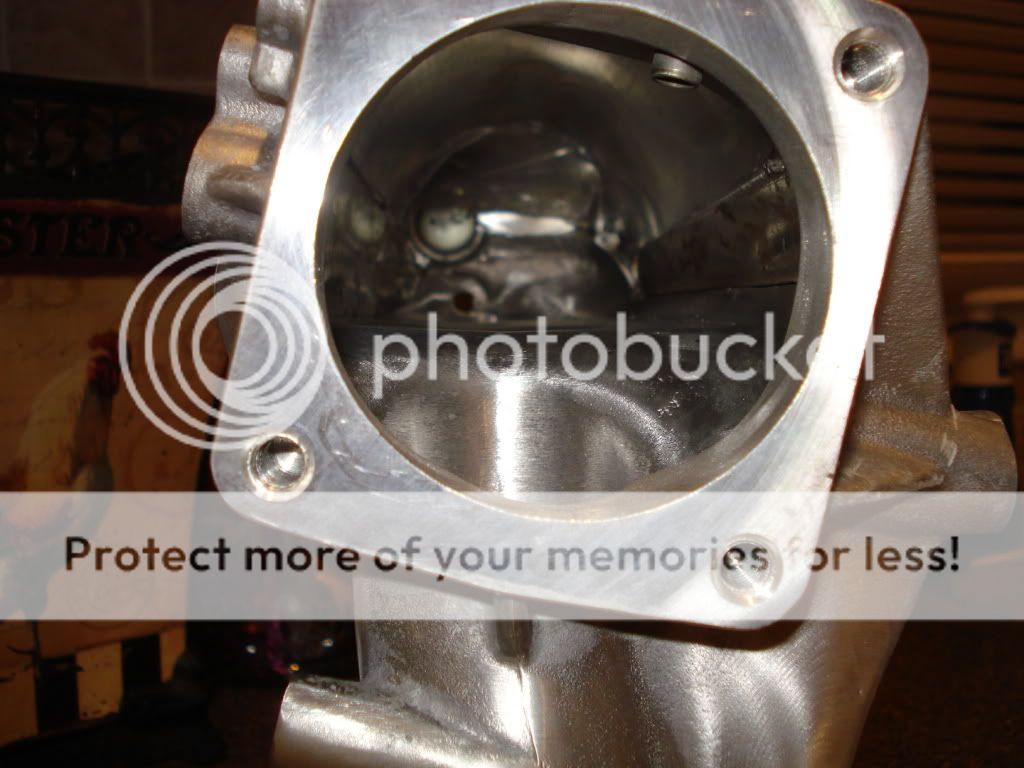
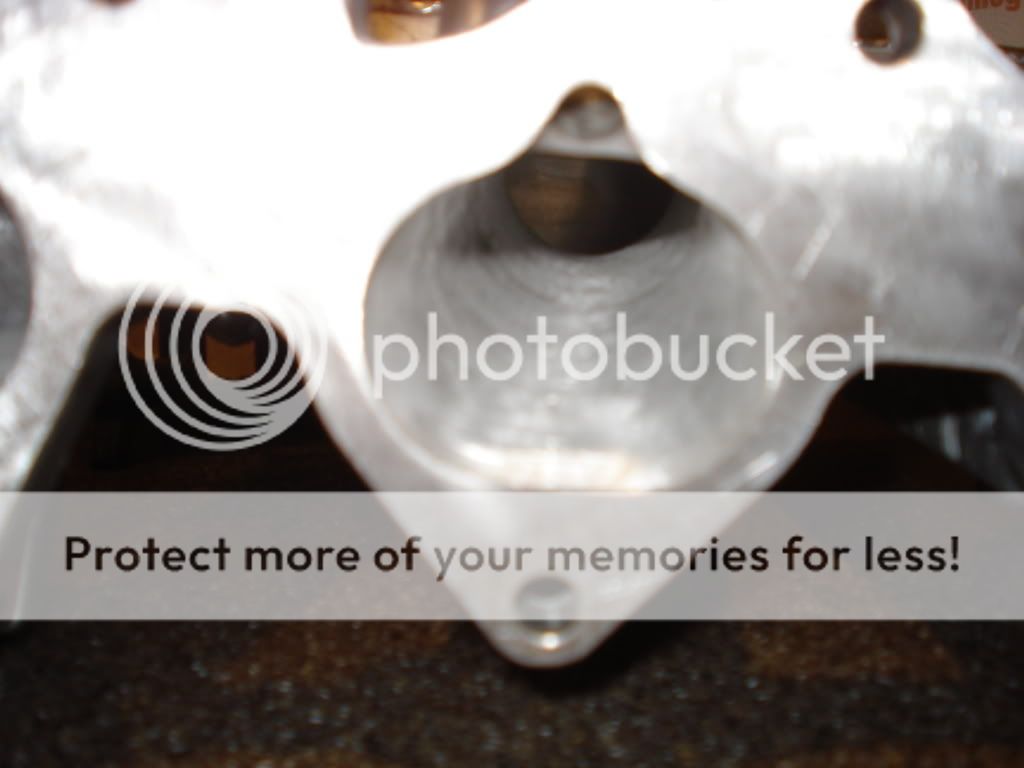
Next project was done with the help of my buddy Scott (MisMyS) and Chubby (welder and fabricator) We got a spare intake manifold and I started work on it. I ported and polished the intake runners, cut the manifold plenum off at the base of the intake runners and just behind the throttle body. We followed a design I had seen Asura use trusting in their R&D. I also opened up the throttle body bore by 0.5in to mate with my 80mm Skunk2 throttle body. I then took the Intake manifold over to Scott(Chubby) and had him help me with the rest. I gave him some pictures of the Asura piece, and he went to town. He used a aluminum pipe, cut in half, and added two triangle pieces of stock to shape the new plenum. By looking through the manifold, you can see the interior of the plenum has been doubled. I did not get a separate dyno of this and kick myself for that. Was late spring and hadn't had the car out yet. I had the intake mani powdercoated to match in semigloss black.
I worked with Scott at Skunk 2 as one of the beta testers for the new 80mm DriveByWire throttle bodies they released this year. The piece is amazing! Great workmanship, bolt on and go performance. I saw 8whp and 6wtq increase.

I also swapped in an AP1 Intake cam and gave Phil (sideways) woodruff keys a go round. I dont have separate dyno numbers for this but he has a link that shows very positive results.
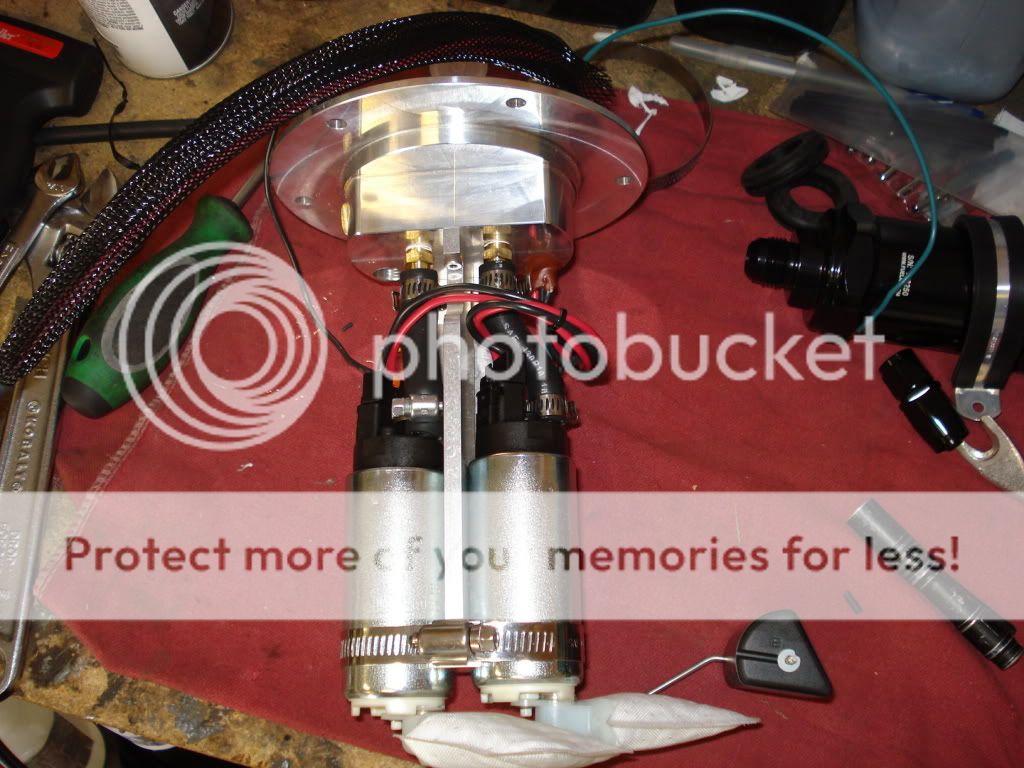
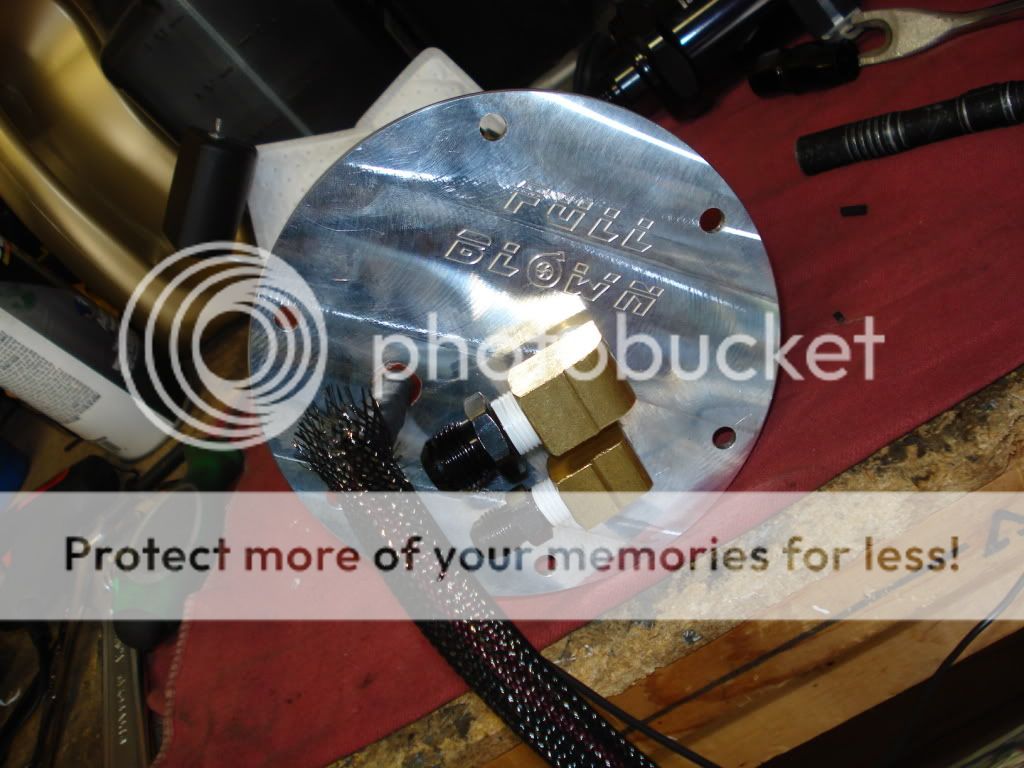
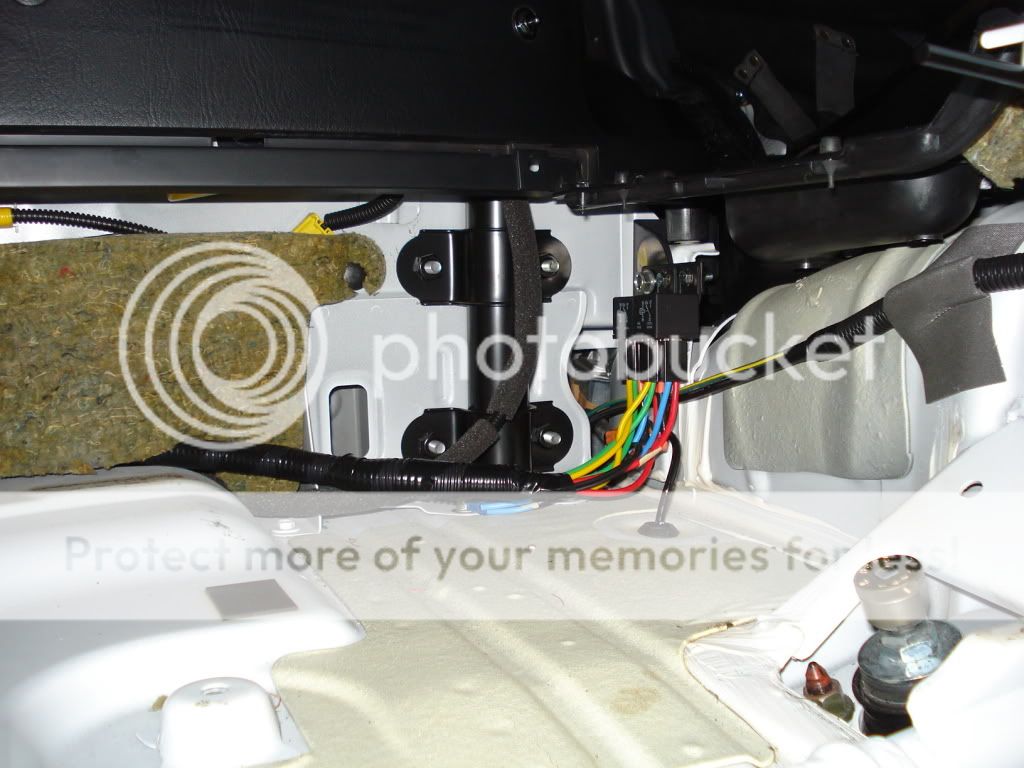
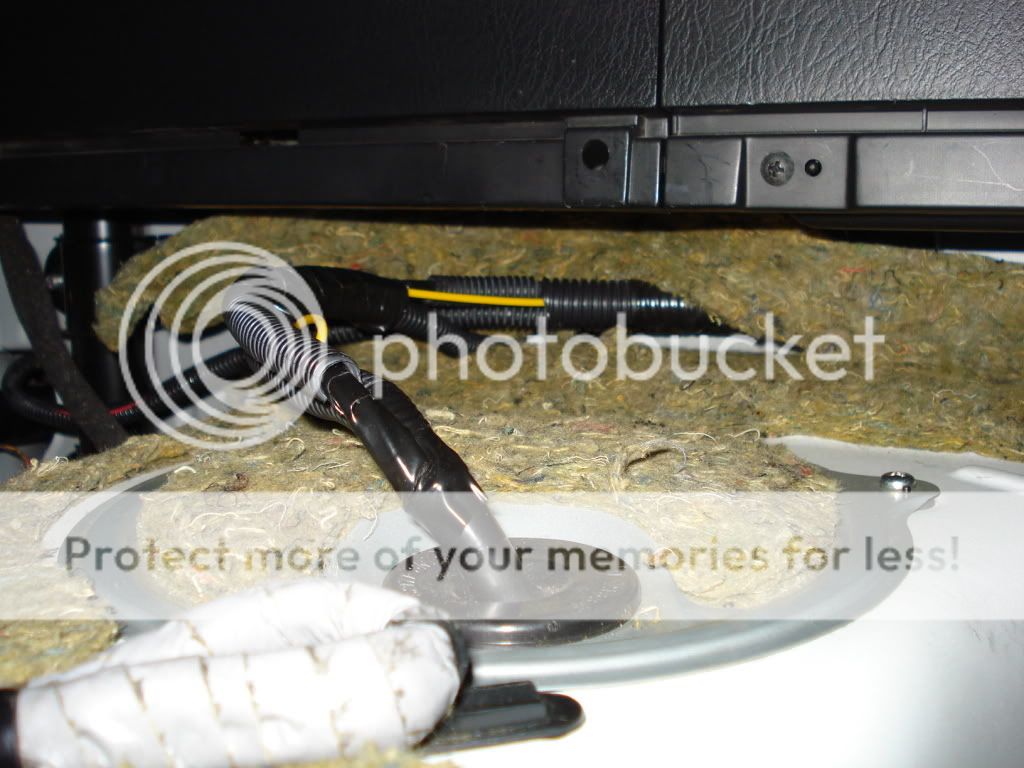
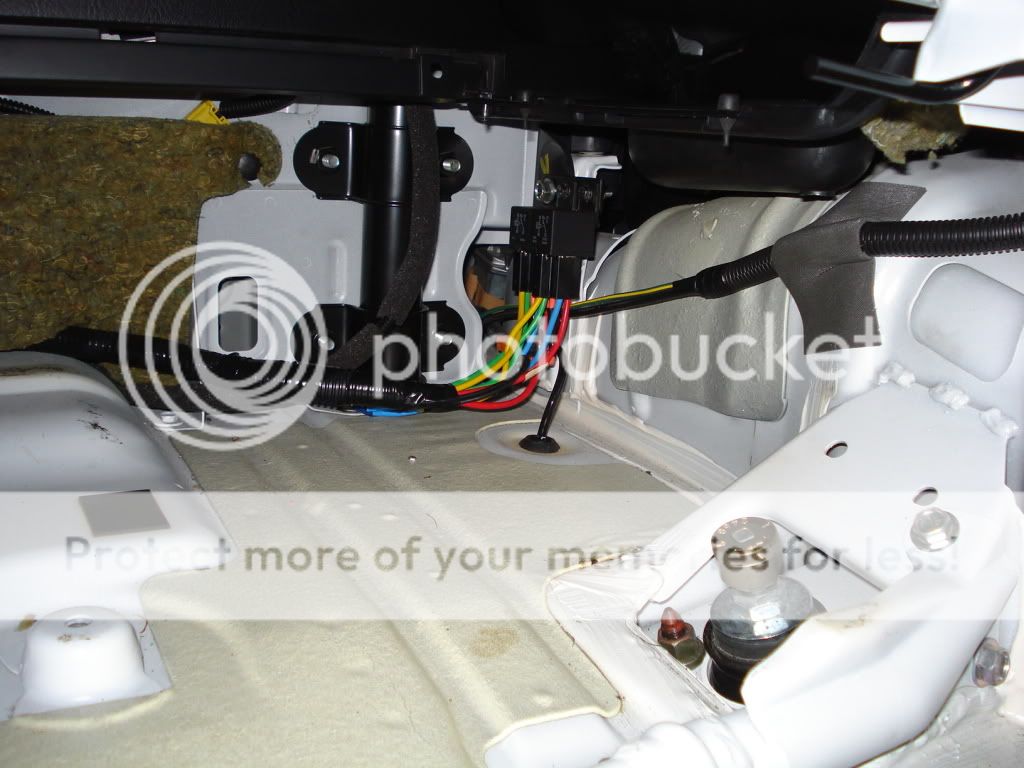
Next was the fuel system upgrade. I had upgraded twice, first was a 255 Walbro with a Kenny Bell boost a pump, second was the InlinePro 06+ DBW return fuel system kit. That worked but in order to feed the ID2000 and keep the fuel pressure from dropping off, issue I was having, I opted to build a system with LJ from FullBlown. He is a great guy and was fun to work with. I was also on the beta testing on this sending unit. It utilized dual Walbro 255s. I built my own lines from braided nylon coated -8AN feed, -6AN return, using the Fuel Lab regulator and InlinePro fuel rail from the InlinePro kit. Kit looks great and has not had a hiccup. Definitely have great things to say about LJ and his workmanship. I wired a Battery wire straight to the relays, and used the stock fuel pump wire for my signal.
Jimmy Martz at Paxton had my sc, the Paxton 1500 rebuilt last spring with high speed bearings to handle the rpms Im throwing at it. Hes been a great help all through my search for high power on a sc setup, many times giving me ideas I had not thought of. The 1200 Paxton was a great upgrade over the 1220 included in the SOS kit, and for the price of 400-500 dollars it can be modified with the correct impeller without replacing the unit. The 1500 Paxton is great for those of us wanting big power and high boost, all easily bolting on to the original bracket supplied in the Science of Speed kit.
My current project is a brake upgrade. Im working with FastBrakes.com with a 13in upgrade. The kit uses the stock size rotors from a Mitsu Evo, I opted for a slotted disc. The center bores are enlarged to house the S2000 hub, he includes a bracket, stainless lines, pads and Wilwood Dynalite calipers. Must use a 20mm spacer to house the brakes on the AP2V2s. The rear kit will also be a 13in rotor (t.b.d) and the Wilwood ebrake caliper. More on this later...
I cant say enough good things about all the people I have had the fortune of working with on this project. I do almost all the work myself, and have had great experience with the people/shops I have had help me with the mods I dont have the equipment for (welding, tunes)
Here are a couple vids of the car just before I put her up for the winter. As you can see from my car, I enjoy a clean, simple look. Not that CCWs, racing seats and body kits are bad, they just arent for me. I like to build a car that I enjoy, and those things just dont do it for me. Hope to be a great influence to this forum for years to come!
I worked with Scott at Skunk 2 as one of the beta testers for the new 80mm DriveByWire throttle bodies they released this year. The piece is amazing! Great workmanship, bolt on and go performance. I saw 8whp and 6wtq increase.
I also swapped in an AP1 Intake cam and gave Phil (sideways) woodruff keys a go round. I dont have separate dyno numbers for this but he has a link that shows very positive results.
Next was the fuel system upgrade. I had upgraded twice, first was a 255 Walbro with a Kenny Bell boost a pump, second was the InlinePro 06+ DBW return fuel system kit. That worked but in order to feed the ID2000 and keep the fuel pressure from dropping off, issue I was having, I opted to build a system with LJ from FullBlown. He is a great guy and was fun to work with. I was also on the beta testing on this sending unit. It utilized dual Walbro 255s. I built my own lines from braided nylon coated -8AN feed, -6AN return, using the Fuel Lab regulator and InlinePro fuel rail from the InlinePro kit. Kit looks great and has not had a hiccup. Definitely have great things to say about LJ and his workmanship. I wired a Battery wire straight to the relays, and used the stock fuel pump wire for my signal.
Jimmy Martz at Paxton had my sc, the Paxton 1500 rebuilt last spring with high speed bearings to handle the rpms Im throwing at it. Hes been a great help all through my search for high power on a sc setup, many times giving me ideas I had not thought of. The 1200 Paxton was a great upgrade over the 1220 included in the SOS kit, and for the price of 400-500 dollars it can be modified with the correct impeller without replacing the unit. The 1500 Paxton is great for those of us wanting big power and high boost, all easily bolting on to the original bracket supplied in the Science of Speed kit.
My current project is a brake upgrade. Im working with FastBrakes.com with a 13in upgrade. The kit uses the stock size rotors from a Mitsu Evo, I opted for a slotted disc. The center bores are enlarged to house the S2000 hub, he includes a bracket, stainless lines, pads and Wilwood Dynalite calipers. Must use a 20mm spacer to house the brakes on the AP2V2s. The rear kit will also be a 13in rotor (t.b.d) and the Wilwood ebrake caliper. More on this later...
I cant say enough good things about all the people I have had the fortune of working with on this project. I do almost all the work myself, and have had great experience with the people/shops I have had help me with the mods I dont have the equipment for (welding, tunes)
Here are a couple vids of the car just before I put her up for the winter. As you can see from my car, I enjoy a clean, simple look. Not that CCWs, racing seats and body kits are bad, they just arent for me. I like to build a car that I enjoy, and those things just dont do it for me. Hope to be a great influence to this forum for years to come!
01-01-2012, 04:25 PM
#3
Registered User
Thread Starter
Join Date: Apr 2009
Location: Olathe, KS
Posts: 753
Likes: 0
Received 0 Likes
on
0 Posts


 01-01-2012, 06:50 PM
#7

Looking good, too bad everyone can't see it in real life to see how clean the car really is. By far the cleanest I have ever seen that is not a trailer queen. You know I still think 600 WHP is right around the corner for you.
Let me say this, all the people mentioned above have been really good. I have also worked with many of them and these are vendors that really are good people/products. If you can practise a bit of patients they will return the favor 10 times over. I got to know them, Joey and soooo many others and appreciate their company that I have decided to not buy another Z06 and purchase a 2001 NFR to be the platform for my next build.
Build list for 2012
PTuning Turbo Kit & Driver Mod
Seriously Though, here a few things I have been thinking about/we talked about.
Exterior Mods
-Rear Diffuser
-Side Strakes/Ground Effects like a ZR1
Polish up the Electrical
-Hook Up Wideband to KPRO
-Check Sensor Calibrations
-Weld bungs in header for Pyrometers
Widened Front Wheels
-255's up front!!
Ignition Upgrade
-BAS - Boost A Spark (You can use mine for testing)
-Research Alternate Spark Plugs maybe a 7 heat range, Coronal Discharge.......
Larger After Cooler
-Install Pressure Diff. Gauge across existing after cooler
-Install fast reading RTD's across aftercooler
Cam Shaft Testing
-AP1 AP2 Combinations
-Different Degree Offsets
-Aftermarket Cams
Here is a build list for 2013
-Built Diff (You already have the shell just need to get the kit)
-2.4/2.5L Stroker
-Larger Radiator
-Pro EFI ECM w/ E85 Sensor (Chad at Modified By KC has a unit in the shop ready to roll)
Trending Topics
 01-01-2012, 07:33 PM
#9
Registered User
Thread Starter
Join Date: Apr 2009
Location: Olathe, KS
Posts: 753
Likes: 0
Received 0 Likes
on
0 Posts