When you click on links to various merchants on this site and make a purchase, this can result in this site earning a commission. Affiliate programs and affiliations include, but are not limited to, the eBay Partner Network.
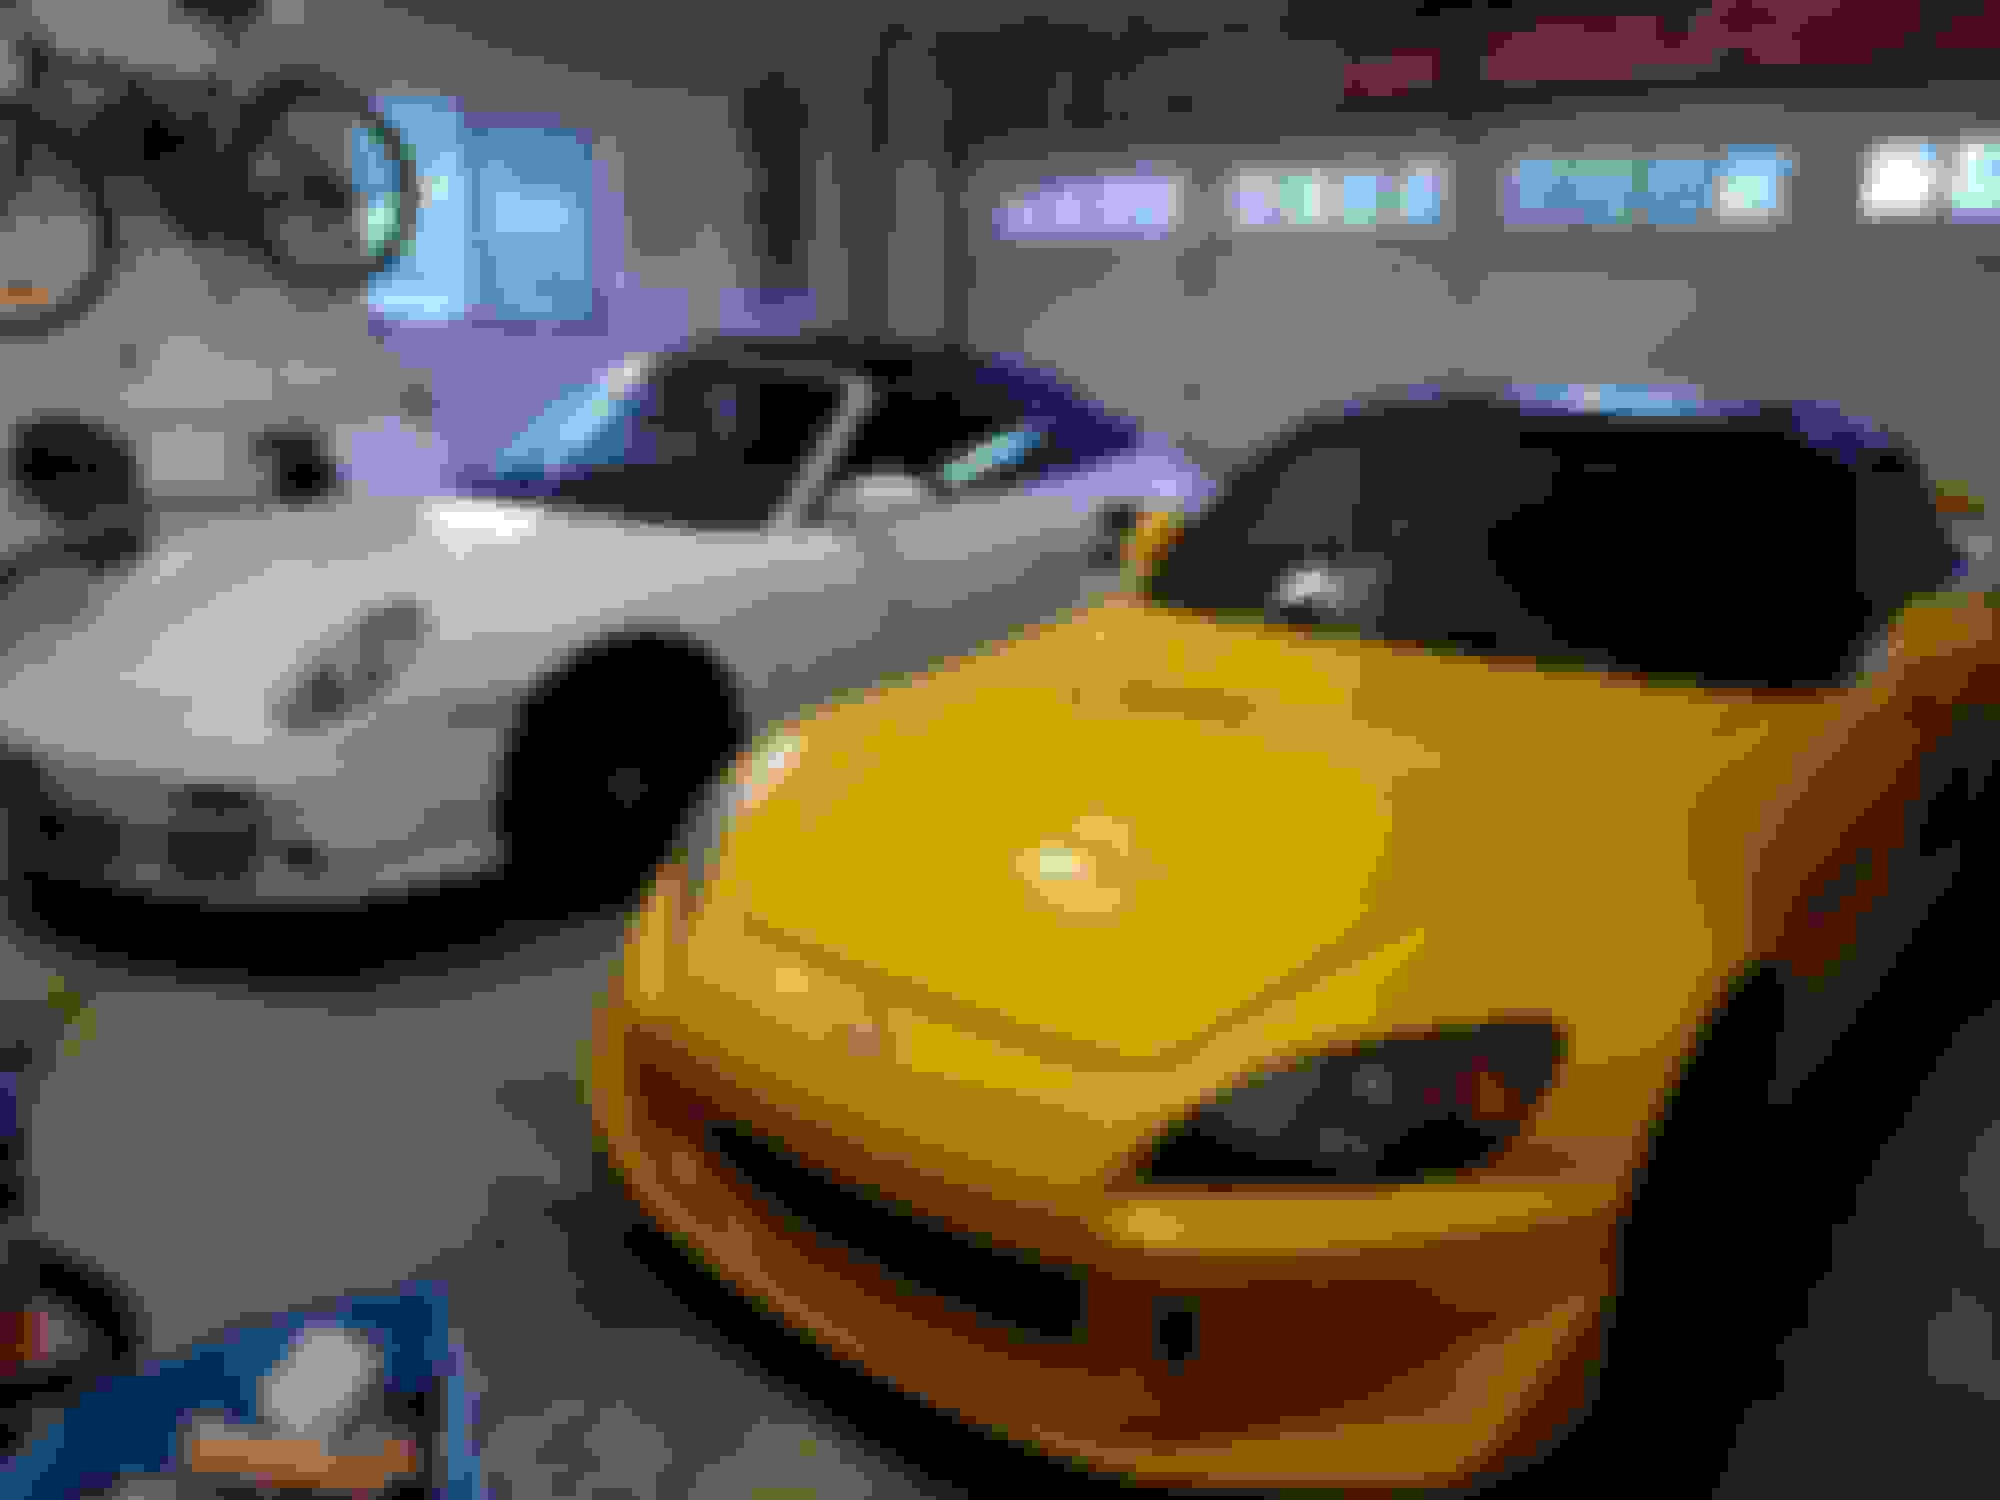
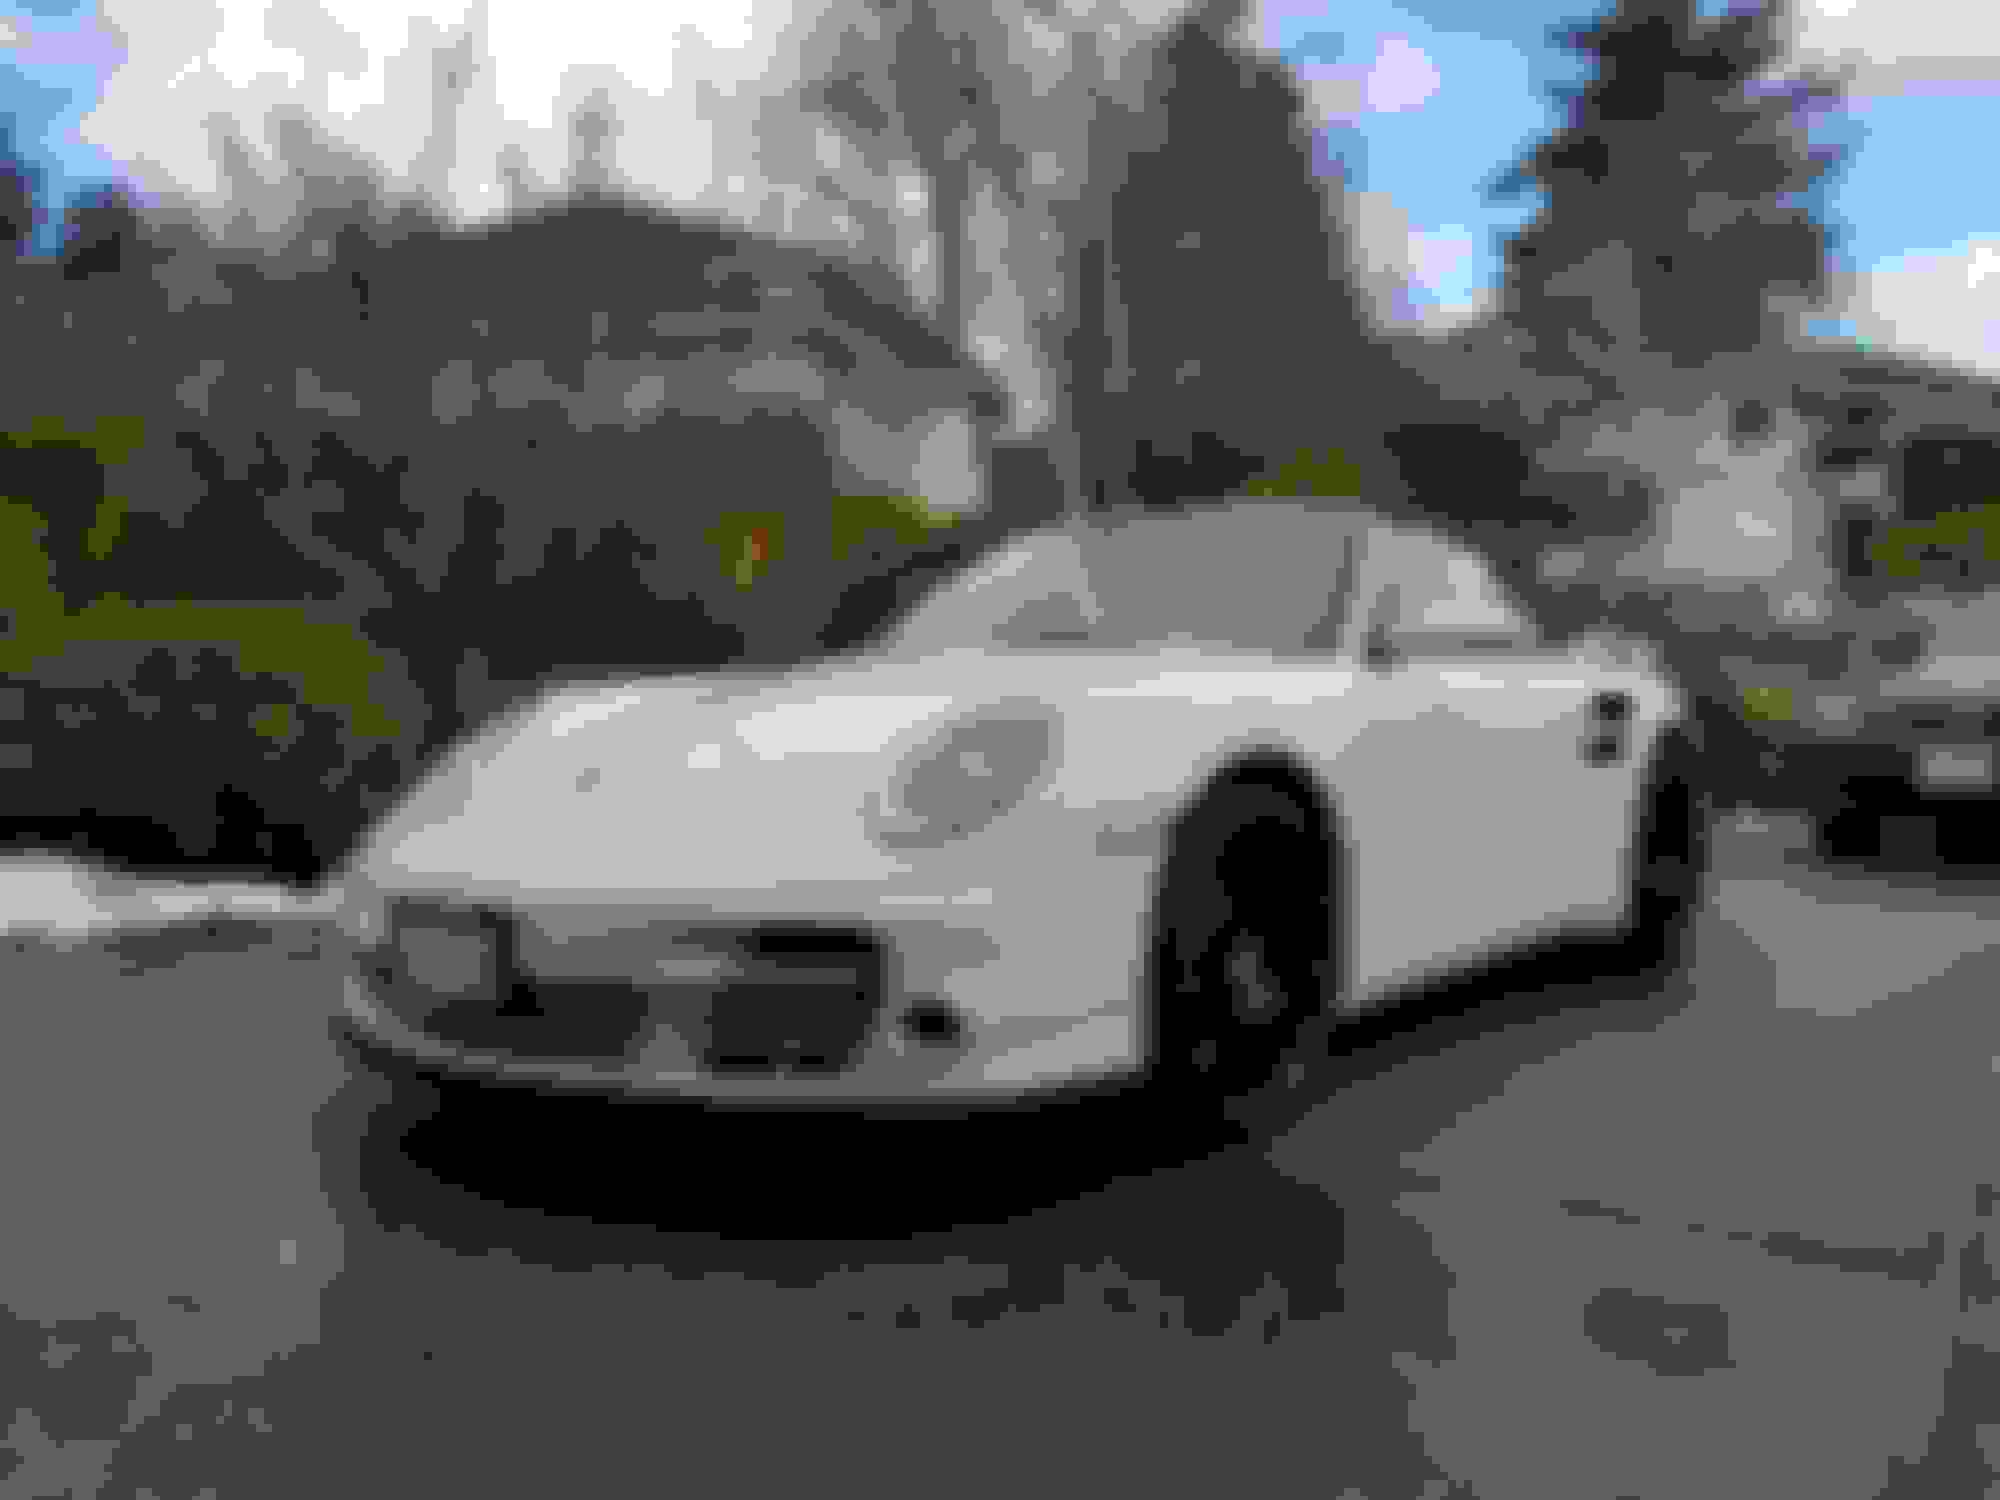
Just had a chance to try Dr Colorchip on my S2k and my 997tt. Discovered a few things along the way that I figured might be useful. If you haven't used the stuff or seen a demo before, maybe watch this video first, as my tips will make more sense after seeing the process:
So, here's what I learned. First of all, they have instructions for both a regular and a 'squeegee' application method. You'll want to use the squeegee. When using your finger to smear the paint, it's much more difficult to avoid smearing it right out of the chip, and even if you don't, to get a nice finish on it. With the squeegee though, don't just indiscriminately smear it all around like they show in the demos (unless your panel has a ton of road rash). Instead, put a drop of paint onto the edge of the squeegie, and then wipe it into the chip. It helps to keep the squeegee close to parallel to the surface, rather than being too upright. Once you've wiped the paint into the chip, the squeegee will leave a little ridge of excess paint wherever you stop your stroke—use your gloved finger to wipe that off. This will save you a ton of effort later, because if left to dry, those ridges take a LOT of wiping with the blending agent to remove.
So, that's the technique I like for a single chip. Tiny dab of paint, wiped across the chip as flush as possible with the squeegee, and then the excess wiped off with finger (not touching the actual chip area with your finger). If you have a bunch of chips in an area, you can be a bit more liberal with the paint and wipe it around a bit with the squeegee. You still really want to avoid leaving any pools or ridges behind though, because these will be a pain to remove. Don't try to do too large an area at once either; the longer you leave it on, the harder the excess is to remove. Much easier and ultimately faster to do a small area at a time. (I definitely made this mistake.)
Removing: I found that basically the sooner you remove the excess, the better. Leave it on for even a couple minutes and it takes a lot more wiping to get it off. If you're careful and wipe with a flat cloth and flat hand, you won't remove the stuff from inside the chip. And worst case, if you do pull the paint out of the chip, it only takes a second to do it again. On the other hand, if you let it dry on the clear coat for several minutes, you're going to spend a bunch of effort getting it off.
Also, if you have a DA polisher, it comes in handy. You can use the sealact (blending agent) to get the majority of the excess paint off, then use your polisher with a very mild polish to remove any remainder. You may want to do this anyway, as I found that the removal step with the white disposable cloths provided in the colorchip kit did create micro abrasions on the paint. (So, if you're doing a full detail, do any wet sanding and/or compounding first, then fill chips, and then save your final, least abrasive polish for last. I was concerned it might pull paint out of the chips, but didn't find that to be the case.) If you're not going to polish when finished, I would suggest using a cloth made from old t-shirt material instead of the included disposable cloths, as it will be a bit softer and less likely to dull the paint finish. (But of course will also require work to remove the excess paint.)
One last thing—you don't need to use a ton of blending agent. As long as it remains wet where you're wiping, you're fine. I found my instinct was to keep adding more because it was so difficult to get the excess paint off—this was before I learned not to leave ridges and before I learned the polishing trick. It doesn't help though, and will just waste the product.
And that's it! I'm pretty happy with the results. While you can't expect the chips to be completely invisible, most of them did get to the level of not noticeable from a couple feet away.
Looks interesting if you have several chips but if it’s just like one or two, I’d do it the old fashion way. Maybe if you had some before and after pics then I would be sold
Looks interesting if you have several chips but if it’s just like one or two, I’d do it the old fashion way. Maybe if you had some before and after pics then I would be sold
Yeah, I wouldn't bother for one or two chips. The results are generally better than I can manage by hand though. Didn't take before pictures, but I'll try and post up a couple 'afters' later today.
Same here, I got the car sept 2017 and I noticed that the hood and the bumper started to get a lot of chips (See picture) so I want to take it for a respray but at the same time I am broke (gotta pay taxes) and its just the outside of the car, the engine is strong
@Nate Tempest -- assuming AutoTempest is your site -- I've been using it for years (along w/ SearchTempest) and love it.
But back on-topic -- your post... No closeups? Come on man
Yep, I started SearchTempest and AutoTempest. Have a small team of great developers now though, so can't take all the credit!
And I know.. I definitely should have taken before and after pictures. Honestly I didn't even think about posting about it until after I'd done both cars and realized how many little tricks I'd picked up along the way to get good results. I did the S2000 first and might actually re-do some of the chips there since I'm sure I can get them to come out better now that I know how to do it.
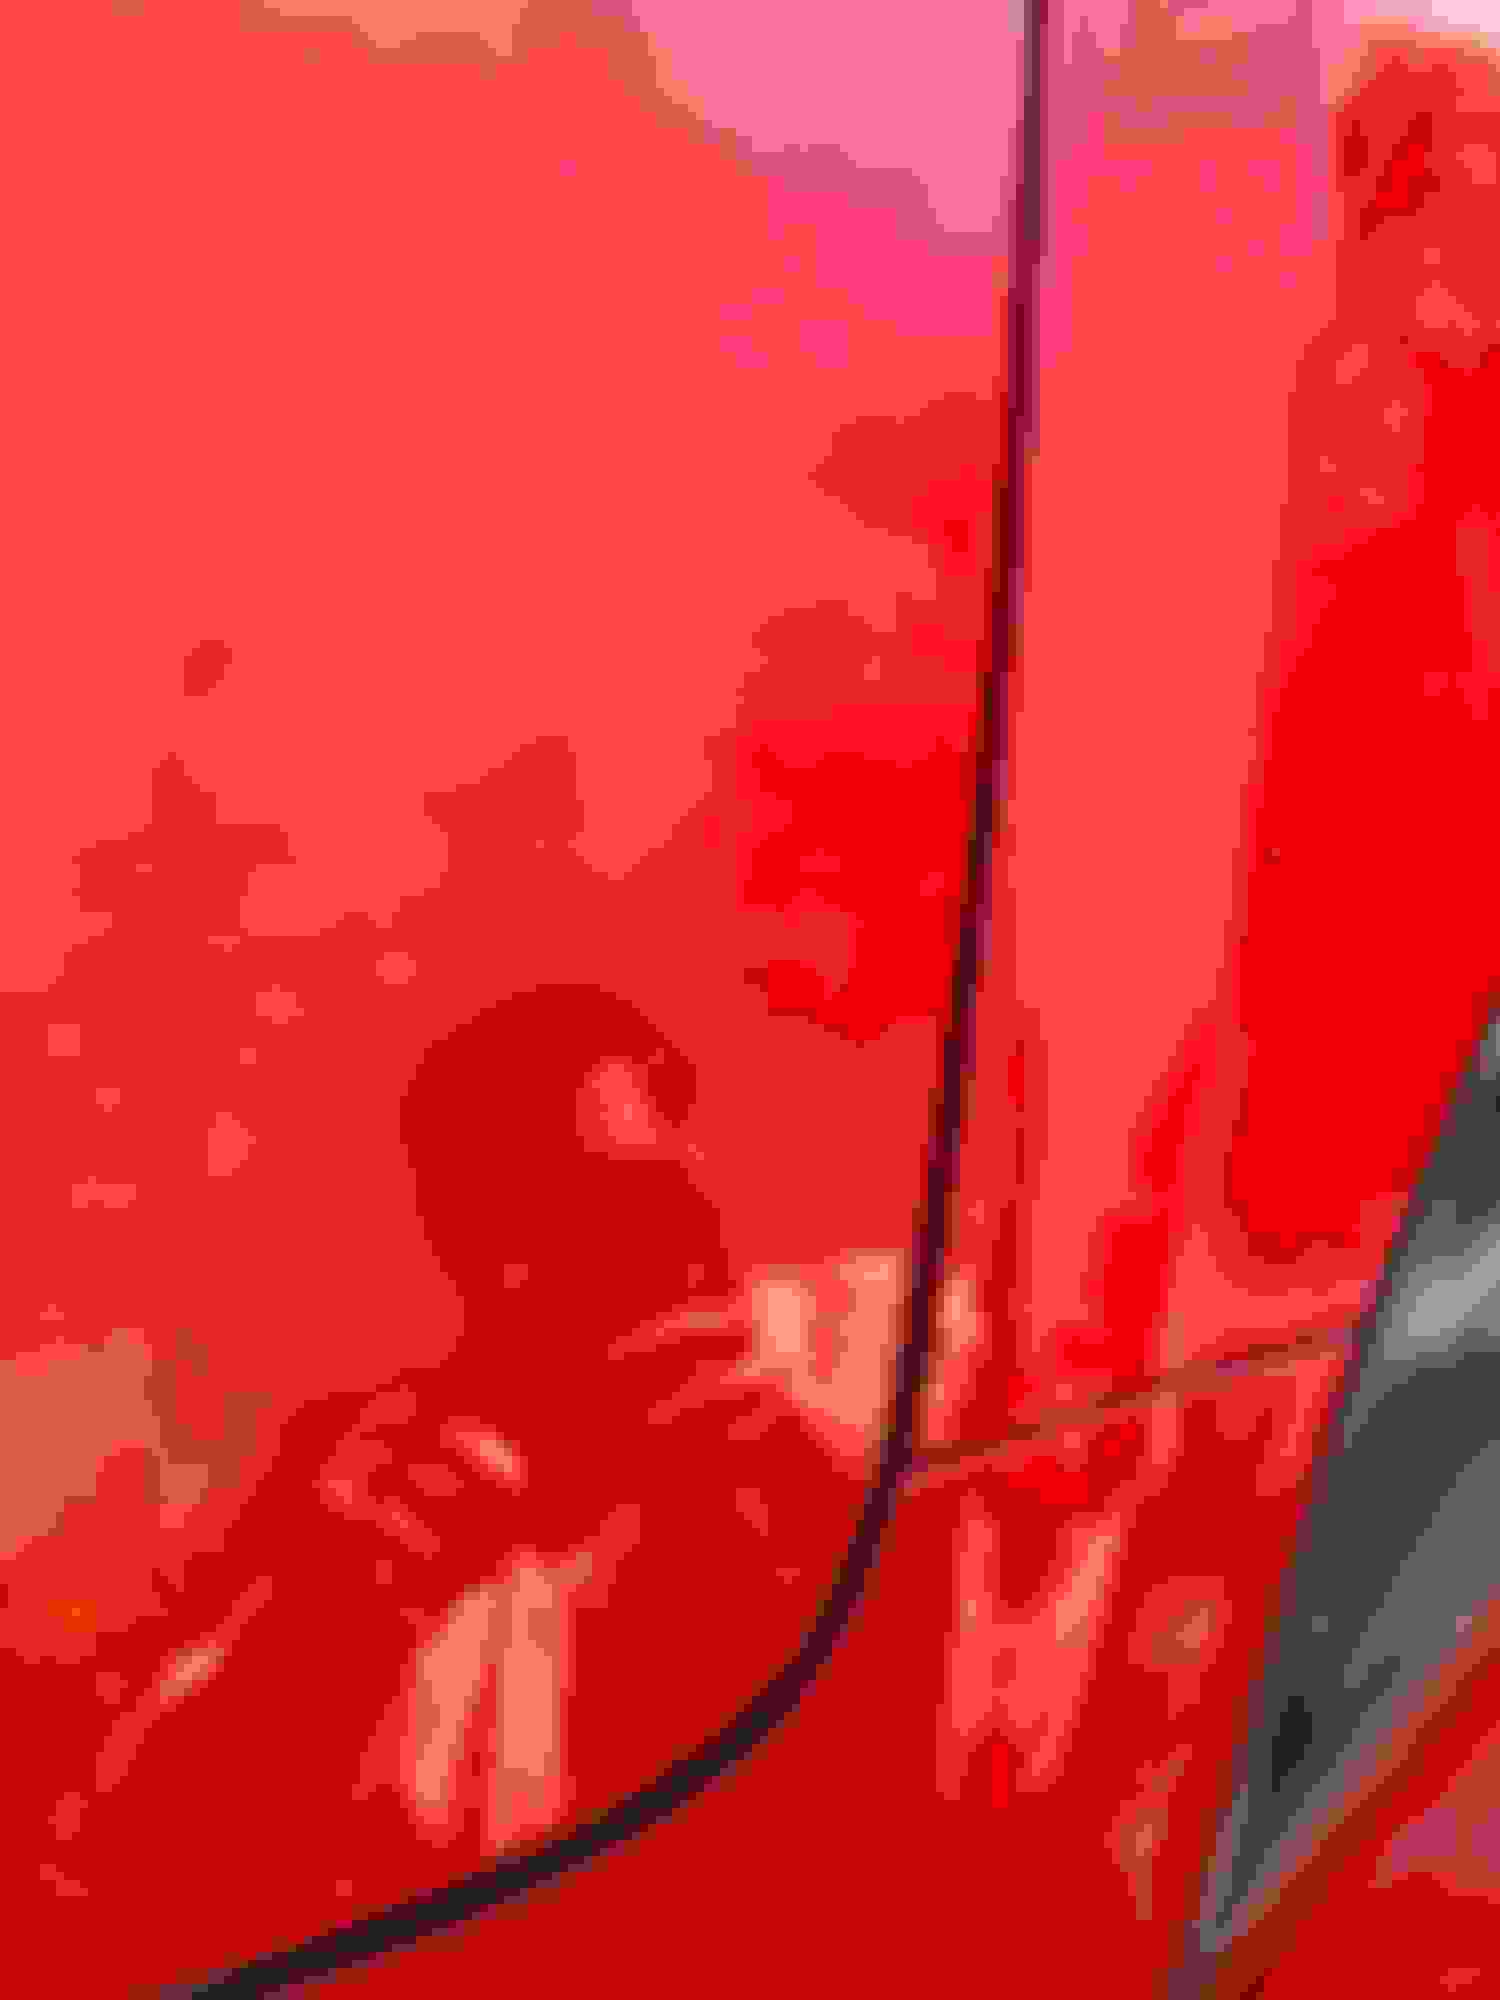
I did take some after close-ups, although it's tough to get a sense of how well it worked without having the before (and ideally a paint chip filled the old-fashioned way) to compare to. But with that caveat, here you go. The corner of the towel is pointing at the chip. Before filling, this chip was plainly visible when standing beside the car (it's on the hood). Afterwards, I only found it because I knew where to look; you have to be like a foot away and have a light at the right angle to see it.
That fine paint tool from the Ammo NYC guy looks pretty good too, especially for a small number of chips. Tough to tell how good of finish it gives from the video, but presumably cheaper than the colorchip kit. For a lot of chips, the time saved with colorchip would be worth the cost I think. (Or even for a small number if you favor ease of application.) The other nice thing about it is it's reversible if you screw up (with having to sand or anything like that).