
My Babie got pelted with stones - multiple panel chips at the same time!


Thread Starter


Joined: May 2016
Posts: 263
Likes: 11
Dude that's horrible! I noticed you said Chantilly and Fairfax and wanted to chime in here as well since I live around there...
Let me guess, route 28? Just wanted to ask because I had a similar experience but it almost resulted in a crash/bodily harm. For starters, you don't have a dash cam do you? If so, you could probably get money from the guys insurance to get them to pay for it if you can get his plate.
My experience was more hair raising.. I was on 28 with a coworker going to lunch and one of those VDOT dump open dump trucks was in another lane when I guess the truck hit a pothole and a piece of concrete probably the size of a basketball came flying out and landed smack dab on the hood of my then car (A shitbox DD). It was probably a foot away from coming into the windshield instead. The force was so great that it shook the entire car and made the suspension buck.
Now I have a new pair of underwear and a dashcam... Be careful around those trucks even in other lanes.
Thread Starter
Joined: May 2016
Posts: 263
Likes: 11
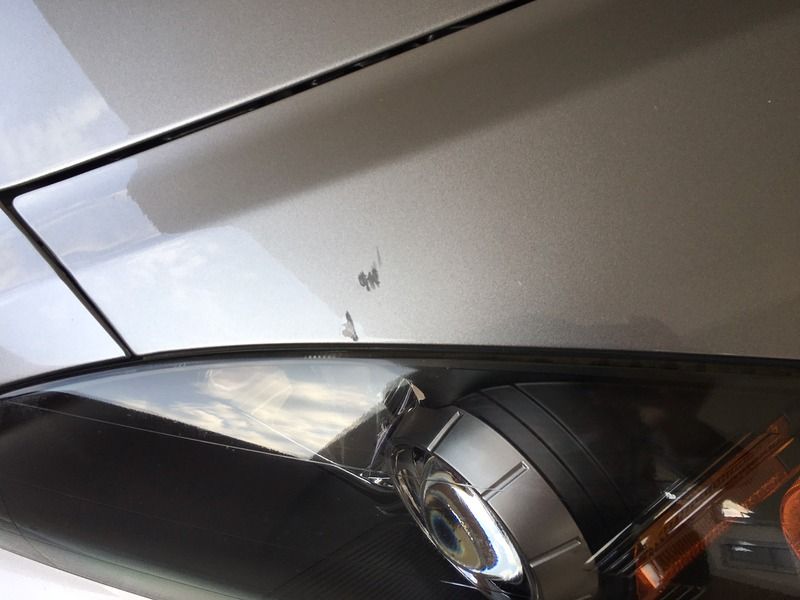
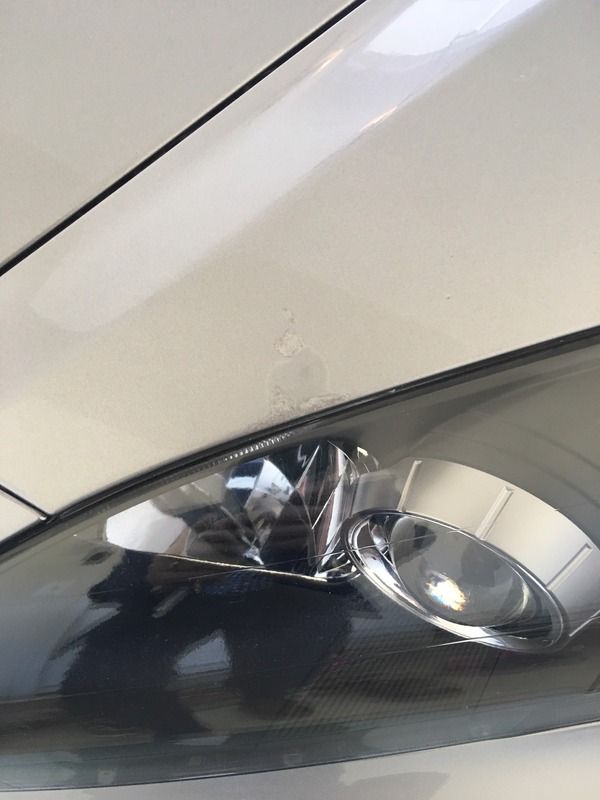
I cleaned up the biggest spot (pic1). Parts of it were down to metal. So I decided to use primer first. I was told to use primer just like paint. So I filled it up as near to the surface as I could. I wasn't sure how long I was supposed to wait before applying a second coat. I waited like 30 mins after using a blower. I added a second thick layer (I know now that it would have been better to use thinner layers). Either way. I used 2000 and then 3000 grit paper to wet sand it down. I think the primer might have been too soft because it was comming off very easily. Anyways, I will lit it sit out in 80F sun all day today before I try to add the paint to it.
Now for the question. I have never sanded anything before. The paint around the chip obviously came into contact with the sanding paper. I have a few inches of dull paint after the initial sanding attempt. I used some 2500 grit (105 and 205 polish) to see if the dullness would go away. It did a little bit but I wasn't too aggressive since I know I will have to touch this area a few more times before I am done. How long must i wait after adding base coat or clear on top of that before I sand.
What I don't understand about the concept of wet sanding is that ... Am I not removing more paint (Clear and base coat) every time I sand? how do I even out the paint bump without ruining everything surrounding it. How much sanding is too much sanding. Can I use 1000 or 1500 grit on a small area and then use 2000-3000 on a bigger area to blend it in. How much can I polish by hand. Will the DA make a huge difference.
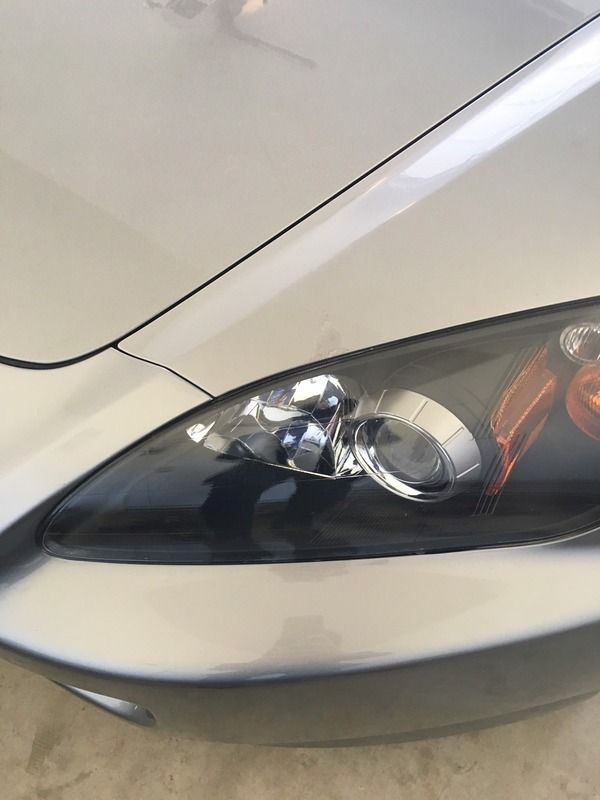
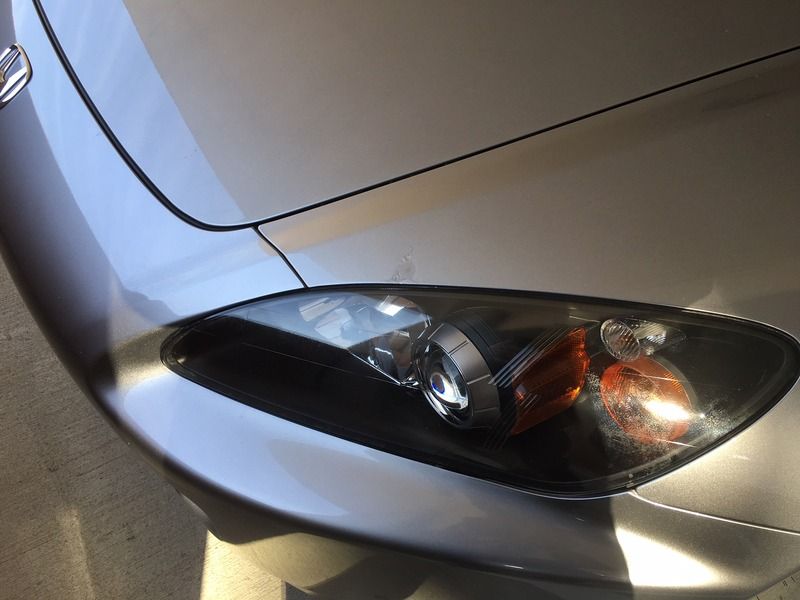
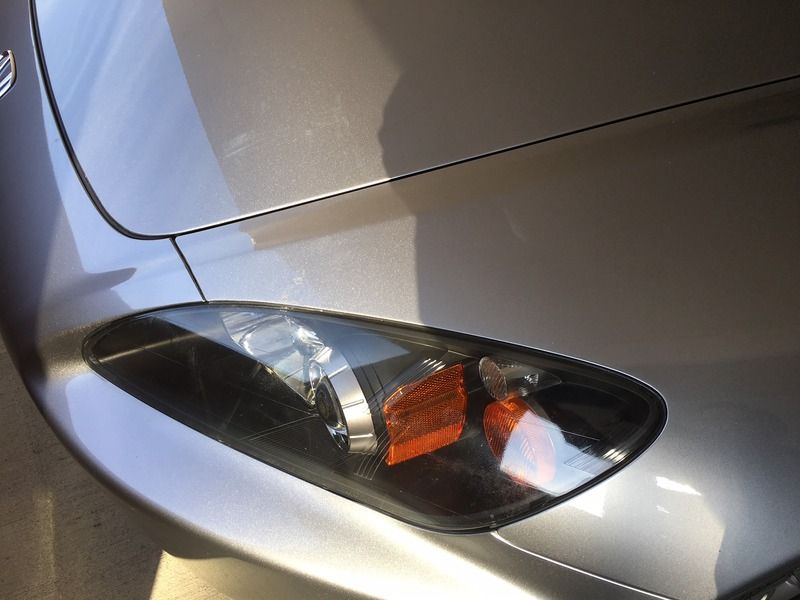
BTW, I ended up sanding part of my headlight by accident. I used 3000grit and polish to clean it up (but I am afraid I might have removed clear coat) and Now I will have to keep doing that for life
Sorry, for the nobe questions.


Joined: Aug 2012
Posts: 8,757
Likes: 1,859
What kind of primer did you use?
Yes, sanding removes material, even if its wet sanding. But first lets explain what modern car paint is.
Its a base coat, clear coat. With primer under. So three layers. Each layer has a thickness. You can remove some of that thickness, and it still looks good.
The primer is for smoothing and adhesion of the next layer. The base coat is the color coat. The clear coat is the shine coat. This clear coat needs to be perfectly flat, and smooth, then the color underneath will shine.
When you wet sand the clear coat, you are making it flatter, but less smooth. When you polish, you are making it smooth again. As you go up in wet sand number, you are also making it smoother.
When you wet sand a repair, you are blending the repaired area with the clear. Making them both flat at the same level. You have to remove some clear to accomplish this, but you don't want to burn through the clear. You need to use a sanding block. Something flat. Sometimes a block of wood, sometimes a hard rubber block, sometimes something more flexible for curved body area.
But for each of these steps, you are removing material. Its important that you don't remove all the clear from any area as you do. So you can and must remove clear, but if you remove too much, you have to start all over. This is to be avoided at all cost.
Thread Starter
Joined: May 2016
Posts: 263
Likes: 11
So bad news. I burned through more pain then I intended. I guess the paint on a 12 yr old car is a lot thinner than I imagined. I also was being a bit too aggressive with the sanding hoping to even out the bumpy base coat. End result is that now I have a area that is twice the size of the original that needs to be clear coated. I am going to try to buff out some of this new area with polish after I have added clear coat to the 2 inches square.
This has now turned into a "I don't care, let's see what this step would do" situation for me. In the back of my mind I knew that the gash was too deep for me to be happy with a chip repair. Also the drivers side door has far too many imperfections even before this incident. I might have it painted at maaco after all. $1100 for the door and front panel, I can afford. It can't look worse than it does not or did before I messed with it. My only real concern at this point is there are three panels that meet at the intersection of the headlight (the hood, the bumper and the quarter panel). If I paint one, the other two are definitely going to look off. Maybe I'll get the hood painted as well but then what about the other quater panel on the opposing side
I am going to post progress pictures hopefully after the clear coat dries.
On a side node, i was thinking if I have the car painted, they are going to remove the headlight. I was thinking to ask them to remove both headlights so that I can have those polished and clear coated as well (mine are starting to go a little hazzy). My lights might have a water seal problem as well. Where can I go to get someone to bake them for me with new sealer - My current experience with DIY has not been so great !

Thread Starter
Joined: May 2016
Posts: 263
Likes: 11
Progress update photos as promised.
original
in garage from 5ft (not noticeable if you don't know where to look)
in garage from 2ft away (very obvious)
the part in the center is the big mess I made when I over sanded the area
same spot above outdoor shade
In the sun from certain angles it is not terrible (there is some wax residue)
original

in garage from 5ft (not noticeable if you don't know where to look)

in garage from 2ft away (very obvious)

the part in the center is the big mess I made when I over sanded the area

same spot above outdoor shade

In the sun from certain angles it is not terrible (there is some wax residue)


Joined: Oct 2008
Posts: 1,113
Likes: 51
From: San Francisco
What did you do there after sanding? You need a gentler compound to clean up the haze from the sanding.
Did you use the Meguiar's M205 on a microfiber towel and a ton of elbow grease after the sanding?
Did you use the Meguiar's M205 on a microfiber towel and a ton of elbow grease after the sanding?
