When you click on links to various merchants on this site and make a purchase, this can result in this site earning a commission. Affiliate programs and affiliations include, but are not limited to, the eBay Partner Network.
Originally Posted by JstnRyan,Oct 14 2007, 01:07 AM
I finally got some time to work on my little experiment, and took additional pictures of the third brakelight. After clearing away the foam insulation, it still appears that the studs can NOT be replaced (notice how I broke the end off trying to "unscrew" it from the housing).
I had read years ago in a Vette mag an article on clearing and/or re-doing the red plastic lenses to rid them of spider webs.
The process required that the lens be repainted on the inside with finger nail polish.
The result clearly showed that the multiple tiny hairline cracks had totally dissapeared.
Perhaps (since your experimenting anyway), you might try clear nail polish to even out the appearence.
I figured I'd post a little update on my project, for those interested.
It's been something like 9 months since I first posted about this; the time spent researching, ordering parts on the internet, waiting for shipping, experimenting. I think I've spent something like $300 on materials so far, and countless hours and honestly, not much to show for it so far. It's been a very interesting learning experience so far, but incredibly tedious. It seems like just about anybody could learn how to do this sort of thing, but I'm such a perfectionist, it's taking me a long time and a lot of work to get it 'perfect.'
The following pictures are of my 5th (I think) plug pulled from my third revision of my second mold. (Confusing? I've made three molds so far, and changed/recast each numerous times.) I'm happy with the result, but it's far from perfect. I'm going for that "straight out of the factory" look, where you'd never be able to tell the difference, other than the color.
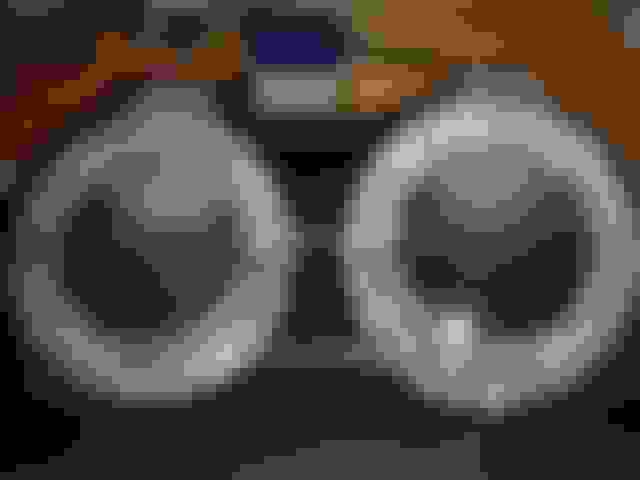
On the left is the first plug I made 9 months ago, compared to the latest one I did on the right. The photos don't show nearly enough detail to tell, but you can see a few of the major defects in the original.
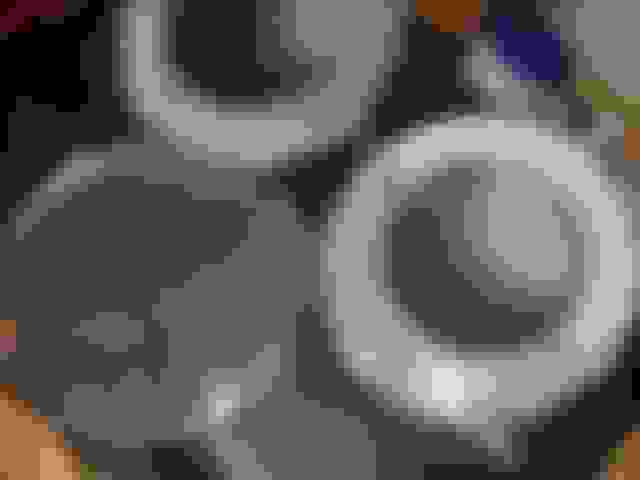
Here's a close up of the center section of the newest plug. This one came out pretty well: no bubbles, and nearly water clear.
Finally, comparing my plug on the right to the OEM reverse/turn signal lens (which is kind of dirty) on the left. They're pretty close, but mine seem to have a very slight yellow hue and are just slightly more cloudy.
If anybody has any experience doing this kind of thing, please PM me, as I could use someone to shoot questions to. Right now my biggest concerns are finding a different RTV rubber which has a higher strength so it doesn't tear as easily, and advice for mixing resin and catalyst, because I'm fighting long cure times and surface tackyness.
I am sure our 3rd break light is much like all others I have ever encountered. If this is true, you will need to use a dremel to separate the lens from the housing.
Good luck. Would like to see a completed project when you are done.