
AP1 Silverstone Detail

Thread Starter

Joined: Oct 2005
Posts: 1,823
Likes: 1
This car had over 25 stains on it from tree sap. This is also the car with the paint failure spots. There were only 2-3 of these spots where the paint failed, I was able to get rid of most of the other spots, some are still there but very faint. As far as swirls or webbing, the owner had taken very good care of the clear coat so there weren't too many swirls to worry about.
Megs Gold Class
Foam Gun
Two Bucket Method
Amazing Roll Off (it's called Amazing for a reason...)
Sonus Clay Bar
Blackfire Scratch Resistant Clear Finishing Polish
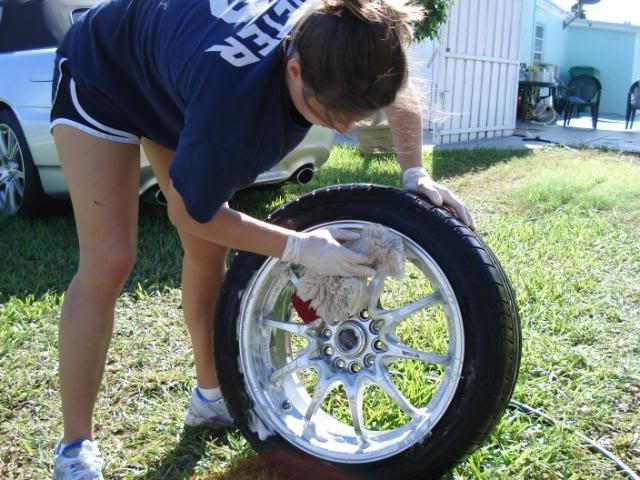
Jeff's AJT on Wheels
Pinnacle Signature Series II Carnauba on clear coat
Lexol on seats
303
Woolite on the int
Folex on carpets
Diamondite Plastic Restoration kit
Sap Stains:

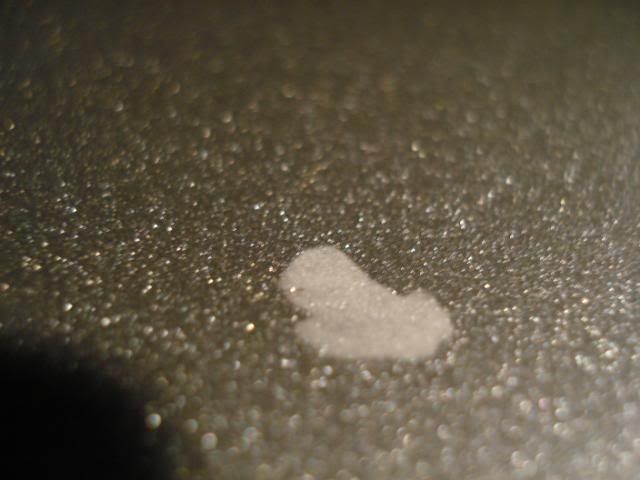
Before:


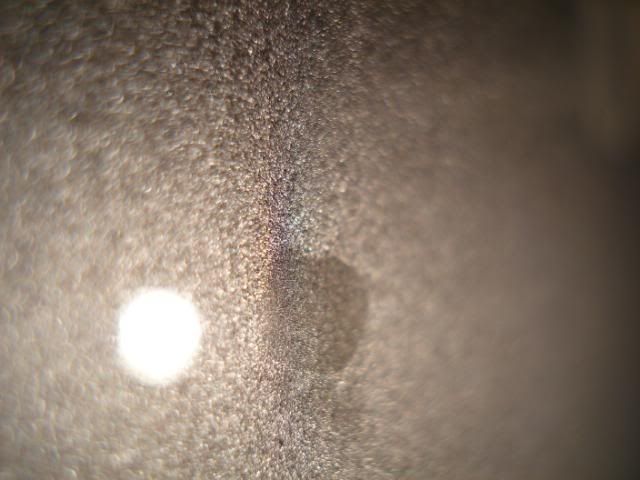
Hazing:


Process:


This is only the first little bit of gunk that came off, there was waaaay more than this when I was done!
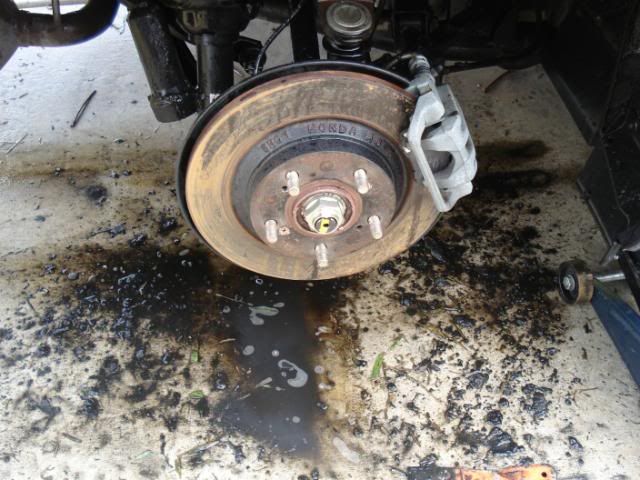
I'm never doing Wheel Wells agian until I get the Pressure Washer!!
Wet sanding the stains:


Buffing off the wet sand marks and Polishing:


Interior was very well kept, all it needed was a vacum and wipe down:

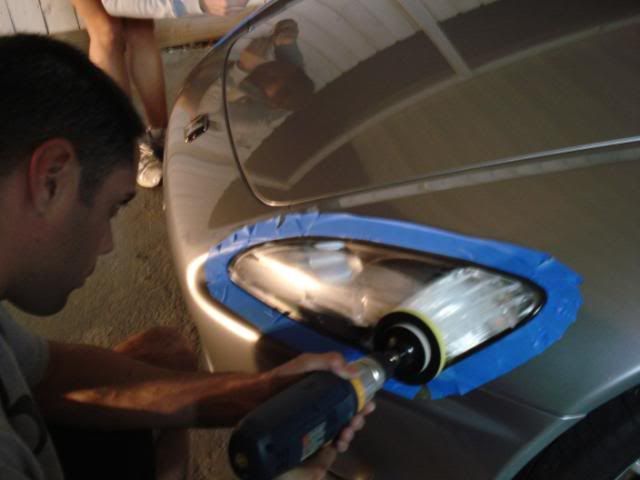
Headlight Restoration:


Applying Wax:


Applying Jeff's AJT:

Megs Gold Class
Foam Gun
Two Bucket Method
Amazing Roll Off (it's called Amazing for a reason...)
Sonus Clay Bar
Blackfire Scratch Resistant Clear Finishing Polish
Jeff's AJT on Wheels
Pinnacle Signature Series II Carnauba on clear coat
Lexol on seats
303
Woolite on the int
Folex on carpets
Diamondite Plastic Restoration kit
Sap Stains:
Before:
Hazing:
Process:
This is only the first little bit of gunk that came off, there was waaaay more than this when I was done!
I'm never doing Wheel Wells agian until I get the Pressure Washer!!
Wet sanding the stains:
Buffing off the wet sand marks and Polishing:
Interior was very well kept, all it needed was a vacum and wipe down:
Headlight Restoration:
Applying Wax:
Applying Jeff's AJT:


Joined: Oct 2000
Posts: 14,113
Likes: 4
From: manhattan beach, calif
wow!!
gotta say that i hope you got paid really well- you added tremendous value to that car-
must have been more than a full day on that one?
gonna reblack the wheel wells, or leave as is?
been awhile since i used the stuff, but it was something like this:
http://www.3m.com/product/information/unde...ed-coating.html

Trending Topics


Joined: Nov 2000
Posts: 16,310
Likes: 18
From: In the ether.
Nice job, but you do realize the wheel wells are SUPPOSED to have undercoating in them, right? I'd recommend reapplying the undercoating wanabe suggested.
Wetsanding is also a pretty aggressive step, but I'm sure it took care of those spots, no problem! how long did you spend, in total?
Wetsanding is also a pretty aggressive step, but I'm sure it took care of those spots, no problem! how long did you spend, in total?
