Oakes detailed: Documentary of a 2007 Subaru STi
 05-09-2010, 12:16 PM
#1
Registered User
Thread Starter

Join Date: May 2009
Posts: 127
Likes: 0
Received 0 Likes
on
0 Posts
It's obvious that most of us are enthusiasts, and enjoy our cars, no matter what make, model, year and so on. However, there comes a time in our vehicle's lives that they begin to look tired, or maybe even aged and just not the same anymore. Some just trade in and get something new, some put it in the back of the garage and drive their other toys and some revive them to bring back that new look to their prized possessions. I had the privilege to do just that with this 2007 Subaru STi, with 44k miles on it, it wasn't in the worst shape in the world however it could definitely look worlds better. Over the course of the week, we were able to bring this car, in the owners words, "looks better than when I bought it with only 500 miles on it"
Nothing was un done on this car, as with most of my details, however we went the extra step everywhere with this car. The wheels came off, the control arms were even polished up, the wing and the hood scoop came off, even the fog light surrounds. With one goal, make it flawless. It's our goal with every car, but we usually don't have the time to truly document every step of it, so we change that for this thread to really give you all an in depth look at what exactly goes into a complete renovation detail. Some may see it as over the top, some may see it as not enough, as long as the owner leaves with a smile and that genuinely thrilled look it's all worthwhile.
On to the thread itself: The process was as follows:
Front end Clear bra removed due to severe oxidation and aging
Passenger fender and door dents removed, due to car wash damage
Full degrease using Total Auto Wash, in two applications
All jambs and creases sprayed down with TAW
Three bucket method, with grit guards using Citrus Auto wash
Clay bar using Clay Magic aggressive and Mild clay
MF Waffle weave dry, all jambs dried with MF towels
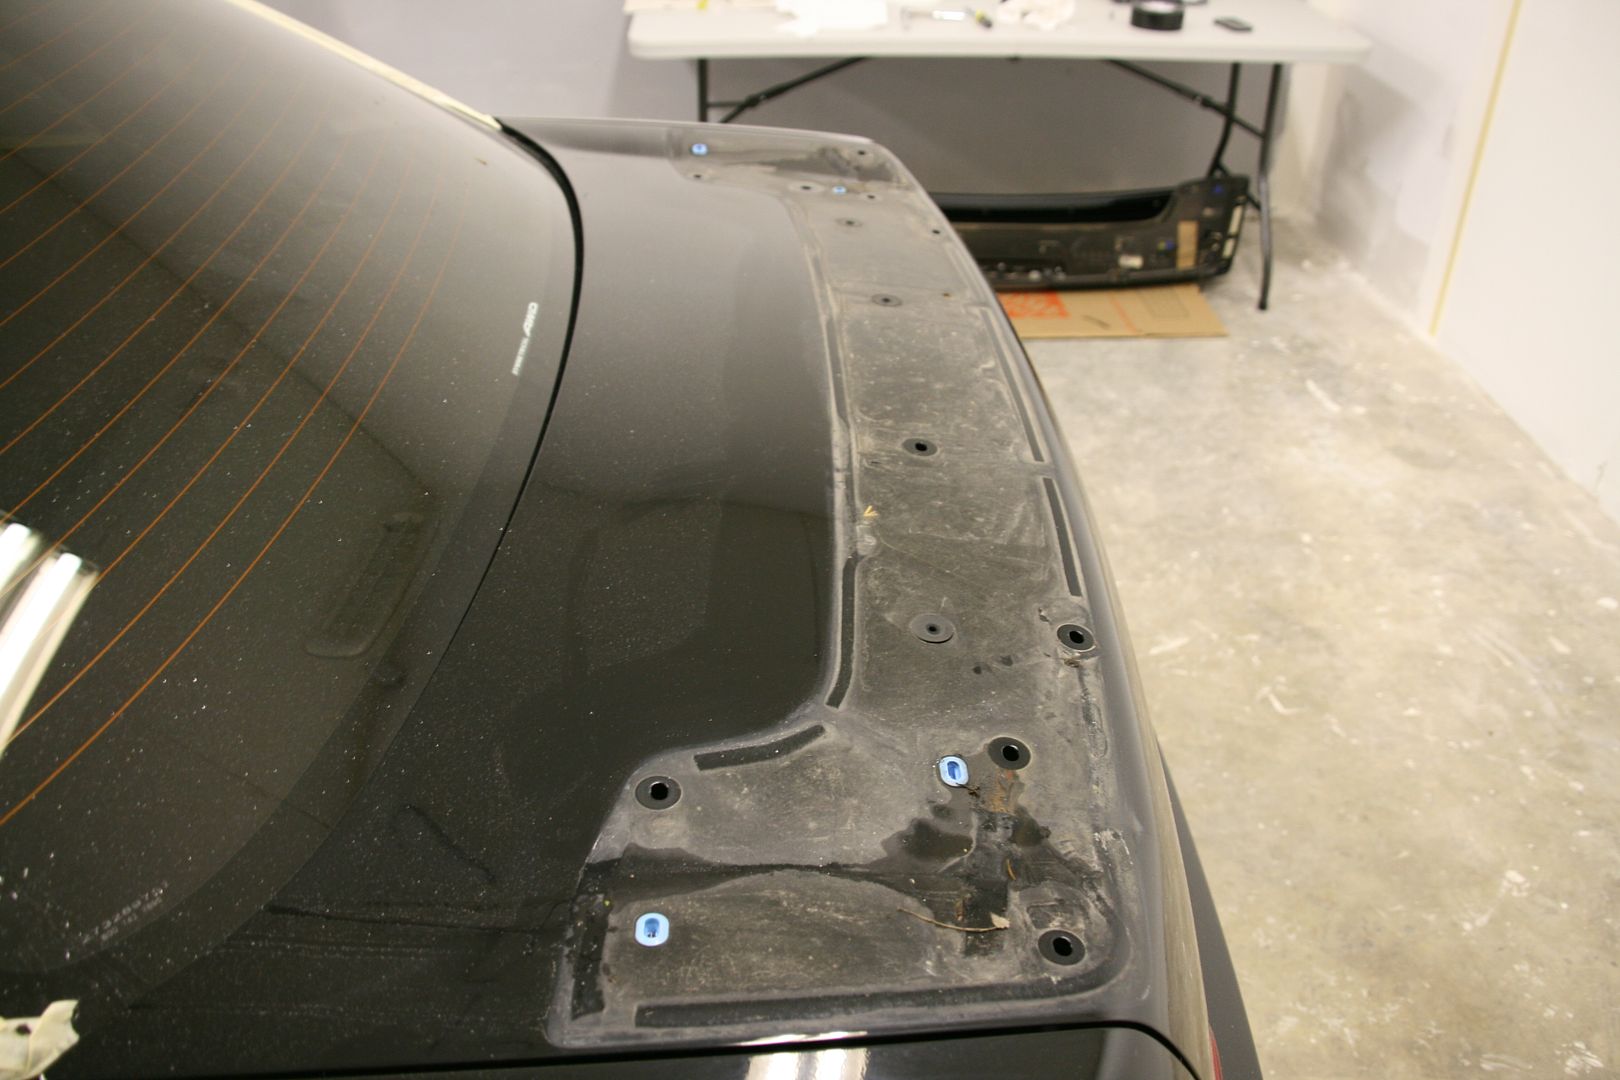
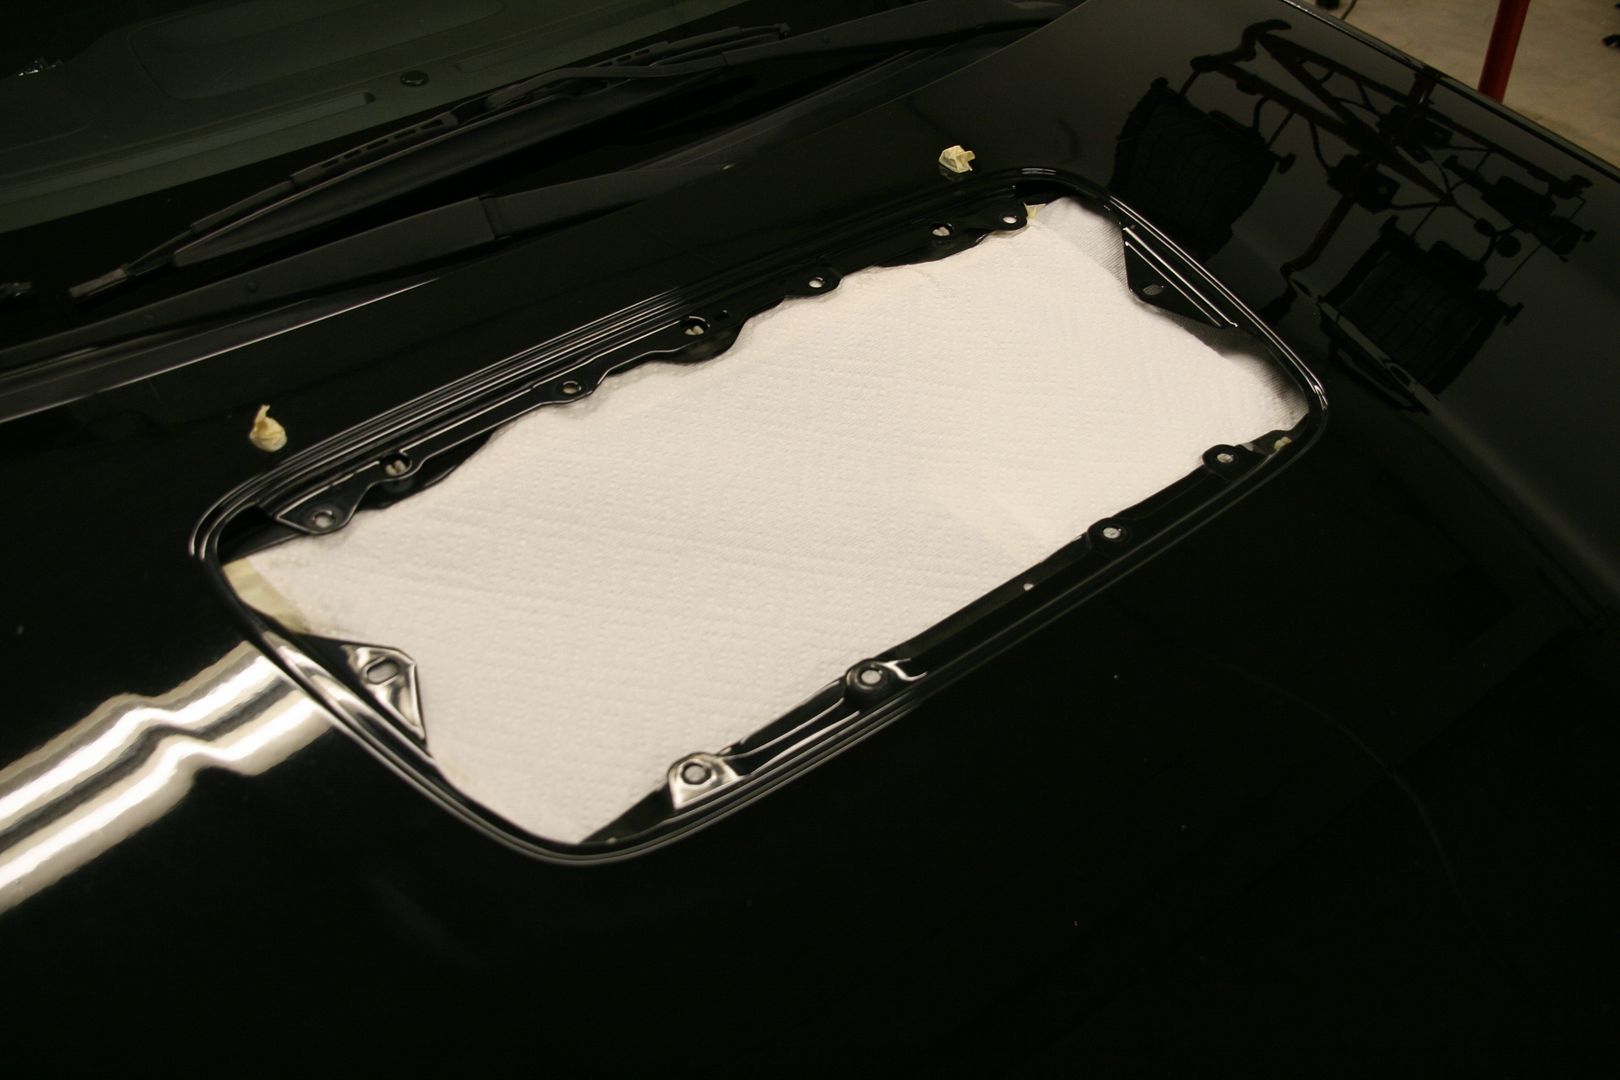
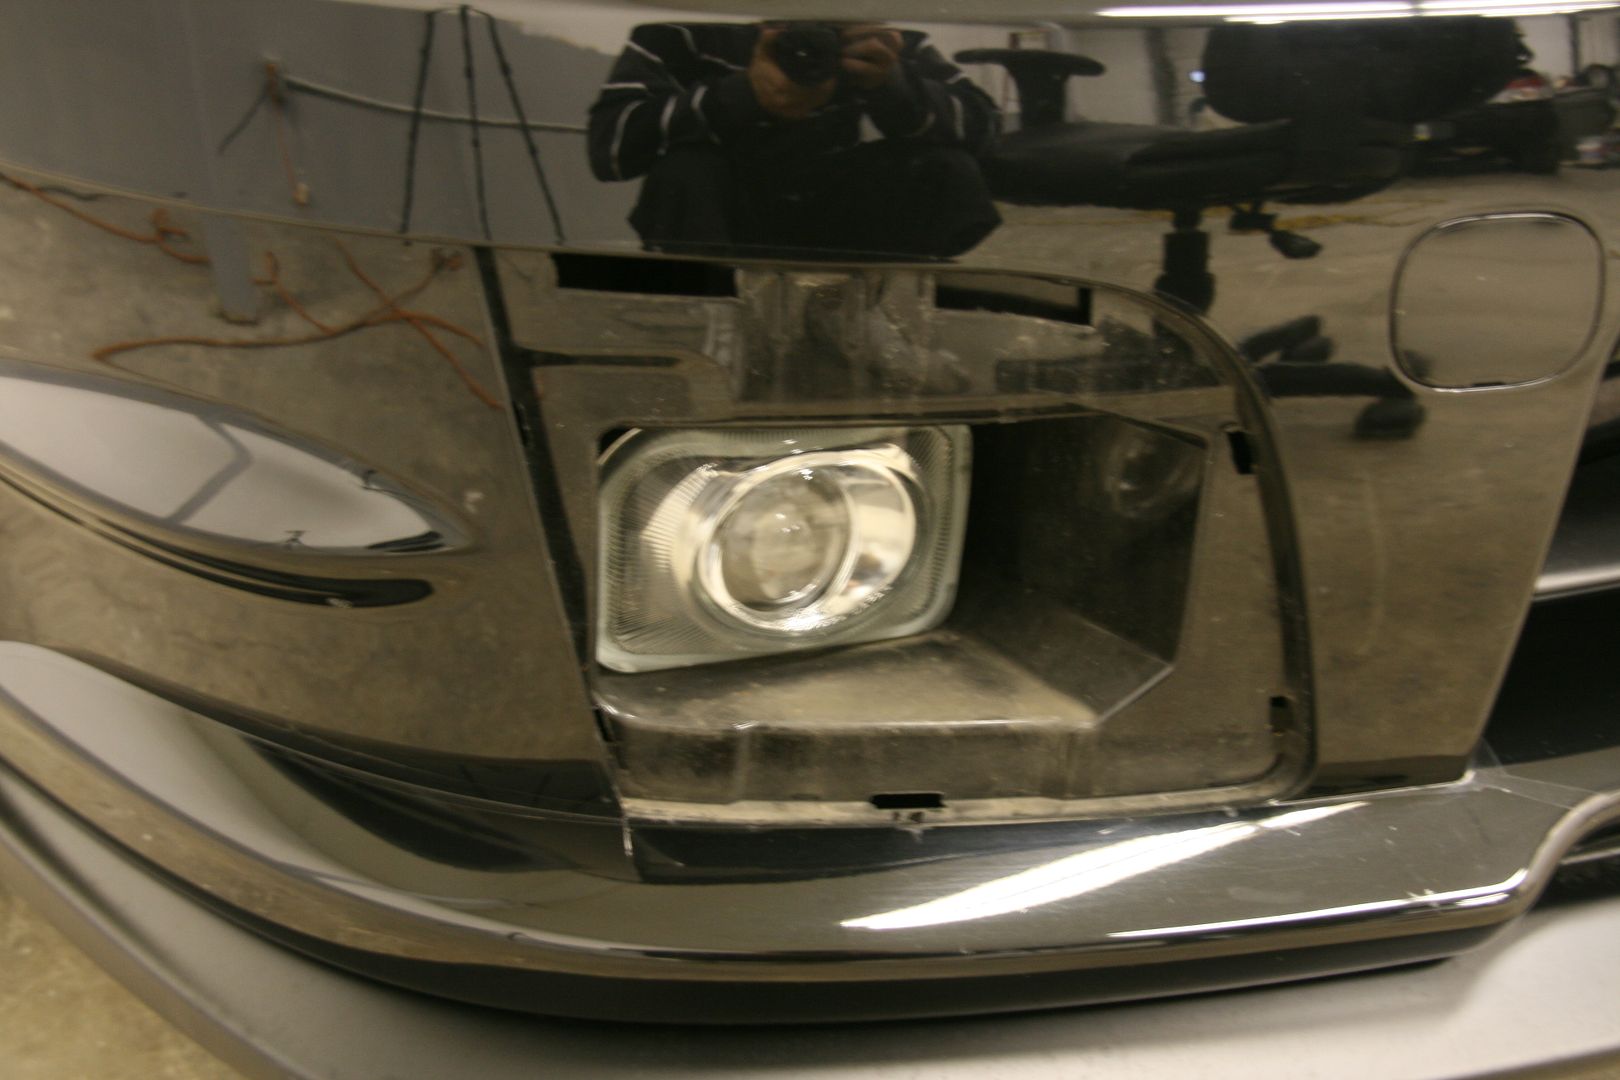
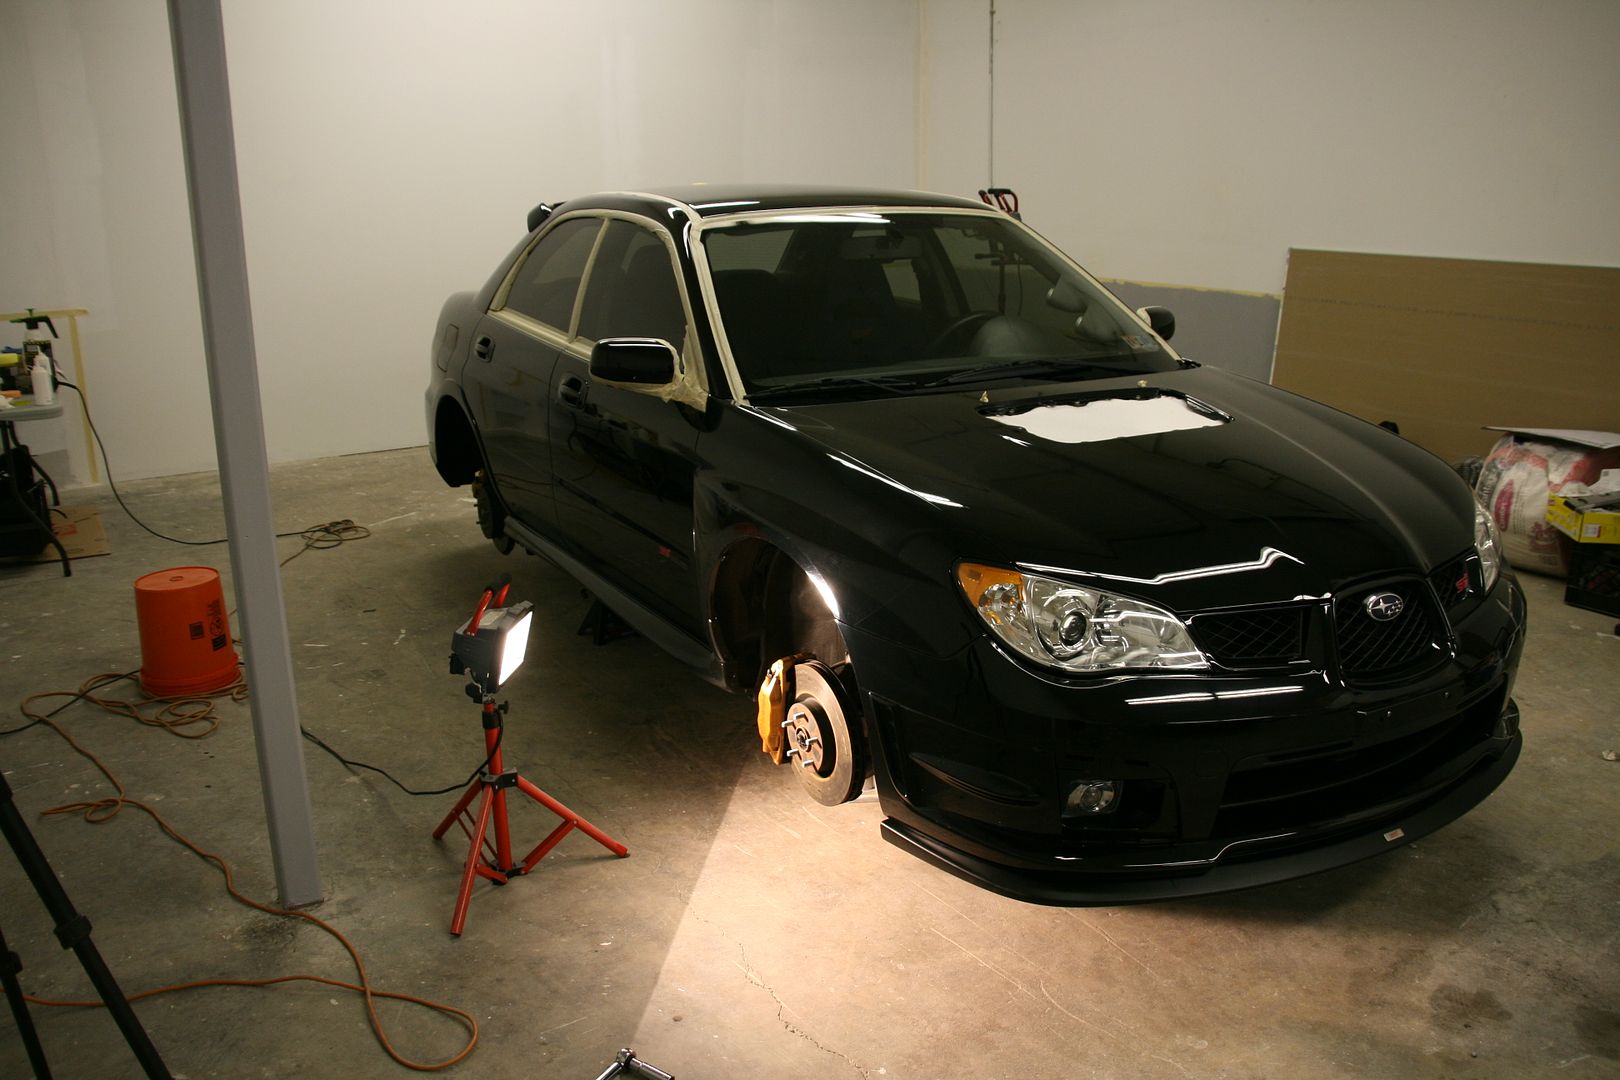
Removal of rear wing, front hood scoop, BBS wheels, windshield sprayers and fog surrounds
Degrease and wash using TAW/Citrus wash with Swissvax brushes and Colgate toothbrush
Once cleaned, treated using Adams Undercarriage spray, Brake calipers sealed with Rejex
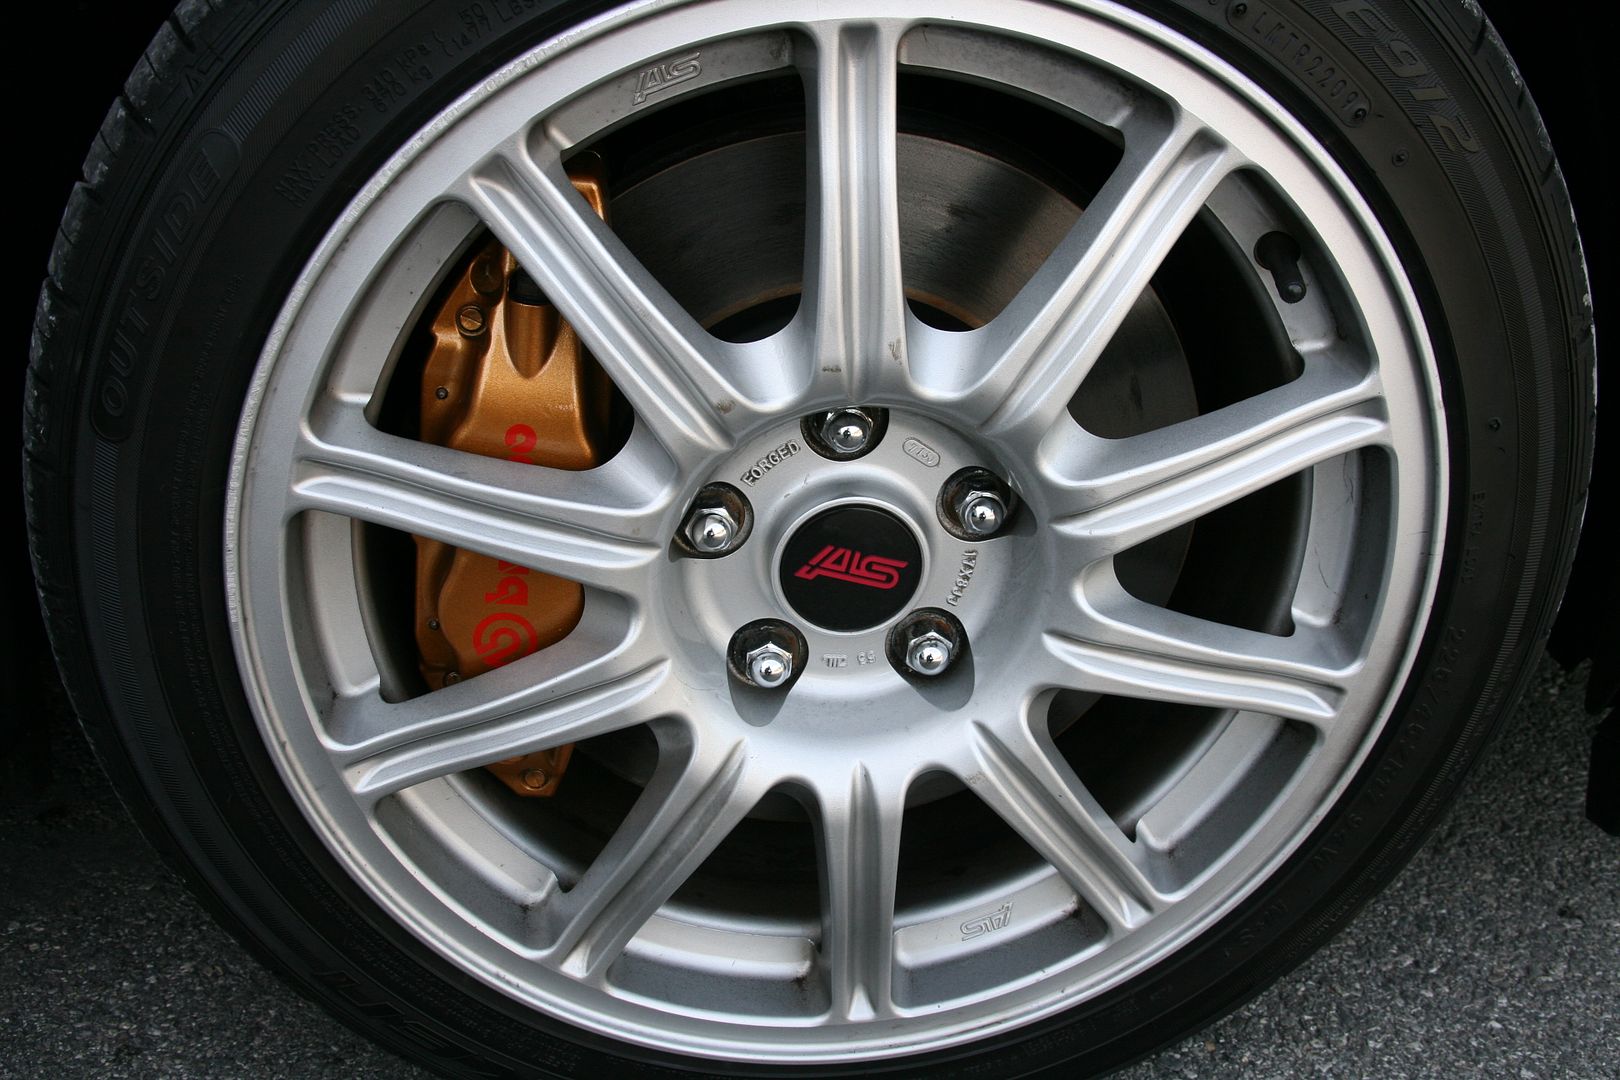
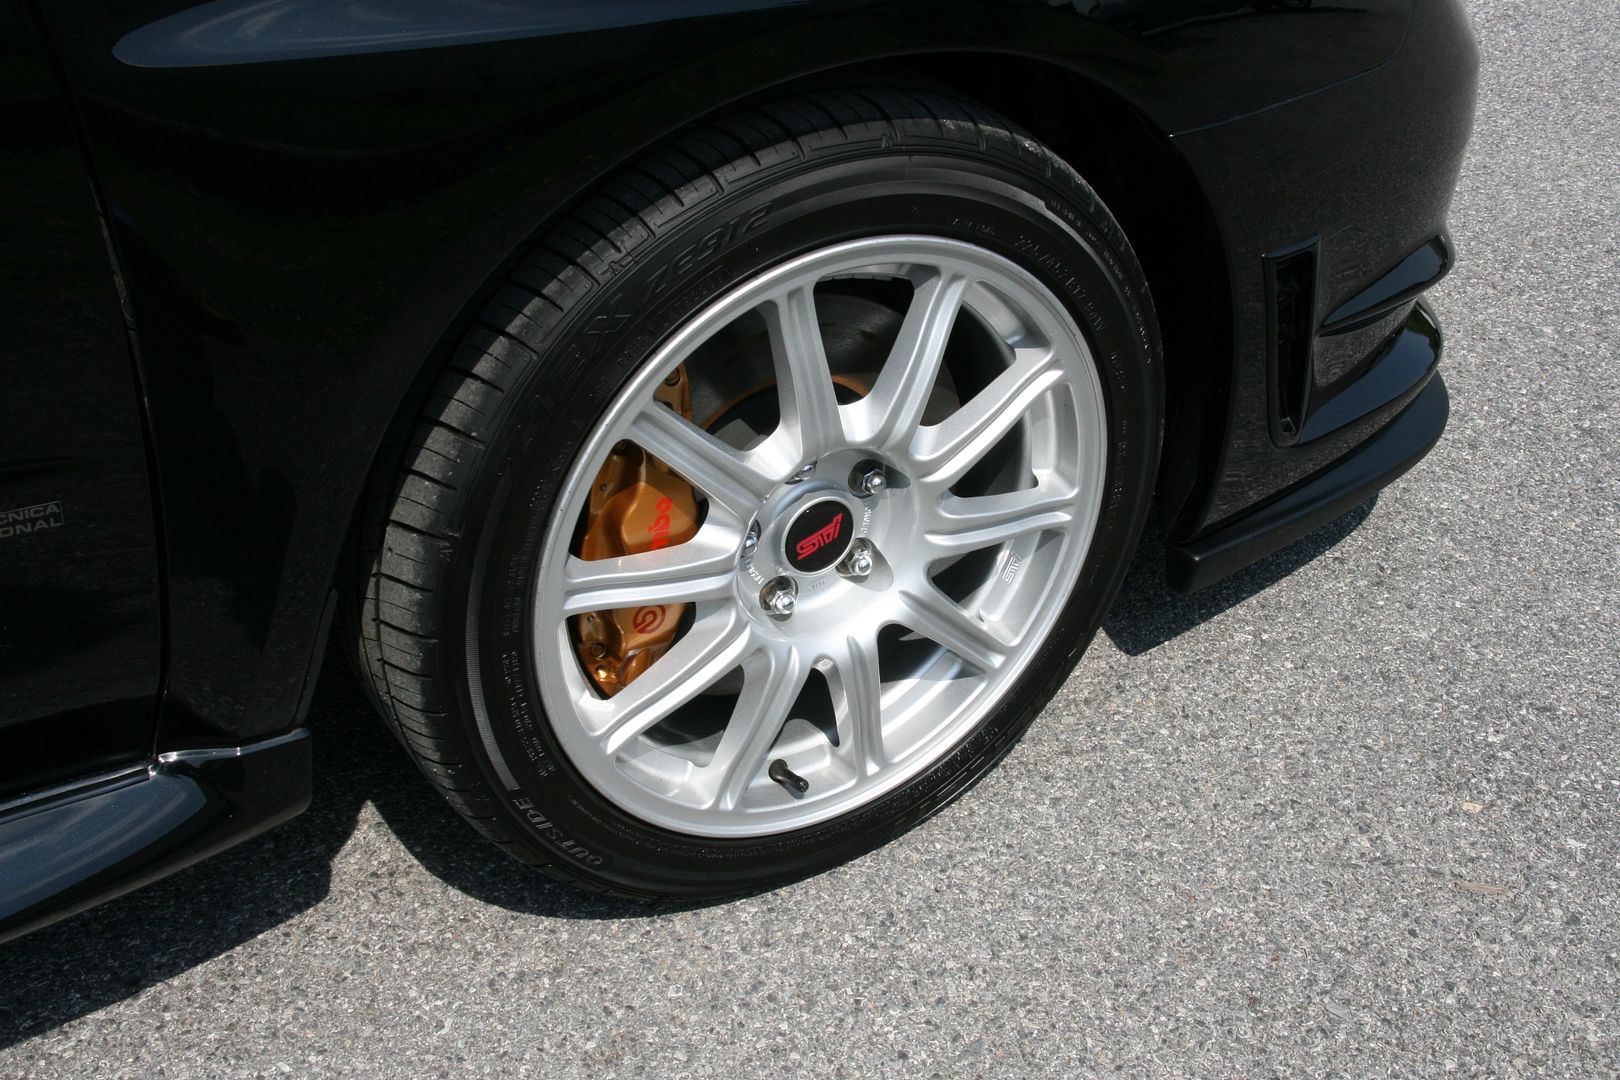
Wheels cleaned using Meguiars Wheel Brightener, P21S Wheel gel, clayed and sealed with Rejex
Reinstall wheels, lowered car, taped off all trim and edges
Paint correction performed using:
Porter Cable 7424XP
Meguiars G110
Hitachi Rotary
Menzerna PowerGloss: Yellow LC pads
Menzerna 203: Orange LC pads
Menzerna 85RD: Green LC pads
Menzerna 106FF: White LC pads
P21S Paint Cleanser
BlackFire Wet Diamond Paint Sealant: Black LC pads
Pinnacle Souvaran paste Wax
Trim treated with Poorboys Natural look
Tires treated using Poorboys Bold and Bright
Windows cleaned inside and out with sprayway and glass cleaner attachment(similar to stoners thing)
Onto the pictures!
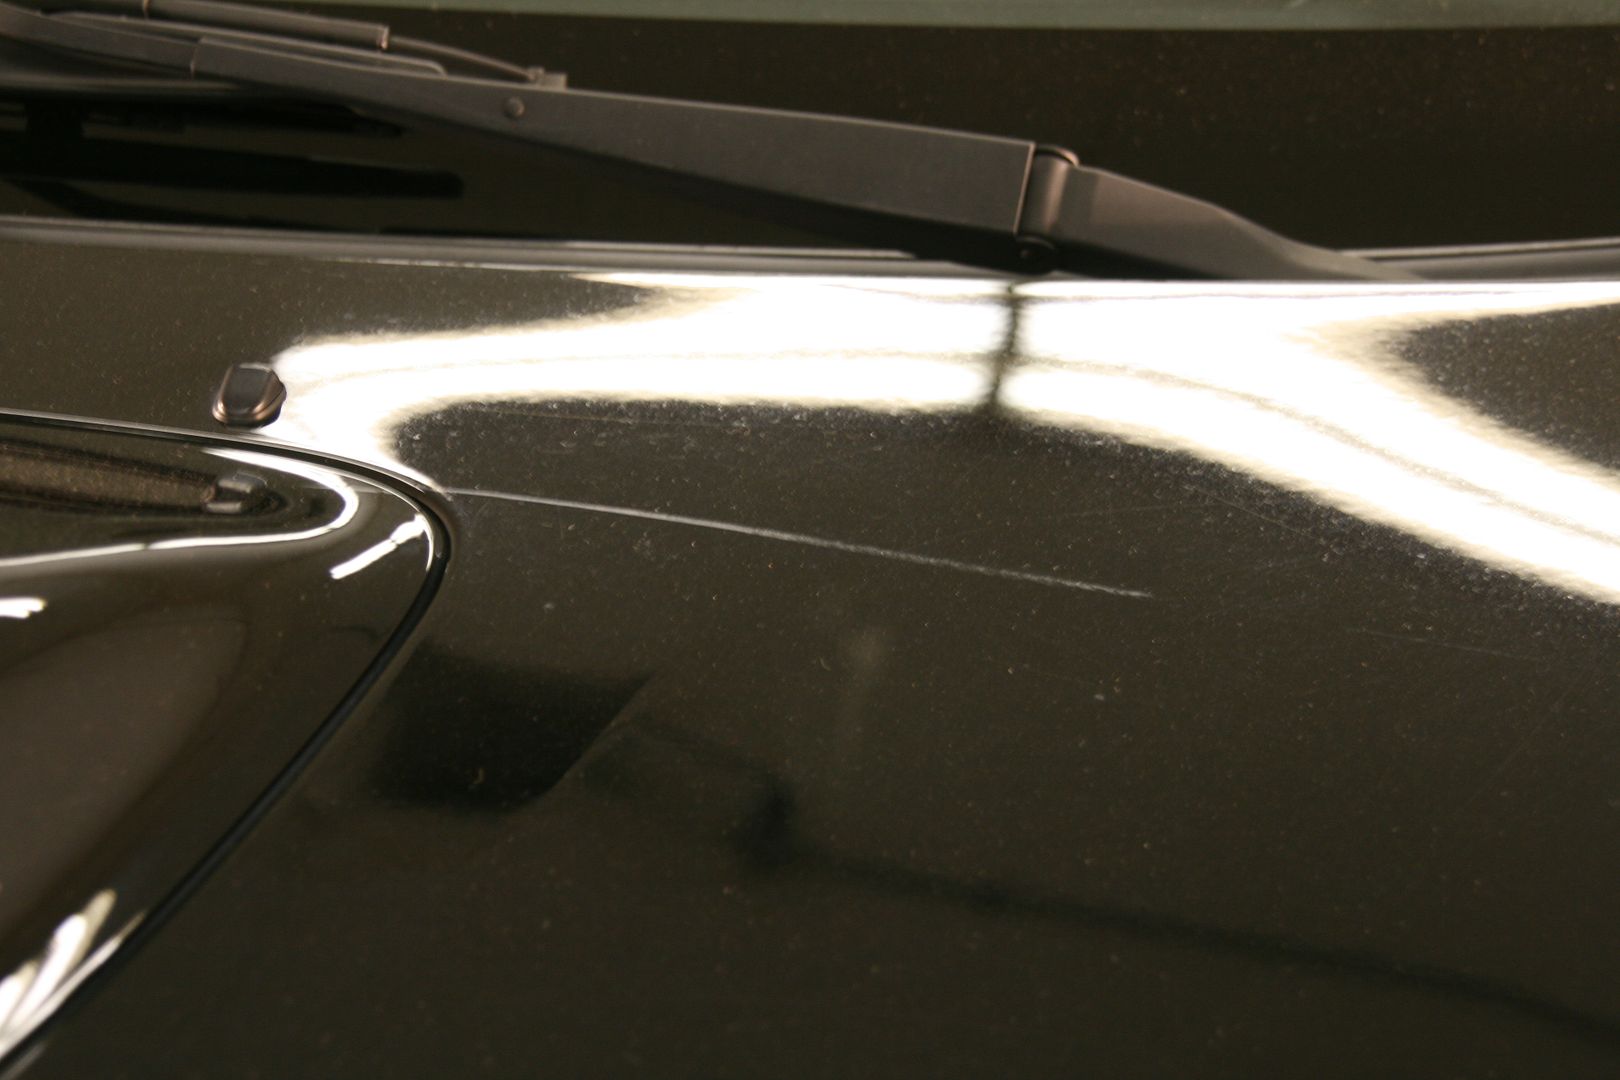
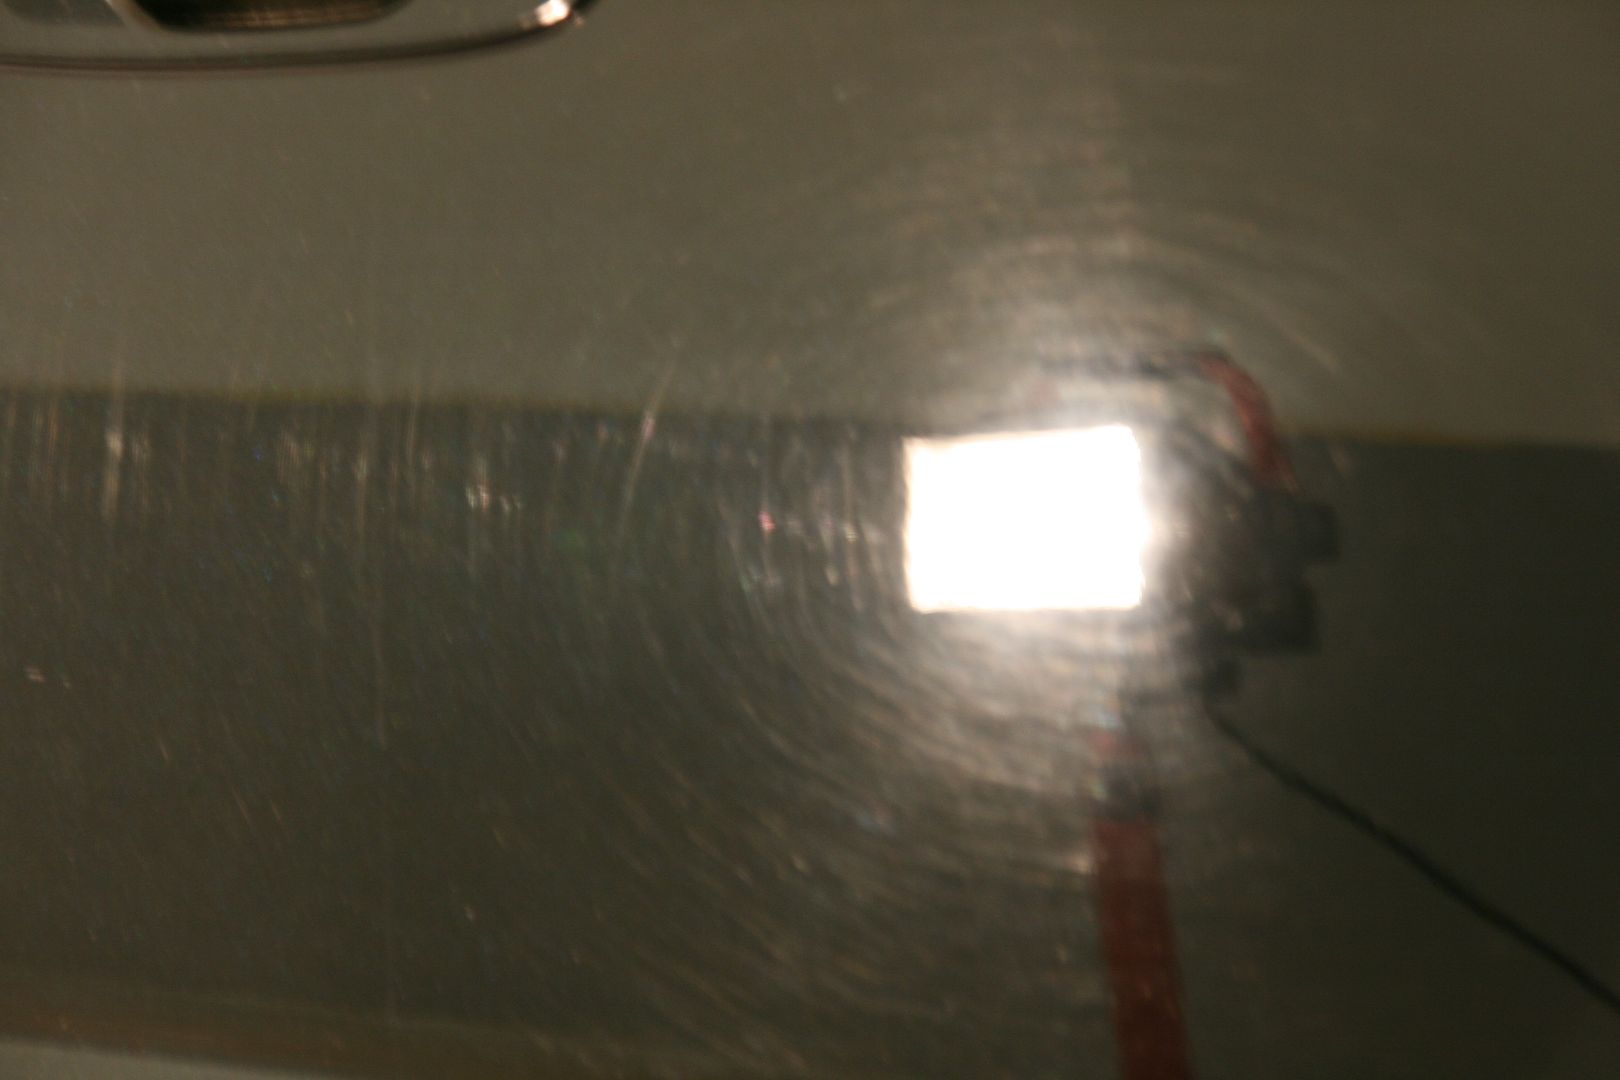
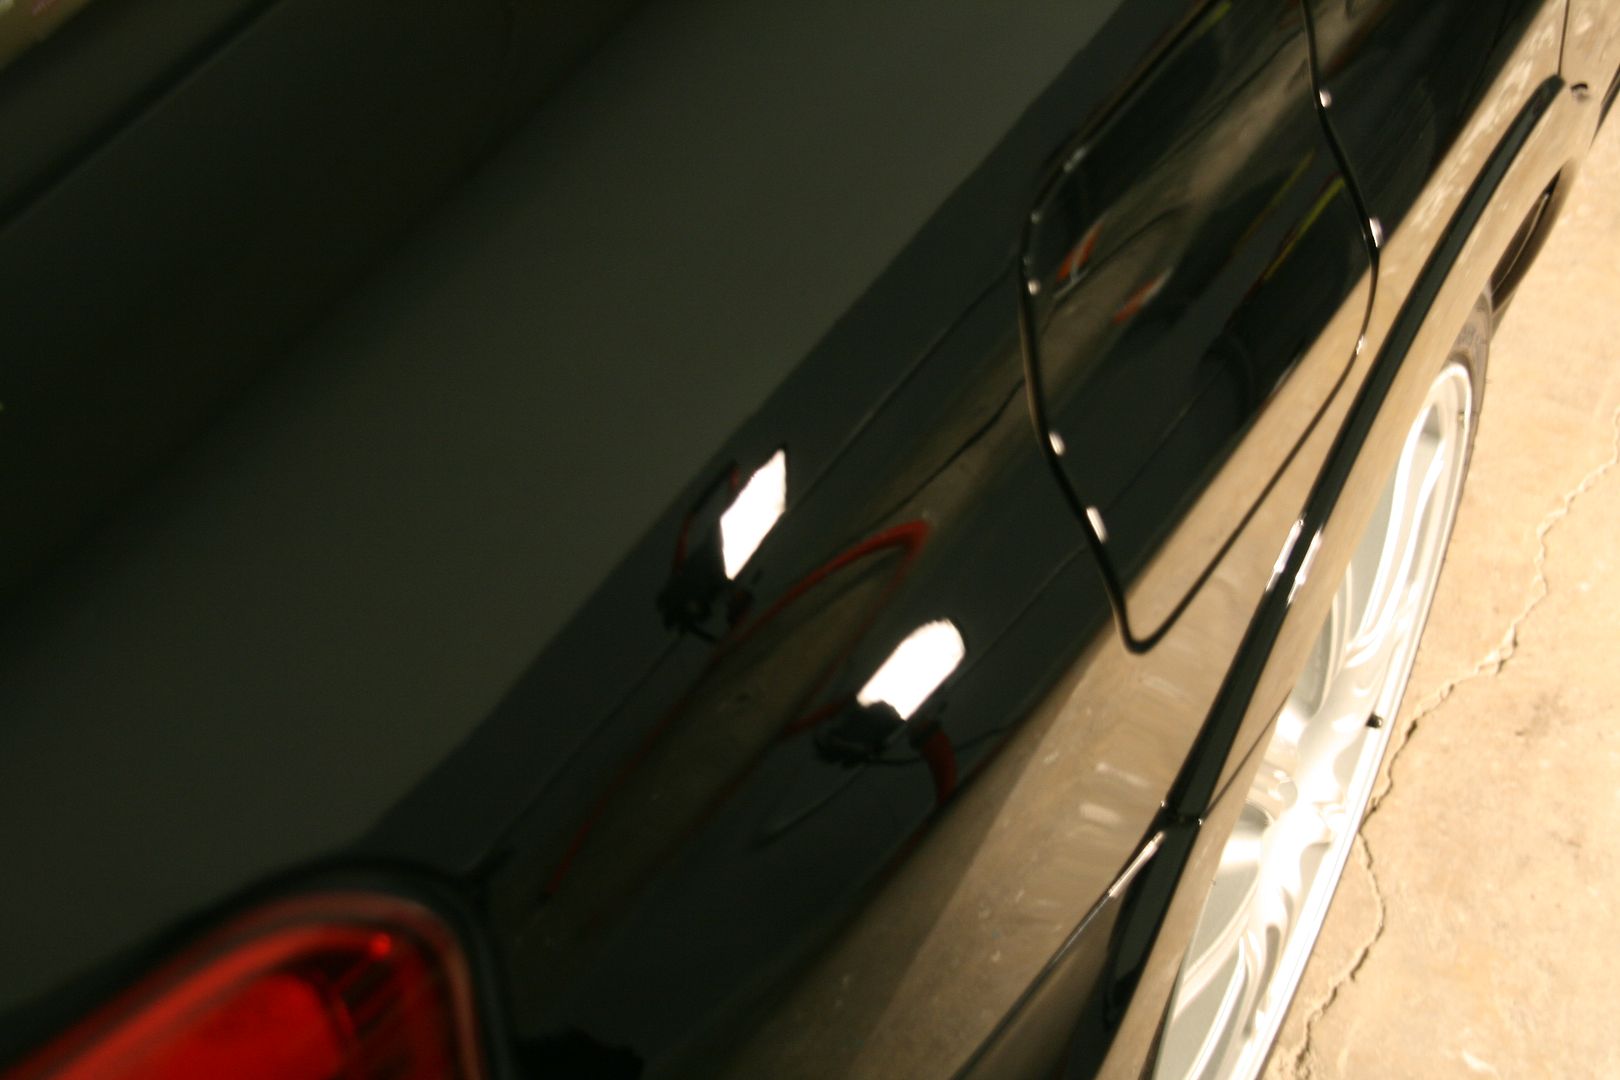
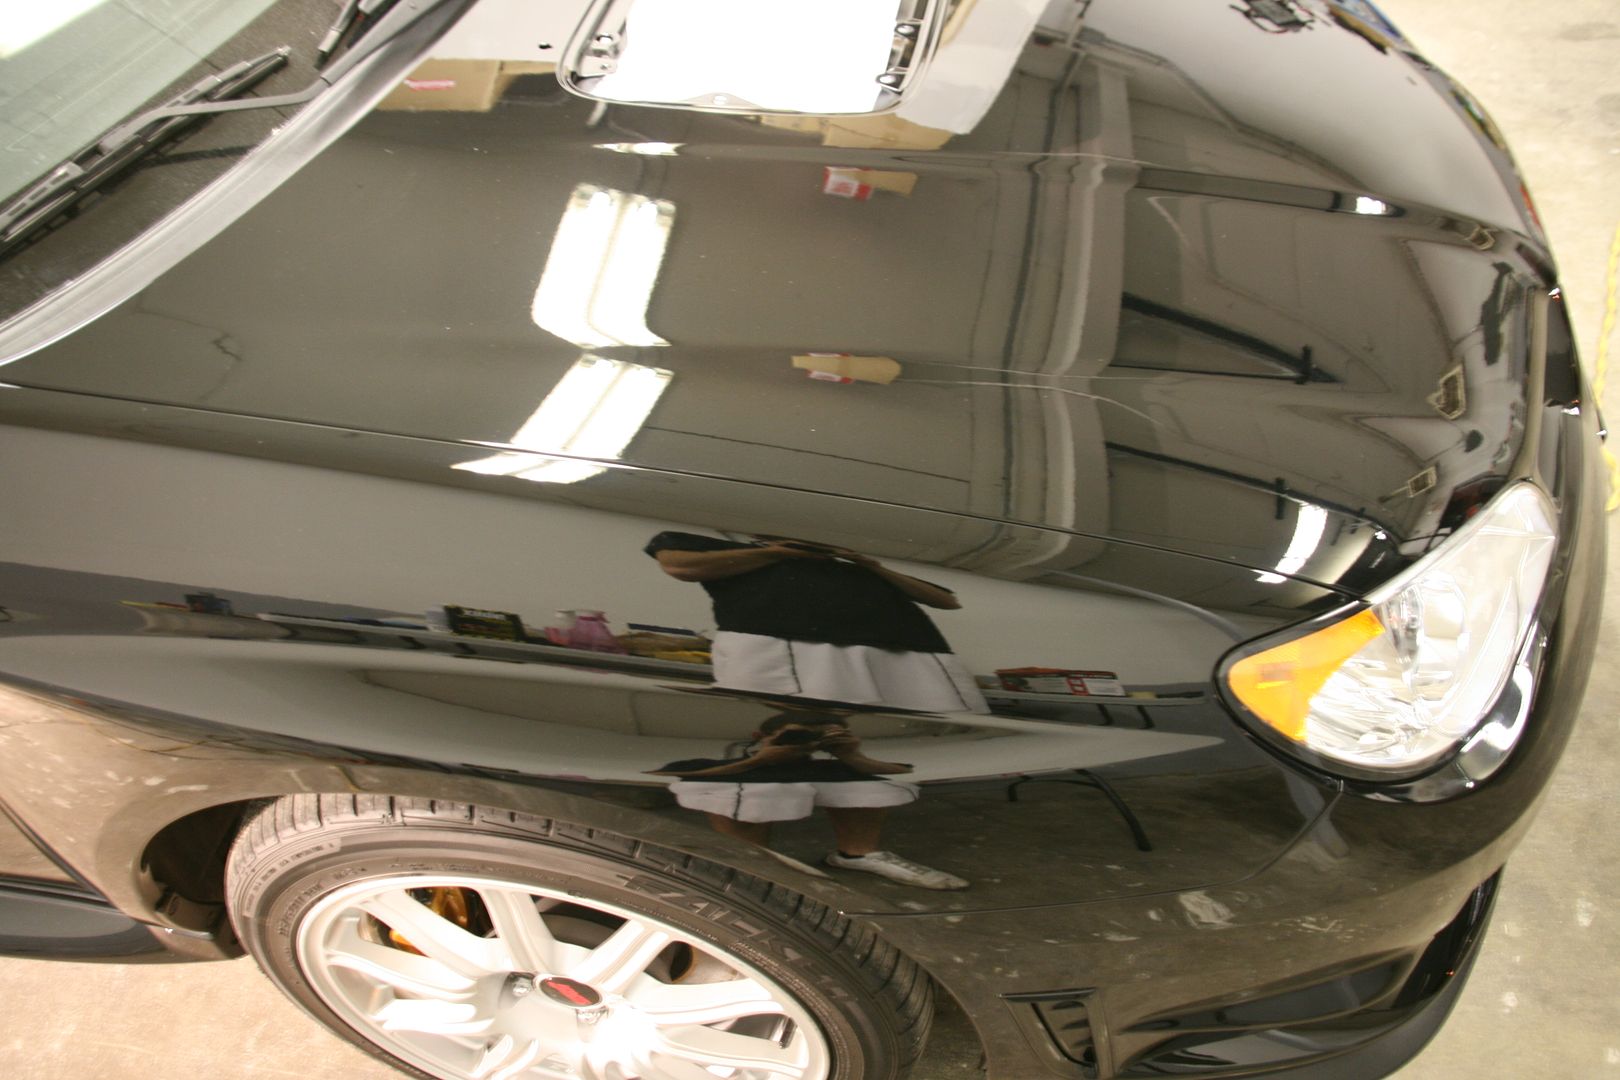
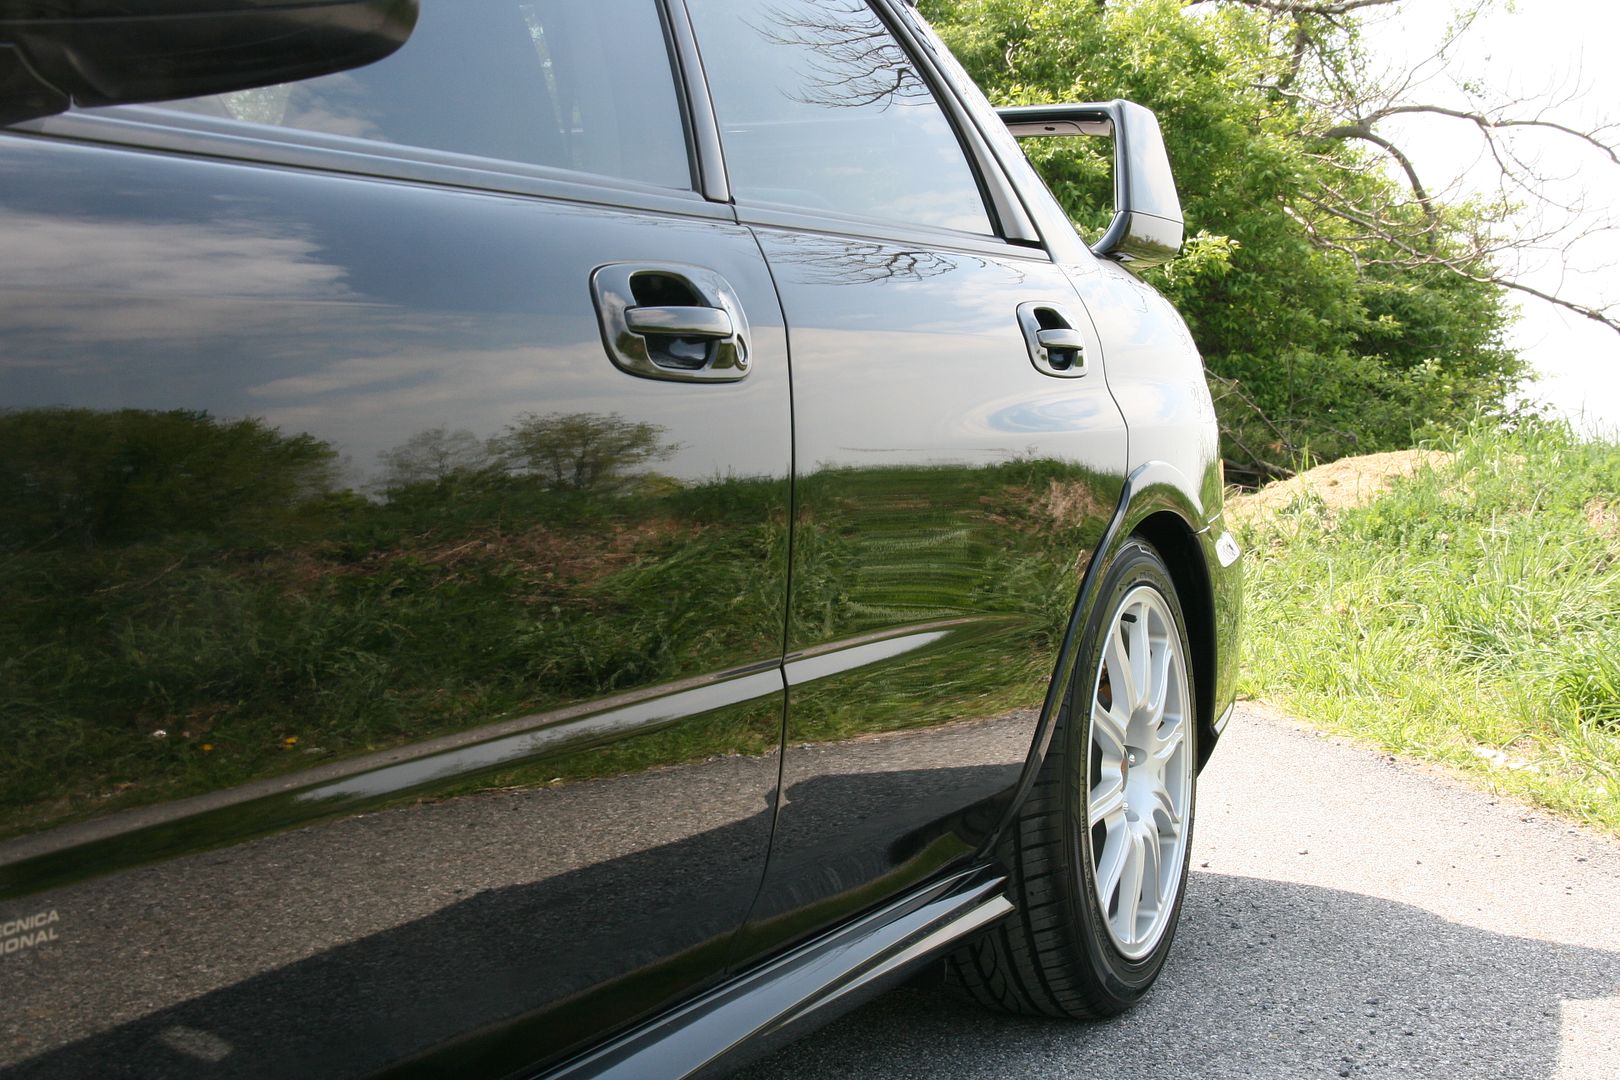
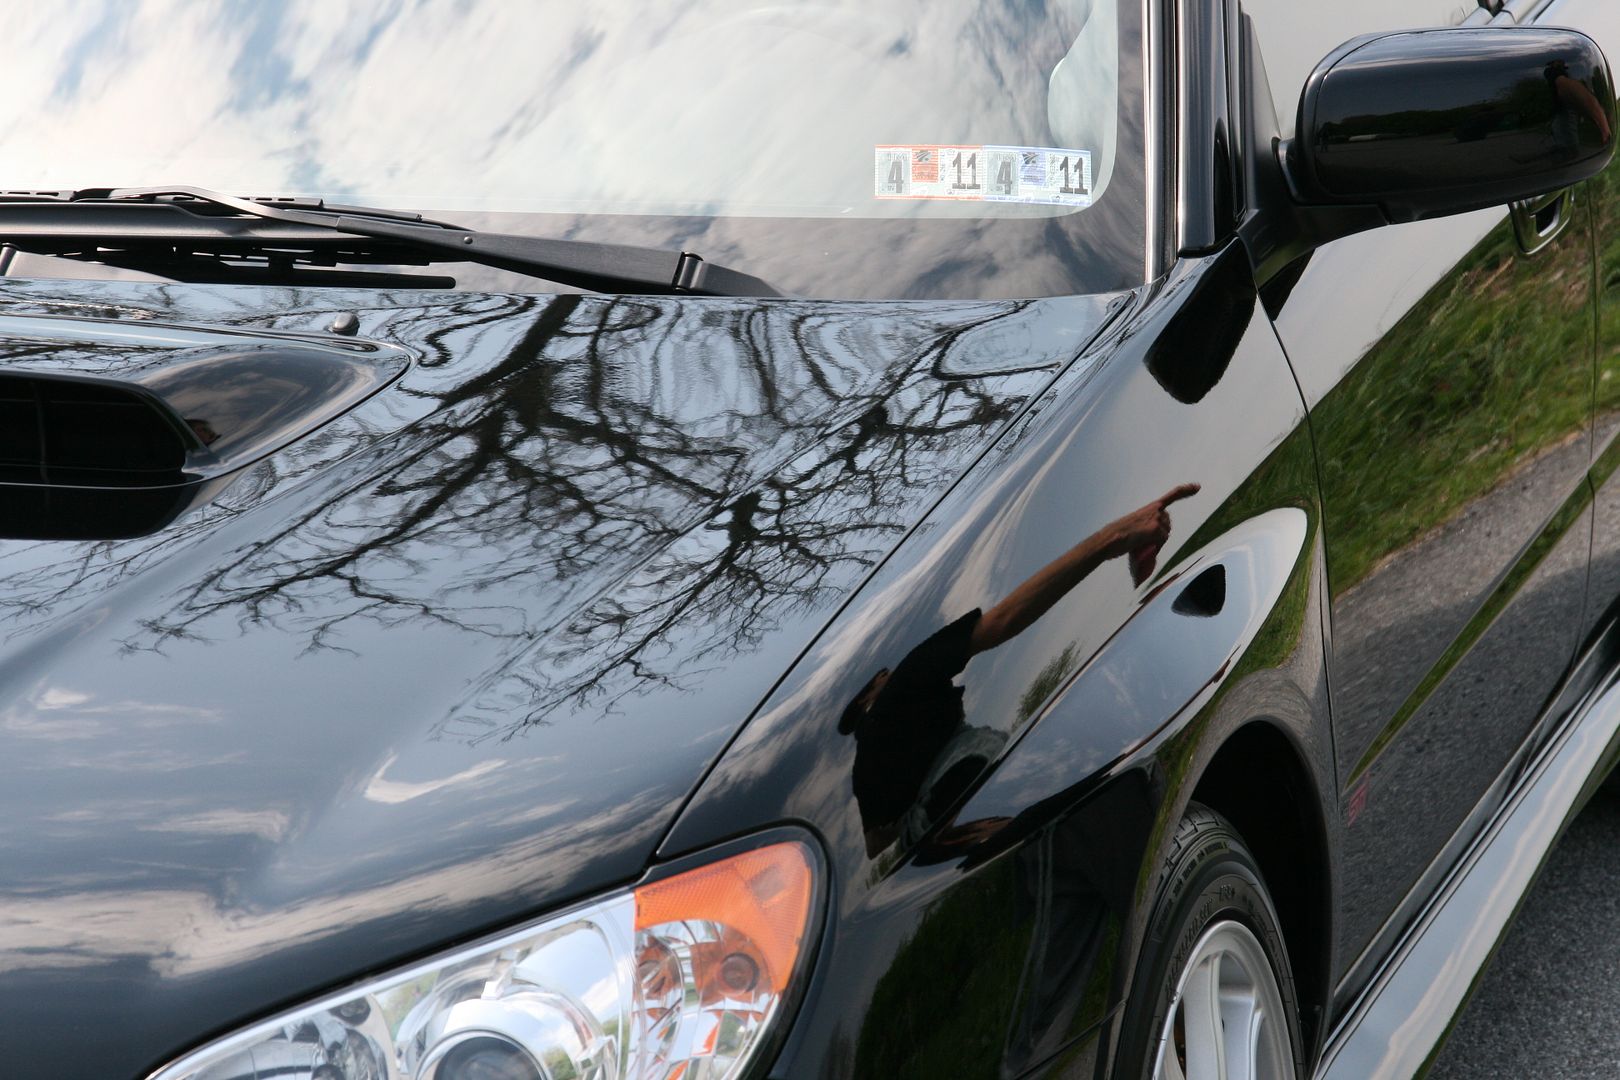
Paint photos after the full prep, definitely a lot to tackle here! Starting off with a complimentary car wash scratch:

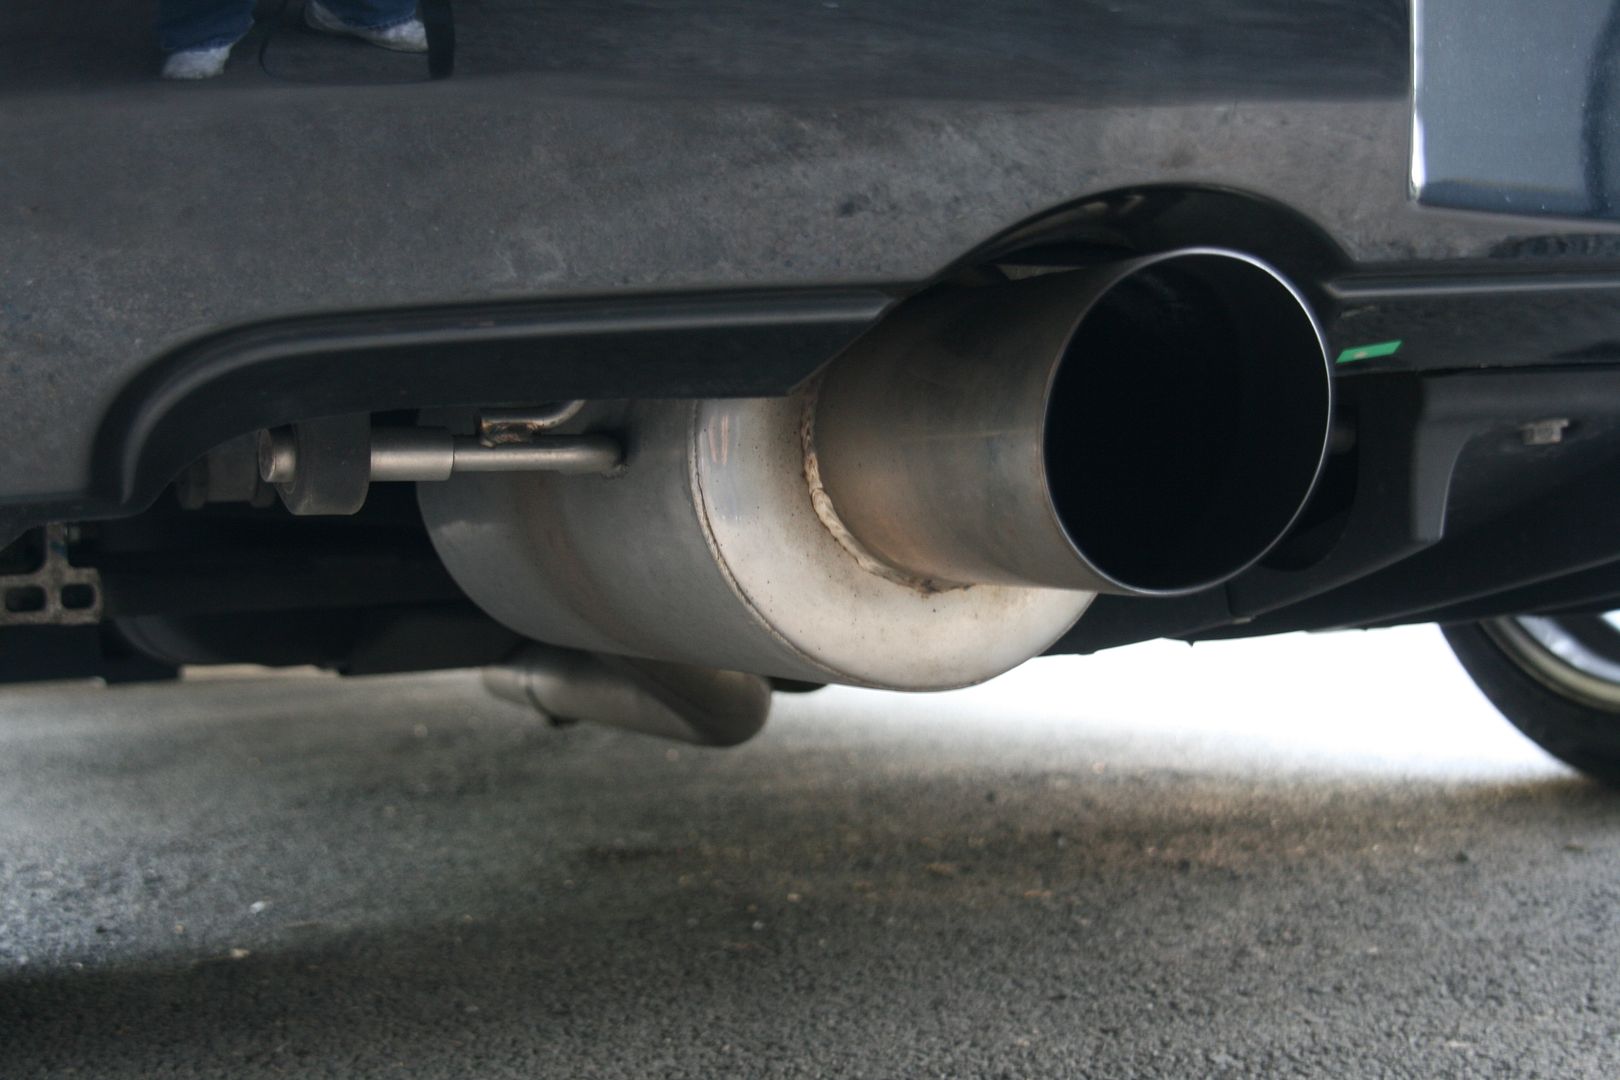
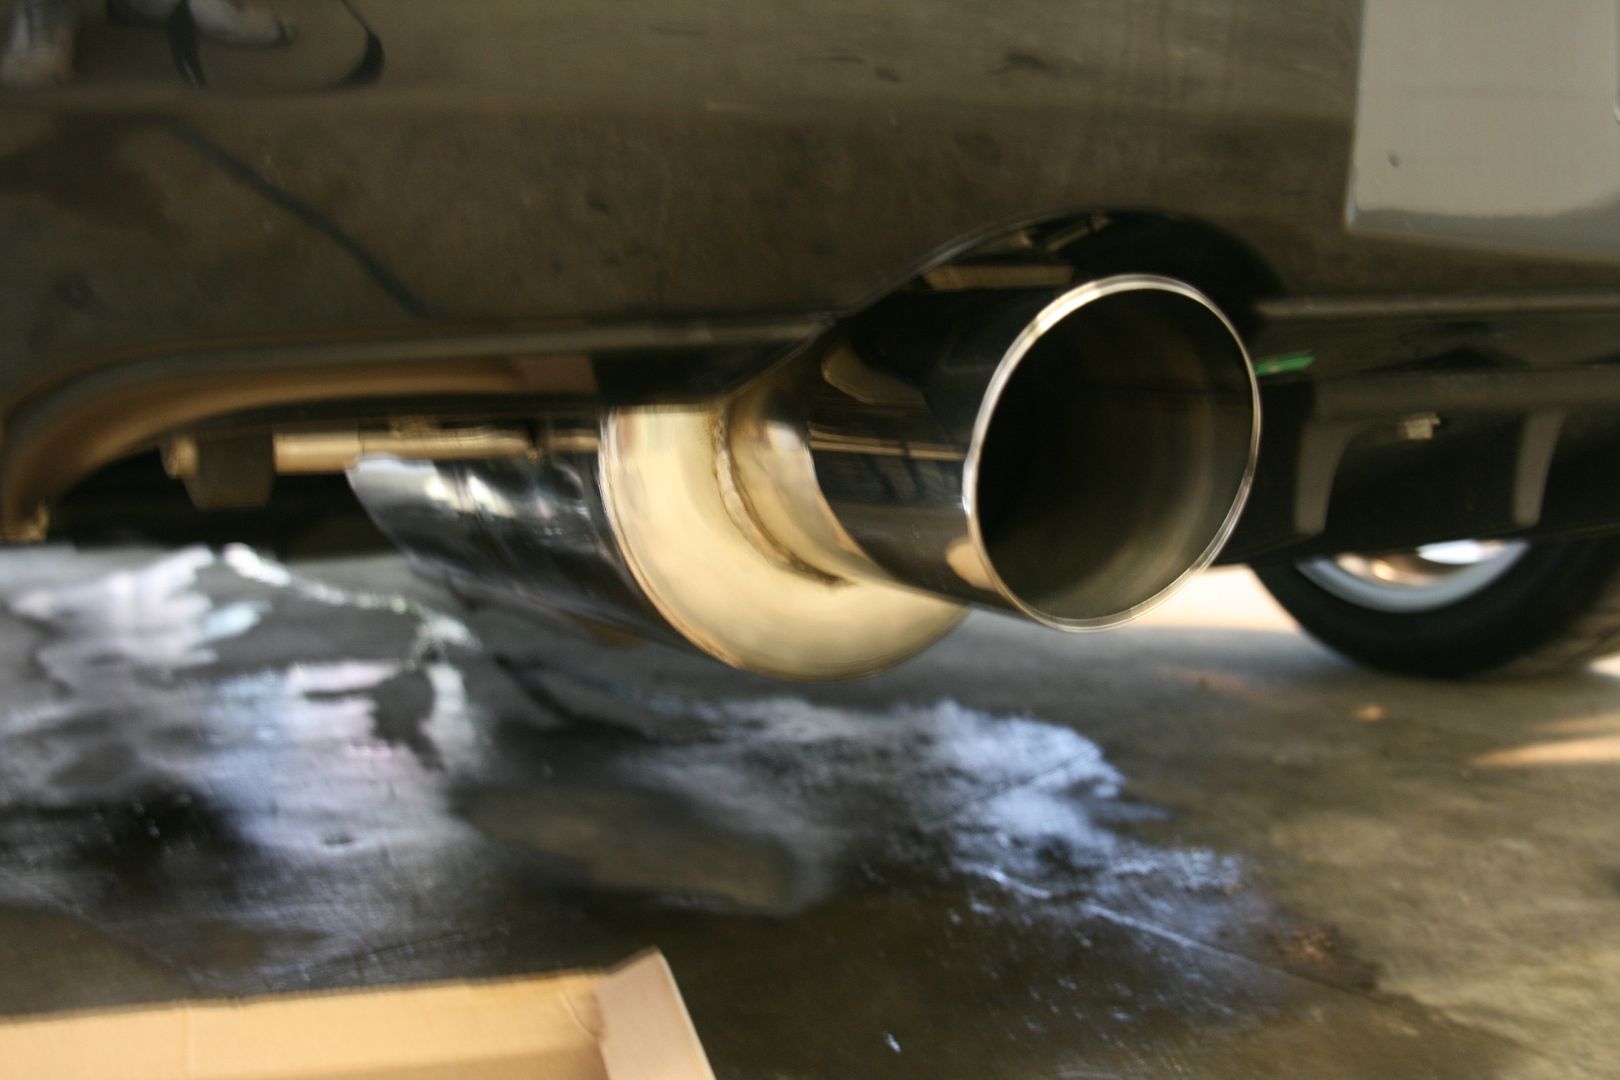
Exhaust before and after
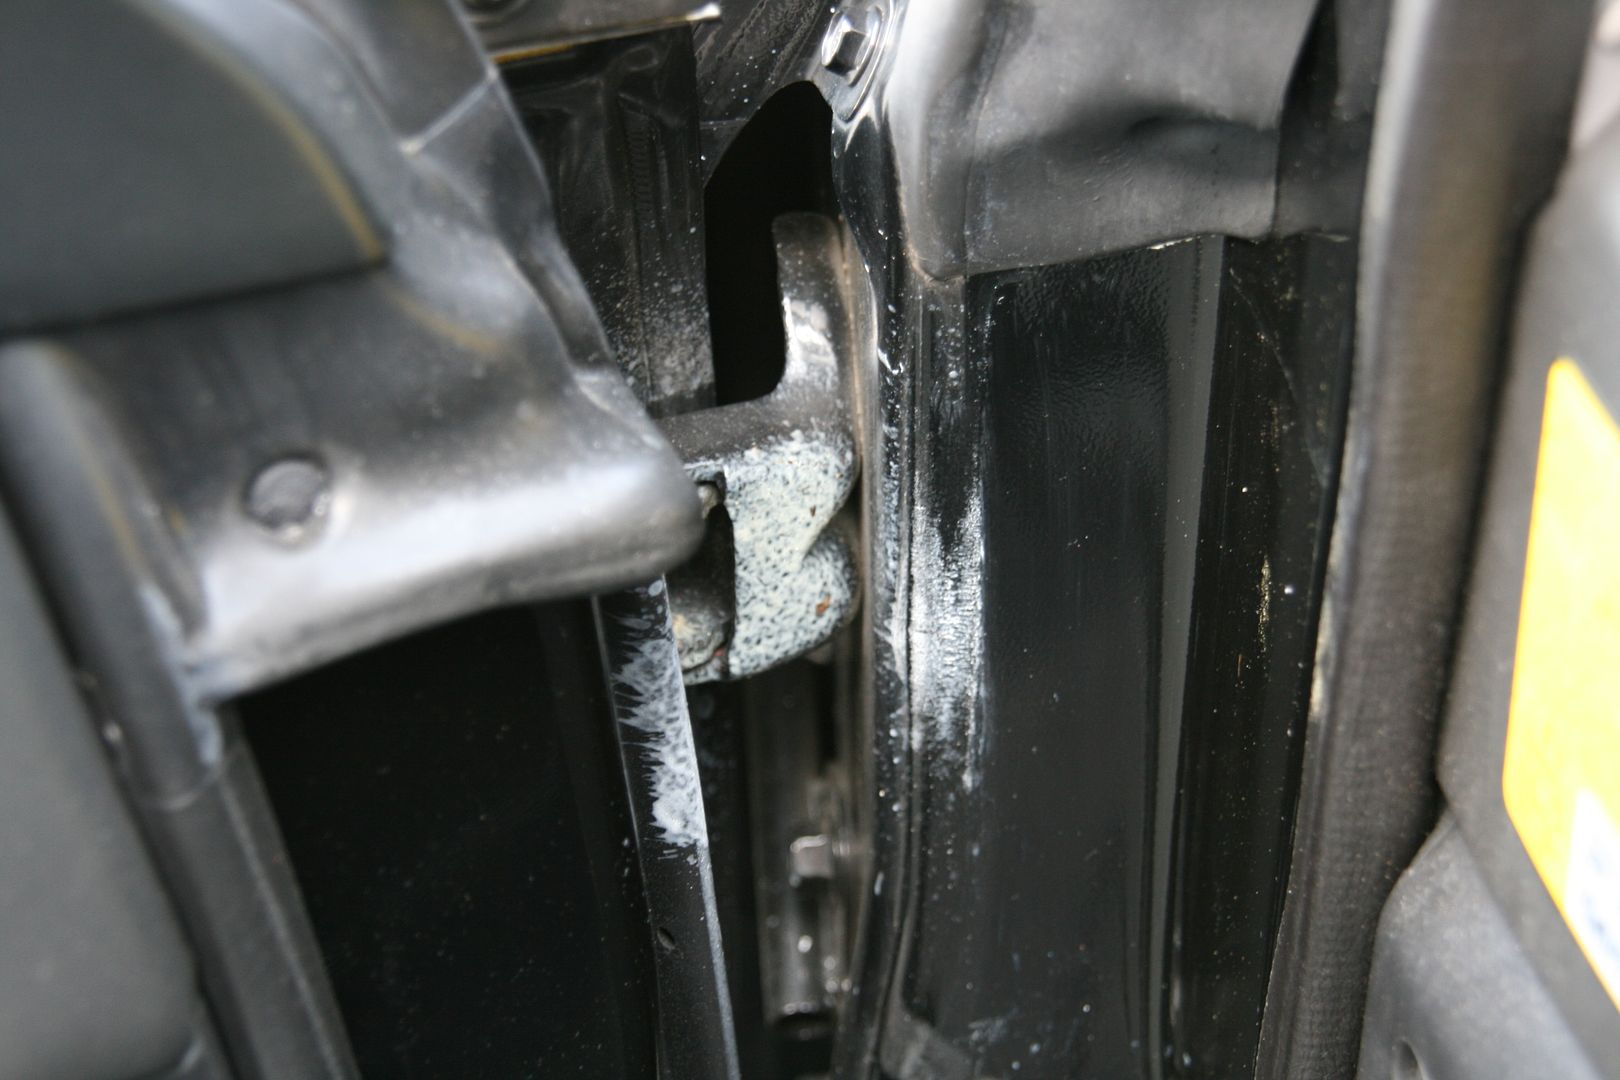
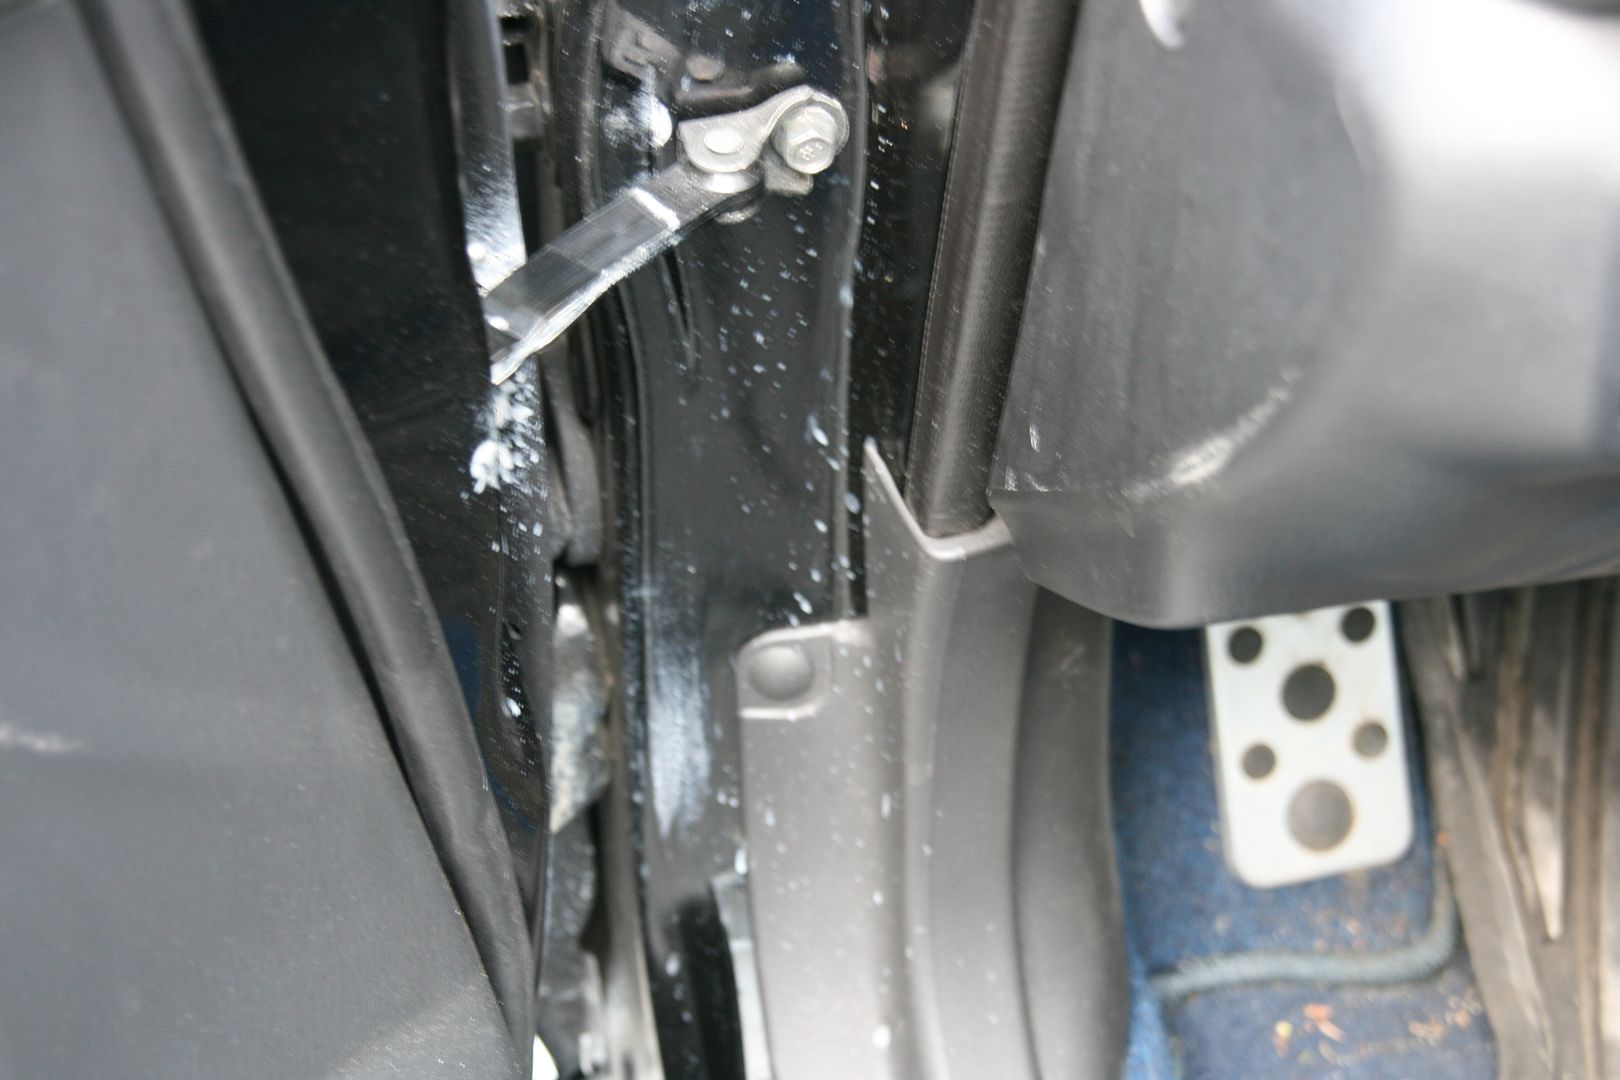
Silicone spray in the door jambs that was removed
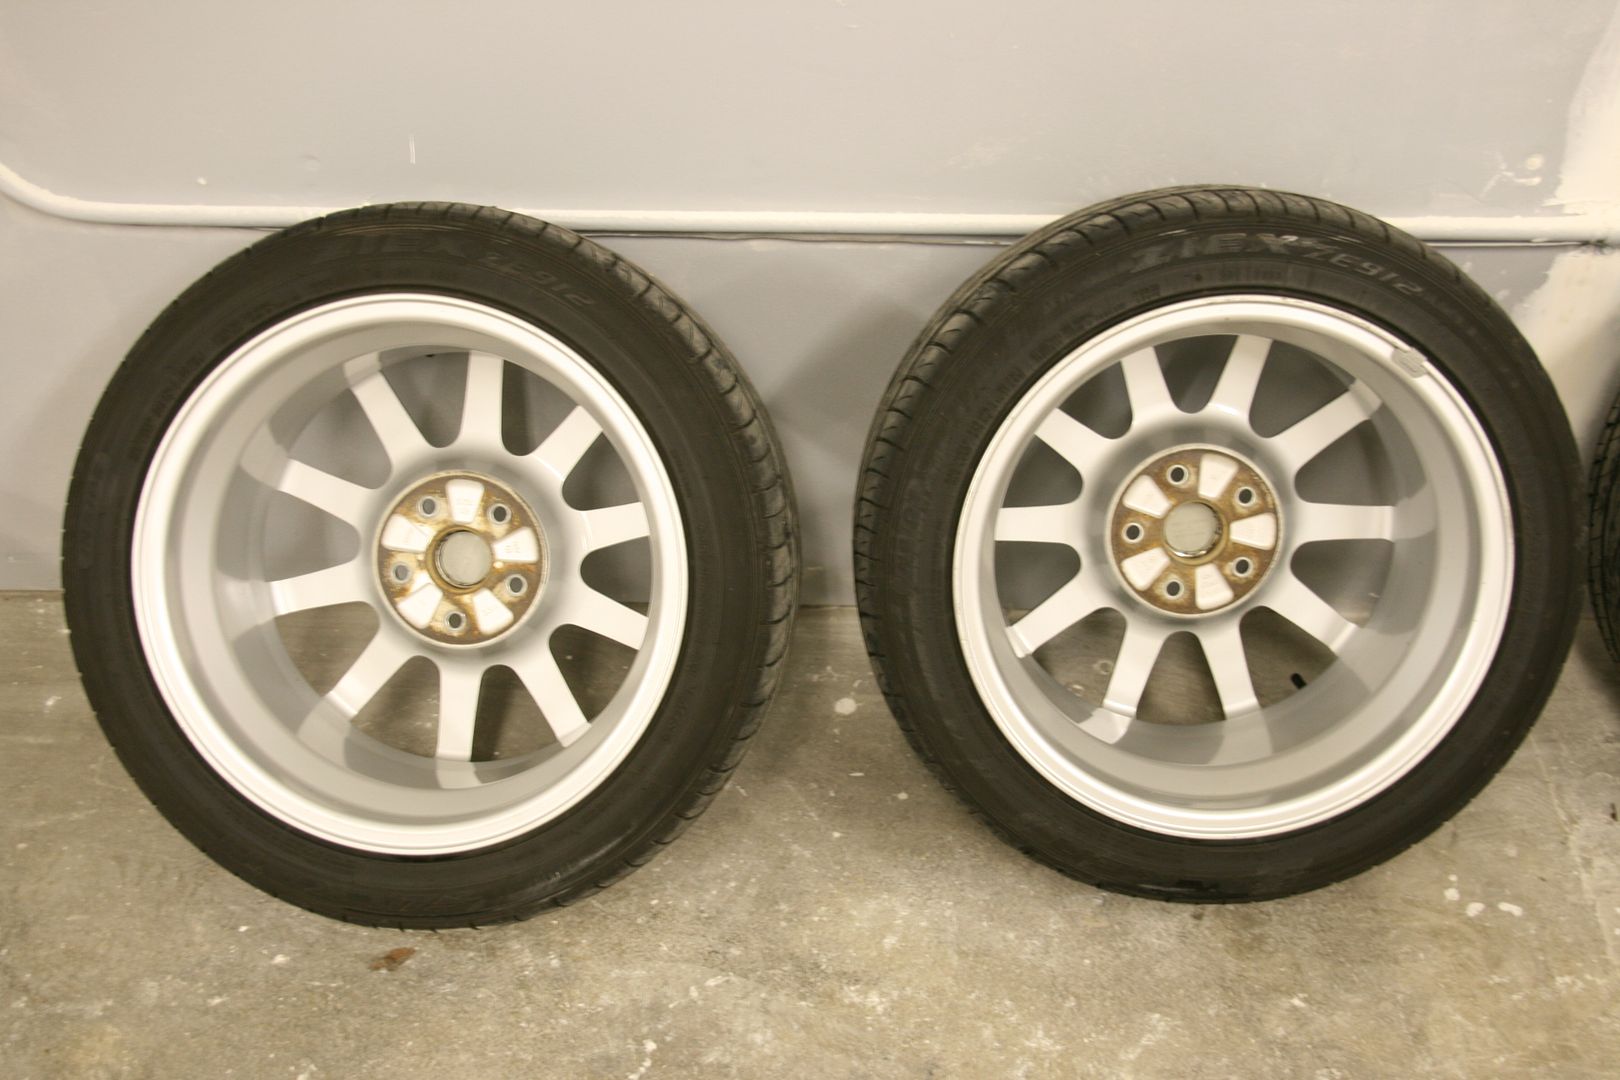
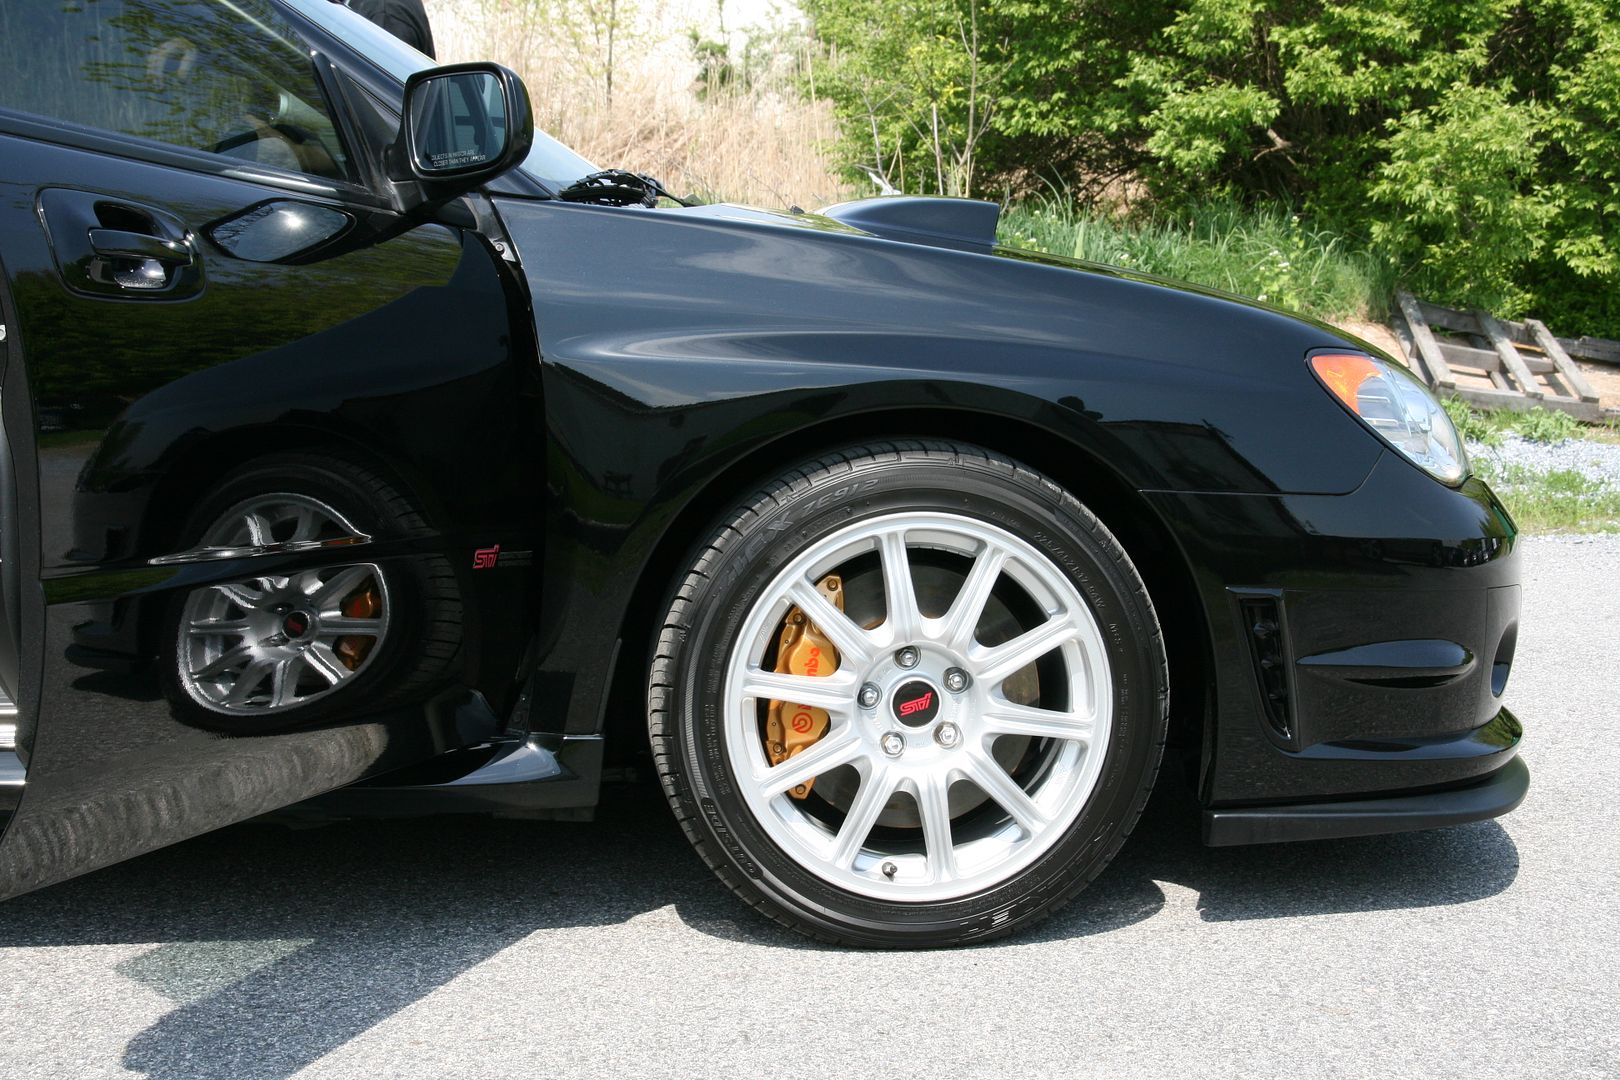
Wheel photos, starting with the before:
The clear bra before removal:

Wing removed, hood scoop removed, fog surrounds removed in the following pics!
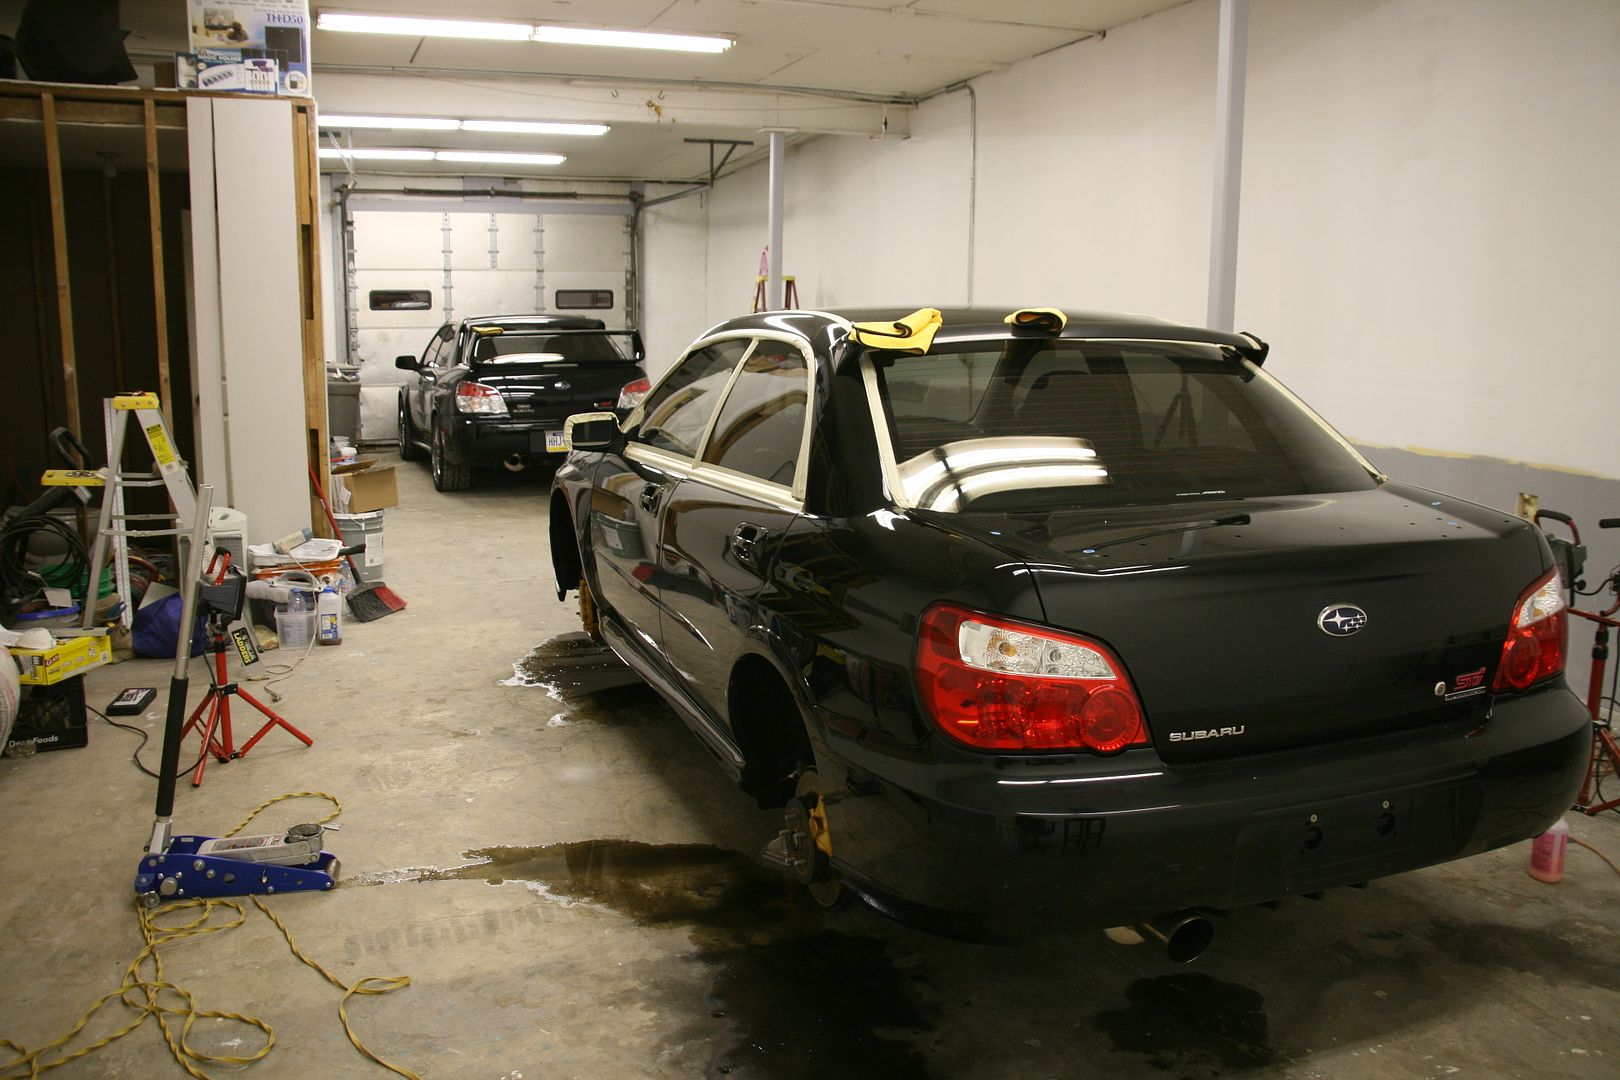
The car itself in the air:
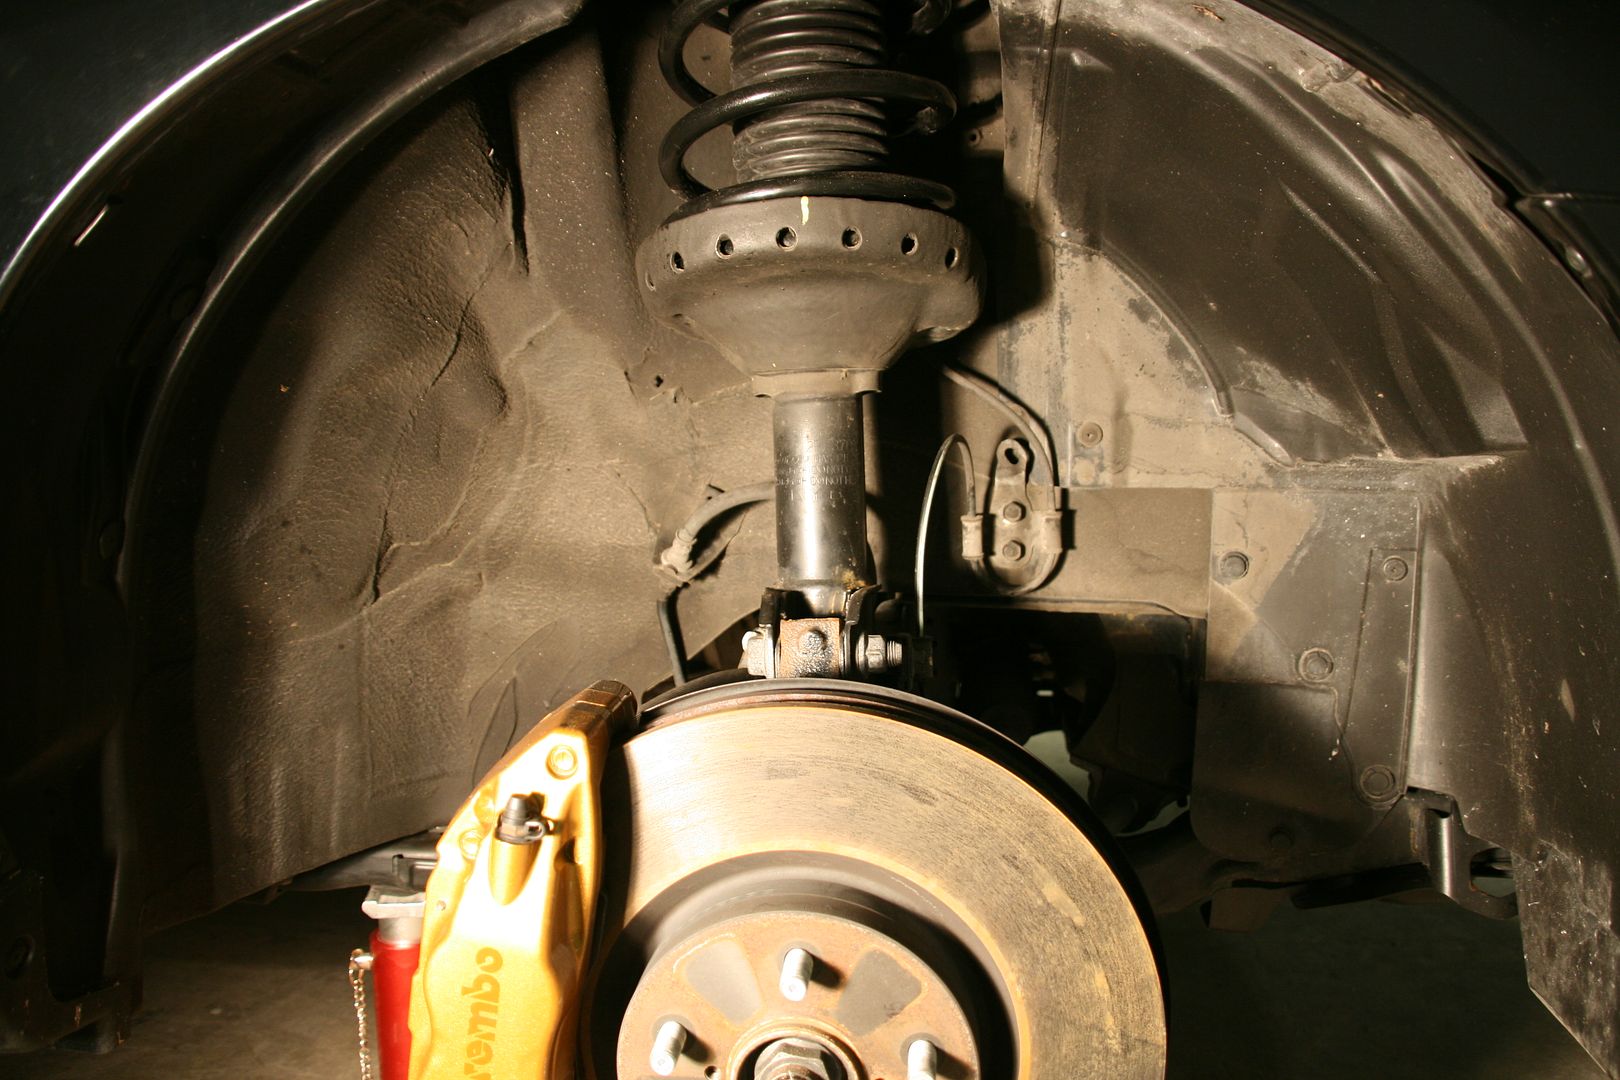
Rear wheel well before/after
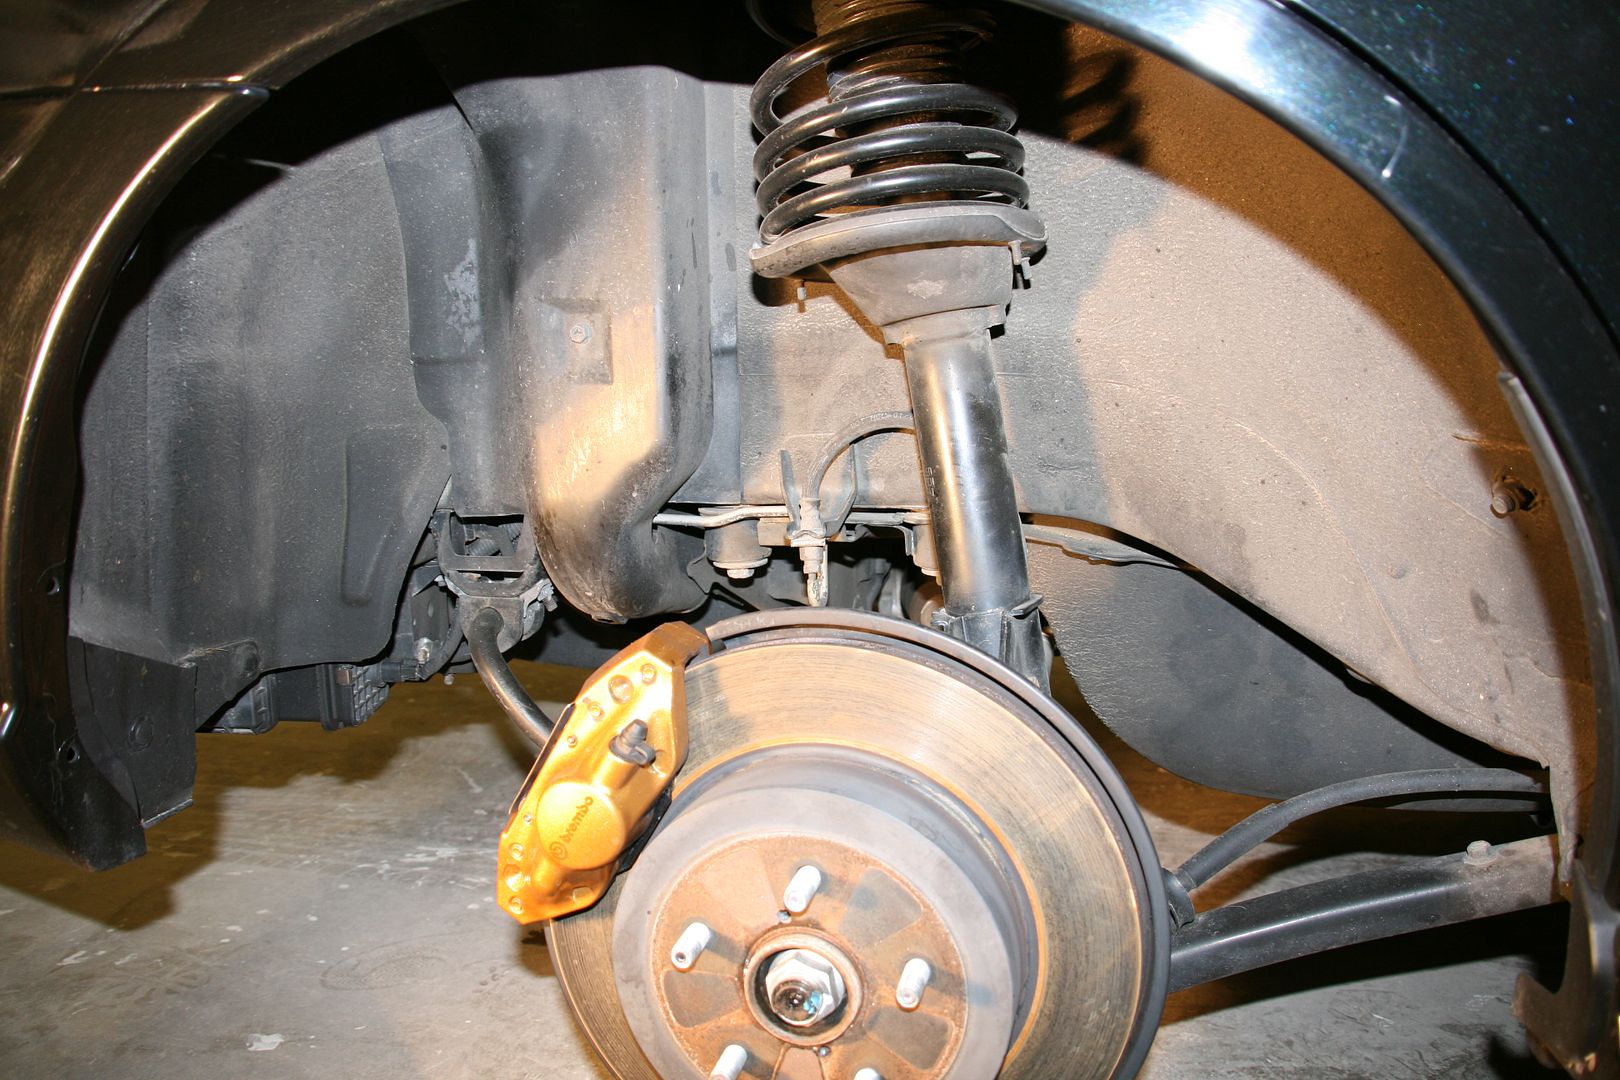
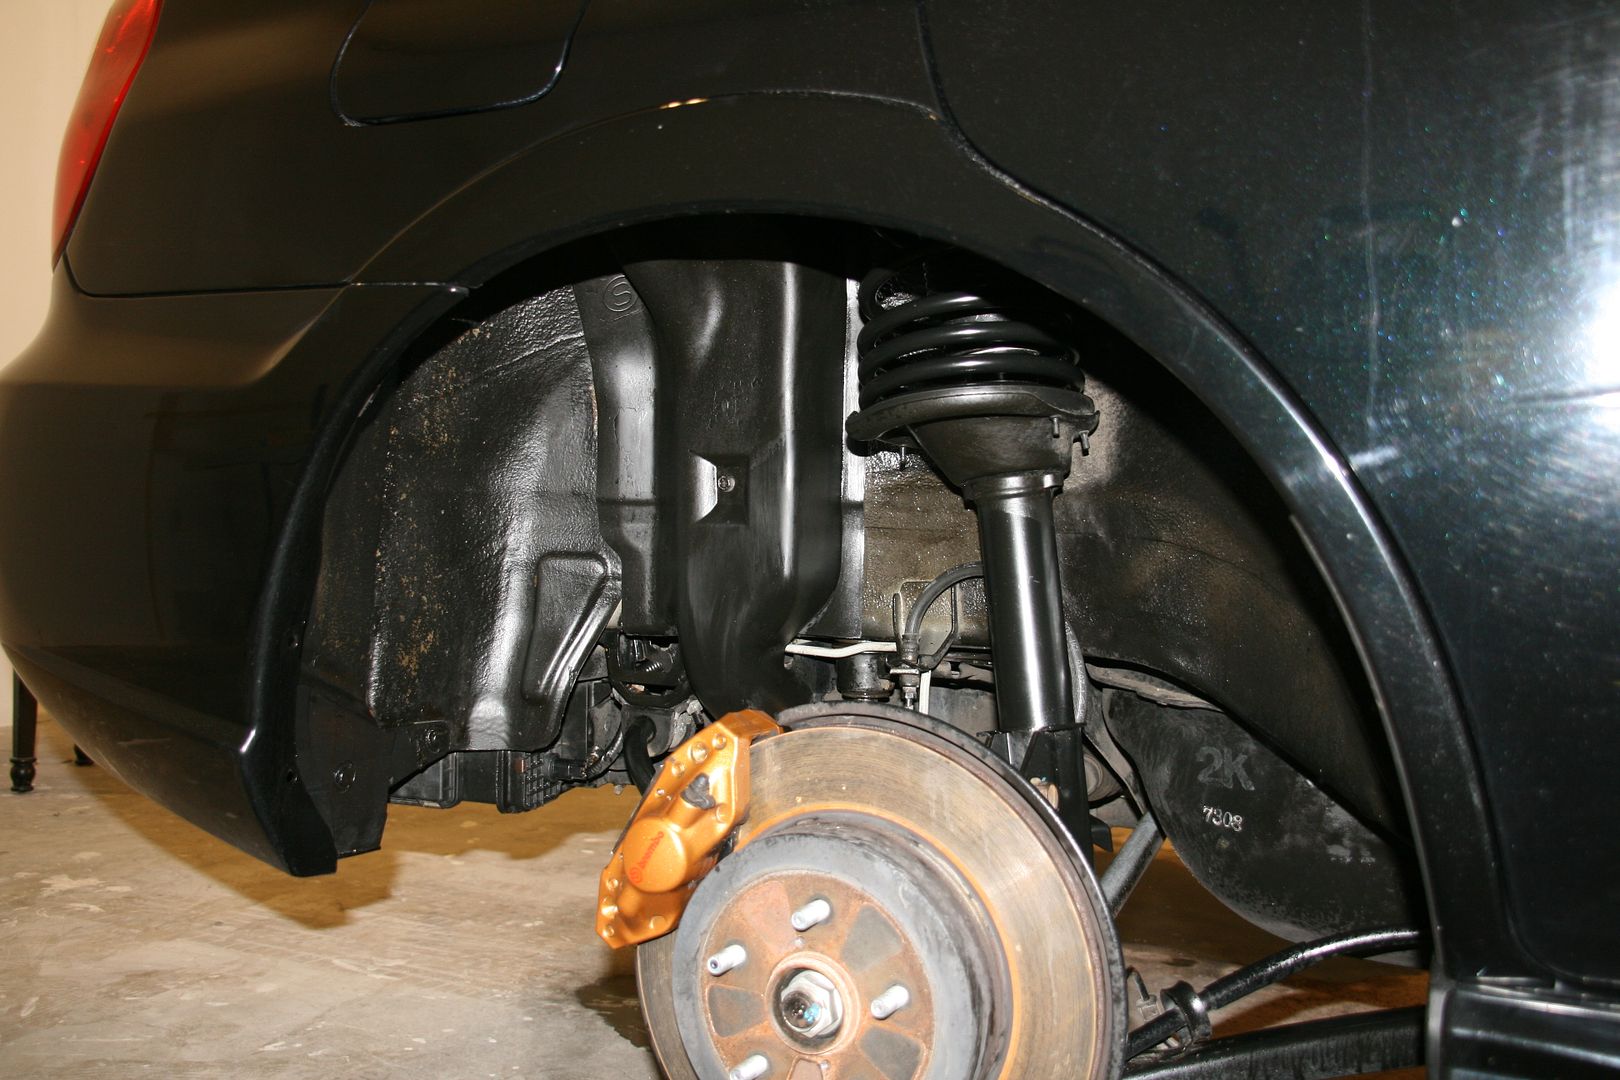
Front wheel well before/after:

Nothing was un done on this car, as with most of my details, however we went the extra step everywhere with this car. The wheels came off, the control arms were even polished up, the wing and the hood scoop came off, even the fog light surrounds. With one goal, make it flawless. It's our goal with every car, but we usually don't have the time to truly document every step of it, so we change that for this thread to really give you all an in depth look at what exactly goes into a complete renovation detail. Some may see it as over the top, some may see it as not enough, as long as the owner leaves with a smile and that genuinely thrilled look it's all worthwhile.
On to the thread itself: The process was as follows:
Front end Clear bra removed due to severe oxidation and aging
Passenger fender and door dents removed, due to car wash damage
Full degrease using Total Auto Wash, in two applications
All jambs and creases sprayed down with TAW
Three bucket method, with grit guards using Citrus Auto wash
Clay bar using Clay Magic aggressive and Mild clay
MF Waffle weave dry, all jambs dried with MF towels
Removal of rear wing, front hood scoop, BBS wheels, windshield sprayers and fog surrounds
Degrease and wash using TAW/Citrus wash with Swissvax brushes and Colgate toothbrush
Once cleaned, treated using Adams Undercarriage spray, Brake calipers sealed with Rejex
Wheels cleaned using Meguiars Wheel Brightener, P21S Wheel gel, clayed and sealed with Rejex
Reinstall wheels, lowered car, taped off all trim and edges
Paint correction performed using:
Porter Cable 7424XP
Meguiars G110
Hitachi Rotary
Menzerna PowerGloss: Yellow LC pads
Menzerna 203: Orange LC pads
Menzerna 85RD: Green LC pads
Menzerna 106FF: White LC pads
P21S Paint Cleanser
BlackFire Wet Diamond Paint Sealant: Black LC pads
Pinnacle Souvaran paste Wax
Trim treated with Poorboys Natural look
Tires treated using Poorboys Bold and Bright
Windows cleaned inside and out with sprayway and glass cleaner attachment(similar to stoners thing)
Onto the pictures!
Paint photos after the full prep, definitely a lot to tackle here! Starting off with a complimentary car wash scratch:
Exhaust before and after
Silicone spray in the door jambs that was removed
Wheel photos, starting with the before:
The clear bra before removal:
Wing removed, hood scoop removed, fog surrounds removed in the following pics!
The car itself in the air:
Rear wheel well before/after
Front wheel well before/after:
 05-09-2010, 12:17 PM
#2
Registered User
Thread Starter
Join Date: May 2009
Posts: 127
Likes: 0
Received 0 Likes
on
0 Posts
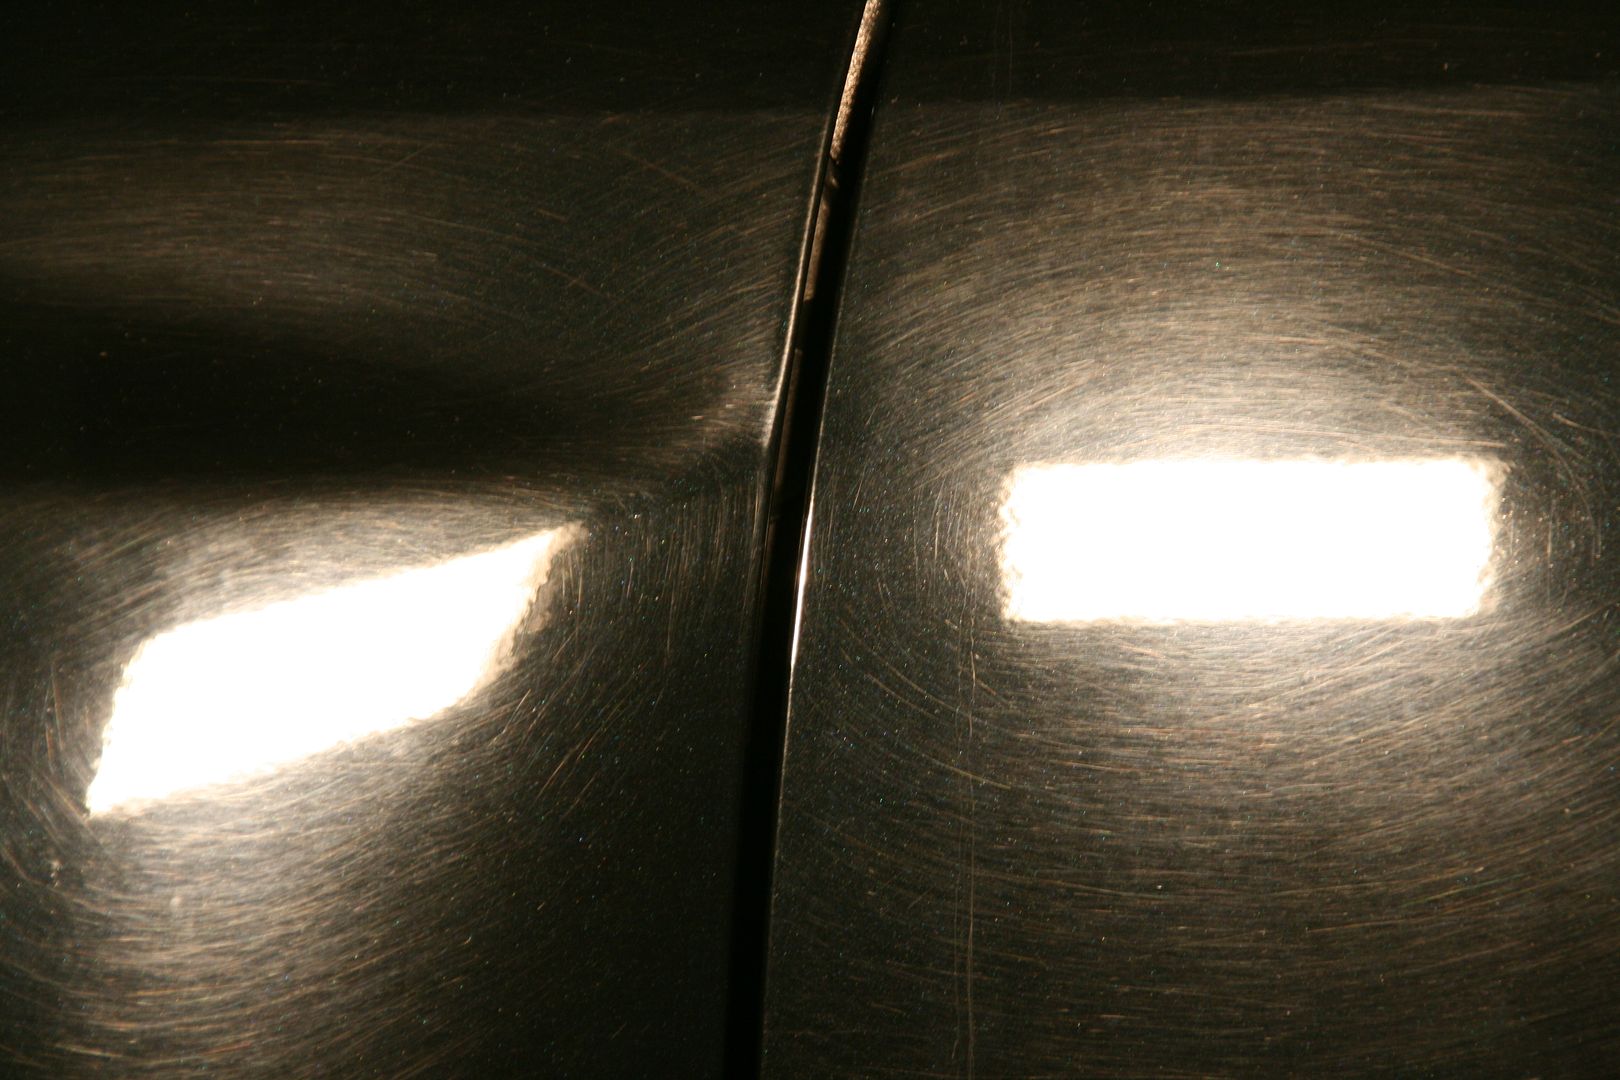
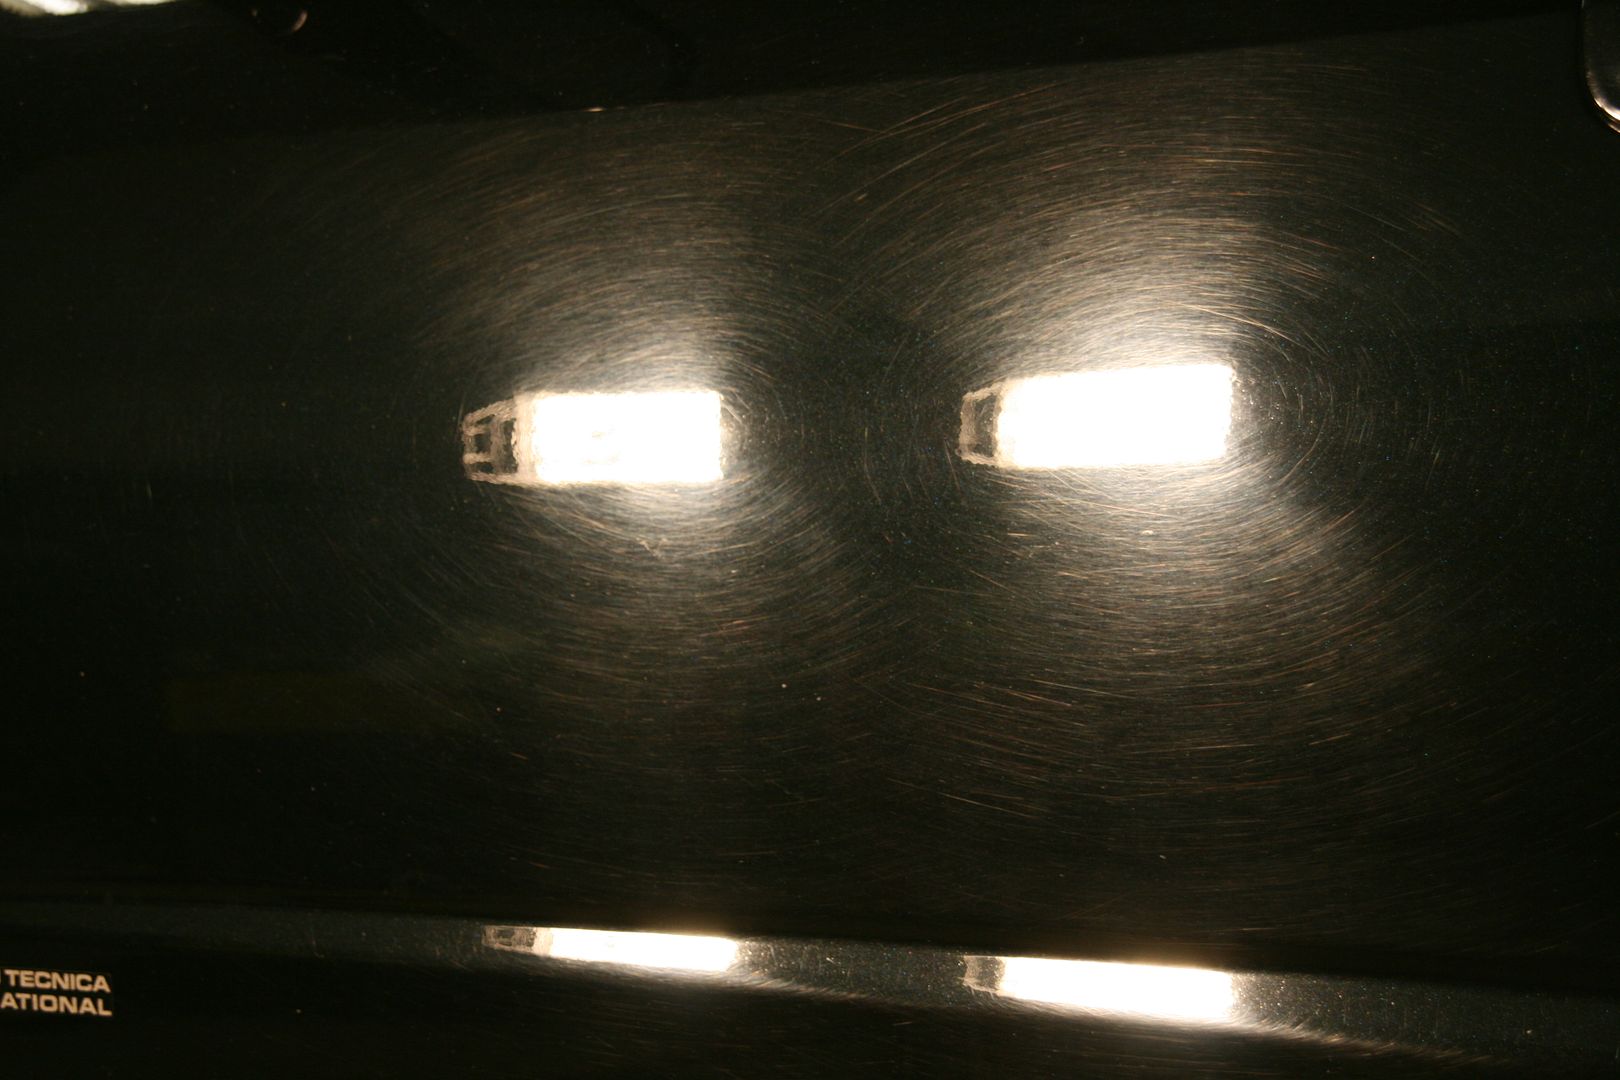
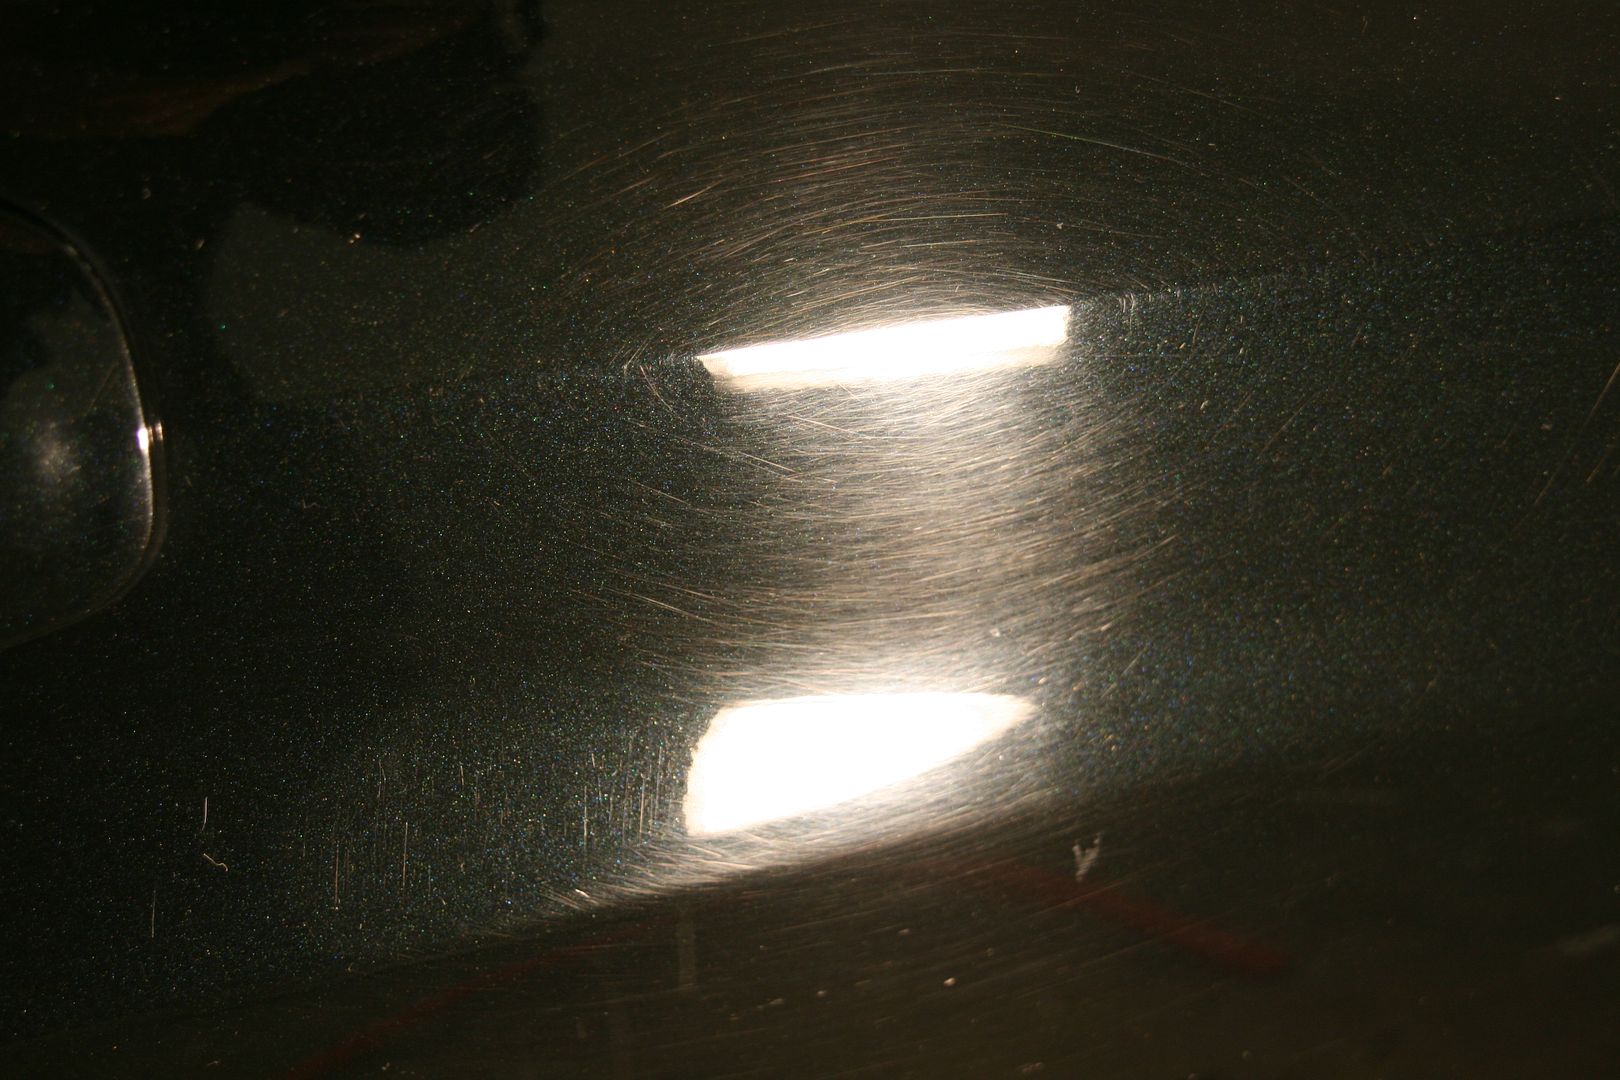
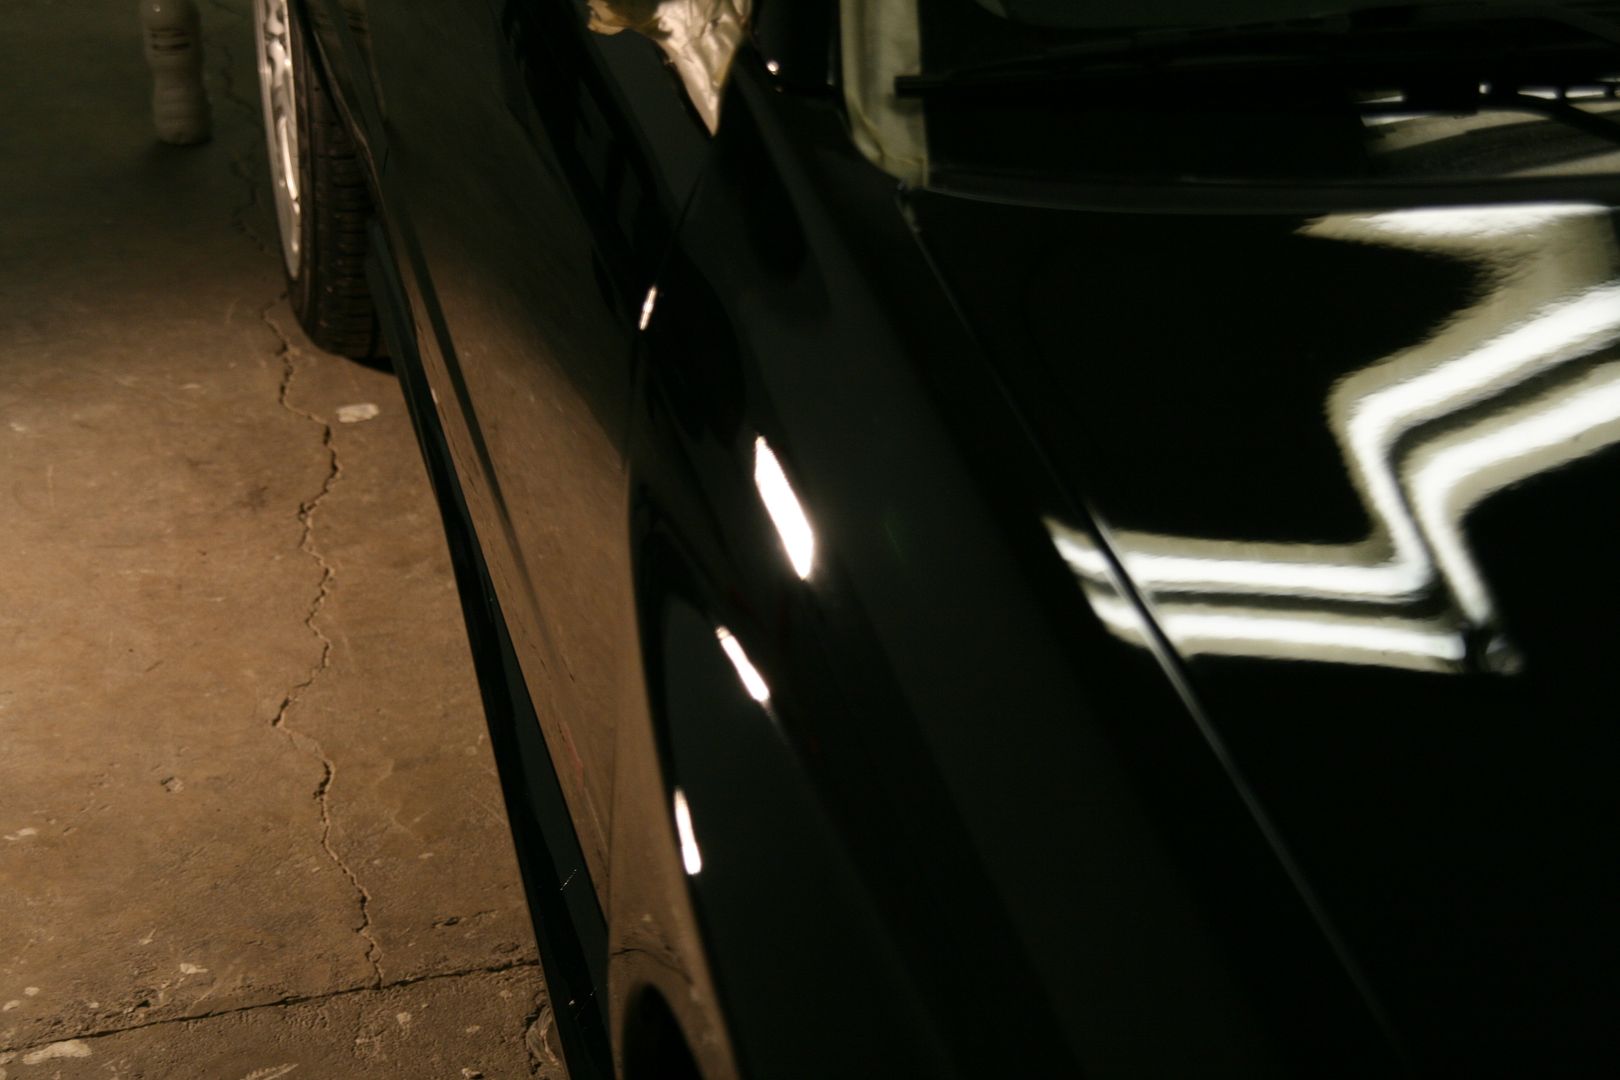
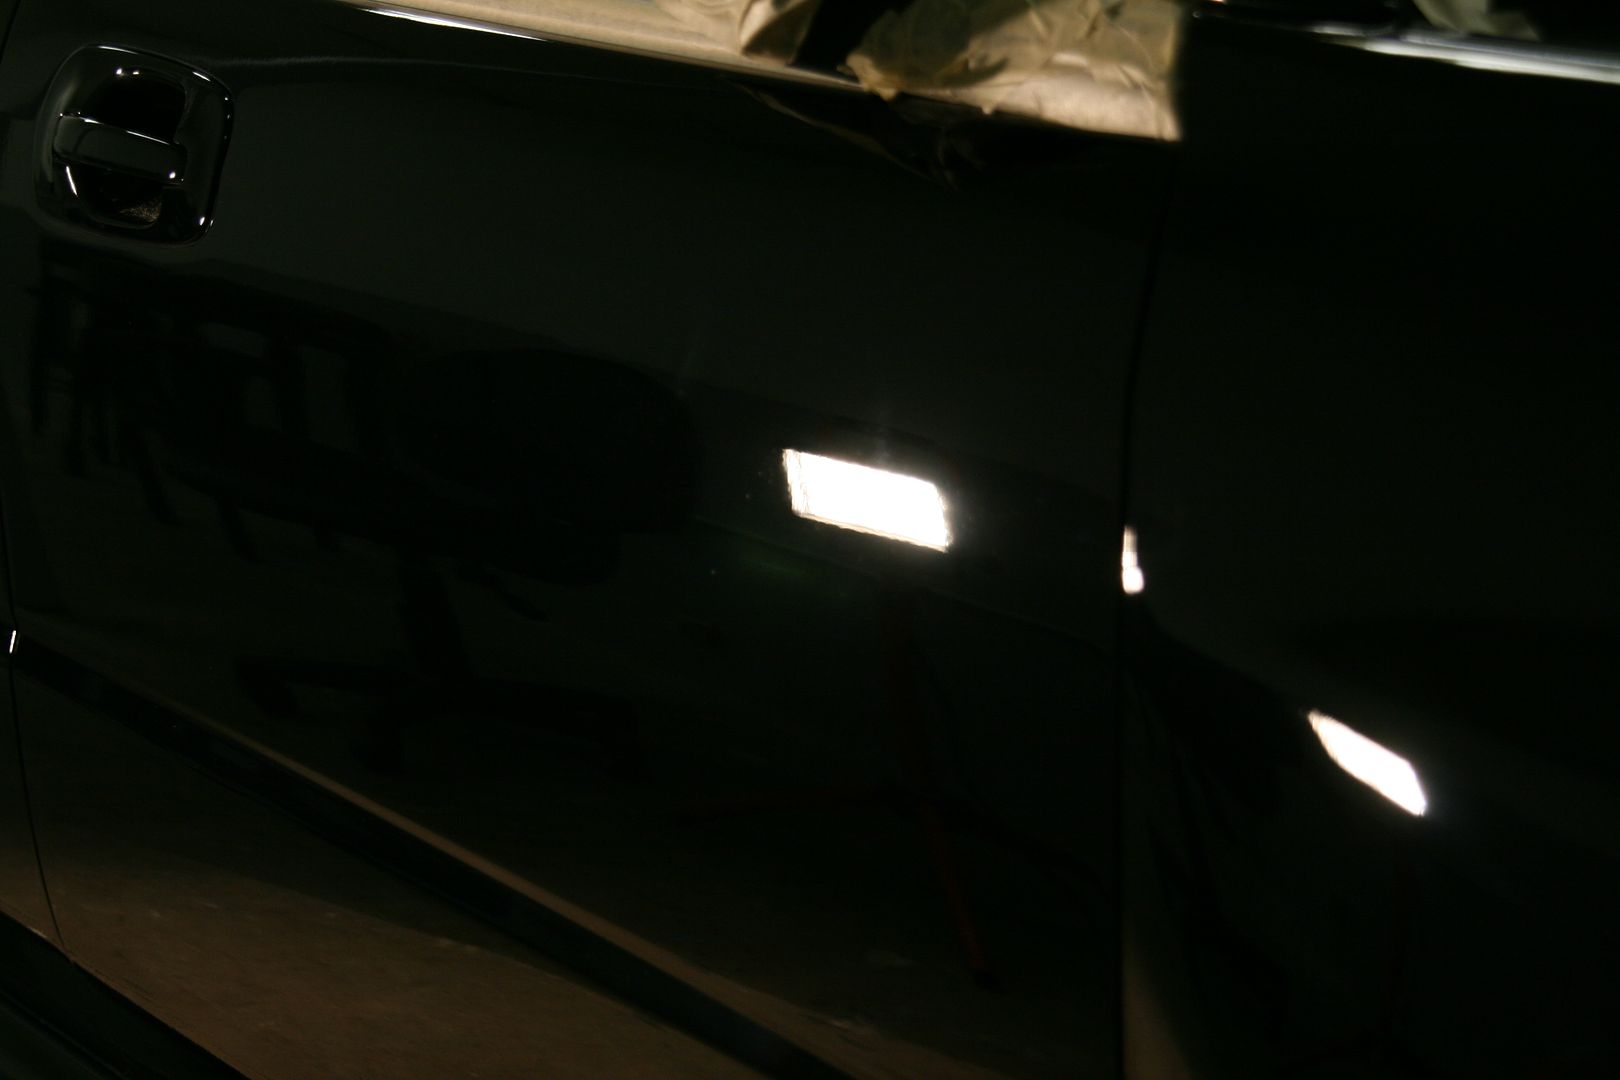
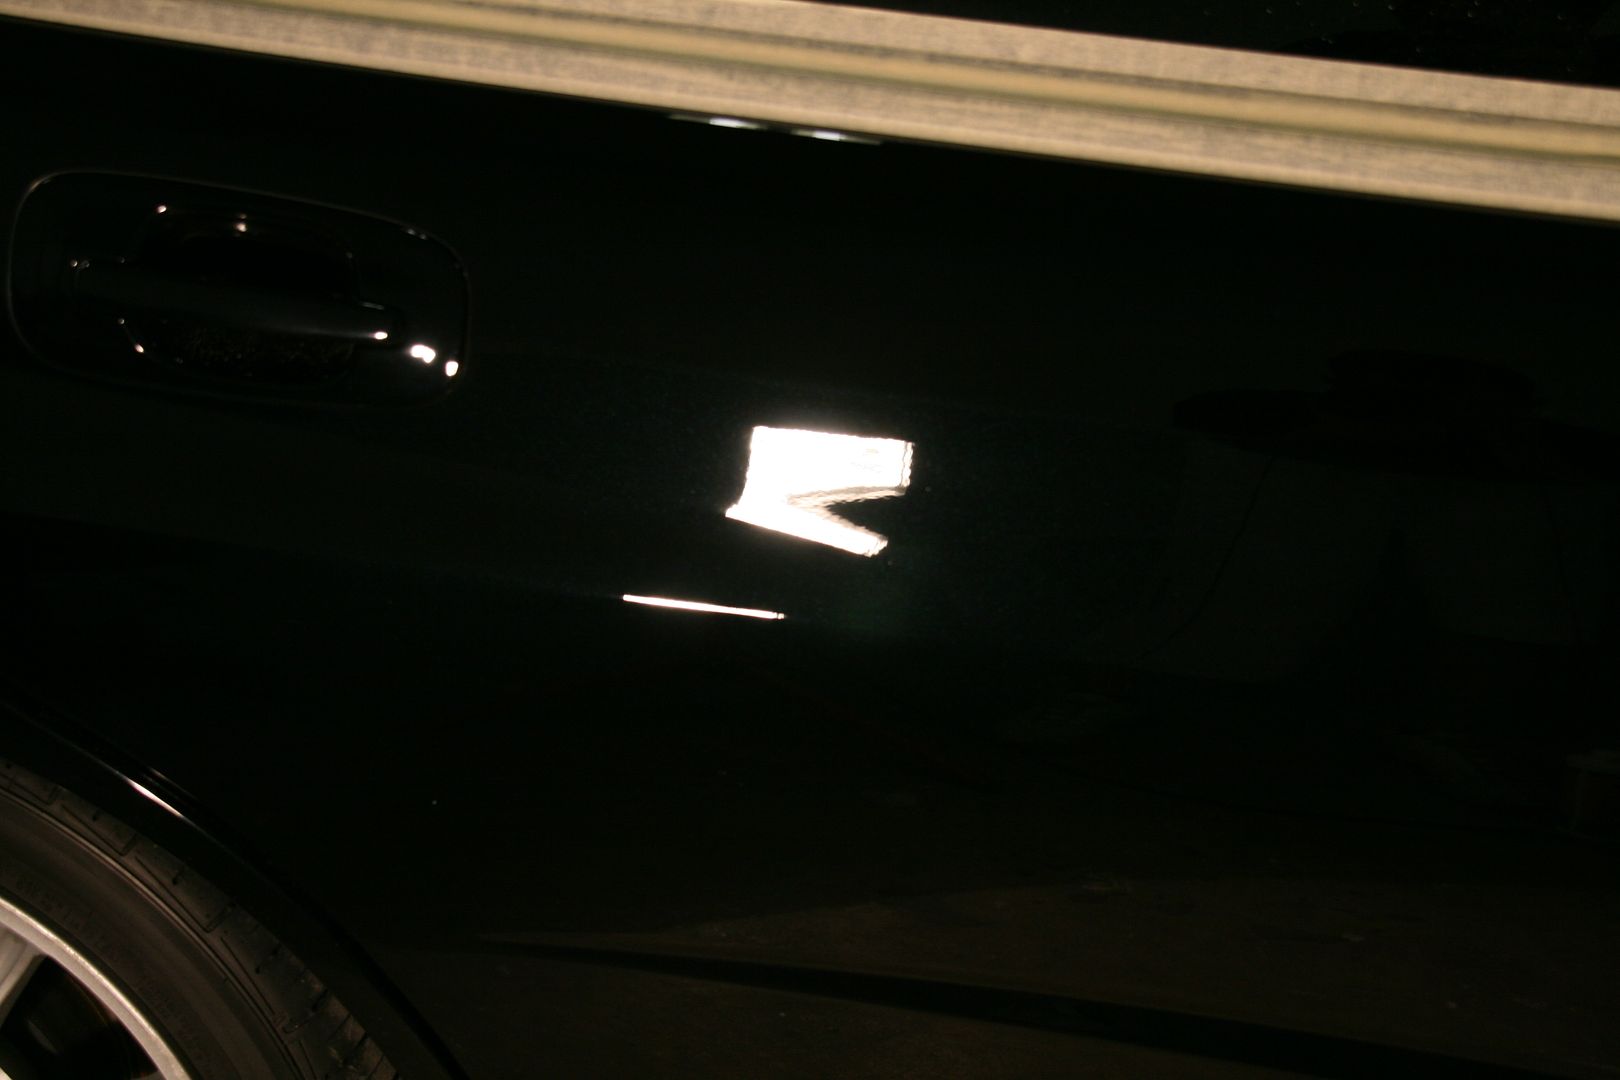
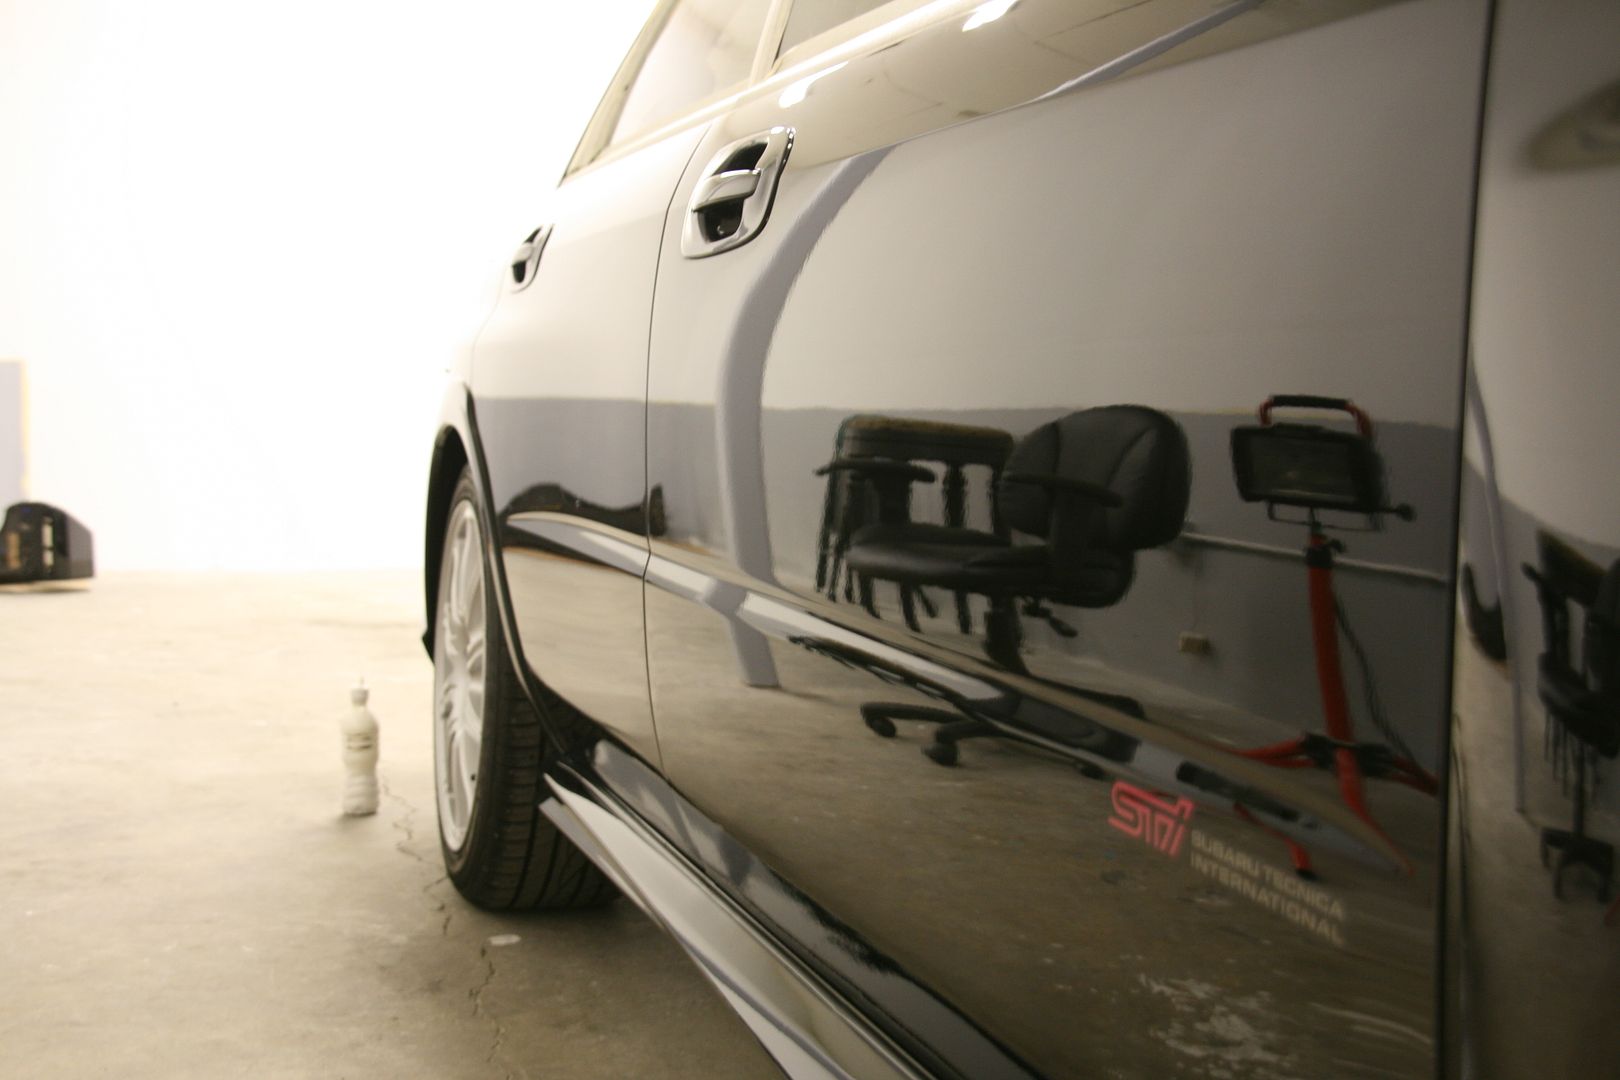
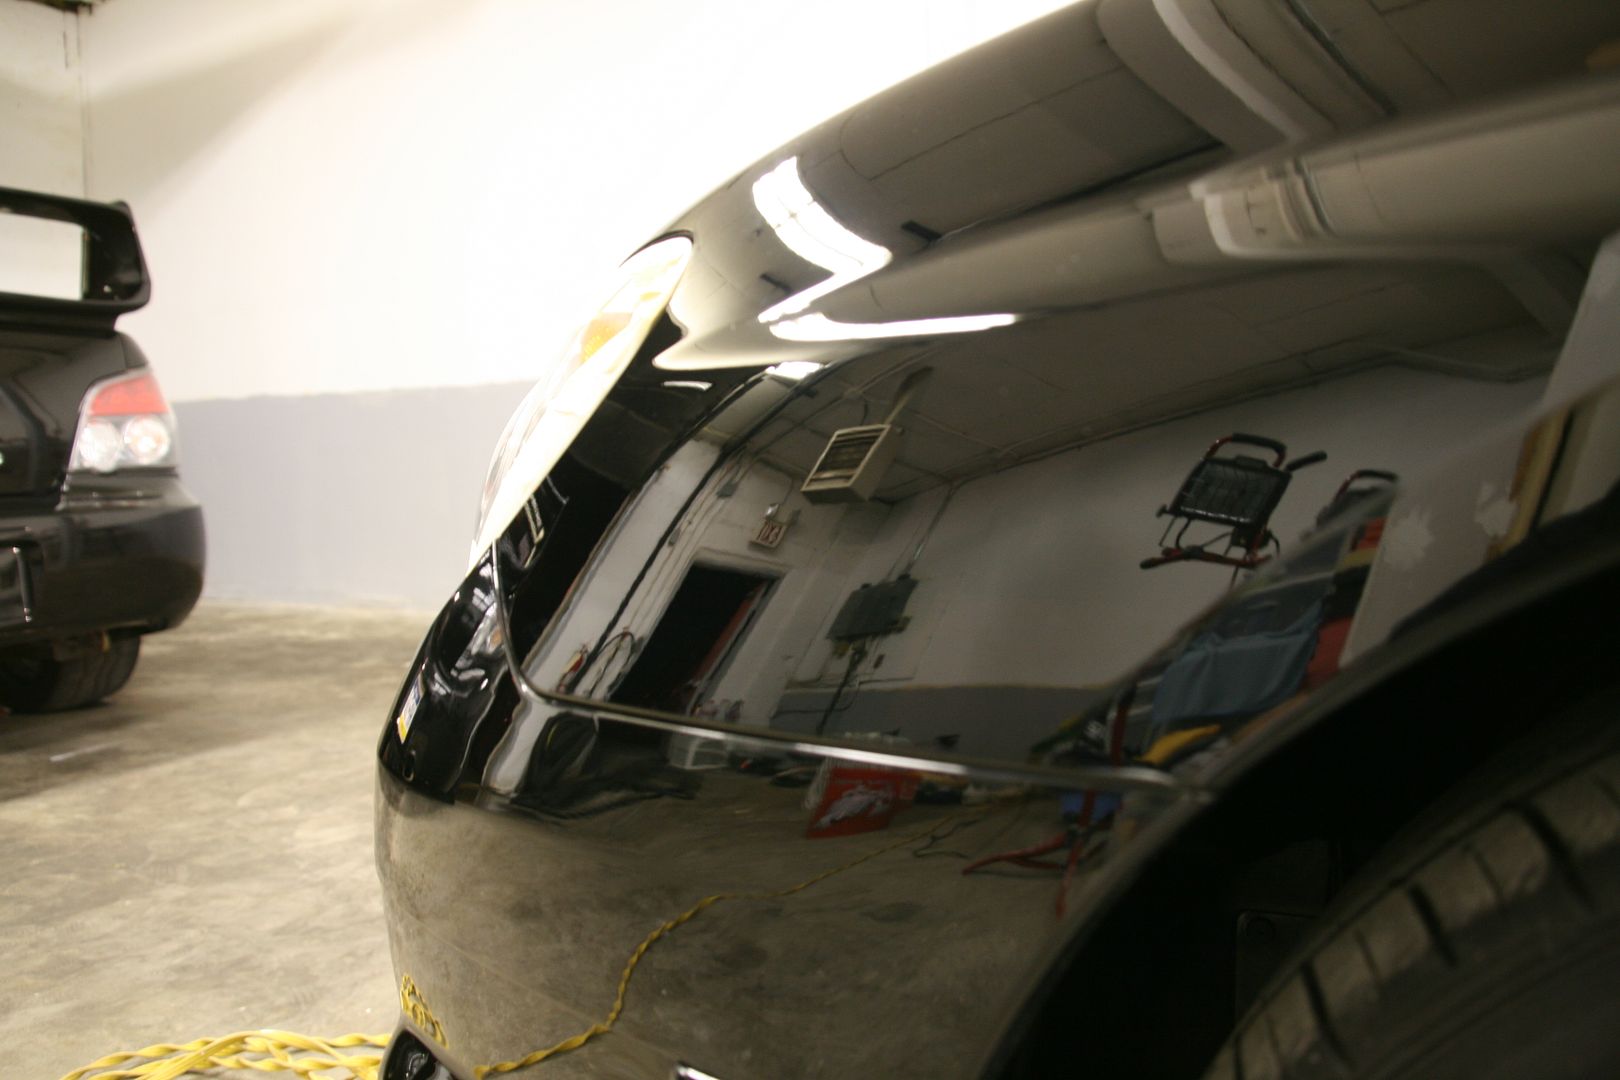
Paint photos under the same spot lights after, BEFORE any sealant/wax:


spoiler and hood scoop first, areas under them done as well.


some correction shots


50/50 pics were taken after first polishing stage and are not the final pics


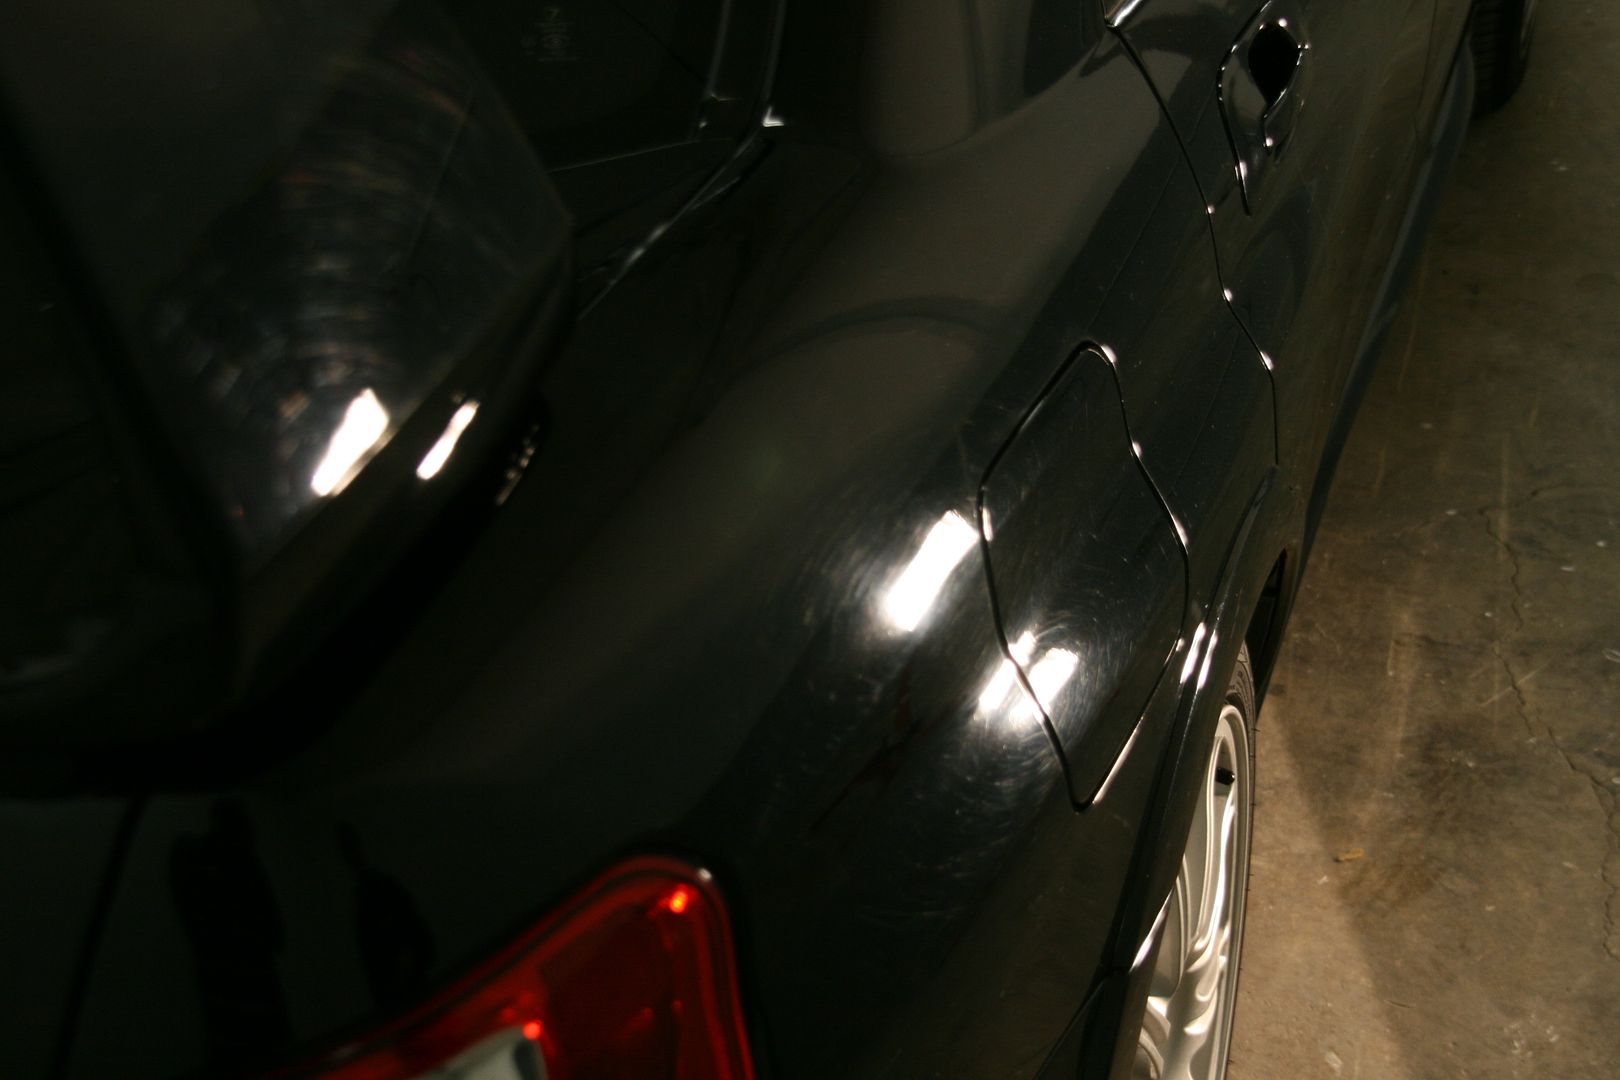
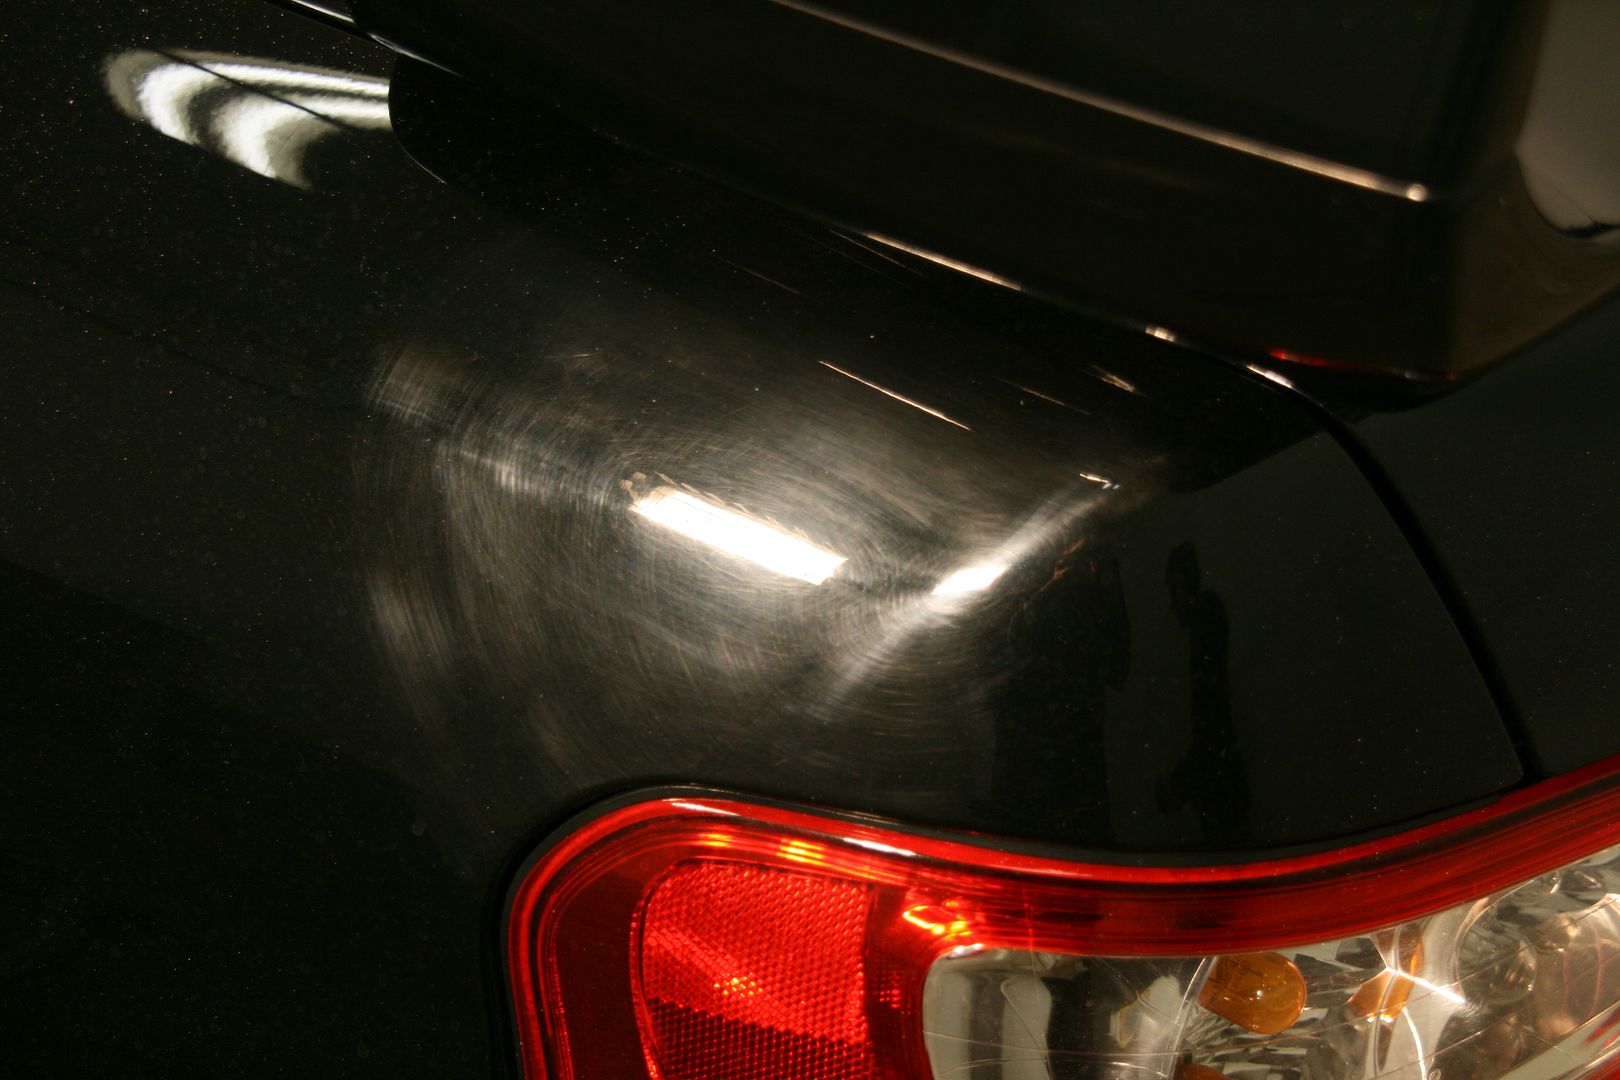
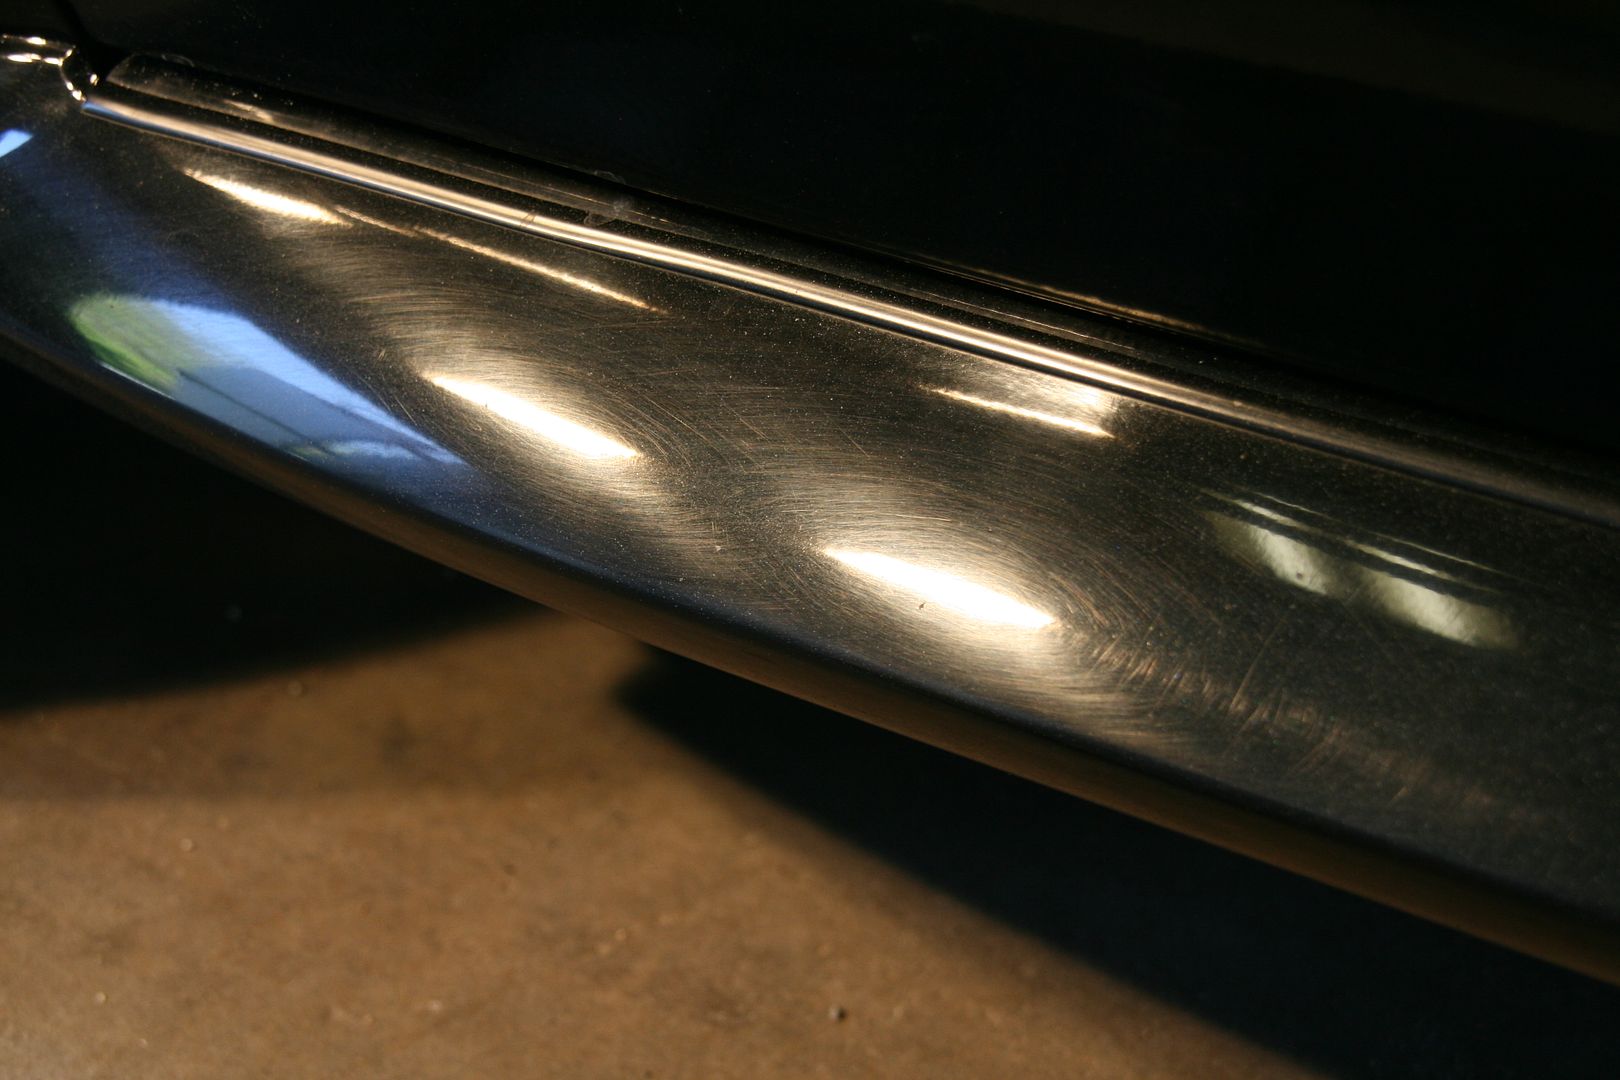
rear bumper
before

after

spoiler and hood scoop first, areas under them done as well.
some correction shots
50/50 pics were taken after first polishing stage and are not the final pics
rear bumper
before
after
05-09-2010, 12:18 PM
#3
Registered User
Thread Starter
Join Date: May 2009
Posts: 127
Likes: 0
Received 0 Likes
on
0 Posts
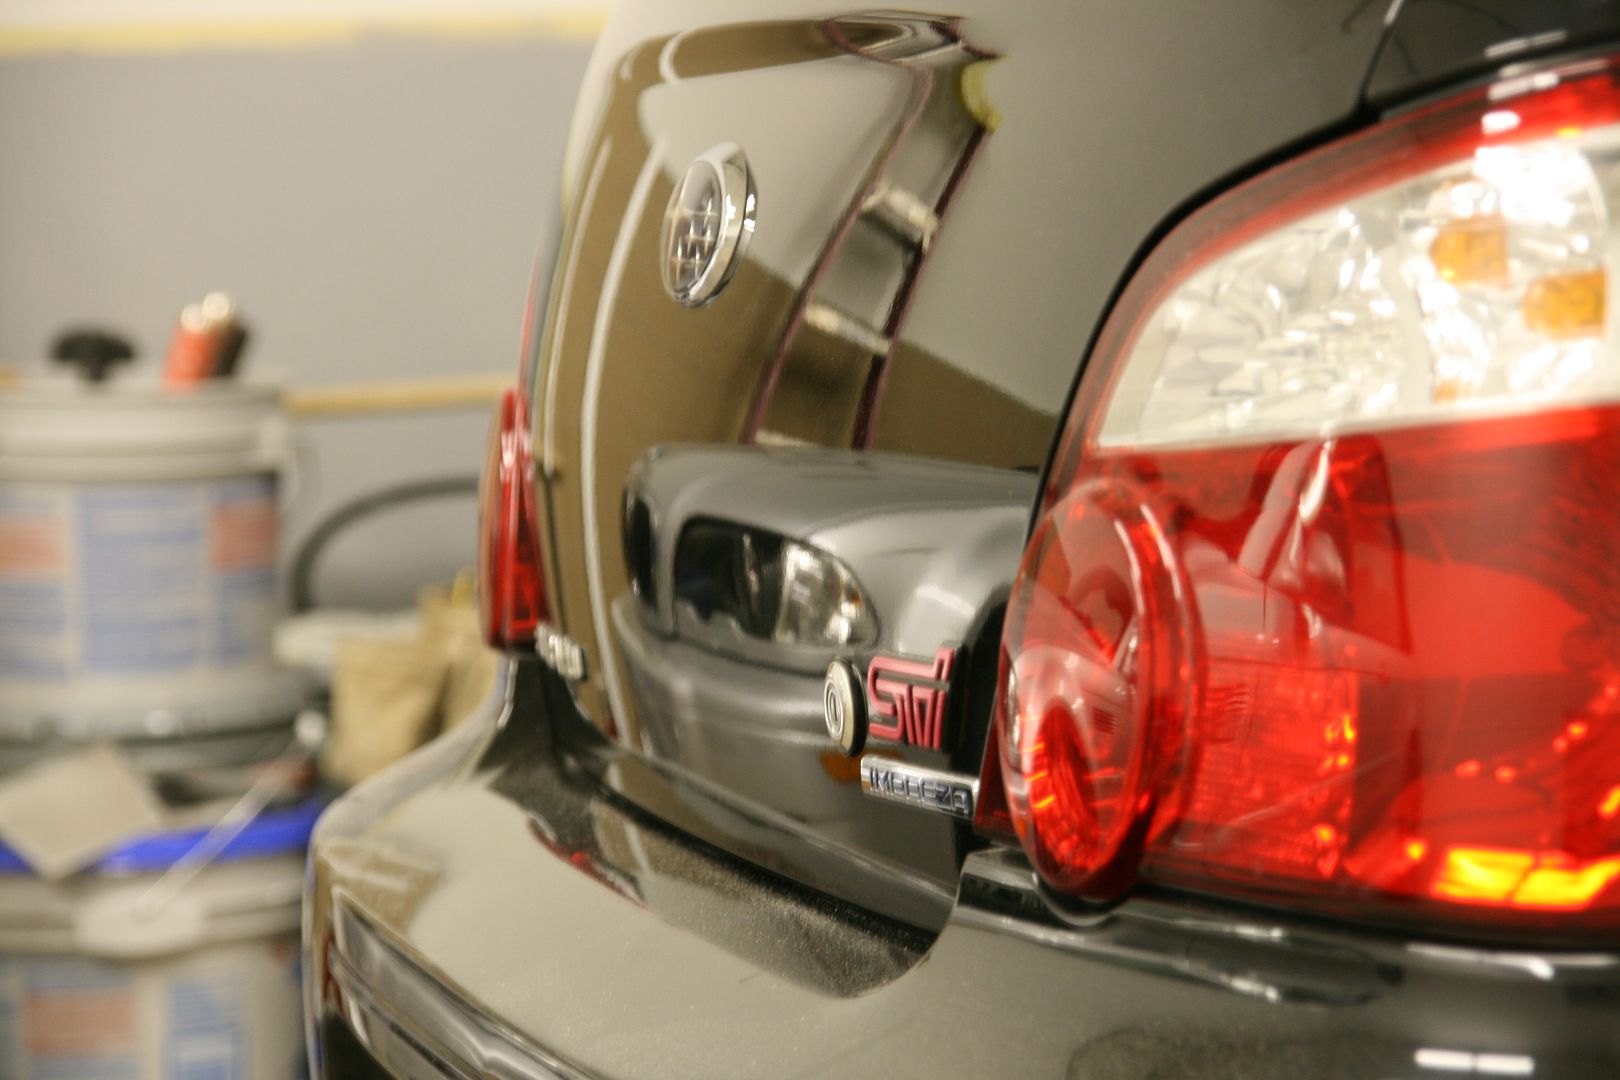
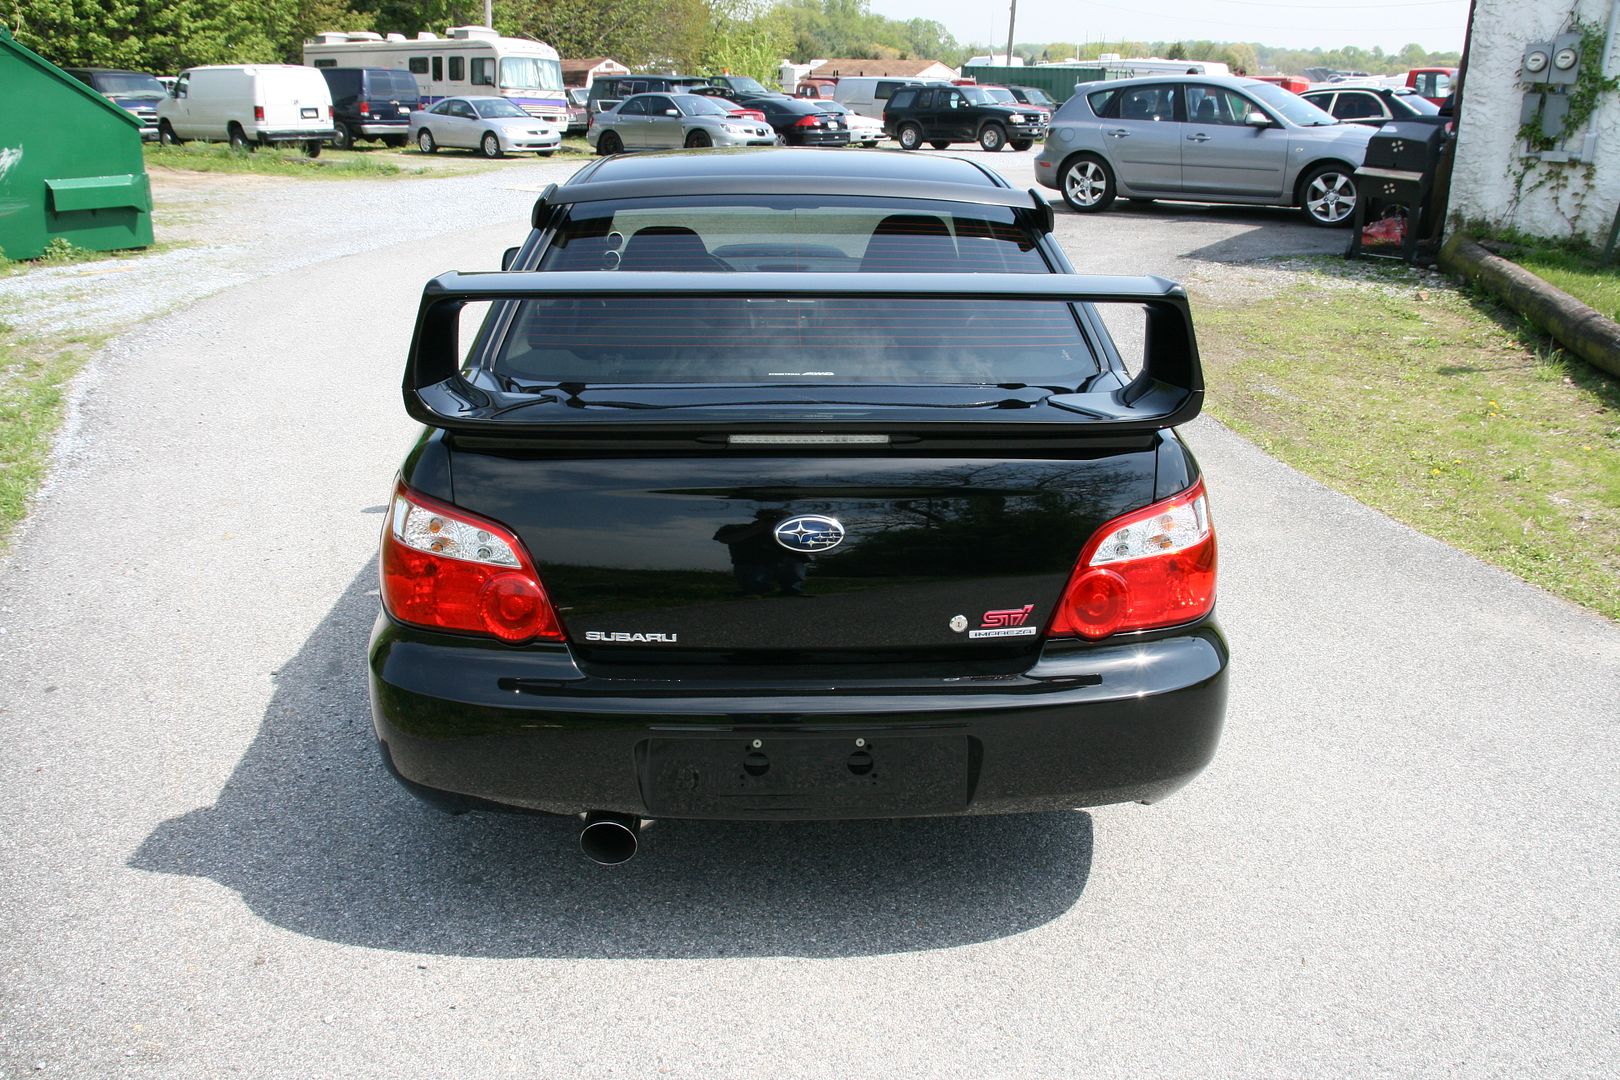
the tail lights


 [/QUOTE]
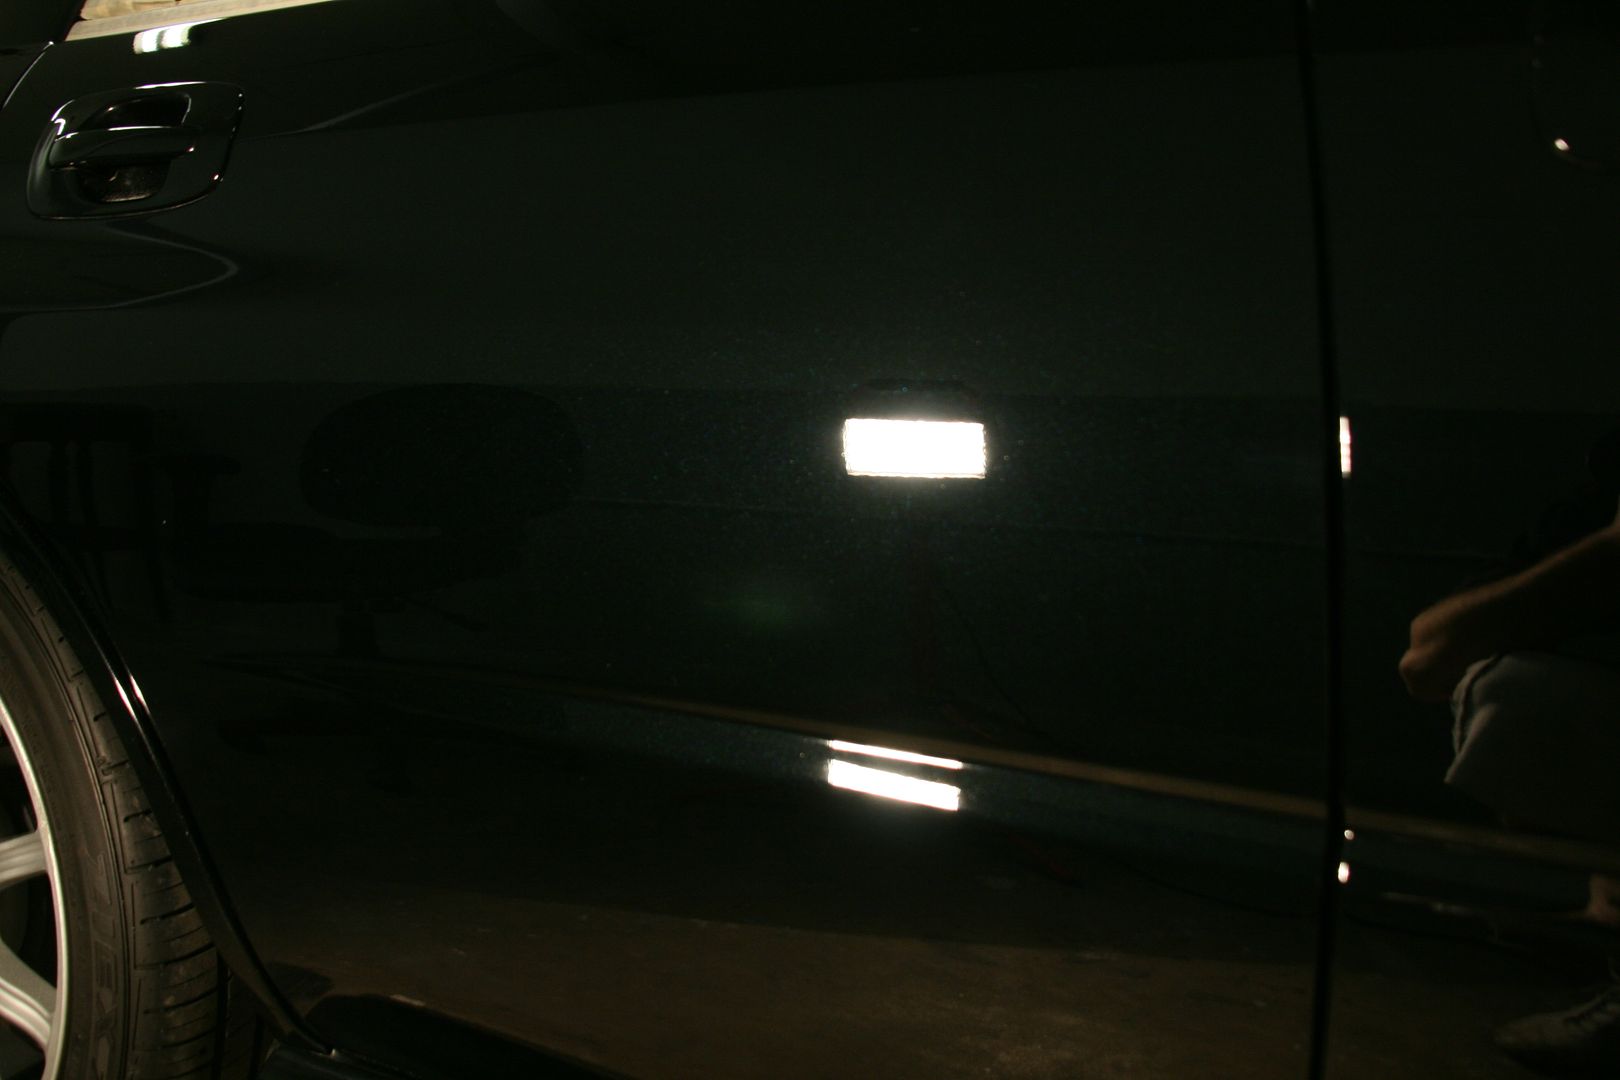
The paint under direct sunlight:
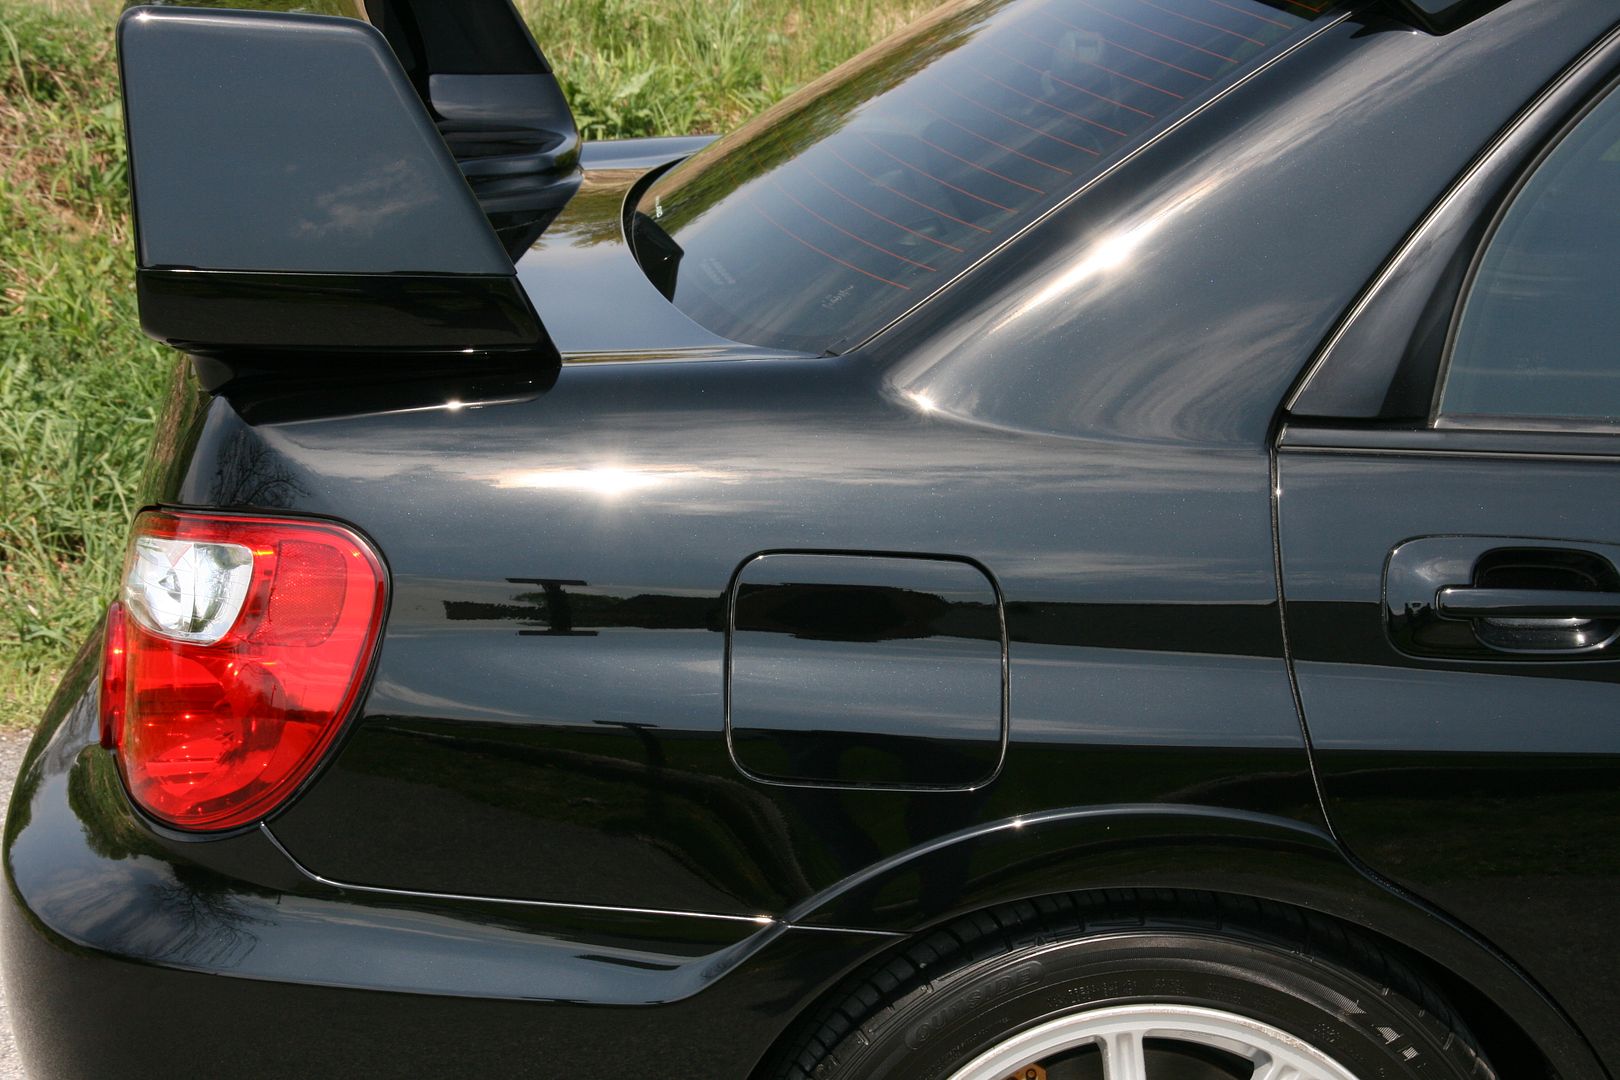
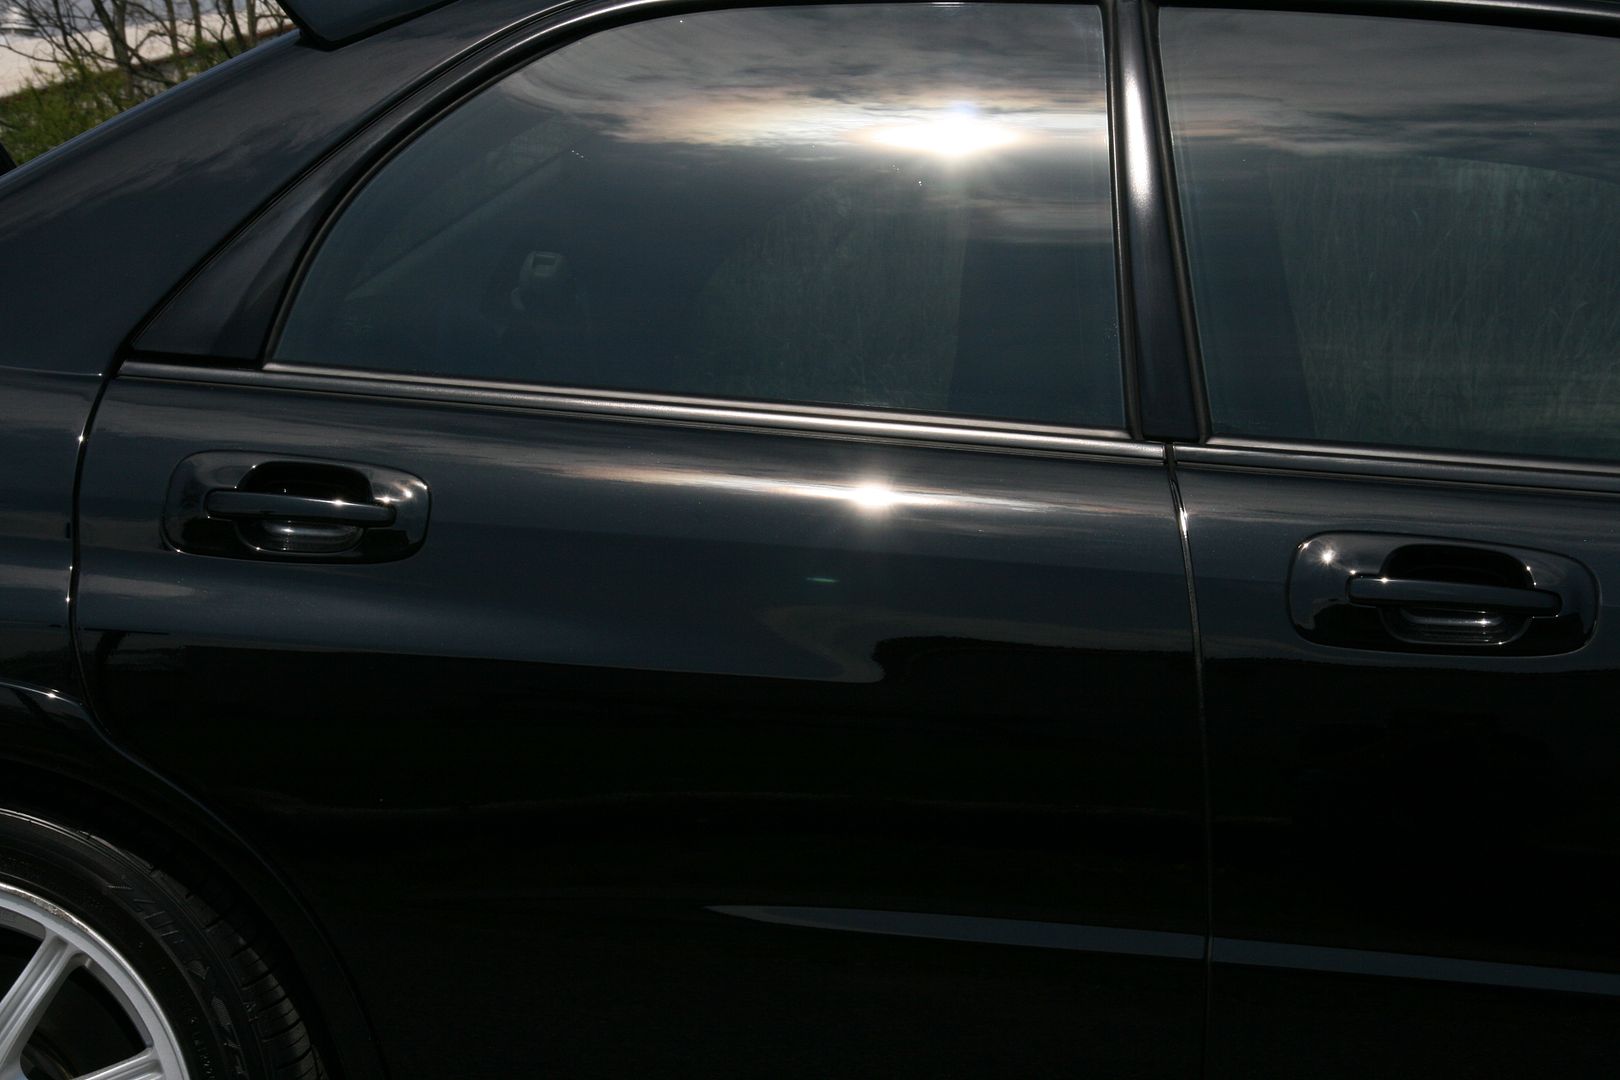
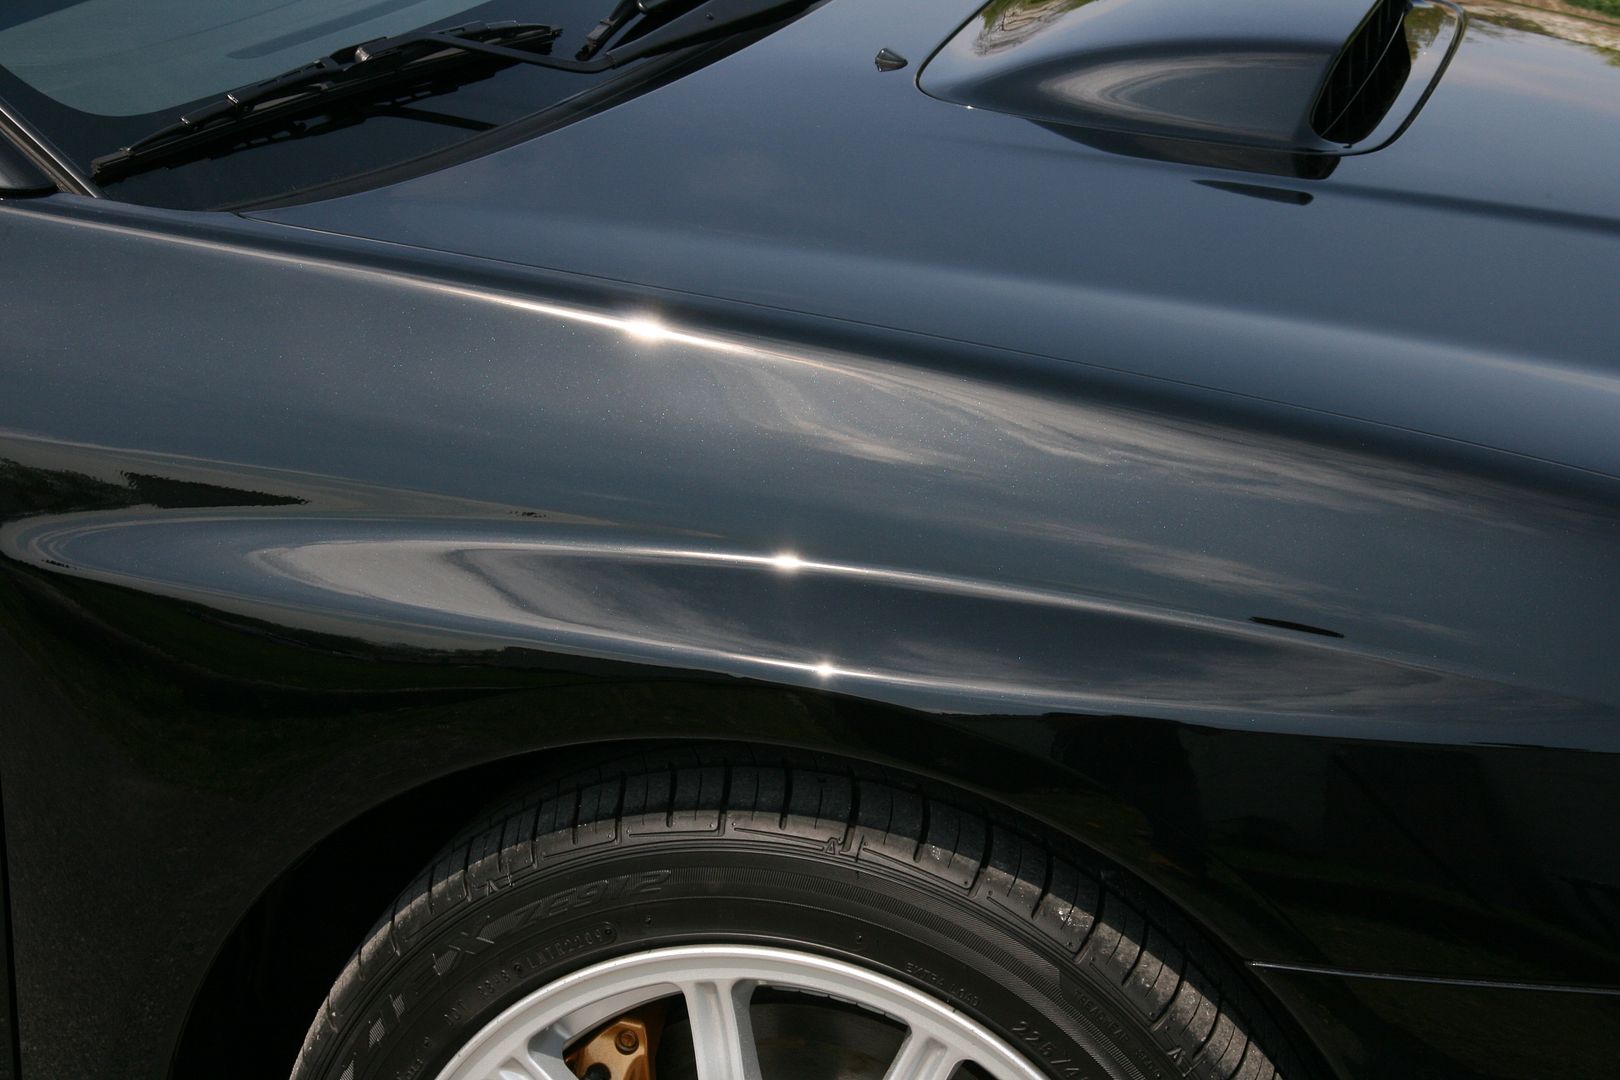
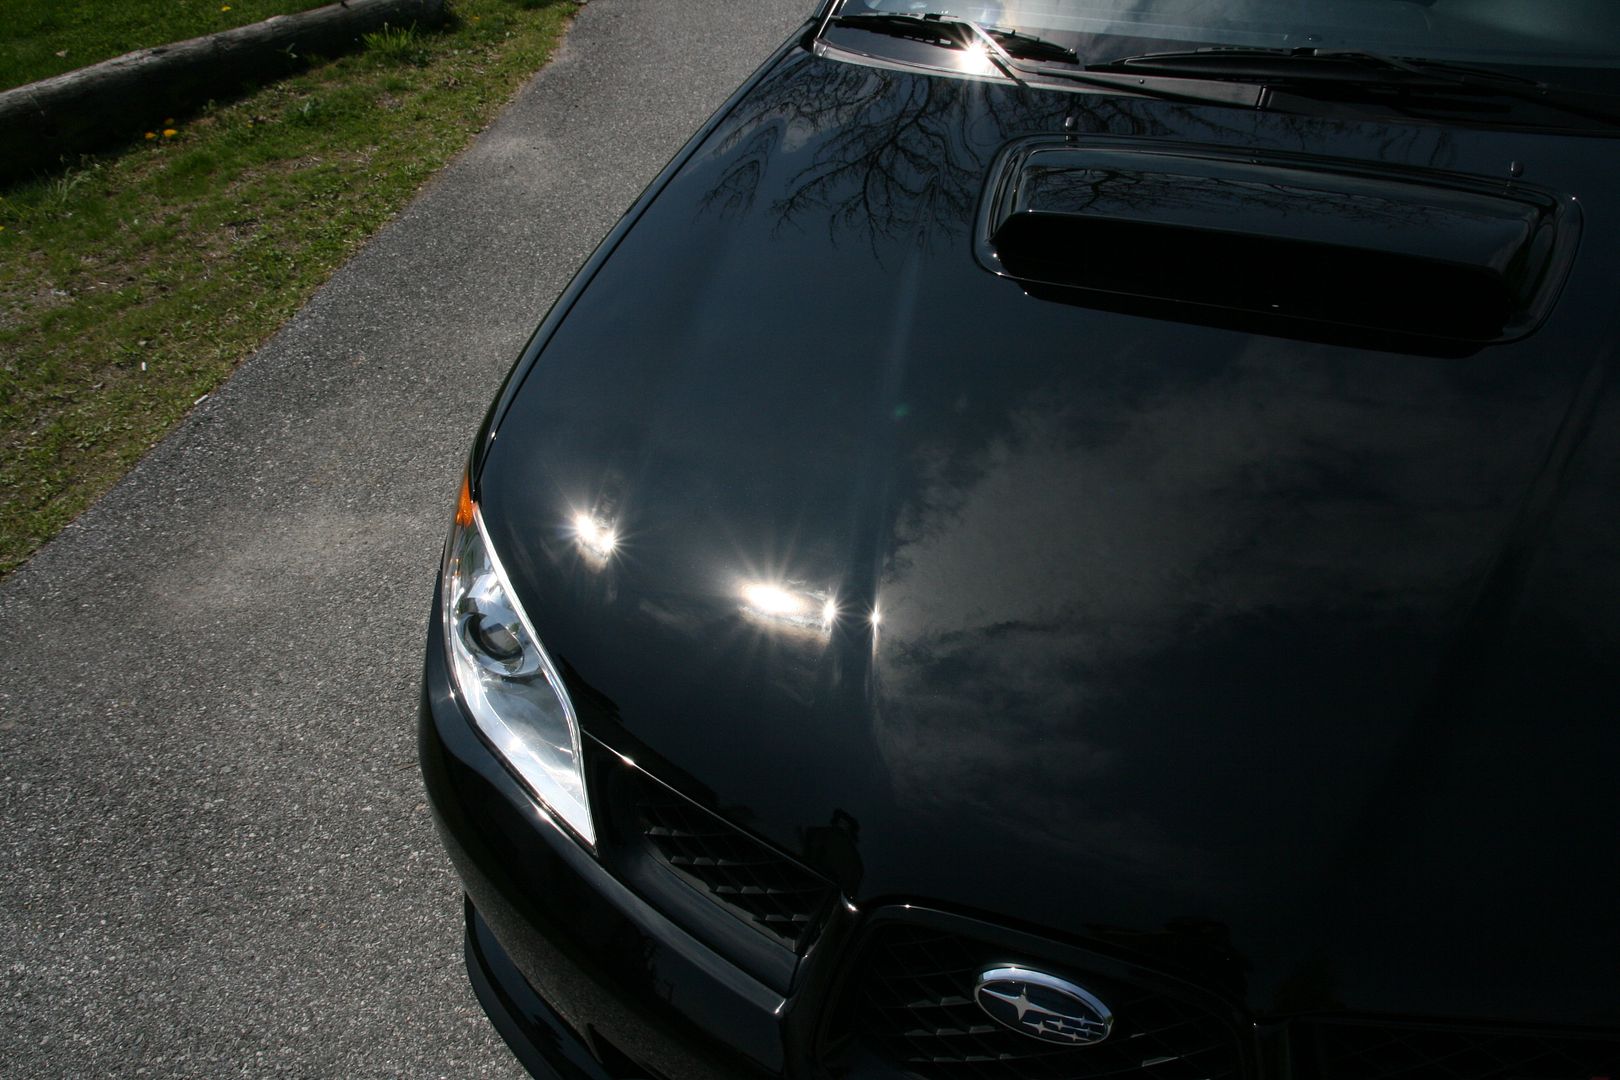
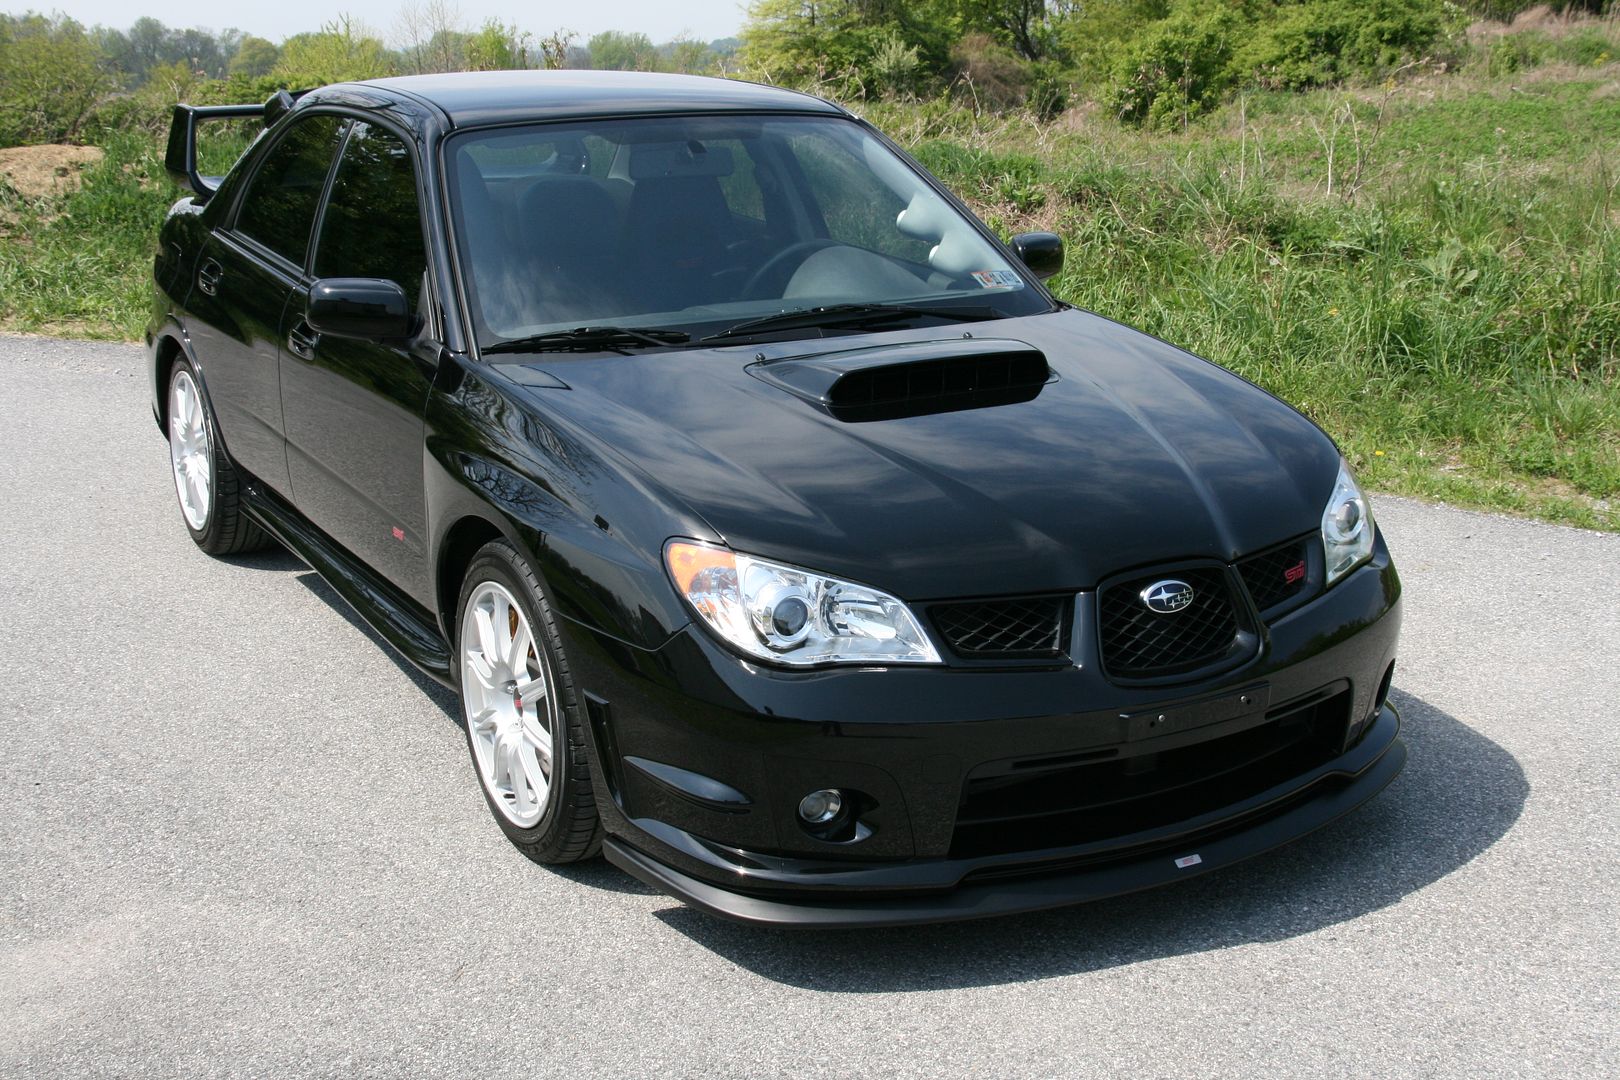
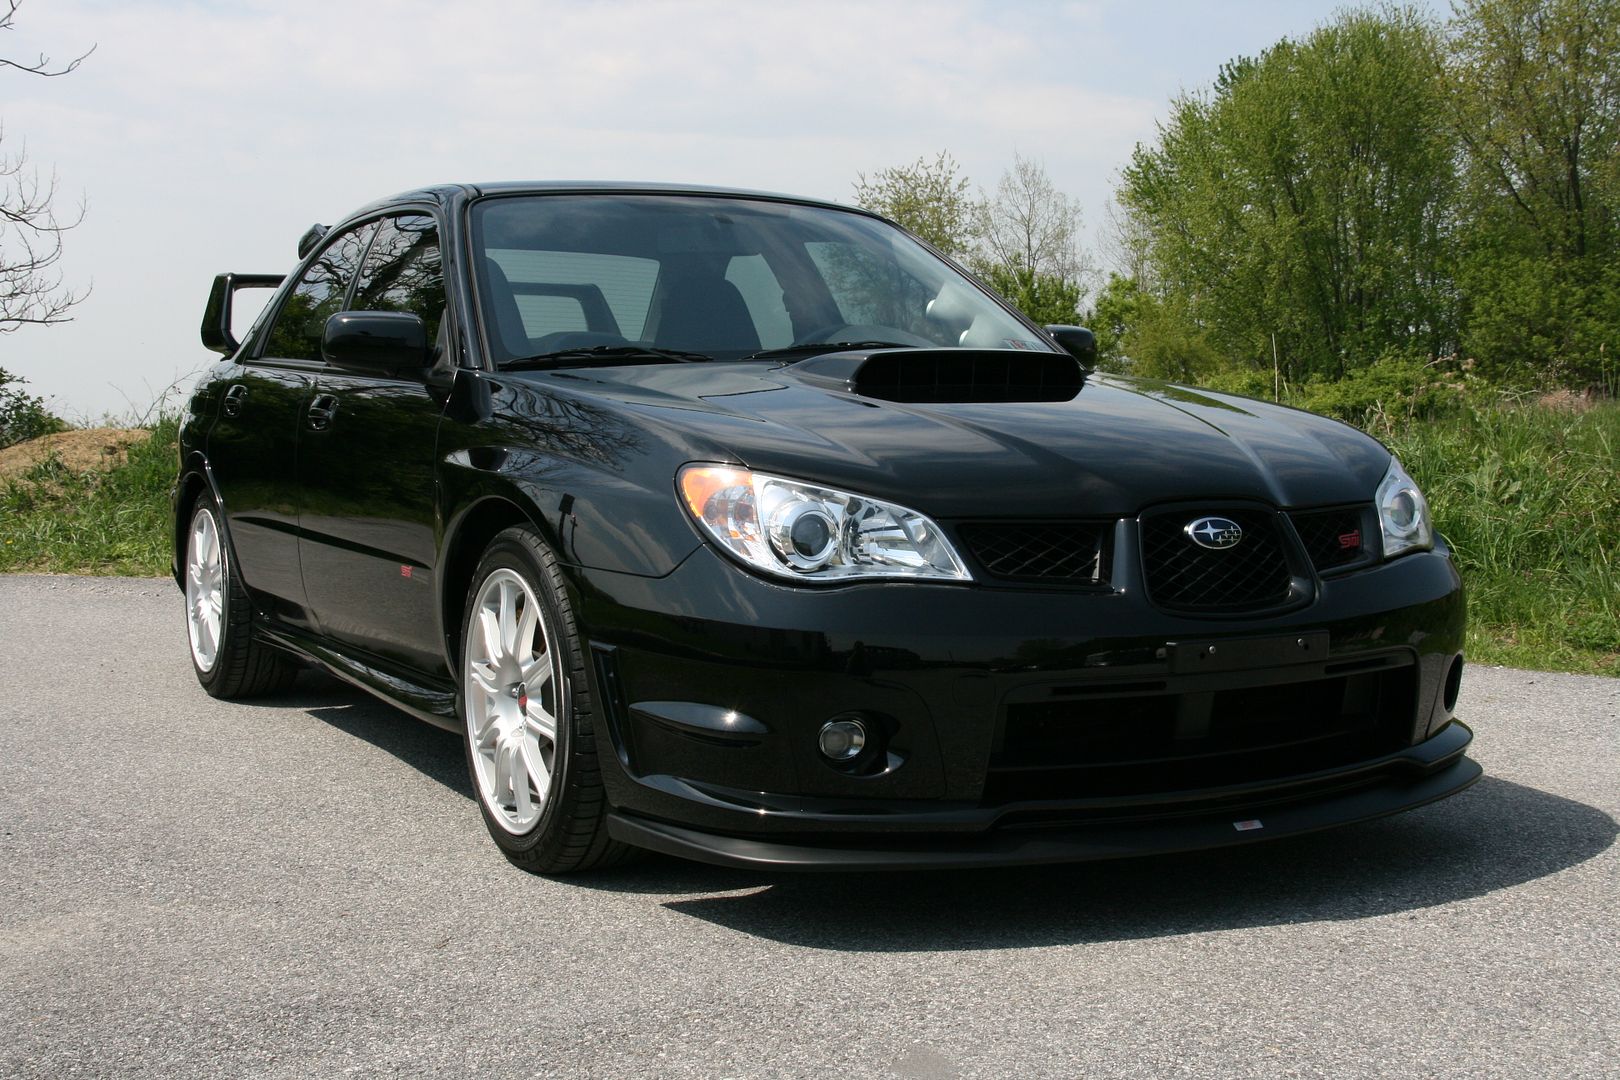
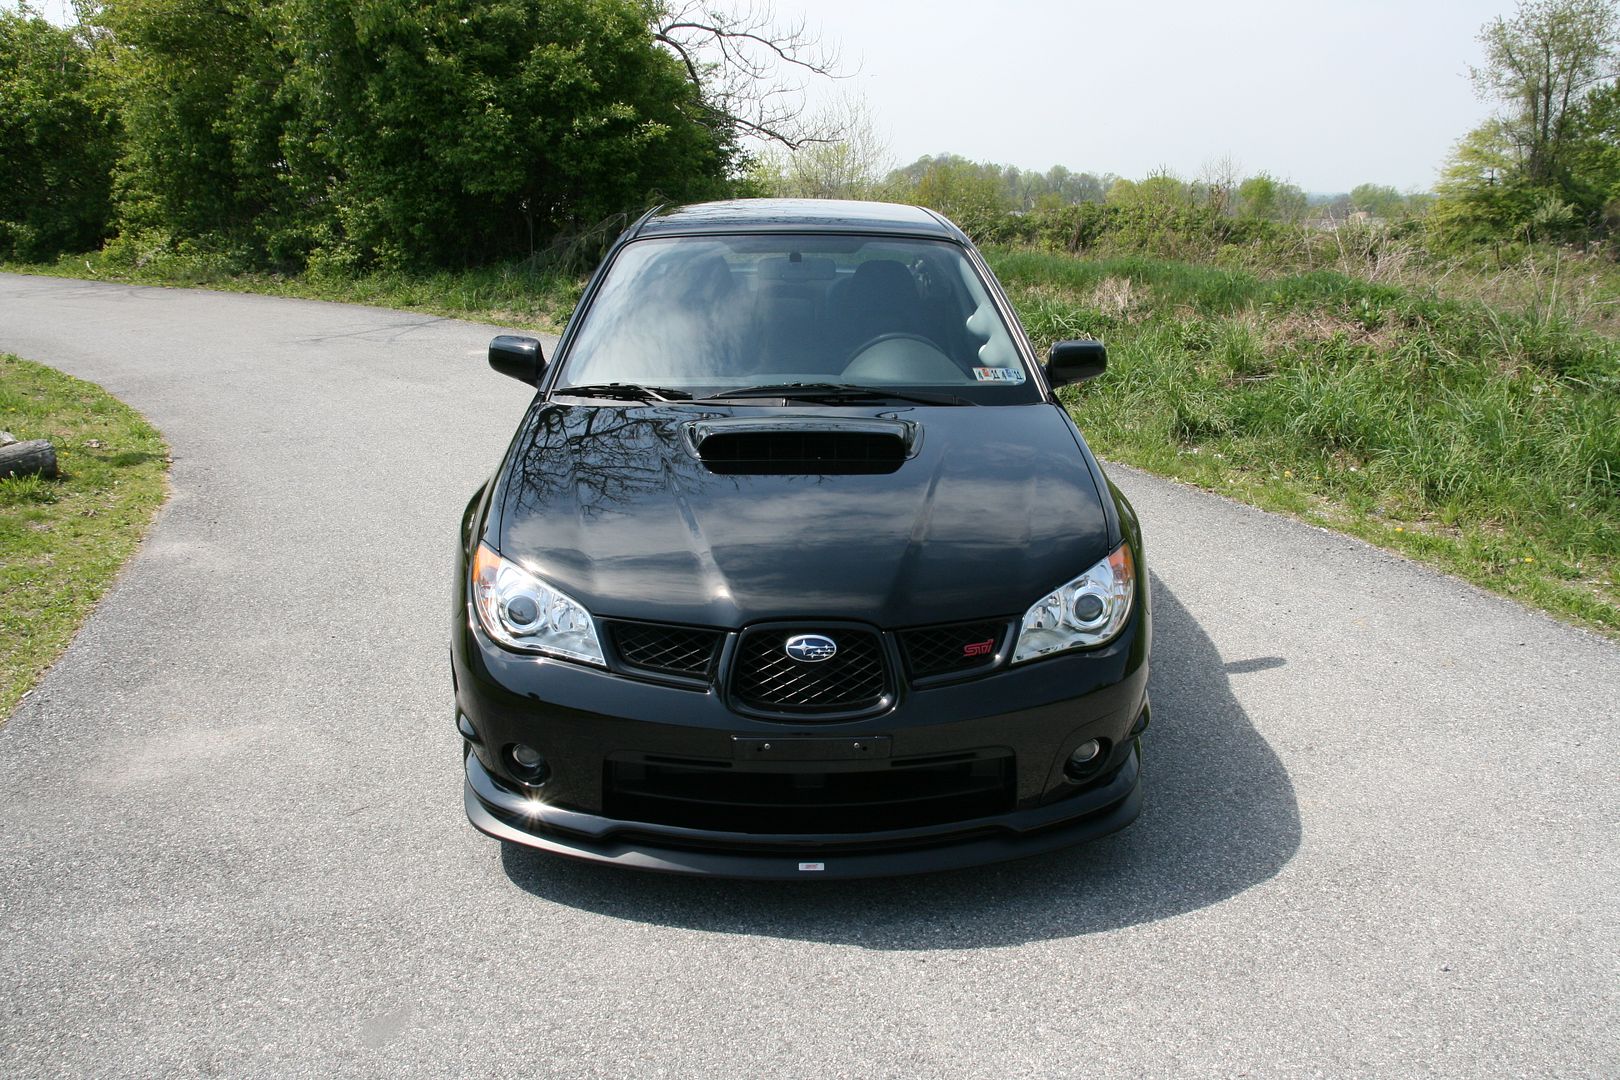
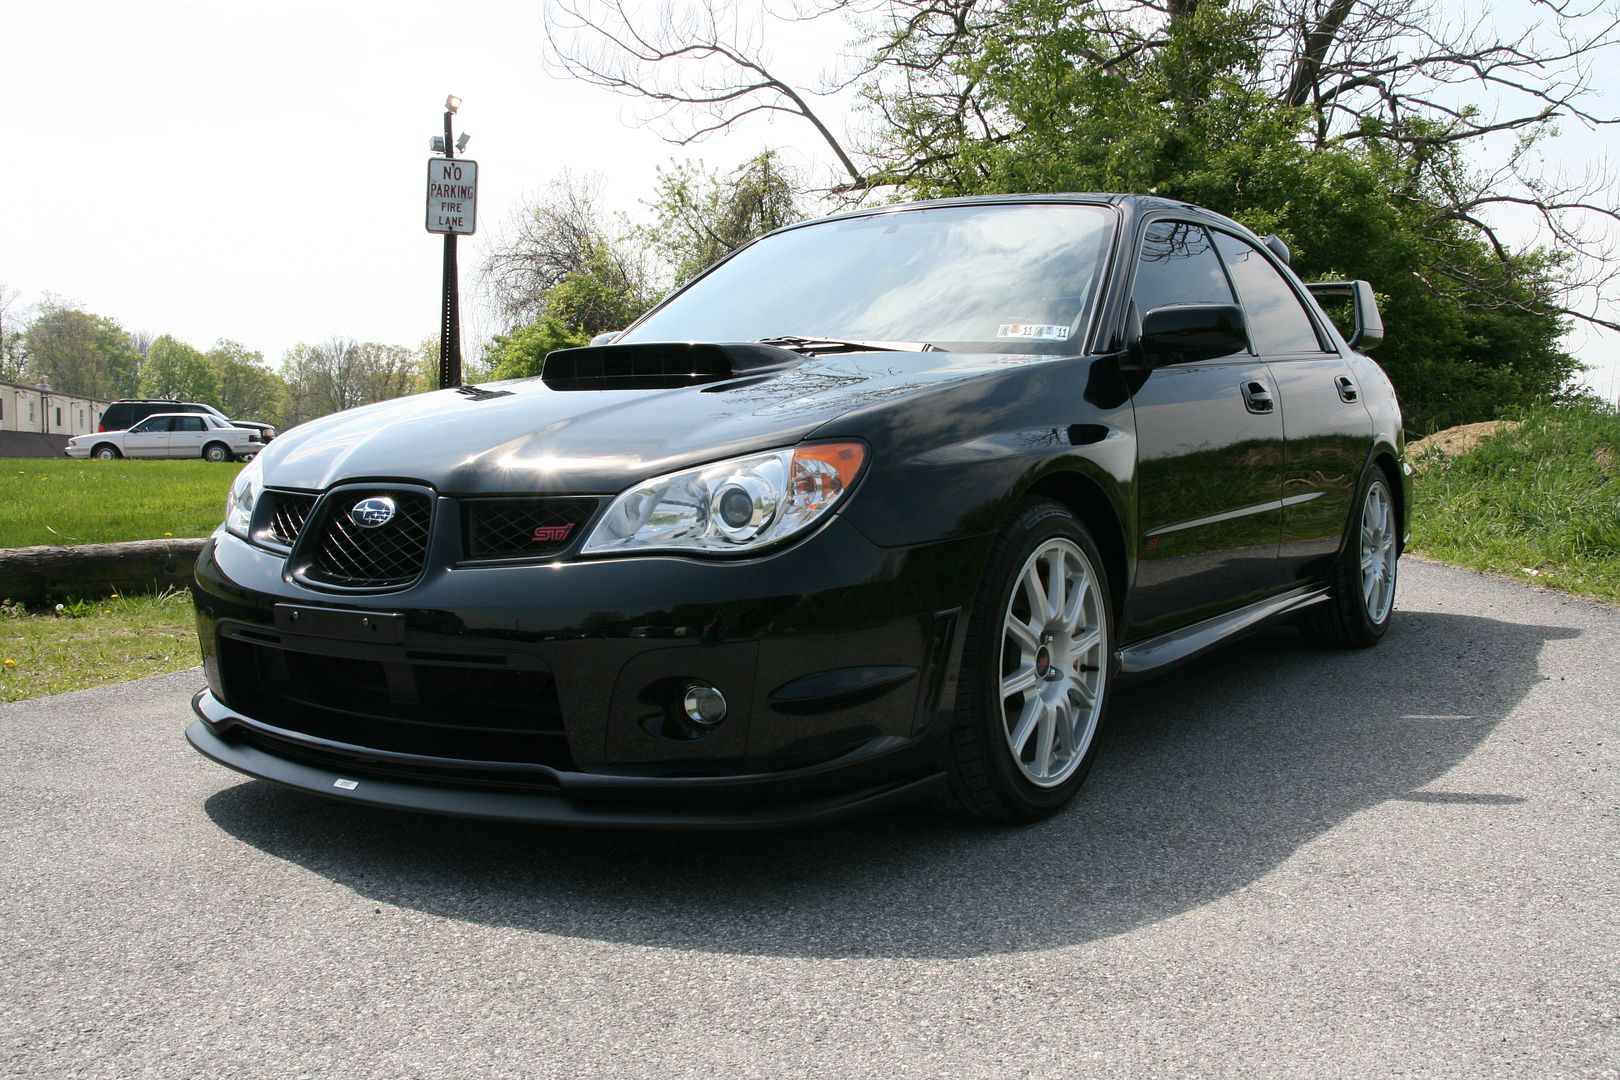
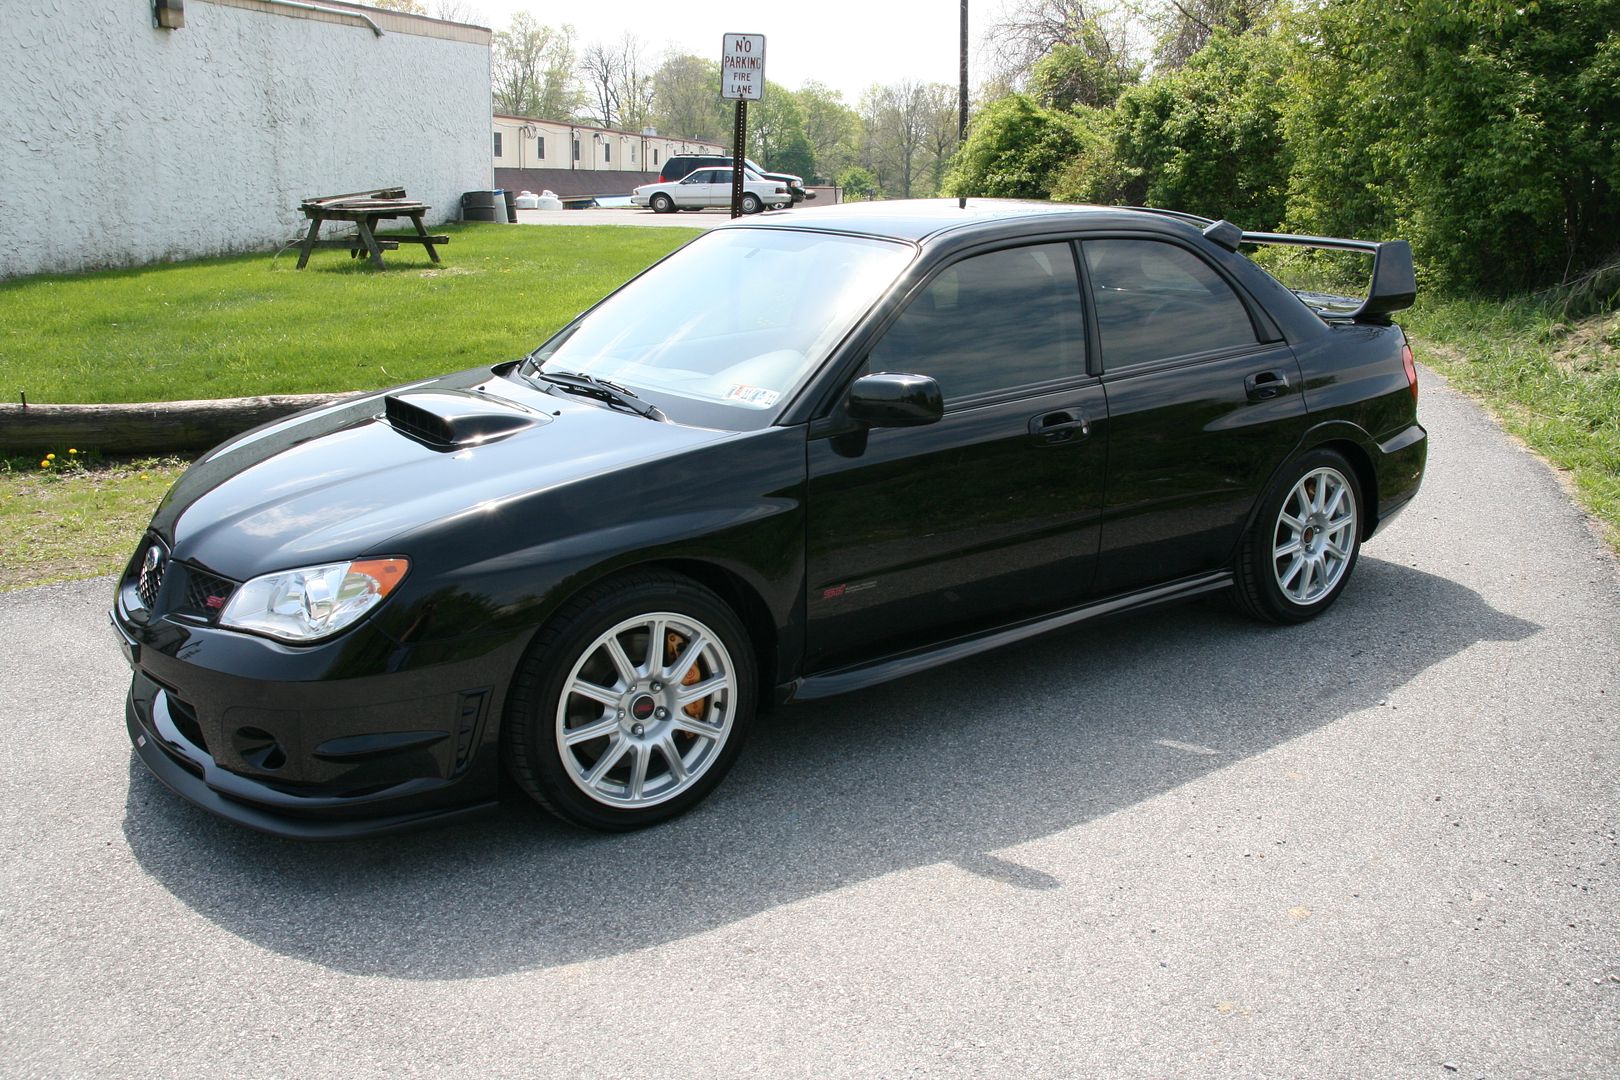
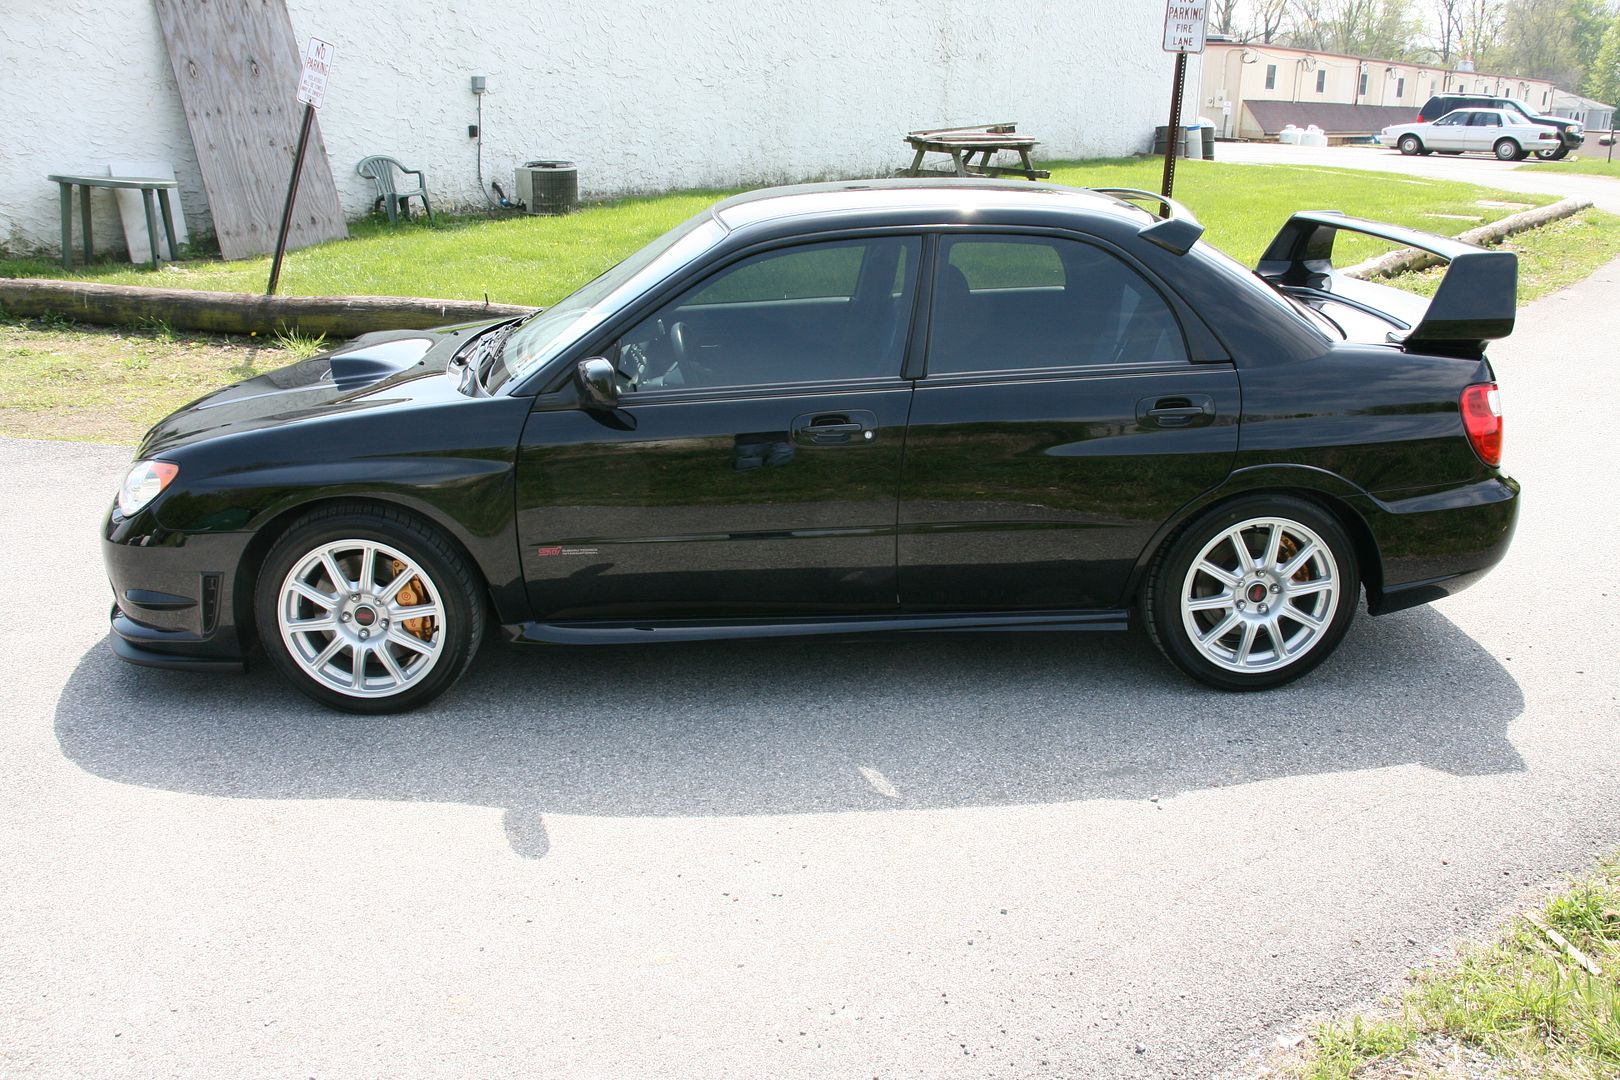
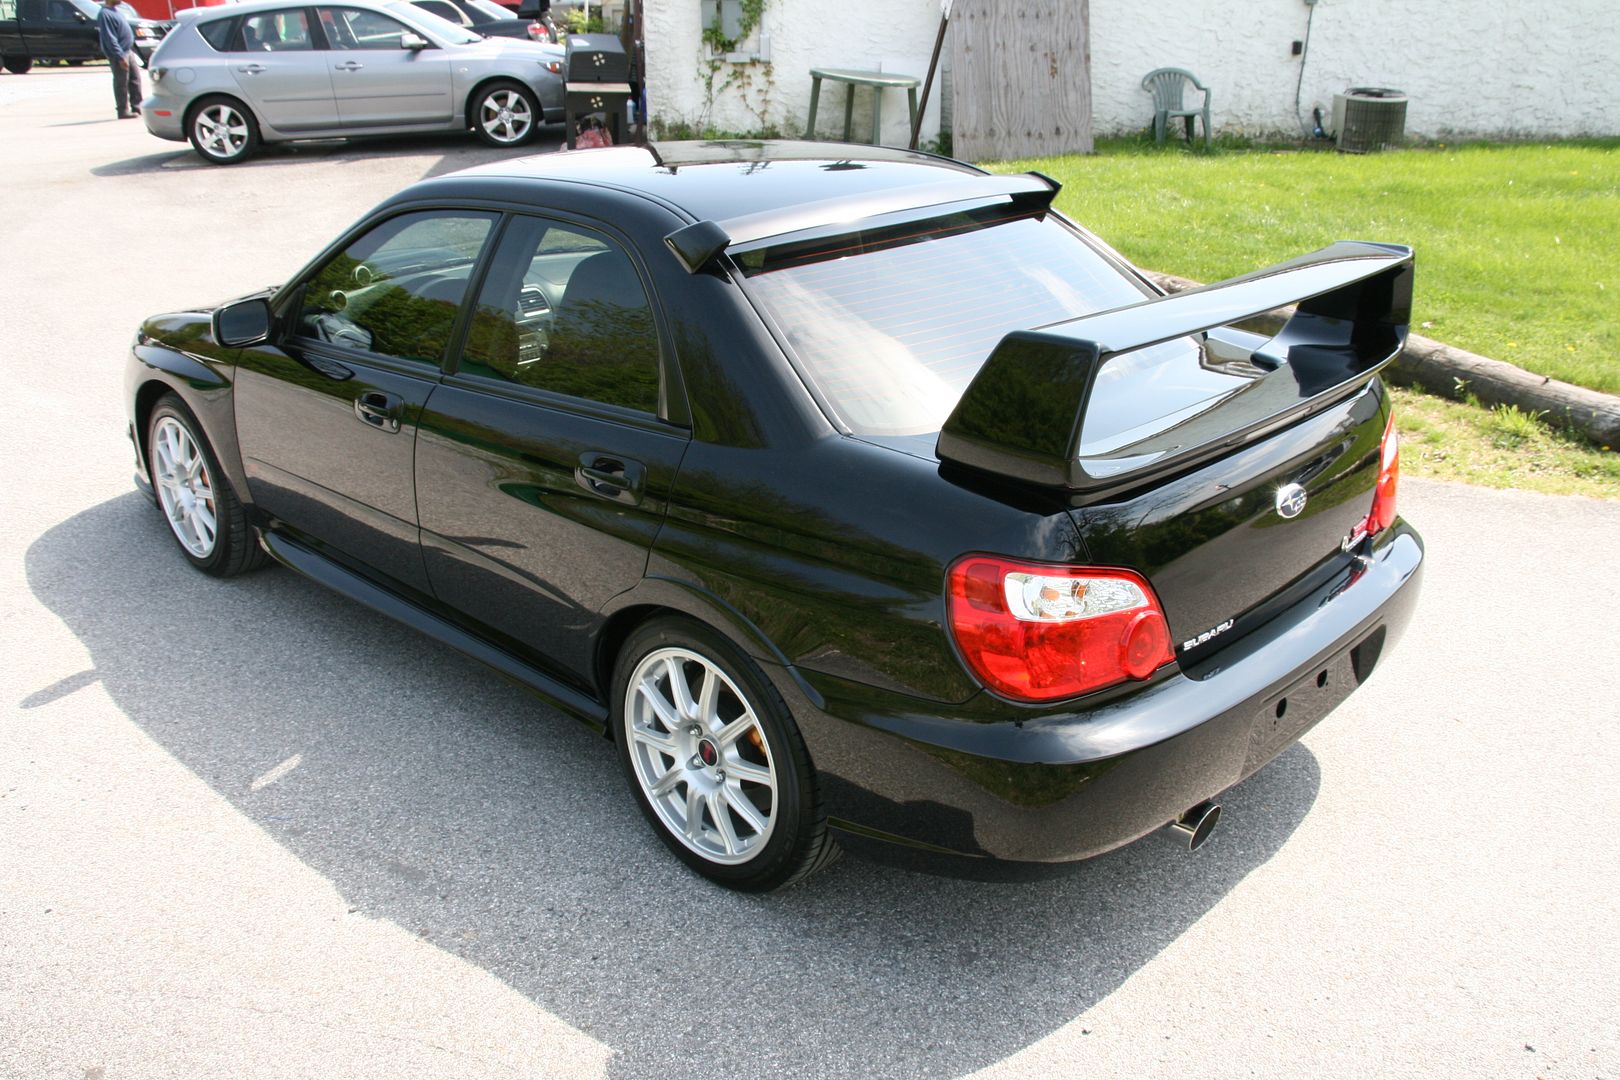
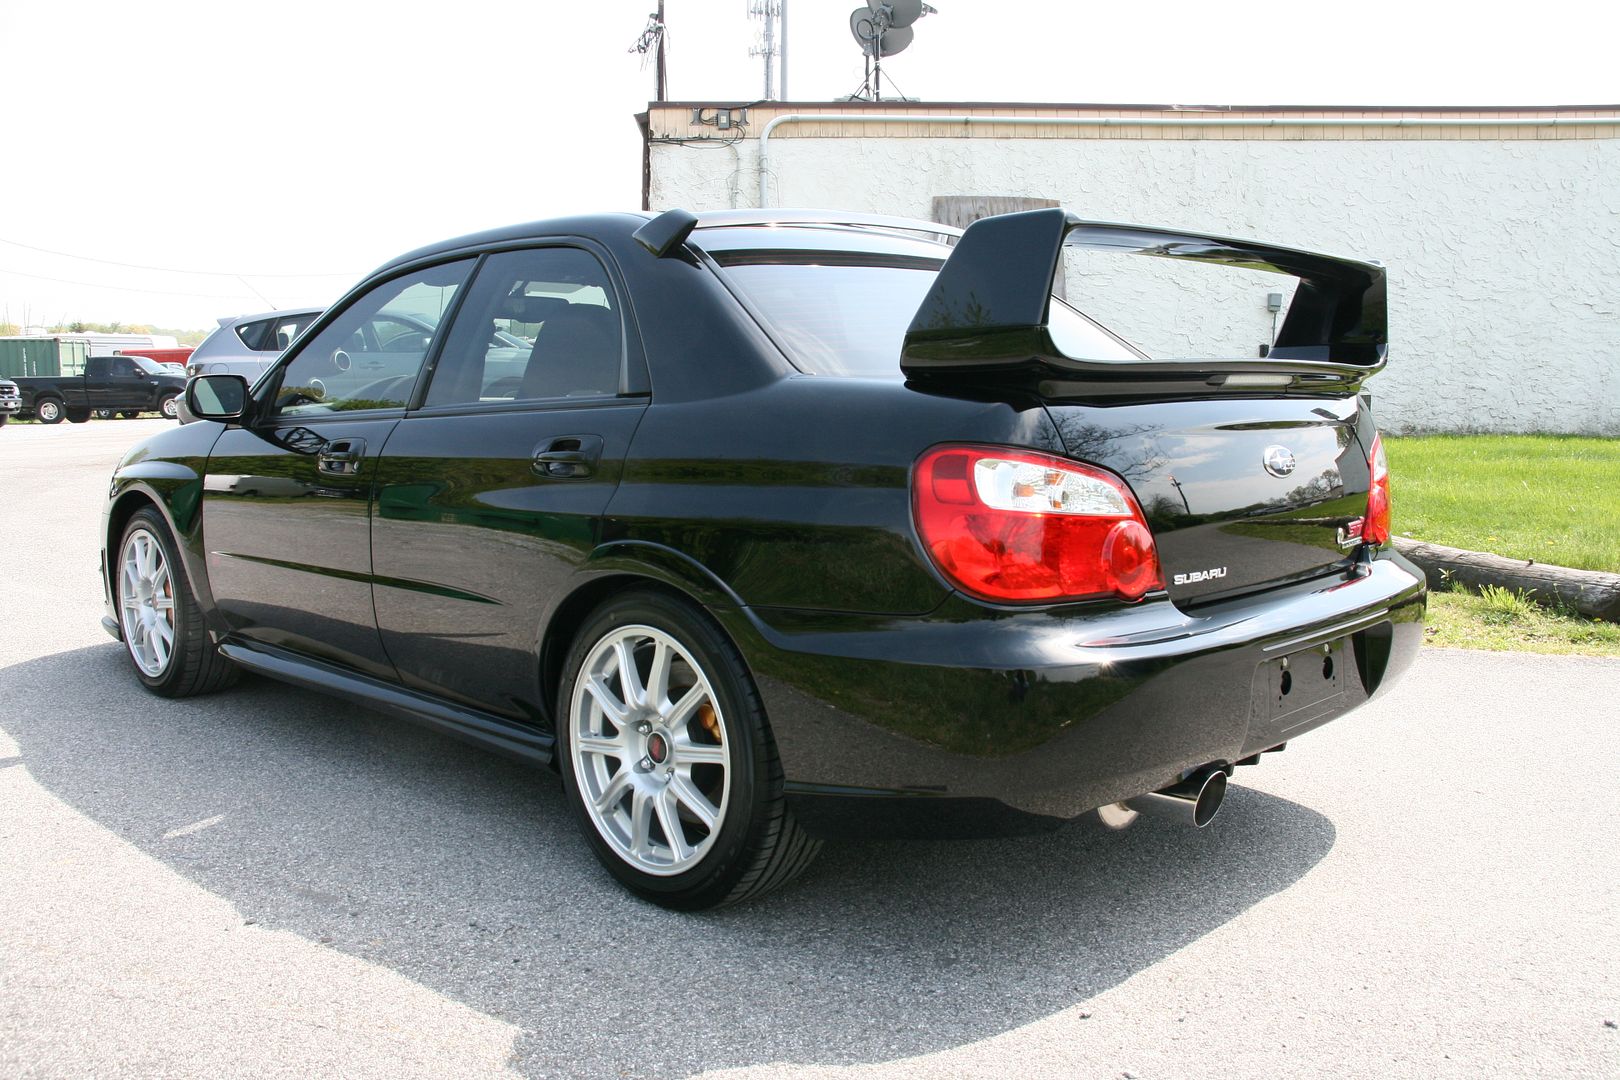
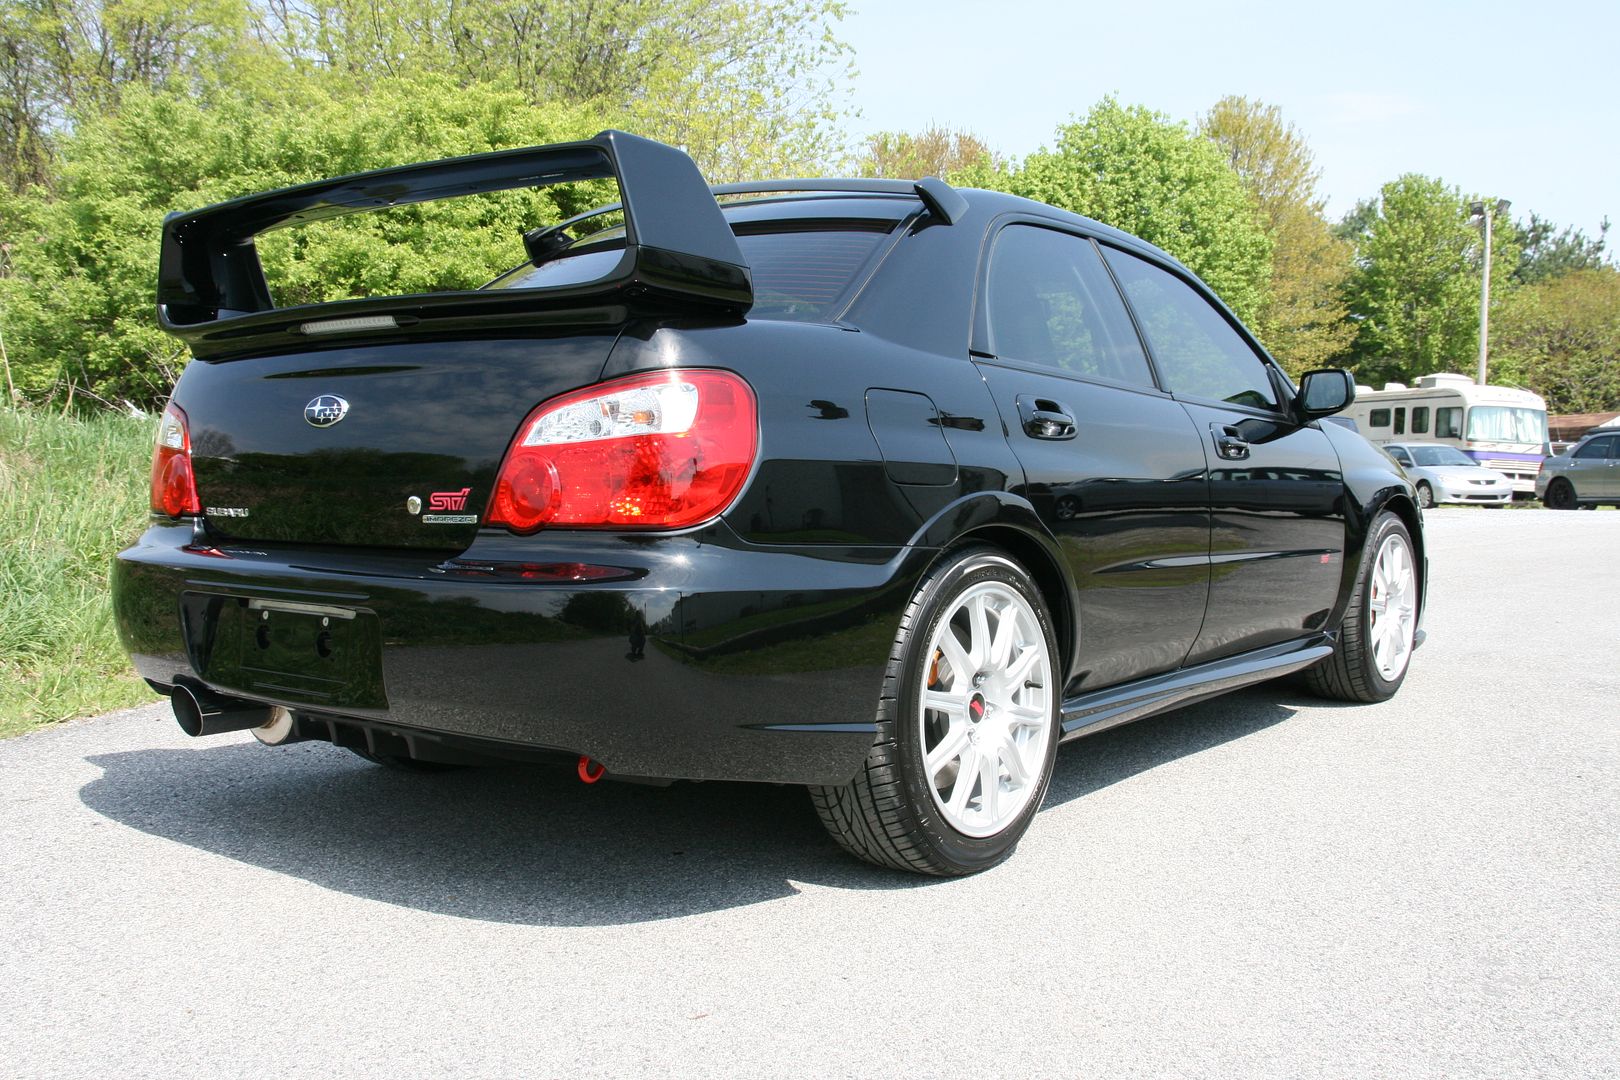
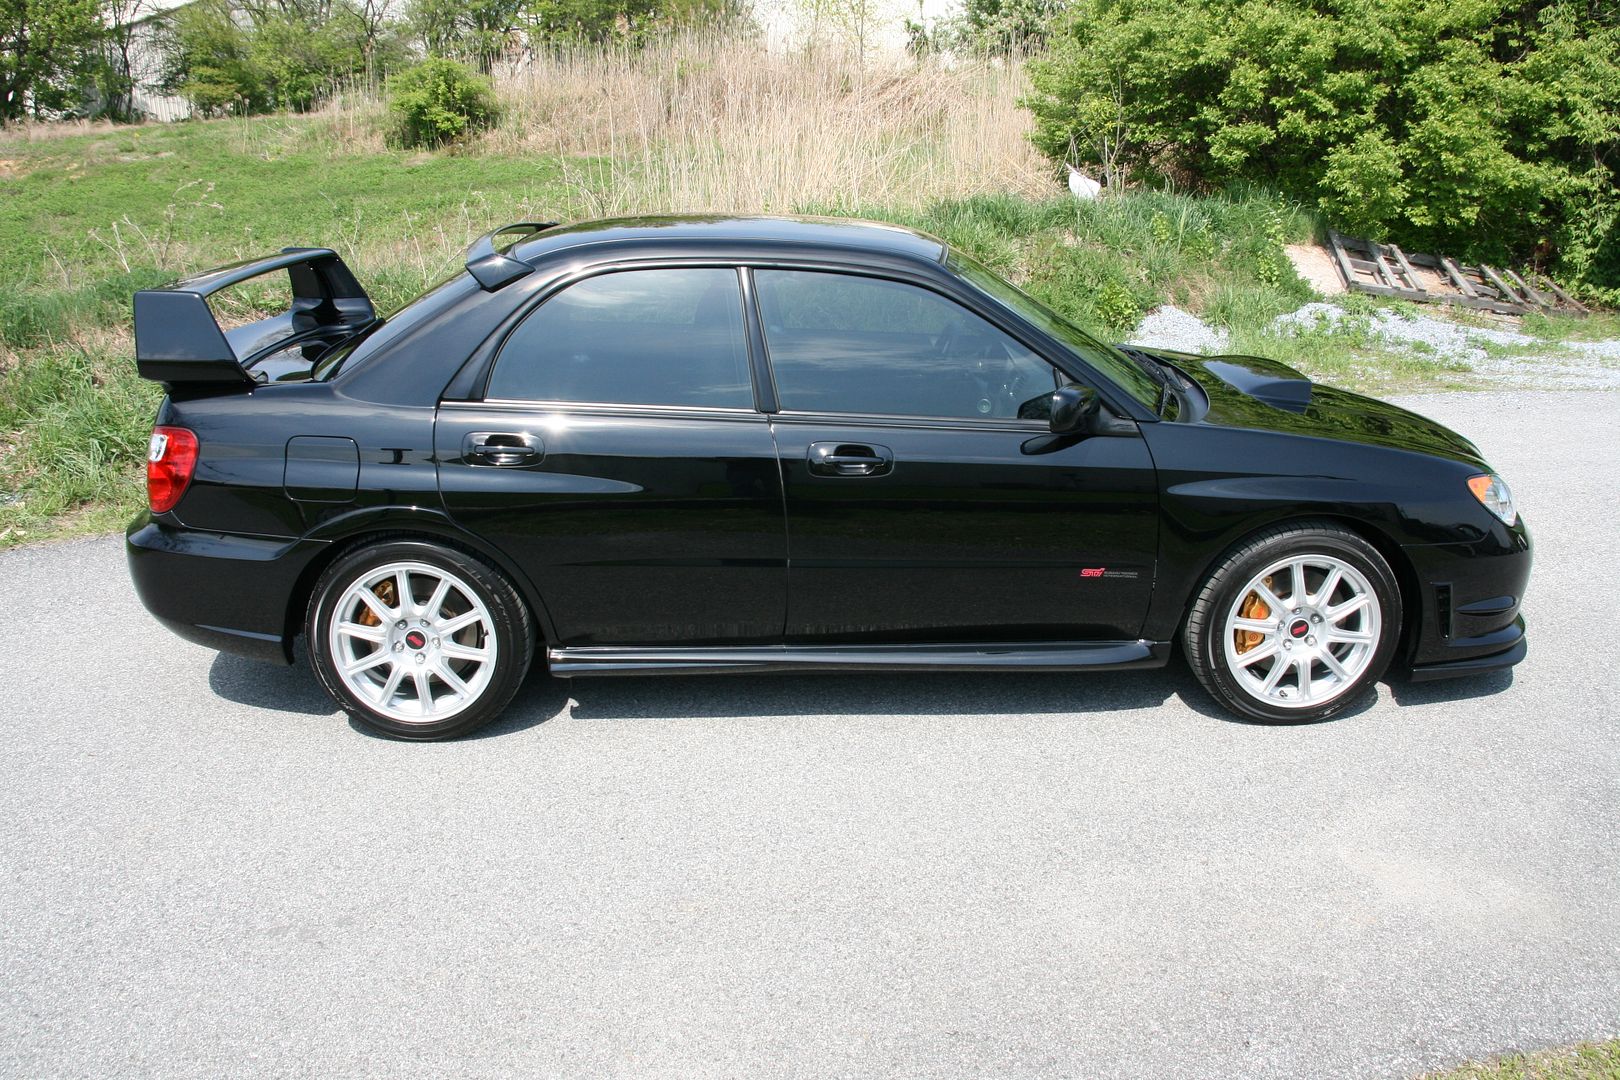
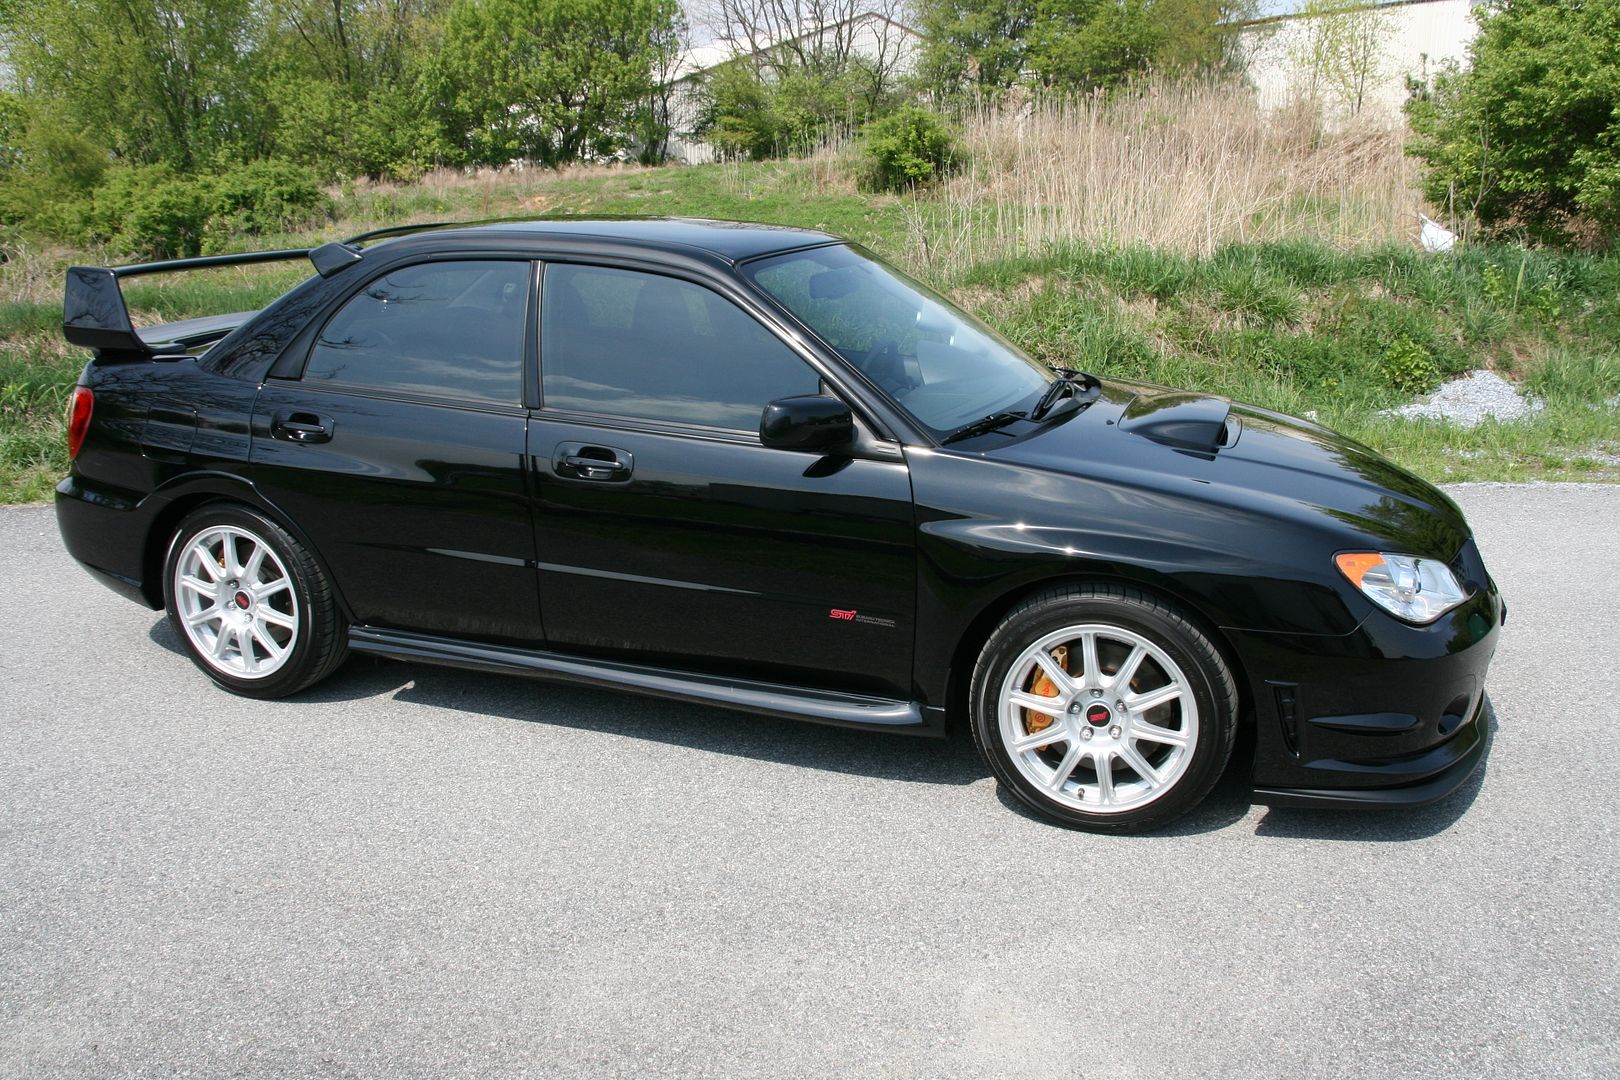
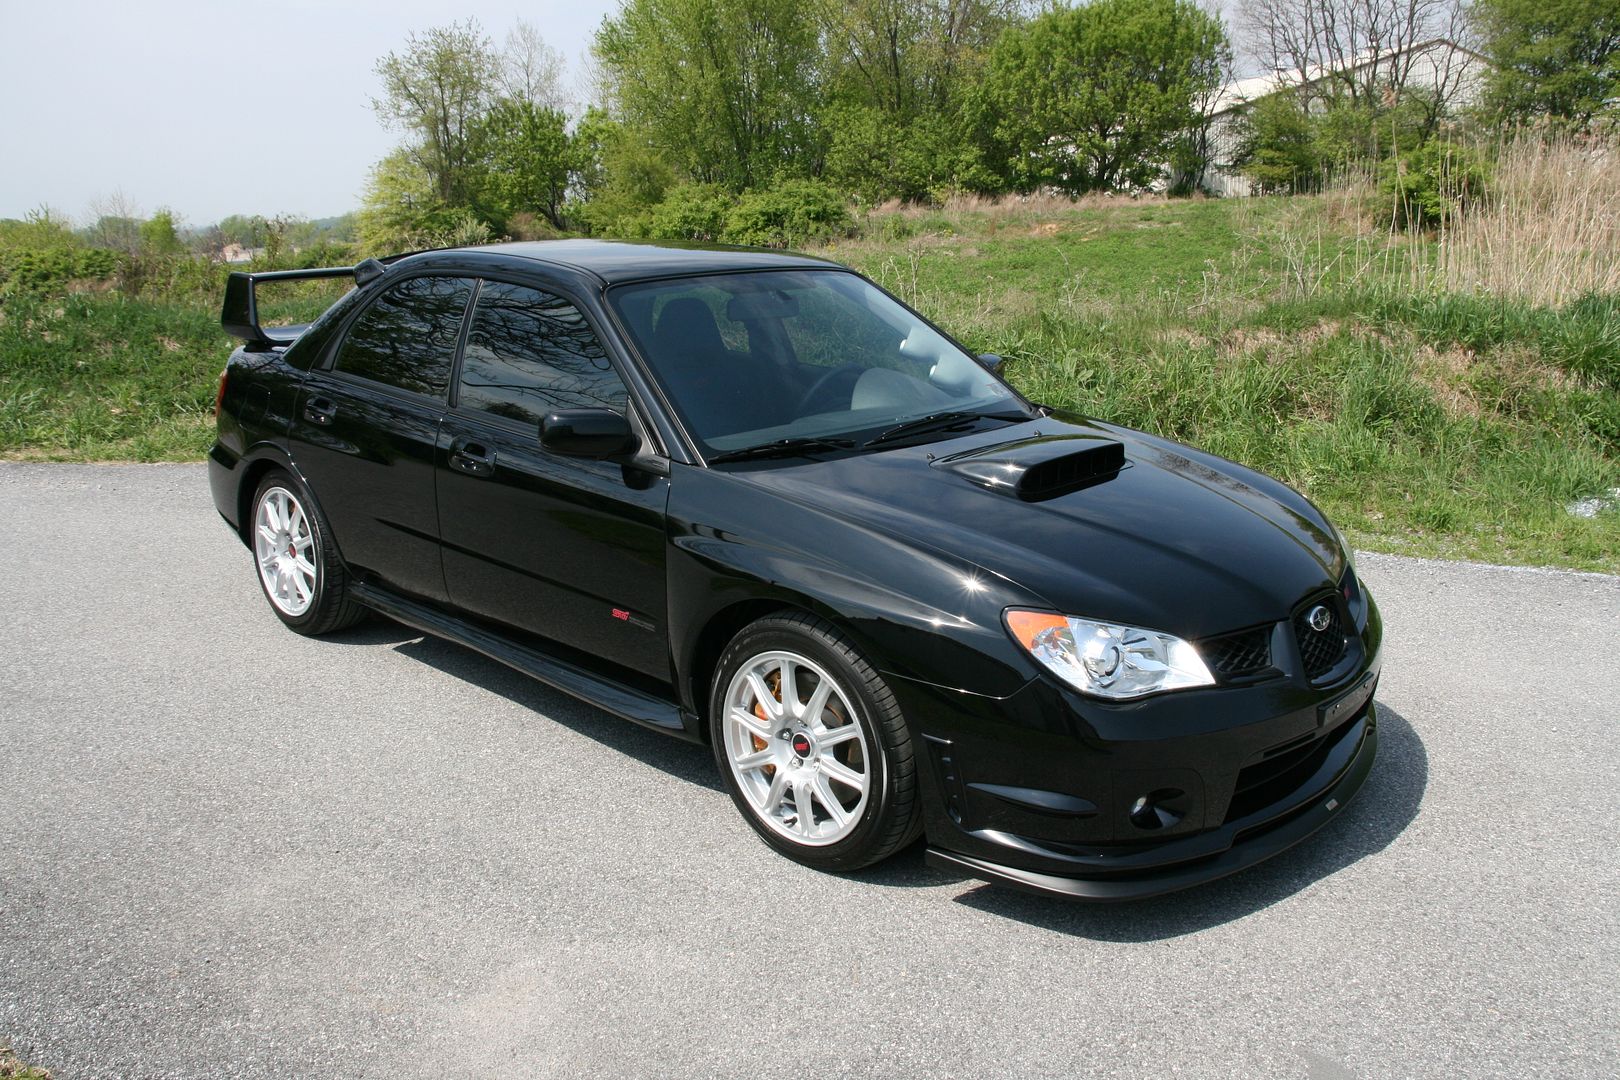
Now for the final results, the reflection photos and then the over all profile photos:
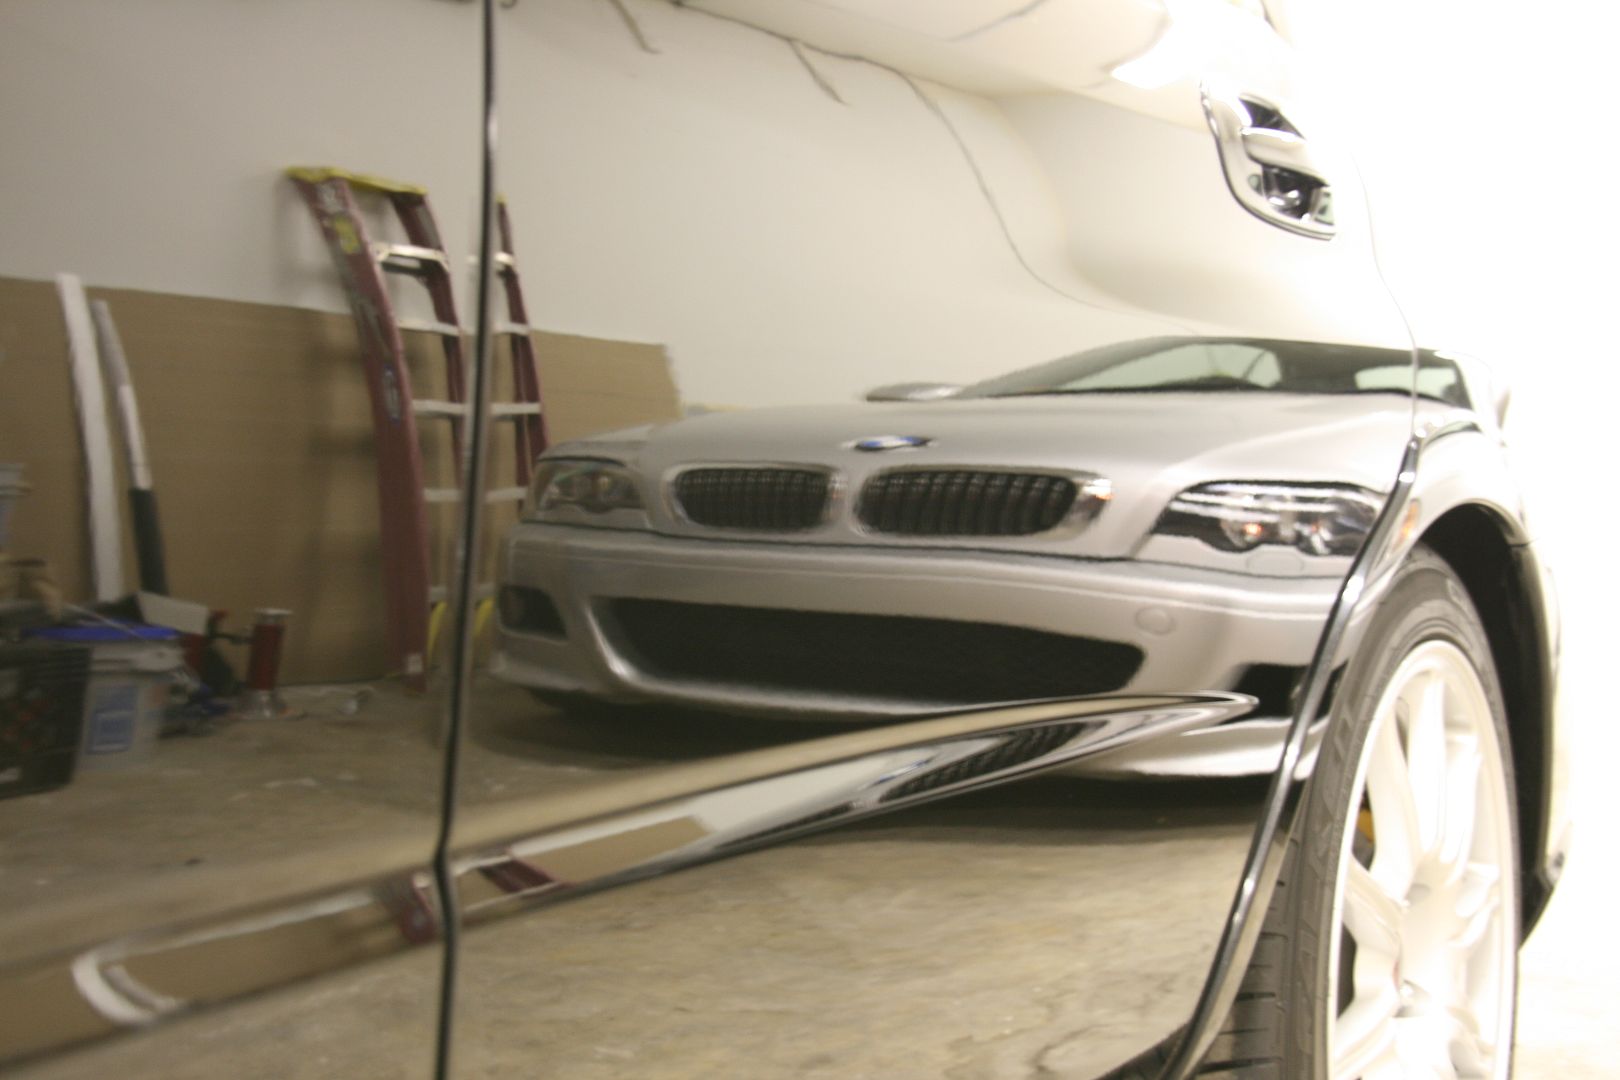
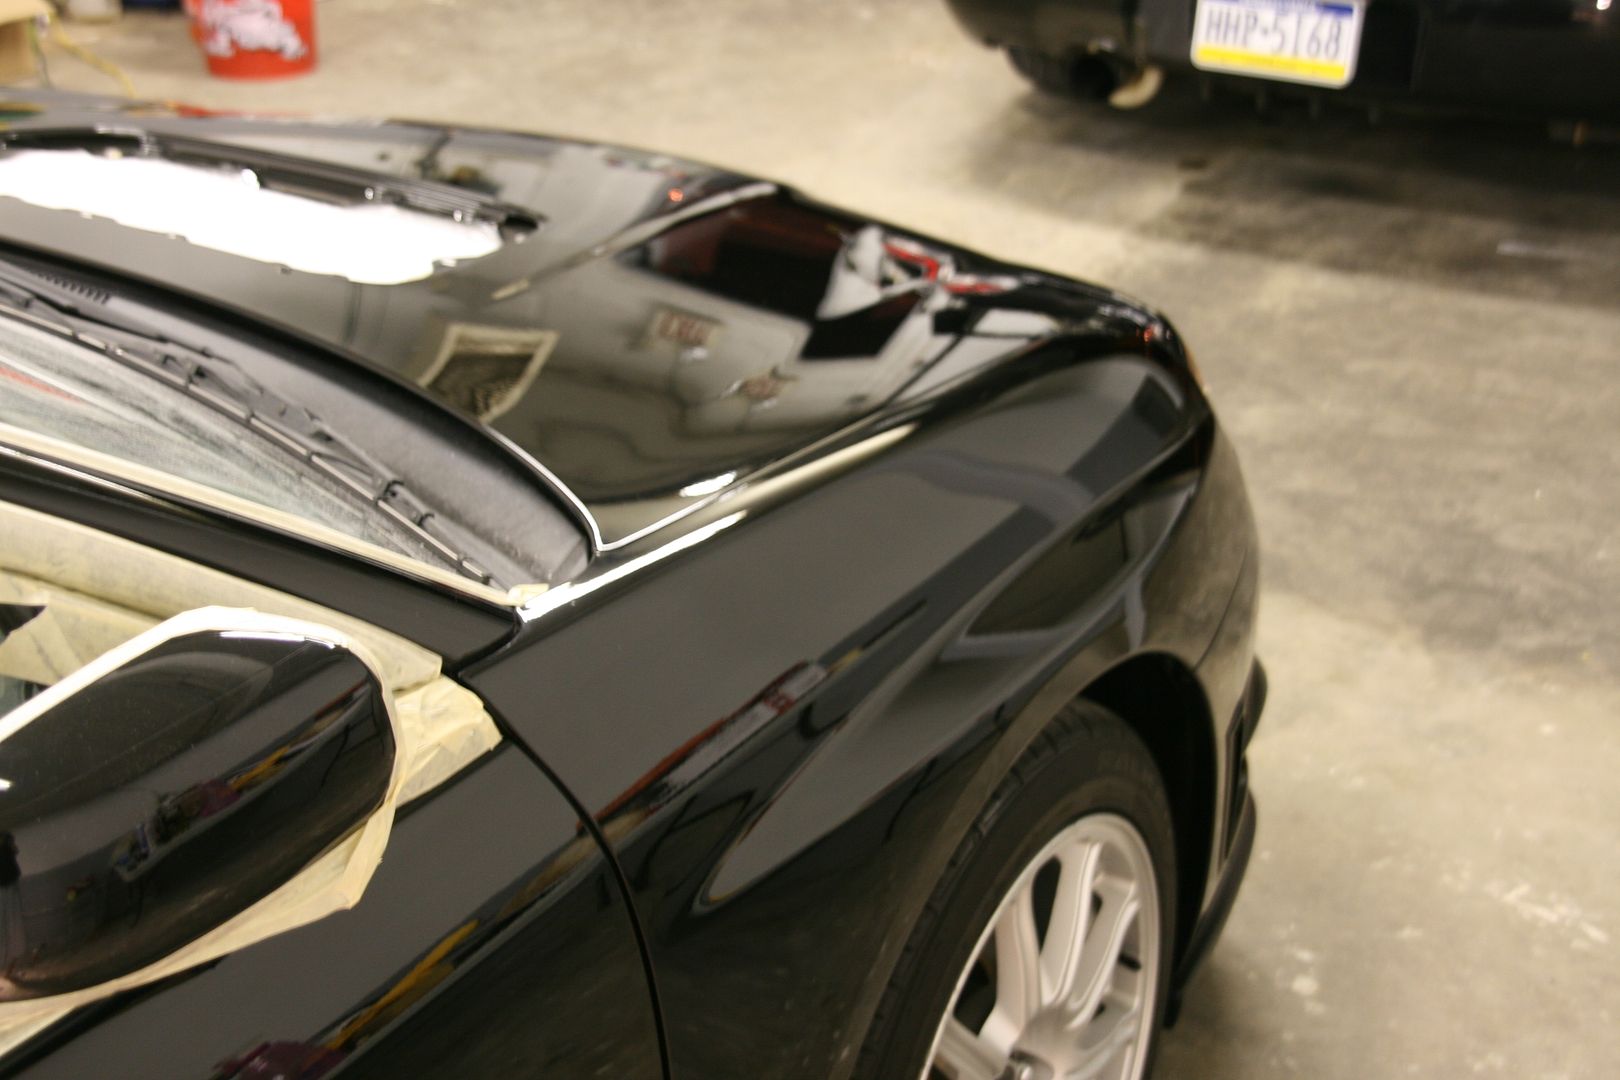
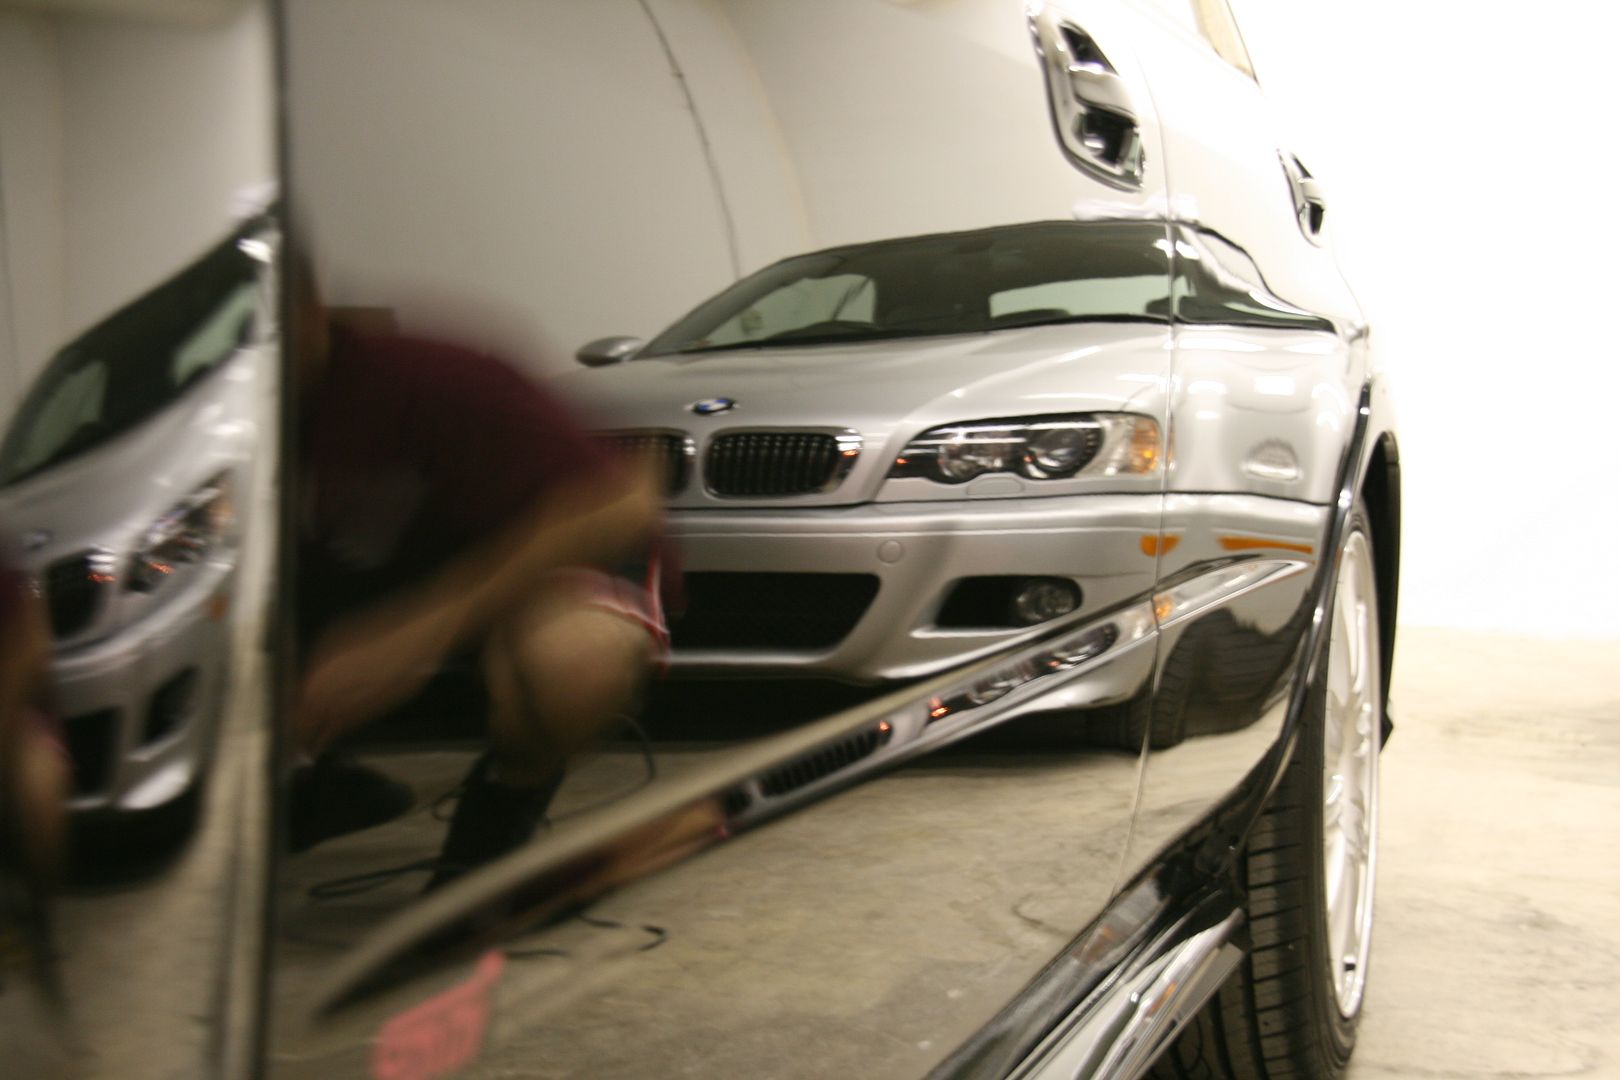

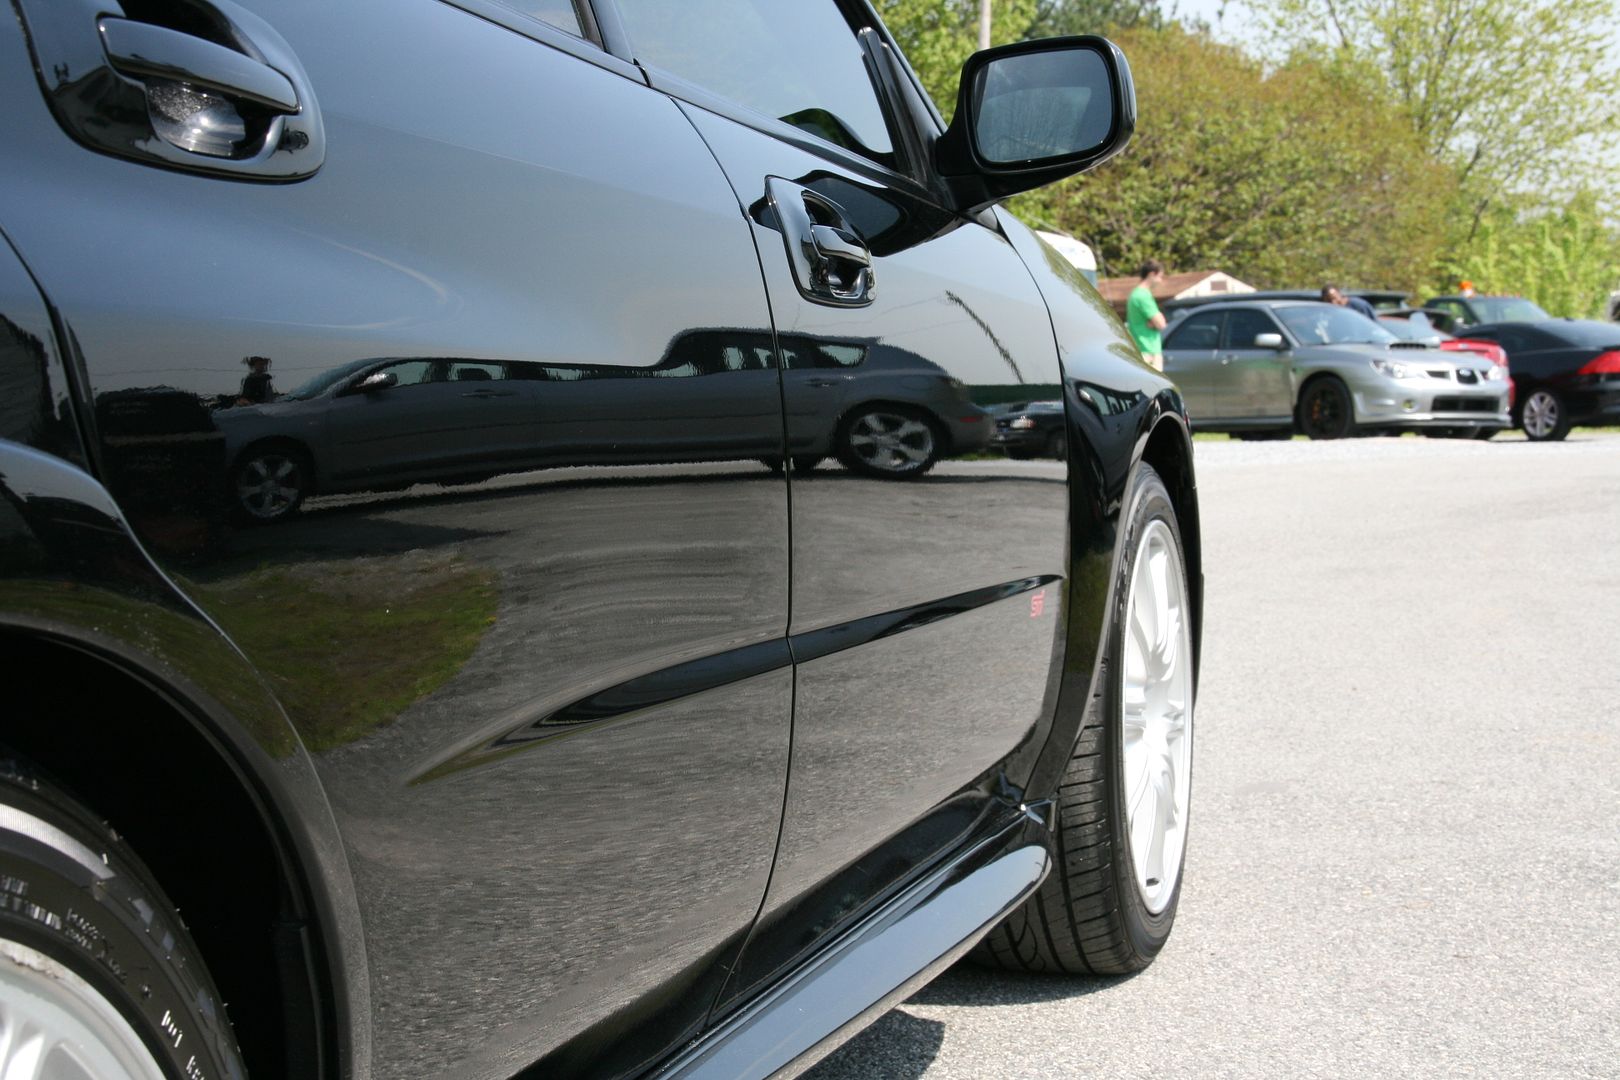
Profile photos of the car outside:
[/QUOTE]The paint under direct sunlight:
Now for the final results, the reflection photos and then the over all profile photos:
Profile photos of the car outside:
 05-09-2010, 02:41 PM
#5
Registered User

Join Date: Jul 2009
Posts: 69
Likes: 0
Received 0 Likes
on
0 Posts
Originally Posted by 08YellowCR,May 9 2010, 05:14 PM
Dam nice results i can't wait to get a PC and a garage to be able to do this
Great job!


Thread
Thread Starter
Forum
Replies
Last Post