UK & Ireland S2000 Community Discussions related to the S2000, its ownership and enthusiasm for it in the UK and Ireland. Including FAQs, and technical questions.

DIY Braces

Thread Tools
 
Old 03-14-2010, 12:51 PM
  #1  

Thread Starter
 
CHIPPO's Avatar
 
Join Date: Sep 2001
Location: Soham Cambridgeshire
Posts: 6,494
Received 73 Likes on 60 Posts
Default DIY Braces

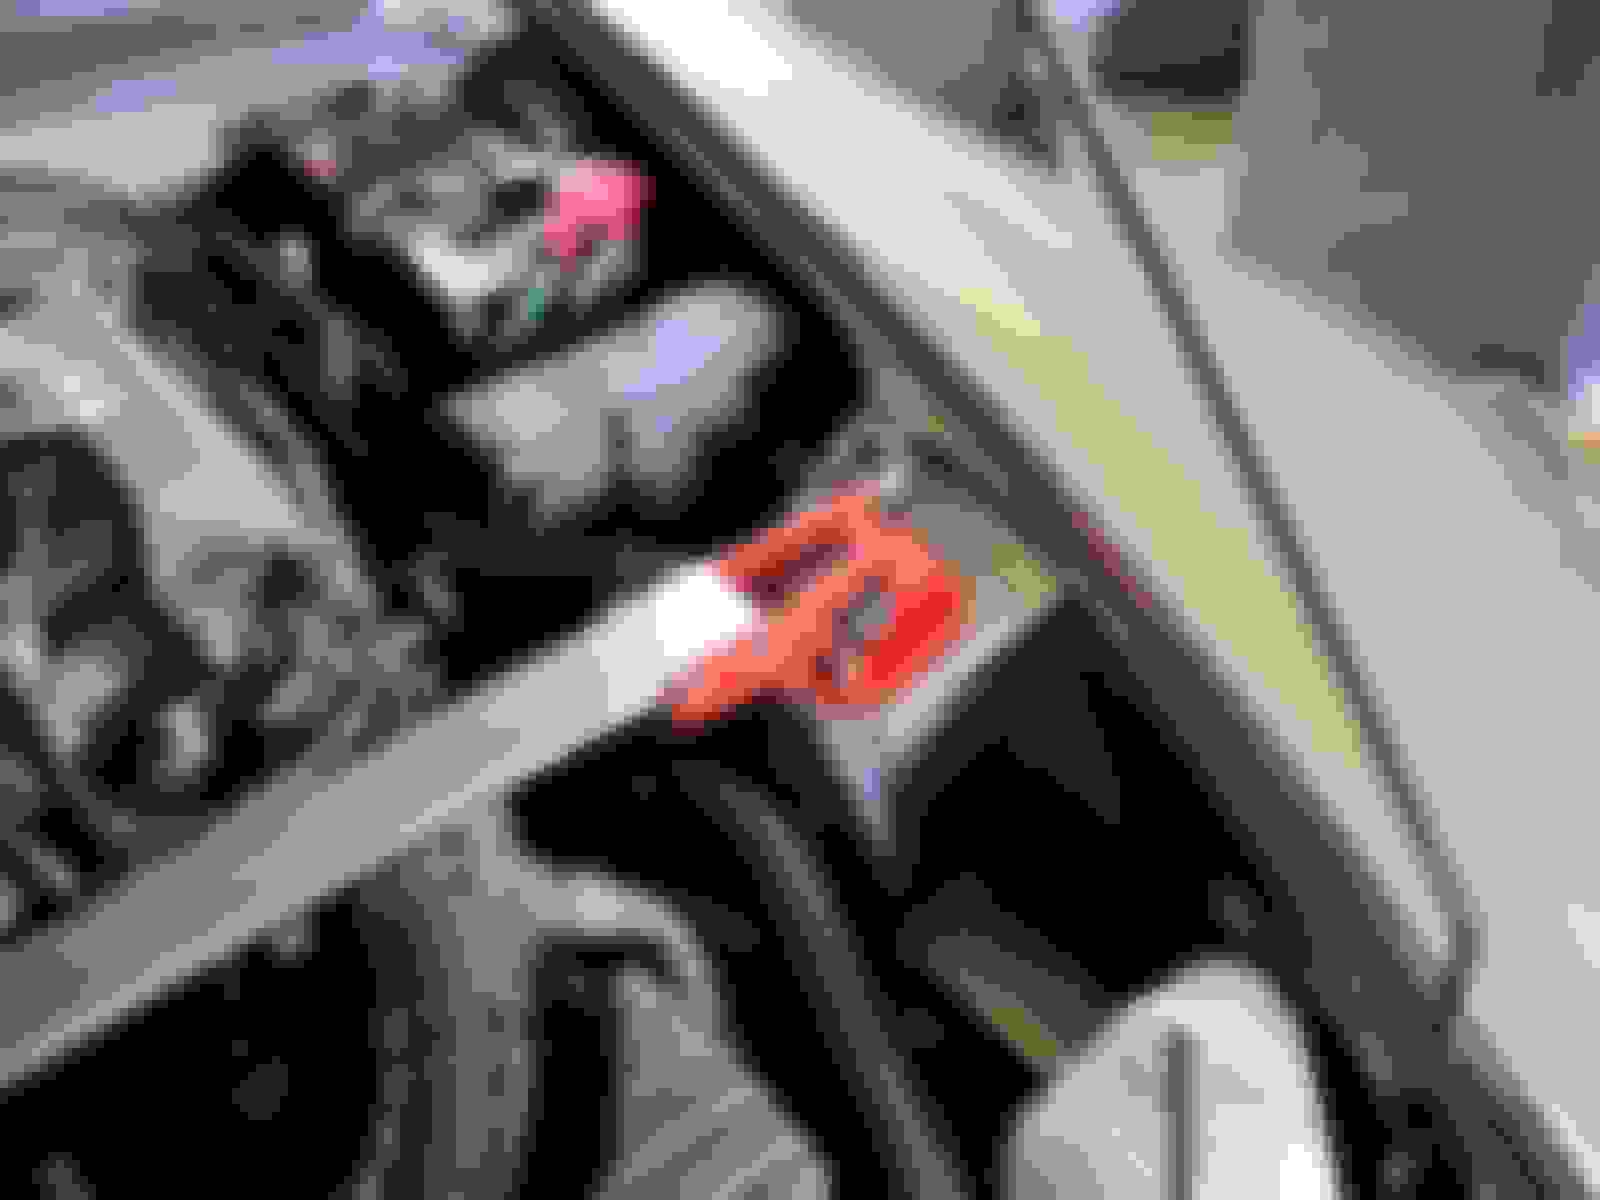
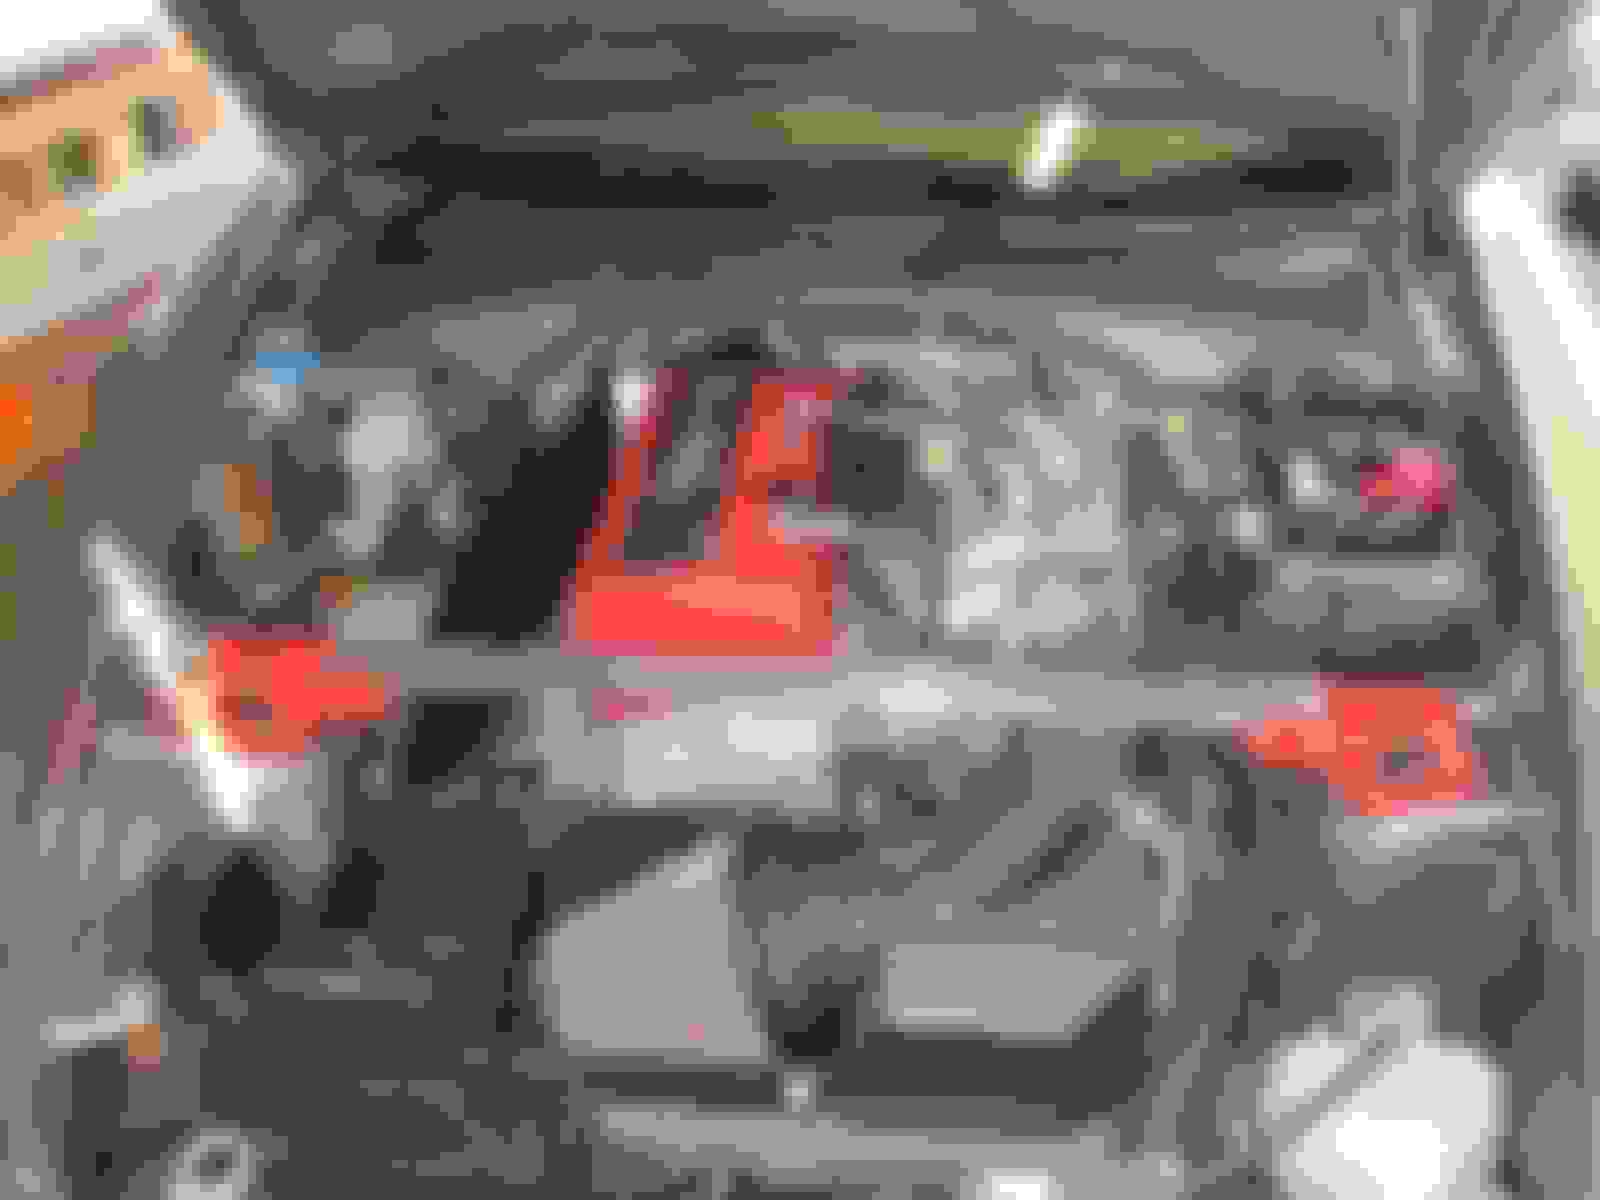
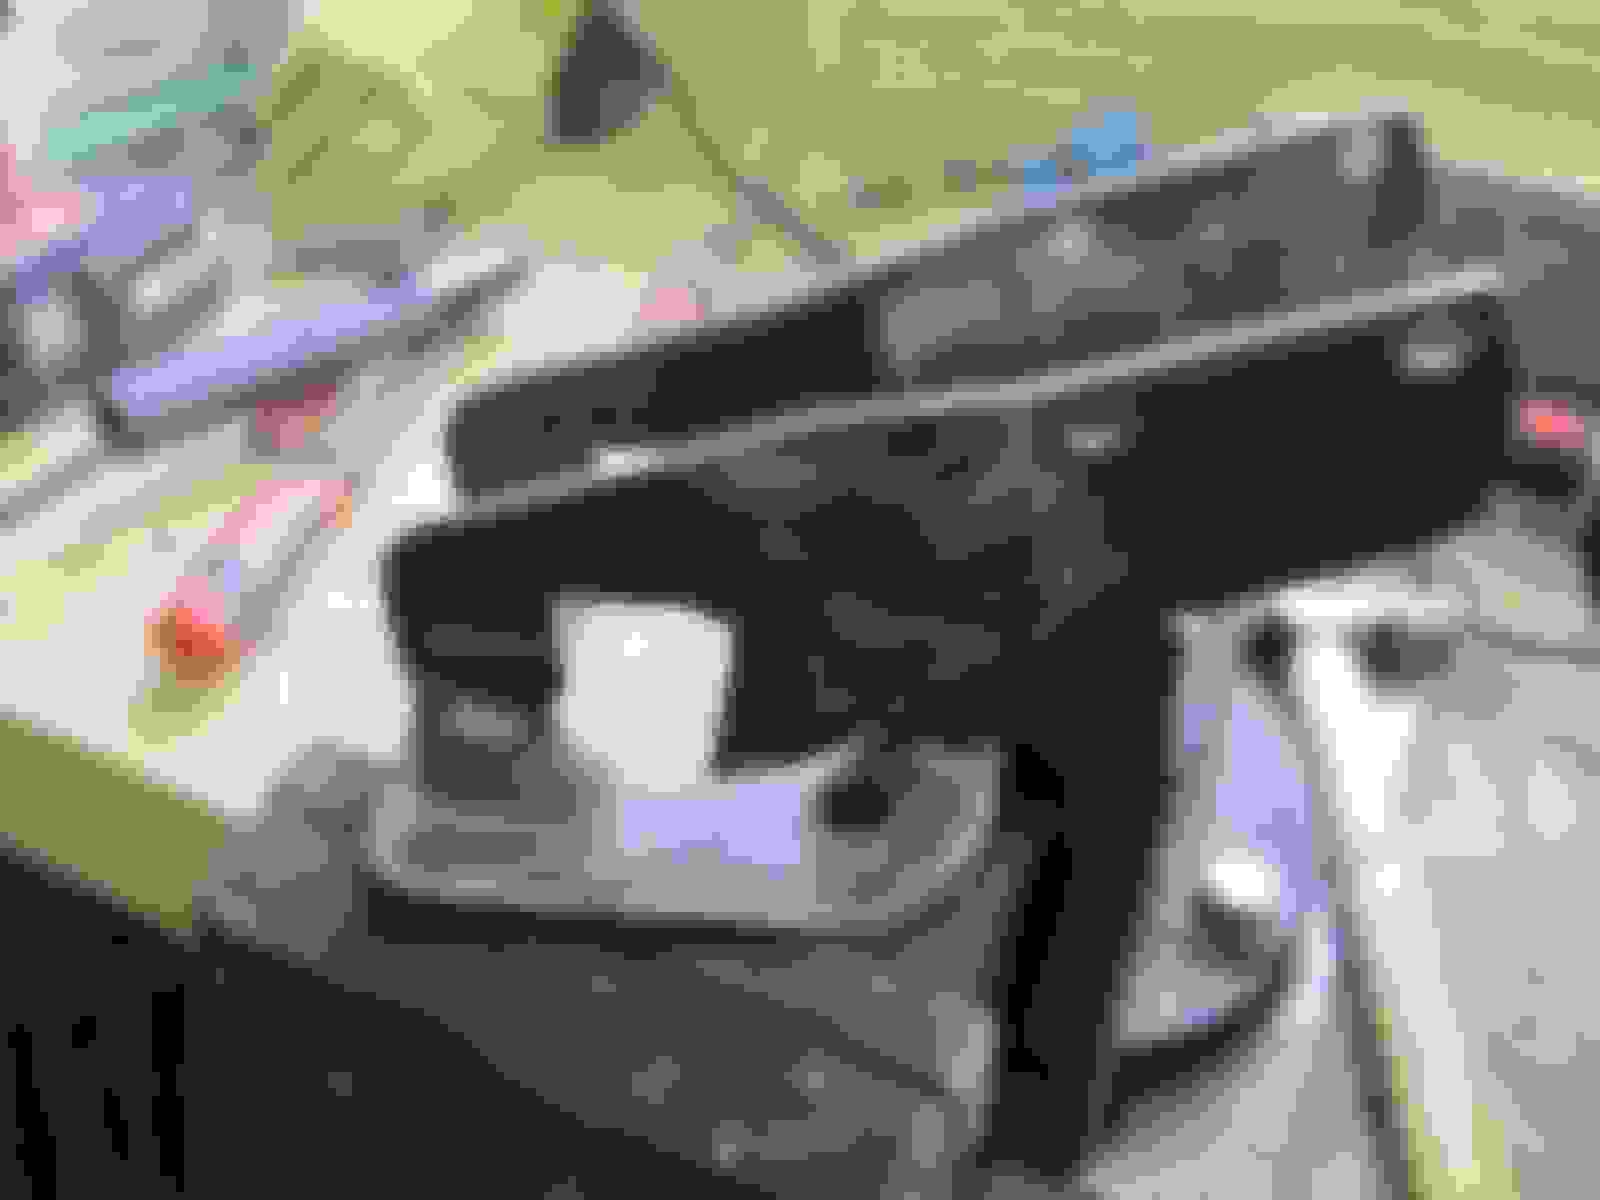
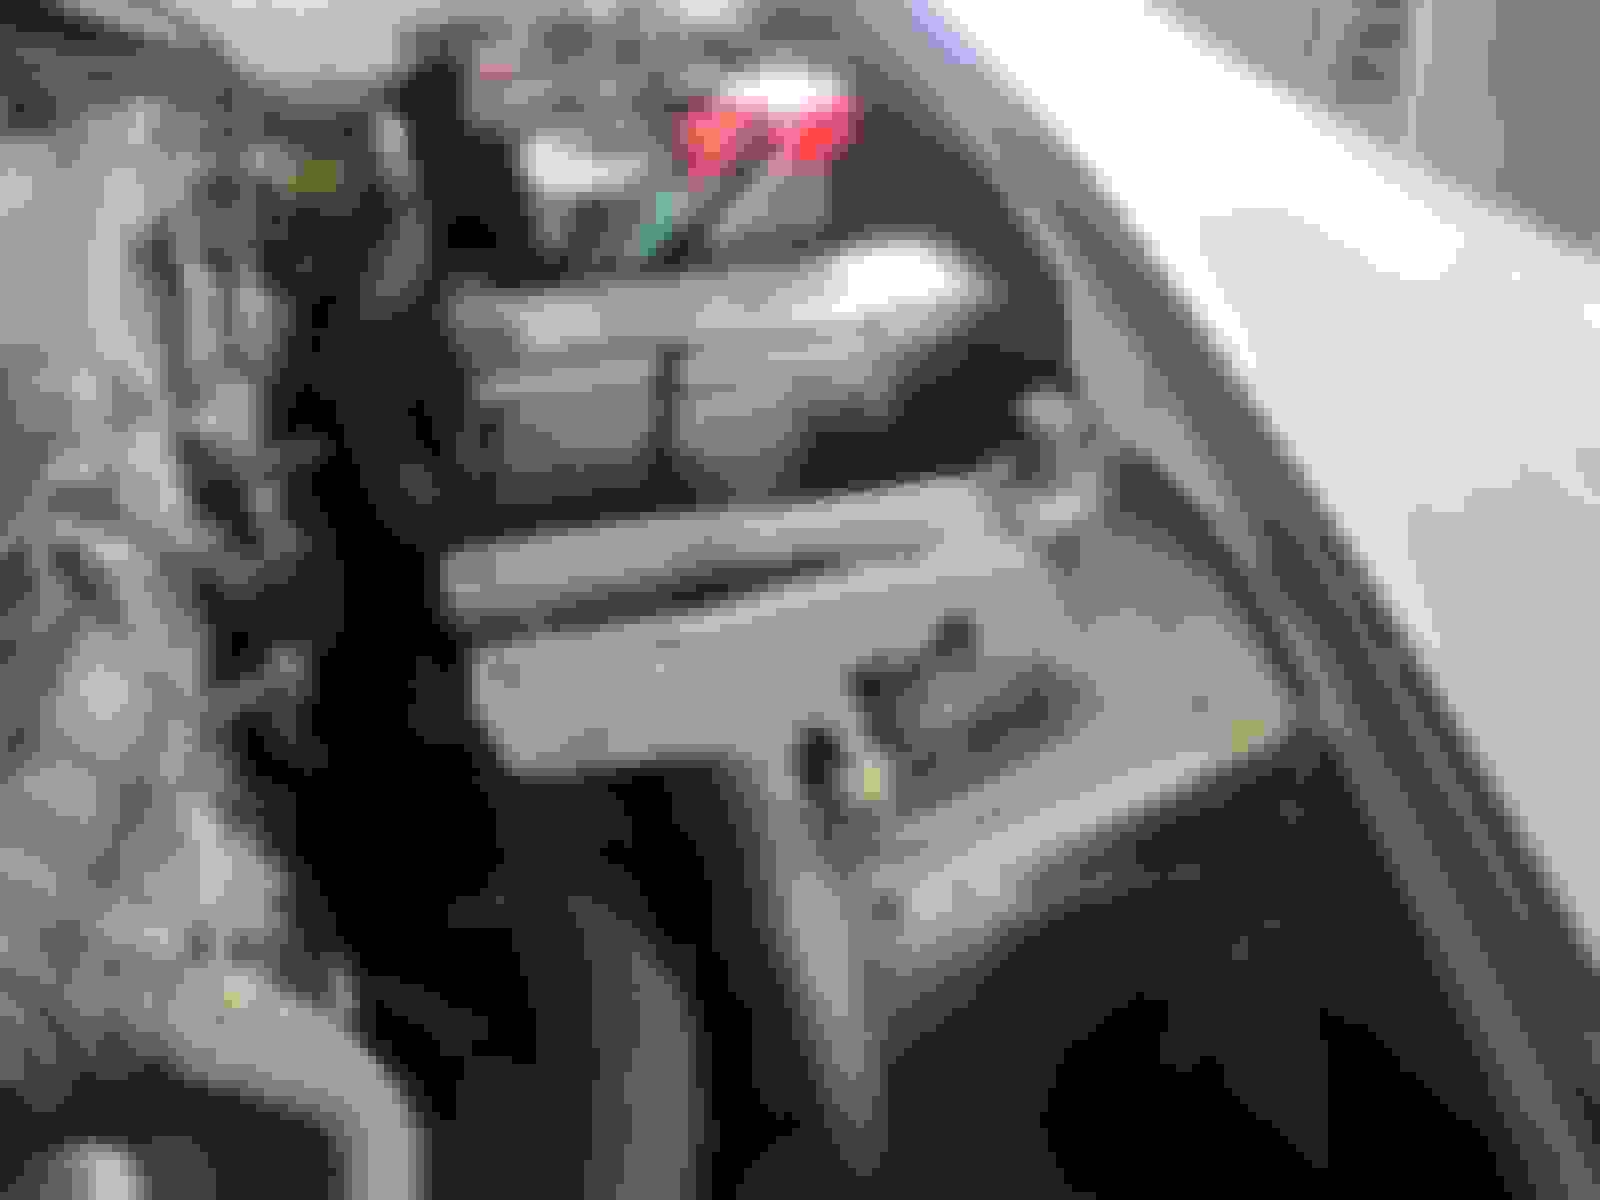
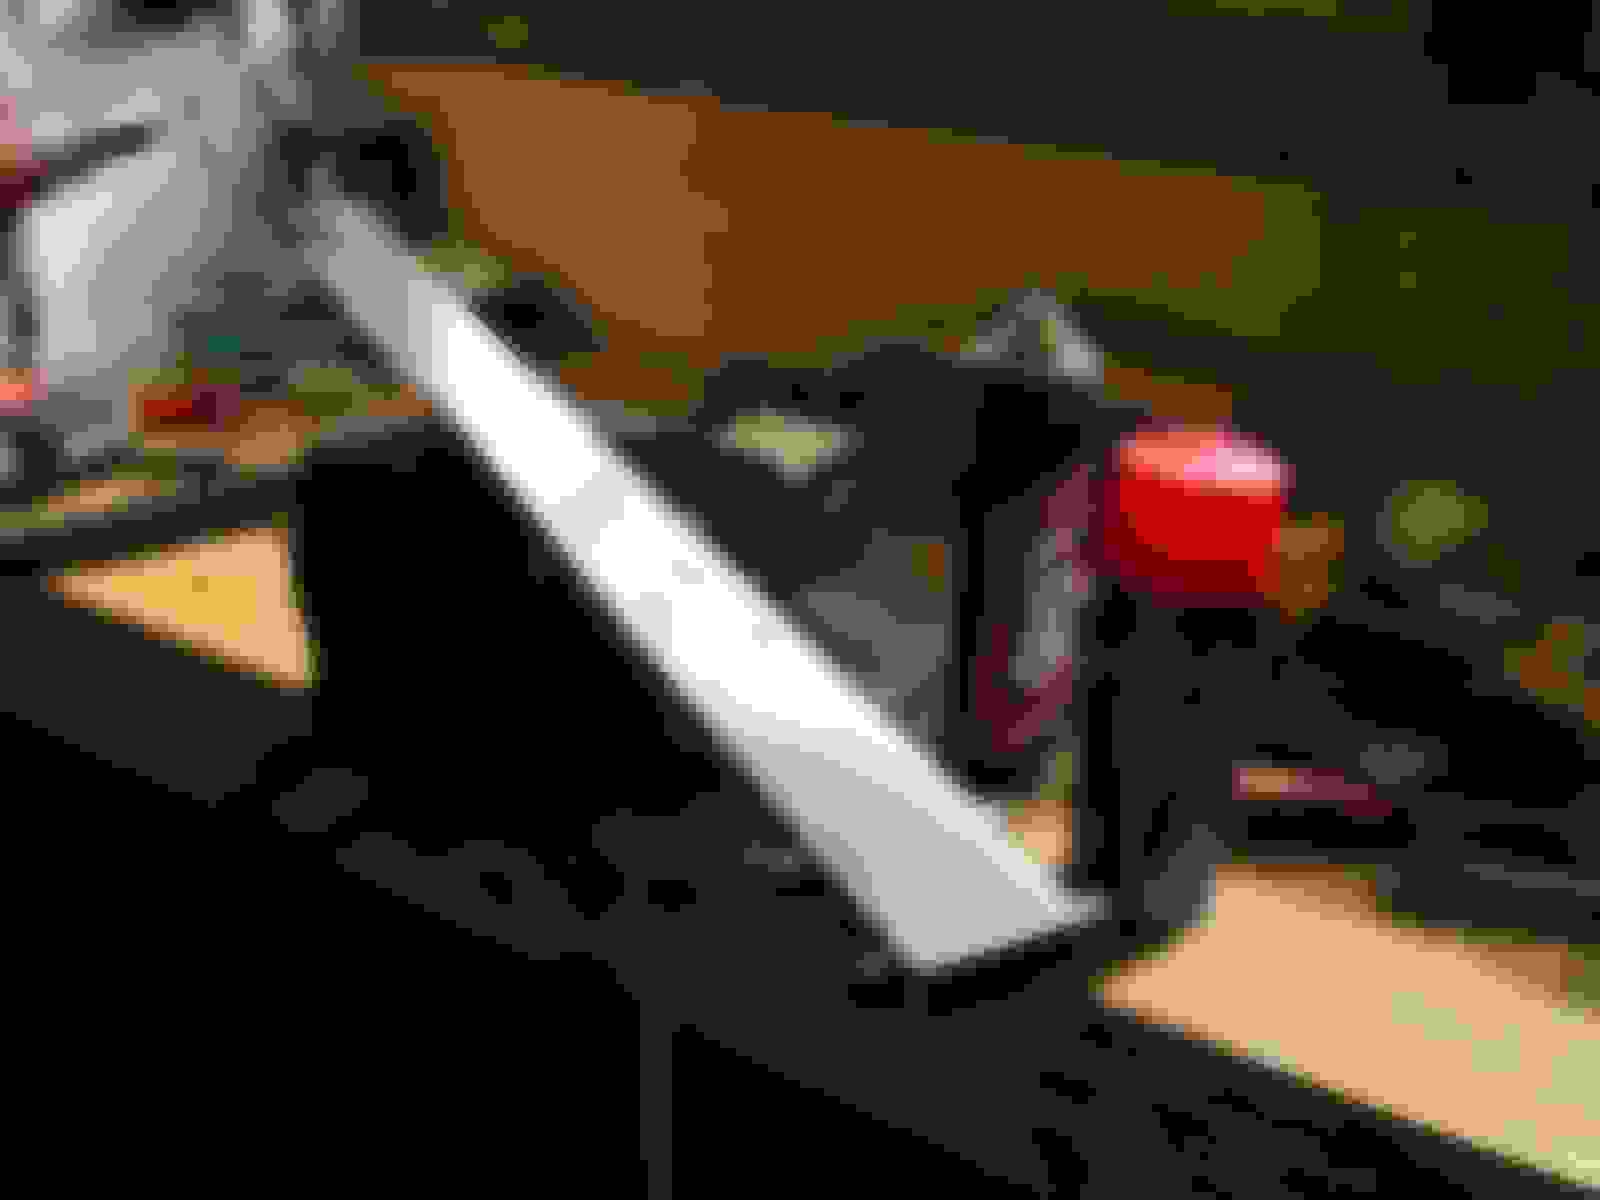
Well I couldn't find the original Post where I suggested I was going to make some DIY braces, well I have now, and fitted them!

A few pictures of the end results attached.

The rear lower is directly copied from Mb1r details as he posted and the dimensions worked out perfectly.

The main bolts holding the rear OEM item were rusted in and I used an impact driver with a 14mm socket to get them out, the replacement bolts are 10mm with a fine pitch of 1.25mm x 40 long. That is a standard size and cost not much more than a few pence from a specialist supplier of fixings, I would have had to order Stainless Steel , but galv were of the shelf. The 2 small bolts are standard M6 x 30mm.

The front turret brace brackets were packed on thin M10 flat washers to avoid distortion of the top of the turret towers and ensure a snug fit. The cap head bolts were M6 316 Stainless along with the spring washers. The Ali Bar for the front upper brace is 1/2 x 1 3/4 x 750mm long

Next an X lower fr ont brace !!!!!!!!!!!
Old 03-14-2010, 01:22 PM
  #2  
Registered User
 
msisleman's Avatar
 
Join Date: Sep 2009
Location: Basildon, Essex
Posts: 282
Likes: 0
Received 0 Likes on 0 Posts
Default

Looks like a well made bit of kit!
Old 03-14-2010, 01:42 PM
  #3  

Thread Starter
 
CHIPPO's Avatar
 
Join Date: Sep 2001
Location: Soham Cambridgeshire
Posts: 6,494
Received 73 Likes on 60 Posts
Default

Wouldn't say that , shed bodgery in extremis. but thanks for the thumbs up.

Oh drove about 80 miles with them on, I reckon they make the car feel stiffer and certainly rides over lumps and bumps in a more controlled manor
Old 03-14-2010, 01:57 PM
  #4  
Community Organizer

 
The Loon's Avatar
 
Join Date: Aug 2007
Location: MUGEN 無限 POWER
Posts: 6,810
Received 3 Likes on 3 Posts
Default

Nicely done Chippo
Old 03-14-2010, 02:03 PM
  #5  

 
s2konroids's Avatar
 
Join Date: Jan 2006
Location: location, location
Posts: 20,789
Received 8 Likes on 8 Posts
Default

Good work fella.
Old 03-14-2010, 02:04 PM
  #6  
Administrator


AquilaEagle's Avatar
 
Join Date: Jan 2002
Location: Heath & Reach, Beds, UK
Posts: 95,156
Received 59 Likes on 50 Posts
Default

Nice to see the job finished Bobby, now get it more polished
Old 03-14-2010, 02:04 PM
  #7  

Thread Starter
 
CHIPPO's Avatar
 
Join Date: Sep 2001
Location: Soham Cambridgeshire
Posts: 6,494
Received 73 Likes on 60 Posts
Default

Oh forgot a comparison pictures of the rear brace
Old 03-14-2010, 02:07 PM
  #8  

Thread Starter
 
CHIPPO's Avatar
 
Join Date: Sep 2001
Location: Soham Cambridgeshire
Posts: 6,494
Received 73 Likes on 60 Posts
Default

Large tin of Brasso here for you IAN , i am lead to believe your a big polisher!
Old 03-15-2010, 02:49 AM
  #9  
Registered User
 
oxhouser's Avatar
 
Join Date: Oct 2004
Location: Milton Keynes
Posts: 1,924
Likes: 0
Received 0 Likes on 0 Posts
Default

Good fab skills, upper brace looks heavy though
make a lower front, that makes a difference compared to the upper front that has no real impact
Old 03-15-2010, 03:17 AM
  #10  
Registered User

 
nomadicS2k's Avatar
 
Join Date: Sep 2007
Location: Haywards Heath
Posts: 3,194
Received 40 Likes on 39 Posts
Default

Awesome skills mate, the lower front will be harder, but I believe the 2 lower braces to the most difference, although I would still put one on the front upper!


Quick Reply: DIY Braces


All times are GMT -8. The time now is 12:38 AM.