
850 whp Build - Quest for 9's - Completely New Setup


Thread Starter
Joined: Nov 2007
Posts: 1,384
Likes: 3
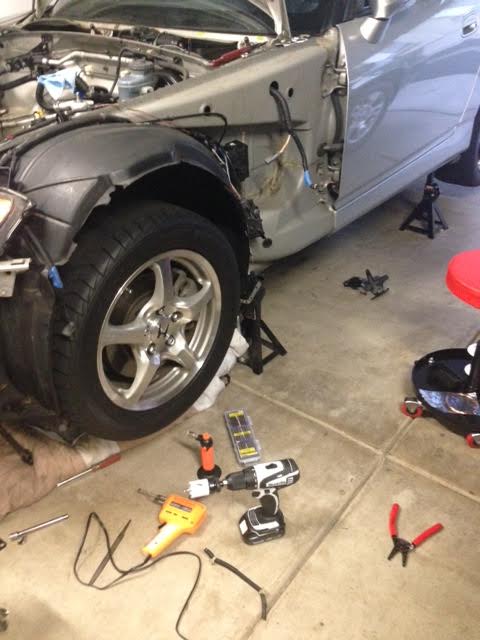
Good day to all! So I decided to change the build for this year since I broke the wrist pin in my last motor. I tore everything down, sold my entire turbo kit, and decided to do things a little differently this time around to make things look nice and operate smoothly. I relocated the fuse box, battery, cruise control, EPS, wiper wires, fuse boxes/relays, and removed the AC. I didn't want to relocate the ABS module or cut any of the wires so I simply pulled them as far as they could go into the fender. Here is the setup...
The Block
- F22C - Fully Built by Laskey Racing
- Benson Sleeves 87mm bore
- CP 9.6:1 Pistons
- Upgraded Wrist Pins
- Pauter Rods
- ACL Race Bearings
- Micropolished Crank
- Balanced and Blueprinted
The Head
- Supertech Valves / Inconel Exhaust Valves
- Supertech Dual Valvesprings and Retainers
- Supertech Valve Seals
- OEM Valveguides - still snug so I didn't touch them
- Stock Cams / Ports
- FBM Head Studs
The Drivetrain
- ClutchMasters 725 Series Twin Disc Race Discs
- Full Blown Motorsports 8.8 Kit
- DSS 1000hp axles
- Diff Collar Mounts
- Stock Tranny and a spare - Going G-Force in Spring 2014
- Motive 3.9 Gears
- Tru-Lock LSD
- DSS Hubs
The Turbo Kit and Fuel System
- Borg Warner S366 T4 Twin Scroll / .91AR
- Sheepey T4 Twin Scroll Manifold/DP/DT
- Tial 38mm MV-S Gates
- Tial-Q BOV
- 3" Chargepiping
- Full Blown Intercooler
- Full Blown Fuel Rail
- ID2000 Injectors
- Full Blown Dual Pump Hanger
- Twin AEM 320lph E85 Pumps
- -8AN feed / -6AN return lines
- Weldon FPR
The EMS and Ignition
- Haltech Platinum PnP EMS
- Haltech Flex Fuel Sensor
- Kenne Bell Boost a Spark - May upgrade to something more serious
- Stock Coils
- NGK BKR9EIX
Wheels and Tires
- Weld 15x9 Rear Wheels +64 offset
- MT ET Drag 26x10 for track / MT 255/50/16 street on AP1 Rims
- Cadillac STS Front Spare Rims 16x4
- Front Runner 27x4" Skinnies
Suspension is Pending
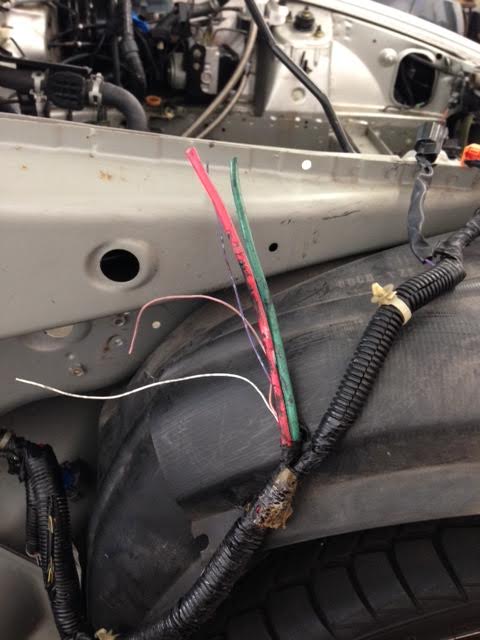
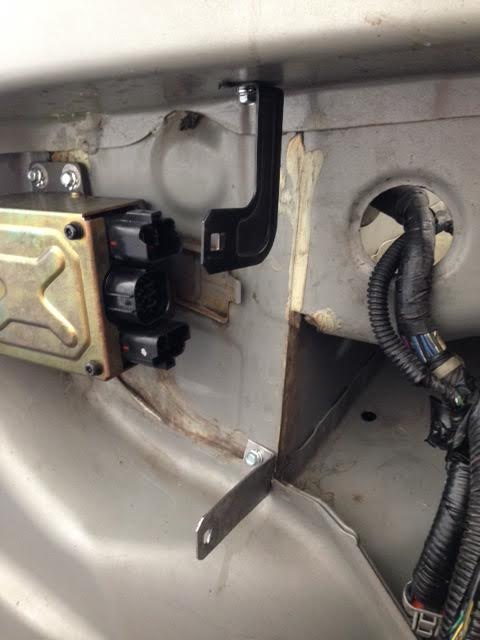
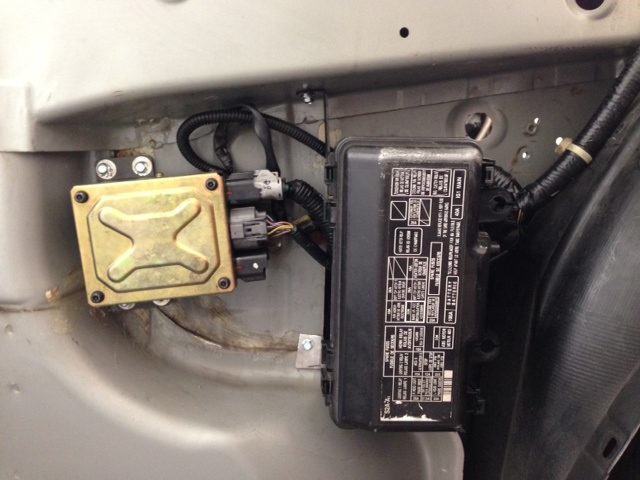
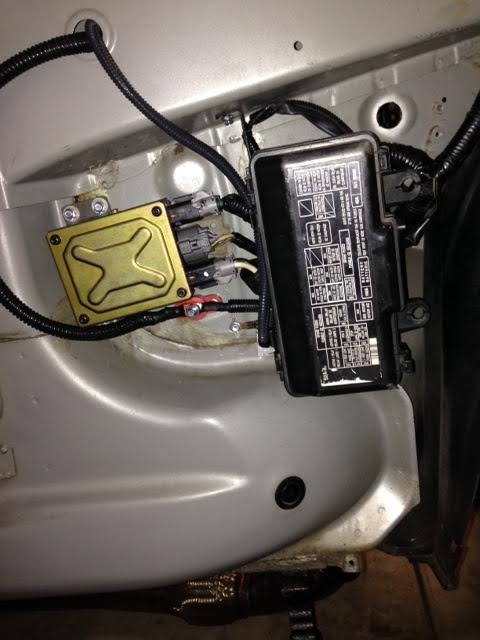
First things first, here are some relocation photos for both fenders. In the drivers side fender is the cruise control, relay, starter fuse box.
Cruise control
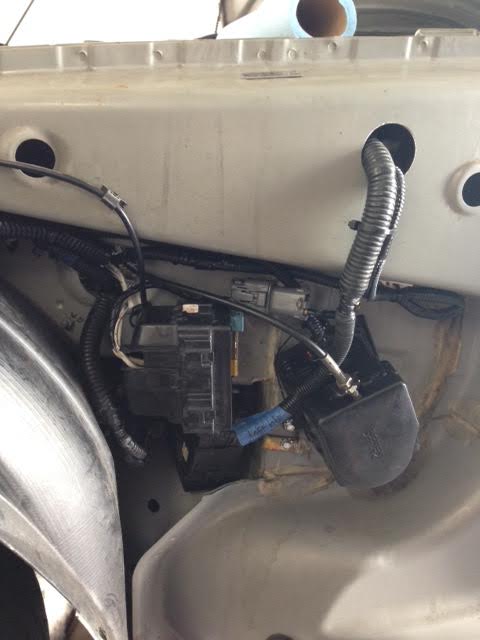
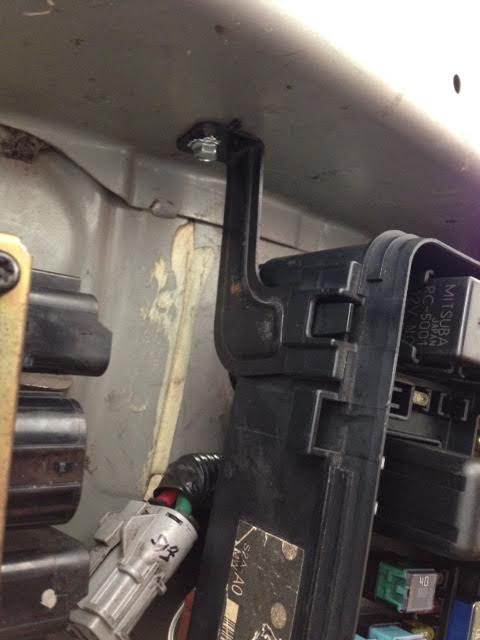
I used one of the existing brackets to mount the fuse box and make another one just like it for the bottom mount. It seems that everyone always has a hard time mounting theirs but this was a very easy way. I used 2AWG cable to relocate the battery to the trunk which you can see attached to the red battery post under the EPS.
The Block
- F22C - Fully Built by Laskey Racing
- Benson Sleeves 87mm bore
- CP 9.6:1 Pistons
- Upgraded Wrist Pins
- Pauter Rods
- ACL Race Bearings
- Micropolished Crank
- Balanced and Blueprinted
The Head
- Supertech Valves / Inconel Exhaust Valves
- Supertech Dual Valvesprings and Retainers
- Supertech Valve Seals
- OEM Valveguides - still snug so I didn't touch them
- Stock Cams / Ports
- FBM Head Studs
The Drivetrain
- ClutchMasters 725 Series Twin Disc Race Discs
- Full Blown Motorsports 8.8 Kit
- DSS 1000hp axles
- Diff Collar Mounts
- Stock Tranny and a spare
- Going G-Force in Spring 2014- Motive 3.9 Gears
- Tru-Lock LSD
- DSS Hubs
The Turbo Kit and Fuel System
- Borg Warner S366 T4 Twin Scroll / .91AR
- Sheepey T4 Twin Scroll Manifold/DP/DT
- Tial 38mm MV-S Gates
- Tial-Q BOV
- 3" Chargepiping
- Full Blown Intercooler
- Full Blown Fuel Rail
- ID2000 Injectors
- Full Blown Dual Pump Hanger
- Twin AEM 320lph E85 Pumps
- -8AN feed / -6AN return lines
- Weldon FPR
The EMS and Ignition
- Haltech Platinum PnP EMS
- Haltech Flex Fuel Sensor
- Kenne Bell Boost a Spark - May upgrade to something more serious
- Stock Coils
- NGK BKR9EIX
Wheels and Tires
- Weld 15x9 Rear Wheels +64 offset
- MT ET Drag 26x10 for track / MT 255/50/16 street on AP1 Rims
- Cadillac STS Front Spare Rims 16x4
- Front Runner 27x4" Skinnies
Suspension is Pending
First things first, here are some relocation photos for both fenders. In the drivers side fender is the cruise control, relay, starter fuse box.


Cruise control

I used one of the existing brackets to mount the fuse box and make another one just like it for the bottom mount. It seems that everyone always has a hard time mounting theirs but this was a very easy way. I used 2AWG cable to relocate the battery to the trunk which you can see attached to the red battery post under the EPS.


Thread Starter
Joined: Nov 2007
Posts: 1,384
Likes: 3
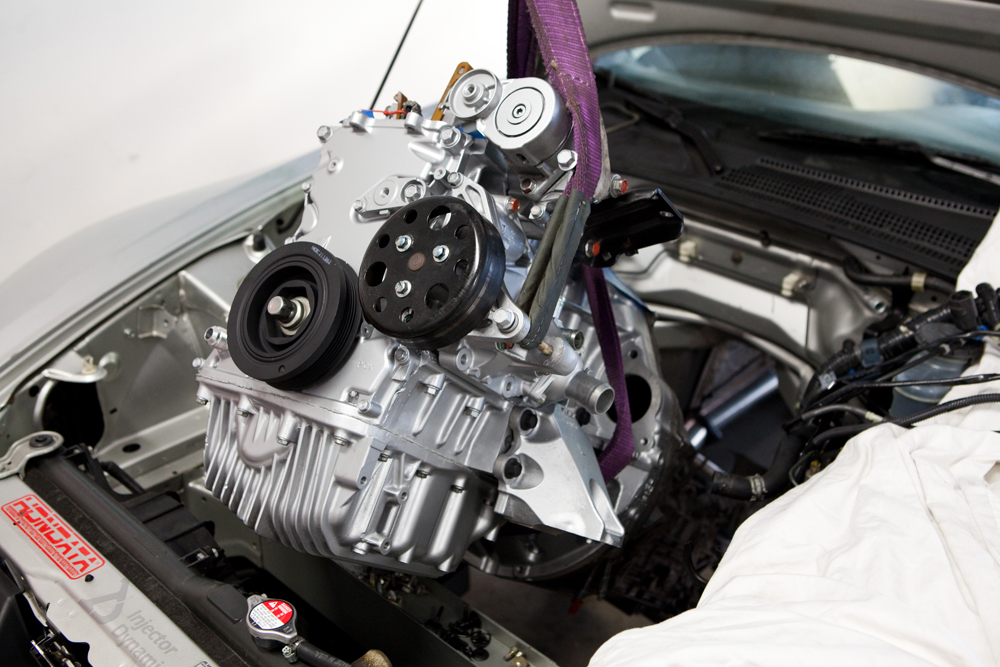
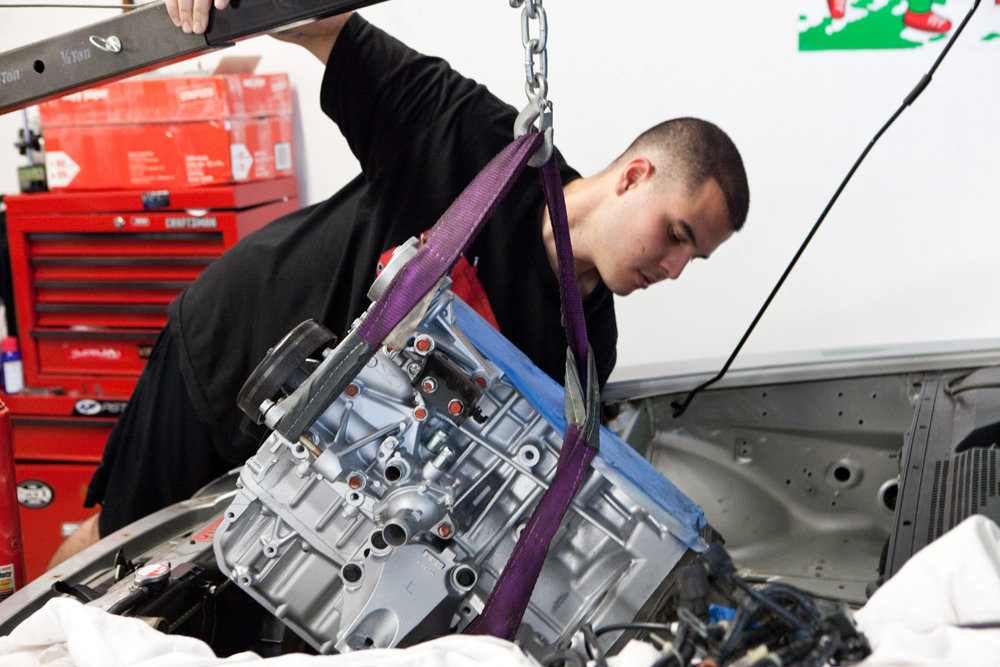
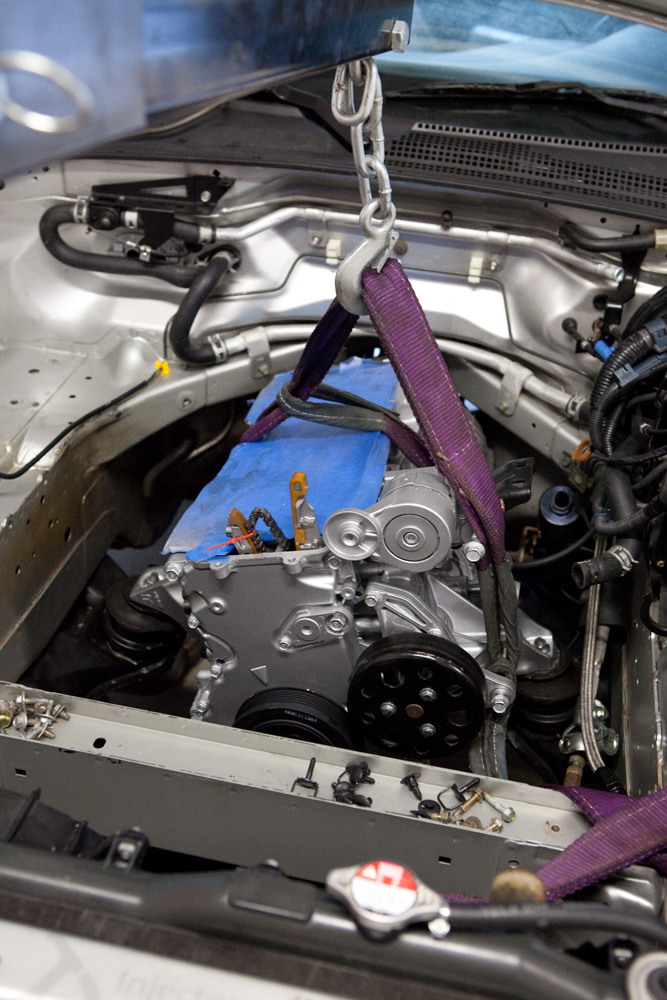
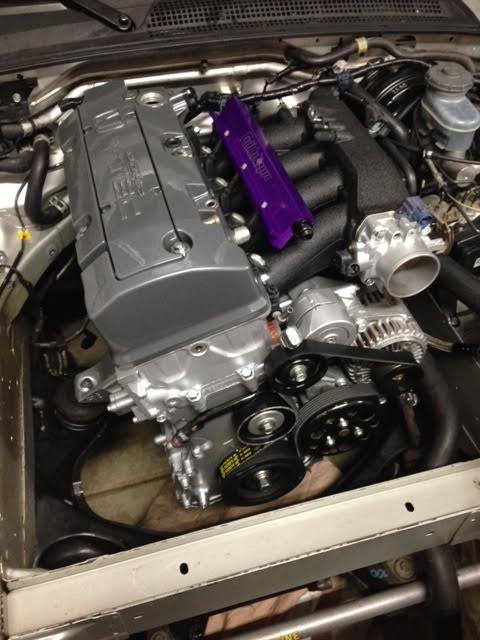
Finally getting it all together and putting it in! The tranny was attached when we dropped it in and is by far the easiest and fastest way to remove/install it. The head has to be off of course but the head doesnt take long at all to put on.
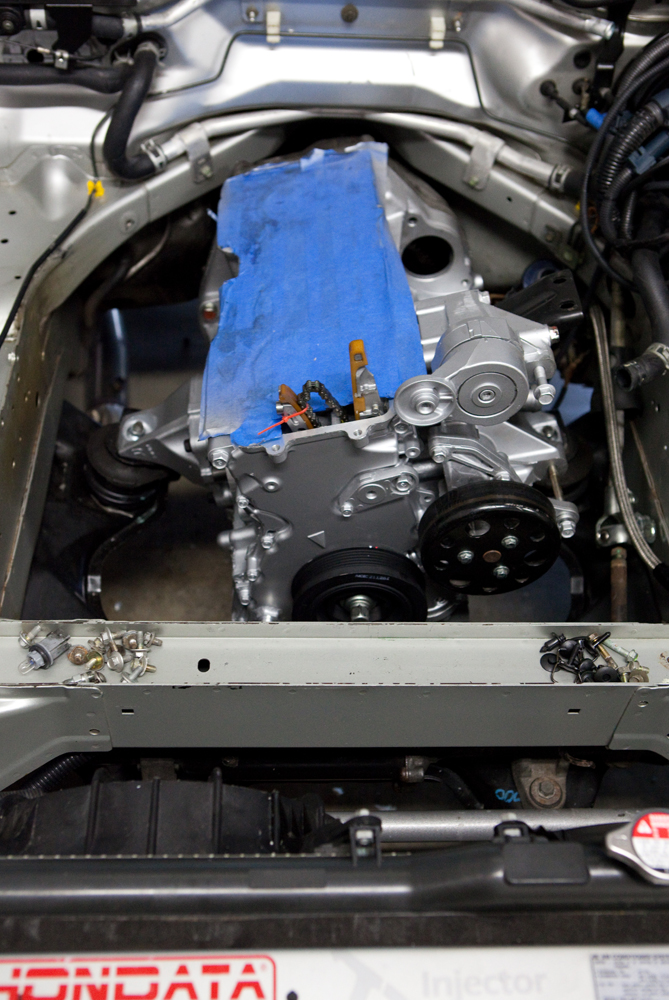
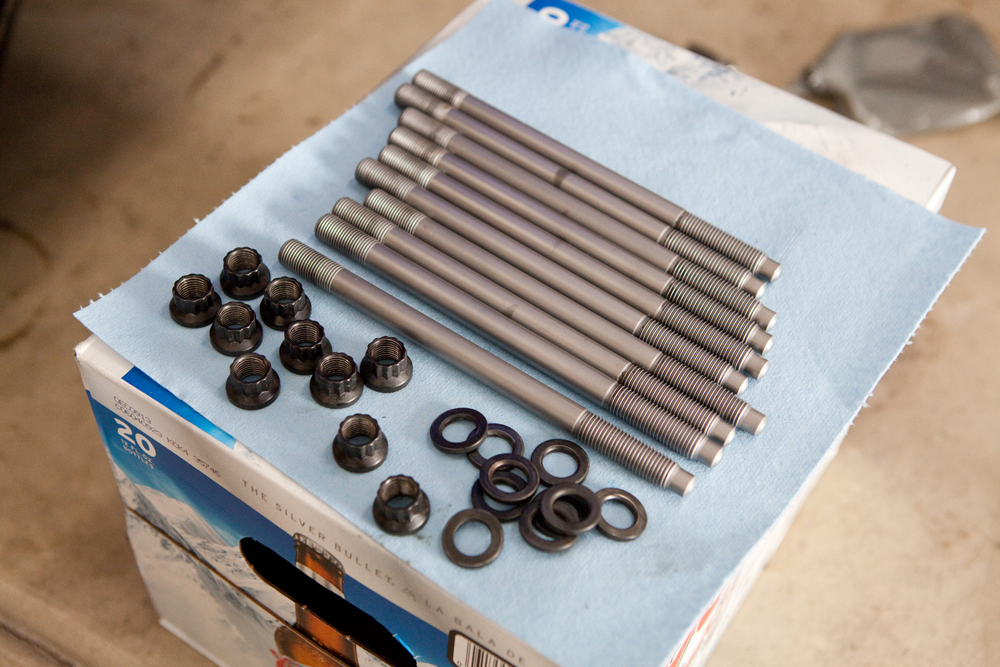
Putting on the new HG and the head! FBM H11 Studs torqued to 100 ft/lbs with ARP Ultra Lube
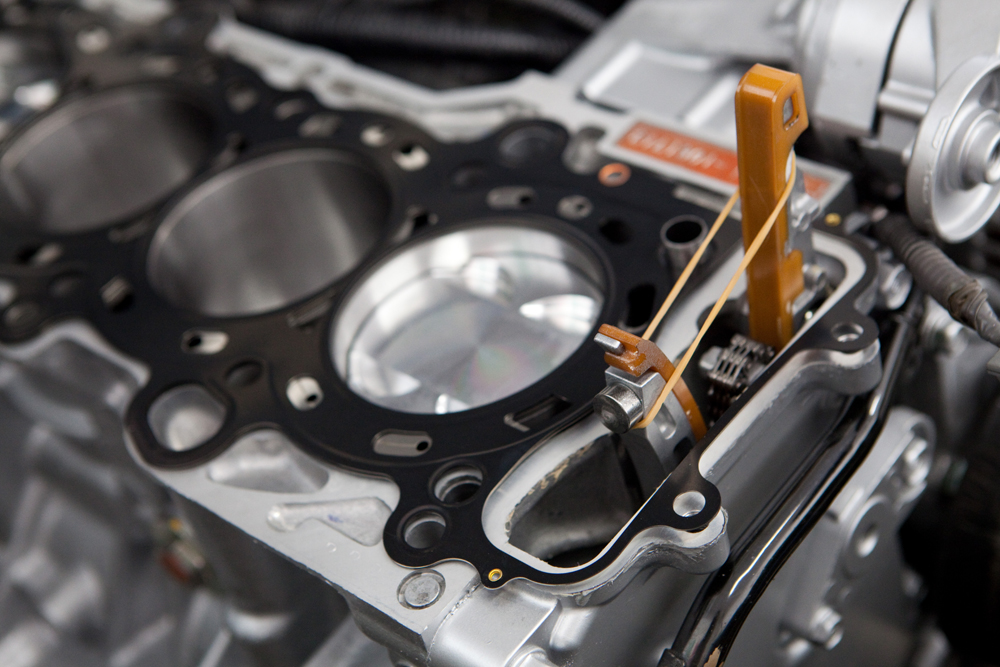
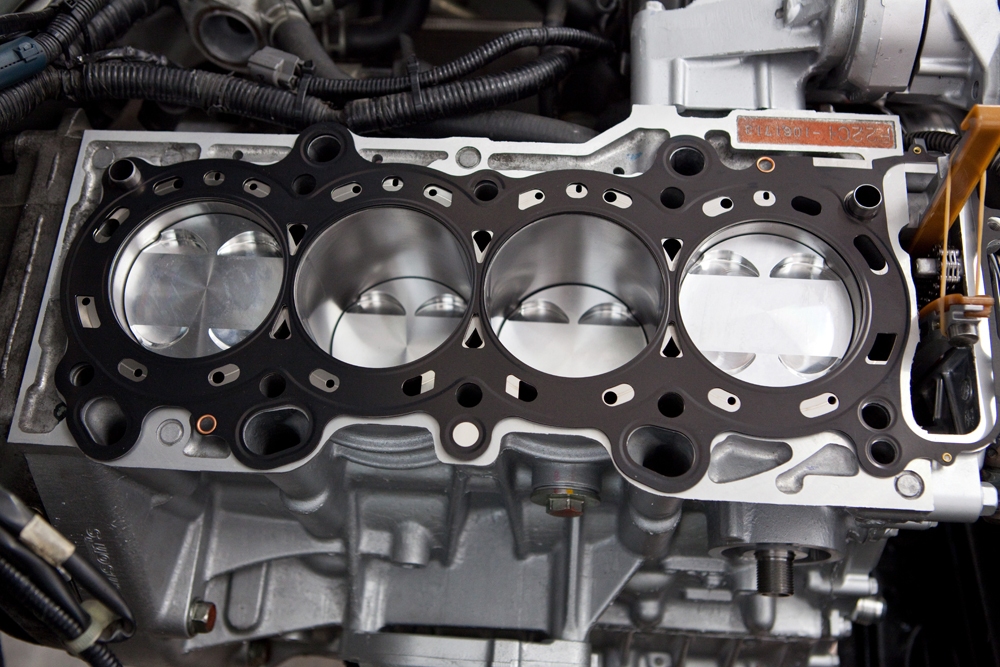
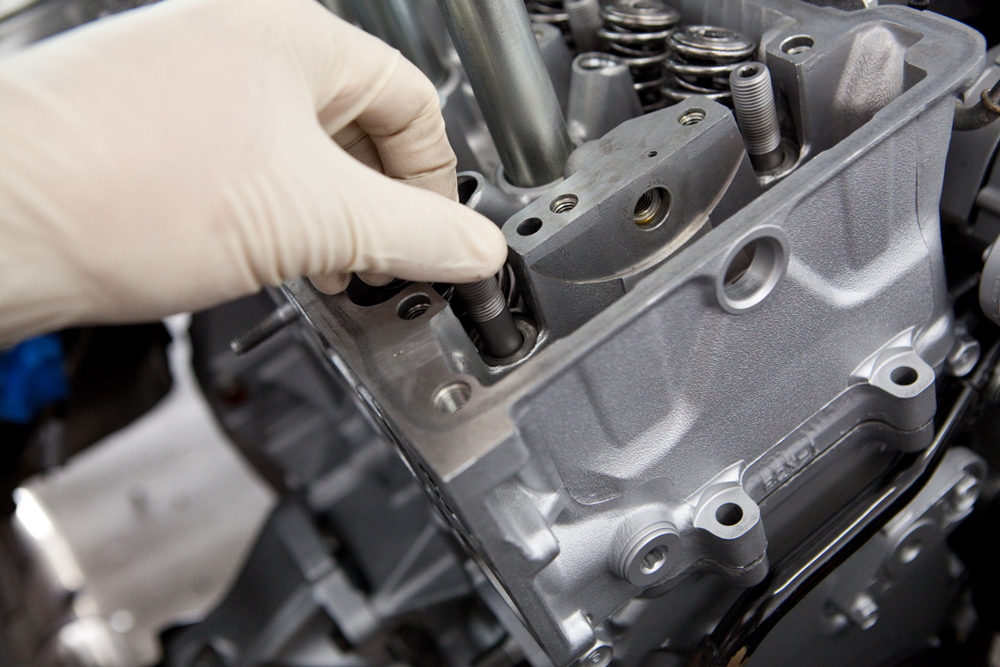
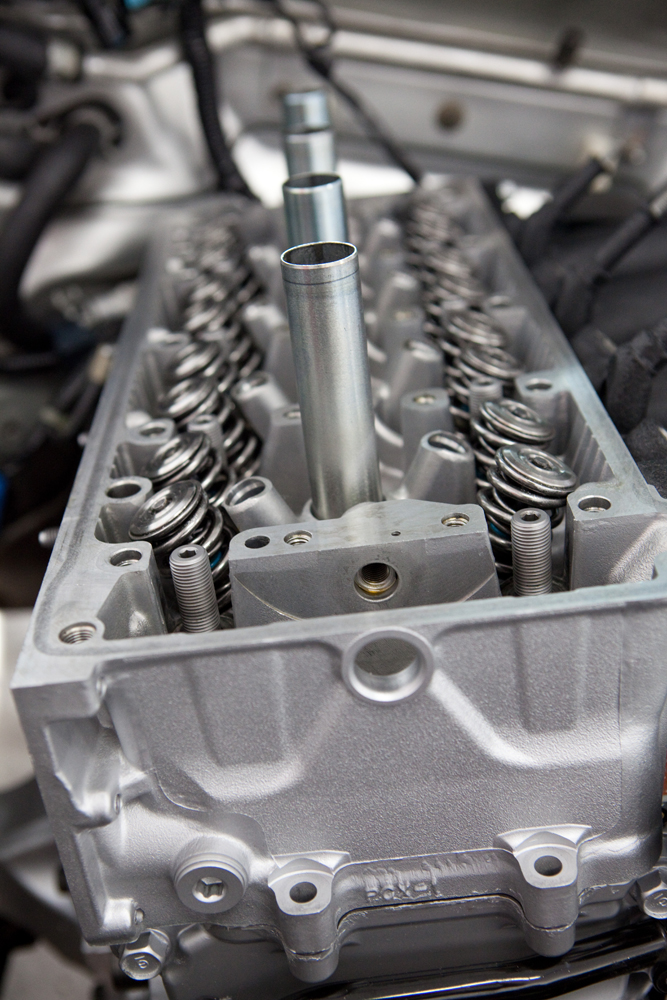
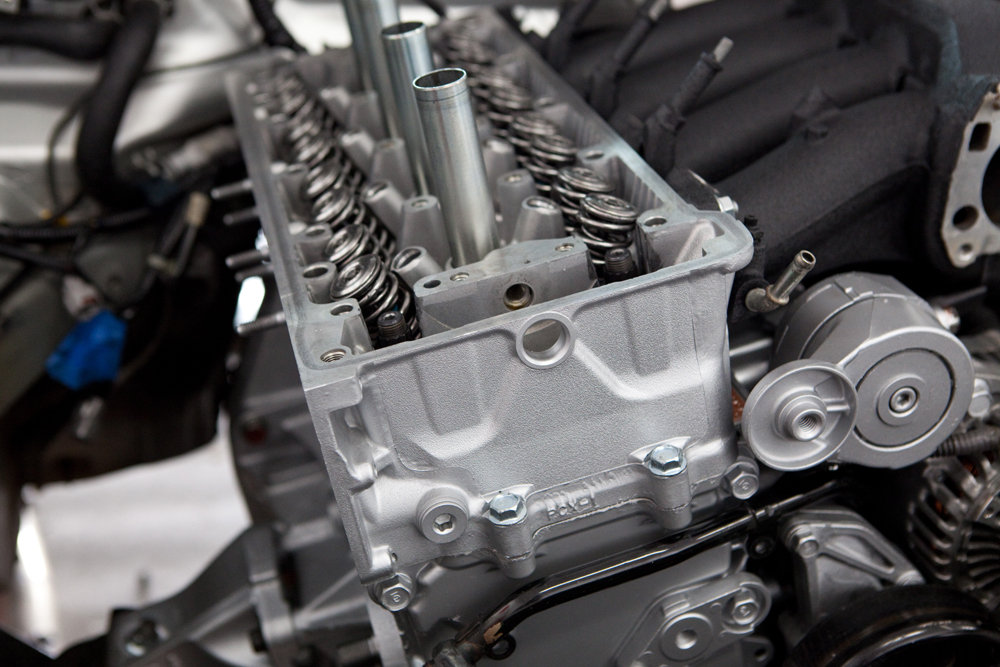


Putting on the new HG and the head! FBM H11 Studs torqued to 100 ft/lbs with ARP Ultra Lube


Thread Starter
Joined: Nov 2007
Posts: 1,384
Likes: 3
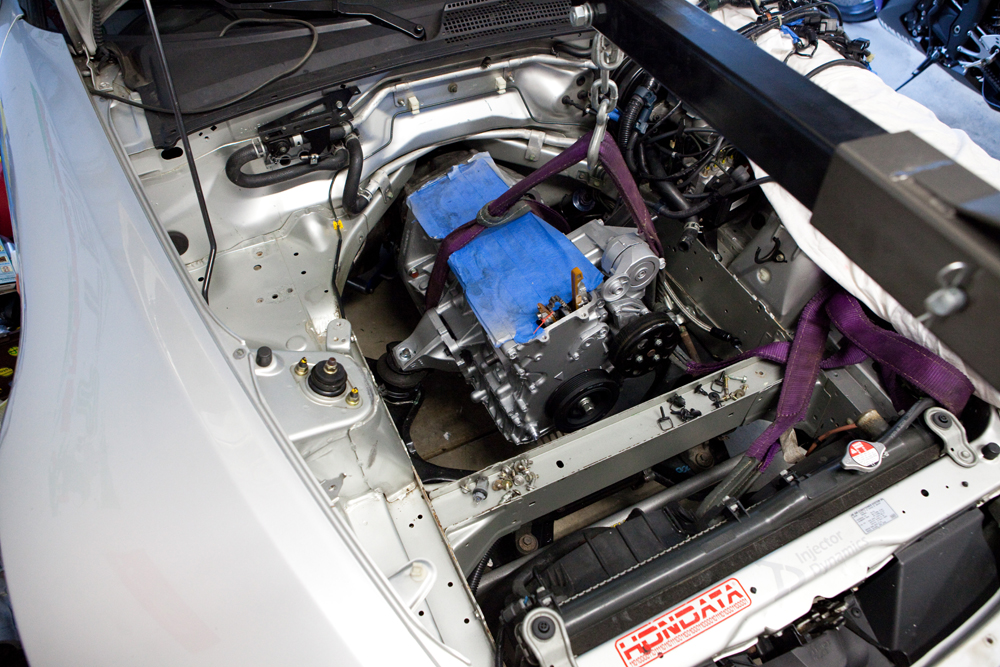
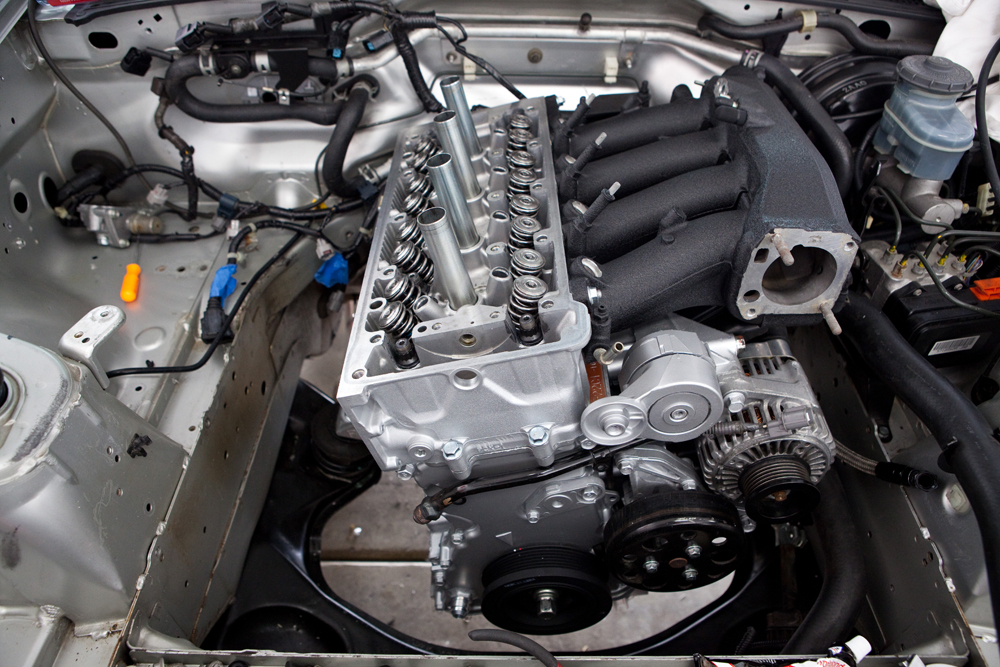
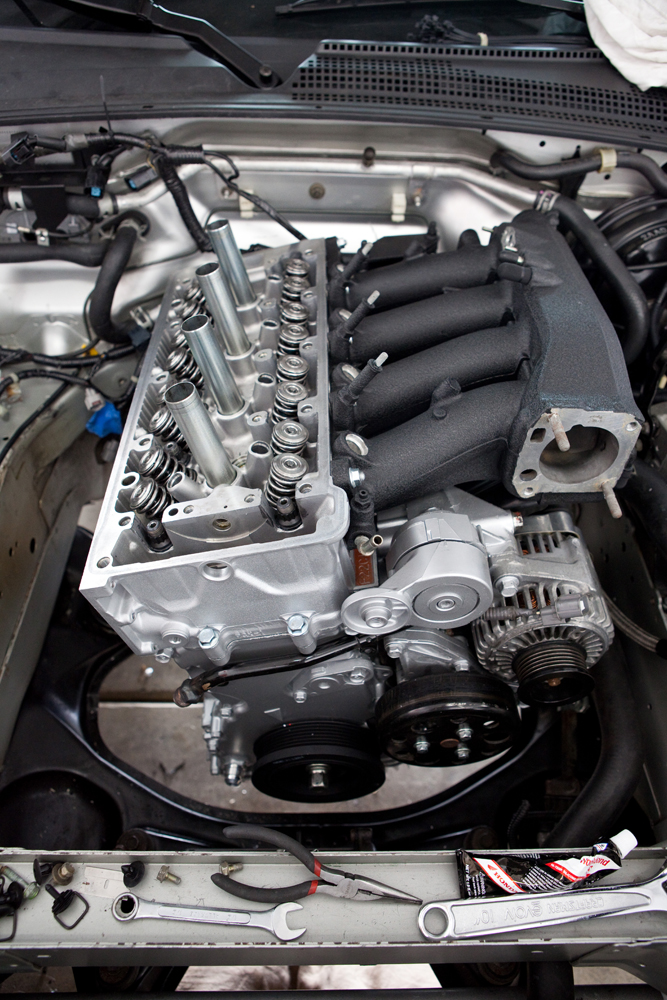
Just waiting on the turbo manifold and a couple small things but this is how she sits right now...
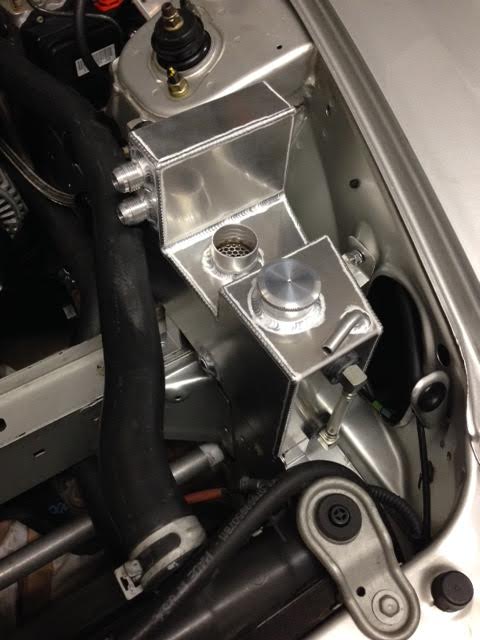
Catch Can
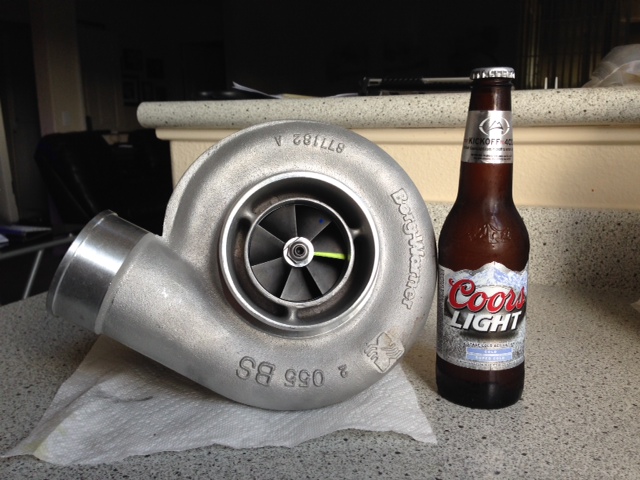
Borg Warner S366 T4 Twin Scroll .91 AR - MONSTER!!
Here some older photos of the Full Blown 8.8 Setup for those that haven't seen it.
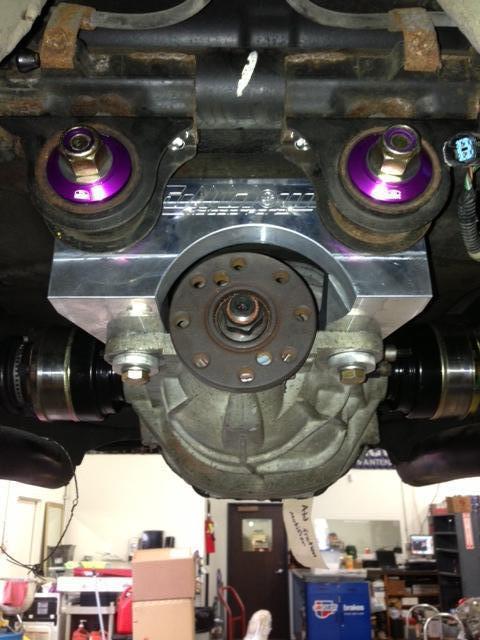
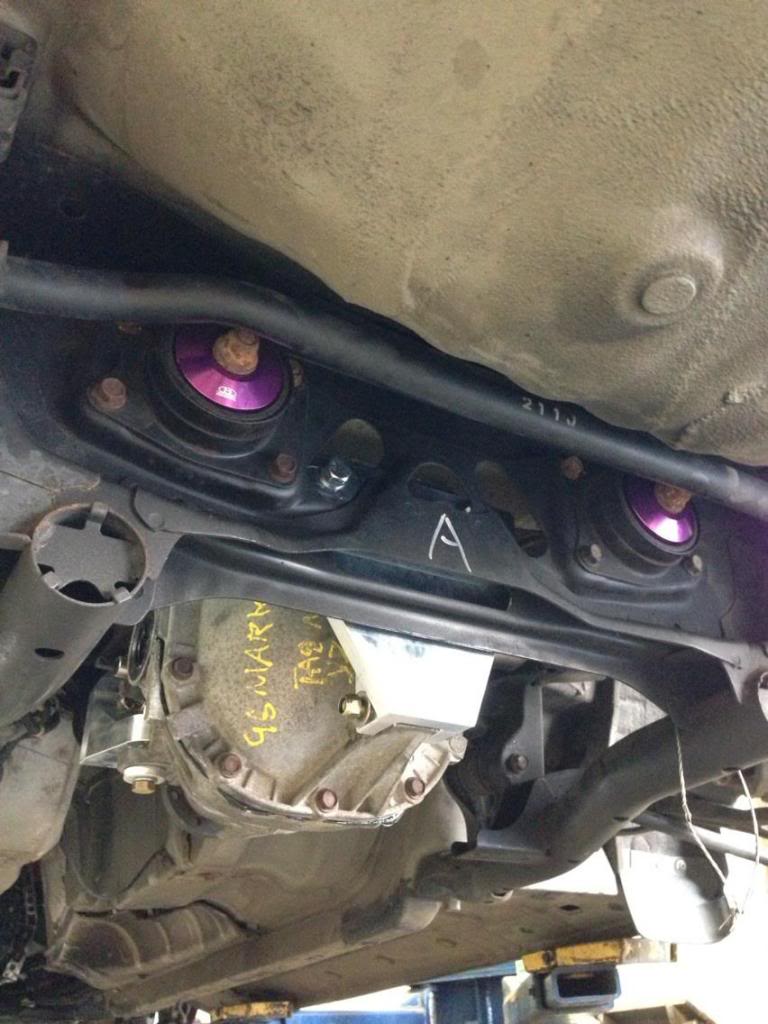
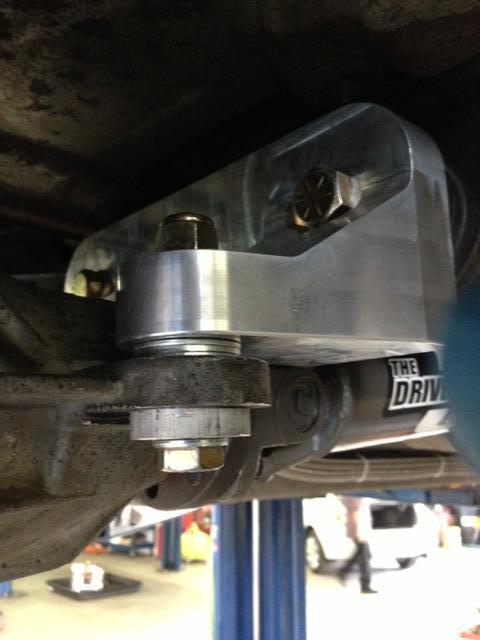
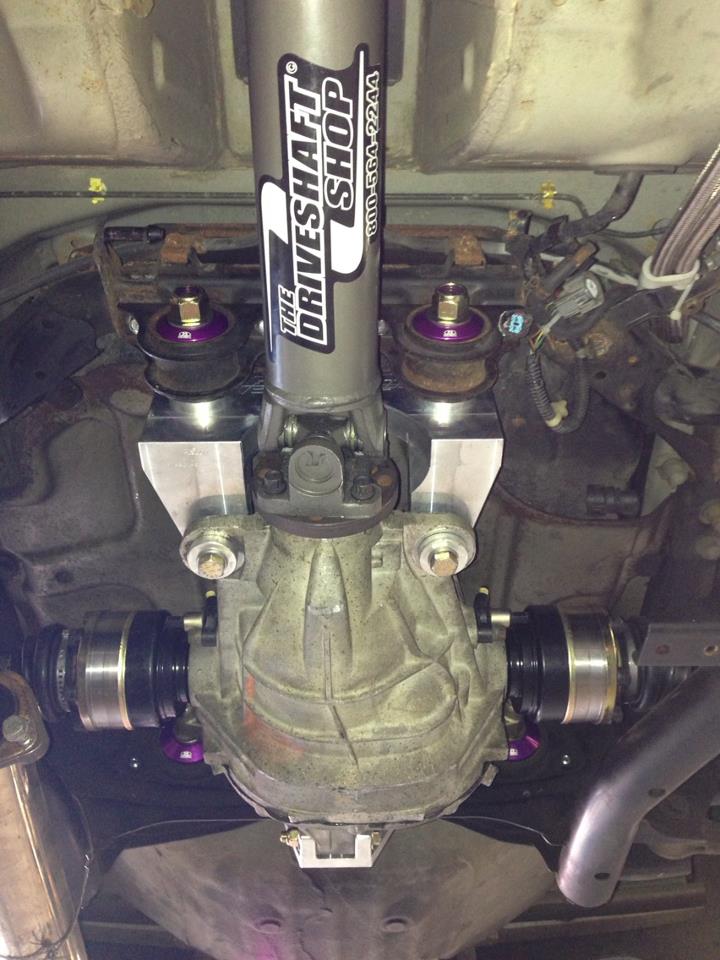
As I get the kit together and installed, I will post more photos! Stay Tuned

Catch Can

Borg Warner S366 T4 Twin Scroll .91 AR - MONSTER!!

Here some older photos of the Full Blown 8.8 Setup for those that haven't seen it.


As I get the kit together and installed, I will post more photos! Stay Tuned

Joined: Mar 2005
Posts: 4,692
Likes: 6
From: Centreville, Va
Nice start! I suggest putting grommets on the holes where you have the wiring passing into the fender (or a split vacuum hose, if you can't find the correct sized grommet). Great turbo choice; I love my s366
Thread Starter
Joined: Nov 2007
Posts: 1,384
Likes: 3
Haha yeah I already did that. I was just ansy to snap the photo lol.
Thread Starter
Joined: Nov 2007
Posts: 1,384
Likes: 3
Not any of the fuse box wires but the starter and battery cable that tie into the fuse box yes. The EPS wires, horn, and condensor has to be extended for how I did it.


