When you click on links to various merchants on this site and make a purchase, this can result in this site earning a commission. Affiliate programs and affiliations include, but are not limited to, the eBay Partner Network.
Looks better than new! I just took my front and rear upper and lower arms off. I consider myself lucky that everything came out without utilizing a torch or cutting.
I am considering the HardRace rubber bushings or Mugen ones as suitable replacements. I find it strange that all but one bushing is replaceable. The rear lower arm has a bushing that I could not find under Mugen, Spoon, or HardRace in a hard rubber option.
I am also considering powder coating the arms over painting. This would require more work...I would have to press out the upper arm ball joints.
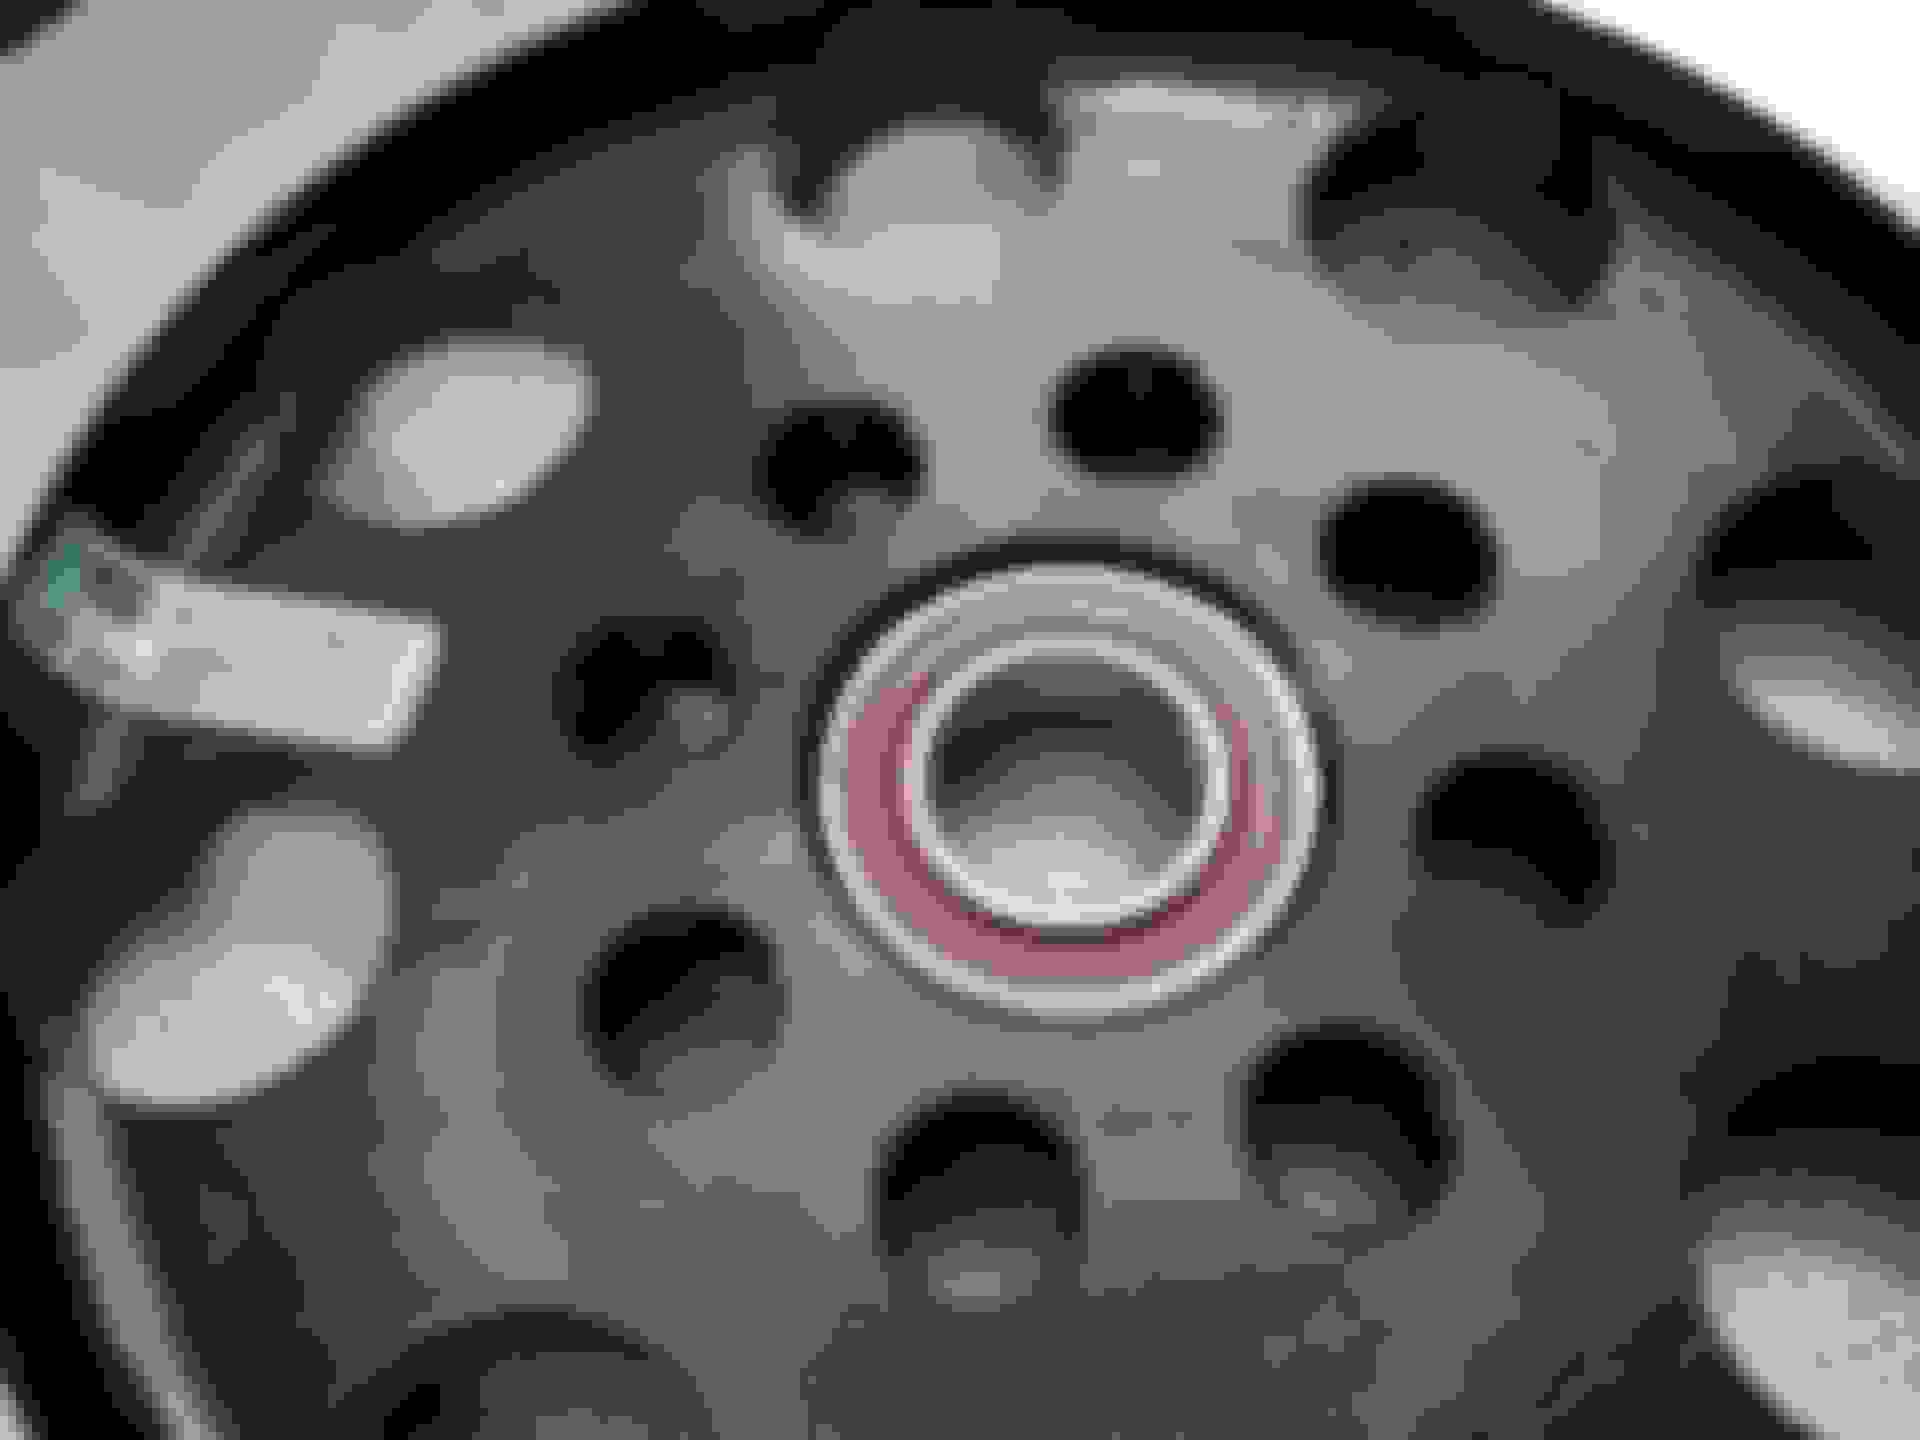
One thing I discovered today is that the inner race from my wheel bearing fits around the diameter of the ball joint perfectly to serve as platform to use on my shop press.
I hope my project will turn out looking as good as yours does! Great job!
Thank you
Yeah I've noticed the same thing, maybe it's the two part construction that makes it not suitable for replacement without some special equipment.
If you are going for rubber on all the others I would probably just leave that rear front one stock, it seems way oversized anyways.
Thank you
Yeah I've noticed the same thing, maybe it's the two part construction that makes it not suitable for replacement without some special equipment.
If you are going for rubber on all the others I would probably just leave that rear front one stock, it seems way oversized anyways.
That's exactly what I did. Everything else I replaced with Mugen bushings and that one was left alone. I masked off the rubber and had the metal portions of it blasted and painted when I did the rest of the arms.
Small update before a bigger one.
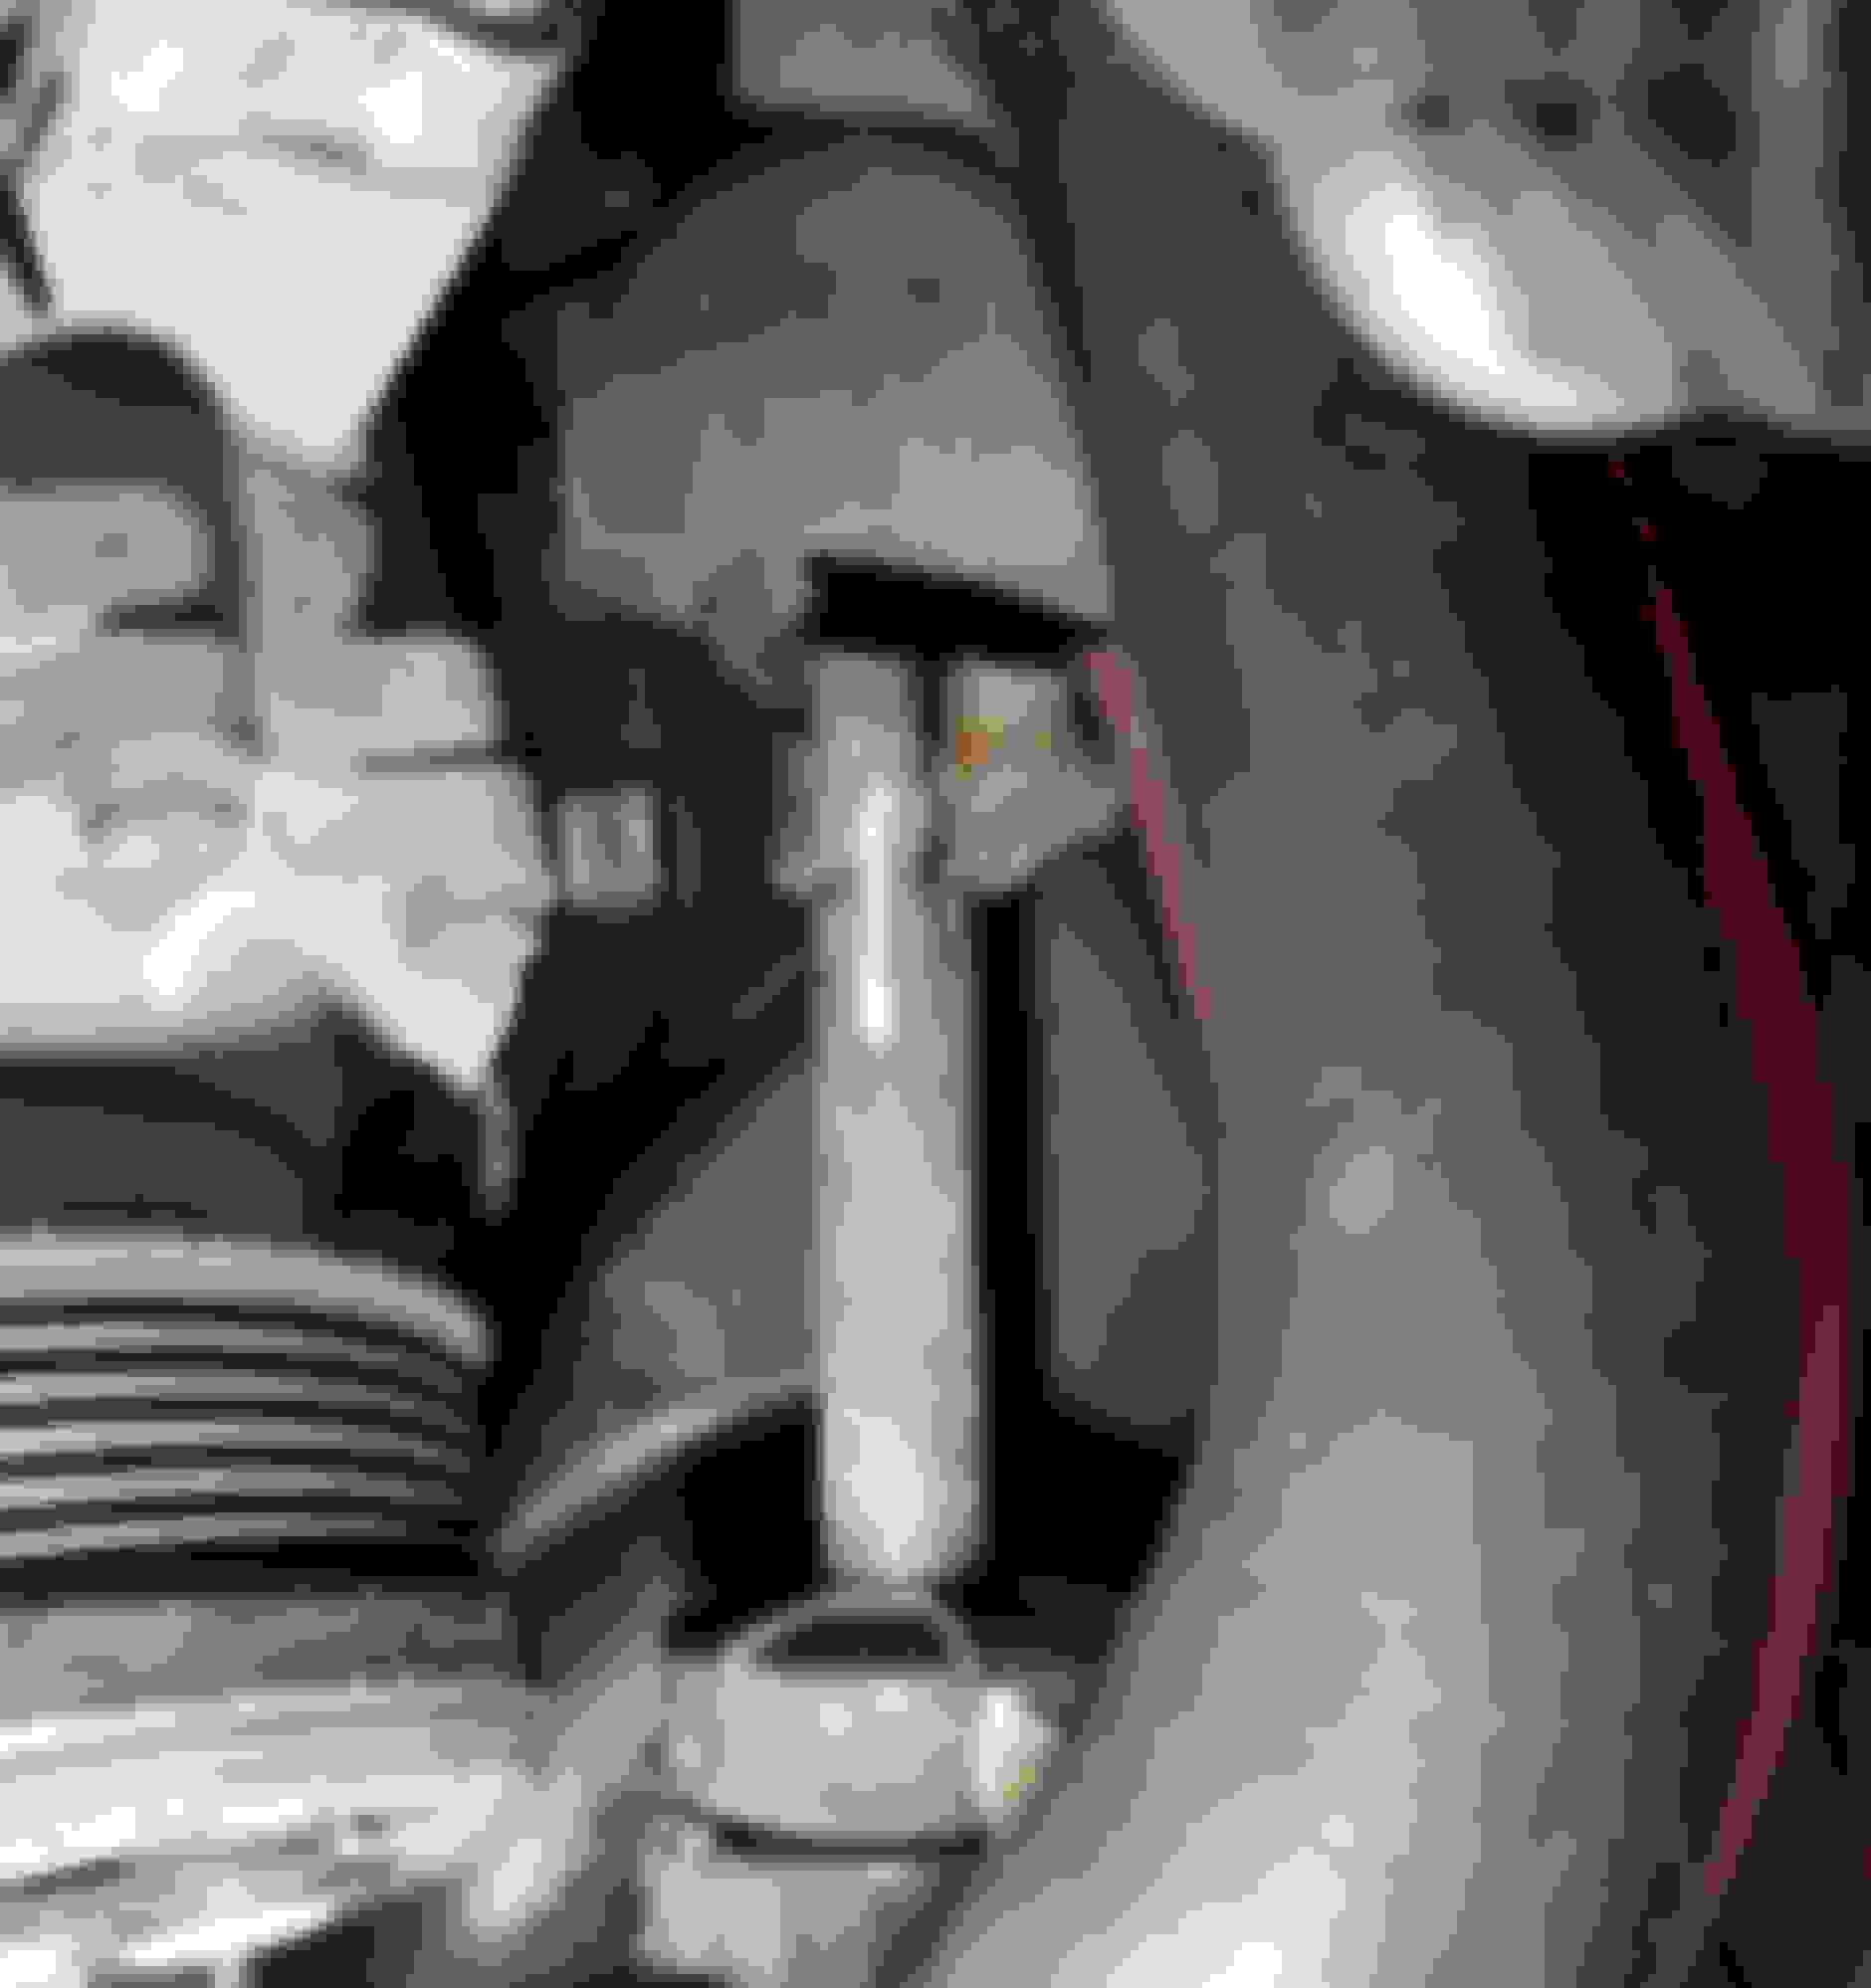
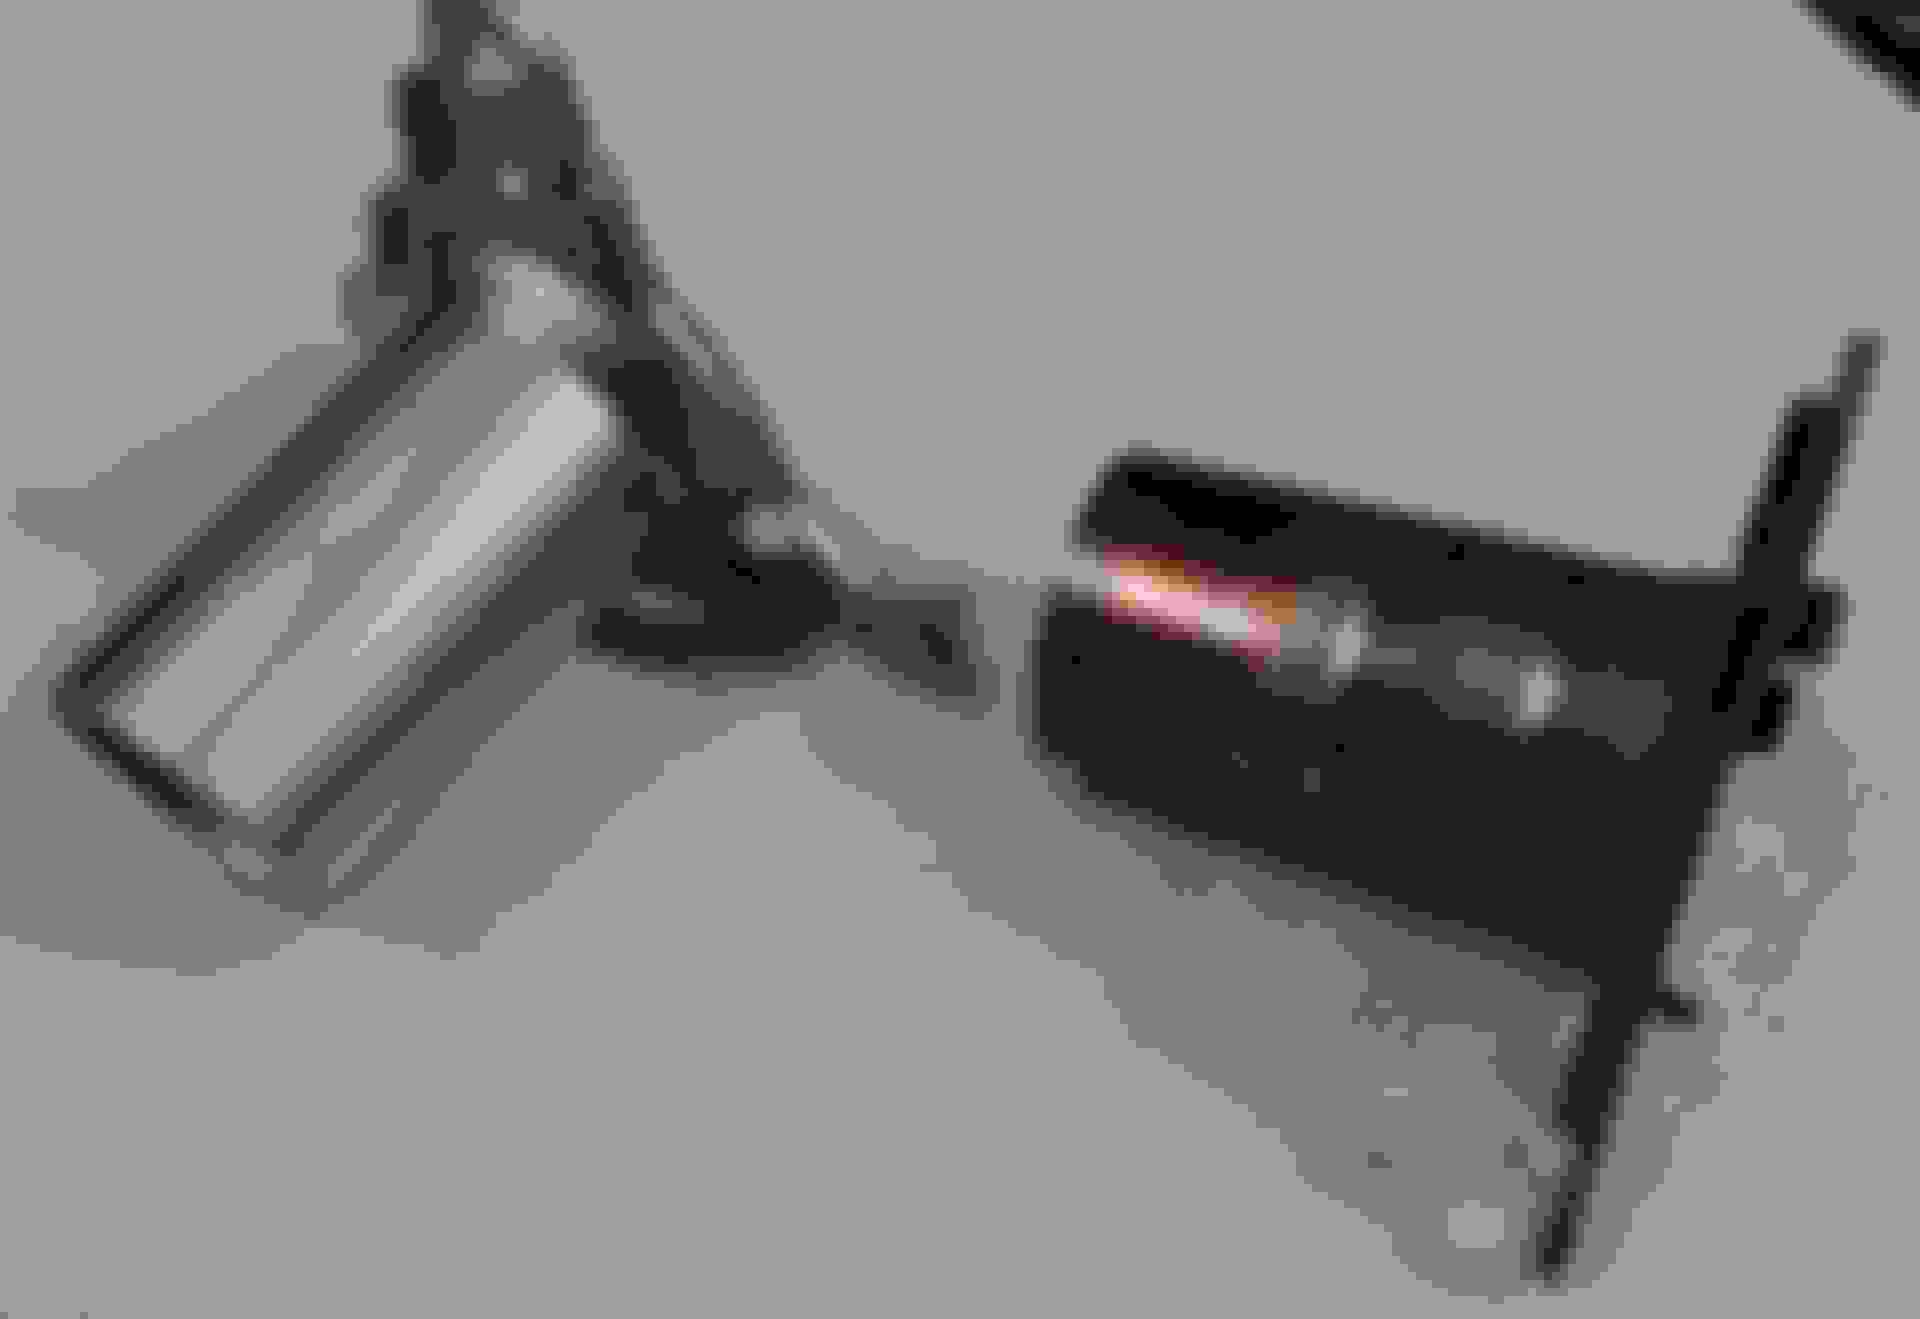
I've been hearing a weird rattle noise on cold starts and when hand spinning the idler pulley it felt a bit suspect.
Thought it was best to take the tensioner pulley out at the same time.
Both bearings are the same size (6203), the tensioner seems to have a higher spec though.
I went with higher spec ones for both, SKF 6203 2RSL. Swedish candy included for precision assembly.
Both went in without trouble
My oem? Mitsubishi serpentine belt was looking a bit ugly
So got a new conti belt
All installed and ready to roll
While looking around in the area I noticed my radiator had started to get a bit crusty down bellow.
So out with the coolant
and the radiator..
It didn't look that bad really but better replace sooner than later.
Condenser behind looked pretty good, well at least from the inside.
New part coming in
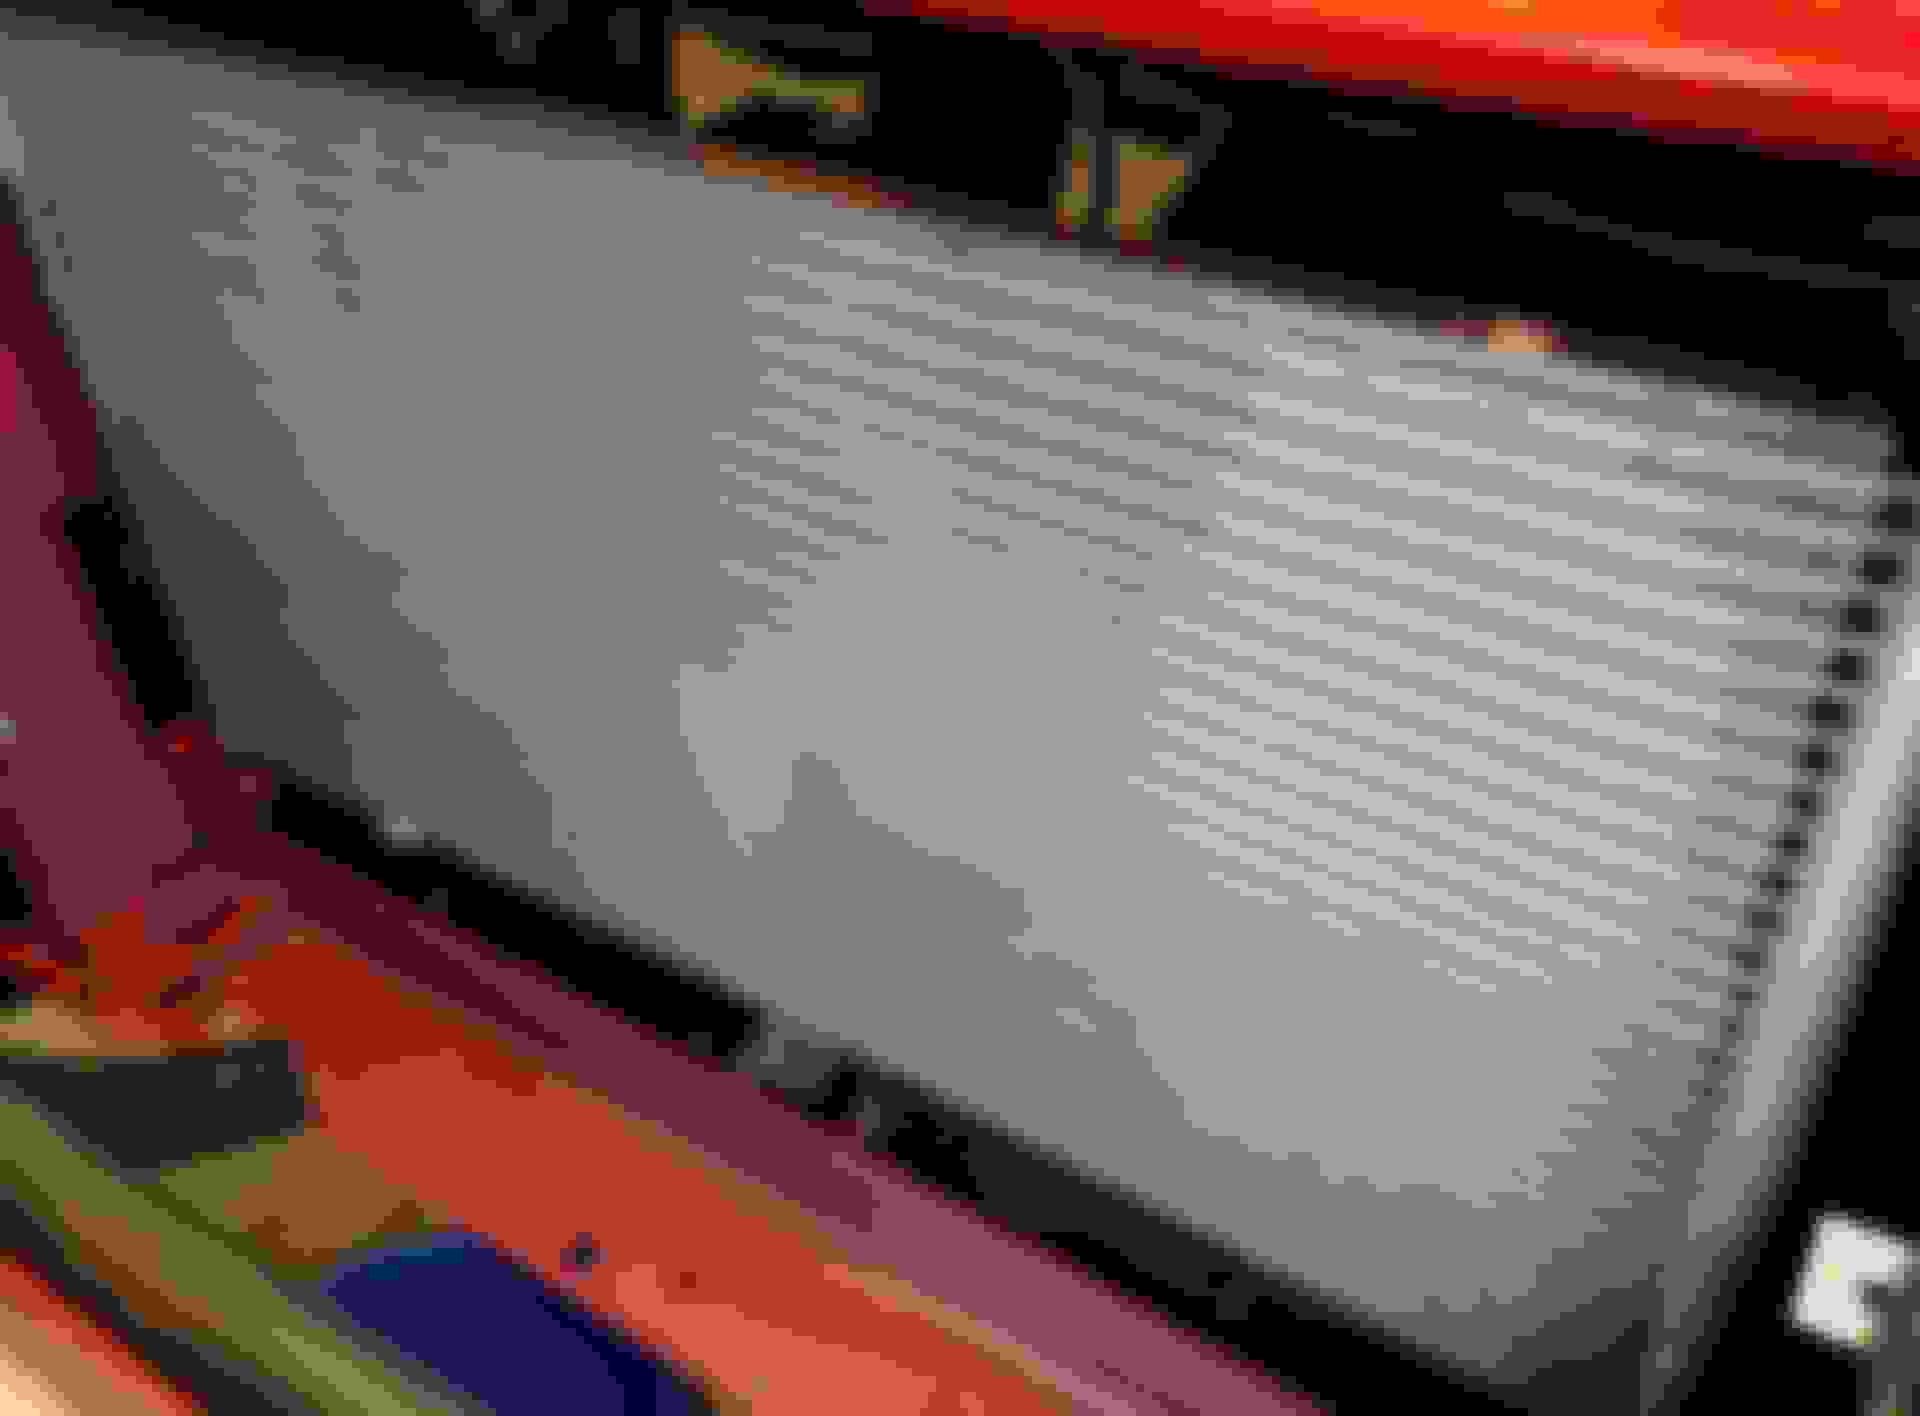
Didn't want a bulky (~55mm) chinese mishi or whatever they are called so went Koyo 36mm hyper core instead.
And always nice with some japanase quality.
Well they are actually made in Indonesia now so maybe not the same spotless quality you would expect.
Spent an hour cleaning it from polishing compound as well, you can spot some of it in the picture (black stuff).
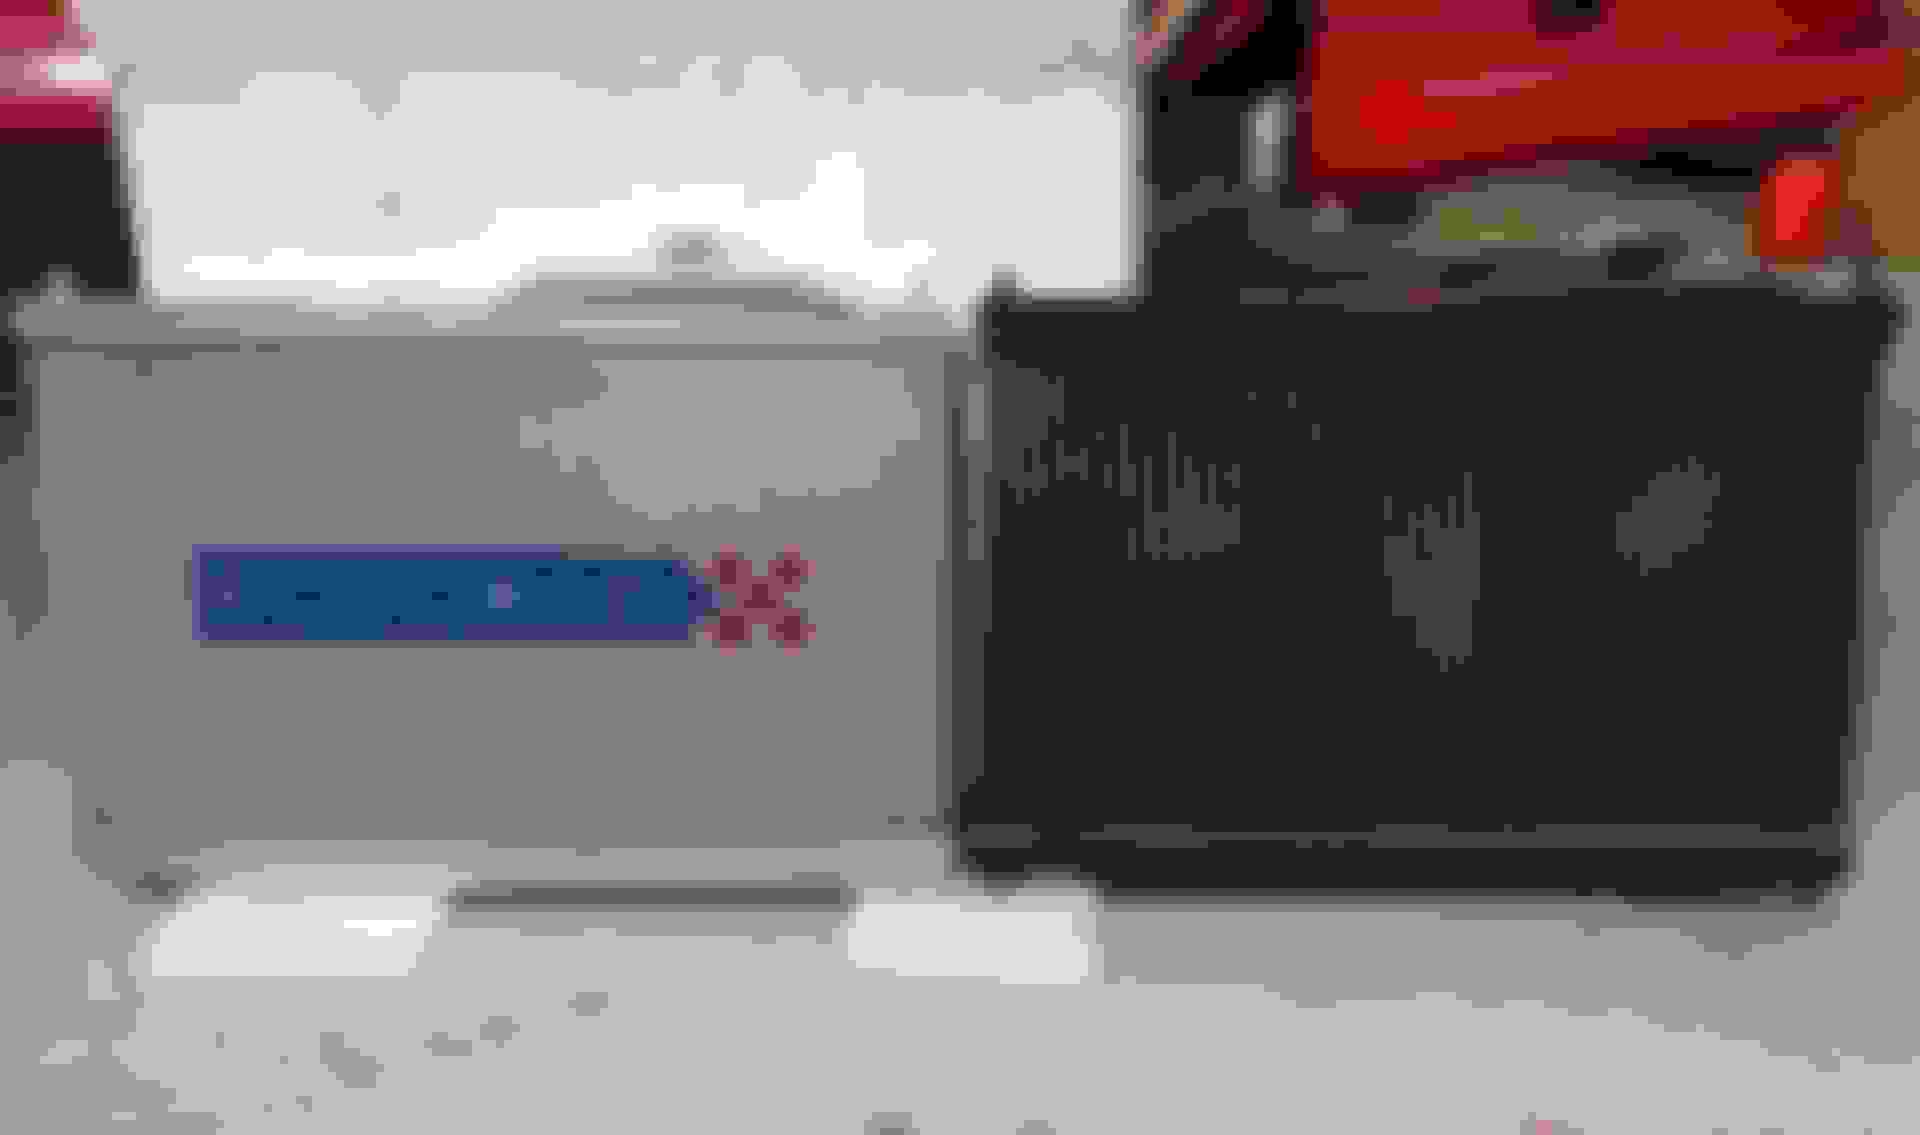
Weight of stock radiator was 2.55kg (5.62lbs) and Koyo 3.82kg (8.42lbs)
Some comparison pictures
New hose clamp
And also new cap since stock one wouldn't fit.
Didn't want to run unnecessary high pressure like most aftermarket caps so went with this HKS one that use stock 1.1bar
The red and gold looked pretty nice as well
Did some wire cleaning at the same time (rad fans, power steering loom, etc), didn't get any good after pictures from that but might take some later.
Here is some of the crap that came out though.
I've been having troubles with occasional gear grinding for a while and I was pretty sure what the cause was.
Tried to do the coat hanger grease trick but that didn't really solve it so time for the big job.
Before dropping the subframe I took out the header, test pipe, prop shaft and loosened AC pump.
Also marked the steering joint and took it apart
The infamous top starter bolt, this was only finger tight. Super easy to reach with ITB's
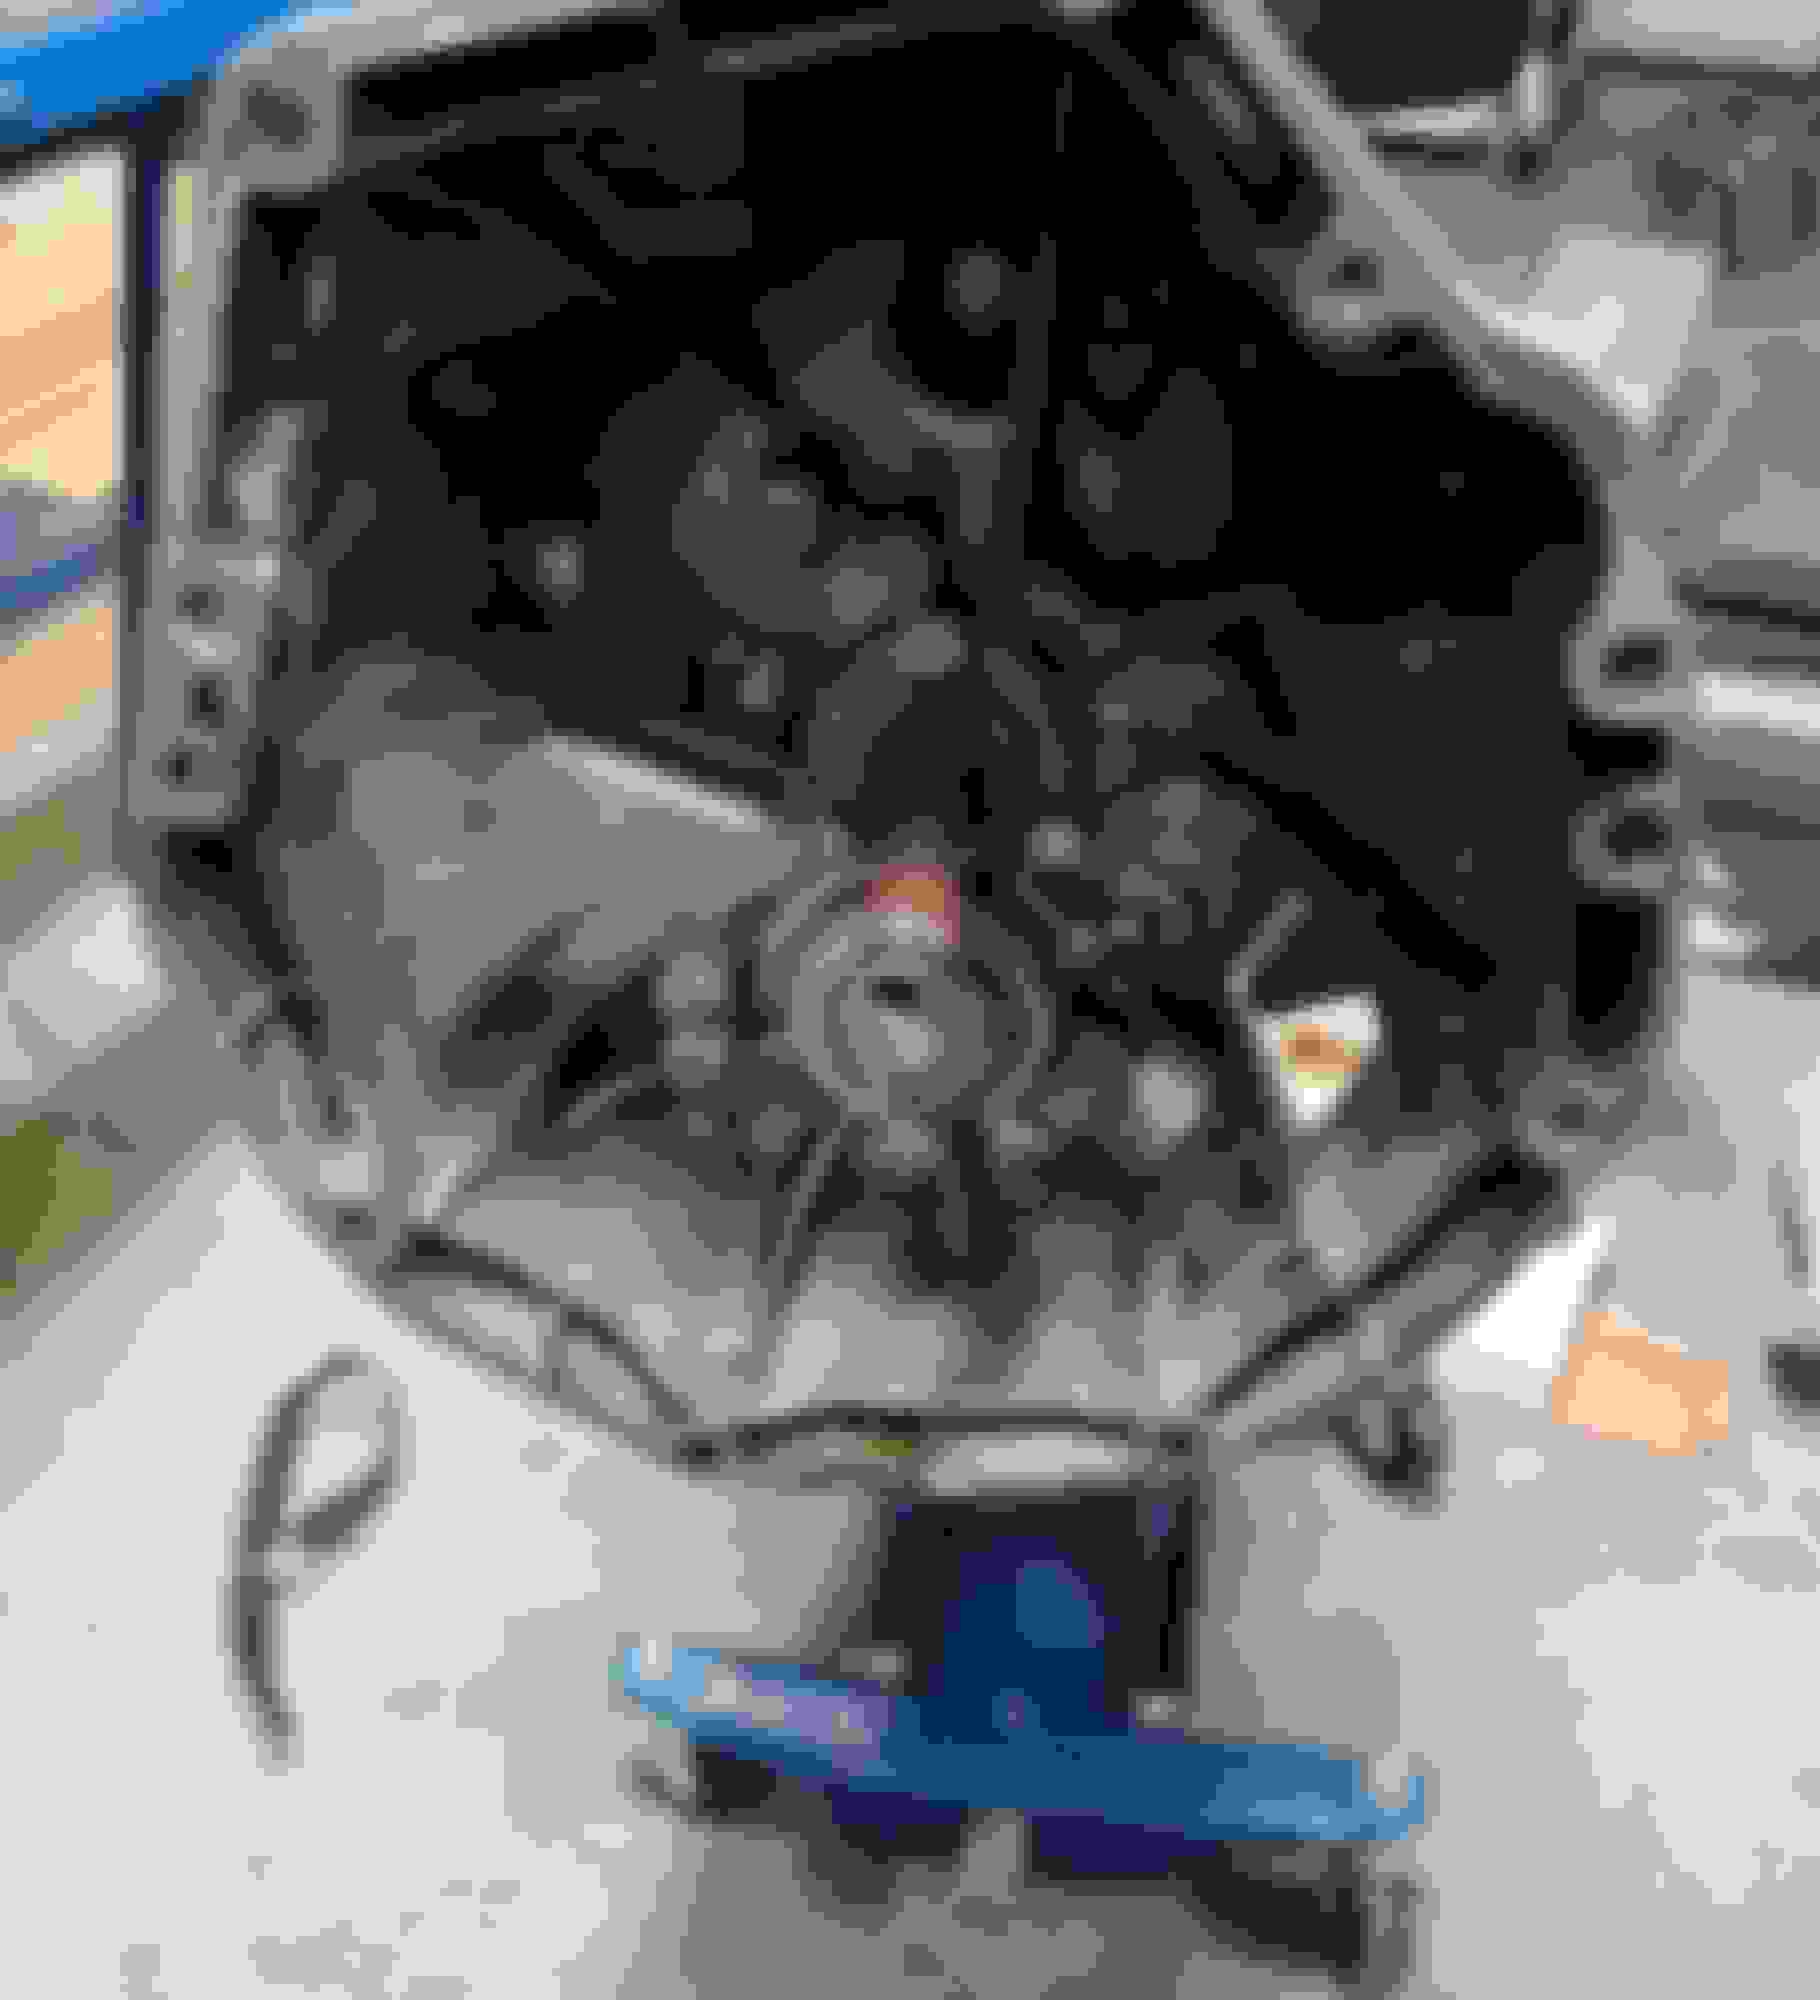
Some observations when removing the tranny.
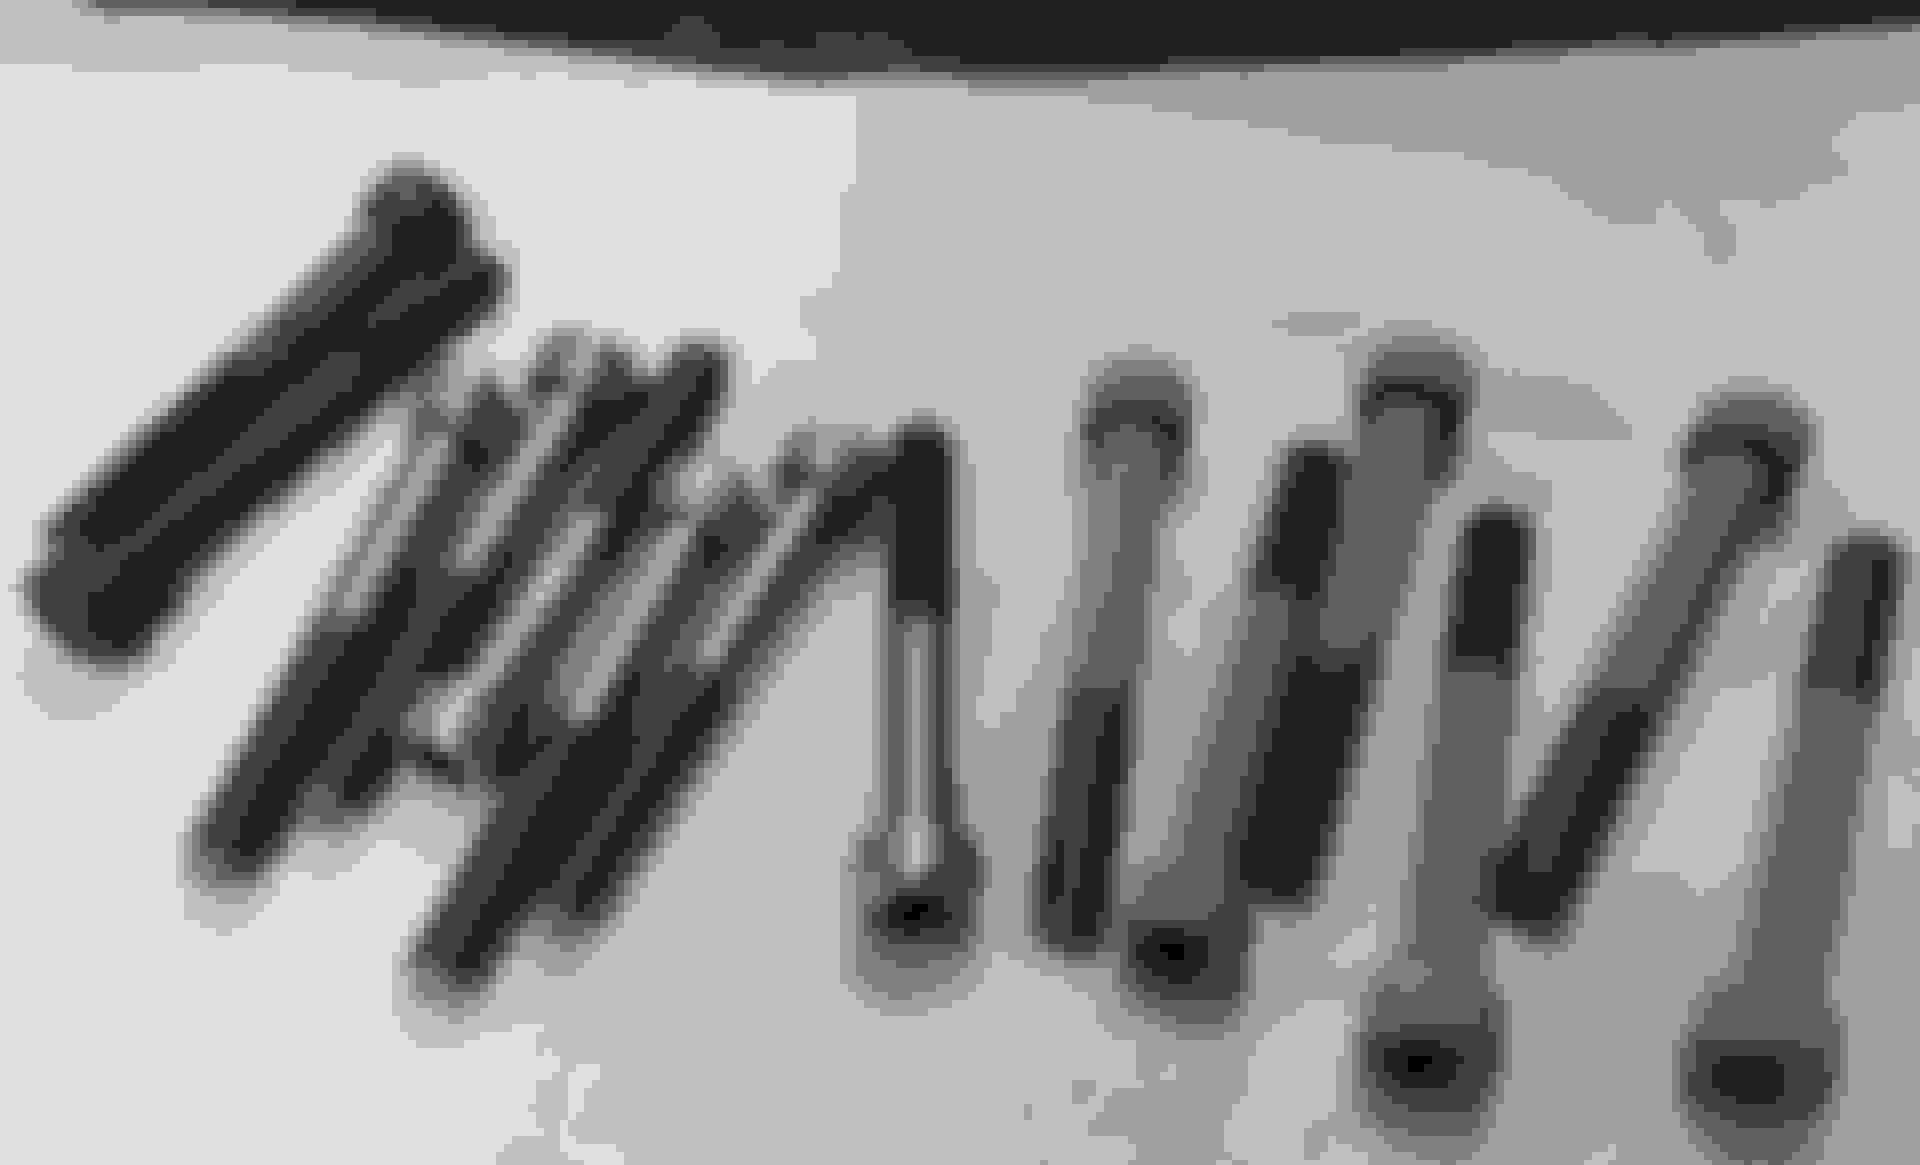
One of the top transmission bolts was 20mm to long and was bottomed out against the block, super tight.
One of the side bolts was 20mm to short (yeah this was mixed up with the one above), it came out with the single thread it sat against.
Only one dowel out of two was installed.
Out on the floor ready for some cleaning
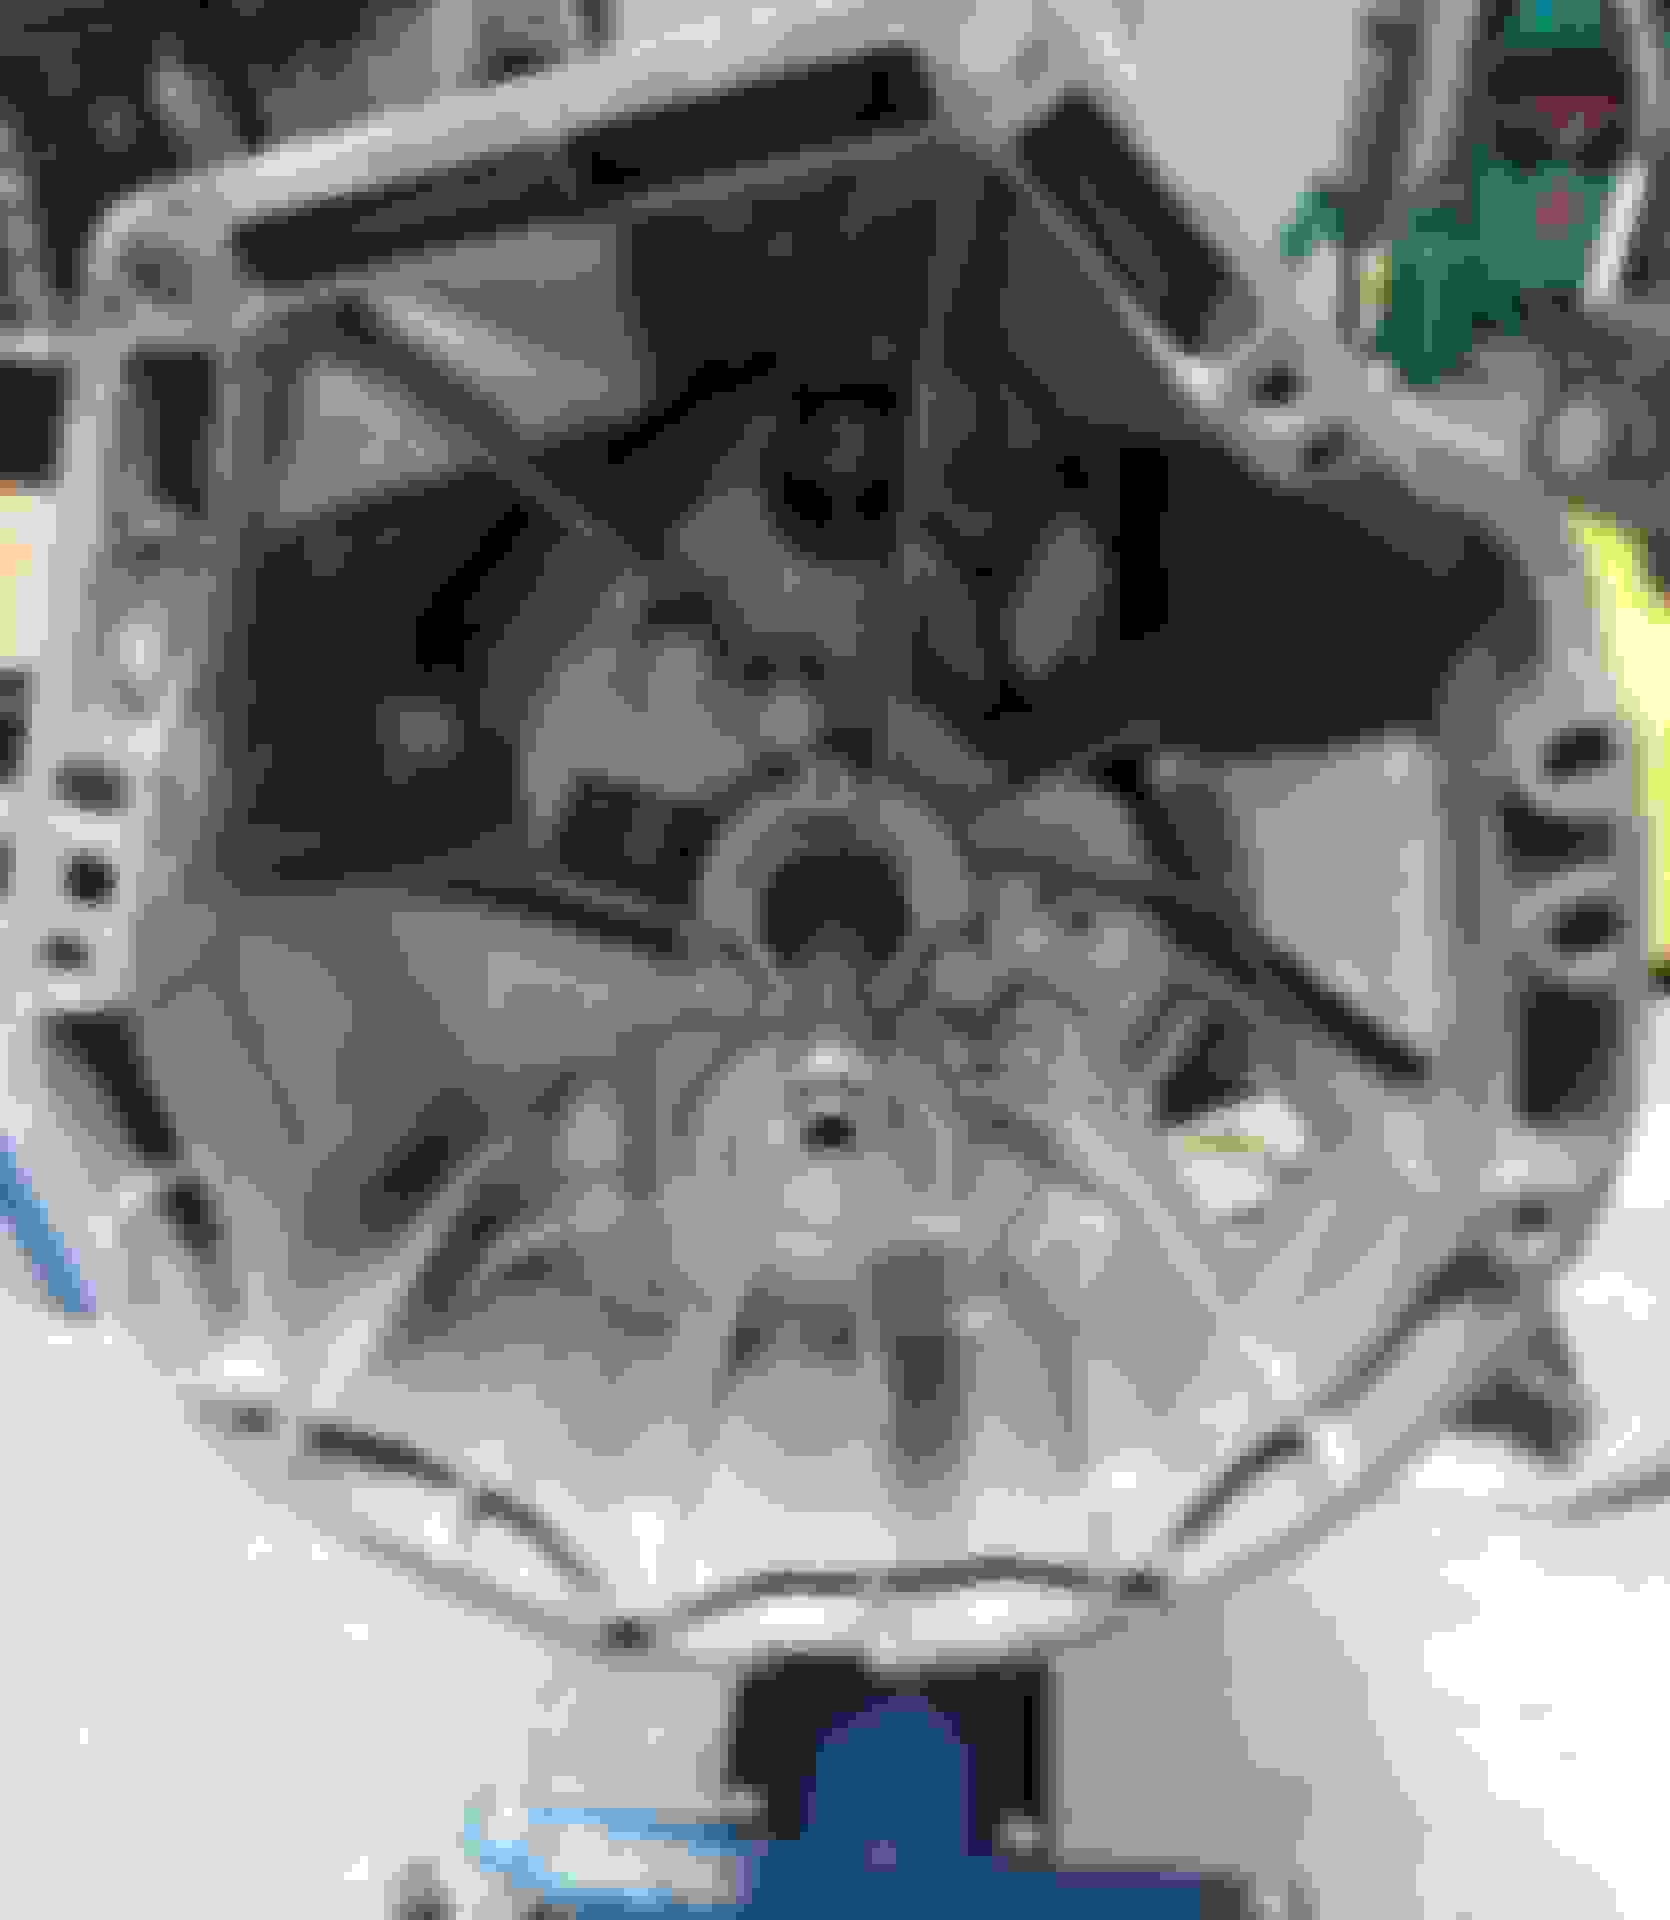
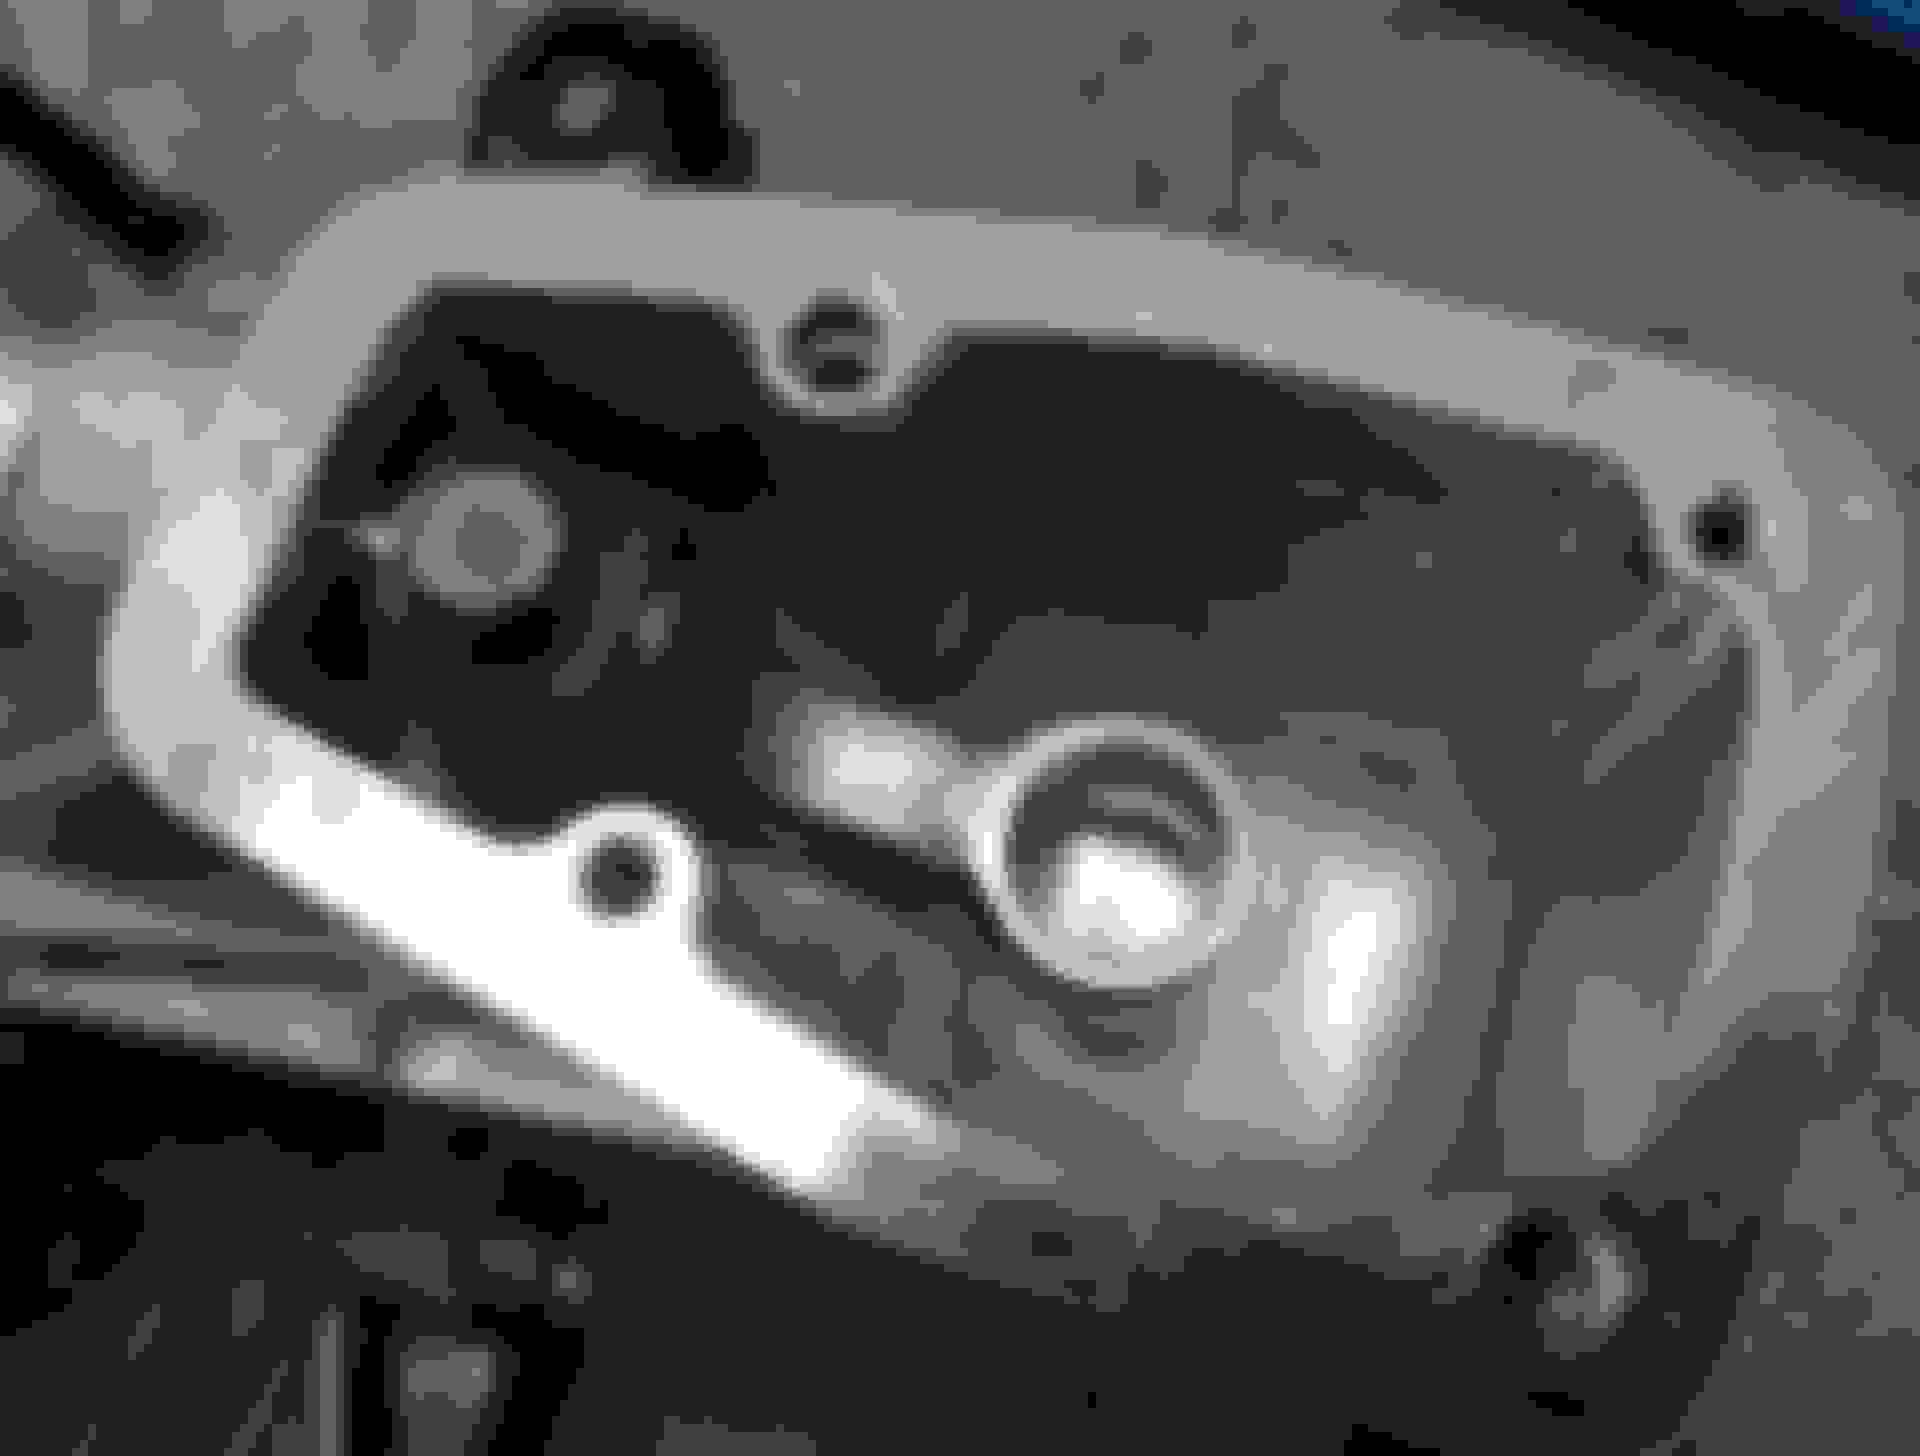
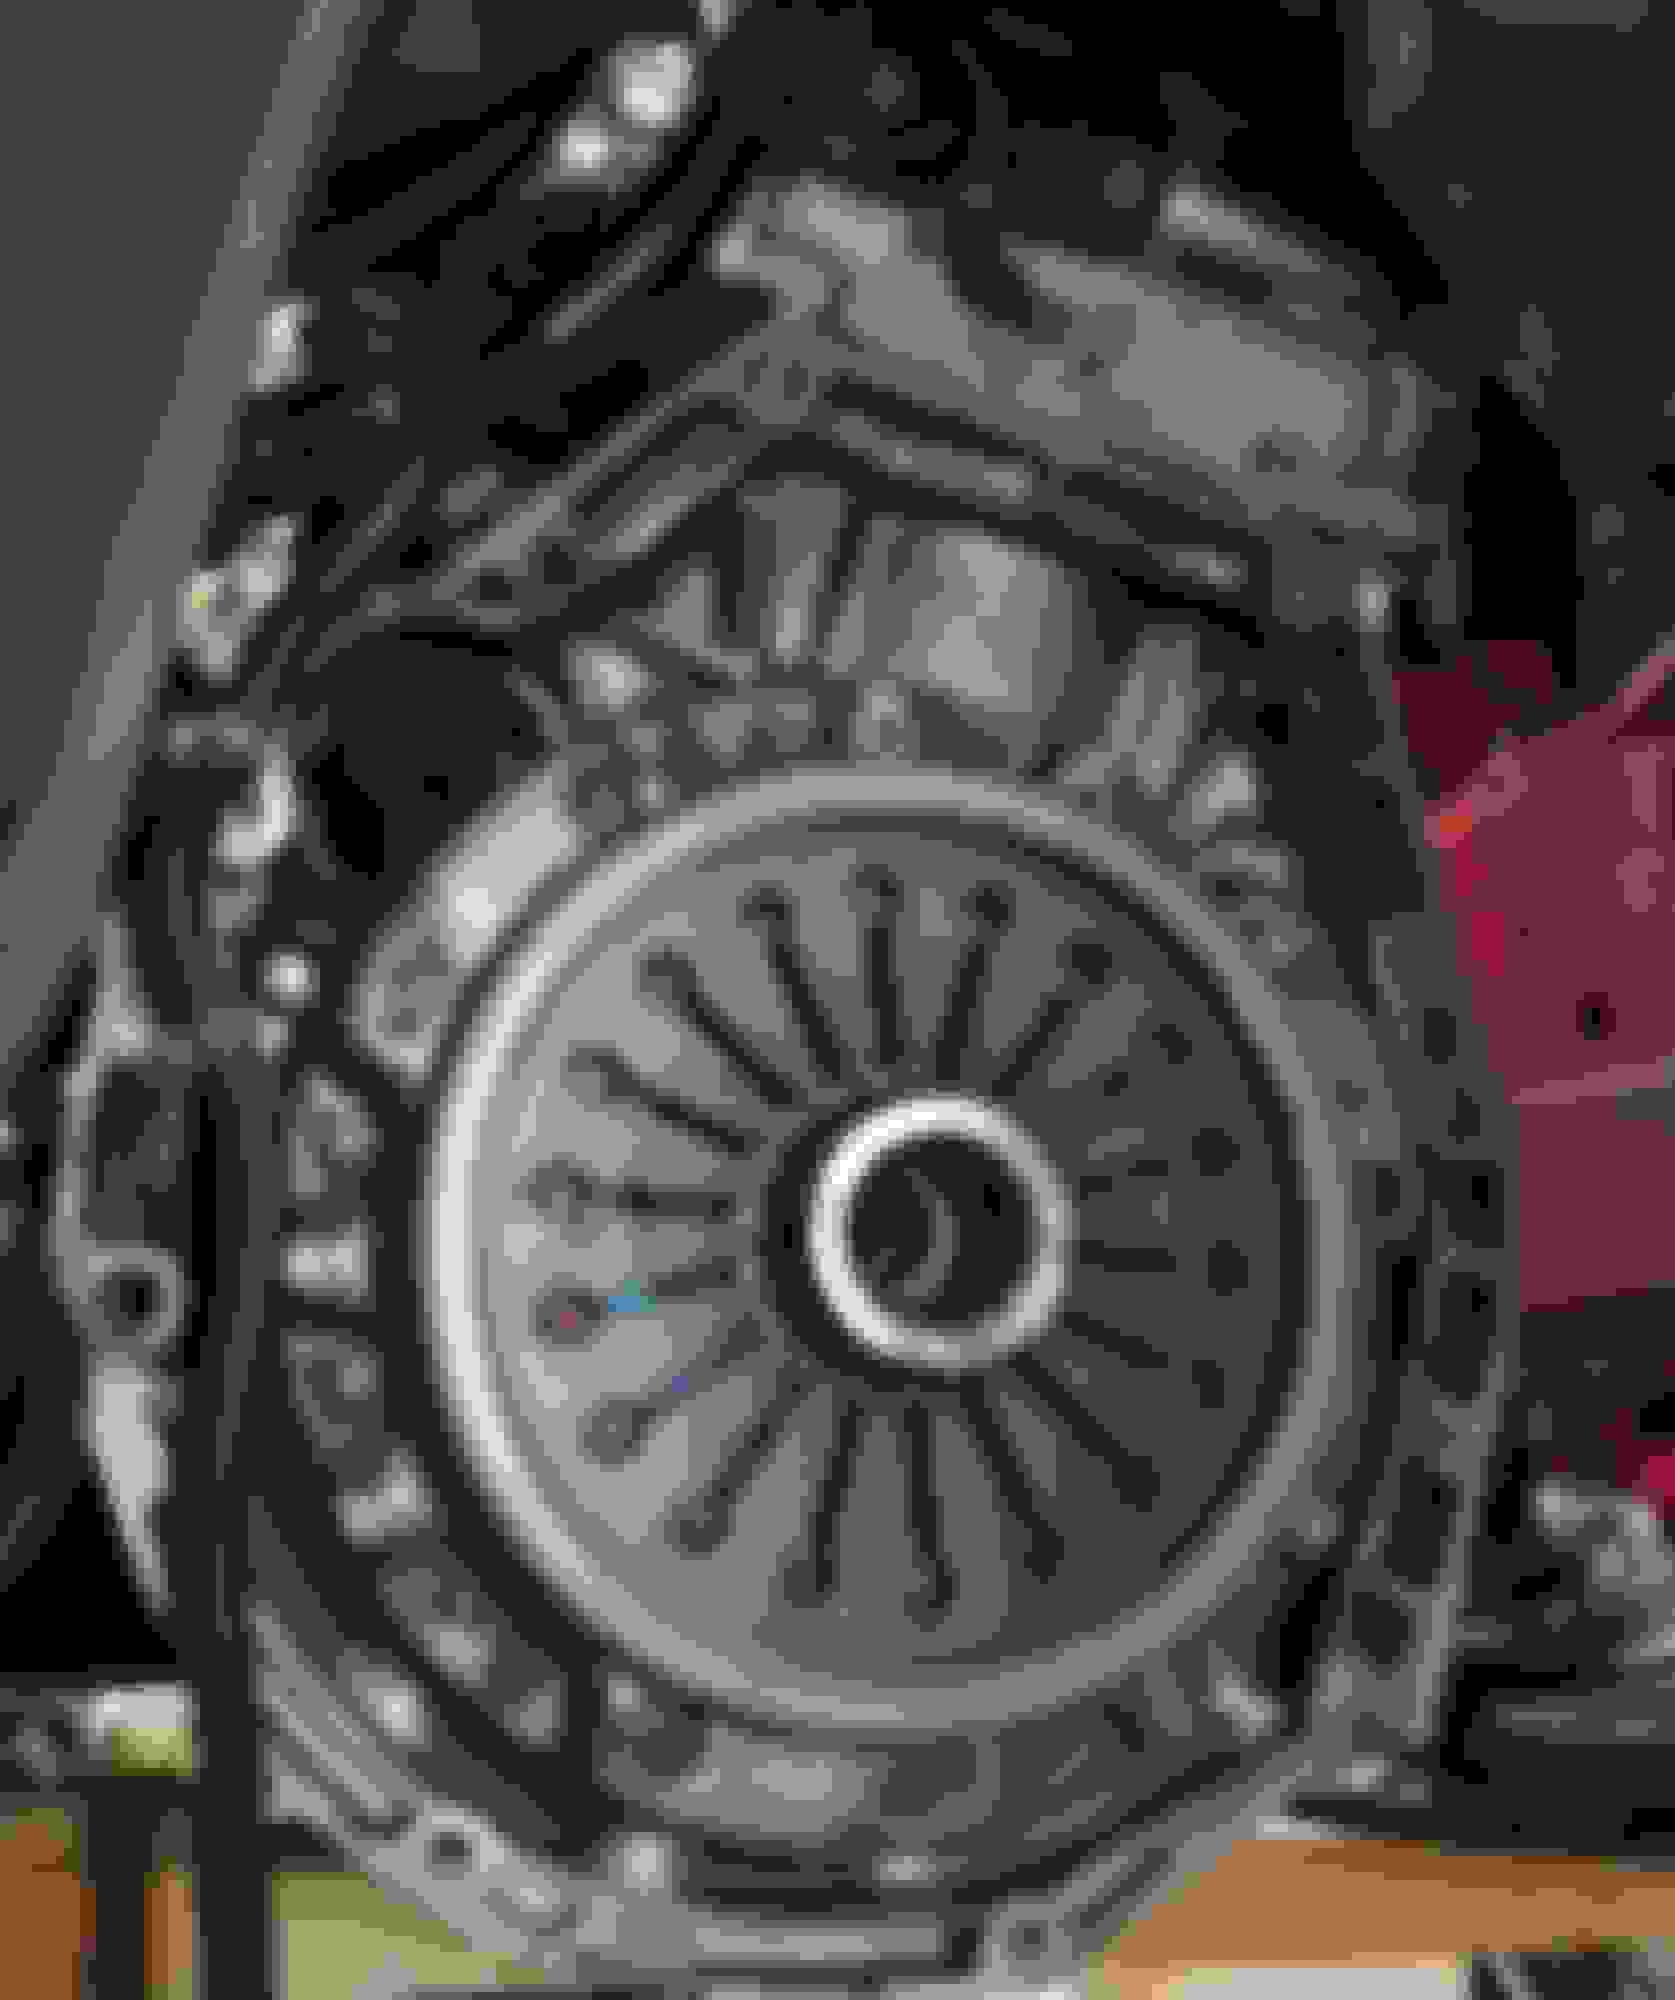
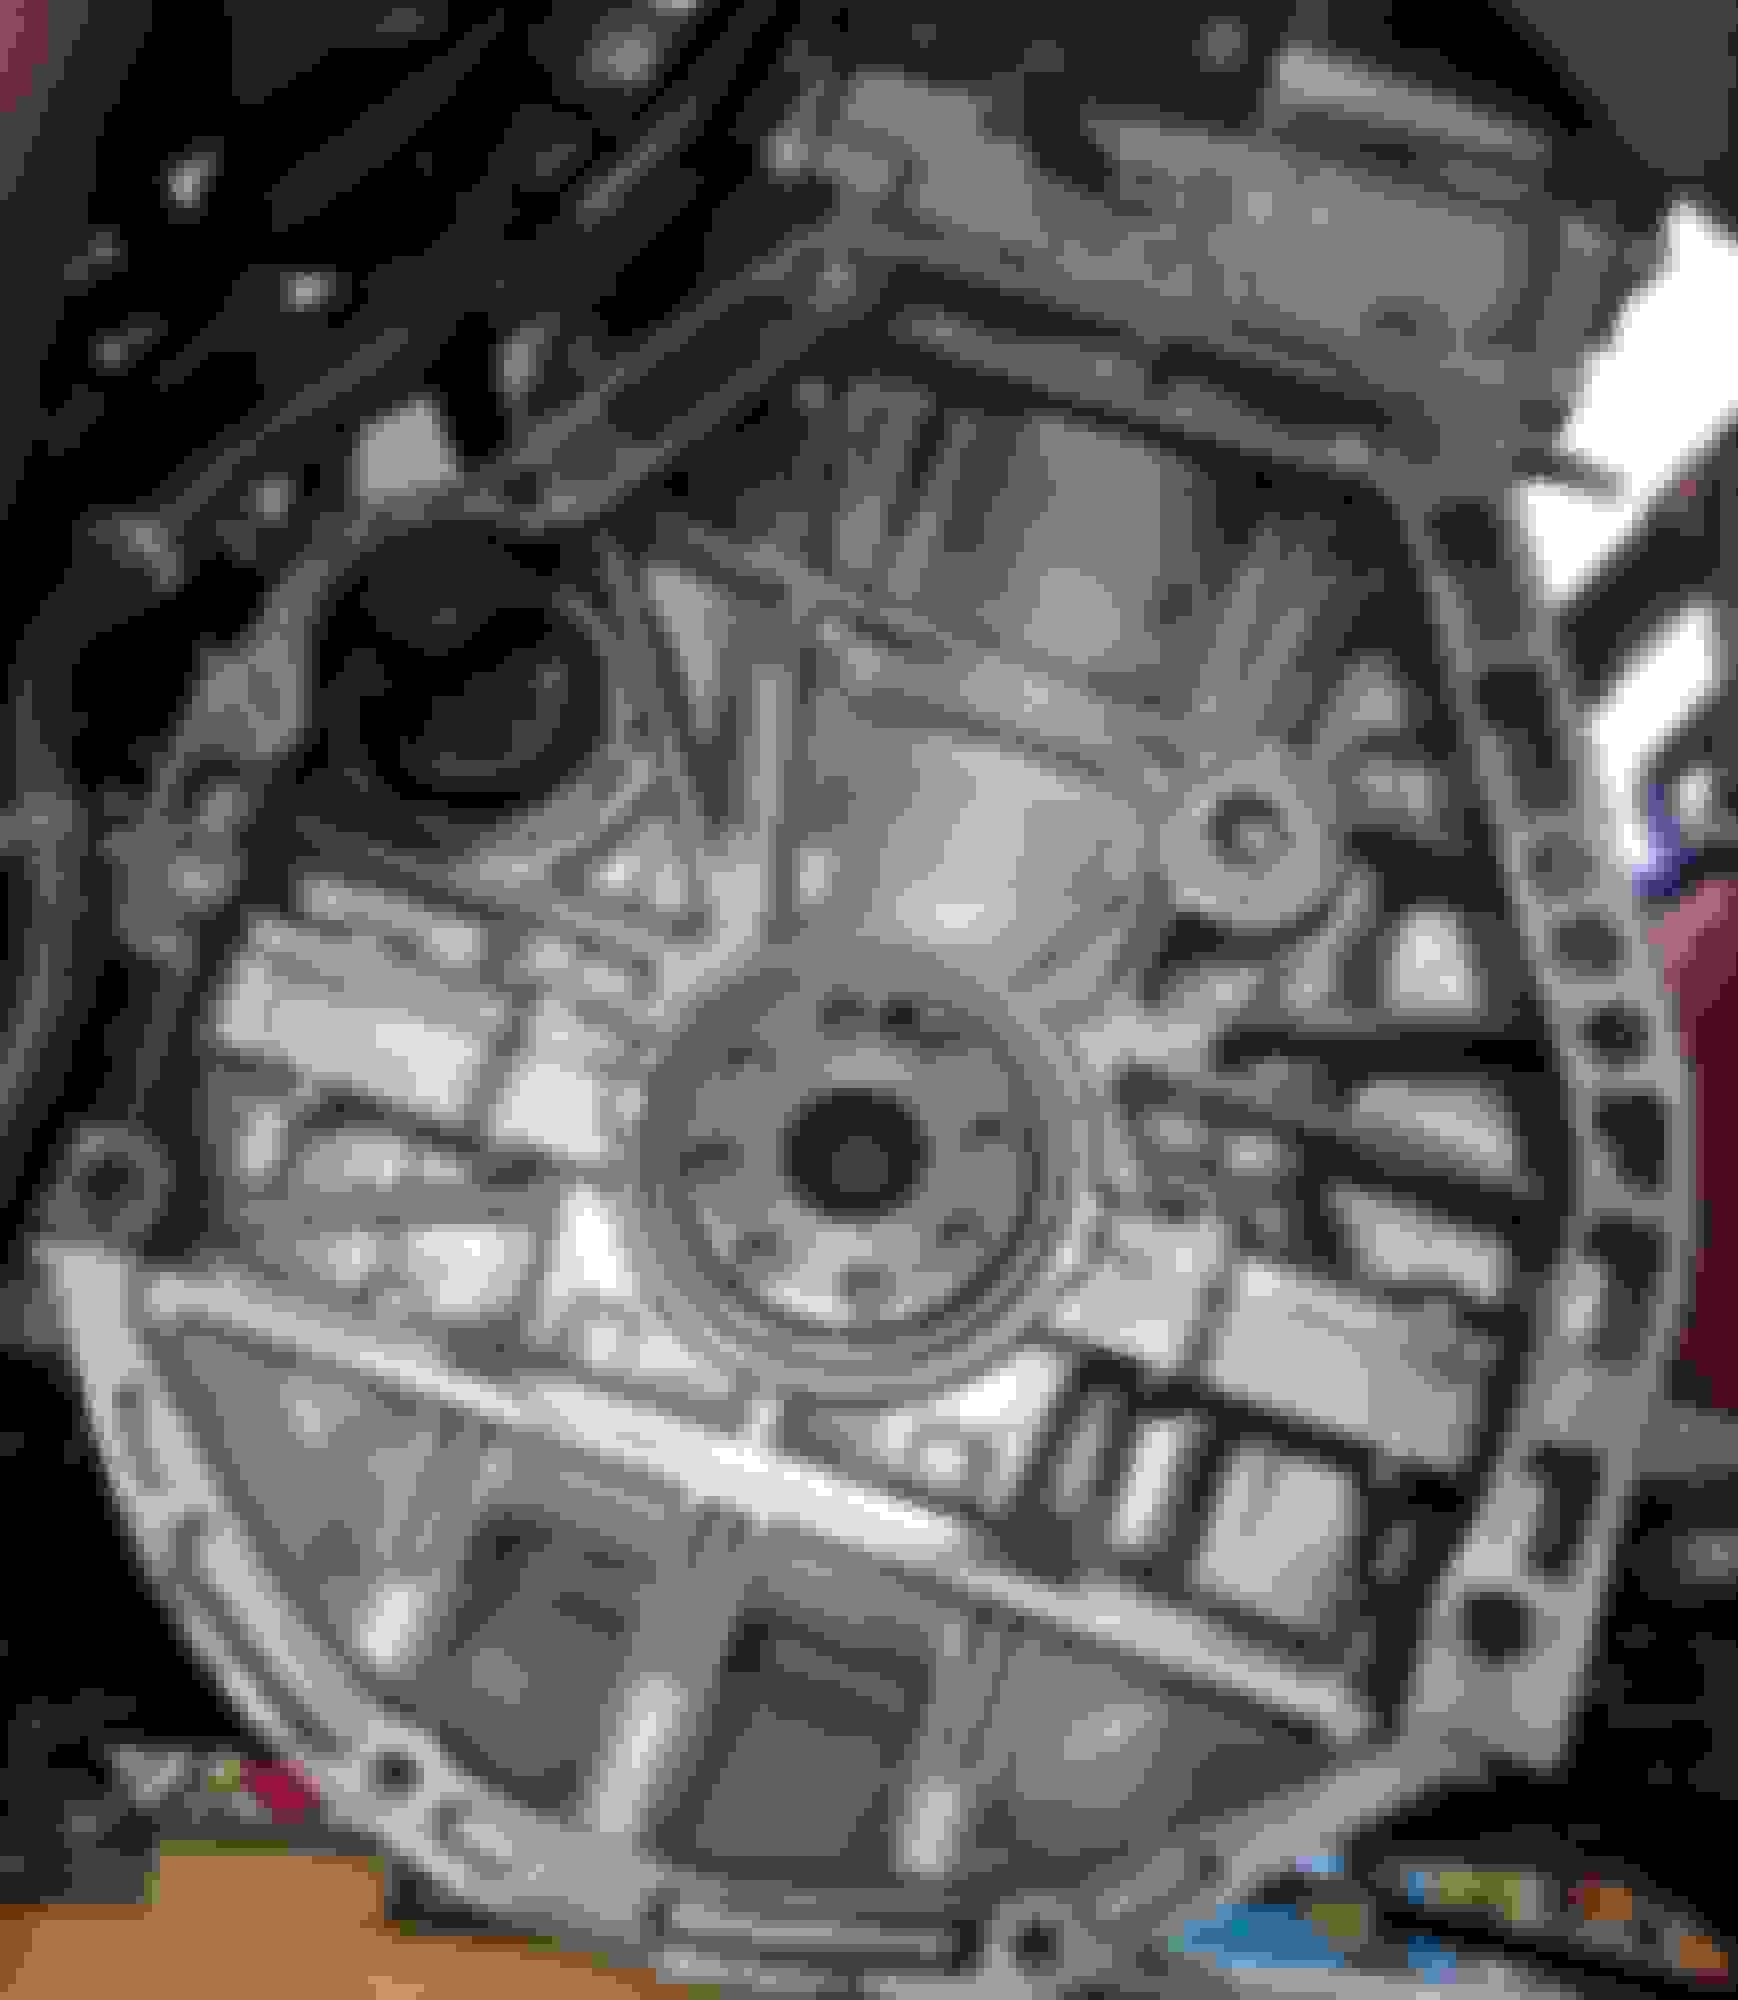
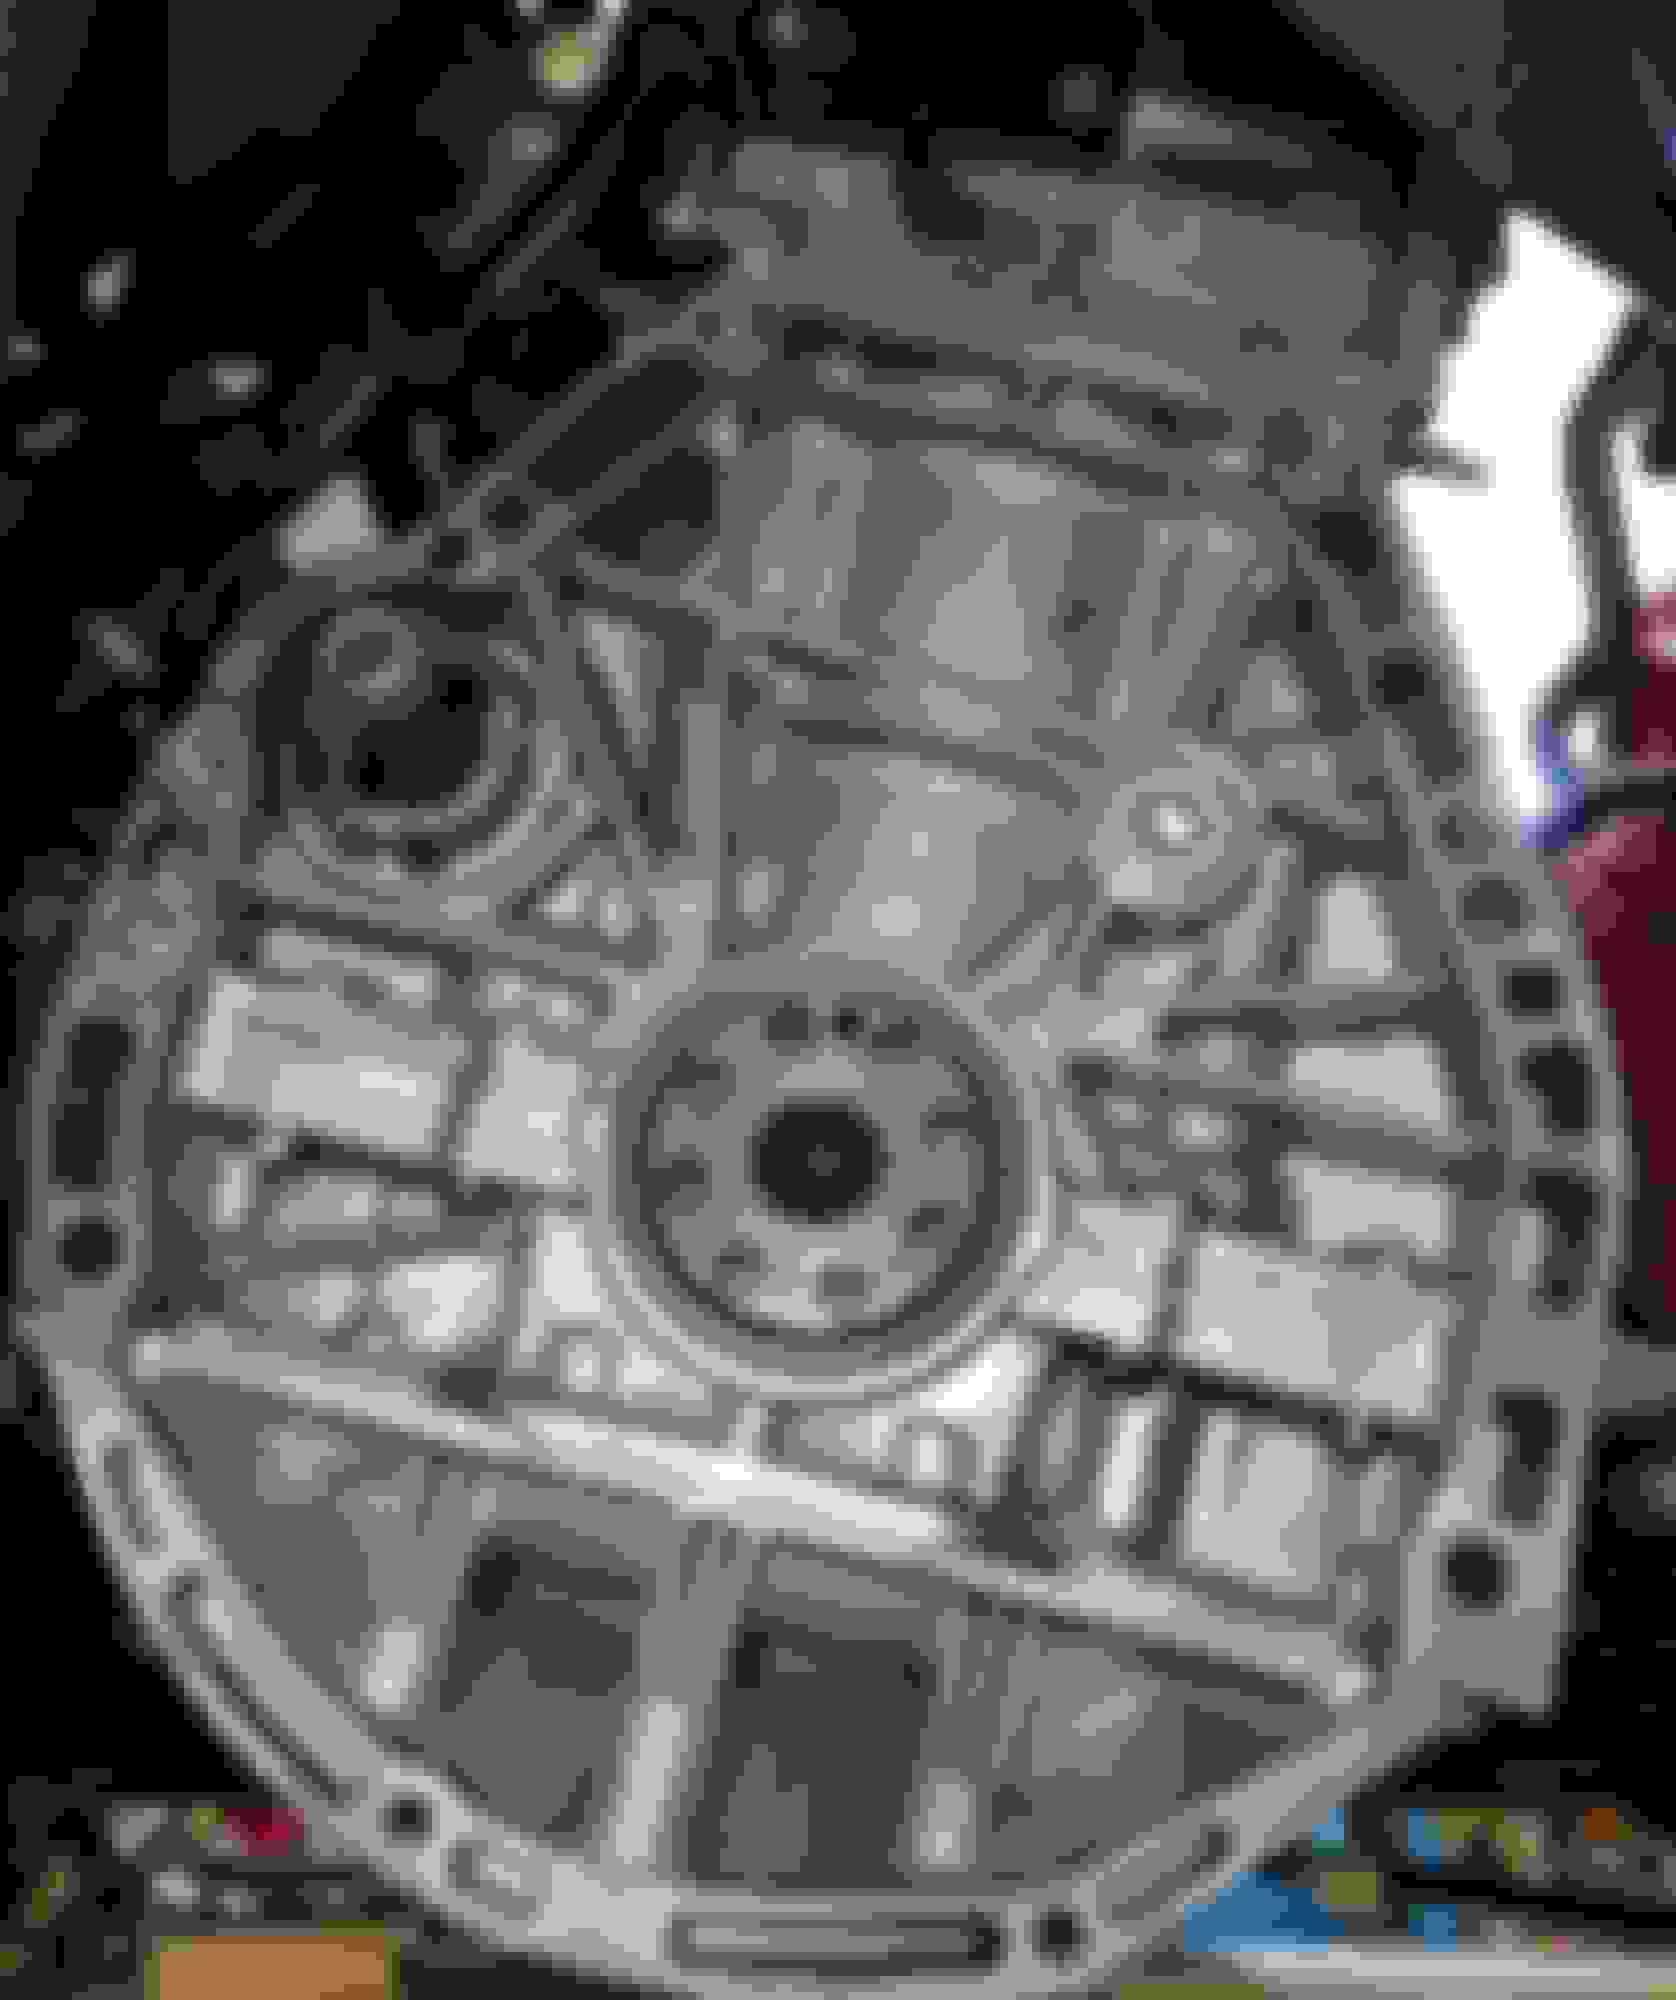
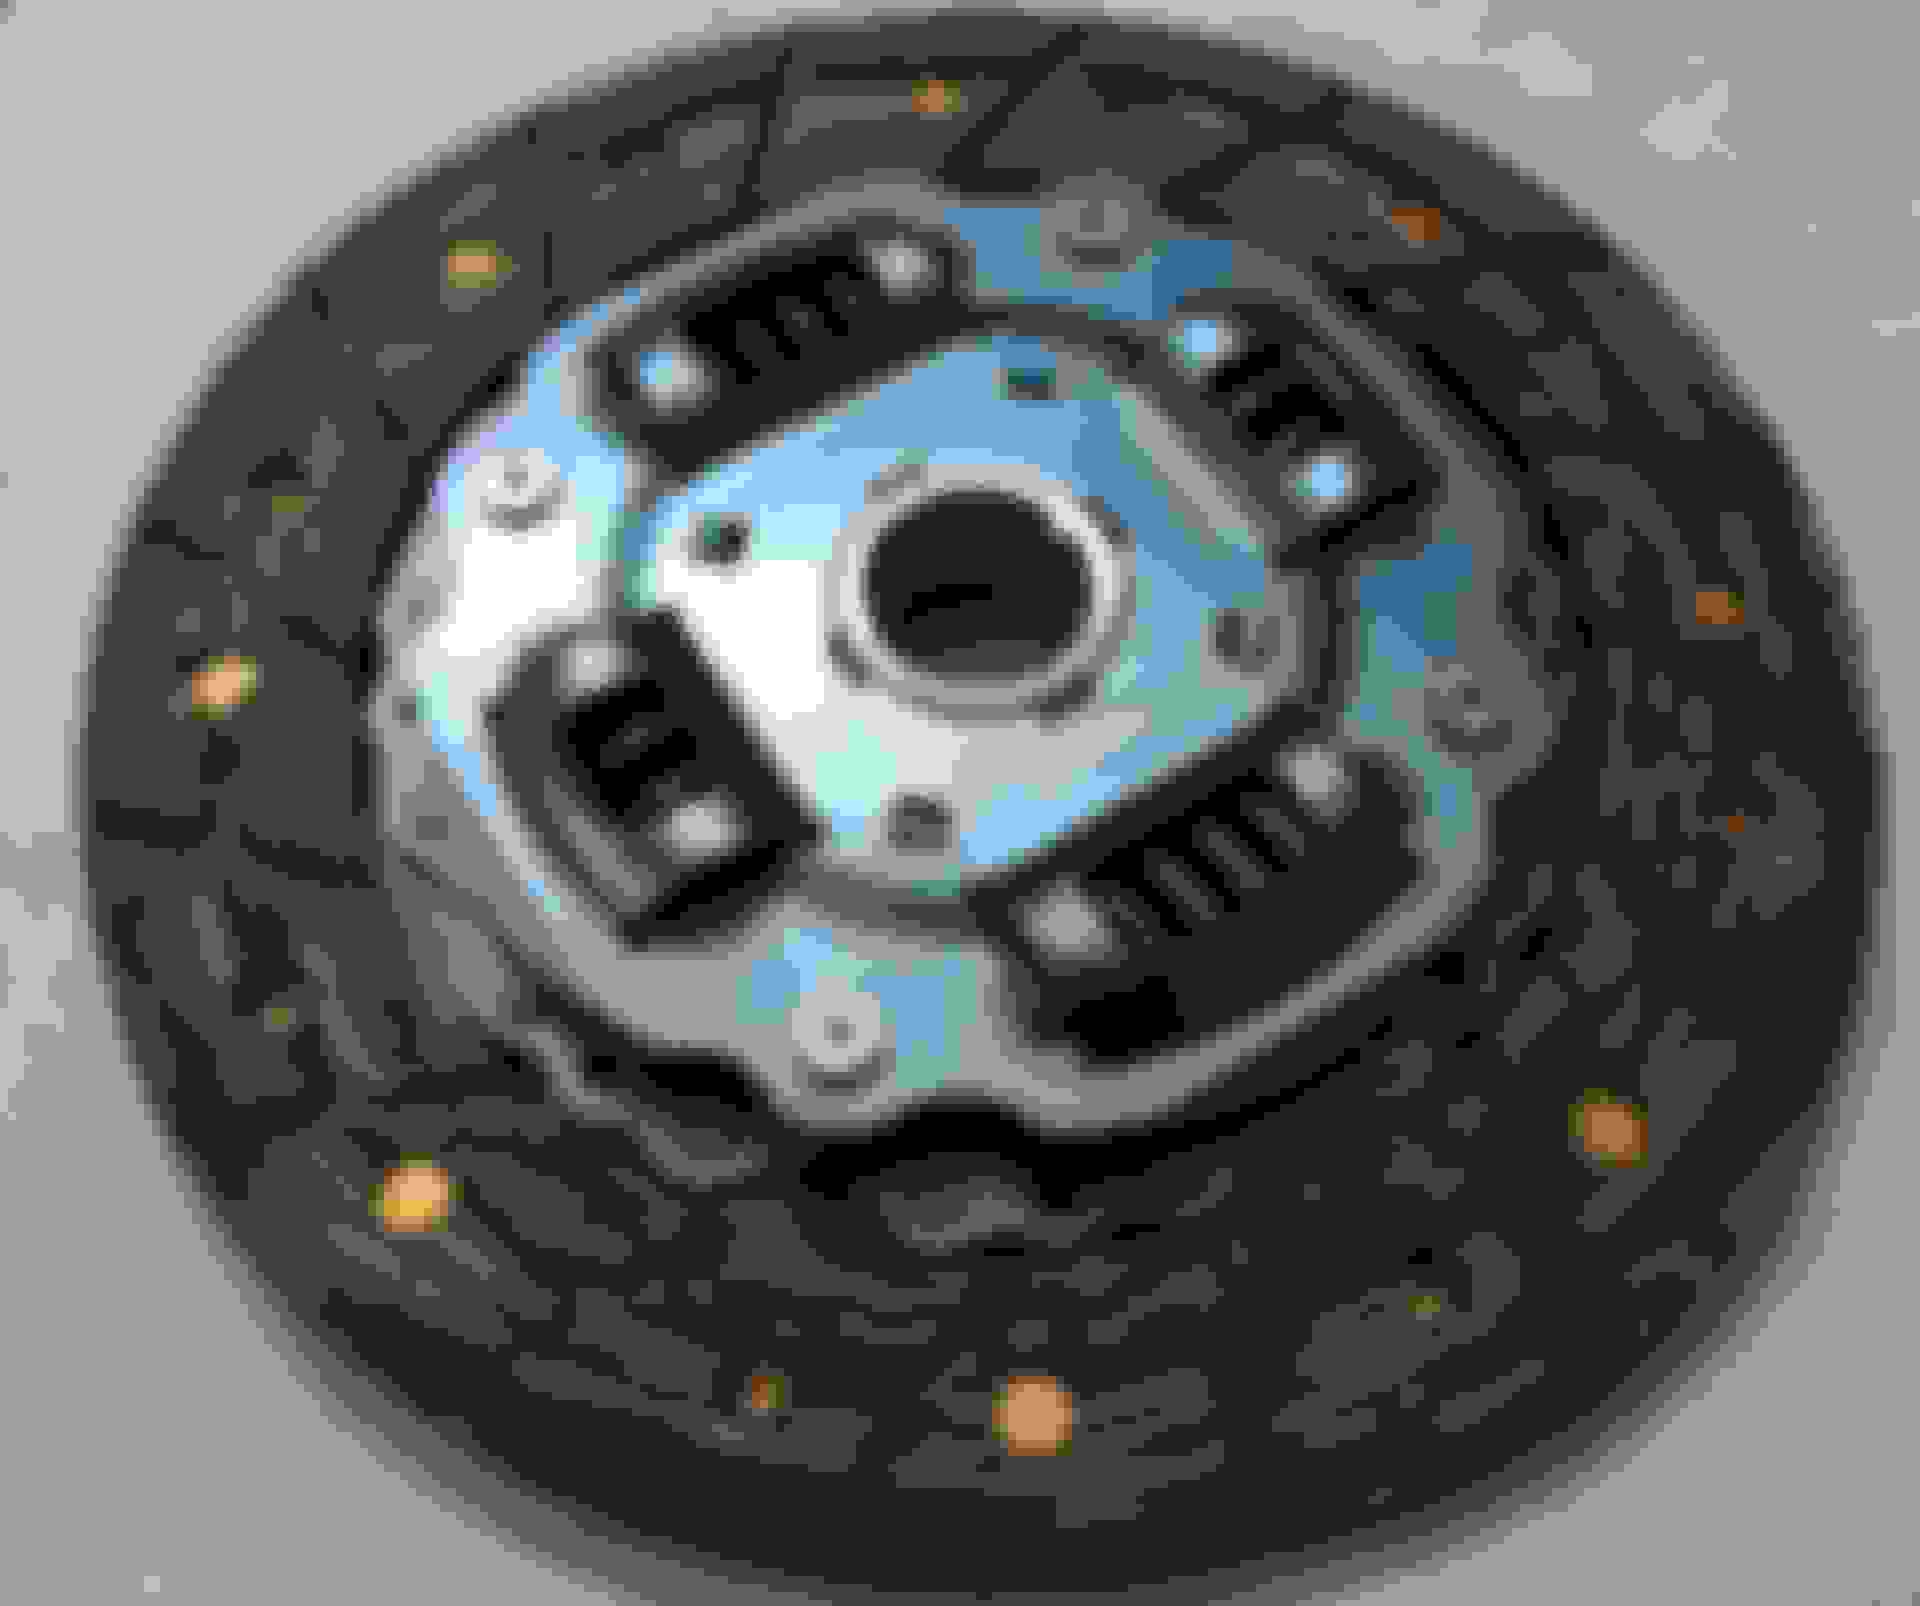
Here is how it looked inside clutch case
Splines and guide bone dry, except the part closest to transmission which I reached from outside with the coat hanger.
Weighed in at ~47kg (104lbs) on my IKEA scale.
Doing some cleaning.
And fixing messed up threads.
Looking nice now.
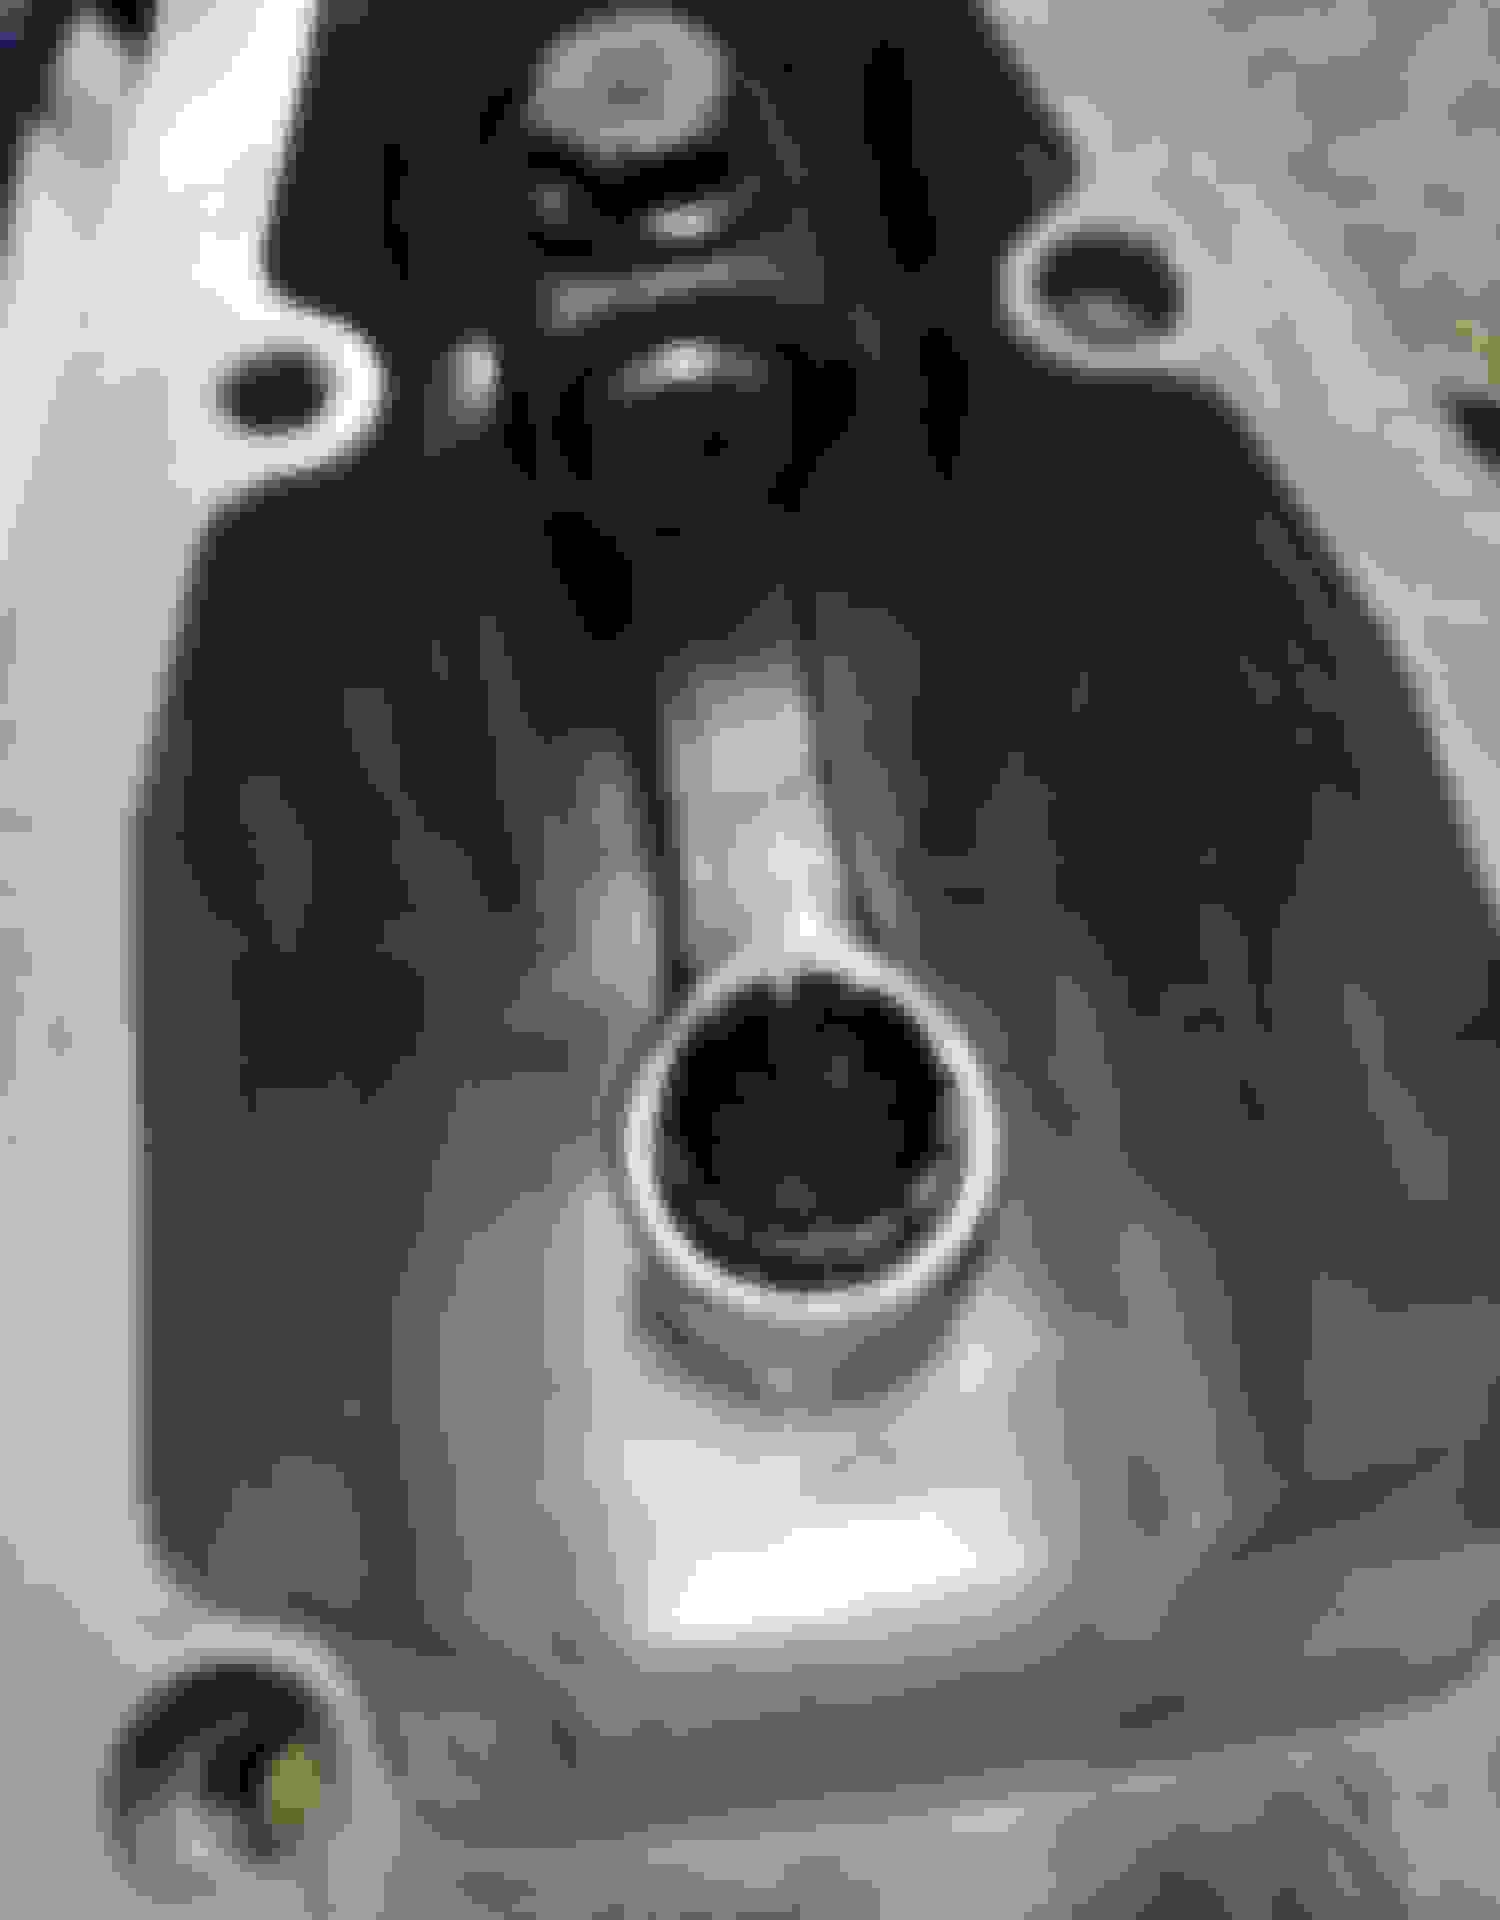
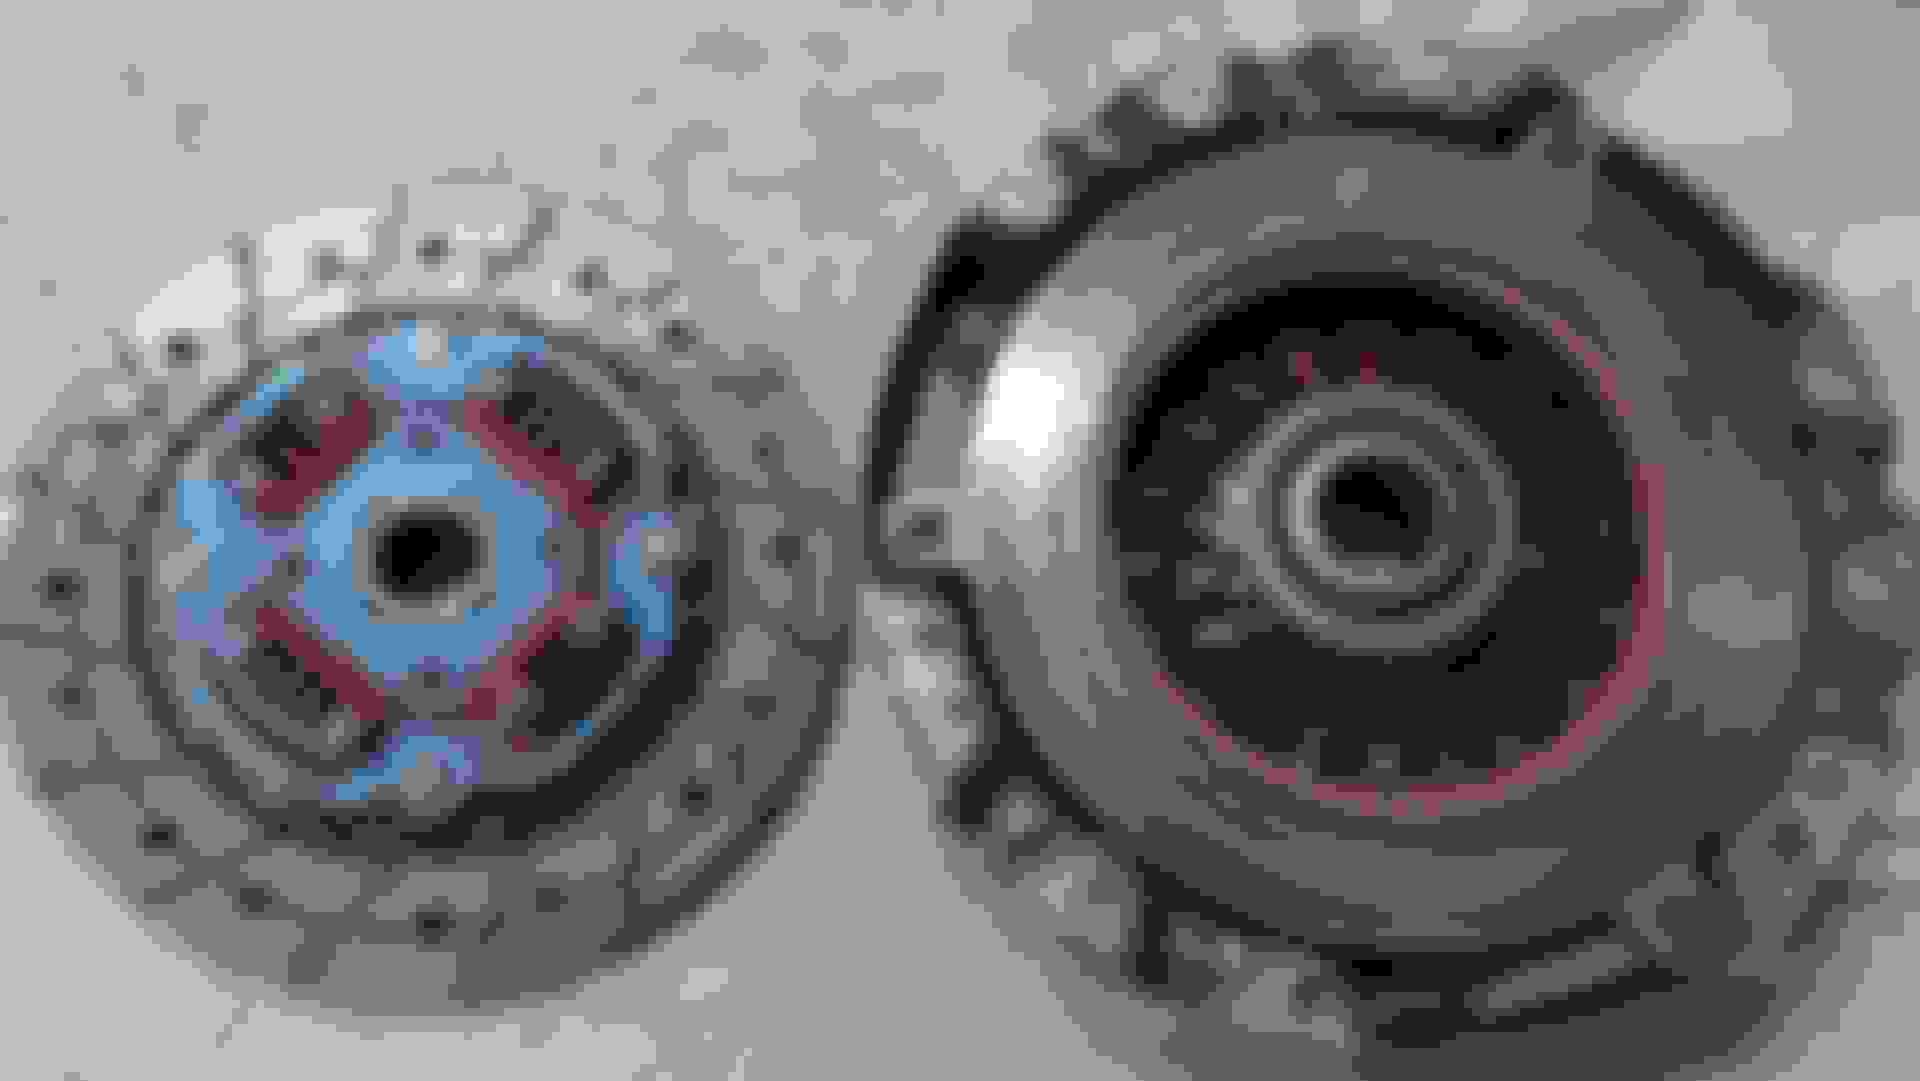
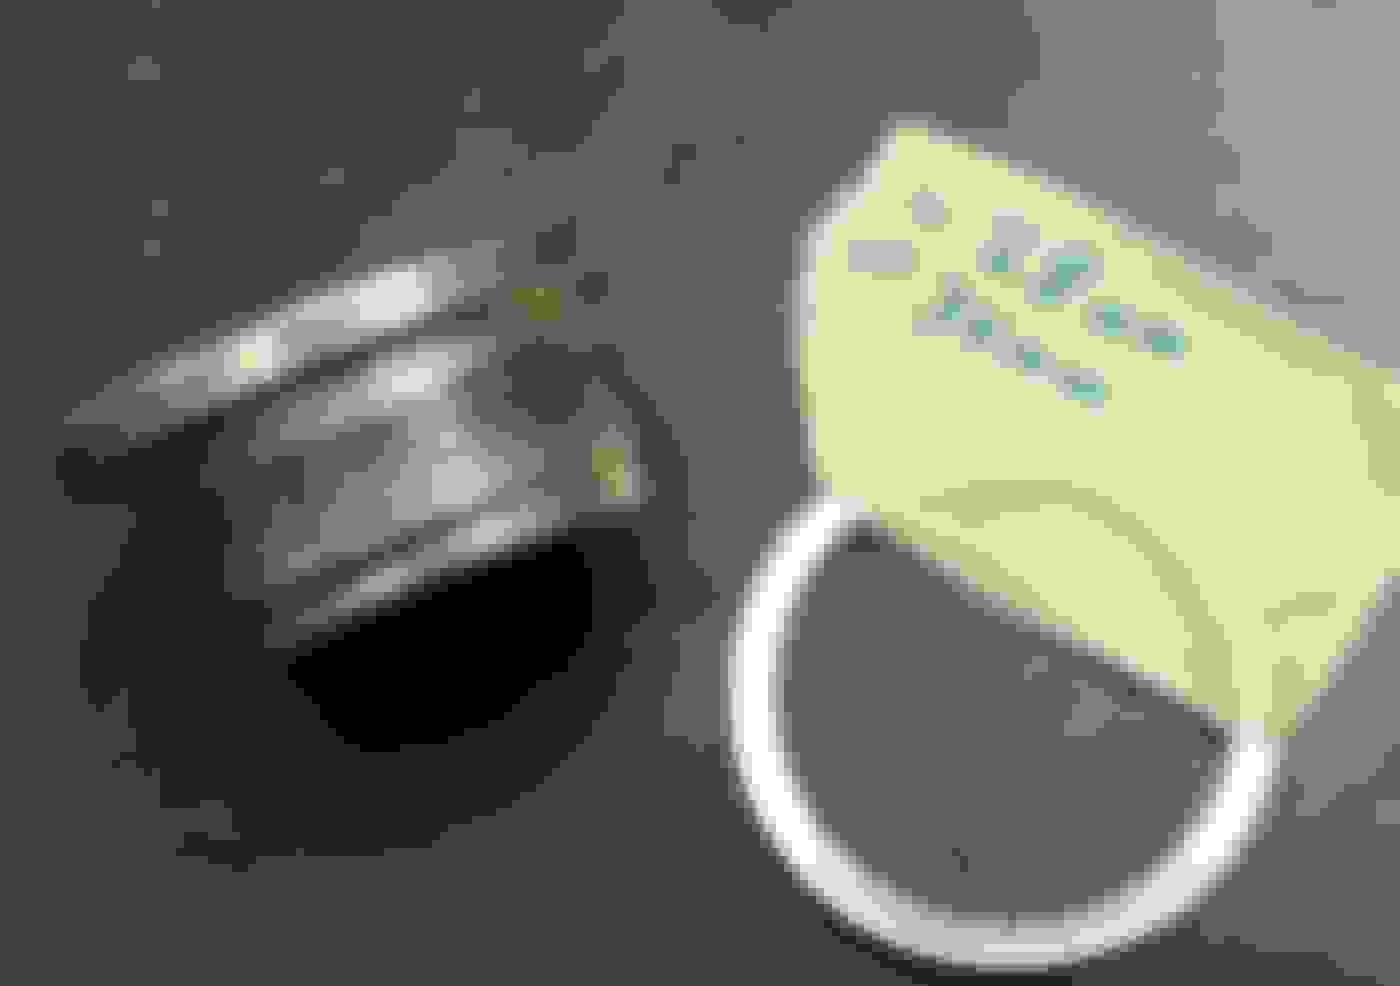
Closeup on release bearing guide, pretty bad shape.
Compared to a new one.
Also replaced the fork spring, probably not needed but since I already had a new one might as well.
Splines cleaned up and new parts installed.
Also made sure to clean out all the old grease and dirt from inside the shifter housing.
Test fitted new shifter collar.
To easy to change the oil to disregard it.
A few hours on cleaning and it's ready to go back.
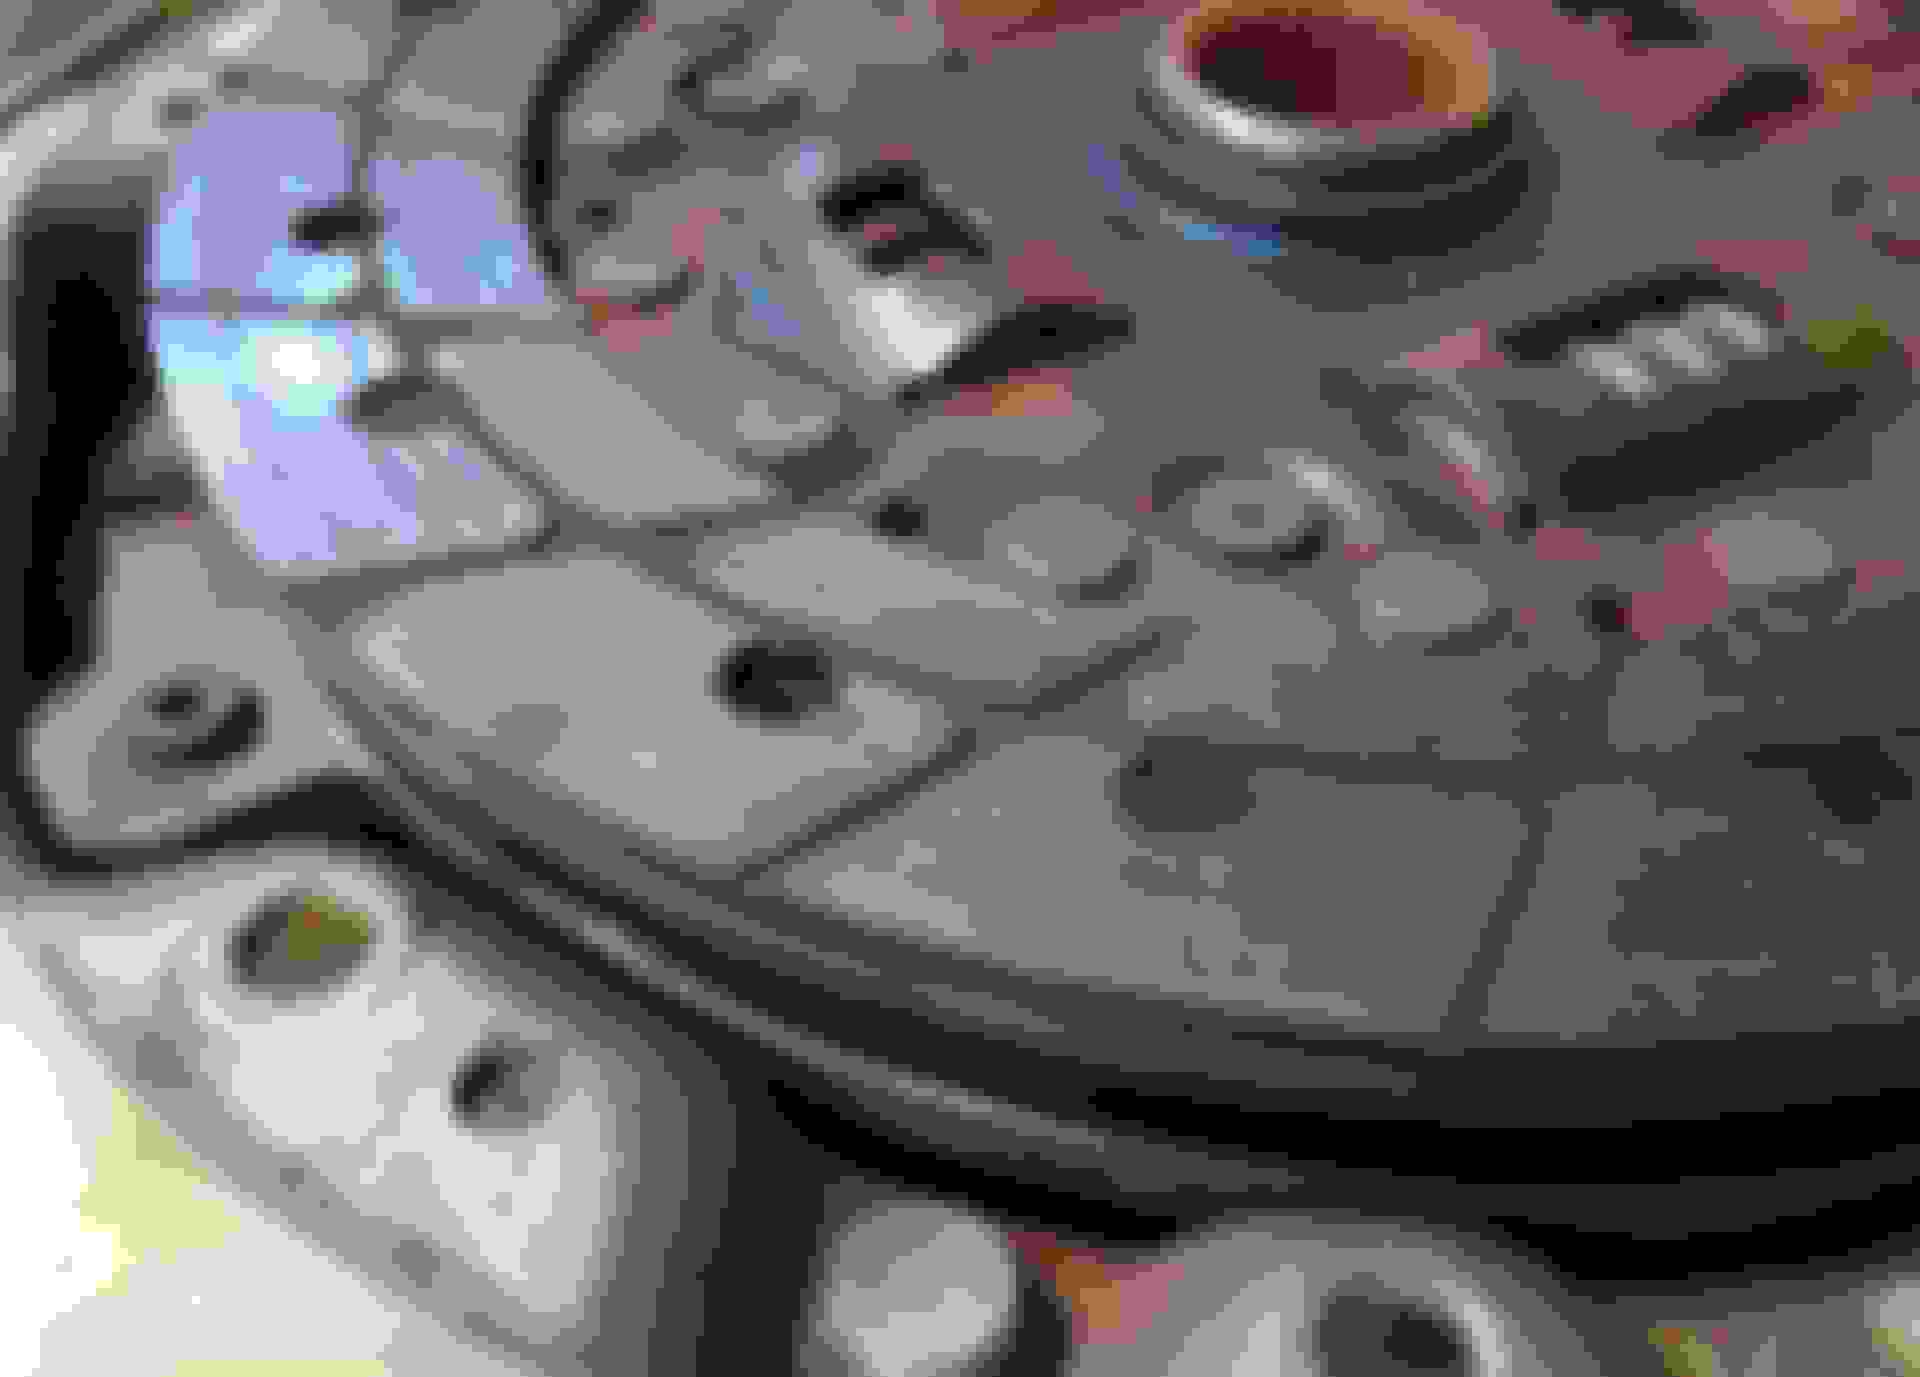
But before that there was some old stuff left to be replaced.
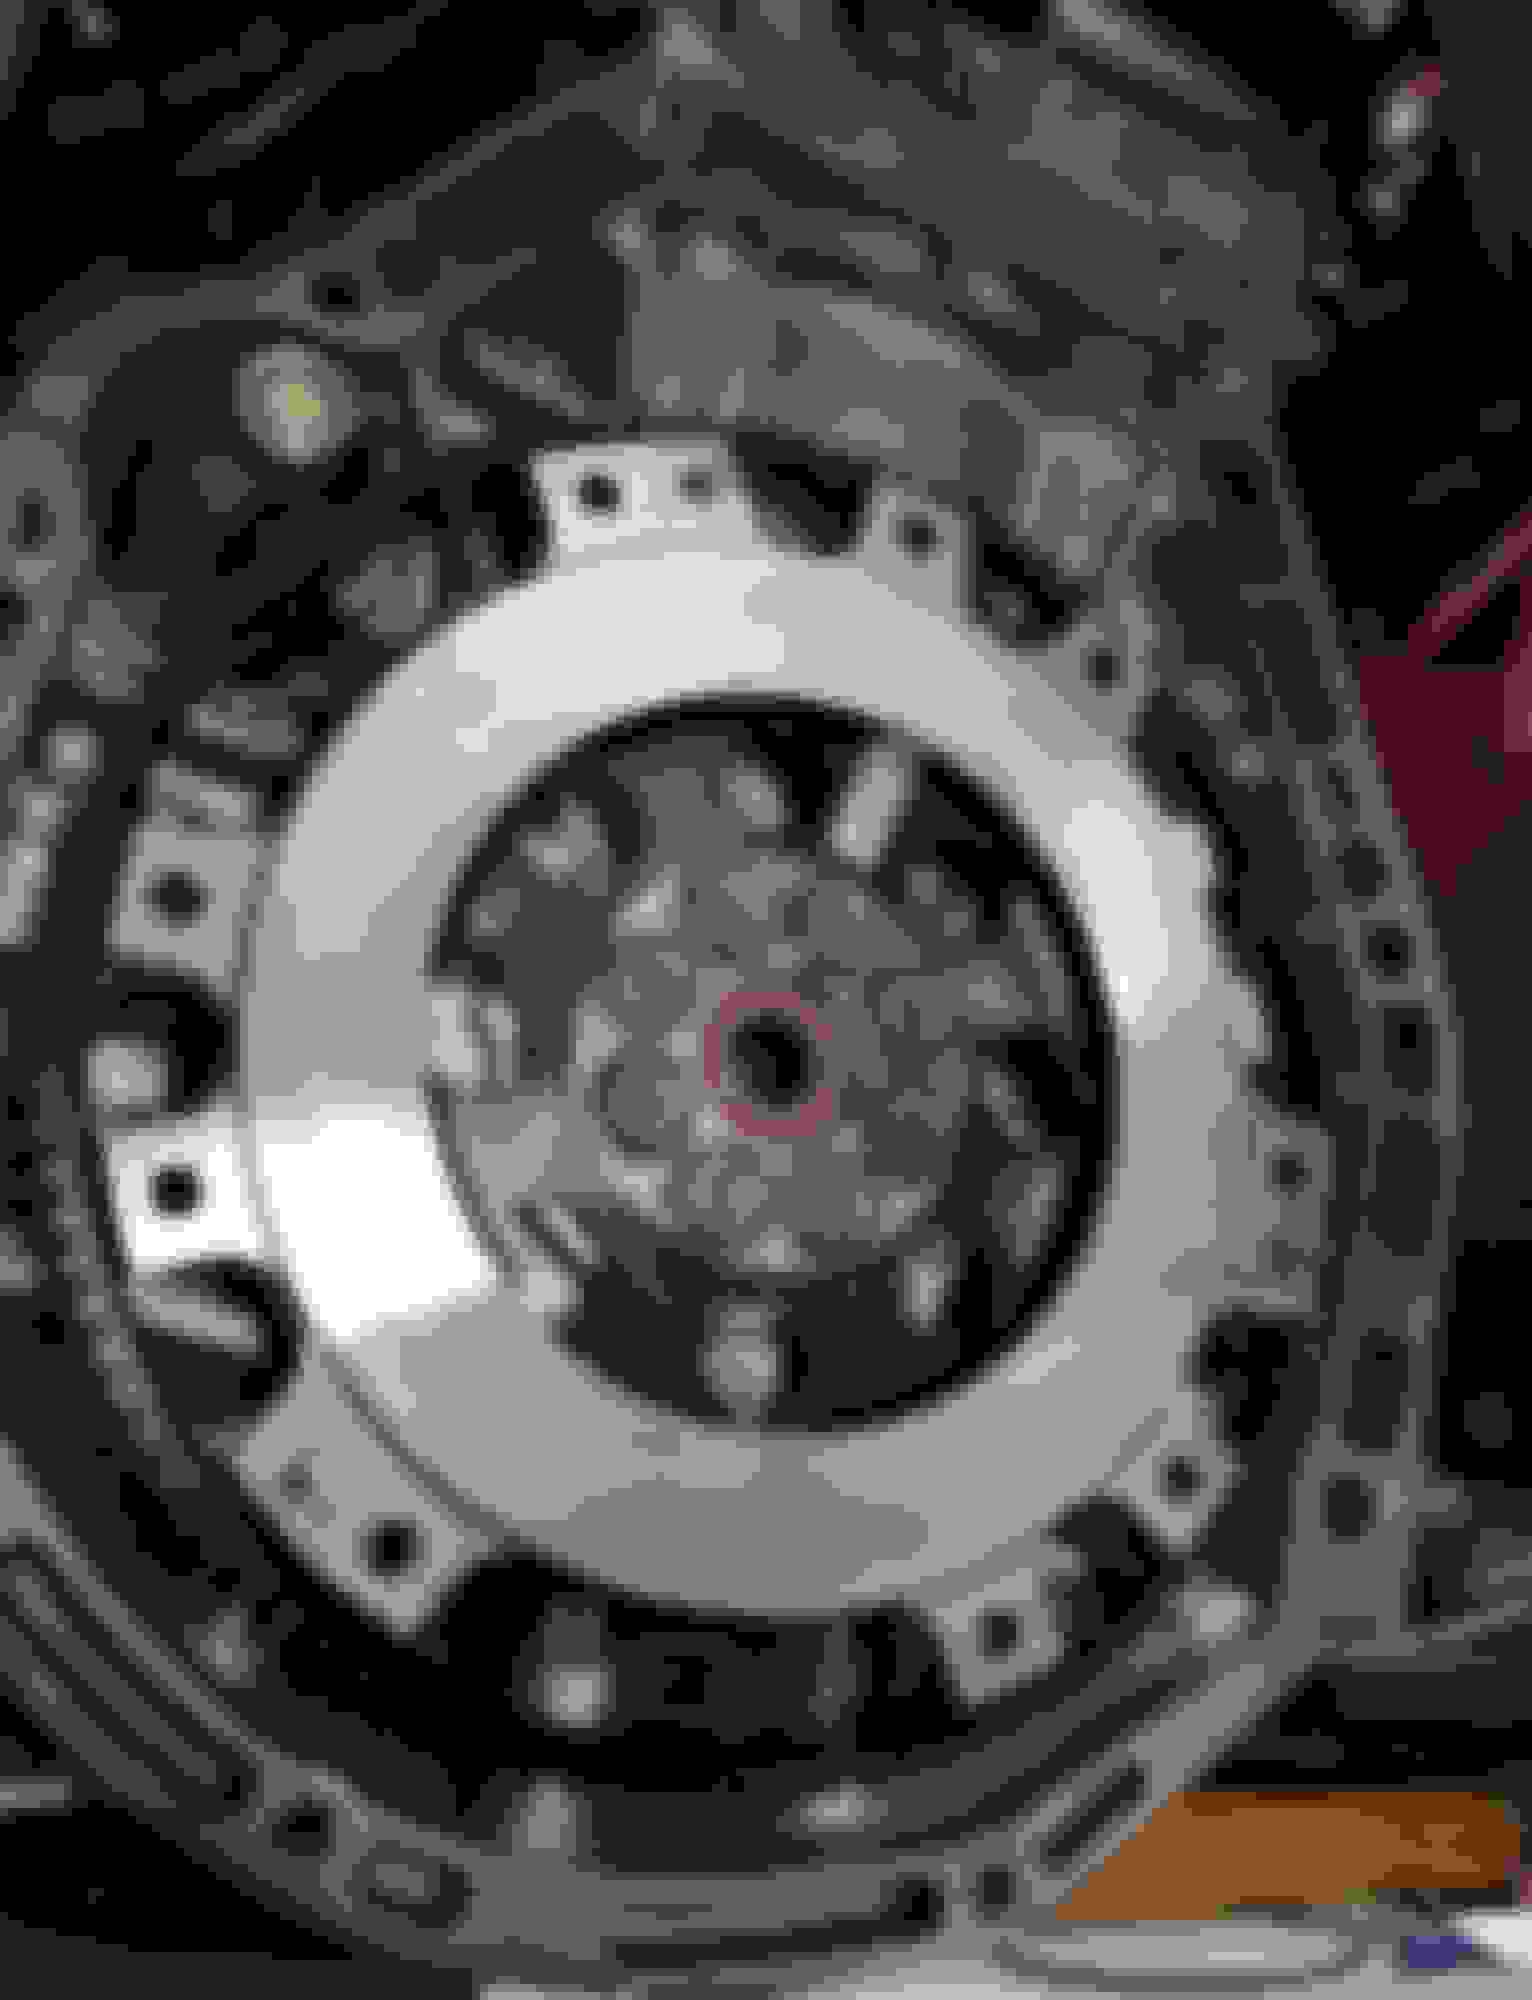
Except for the rusted splines and some small rattles from the springs everything looked pretty good here.
Friction disc measure just inside new spec.
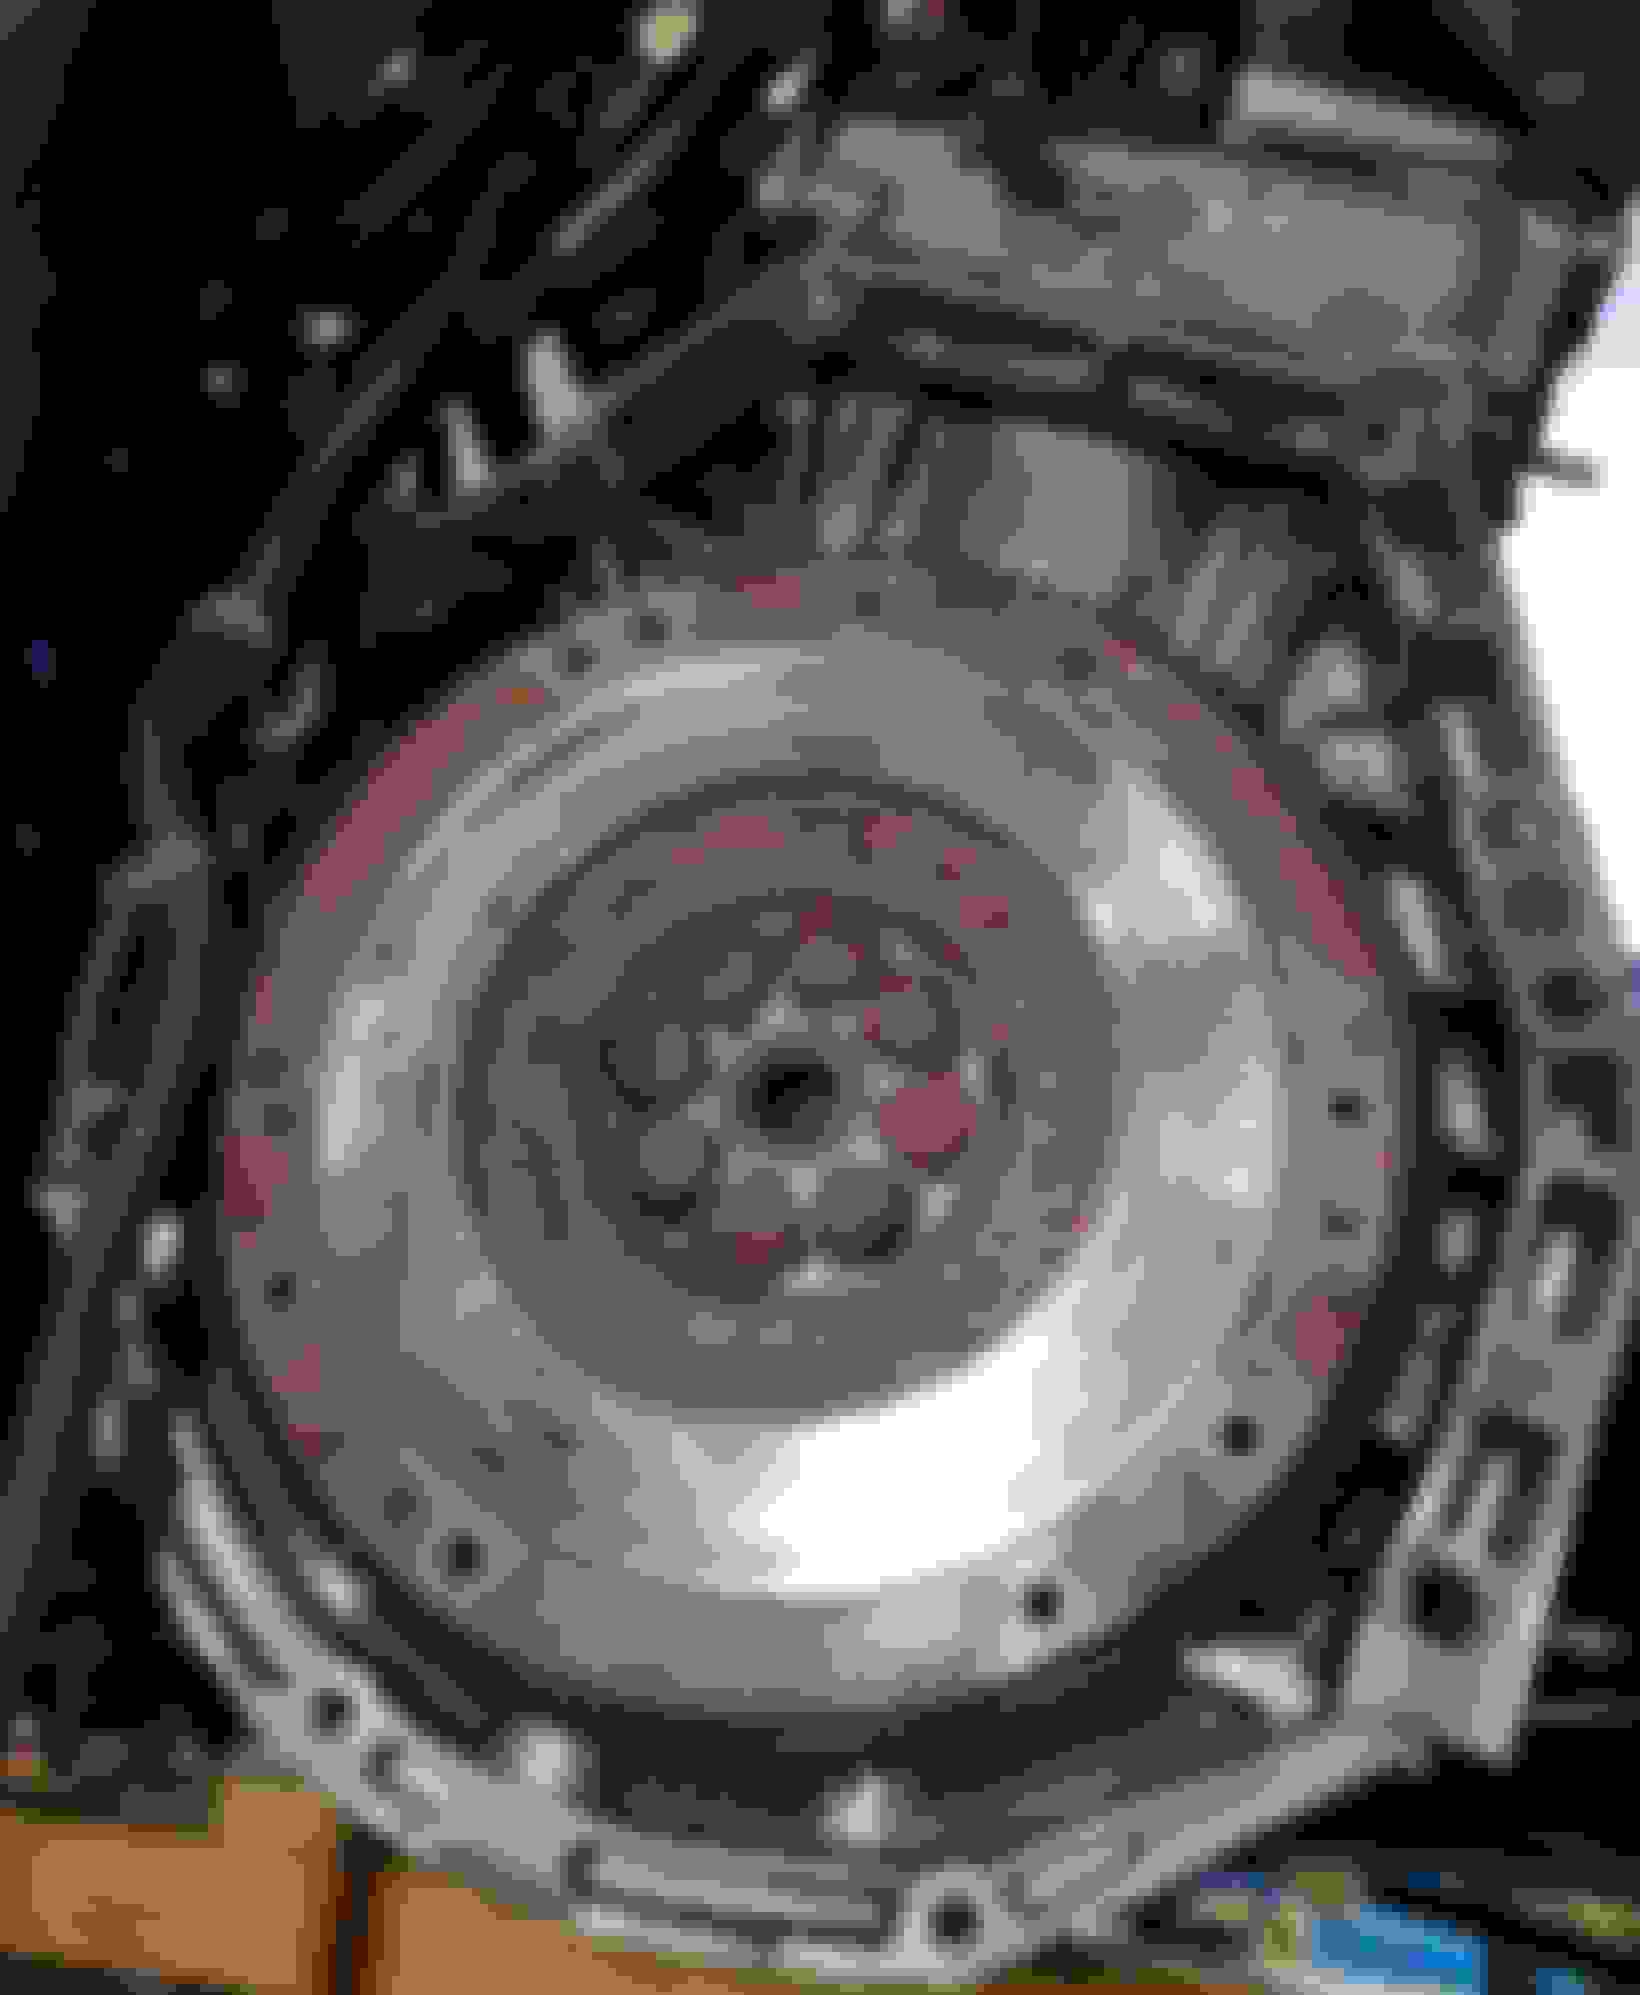
Not sure how this picture came out that bad, impact gun made short work with the flywheel bolts.
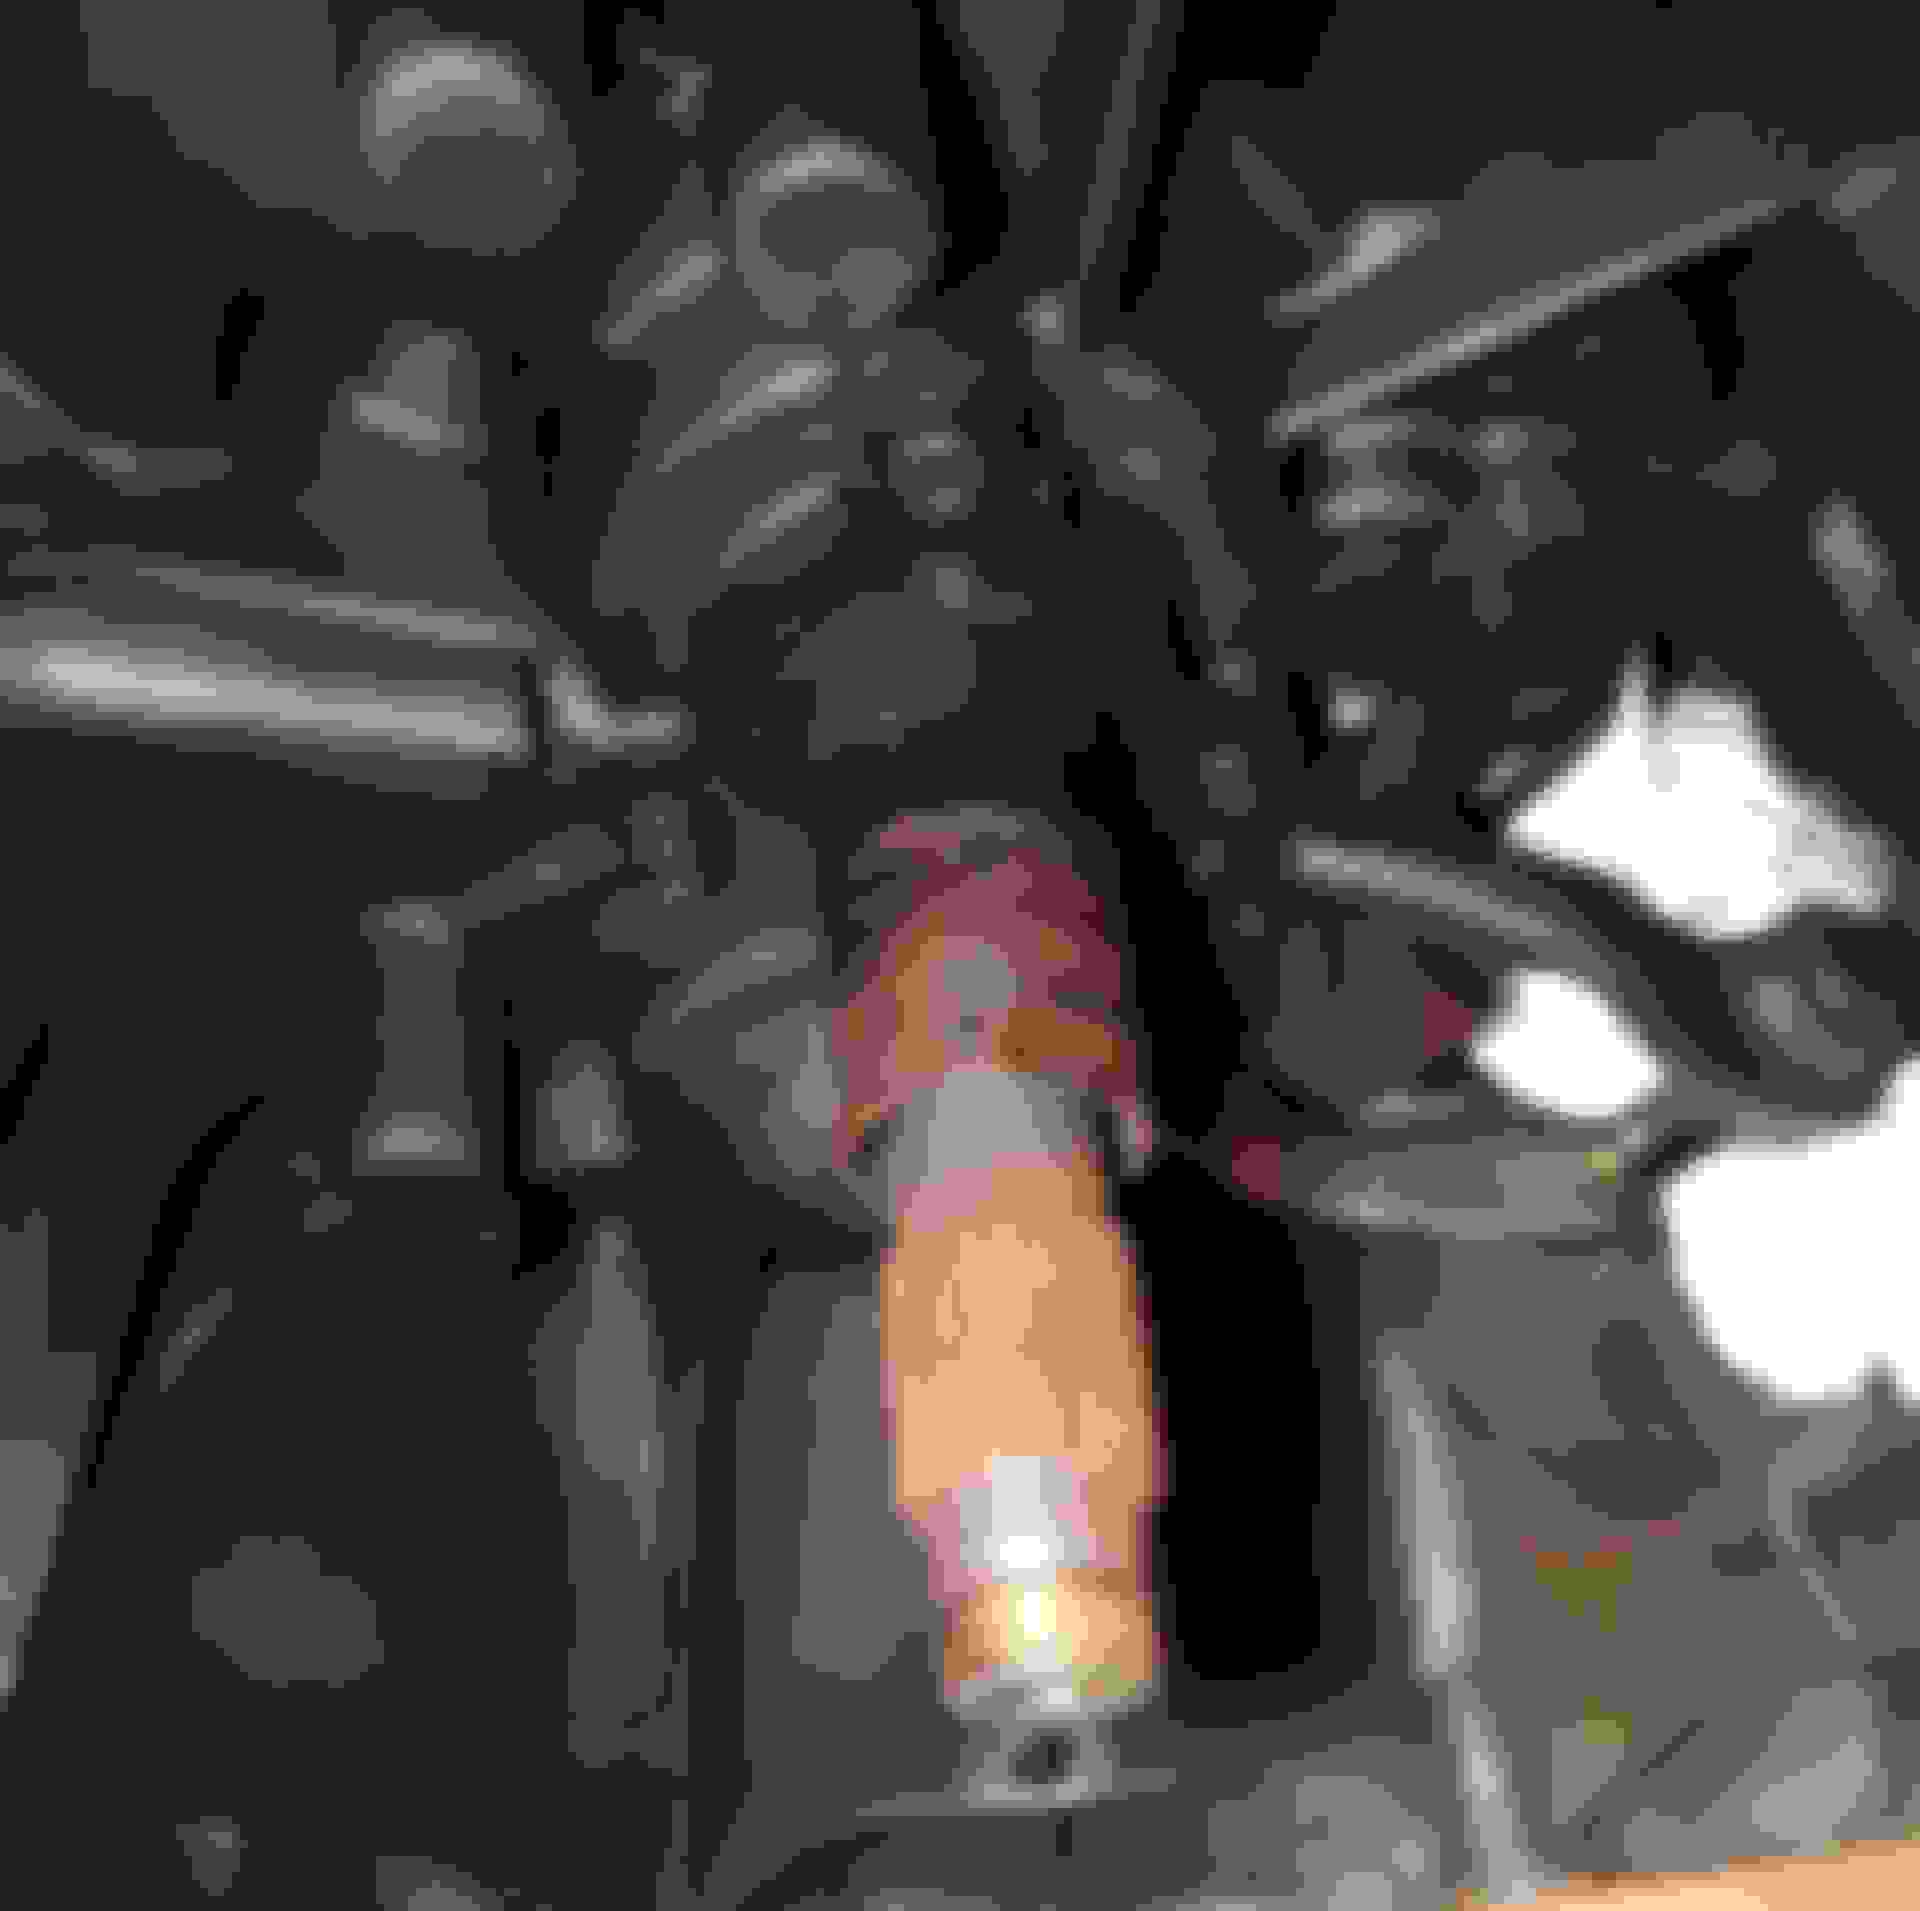
Looked like there had been a small oil leak from the big oil galley allen plug
Took it out and replace with new washer and thread sealant.
This bolt is not in any manual or part diagrams but it's the same size as the coolant drain plug on the side of the block so I got a new washer for that 90401-PR4-000
Cleaned up this area as well.
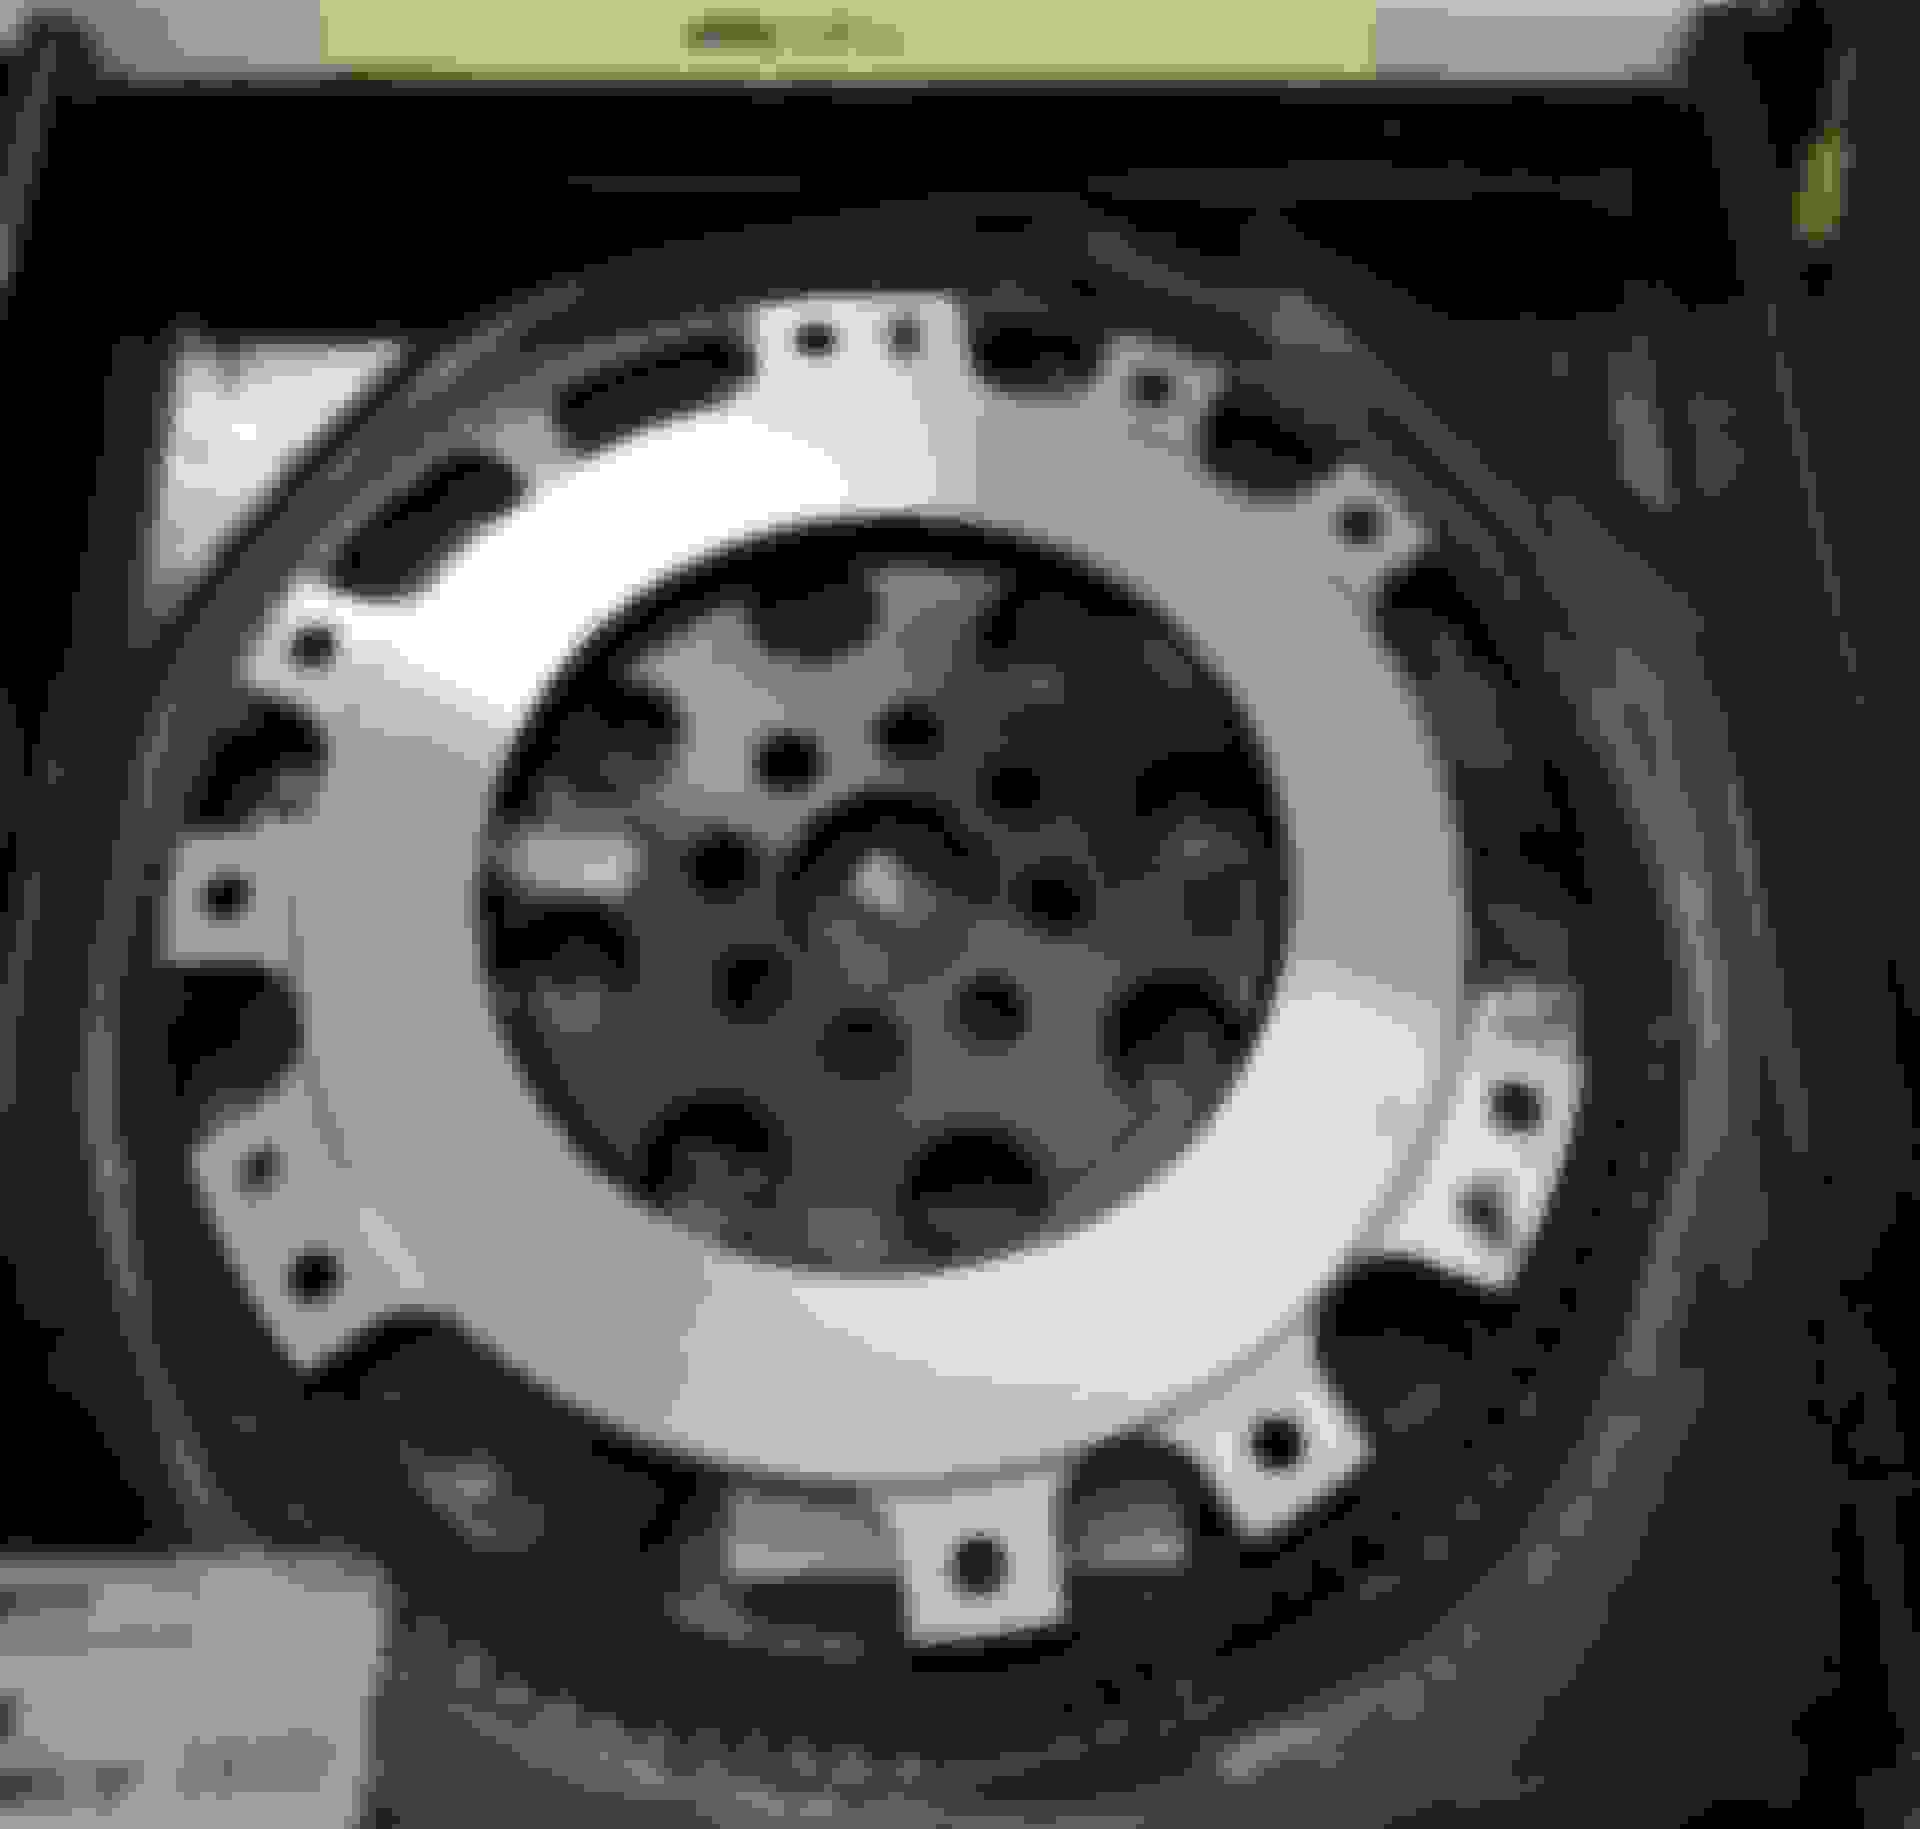
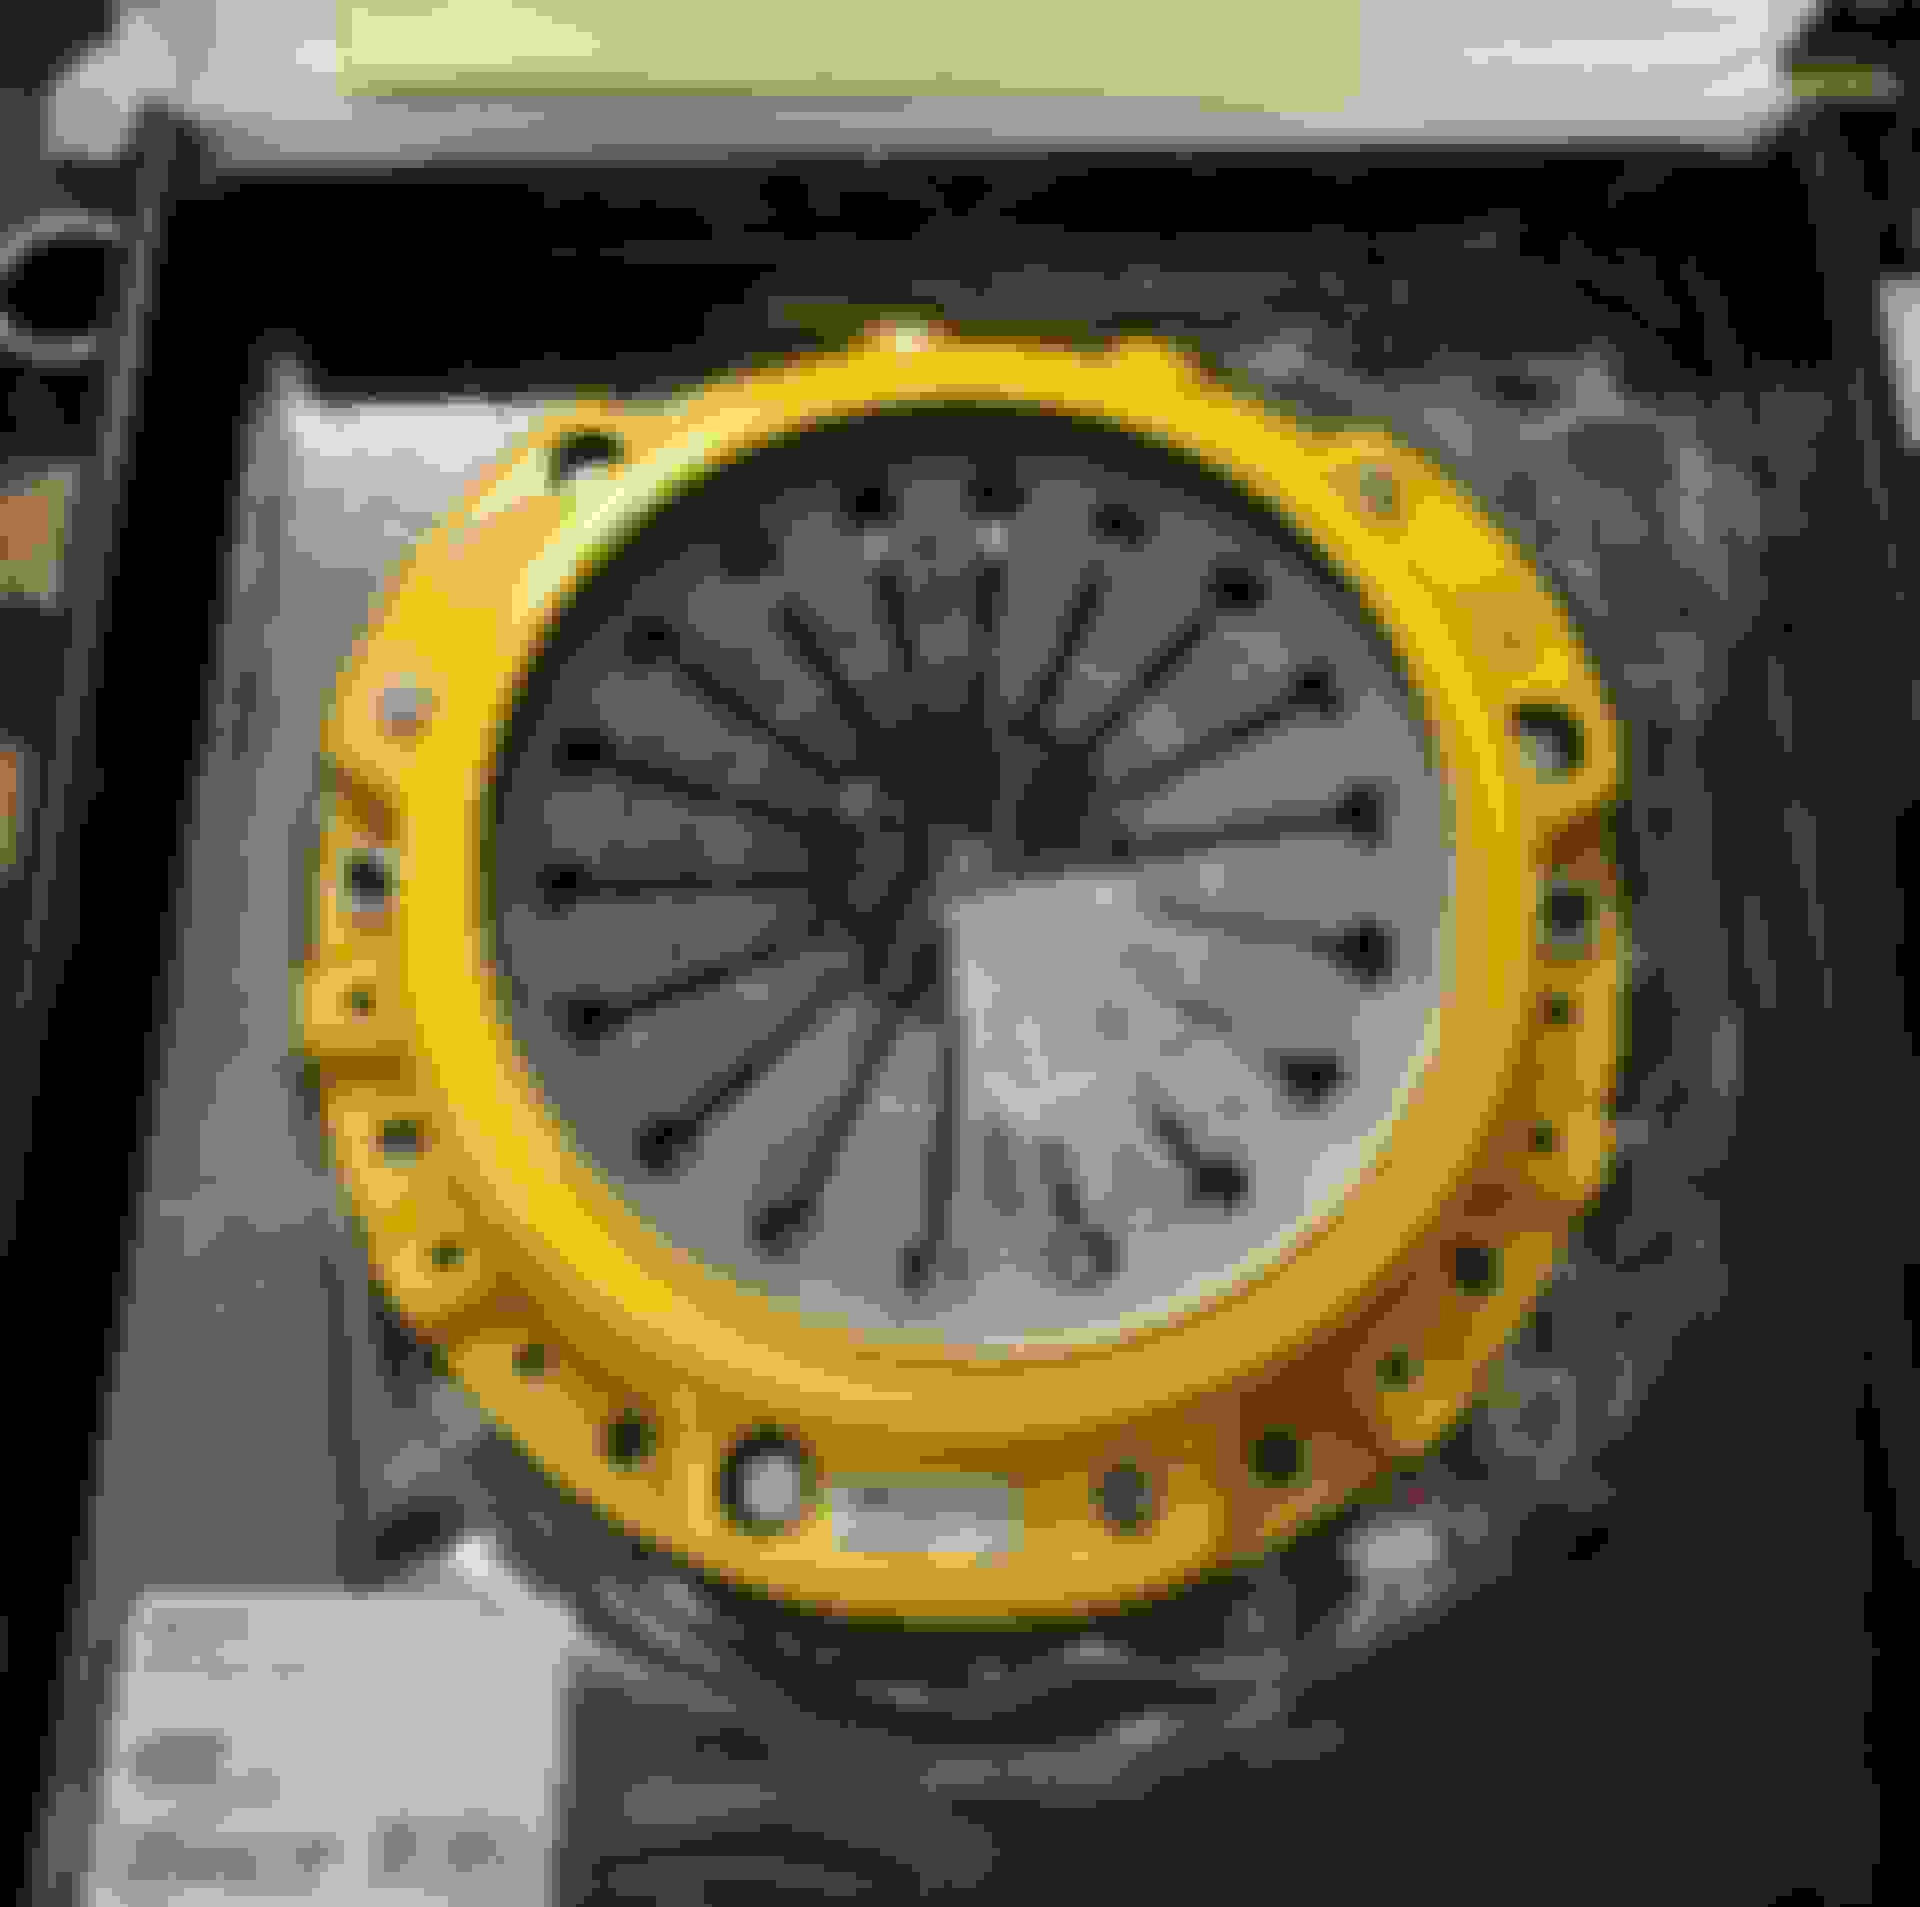
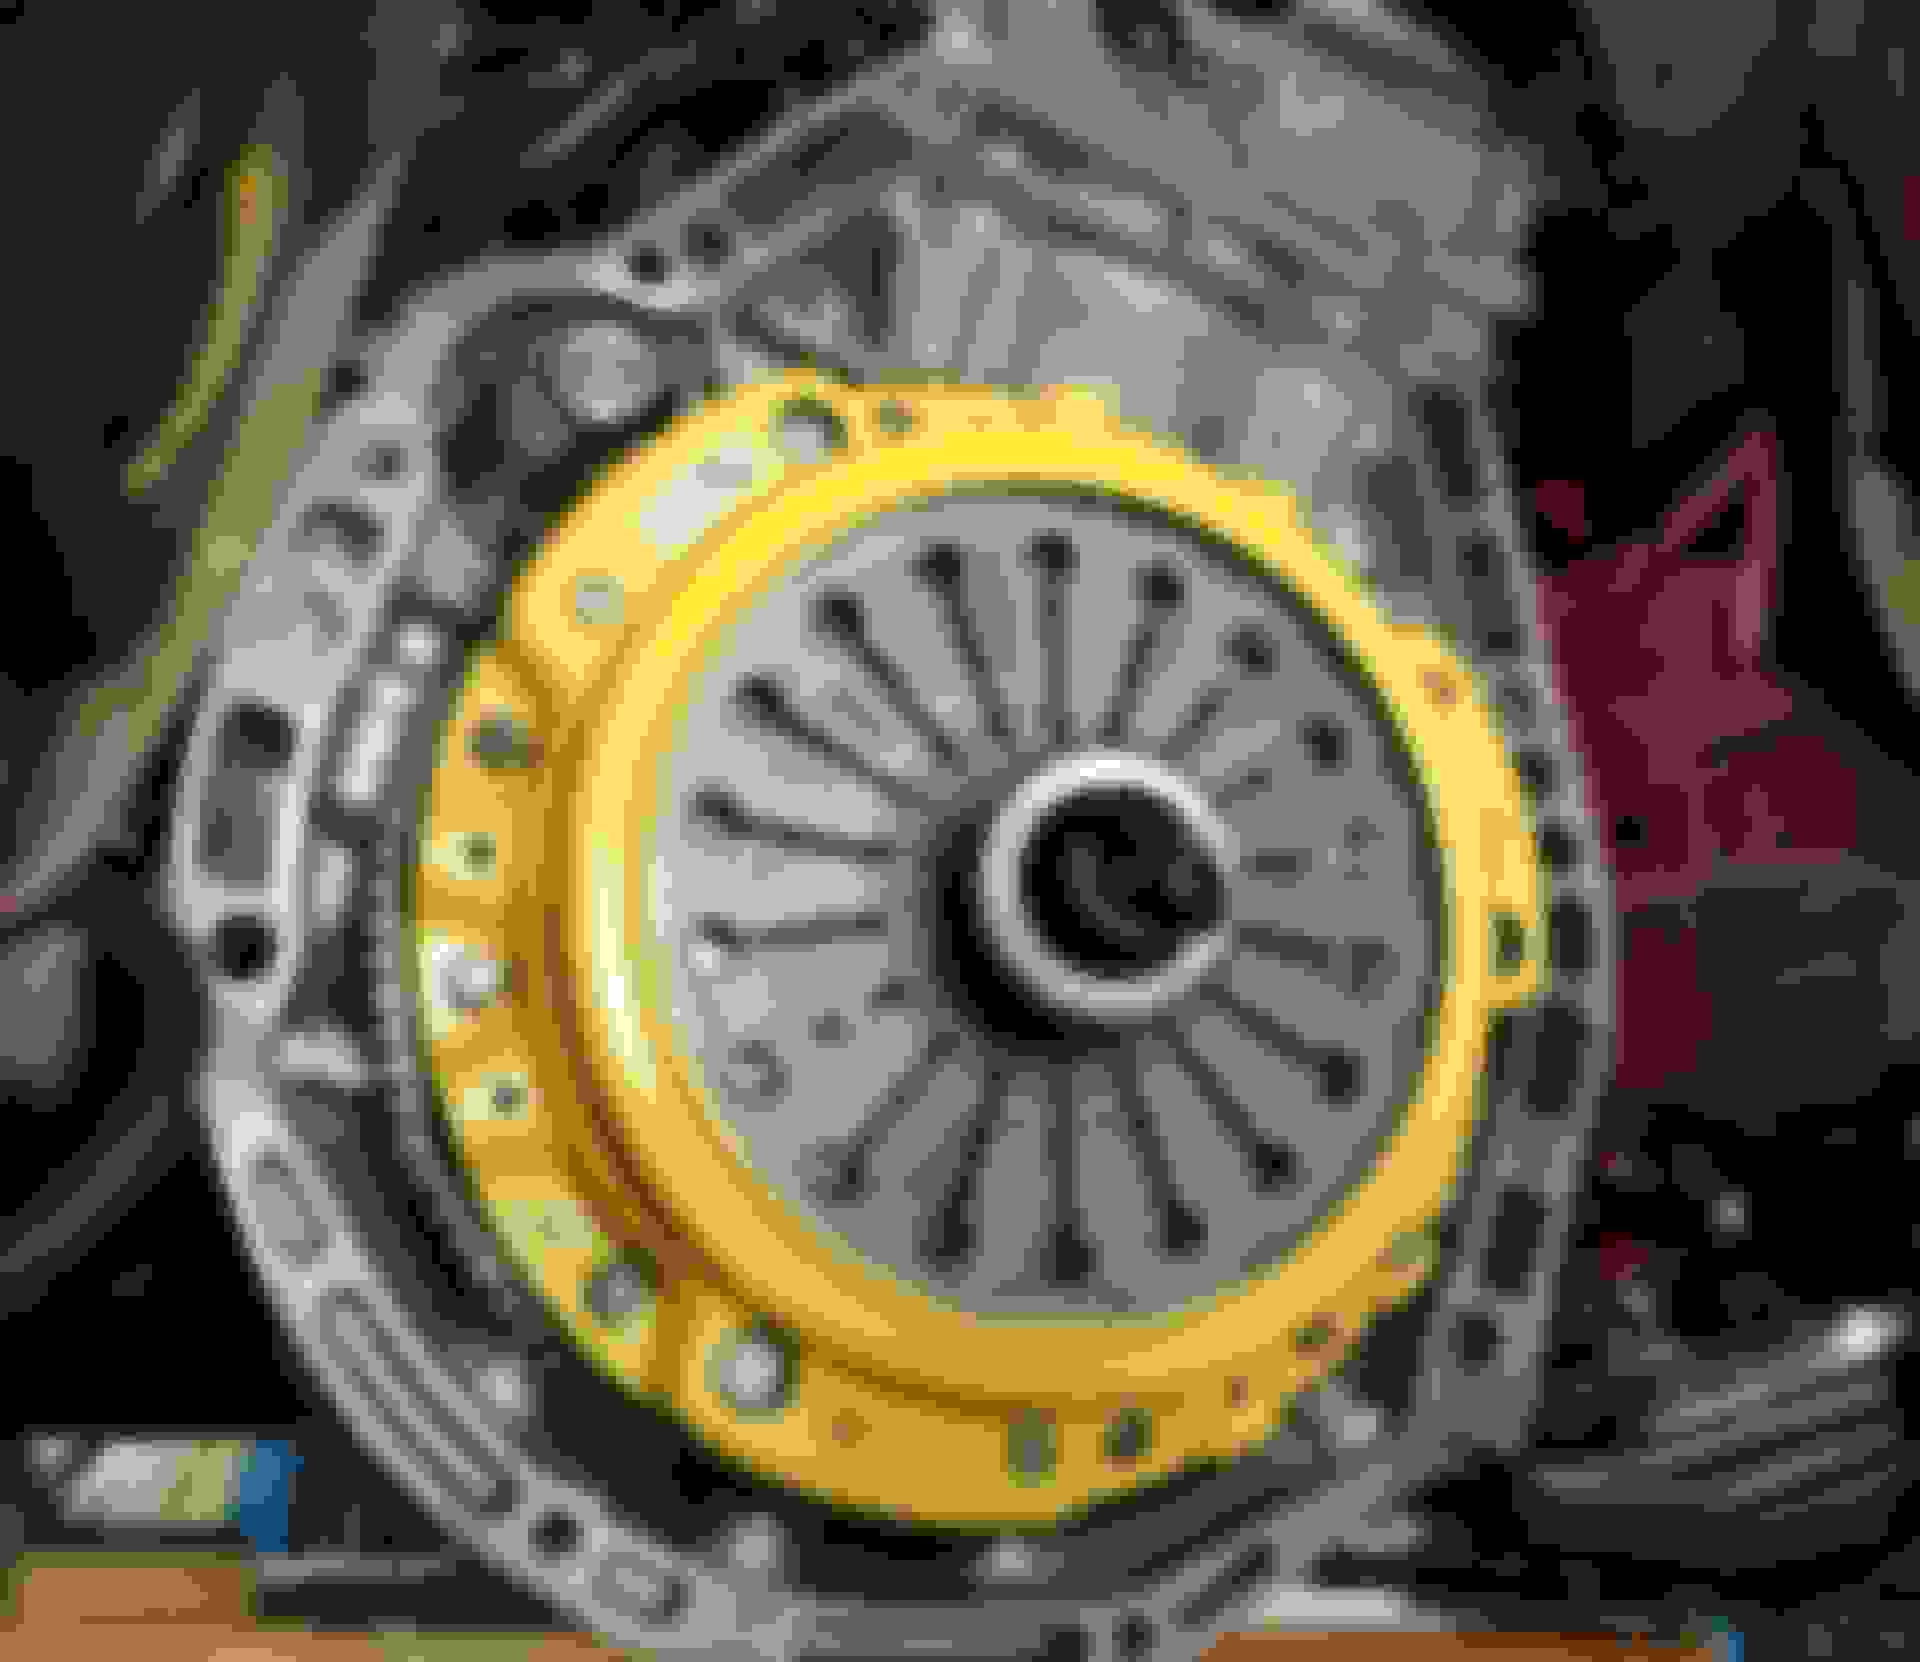
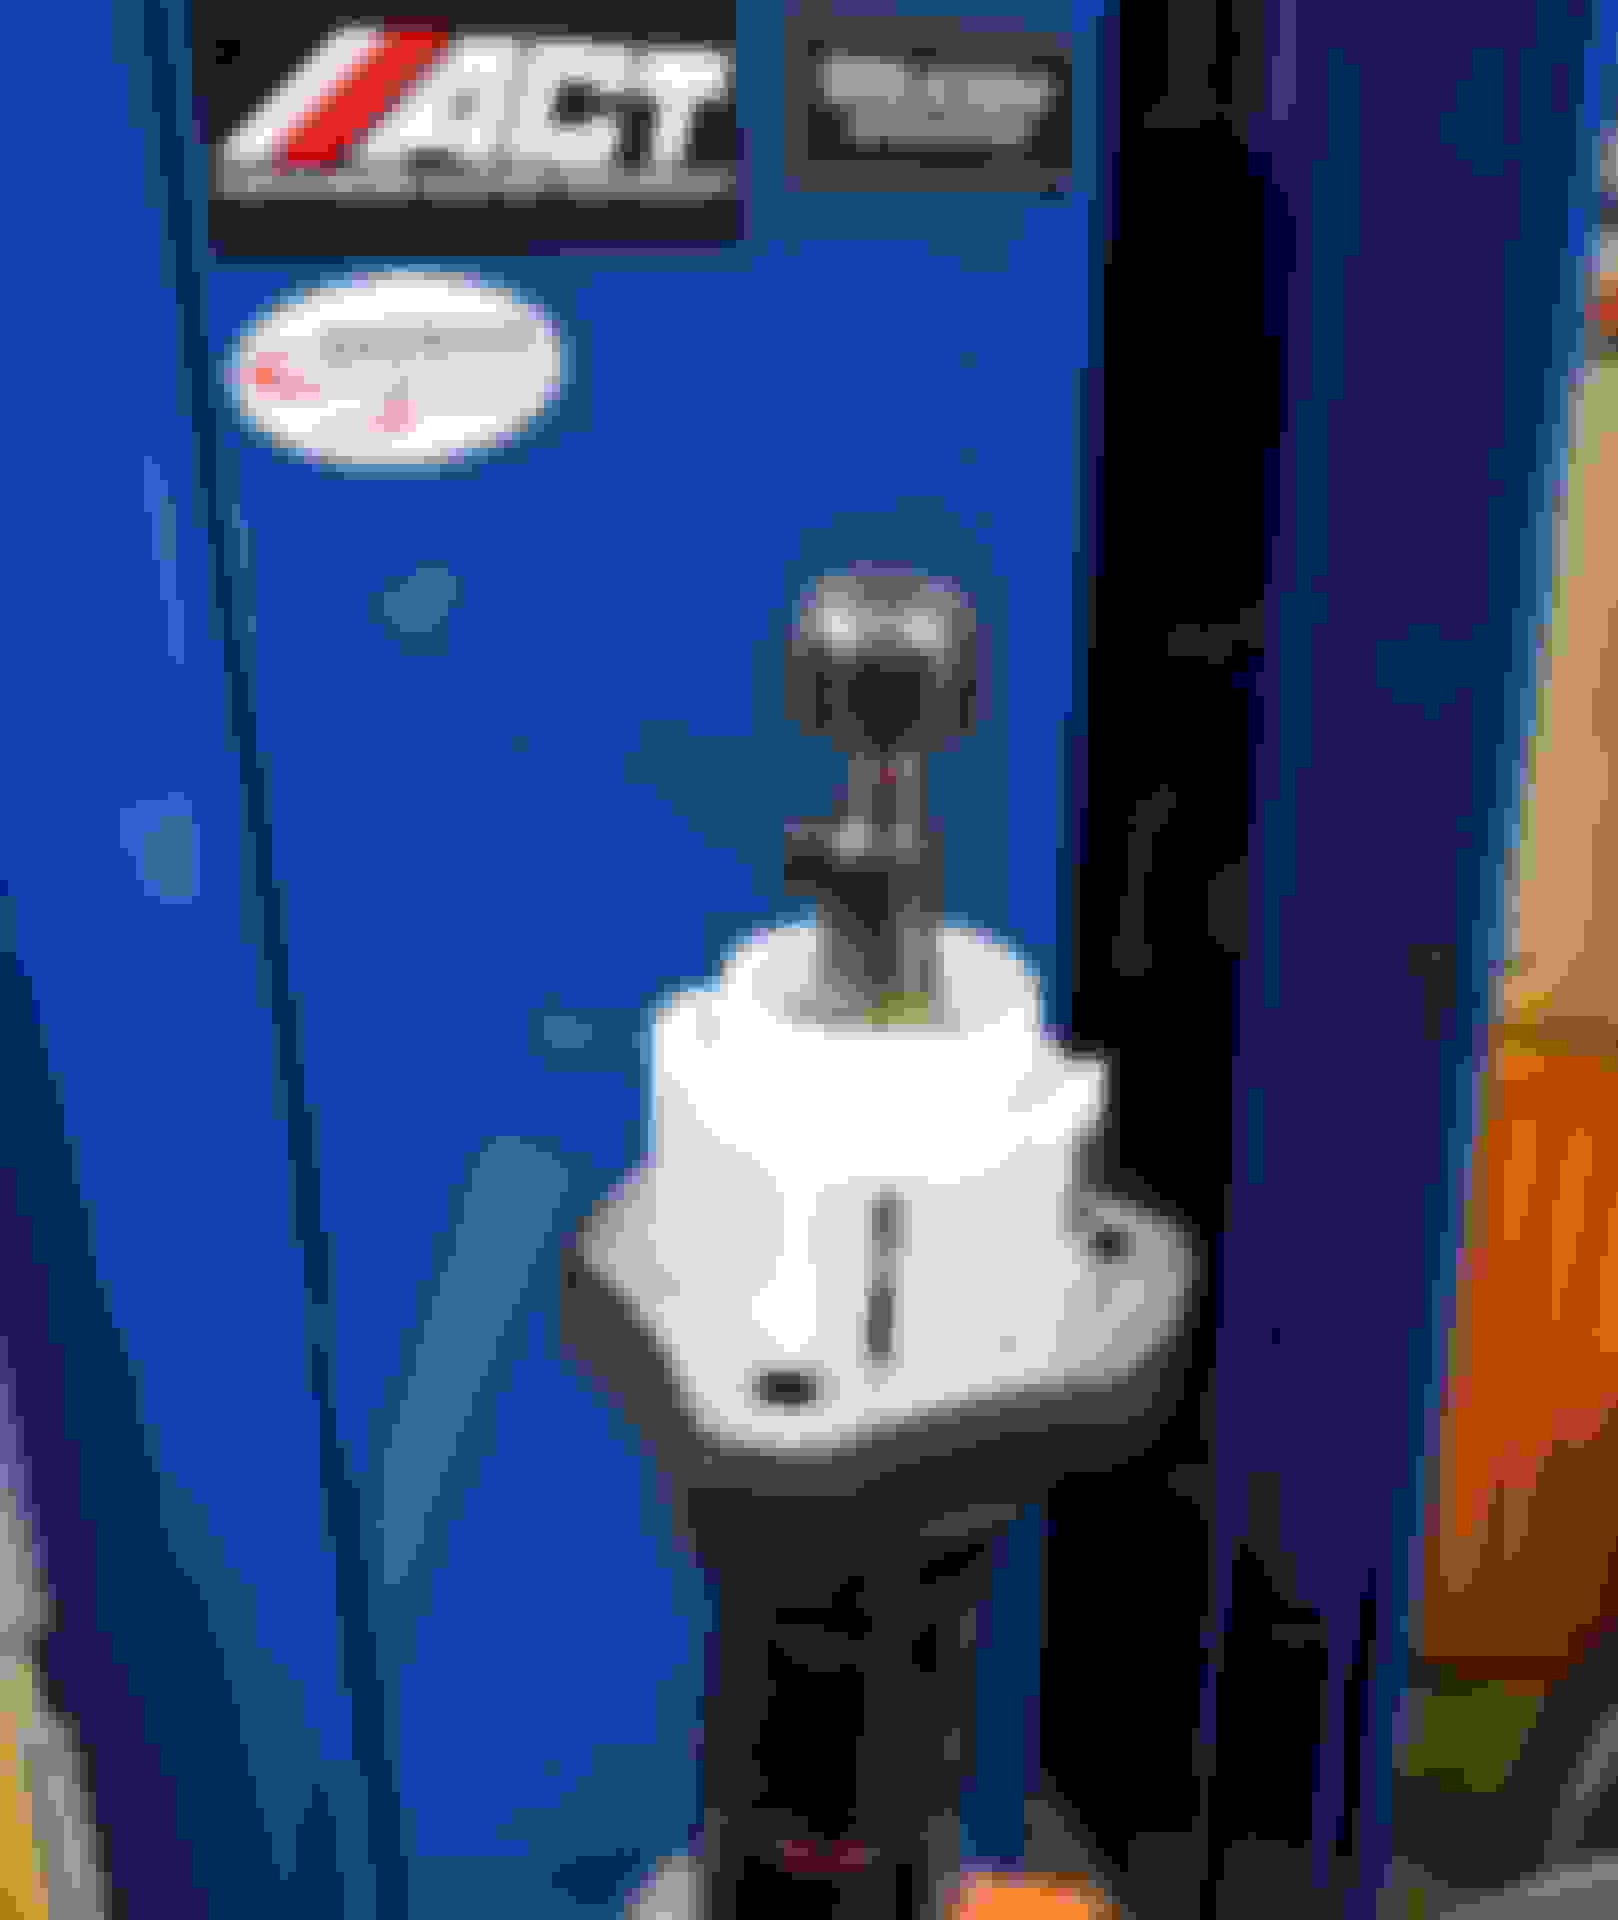
To make room for a new ACT pro lite.
With a new pilot bearing of course.
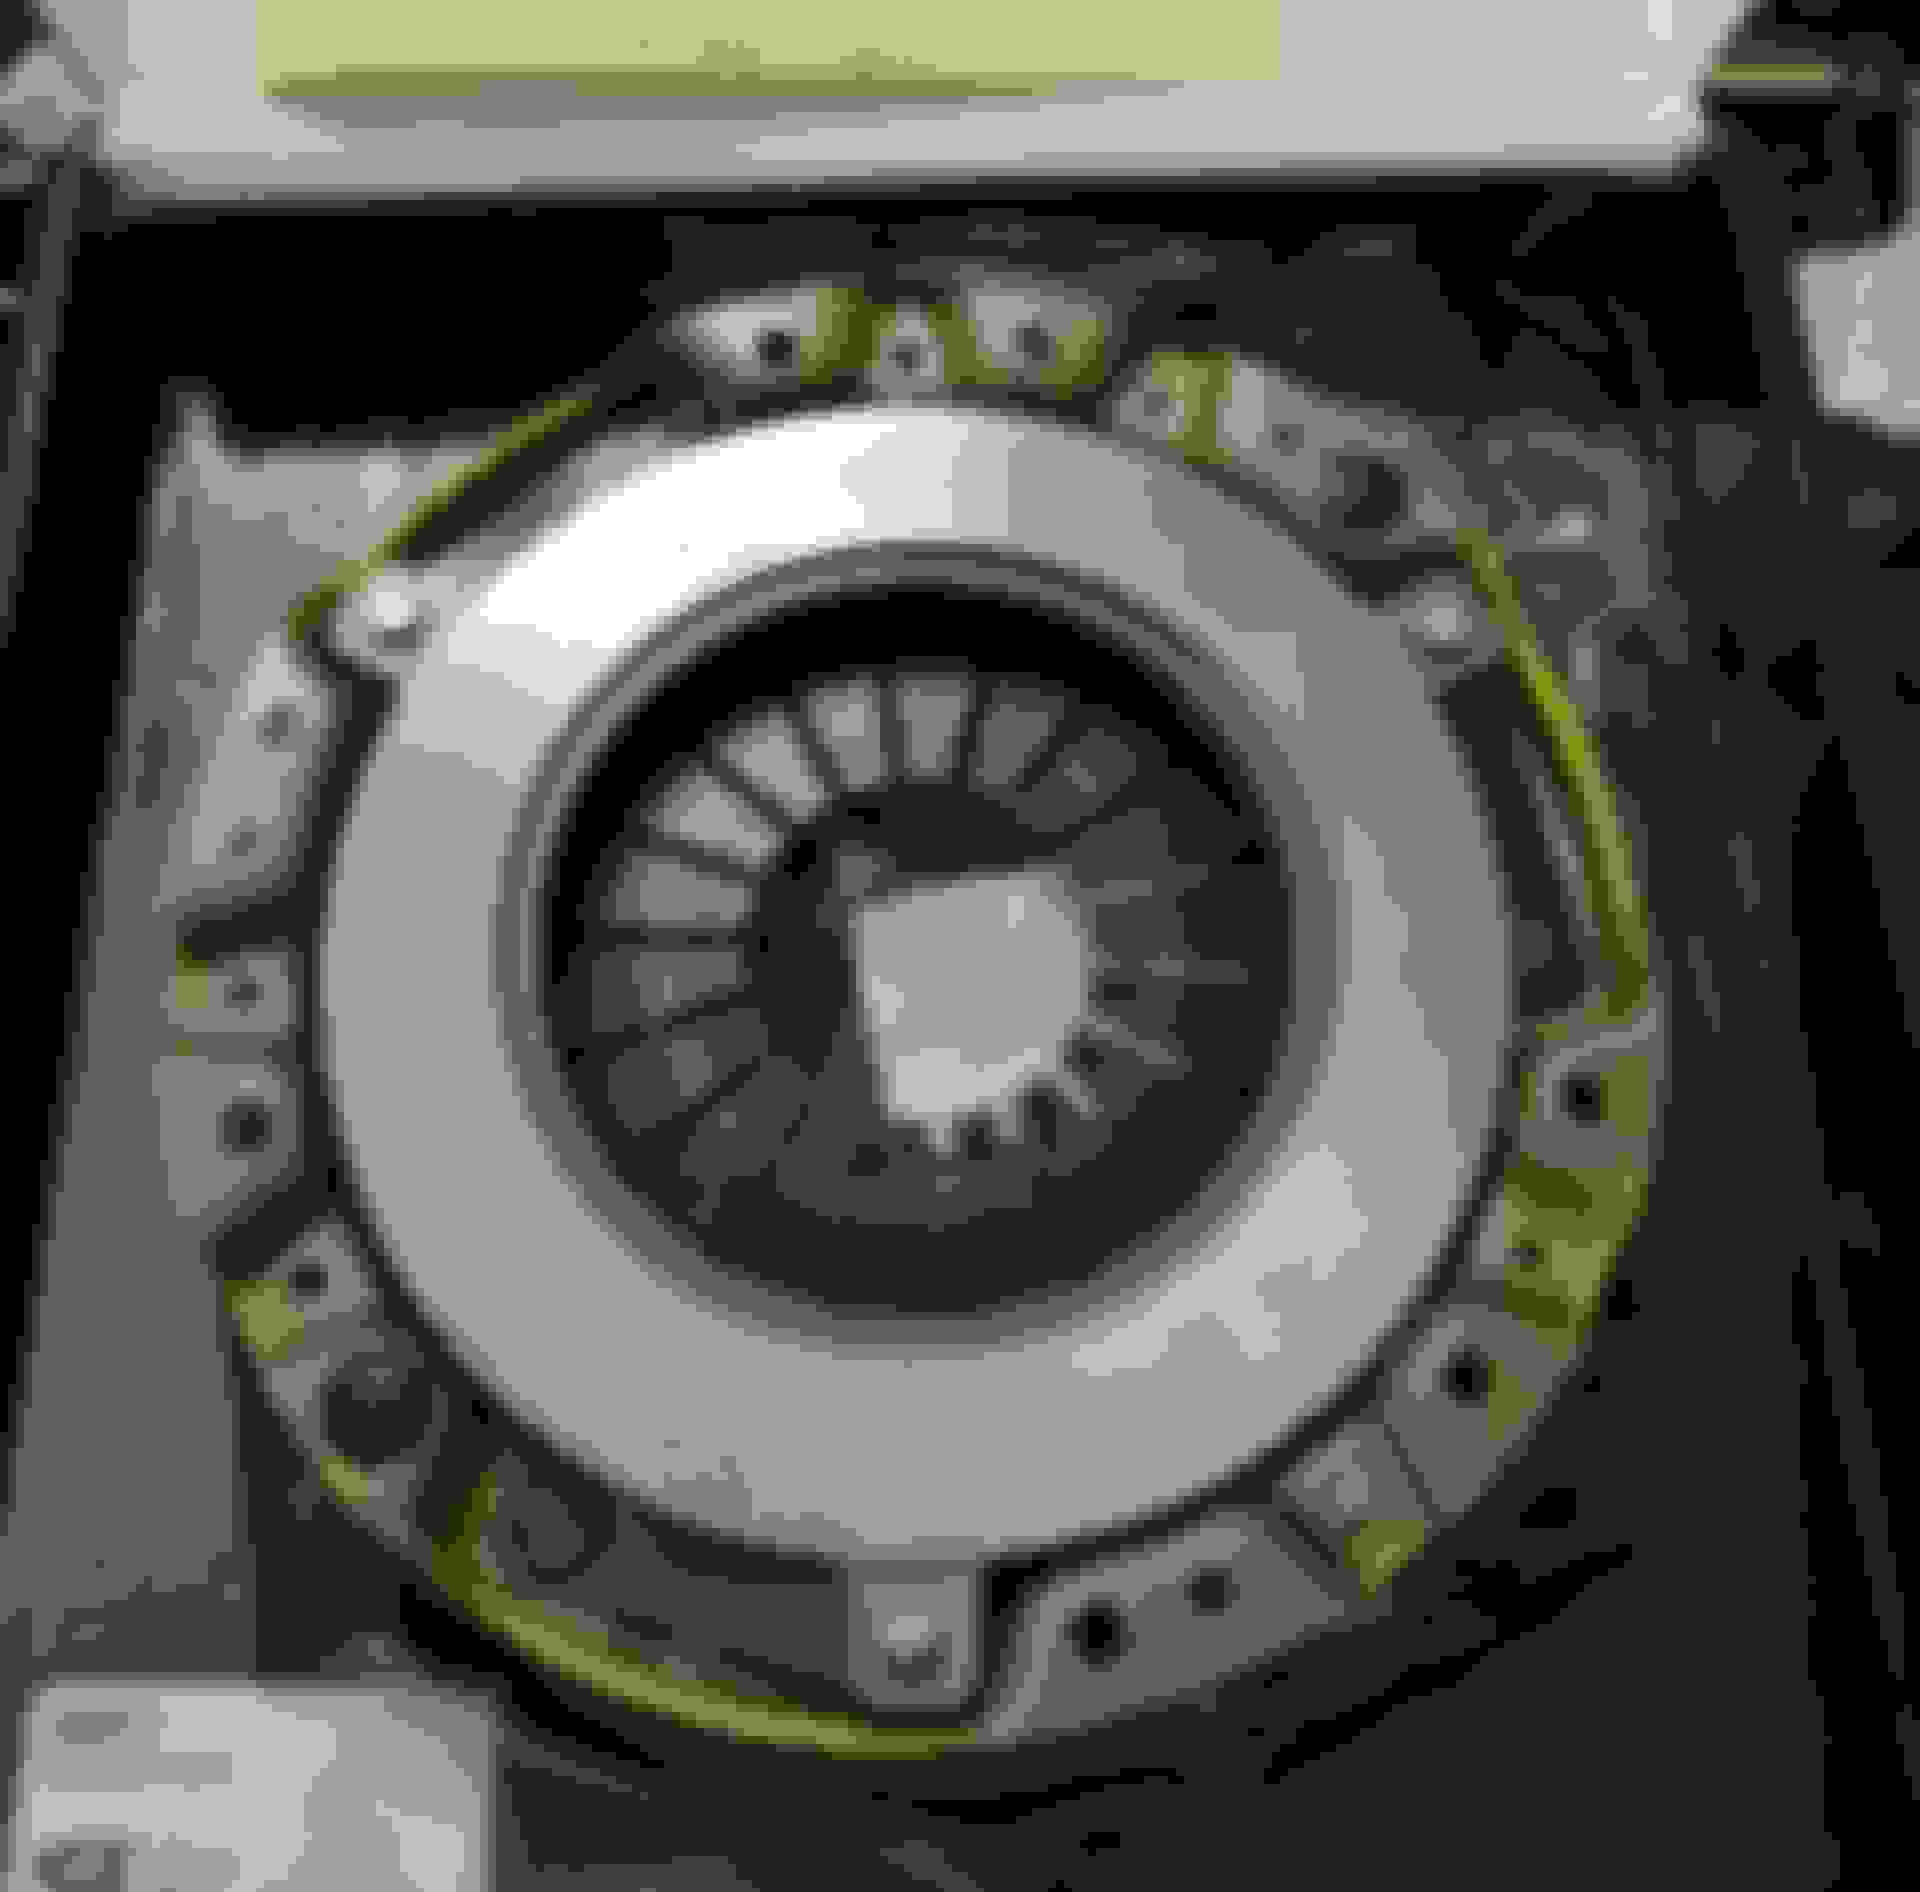
Installed and torqued up, those bolts sure took some effort to torque down.
Went with a ACT HD pressure plate.
New OEM friction disc, bought this in person from a Honda dealer in Kyoto
All installed with new greased up! OEM release bearing.
Used this Draped transmission jack on removal and install which really helped, unfortunately it didn't go low enough to clear the sides.
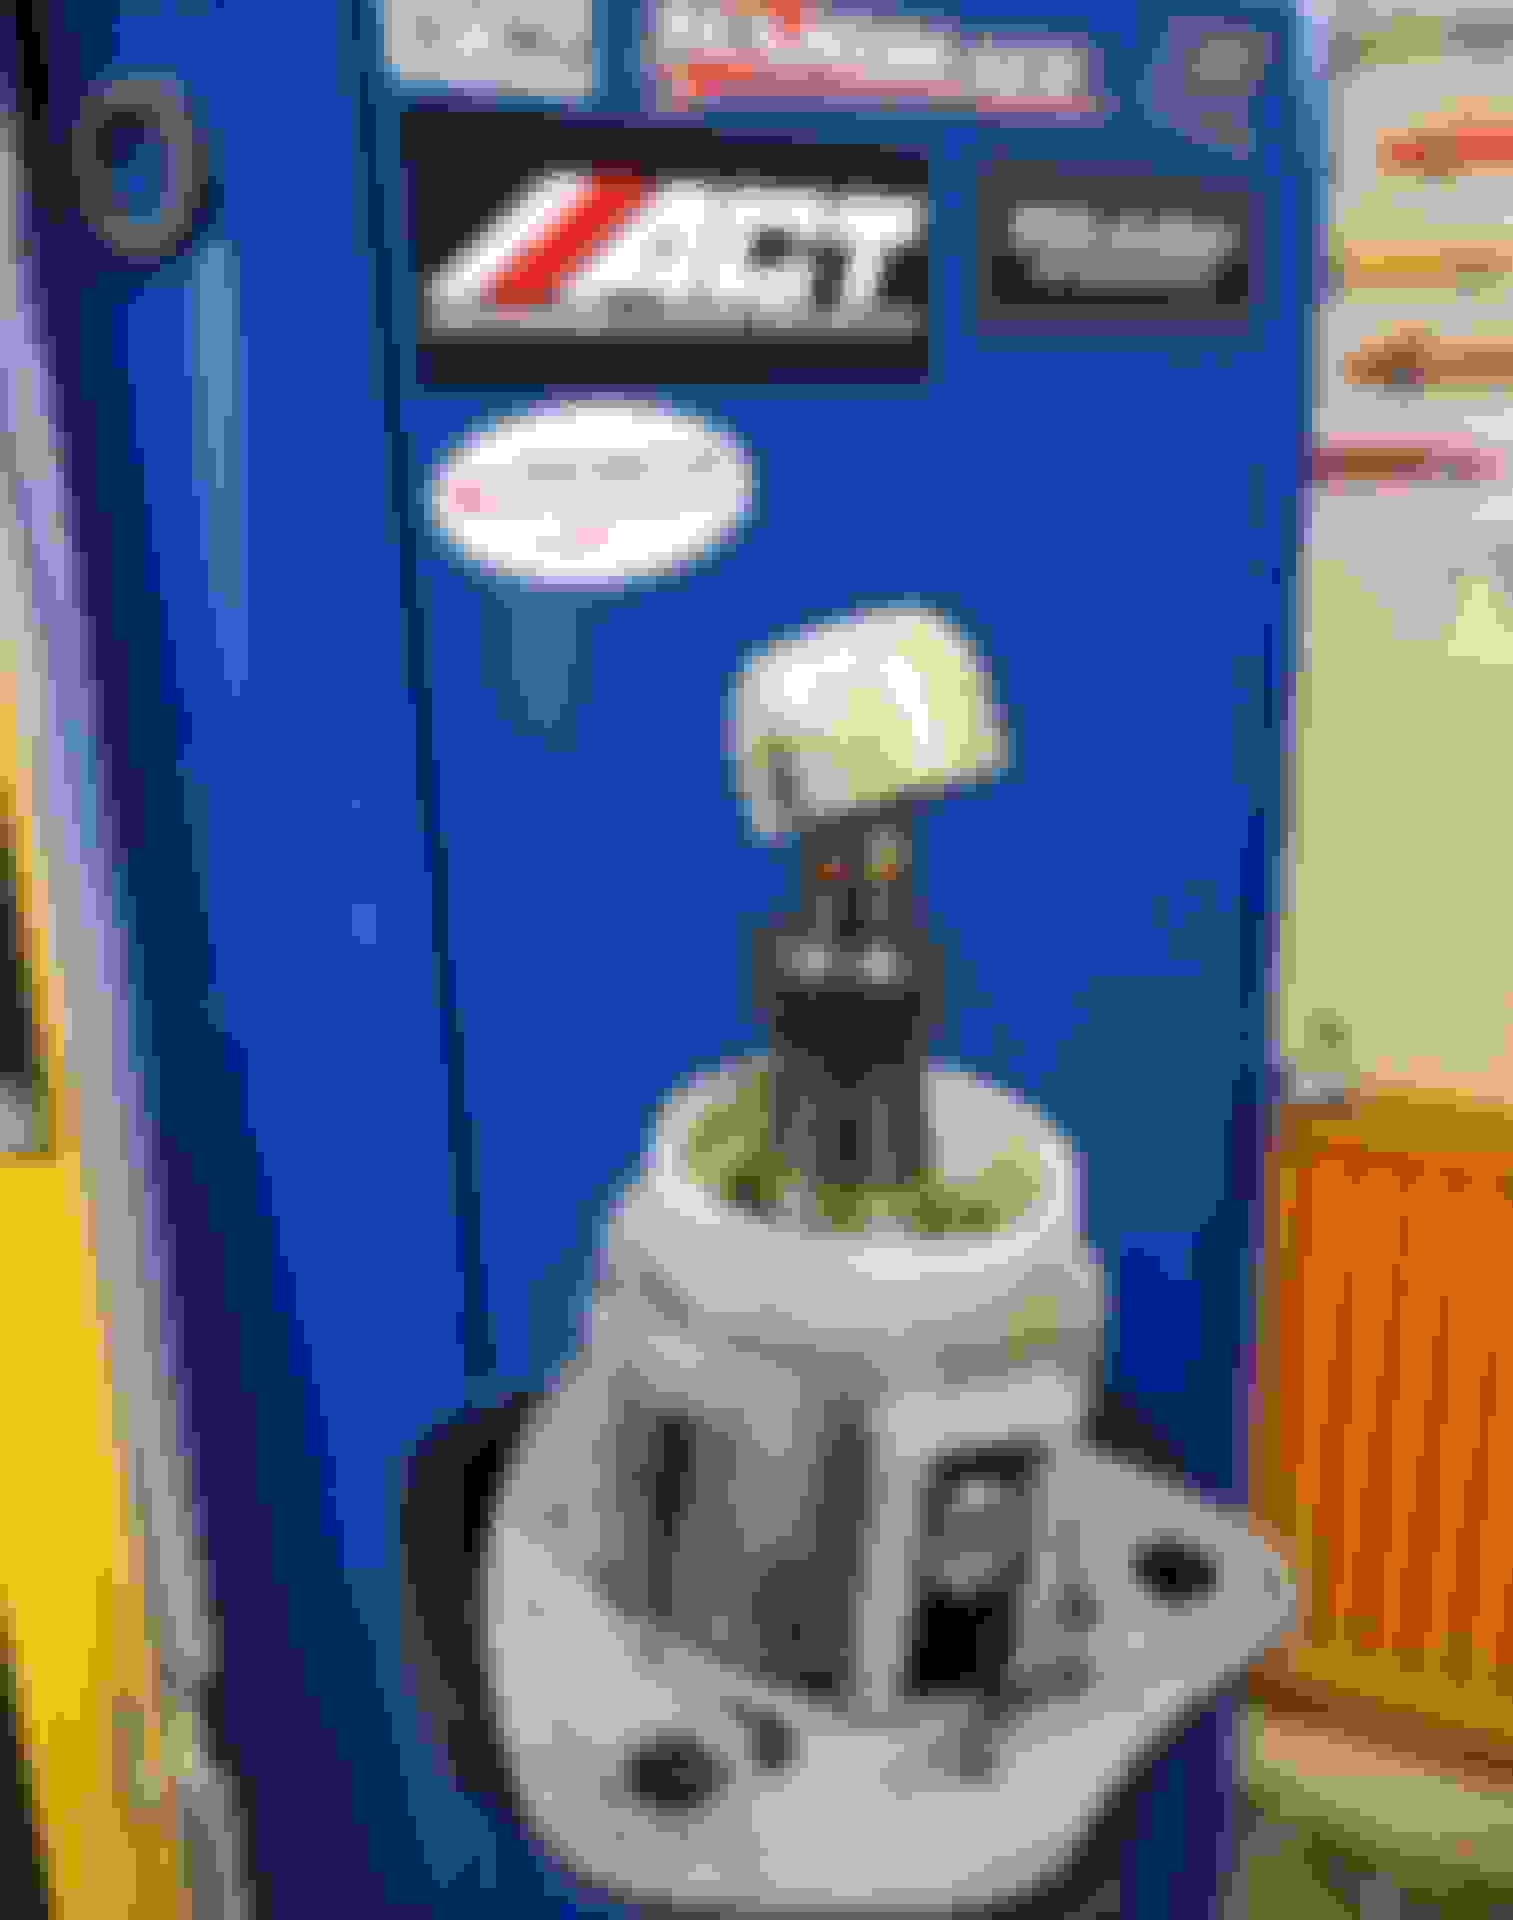
Did a small upgrade here as well.
To this.
Old vs new, I went with the street version.
Some of the prop shaft bolts were kind of stripped (not by me) and new ones from Honda is crazy expensive here so went with regular high tensile ones instead.
The black self coloring gives close to zero rust protection so I cleaned them and gave them a nice zink coat.
Installed
Another small repair was the knock sensor connector which probably was destroyed by the monkey doing the tranny removal before me.
Cut off my unused horn connector that normally sits next to the air filter and used that instead of the stupid spade connector.
Just the shift lever left to install here now.
But had to replace the big plastic collar thing first and also install the small and nice moly coated brass collar from Car garage Amis.
Yes there was more urea grease added before install.
Status as of today is car still on jack stands, need to put wheels on and eyeball the alignment.
But it's got new oil, filter and has just been started up to do some coolant bleeding.
Amazing work! I really enjoy your thread. Thanks for the info/tips also! Interested in your review with the Vibratechnics motor mounts, and shifting response with the upgraded parts.
Thanks
This weekend I put in new diff oil, the old oil looked very clean and not much crap on the magnet either.
So seems my 50/50 mix works pretty good.
Also checked the valve clearance and had to adjust 5 valves that were a bit to tight.
Gold tape seems to be more and more popular so I got a roll and put some here to maybe shield some heat from the big coolant hose beneath.
And some on the side of the airbox.
Almost ready to go.
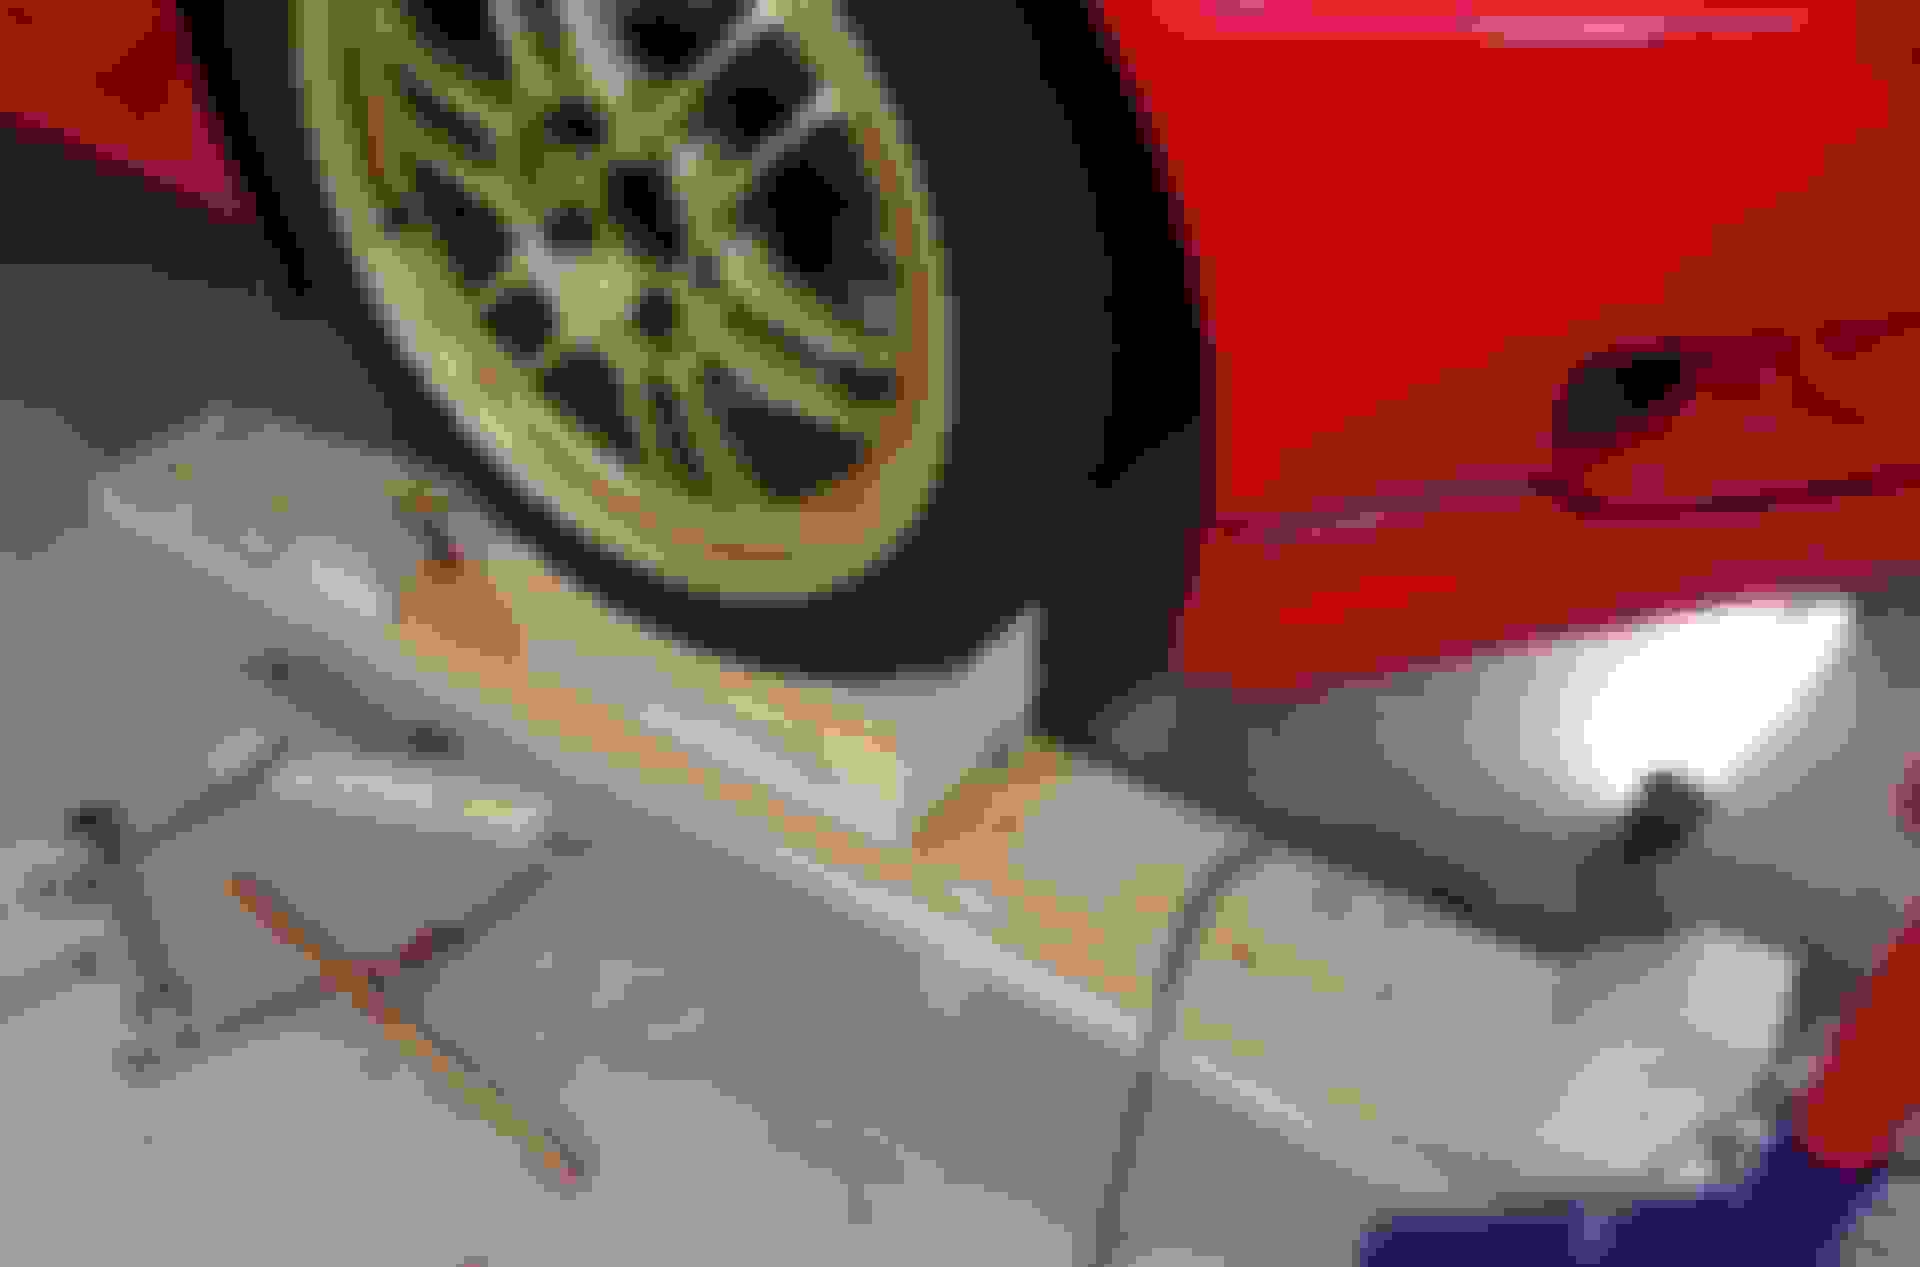
But first I had to do some kind of alignment.
First try didn't go very well though, got maybe 100 yards from my house before I realized I messed up, lets just call it the crab alignment.
Got some help from my girlfriend and we figured out I had around half inch of toe in the front and more than a full inch of toe in the rear
After some better measuring and fine tuning it went much better and today I did the first real test drive.
Some initial impressions, wow gear change and the light flywheel feels amazing.
Only doing light driving so far since I want to break in the clutch properly but I betting it will feel even better on really high revs.
Motor mounts might have added some vibrations but not bad at all, maybe they did improve some of the gear shift as well?
Spherical bushings is a bit to soon to say anything about but maybe a bit more noise and some harshness, roads are still pretty ****ed around here though with lots of gravel and pot holes.
Pic after first long test drive, big snow mountain outside my house slowly dying
 03-05-2018, 05:15 PM