Killercom's Turbo Build!
 01-28-2017, 06:43 PM
#31

Thread Starter
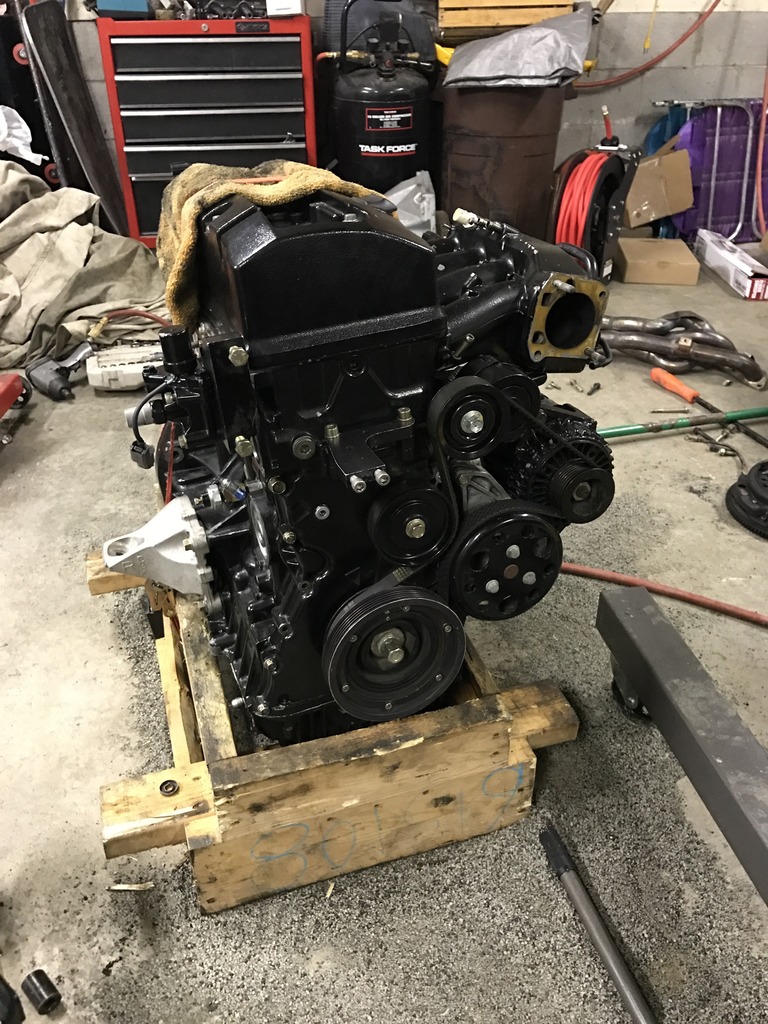
So the motor has arrived via UPS. Everything looks good and as it should. I went ahead and pulled the valve cover and everything looks dandy. I'll have some picture up over the next few days! 


 02-01-2017, 05:27 PM
#33
Thread Starter

 02-07-2017, 10:47 PM
#35
Thread Starter
 02-07-2017, 11:01 PM
#36
Thread Starter
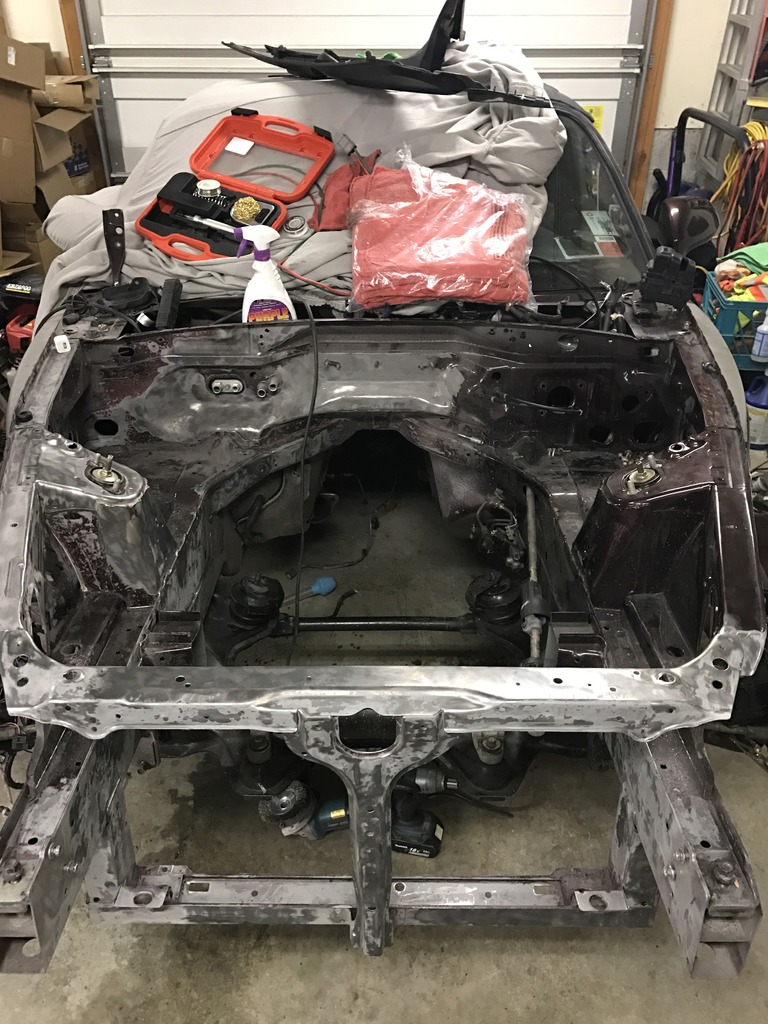
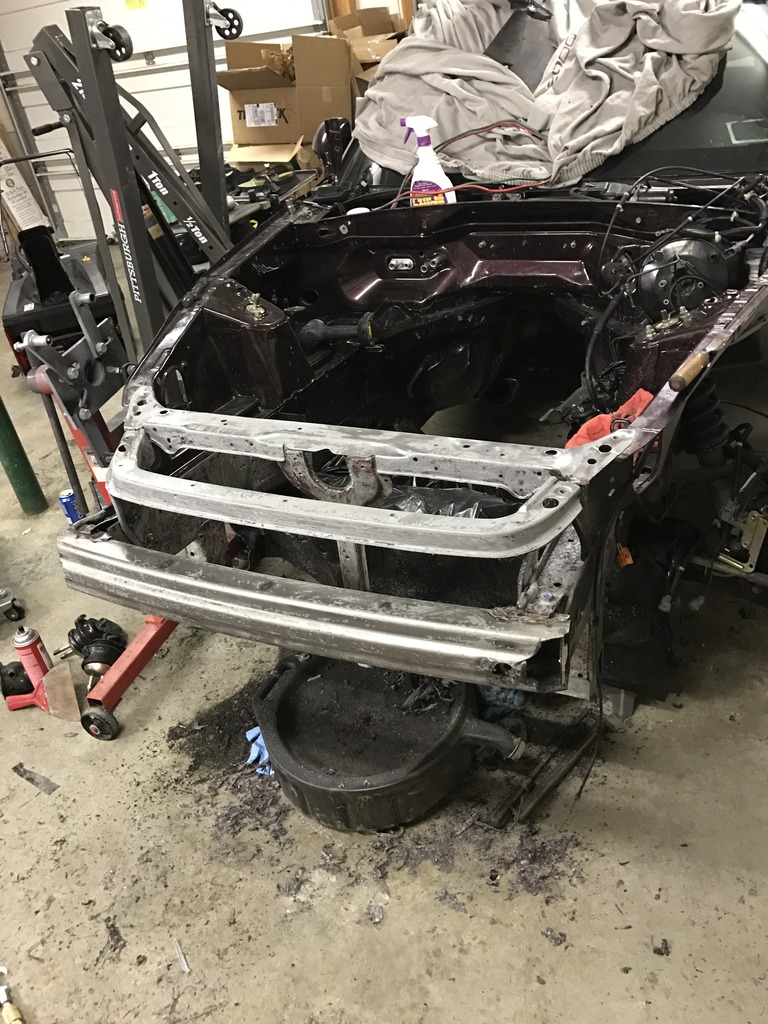
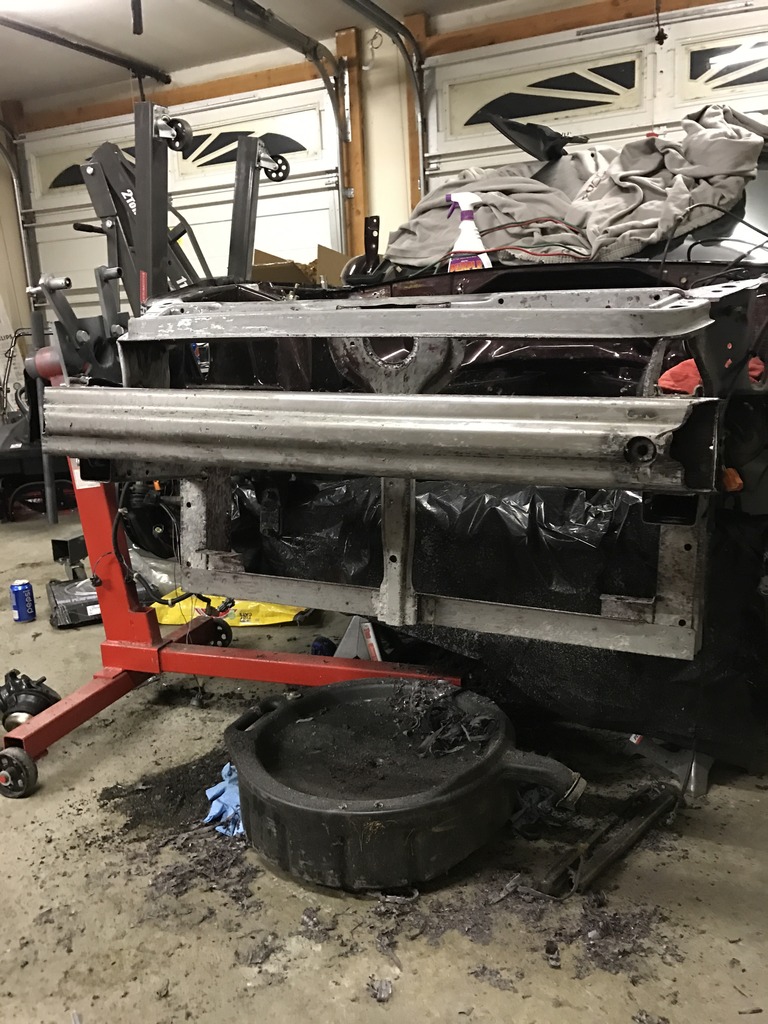
Some updates! Finally got back into the groove into working on this thing. I ended up selling the stock f22c so that had to come out. I still needed to drain the fluids out of the motor and start prepping for removal. I drained the oil and coolant then began removing the radiator and lines. I also removed the a/c condenser and lines. Got basically everything off the rad support.
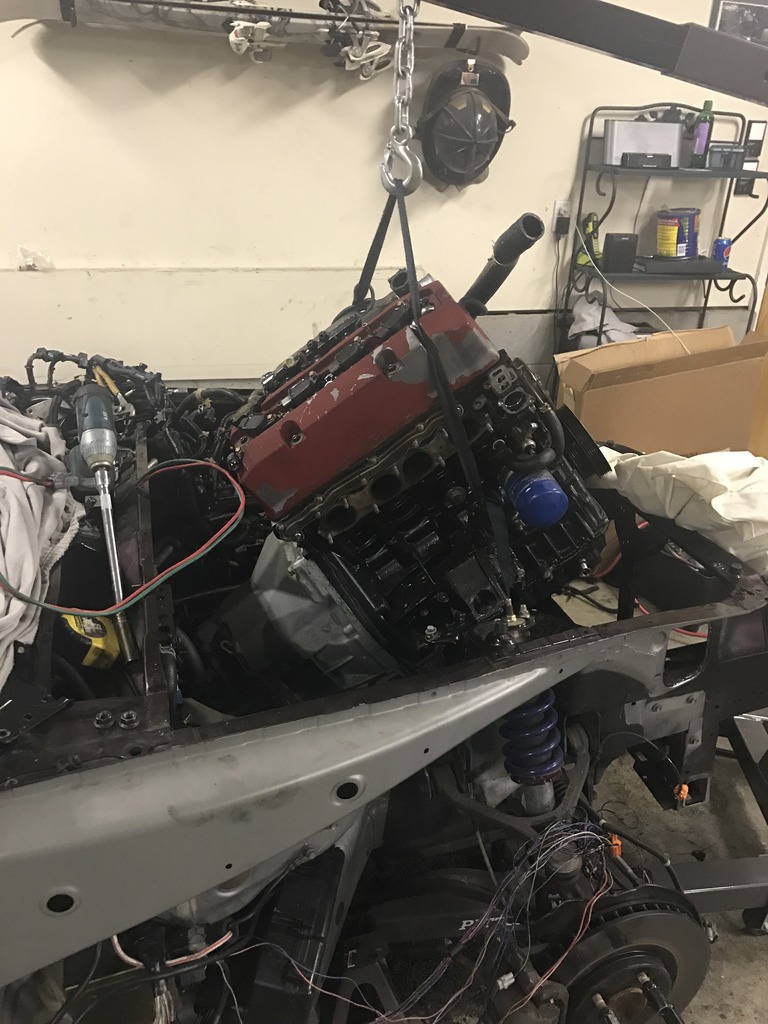
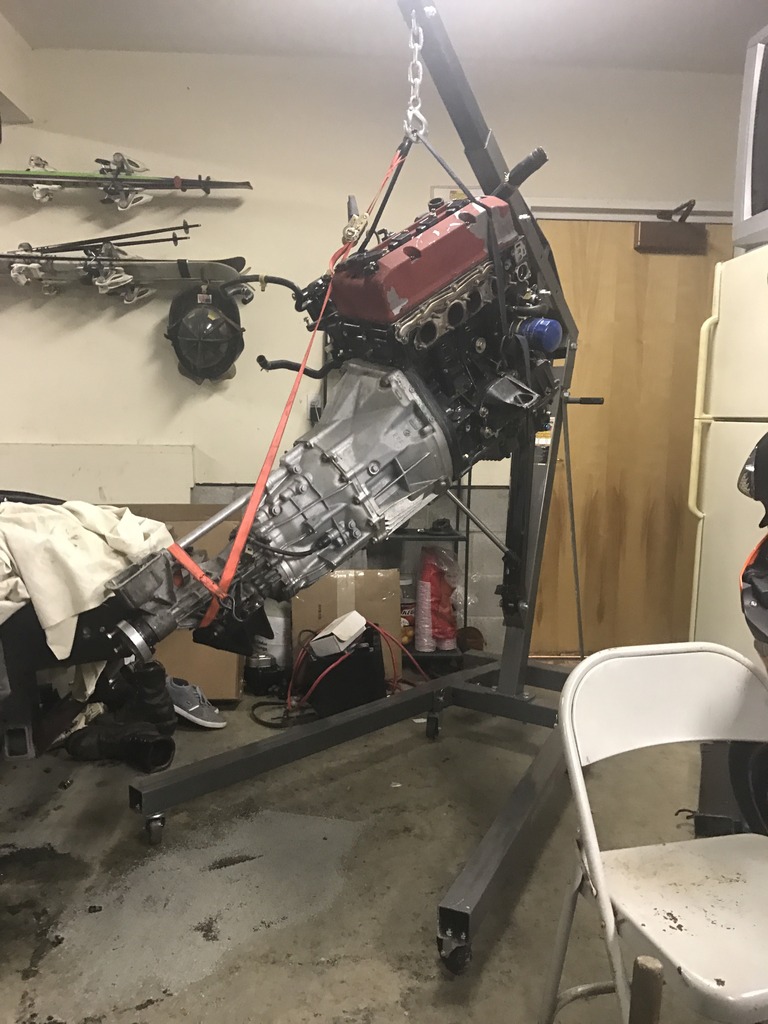
I was making good time so I decided to get the transmission unhooked from inside the cabin. I was going to call it quits for the night but I was in the zone so I pushed on. I got underneath the car and removed the driveshaft and unbolted the trans mount. I decided I was going to remove the engine and transmission together in one shot. I'm going to be installing a new cross member in the bay that'll be removable. So the orignal crossmember was coming out anyway I figured what's a better time than now? Sawzall came out and I cut the sucker out.
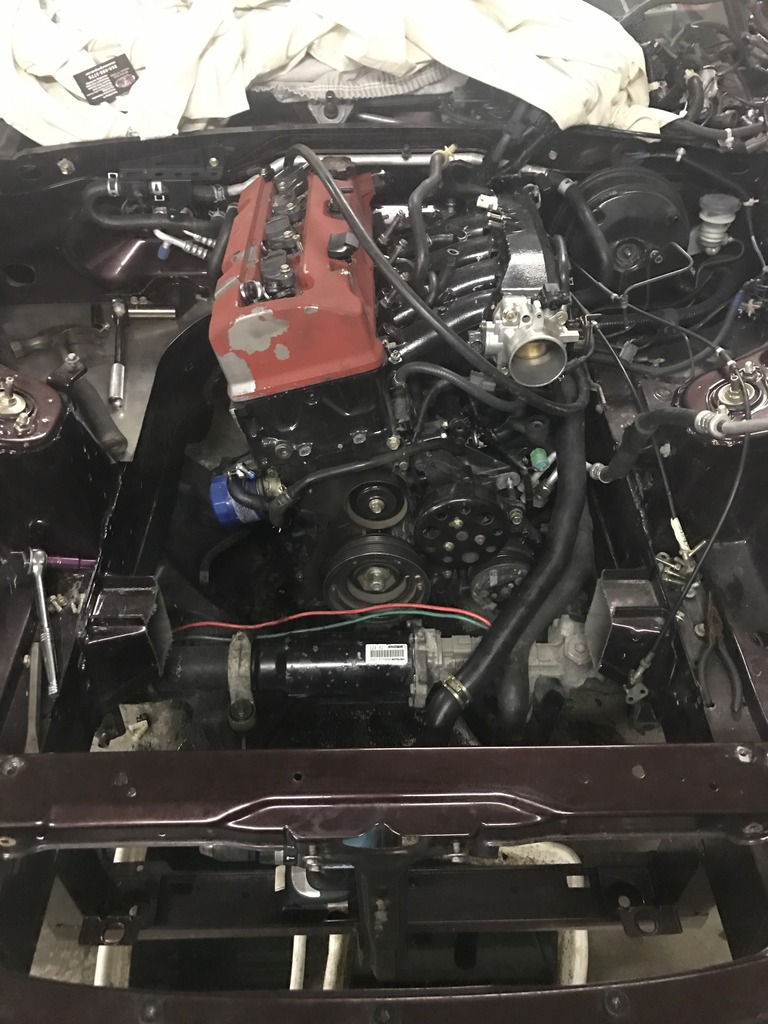

Everything was already unhooked from the motor and the only thing holding this thing in there were the two motor mounts. So here goes nothing.
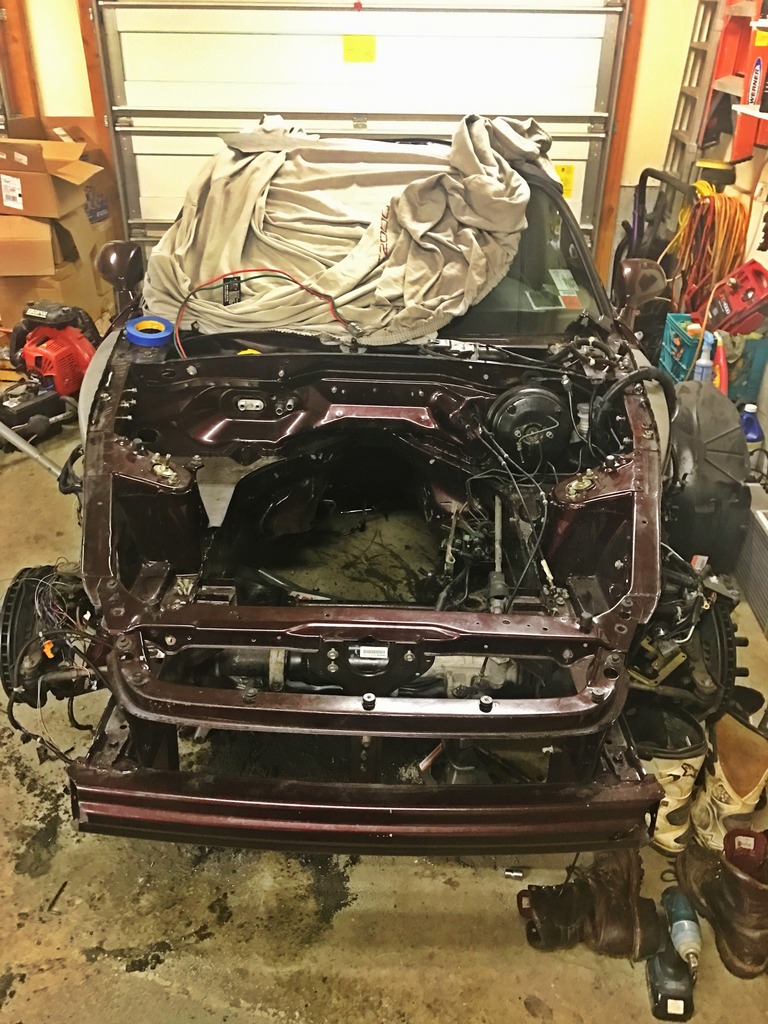
As of now, everything is out of the bay and I need to start getting the rest of the little things out then it's off to my buddy Matt to get the shave and paint. I have a fresh pile of stuff that needs to make it's way to the powder coater but I'm adding random stuff daily. I'll also be sending any and all hardware back up to Rochester Plating for some fresh zinc plating!


I was making good time so I decided to get the transmission unhooked from inside the cabin. I was going to call it quits for the night but I was in the zone so I pushed on. I got underneath the car and removed the driveshaft and unbolted the trans mount. I decided I was going to remove the engine and transmission together in one shot. I'm going to be installing a new cross member in the bay that'll be removable. So the orignal crossmember was coming out anyway I figured what's a better time than now? Sawzall came out and I cut the sucker out.


Everything was already unhooked from the motor and the only thing holding this thing in there were the two motor mounts. So here goes nothing.


As of now, everything is out of the bay and I need to start getting the rest of the little things out then it's off to my buddy Matt to get the shave and paint.
I have a fresh pile of stuff that needs to make it's way to the powder coater but I'm adding random stuff daily. I'll also be sending any and all hardware back up to Rochester Plating for some fresh zinc plating!
Last edited by KillerCom; 02-07-2017 at 11:05 PM.
02-20-2017, 11:10 PM
#37
Thread Starter
Some updates! Made the trip down to Inline Pro to drop off the new motor for a nice refresh! I also got lucky and sold my supercharger kit, fueling, and my stock f22c to one guy from Taiwan. He is having Inline Pro build the car for him so I decided to deliver the whole deal together. Just needed to get the engines ready to transport and all the supercharger parts surran wrapped.
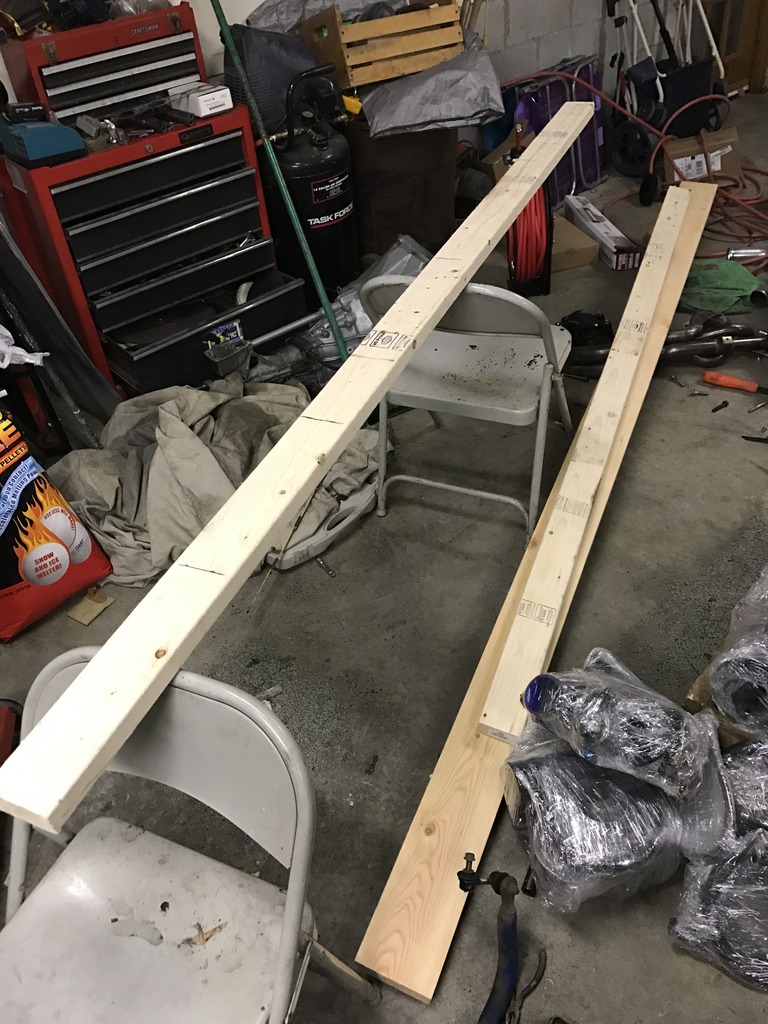
I needed to build a second engine cradle for my new motor so I copied the setup that I already had. (2) 2x4's and (1) 2x6 did the trick along with a small box of 3" screws.
After that was built, it was time to load up for the 11 hour round trip to Inline Pro and back the next morning.
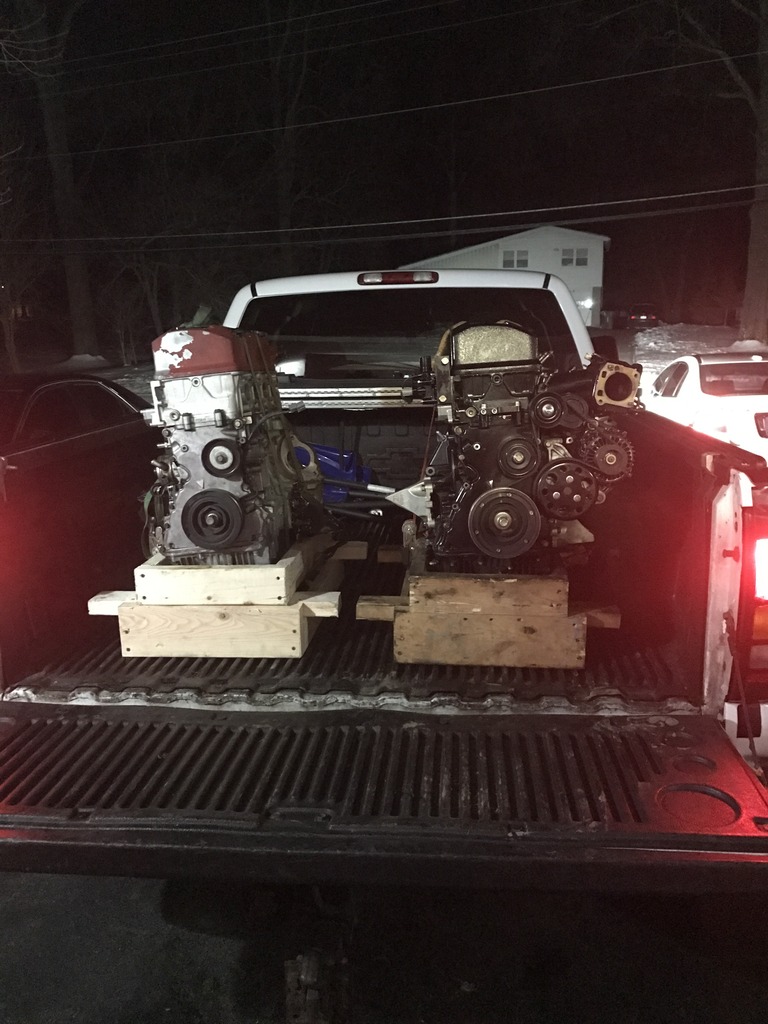
Everything worked out as it should and we had ourselves a long, productive day.
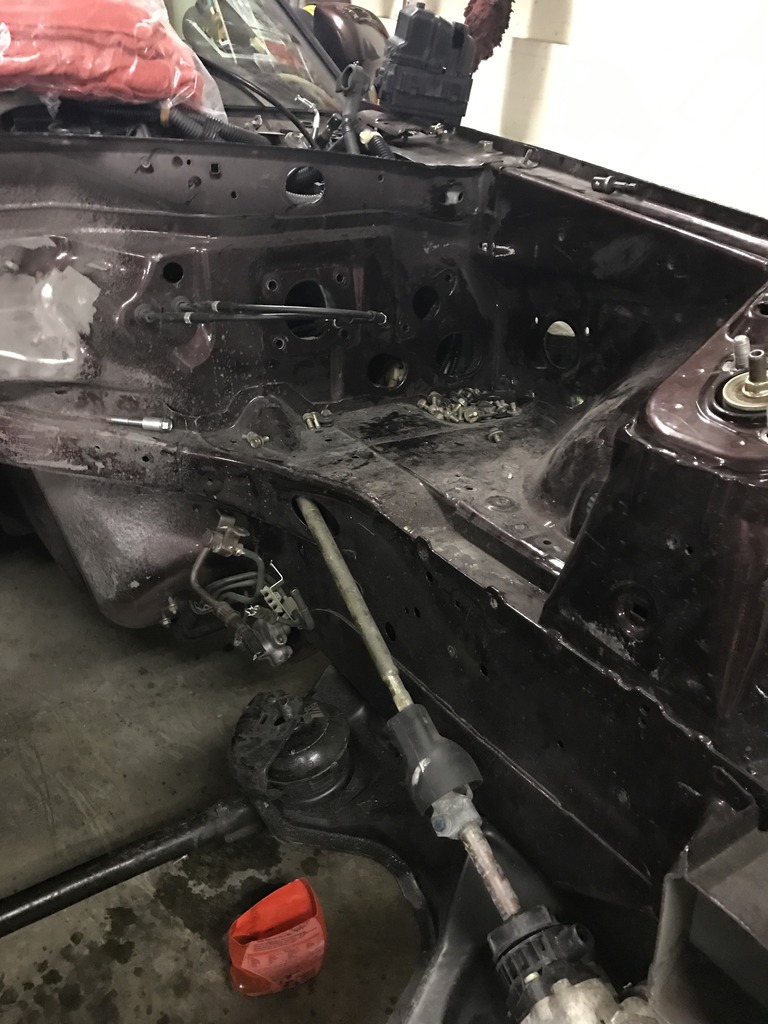
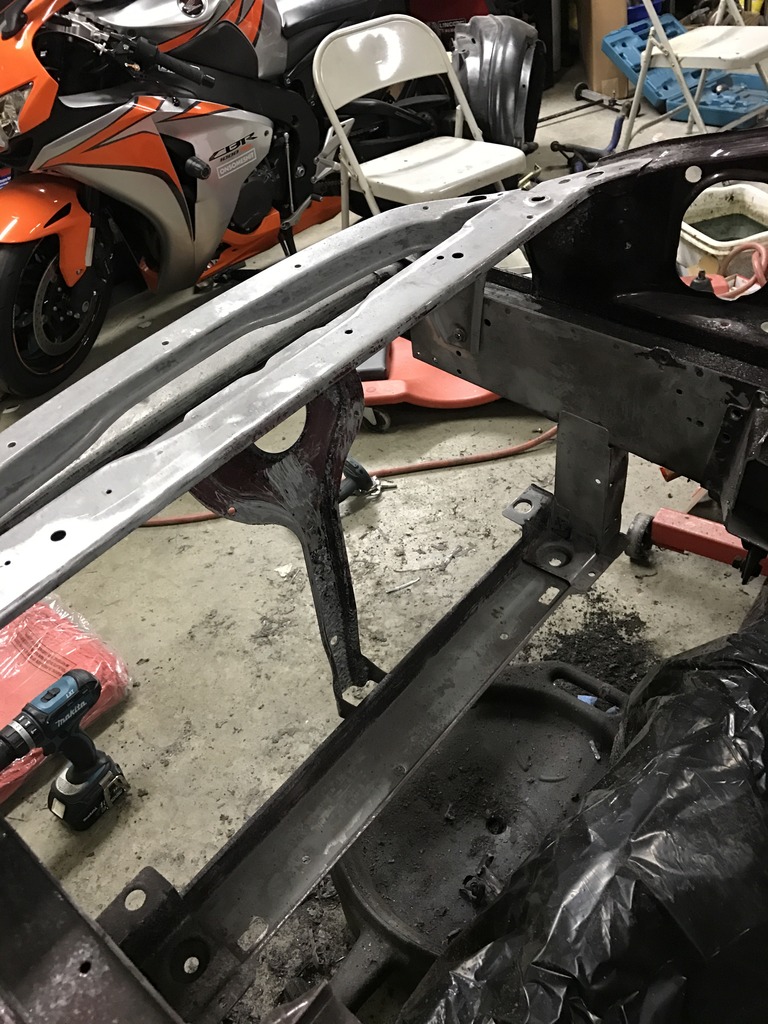
I then needed to pick up the pace on getting this engine bay ready for the shave and paint job. I decided to strip down the entire bay. I decided to do this since the bay was painted once before and I don't want too many layers on there. So what better than to start with a bare metal bay.
I picked up some paint stripper from Home Depot in the aerosol cans to help with the breakdown process. I sprayed the stripper on heavy to see how I needed to tackle this. I waited 30 minutes give or take and started scraping. Came off fairly easy, but was not perfect by any means.
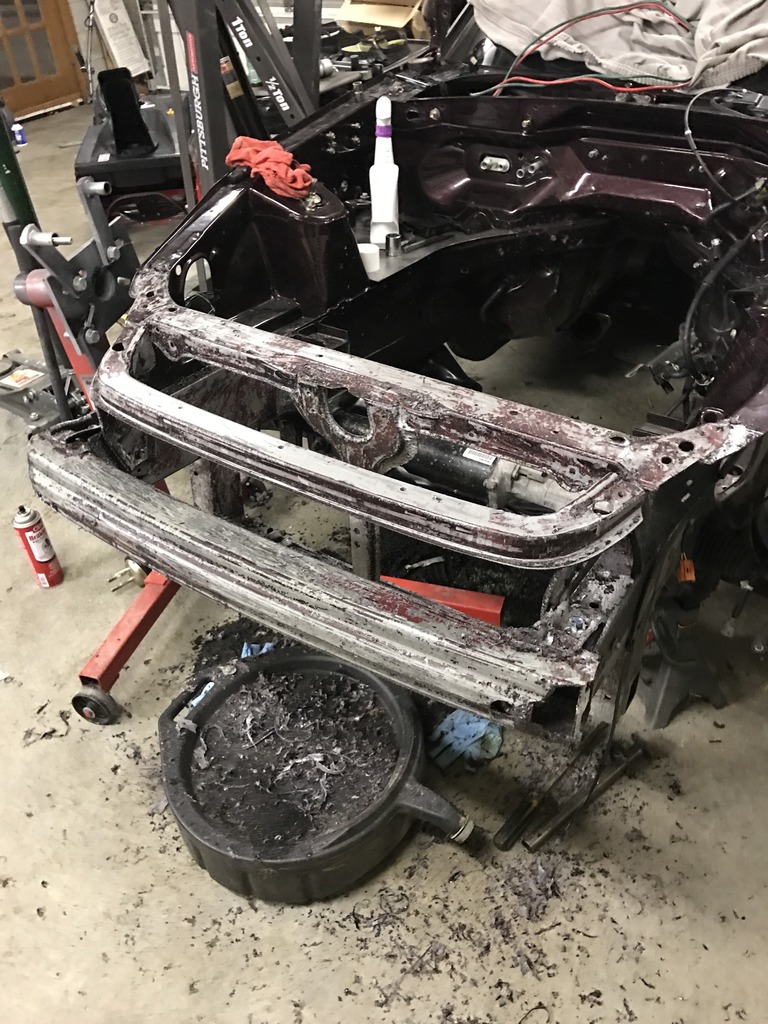
I then sprayed on another coating of this stuff. I went ahead and loaded it up and used up the whole can. This time around everything was bubbling and lifting directly off the body of the car. Here we go.
I called it quits here at around 1:00am. I have to get the parts off the firewall still, (booster, clutch master, stock brake lines, cruise and throttle cable) Once all this is out I can put the hammer down on getting this whole thing stripped and ready to go. We're shooting for March 1st for the bay it we'll see how that goes.

I needed to build a second engine cradle for my new motor so I copied the setup that I already had. (2) 2x4's and (1) 2x6 did the trick along with a small box of 3" screws.

After that was built, it was time to load up for the 11 hour round trip to Inline Pro and back the next morning.

Everything worked out as it should and we had ourselves a long, productive day.
I then needed to pick up the pace on getting this engine bay ready for the shave and paint job. I decided to strip down the entire bay. I decided to do this since the bay was painted once before and I don't want too many layers on there. So what better than to start with a bare metal bay.
I picked up some paint stripper from Home Depot in the aerosol cans to help with the breakdown process. I sprayed the stripper on heavy to see how I needed to tackle this. I waited 30 minutes give or take and started scraping. Came off fairly easy, but was not perfect by any means.

I then sprayed on another coating of this stuff. I went ahead and loaded it up and used up the whole can. This time around everything was bubbling and lifting directly off the body of the car. Here we go.


I called it quits here at around 1:00am. I have to get the parts off the firewall still, (booster, clutch master, stock brake lines, cruise and throttle cable) Once all this is out I can put the hammer down on getting this whole thing stripped and ready to go. We're shooting for March 1st for the bay it we'll see how that goes.
03-01-2017, 06:38 PM
#38
Thread Starter
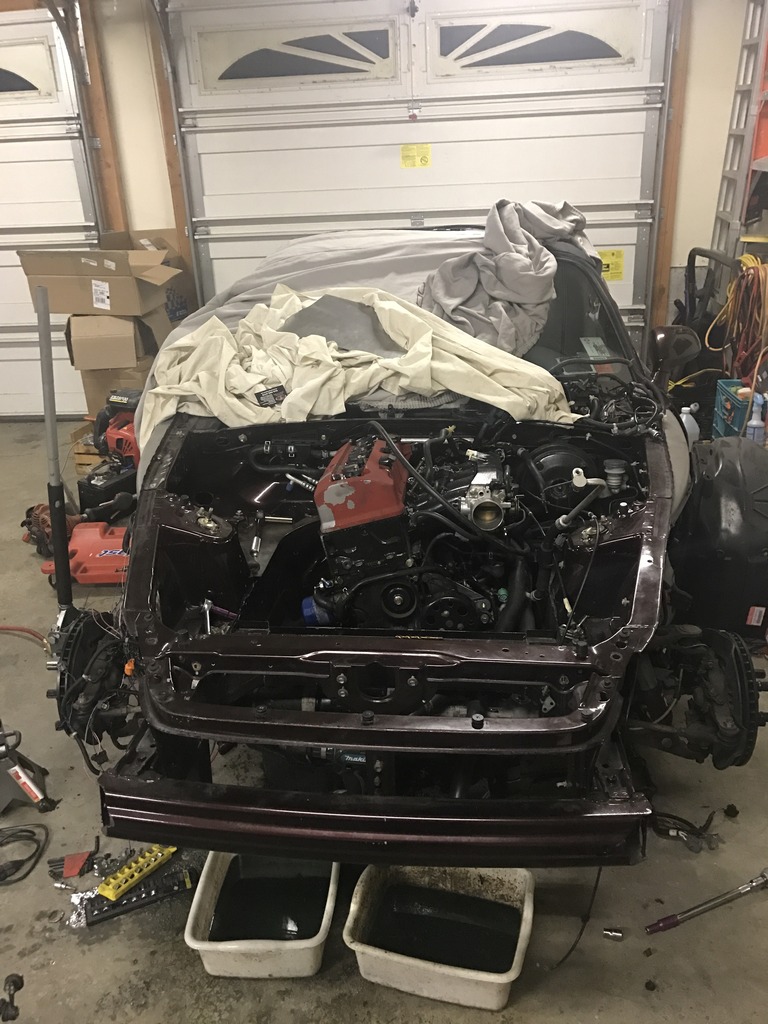
Been busy over here so I haven't been on top of this car for a week or so. Been stripping more and more of the bay little by little when I get a chance. Here's the bay as it sits tonight.
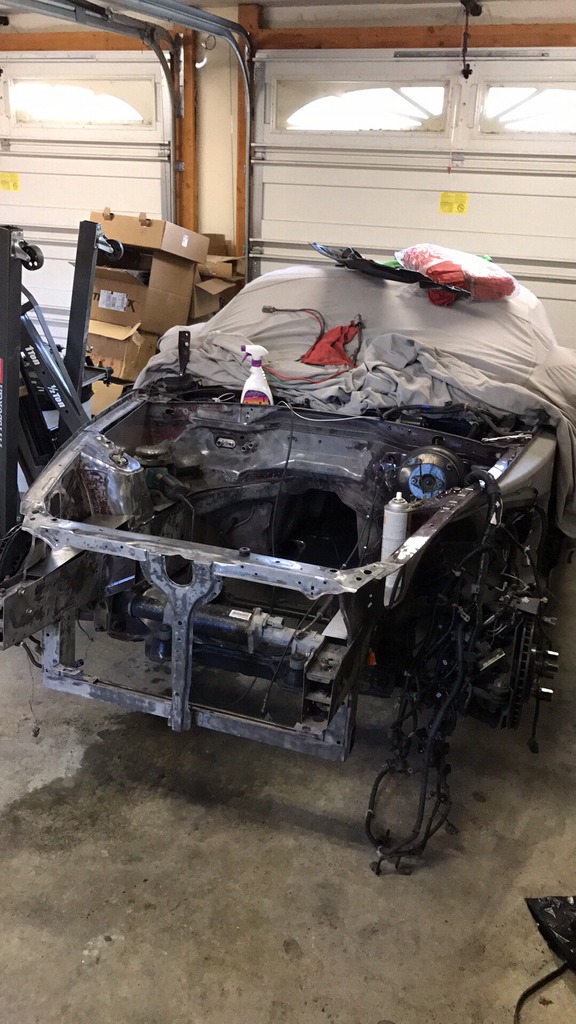
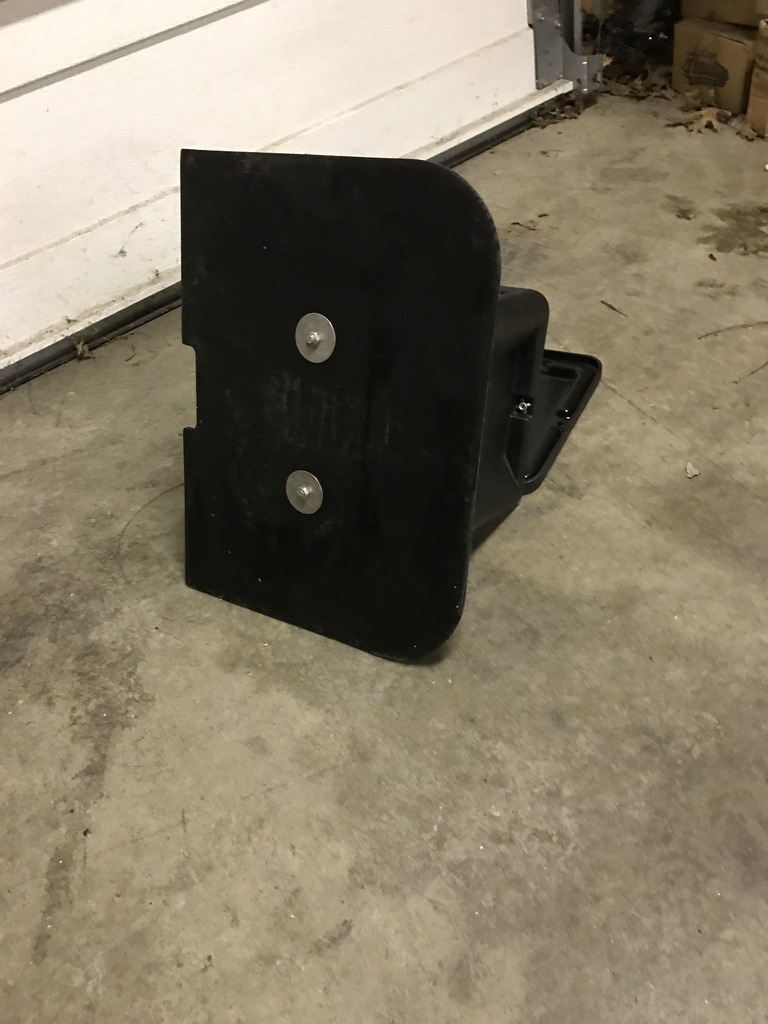
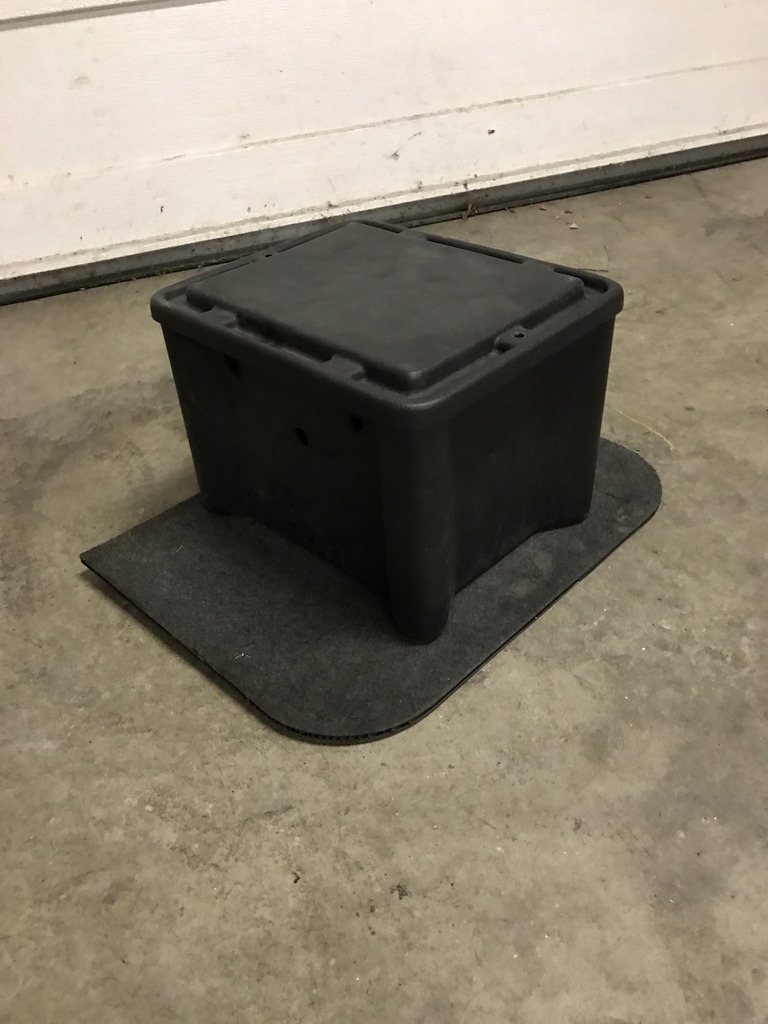
Also got around to the battery relocation kit and how I wanted to mount it. I decided to mount it on the trunk tray and bolt it down. Came out fairly well and looks to be a good spot once the battery is inside. I still need to finish running the wires through the interior and into the fender area.
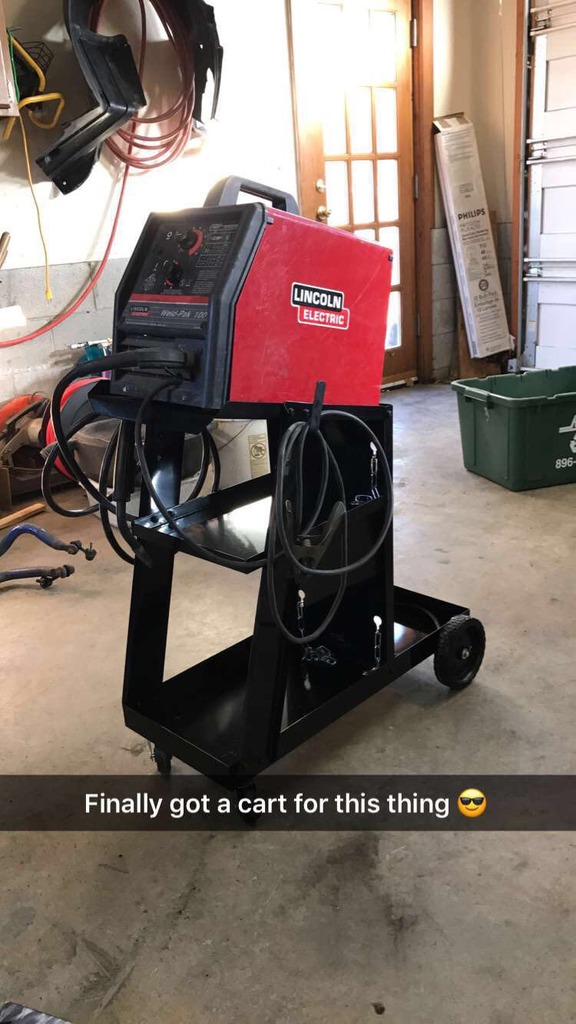
On a side note, I finally picked up a cart for my welder. I've always wanted one of these since lugging my setup from under the work bench was a major PITA. I got this on sale at Harbor Freight for like $40. Can't go wrong with that in my opinion!
So I'm waiting to hear back on a big order. Injector Dynamics 2200's, Koyo radiator and cap, Mishimoto slim fans and shroud, Samco radiator hoses and a few other things. Once this engine bay gets done and the motor comes home it'll be all hammer time.

Also got around to the battery relocation kit and how I wanted to mount it. I decided to mount it on the trunk tray and bolt it down. Came out fairly well and looks to be a good spot once the battery is inside. I still need to finish running the wires through the interior and into the fender area.


On a side note, I finally picked up a cart for my welder. I've always wanted one of these since lugging my setup from under the work bench was a major PITA. I got this on sale at Harbor Freight for like $40. Can't go wrong with that in my opinion!

So I'm waiting to hear back on a big order. Injector Dynamics 2200's, Koyo radiator and cap, Mishimoto slim fans and shroud, Samco radiator hoses and a few other things. Once this engine bay gets done and the motor comes home it'll be all hammer time.
03-02-2017, 12:16 AM
#39
Thread Starter
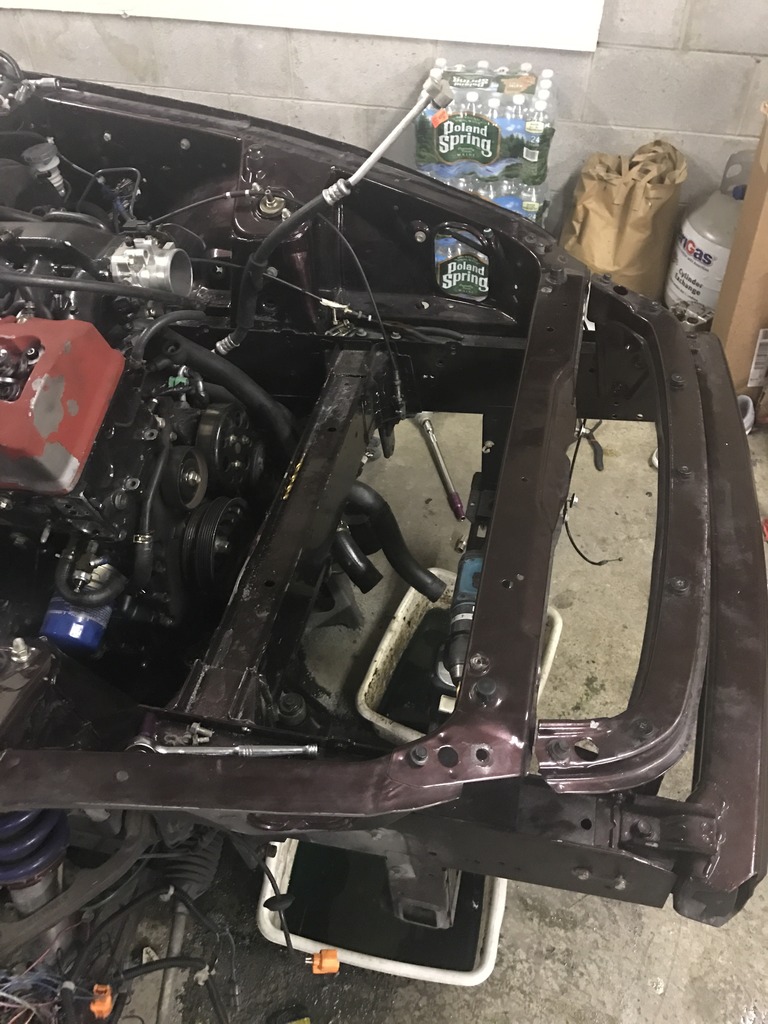
Here's where I ended up as of tonight. Got the brake booster and clutch master out. Also spent some time and got the main harness and driver side headlight harness through the firewall and into the cabin. I'm still on the fence if I want to bite the bullet on a Wireworx or Rywire harness, interested to hear some feedback if anyone has any on either or.